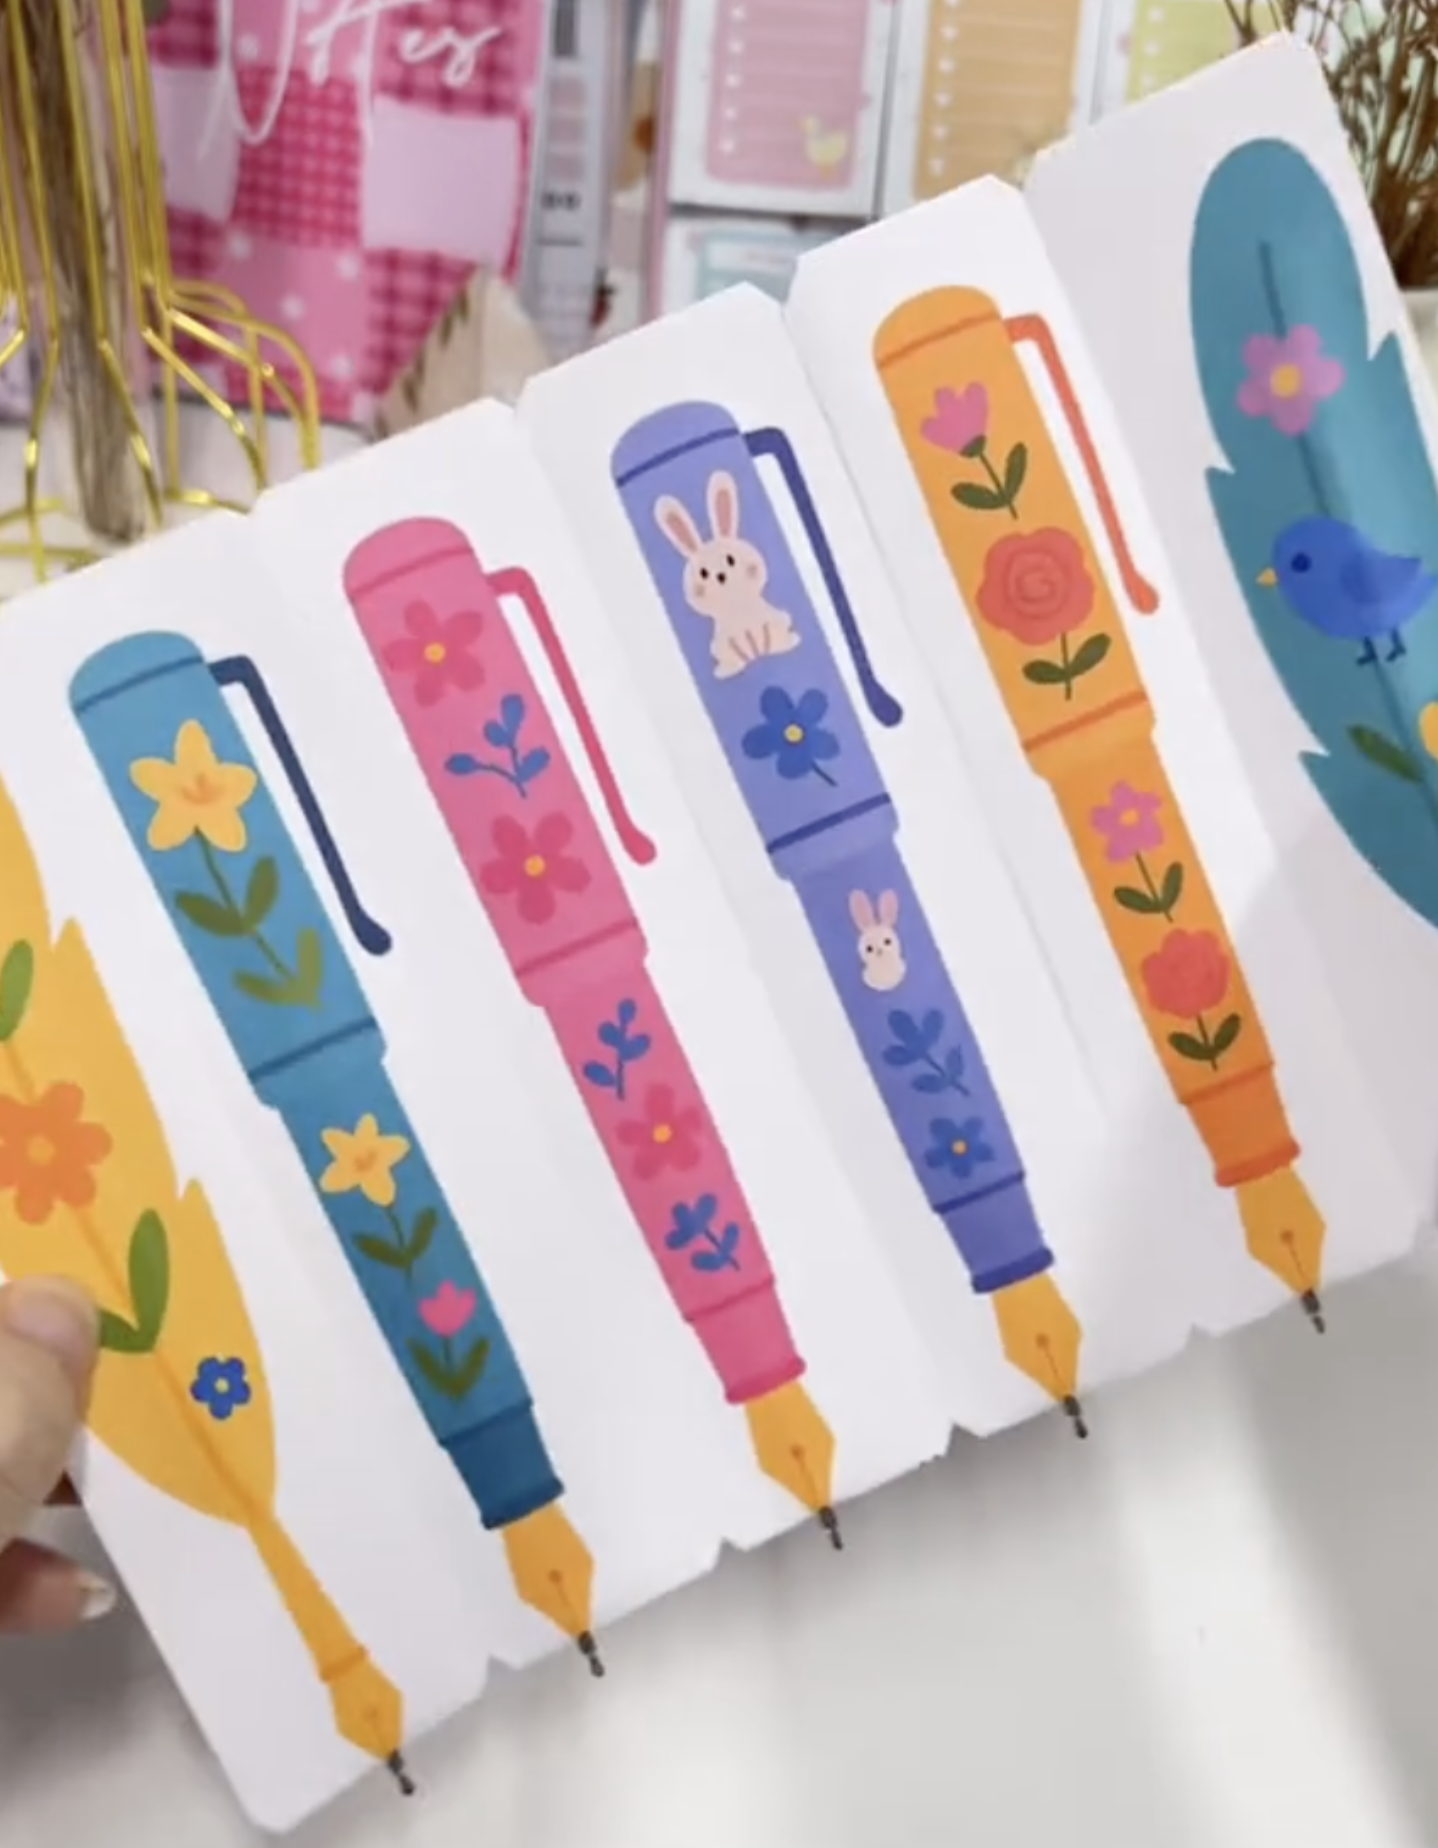
A bookmark that's also a pen — perforated tear-off sections wrapped around ink cartridges, so there's always a fresh bookmark underneath and a pen right where you need it. One sheet makes six.
These tutorials use Planify Pro, a drag-and-drop tool for designing printable planners and stationery. Building and editing is free — exporting a PDF needs a plan, from $9.99/month.
Get the template
Open it in Planify Pro to change the size, colours or design before printing — or print it exactly as it is.
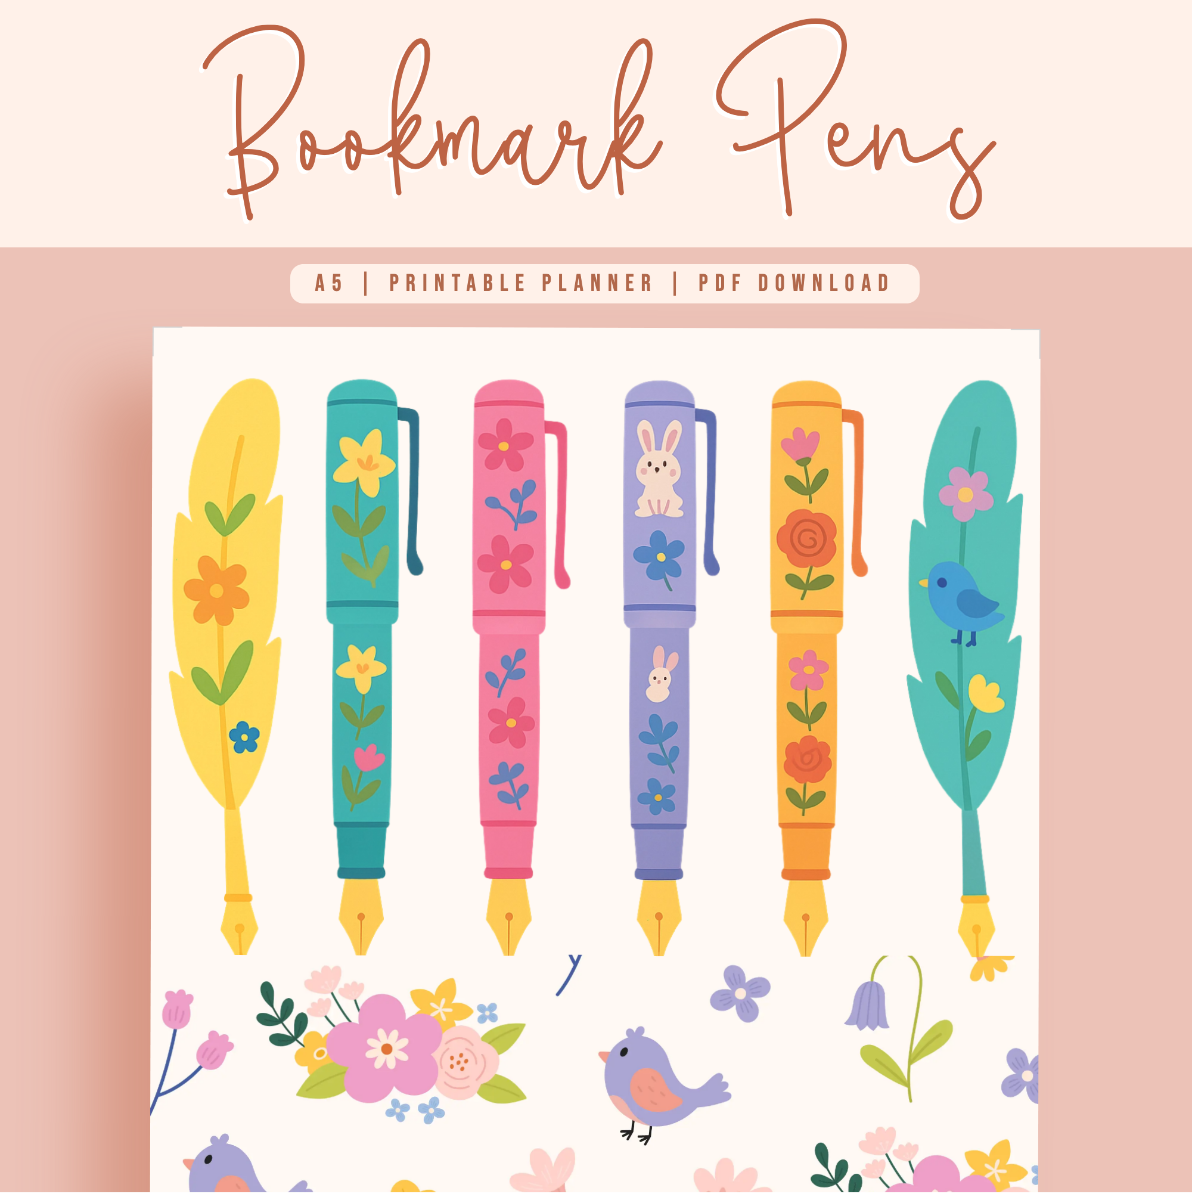
Export and print
In Planify Pro, go to Save/Export → Selected Page → Paper → A4, then click Generate PDF.
Open the PDF in Adobe Acrobat Reader and print at 100% scale. This matters more than usual here — if the printer scales the page even slightly, the 3.5cm columns won't line up with the cartridges and the whole strip will be out by a few millimetres.
What You'll Need
 Cardstock 220gsm Cardstock 220gsm |  Perforating Cutter Perforating Cutter |  Guillotine Paper Cutter Guillotine Paper Cutter |
Plus double-sided tape and six pen ink cartridges — either buy the cartridges on their own, or take them out of six cheap pens.
A note on the cardstock: 220gsm is the sweet spot. Lighter paper won't hold the cartridge firmly and the bookmark goes floppy after a few tears. Much heavier and the perforations won't tear cleanly.
Instructions
1. Print the template on cardstock. Check the printed width against a ruler — the columns should measure exactly 3.5cm.  | 2. Fold the sheet in half. Crease it firmly — this fold becomes the spine that holds each cartridge, so a soft fold means a loose bookmark.  |
3. Draw a vertical line every 3.5cm on the back. You should end up with six columns — one per bookmark pen.  | 4. Apply double-sided tape along the top edge. This seals the folded sheet closed once the cartridges are in.  |
5. Apply tape along each drawn line. Keep it just to one side of the pencil line — the line itself needs to stay clear for the cutter.  | This is how the finished tape placement should look — one strip along the top and one beside each column line.  |
6. Score each vertical line with the perforating cutter. One firm pass is enough — going over twice cuts clean through.  | 7. Get six ink cartridges ready. Pulling them from cheap ballpoints is usually cheaper than buying refills.  |
8. Place a cartridge into each column and make a small hole for the tip. Push it through before taping anything down.  | 9. Secure each cartridge with tape so it can't slide. All six should sit parallel, tips level along the bottom edge.  |
10. Peel the tape backing and fold the halves together. Press along each column so the tape grips either side of every cartridge.  | 11. Bend each perforated section back and forth a few times so it tears cleanly rather than dragging the next one.  |
12. Snip a small triangle from the top and bottom of each perforation. These notches give the tear somewhere to start.  | That's it — six bookmark pens from one sheet. Tear one off, use it until the ink runs out, and the next is waiting underneath.  |
Troubleshooting
The perforations tear too easily. The cutter went over the line more than once, or the cardstock is too light. One pass on 220gsm is right.
The bookmark won't tear cleanly. Bend the section a few more times, and check the notches at top and bottom are actually cut through.
The cartridge slides around. The tape either side isn't gripping. Open it up, add a strip closer to the cartridge, and press firmly along its whole length.
The columns don't line up with the cartridges. Almost always a printer scaling problem — reprint at 100% and measure before assembling.
Selling these
Bookmark pens work well as a low-price add-on product. They're small, cheap to post, and unusual enough to stand out in a shop full of planners — which makes them a good impulse buy alongside something larger.
They also bundle naturally. A notepad, a set of planner inserts and a bookmark pen makes a gift set worth more than the sum of its parts, and the pen costs pennies to add.
If you're selling the finished item rather than the template, price for assembly time as well as materials — six pens is roughly an hour of work once you're practised.
See 20 profitable planner niches and easy templates that sell for more product ideas.
Try these next
- DIY Perforated Notepad — another perforated project
- DIY Refillable Notepad — a notepad that never runs out
- How to Make Notepads at Home
- Book Binding Methods Compared
- Browse all DIY tutorials


