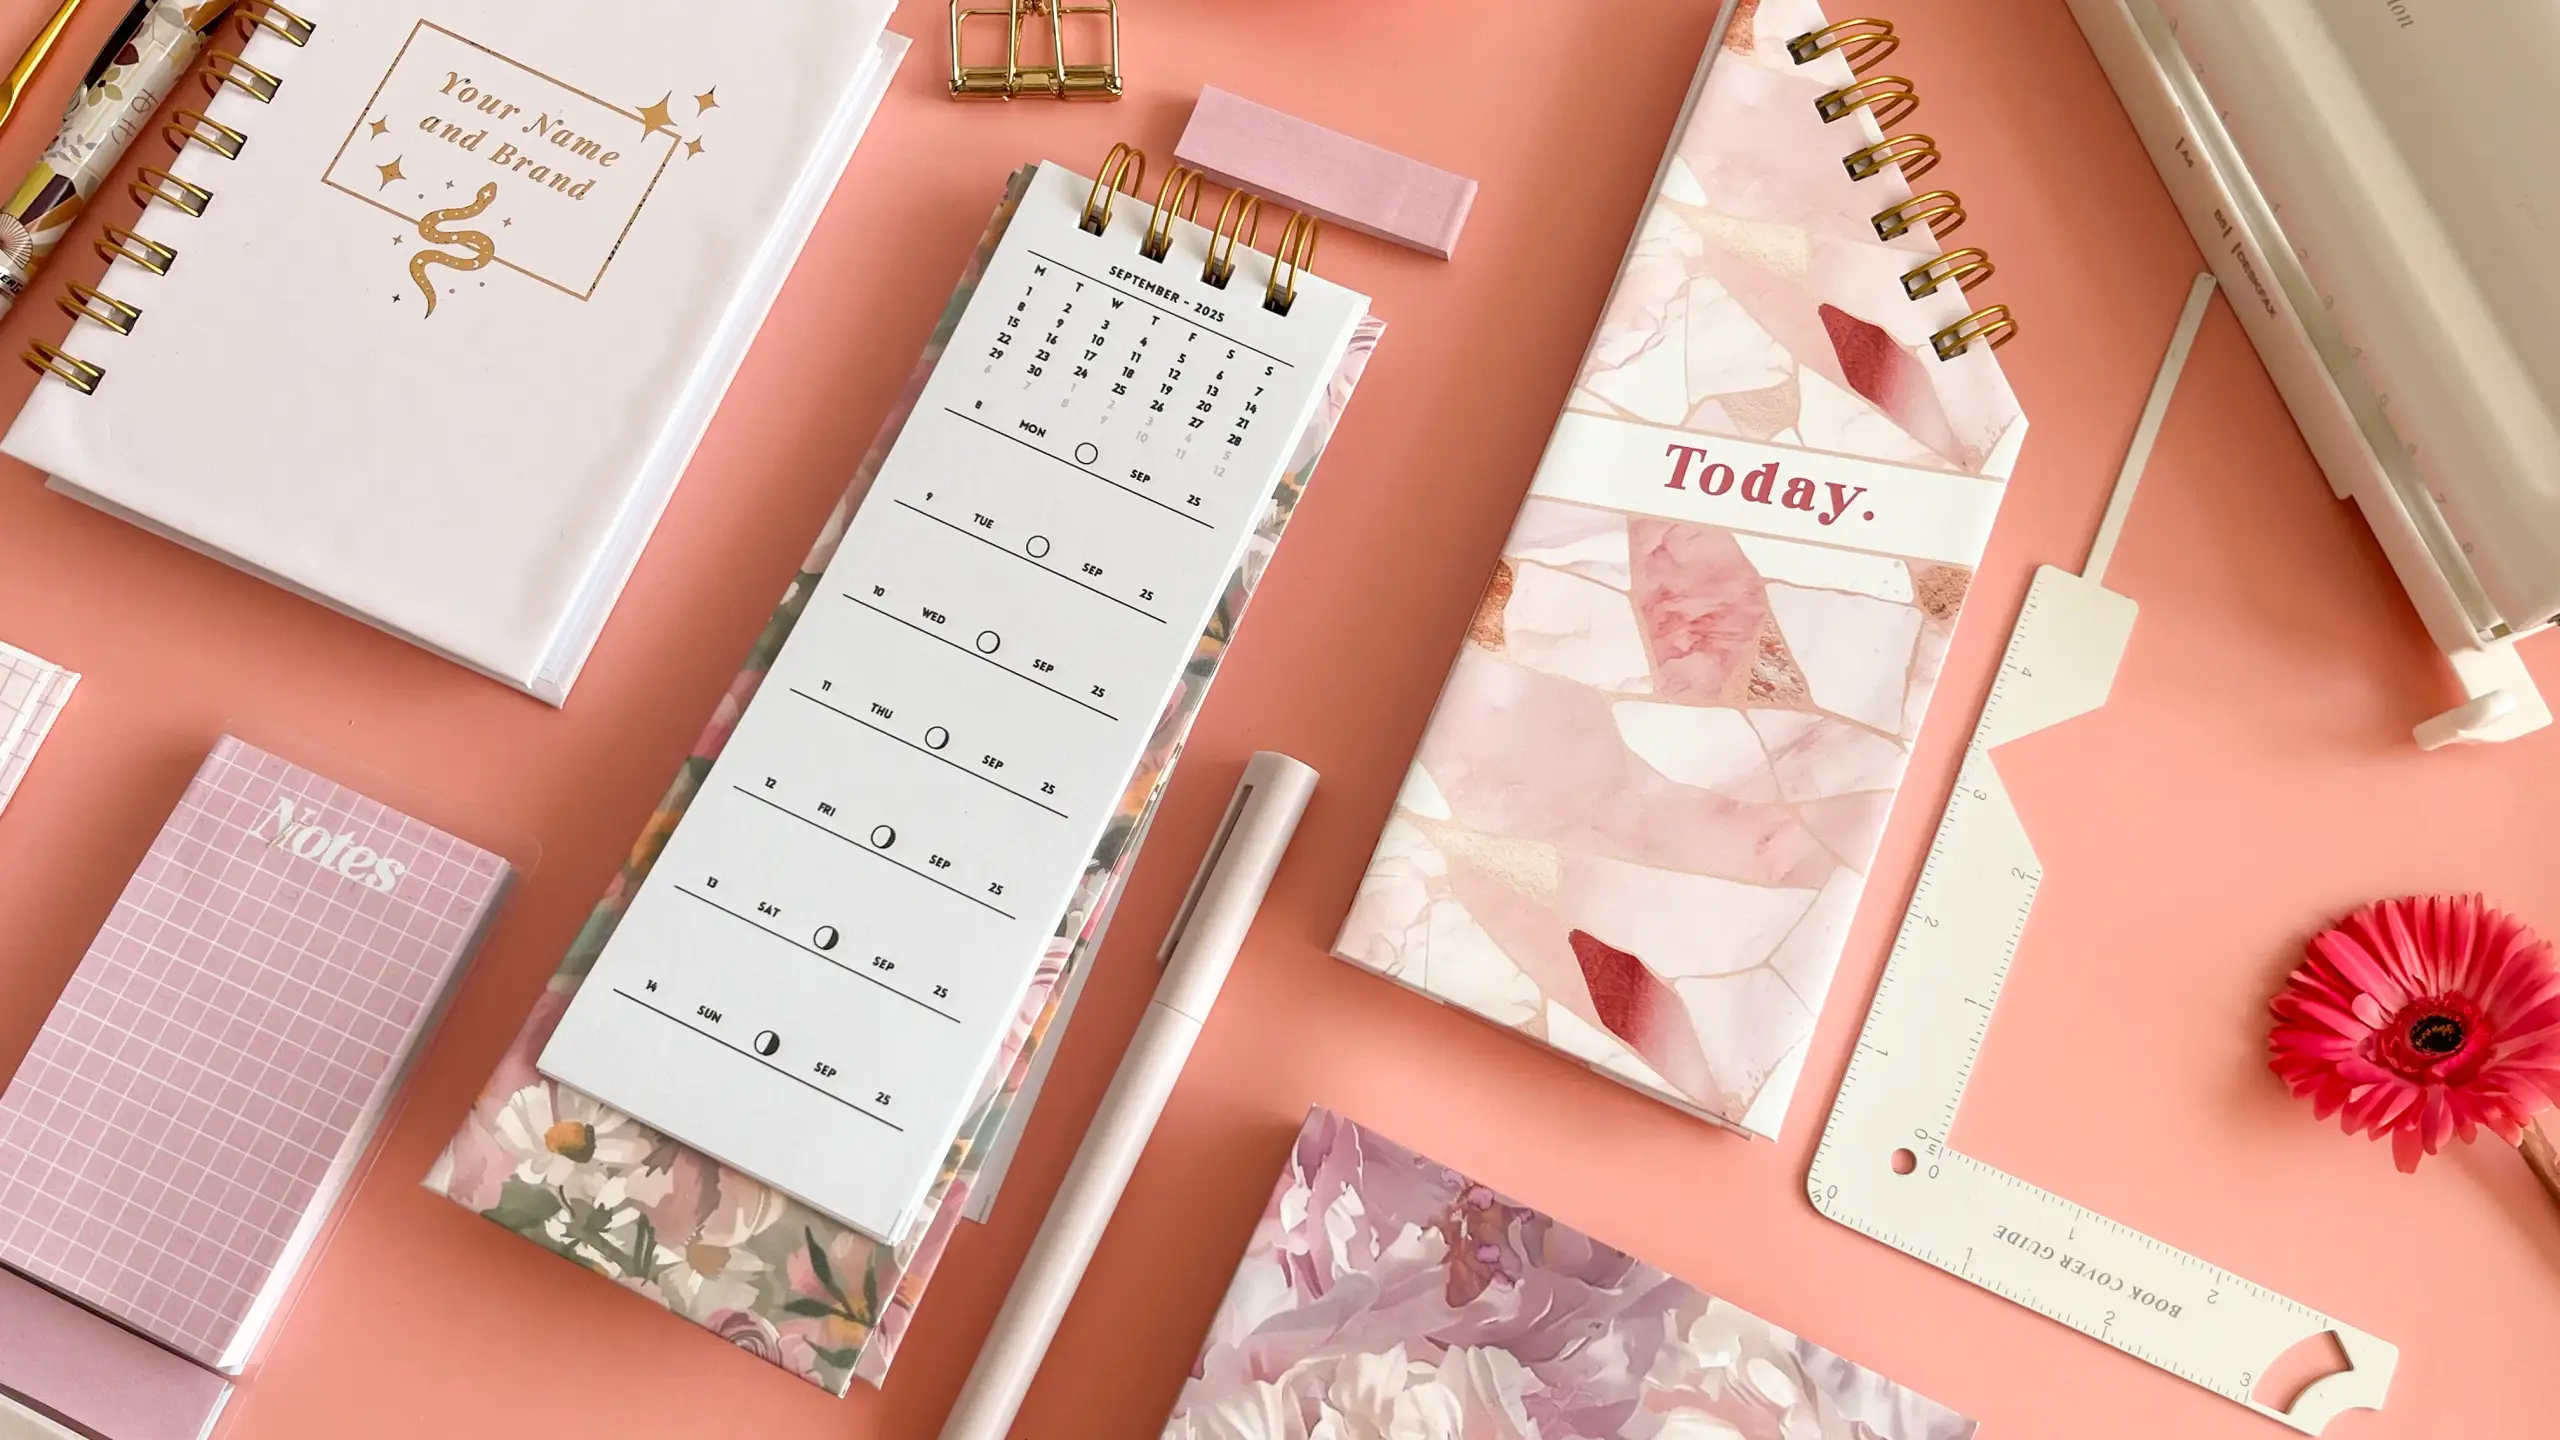
A weekly desk planner is a tall, narrow card that stands beside the keyboard — one week to a page, seven dated lines with the whole month printed above them. The clever part is the base: a single strip of paper, scored into four bands and glued between the two covers, which turns a flat wire-bound pad into something that props itself up and folds shut again.
These tutorials use Planify Pro, a drag-and-drop tool for designing printable planners and stationery. Building and editing is free — exporting a PDF needs a plan, from $9.99/month.
Get the template
Open it in Planify Pro to change the year, dates, colours or layout before printing — or print it exactly as it is.

Export and print
Export the planner as a PDF and print the week pages at 100% — actual size, with any "fit to page" or "shrink to printable area" option switched off. Every measurement in this build is taken off the printed page, so a sheet that came out at 97% will trim short and punch too close to the edge.
The cover is the one exception: print it at 120%. The cover is drawn to the same page size as the weeks, and the finished board is 7.5 × 21 cm, so scaling it up by a fifth leaves roughly 7 mm of paper past each long edge and about 2 cm past each end — that overhang is what folds round onto the back of the board. Print the cover on sticker paper and the weeks on cardstock, as two separate jobs at two different scales.
Half-page pages sit more than one to a sheet, so run a single test sheet and check the weeks come out in date order before printing the rest. Sorting fifty-odd trimmed strips back into sequence by hand is a slow way to spend an evening.
What You'll Need
 |  |  |
 |  |  |
Plus PVA bookbinding glue for the base strip, a metal ruler, scissors, and a pair of side cutters to shorten the wire.
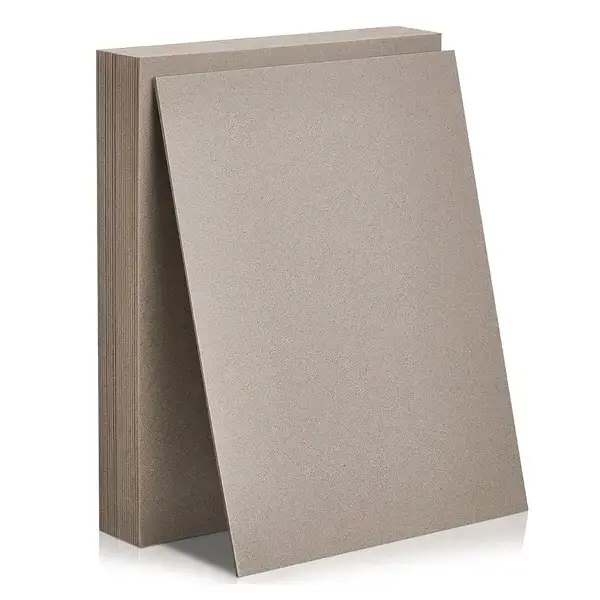
A note on the chipboard. The original build used 1.2 mm board, cut to 7.5 × 21 cm — two pieces, one front and one back. That thickness is stiff enough to hold the calendar upright but still thin enough to punch, and both covers being the same weight is what lets the finished thing fold flat again.
A note on the wire. Match it to the finished thickness of the stack — a set of week pages plus two boards is thin, so size the wire to that and cut a short length off a full spine rather than buying one to fit.
Instructions
1. Trim the week pages, then punch the top edge. Cut them down to 7.5 × 21 cm a few sheets at a time — a deep stack shifts under the blade and the strips stop matching each other. Punch against the same stop every time so the holes land in one place across the whole set.  |
2. Cut two chipboard covers, 7.5 × 21 cm each. Front and back, both the same footprint as the trimmed pages so nothing overhangs. The original used 1.2 mm chipboard.  |
3. Wrap each board in the printed sticker cover. Peel the backing, set the board down in the middle of the adhesive and press outwards from the centre, then cut the excess back to a manageable overhang. Line the board up before it touches — sticker paper grabs on contact and lifting it usually takes the printed surface with it.  |
4. Fold the overhang round and line the inside. Crease each turn-in against a ruler rather than by hand, so the edge comes out sharp instead of soft, then cover the folded flaps with a piece of plain white sticker paper cut slightly smaller than the board.  |
5. Punch both covers to match the pages. Register them against the same stop you used for the week pages — a cover punched even a millimetre out will bind stiffly and stop the pages flipping over cleanly.  |
6. Cut the standing base strip. One piece, 6.5 × 11 cm, scored across into four bands: 2 cm, 3.5 cm, 3.5 cm, 2 cm. Folded on those three lines it makes a shallow triangular prop, and it is deliberately 1 cm narrower than the covers so it sits inside the edges and stays hidden.  |
7. Glue the two end tabs to the inside of the covers. Glue goes on the 2 cm bands only — the two 3.5 cm bands in the middle have to stay free to hinge, because that is the fold that opens into the prop. Stick one tab low on the inside of the back cover and the other in the matching spot on the front, then hold them until the glue grabs.  |
8. Thread the wire and squeeze it shut. Cut the wire to the 7.5 cm width of the cover, load the front cover, the week pages and the back cover onto it in order, and close the loops in one press — once they are shut they do not open again. Stand it up, open the base, and the calendar holds its own angle on the desk.  |
Troubleshooting
It will not stand up. Almost always the base strip. Both 2 cm tabs have to be glued down and the two middle bands left completely free; if any glue has crept onto the 3.5 cm bands the strip becomes one stiff piece and the covers cannot spread.
It stands, but at the wrong angle. The tabs are glued at different heights on the two covers, so the prop is twisted. Peel them off while the glue is fresh and reposition both the same distance up from the bottom edge.
The wire will not thread through every page. The holes have drifted across the stack. Punching in large batches or without a stop is the usual cause — repunching the offending strips is quicker than fighting the wire.
The cover is too small to wrap the board. The 120% scale did not survive the print dialog. Measure the printed cover before cutting: it should be about 9 cm across for a 7.5 cm board.
Bubbles or creases under the sticker paper. The sheet went down flat all at once. Lay one edge first and smooth across, and work the folded edges down firmly with a ruler afterwards.
Selling these
A standing weekly calendar sells on the thing a photograph can show in one frame: it stands up. That makes it much easier to list than a flat pad, and the format explains itself without a description — a week at a time, on the desk, at eye level.
It is also cheap and quick relative to what it looks like. Two small boards, a sheet of sticker paper and a short offcut of wire, and the whole build is an evening once you have cut one. That margin is unusual for a handmade planner product.
Bundle it with a matching notepad or a set of planner inserts printed from the same cover design — a desk set built from one sheet of sticker paper reads as a collection rather than three unrelated items. Price for the assembly time rather than the materials, and consider offering the printable alongside the finished object for people who would rather bind their own.
More on this in 20 profitable planner niches and planner bundles that boost sales.
Try these next
How to Make a Daily Desk Planner — a page a day instead of a page a week, on a stacked chipboard base
DIY Weekly Planner: Wire-Bound with Magnetic Closure — the same week-per-page idea as a planner you carry
DIY Bill Planner: 12-Month Bill Organizer — another wire-bound build with wrapped covers
DIY Hardbound Planner: 30-Month Hard Cover Planner Book — the same covers, cased in properly


