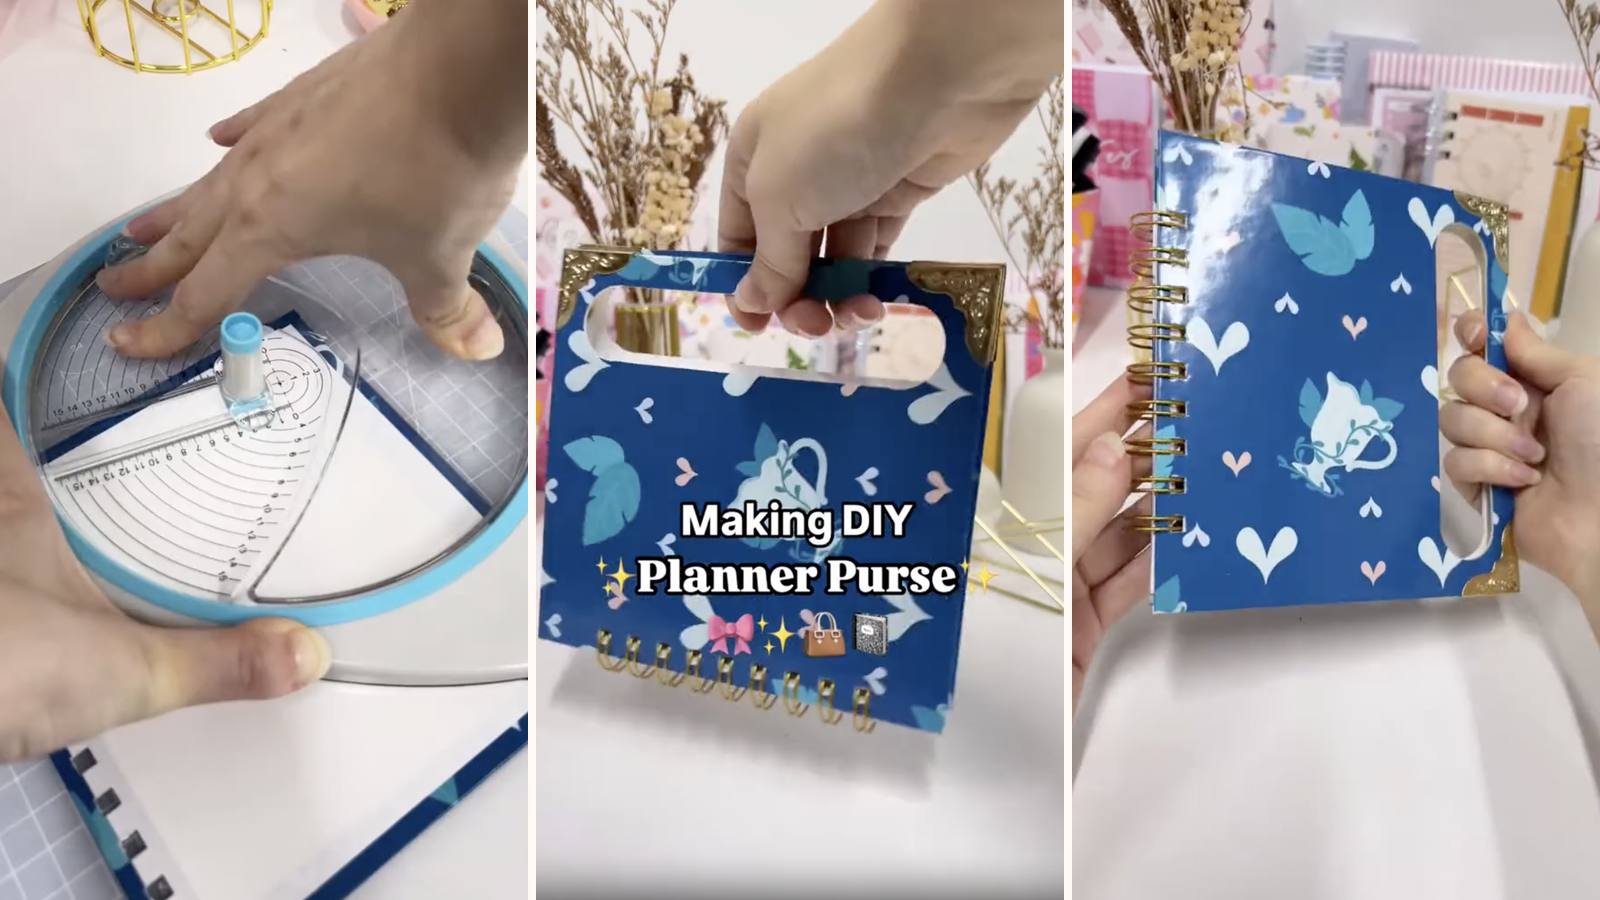
A wire-bound planner with a handle cut into the covers themselves. Two circles and two straight lines joining them, and the thing you were going to put in a bag becomes the bag. The chipboard is stiff enough to carry it by, and the wire lets the pages still flip flat when you sit down with it.
These tutorials use Planify Pro, a drag-and-drop tool for designing printable planners and stationery. Building and editing is free — exporting a PDF needs a plan, from $9.99/month.
Get the template
Open it in Planify Pro to change the size, colours or artwork before printing — or print it exactly as it is.

Export and print
Inserts: Save/Export → Selected Page → Paper → A4 or US Letter → Generate PDF, printed at 100% on 80gsm.
Cover: Save/Export → Selected Page → Paper → A4 → Generate PDF, printed on white glossy sticker paper at 130% scale so there's enough overhang to wrap the board.
What You'll Need
 Chipboard 1.4mm Chipboard 1.4mm |
 Paper 80gsm Paper 80gsm |
 Glossy Sticker Paper Glossy Sticker Paper |
 O-Wires 20mm O-Wires 20mm |
 Binding Machine Binding Machine |
 Guillotine Paper Cutter Guillotine Paper Cutter |
You'll also need a circle cutter and a craft knife for the handle, and optionally book corners to finish the cover edges.
Instructions
1. Print and cut the inserts. Trim to size on the guillotine.  |
2. Punch the inserts. Small batches, all registered to the same edge.  |
3. Cut two chipboards at 16 × 14.7 cm. These carry the weight of the whole planner by a handle, so cut them from proper 1.4mm board rather than anything thinner.  |
4. Print the cover at 130%. On white glossy sticker paper.  |
5. Wrap the boards. Peel the backing, centre each board, trim the corners and fold all the sides in.  |
6. Line the insides. Glossy sticker paper over the folded edges — worth doing properly here, because the handle cutout will expose the inside face every time it's carried.  |
7. Cut two circles at the top, radius 1.5–2 cm. The radius sets how wide the handle is. Go through both covers together so they match exactly — mismatched handles are immediately obvious when carried.  |
8. Join the circles with two straight cuts. That gives you the slot. Rounded ends matter — a square-cornered slot tears from the corner under weight.  |
9. Get the wires ready. 20mm, open on the machine's holder.  |
10. Load the back cover.  |
11. Then the inserts. All of them, in order.  |
12. Then the front cover. Check both handle slots line up before closing anything.  |
13. Close the wires. One firm squeeze on the Cinch.  |
14. Add book corners. Optional, but this one gets carried around and knocked about — metal corners are the difference between a year of use and a scuffed edge after a fortnight.  |
Pick it up by the handle and go.  |
Troubleshooting
The handle tore. The slot corners weren't rounded, or the board is too thin. The circles at each end exist precisely to stop a tear starting — that's why they're cut first.
The two handles don't line up. The covers were cut separately. Stack and cut them together, before binding.
The handle cuts through the design badly. Plan where the slot lands before printing at 130% — it's easier to move the artwork than the handle.
It sags when carried. Too many inserts for the board. Either fewer pages or thicker chipboard; there's no third option once it's bound.
Selling these
This one photographs completely differently from everything else in a stationery shop, because the obvious shot is someone holding it. That's a listing image that stops a scroll.
It reads as a gift, too — it's the kind of thing bought for a student or a new job rather than for oneself, which is a different buying occasion and a different price tolerance.
Book corners are worth adding even though they're optional. They cost pennies, they visibly say "this is meant to be carried", and they stop the returns that come from scuffed corners.
See 20 profitable planner niches and how to create listing photos for more.
Try these next
- How to Make a Planner Box — storage rather than carrying
- DIY Hidden Wire Planner
- DIY Weekly Planner
- Book Binding Methods Compared
- Browse all DIY tutorials


