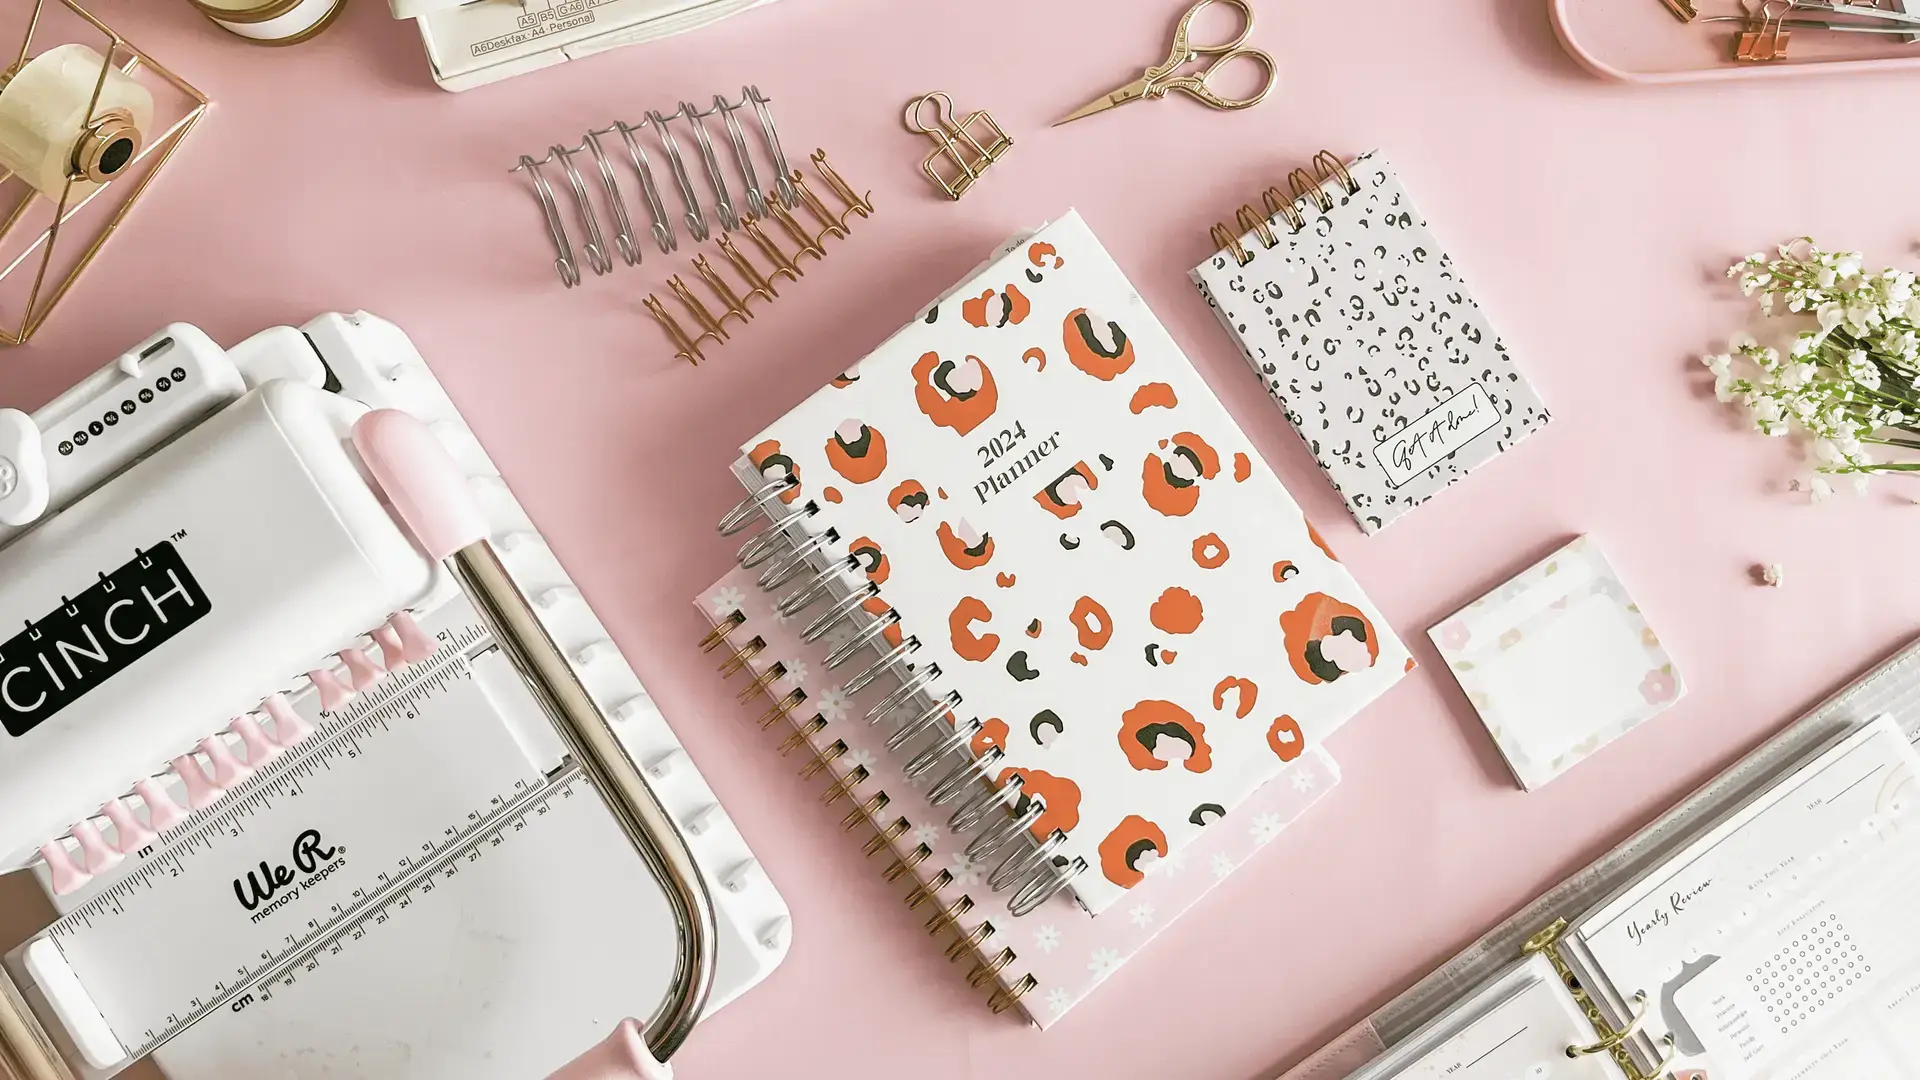
Listing images decide whether anyone clicks. On Etsy a buyer scrolling search sees a thumbnail and a price — nothing else — and for a digital planner there's no physical object to photograph.
The listing maker in Planify Pro builds them from the planner you've already designed. No screenshotting, no mockup files, no separate design tool. This guide walks through the whole thing.
Looking for the principles rather than the tool? Read Etsy listing photos: how to create images that sell for what actually makes a listing image convert.
Open the listing maker
Open the project you want listing images for, then click Make Listing.
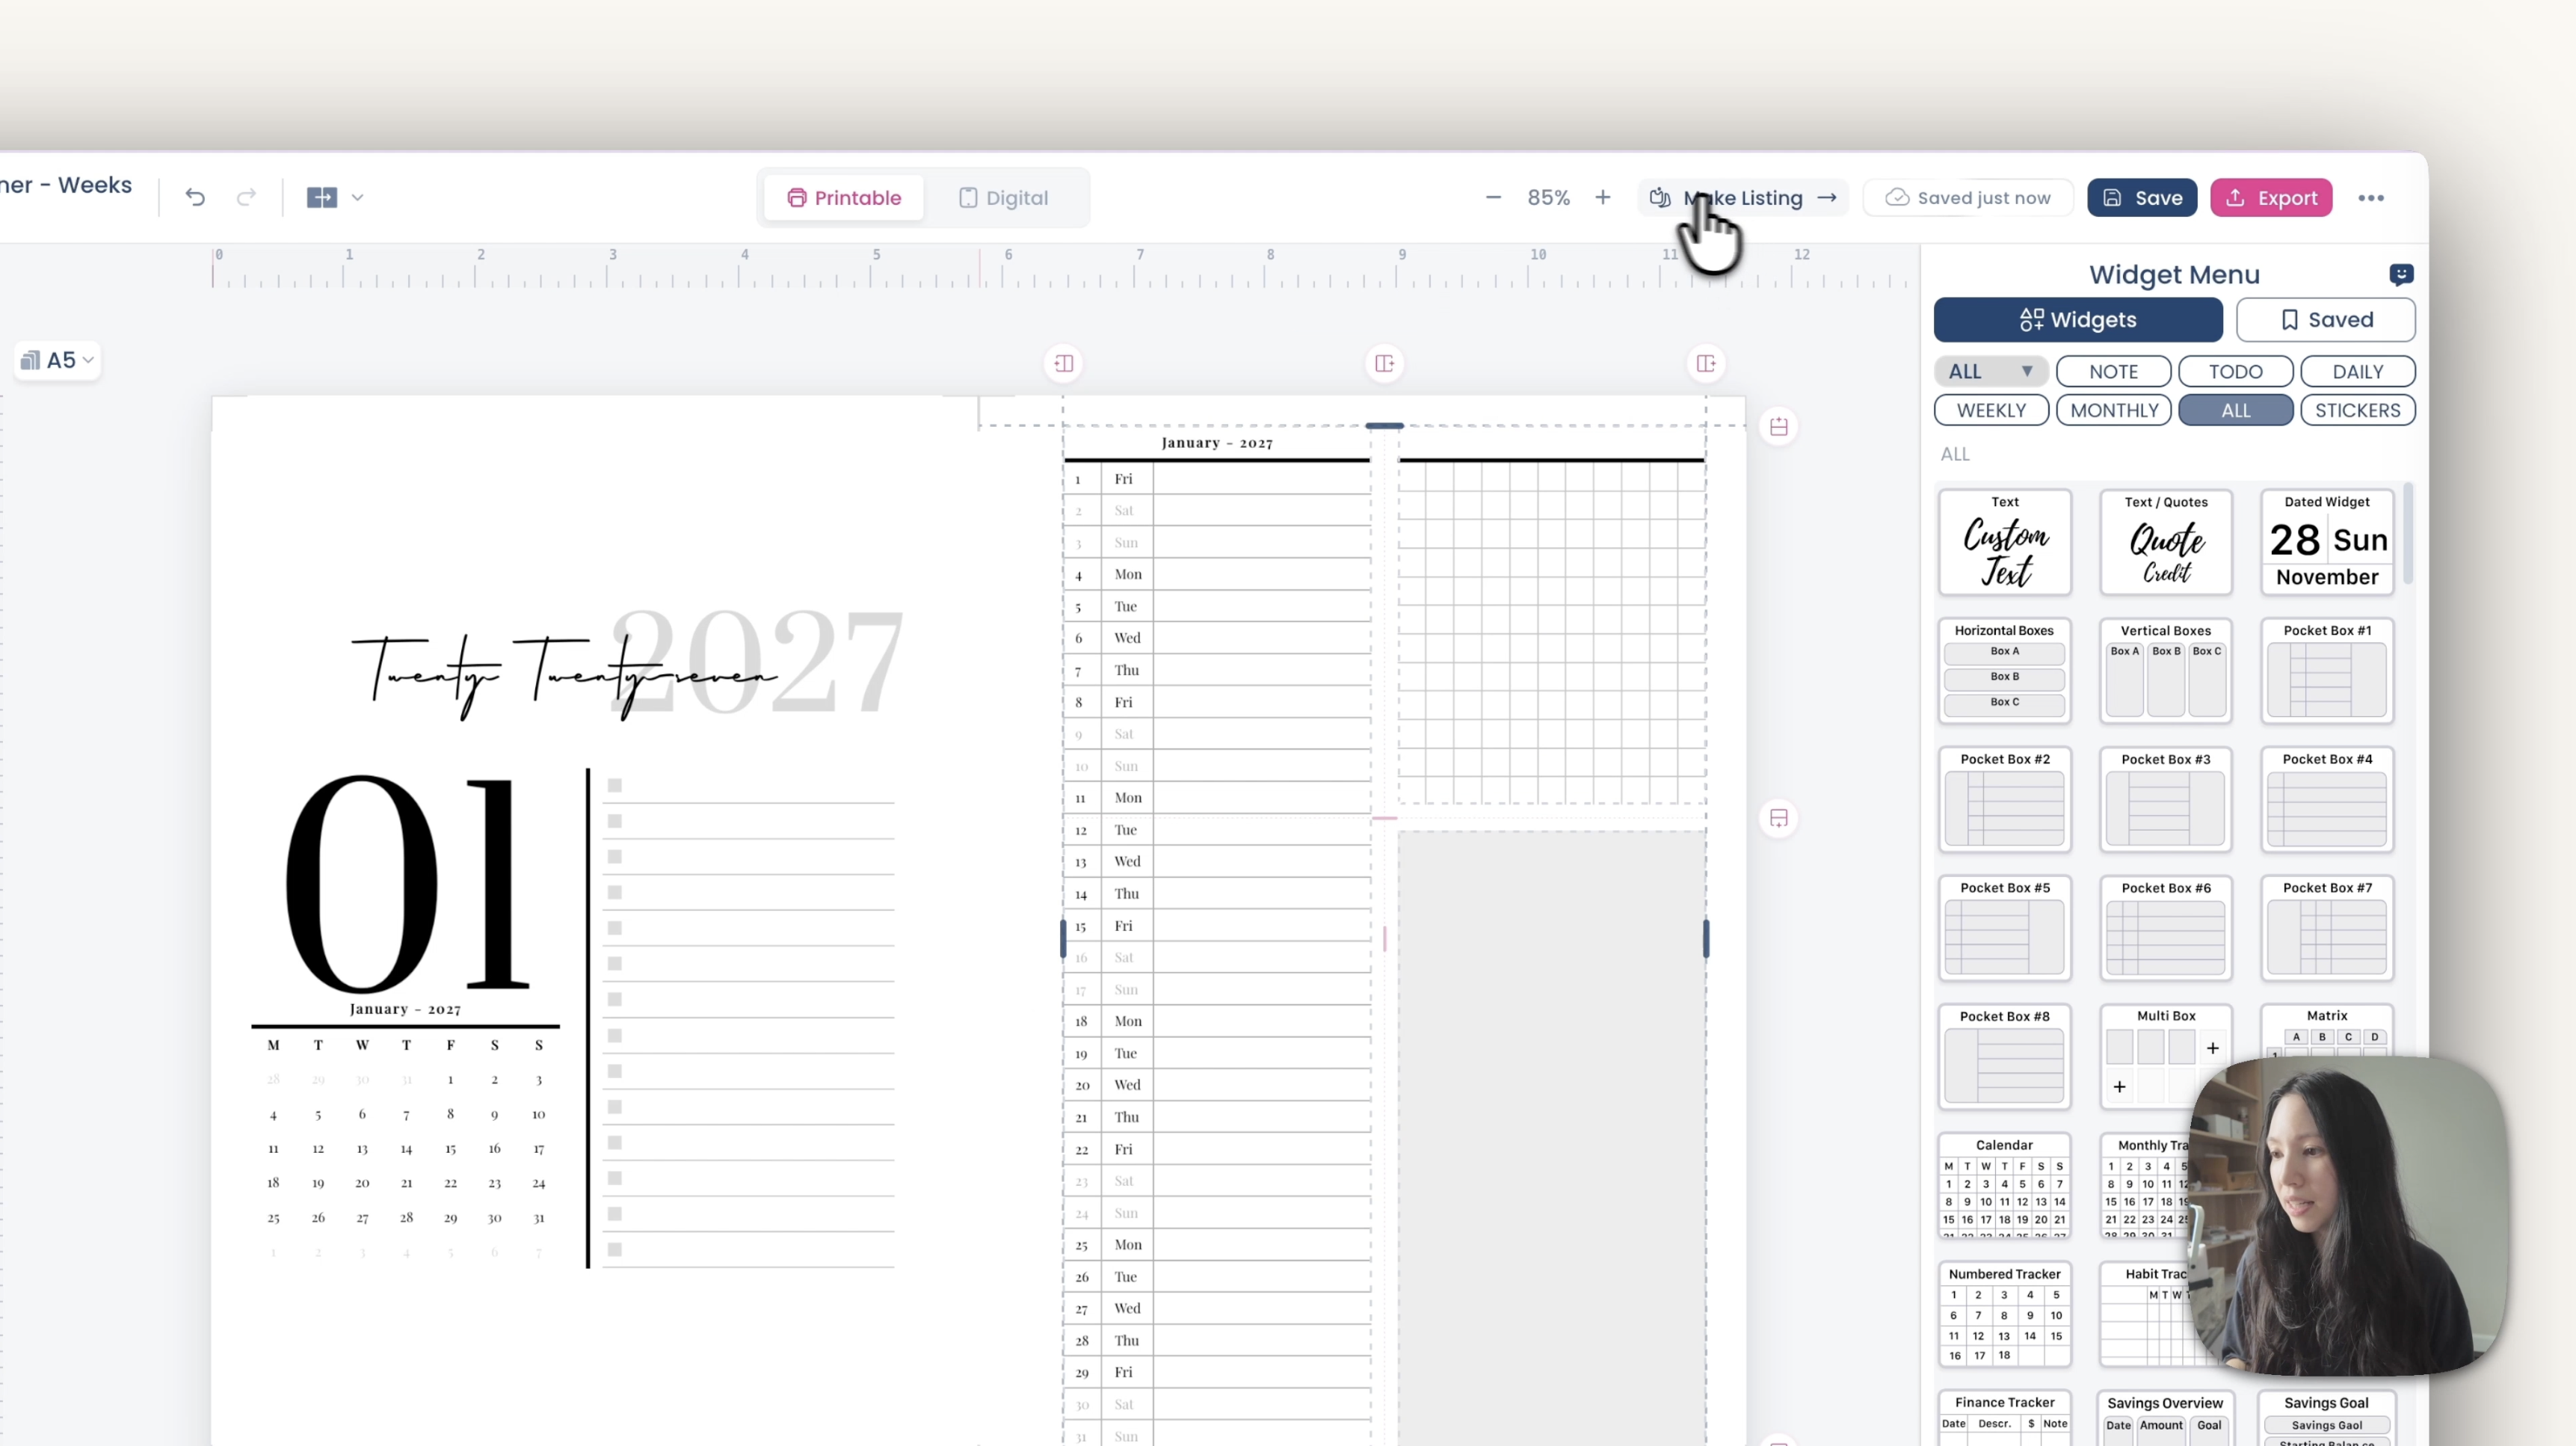
It takes a moment to sync, because every page has to load before it can be placed. A one or two page project is near-instant. A 400-page planner can take a minute or two — worth knowing so you don't think it has frozen.
Start from a preset
The presets panel is on the right. If you've never made listing images before, start there. Each preset is a complete layout you can then change, which is much faster than building from an empty canvas.
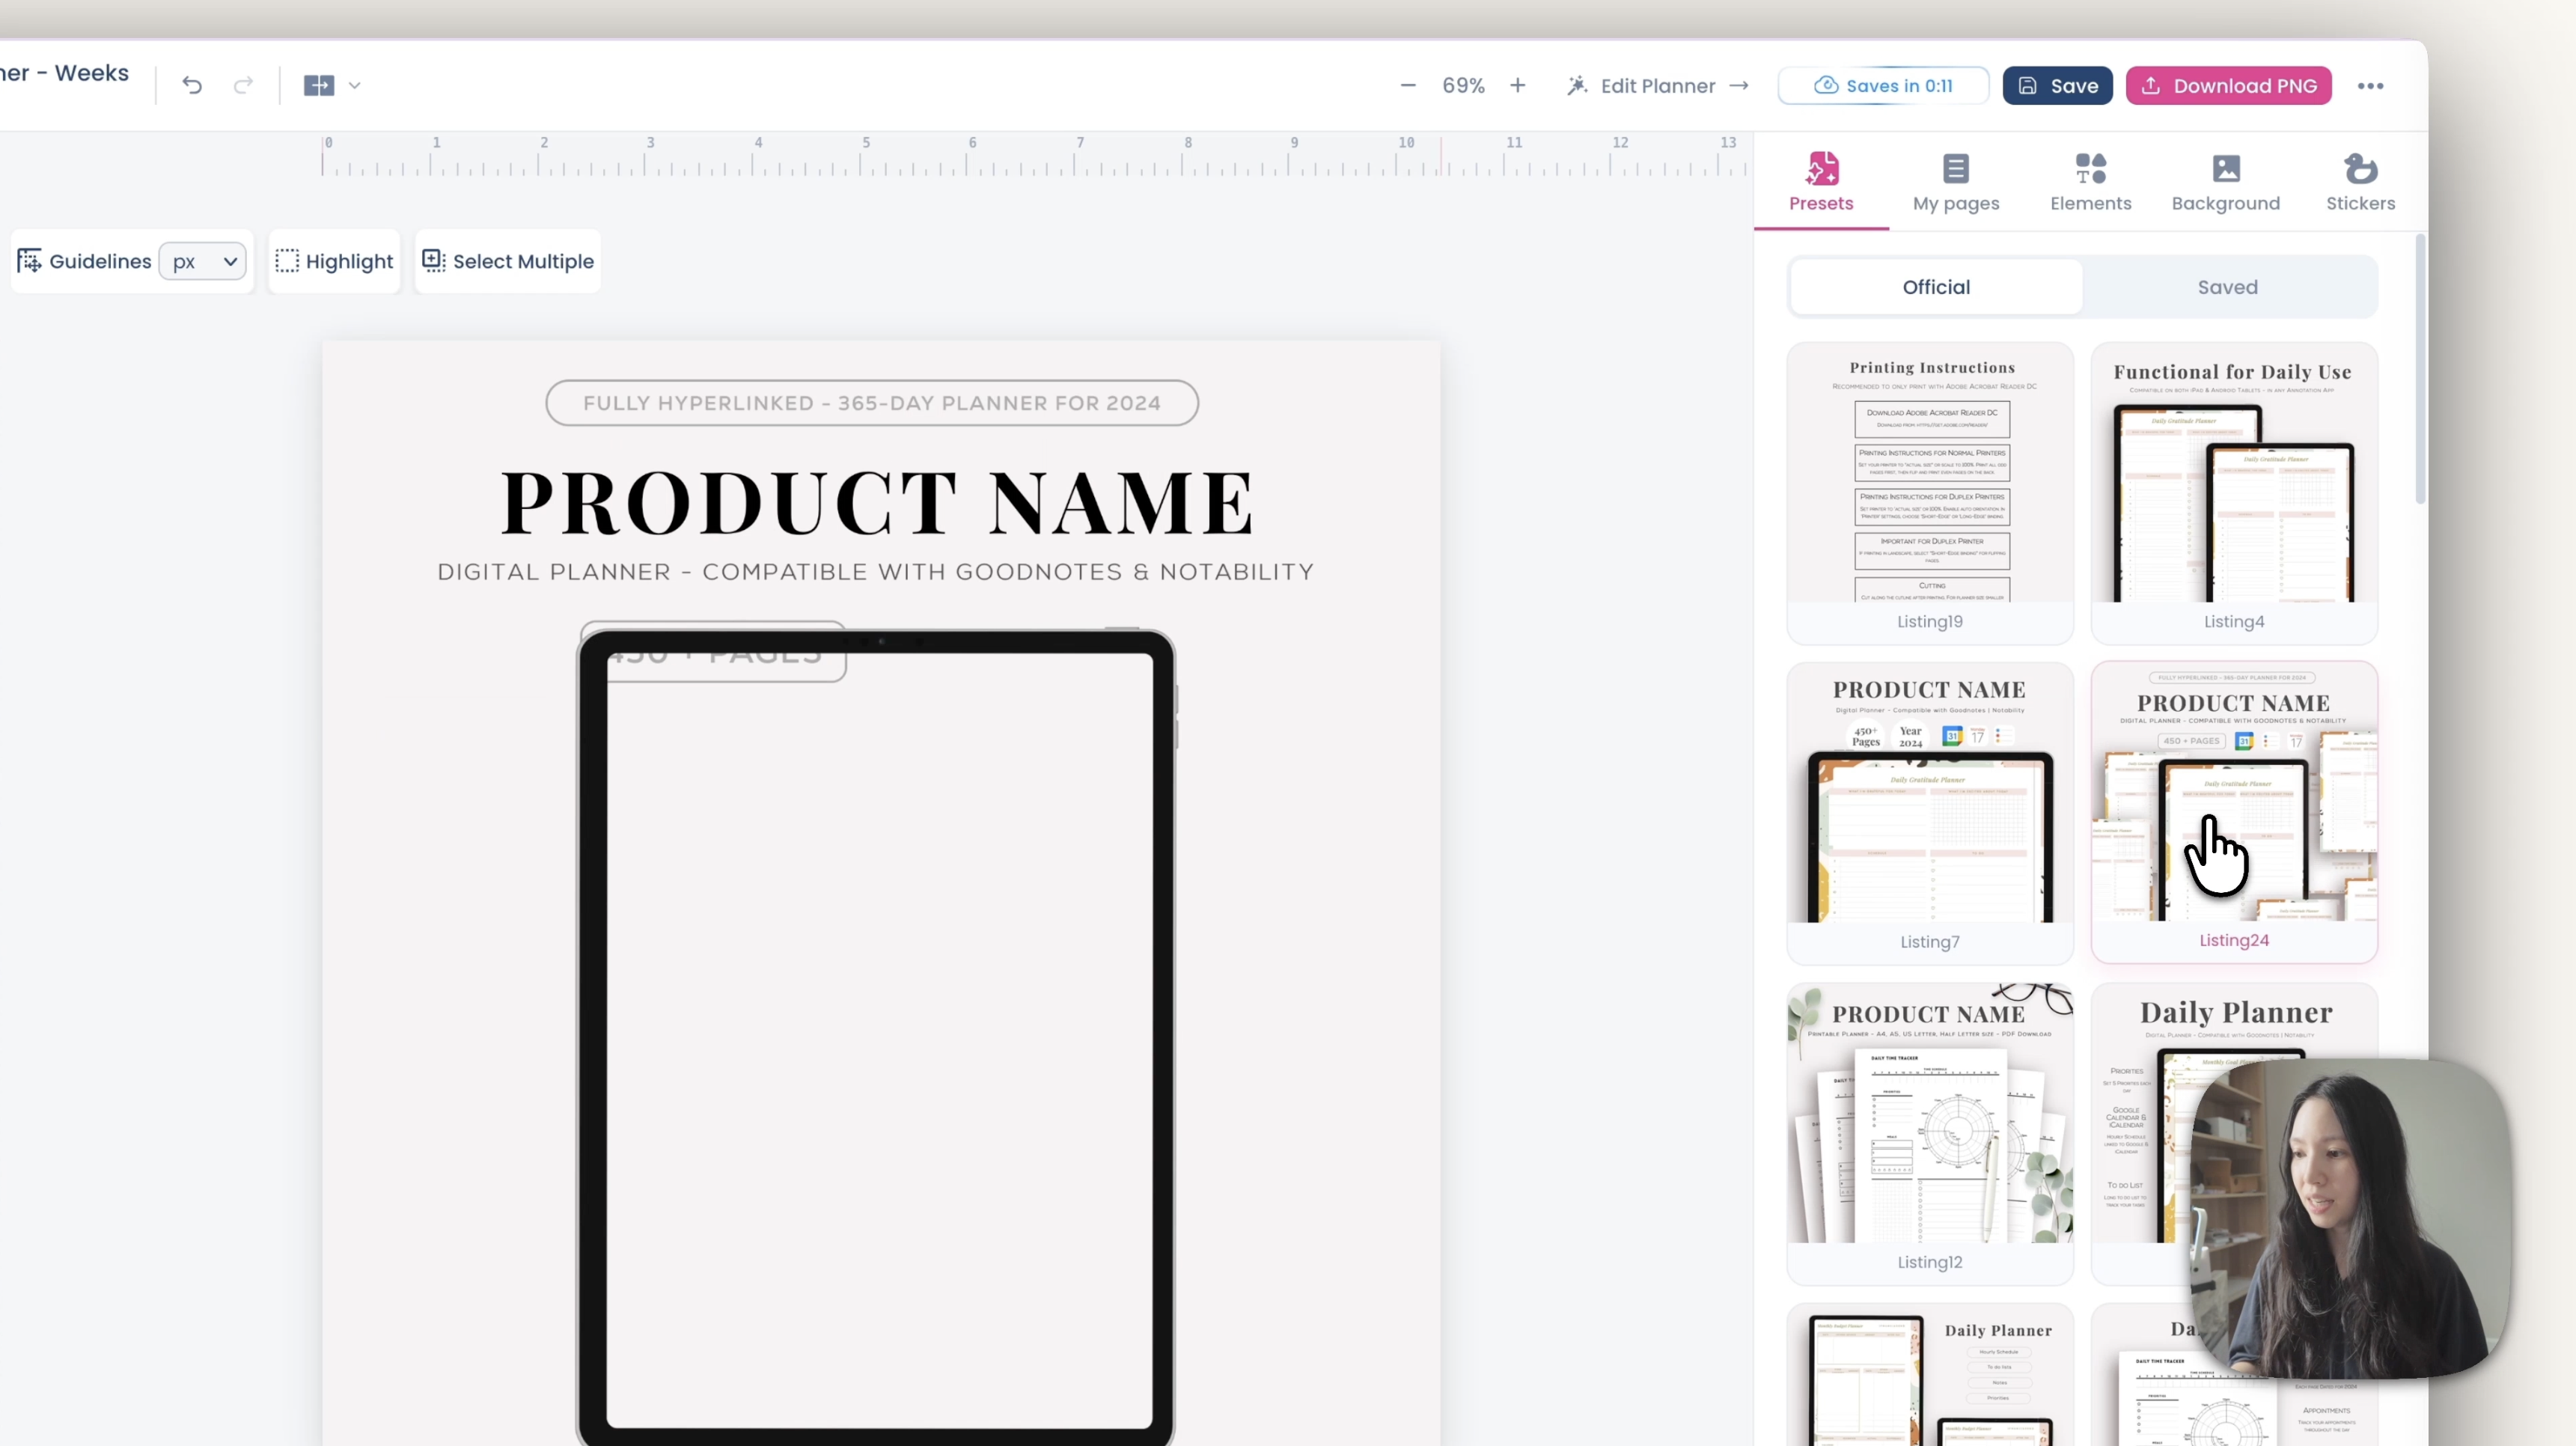
They come in different page counts, so pick one close to the number of images you want and adjust from there.
Add your pages
Click any page in the layout and a toolbar appears. Click it and every page from your planner is listed — choose one to drop it in.
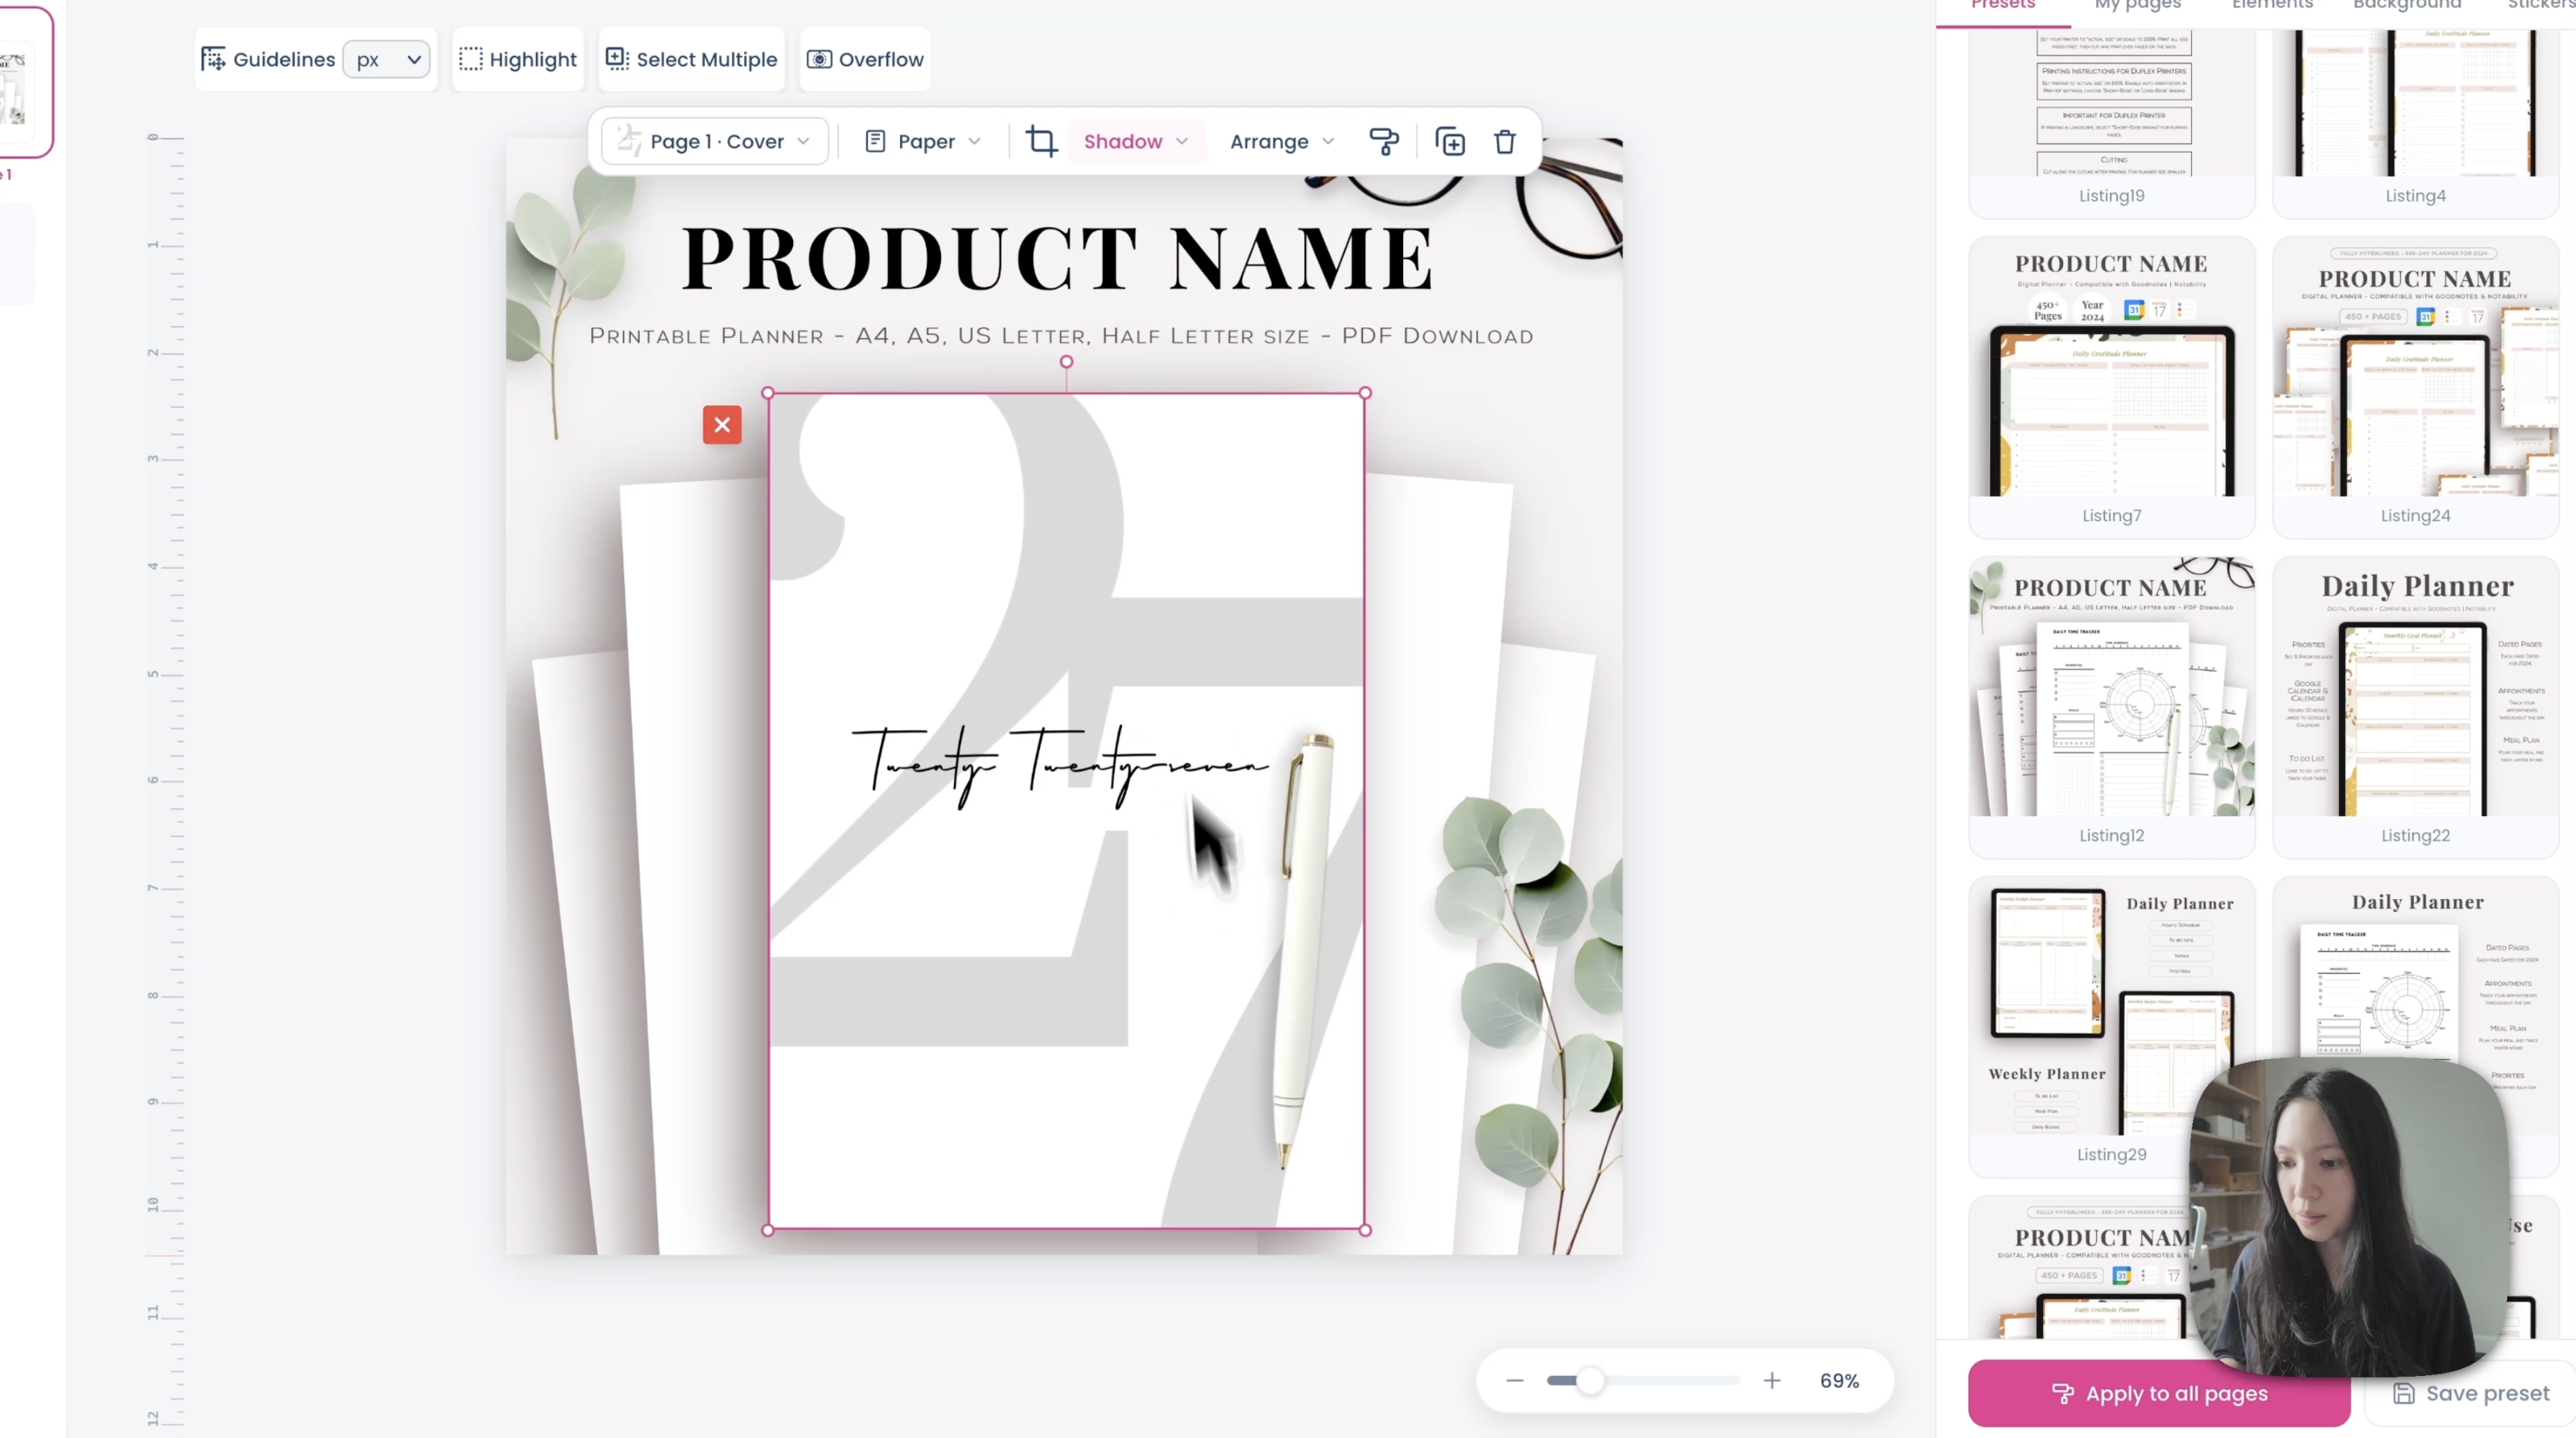
Do that for each slot: the cover on the first, a weekly spread on the second, a calendar page on the third. Click the paper, choose the page.
Paper, iPad or binder
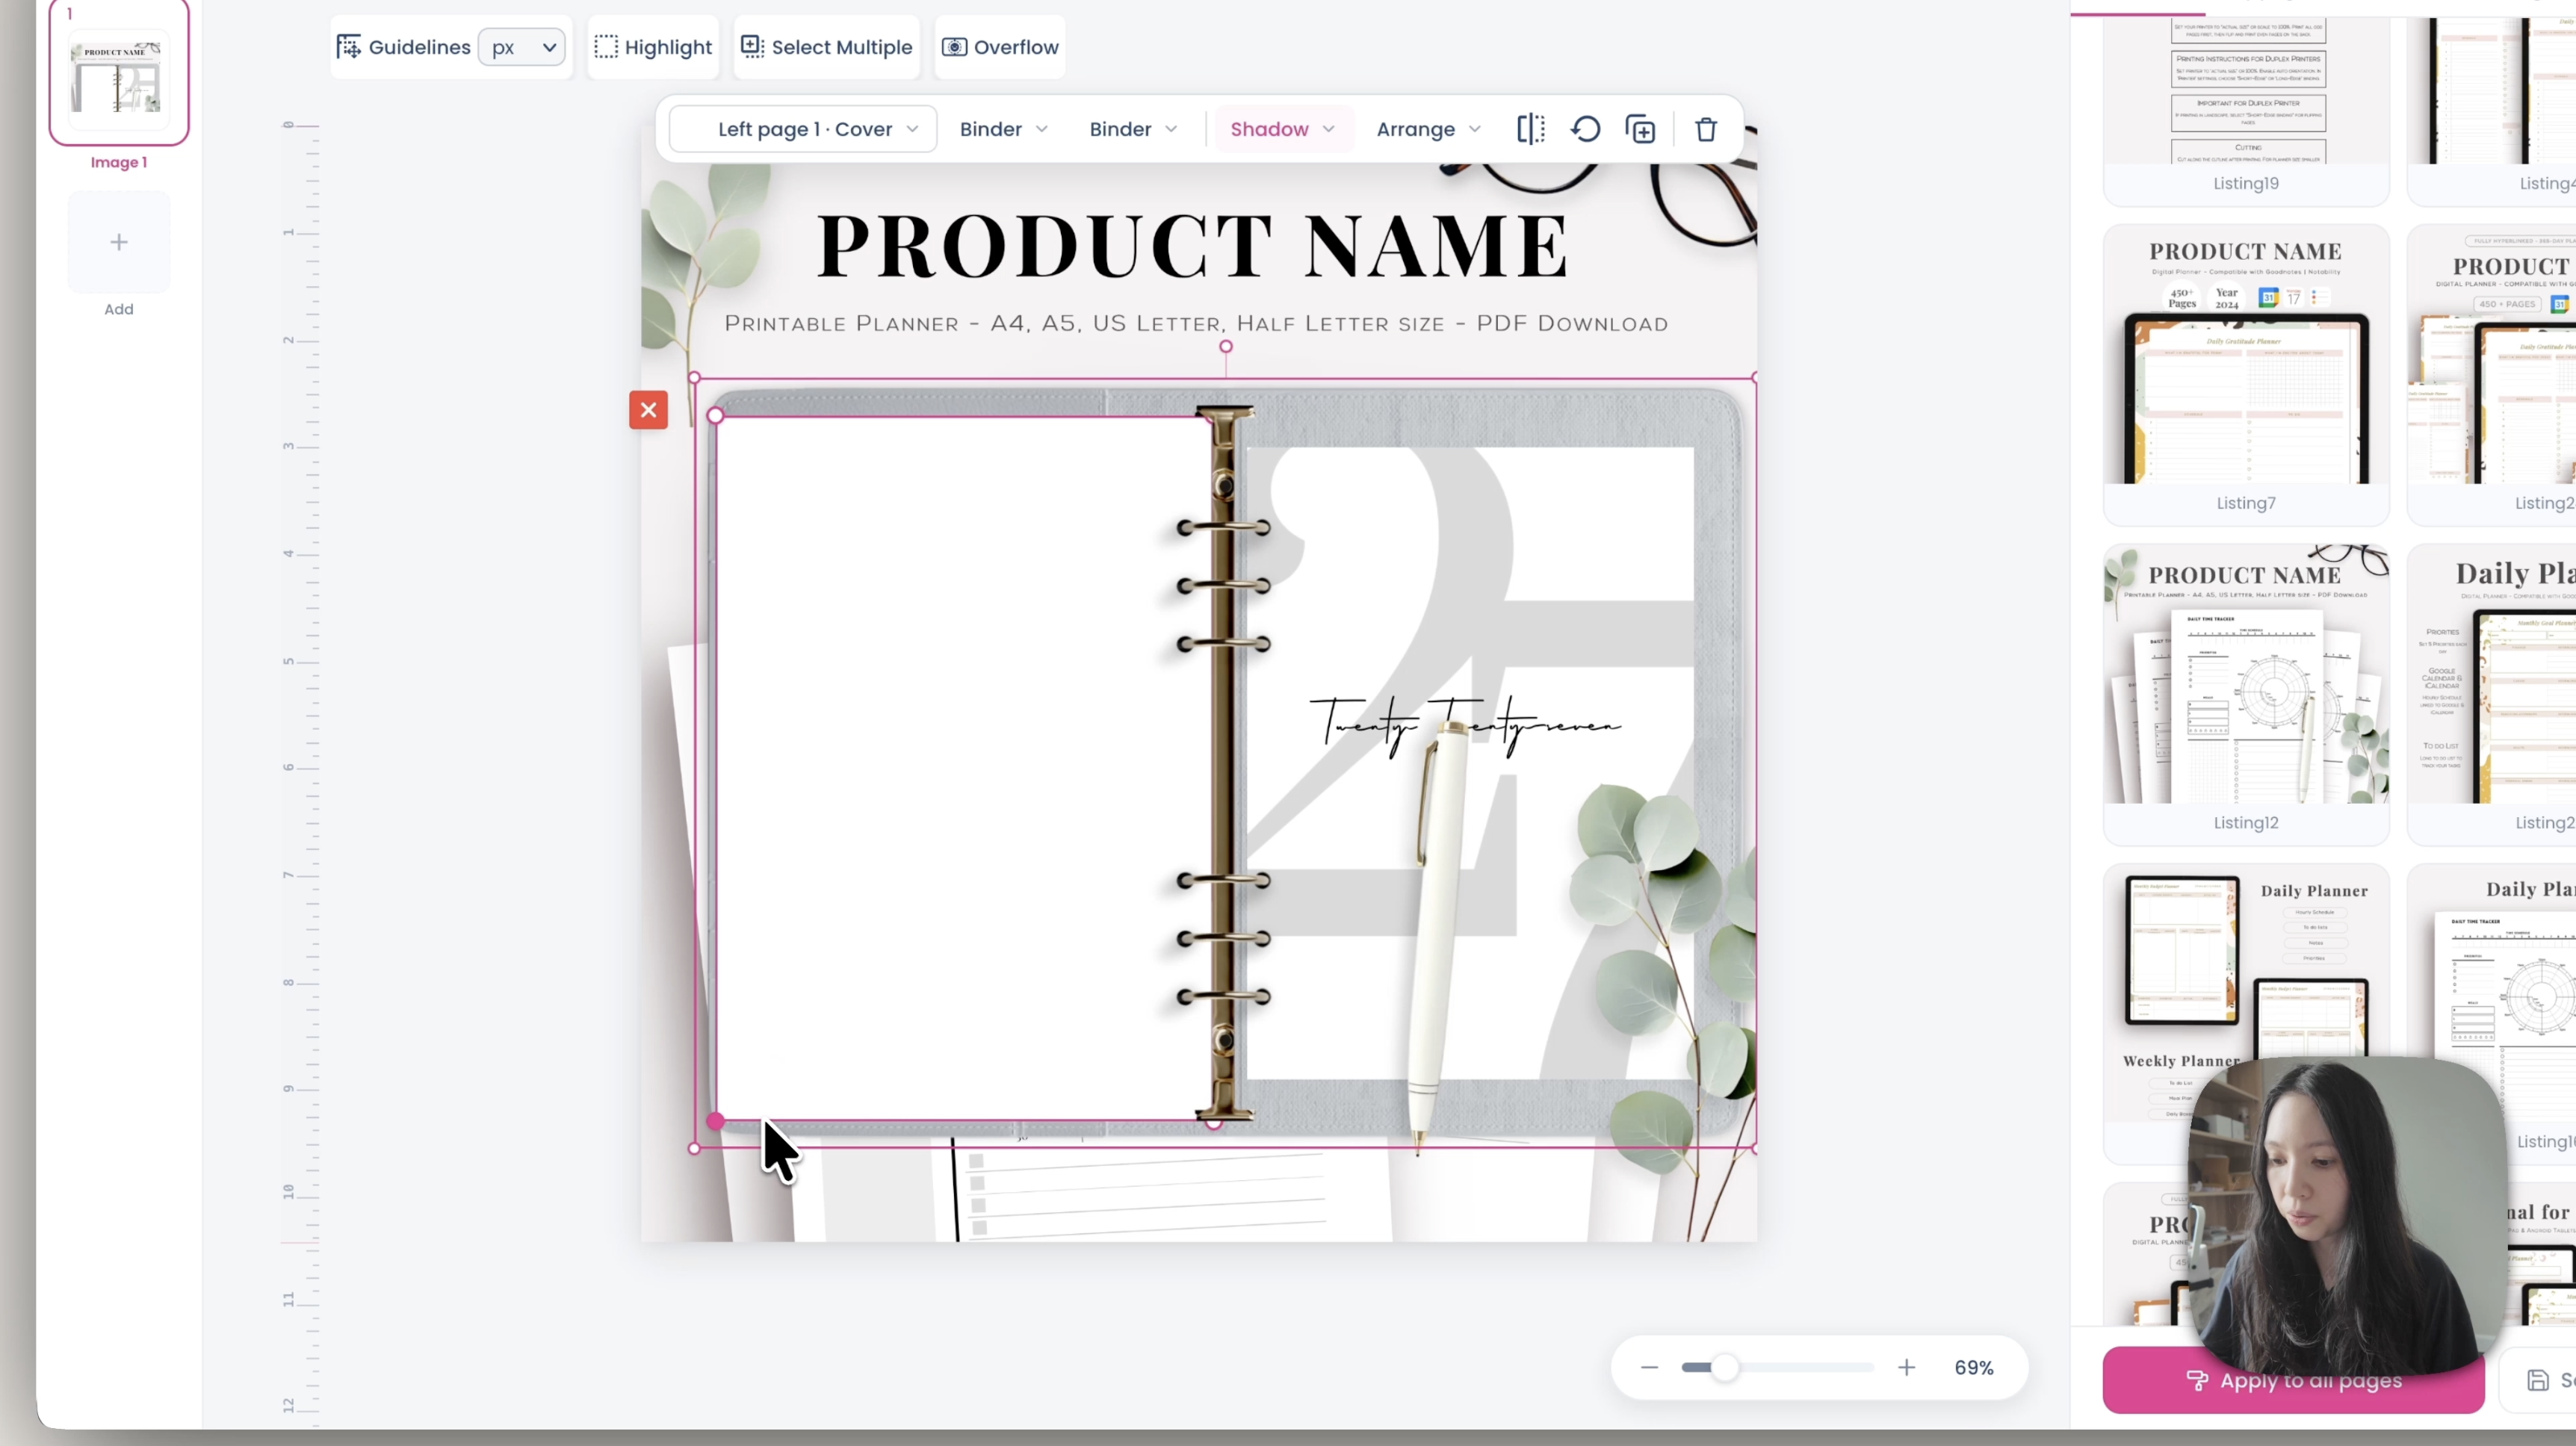
Each page can display three ways. Paper shows it flat. iPad draws a tablet frame around it — the obvious choice for a digital planner, since it shows the buyer how they'll actually use it. Binder puts it in a ring binder, which suits printables.
Position and mirror
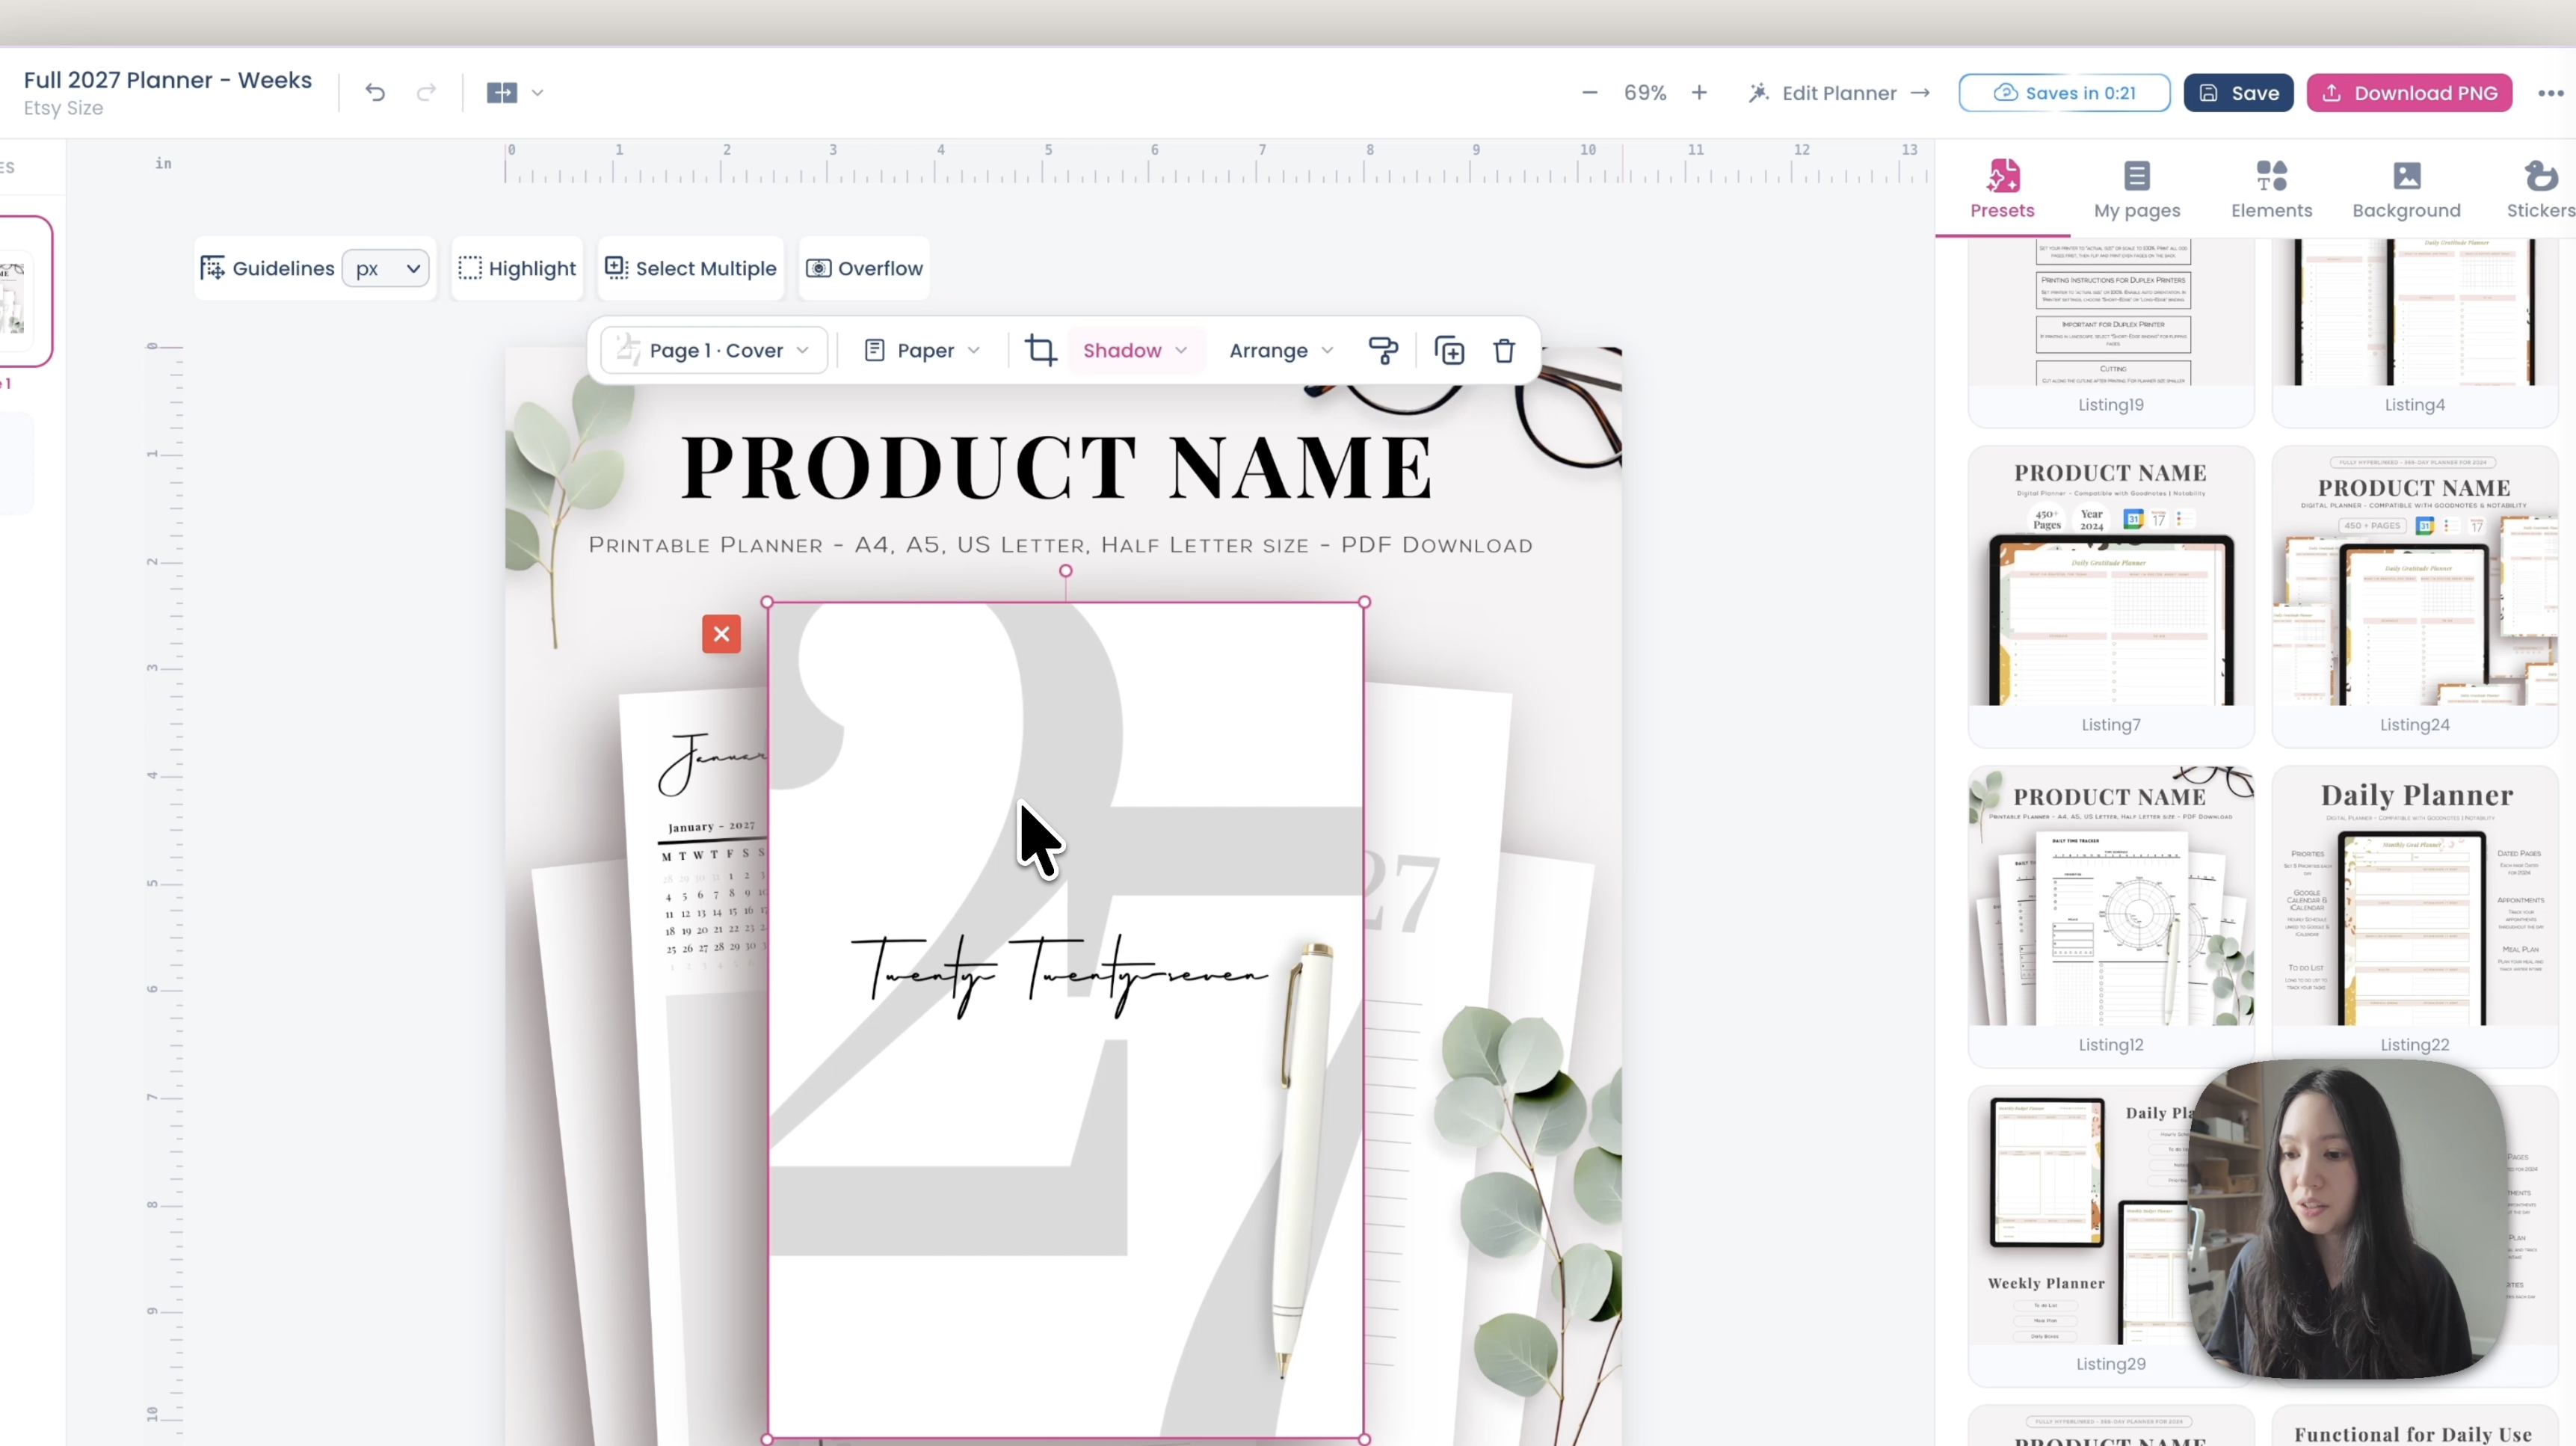
Drag pages to move them, and resize them larger or smaller. If your layout has two sides, click mirror and both move together — resize one and the other follows, so you don't have to edit each side separately.
Add shadows
By default there's no shadow. Click shadow and choose a type — paper gives a realistic drop shadow under the page.
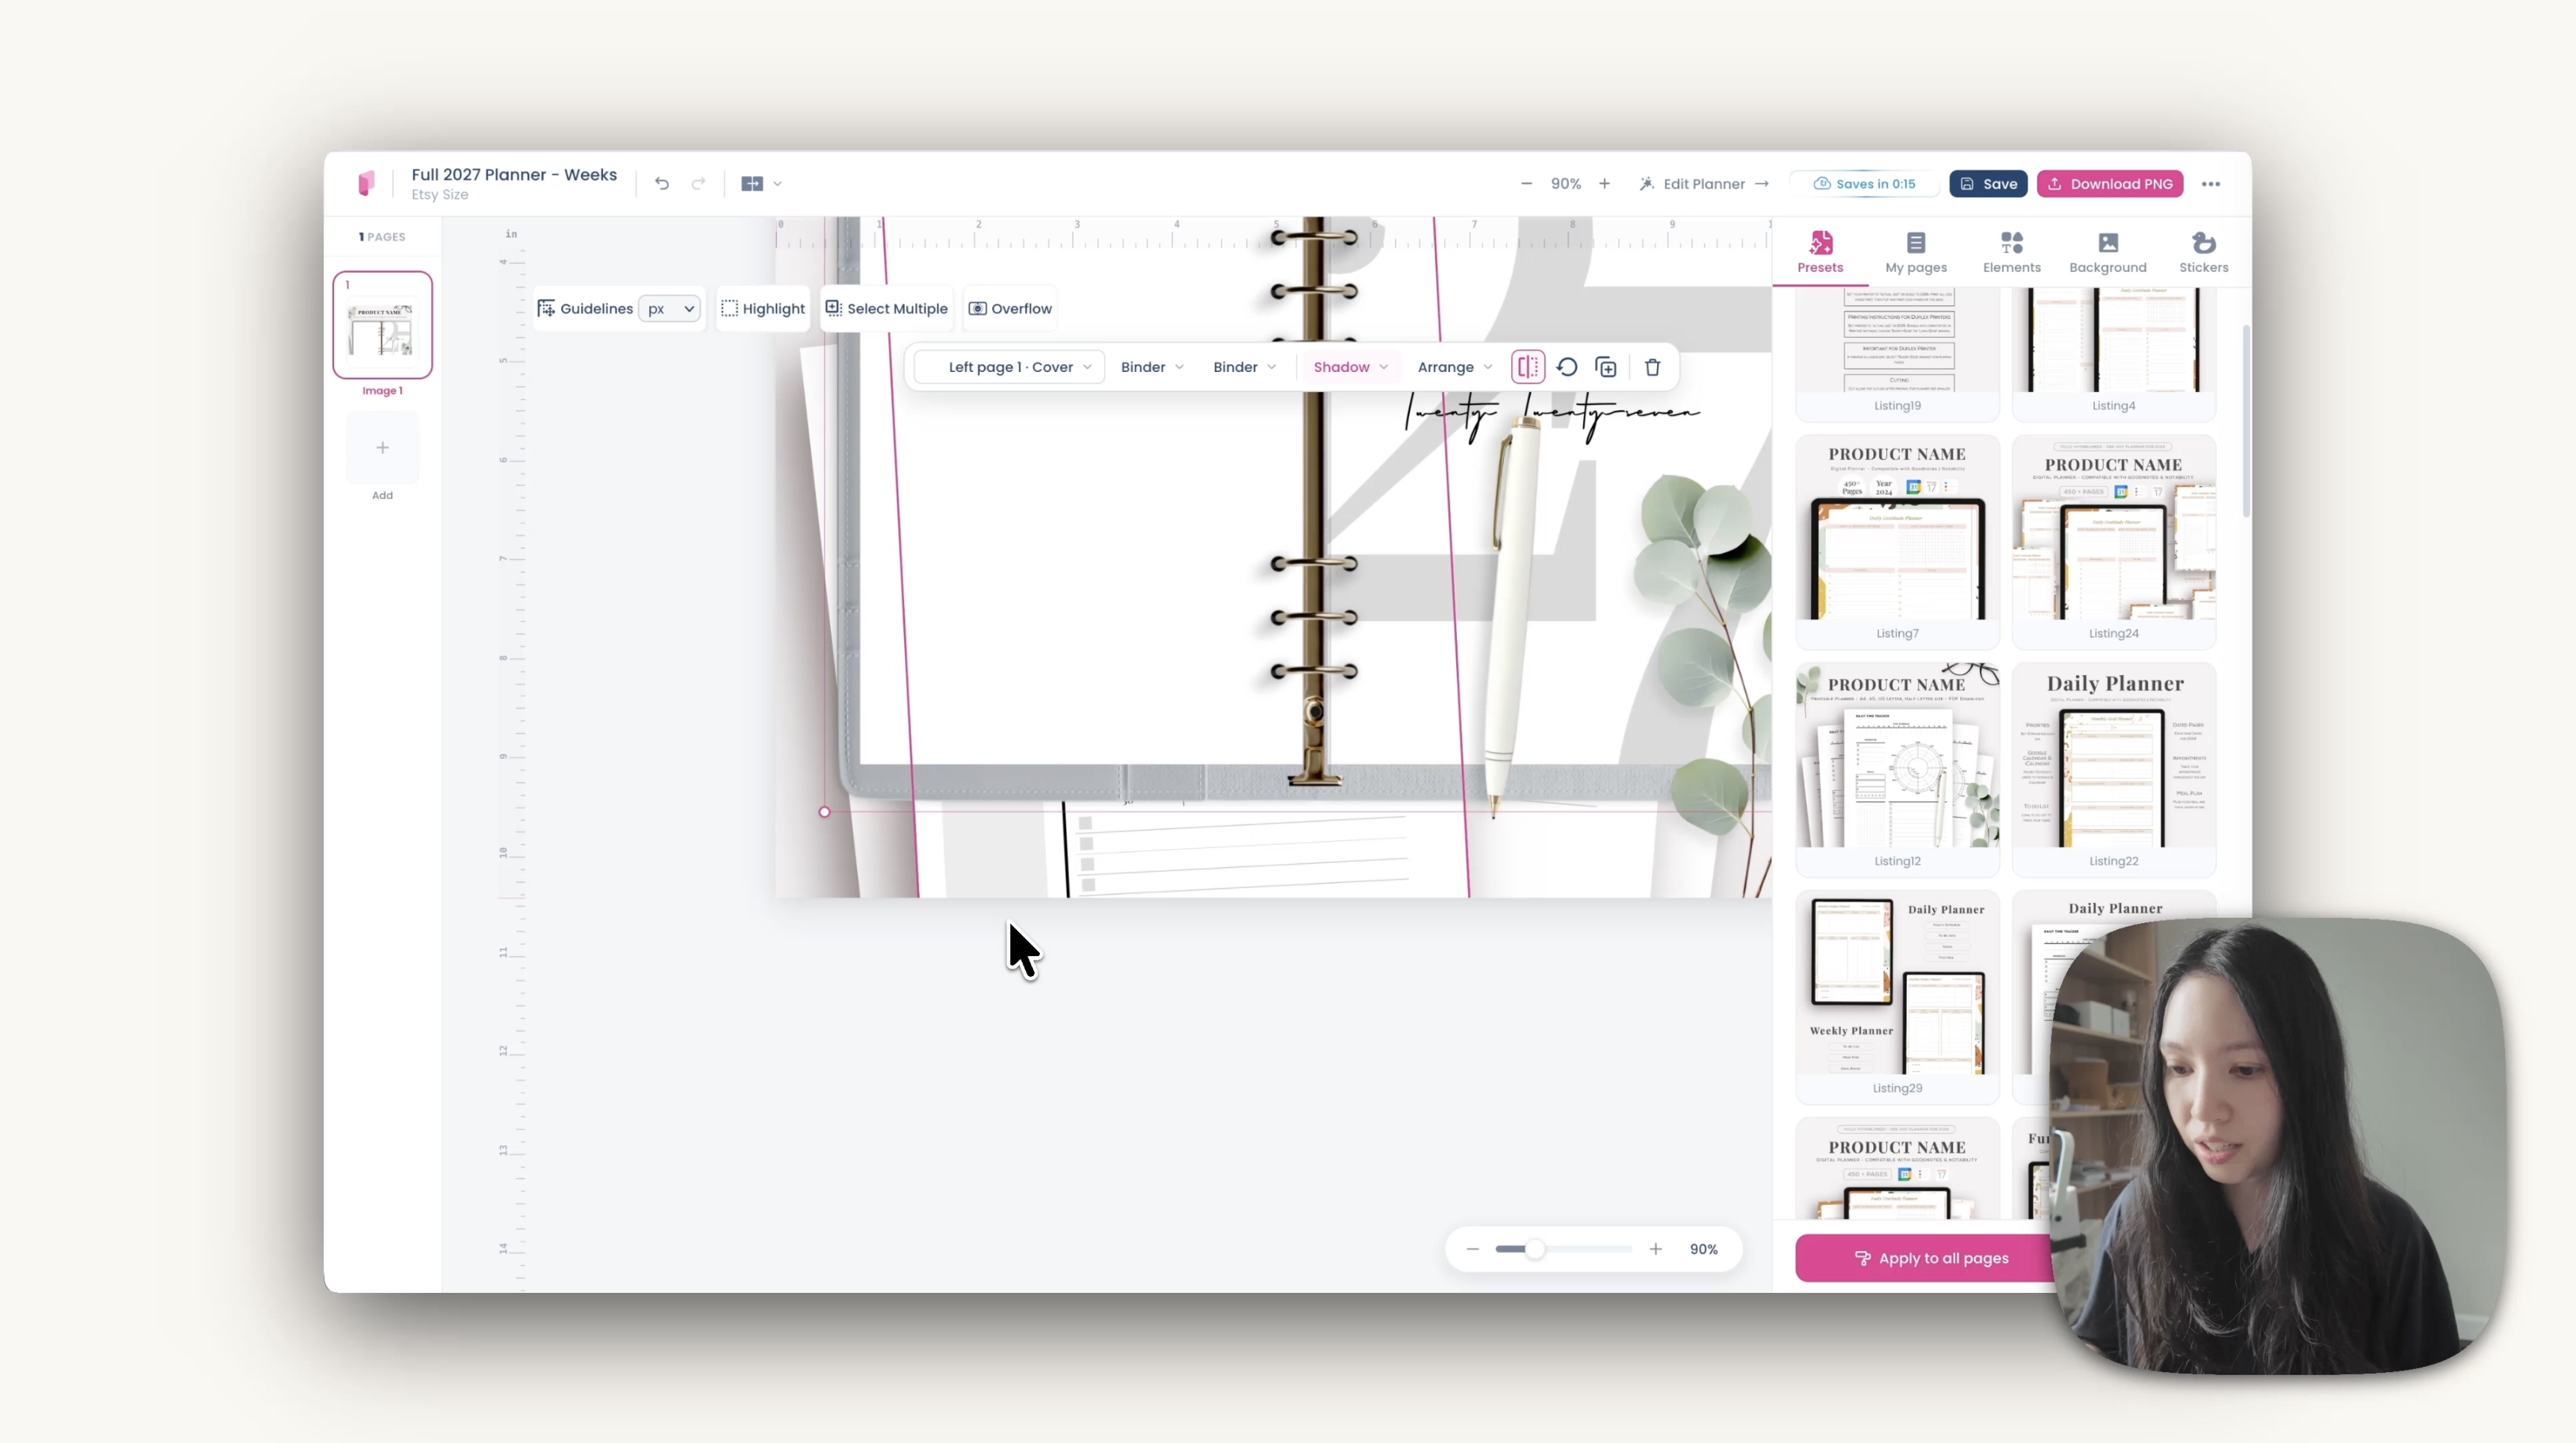
From there you can move where the shadow falls and change its colour and opacity. This is the setting that most separates a flat mockup from something that looks photographed, so it's worth a minute of fiddling.
My pages and auto-arrange
The My pages tab lists every page in your planner. Click add to place one.
If you're only using two pages, there's a rearrangement option that positions them for you automatically. Click see more for additional arrangements.
Headings, badges and backgrounds
Under elements you'll find everything that sits on top of the pages.
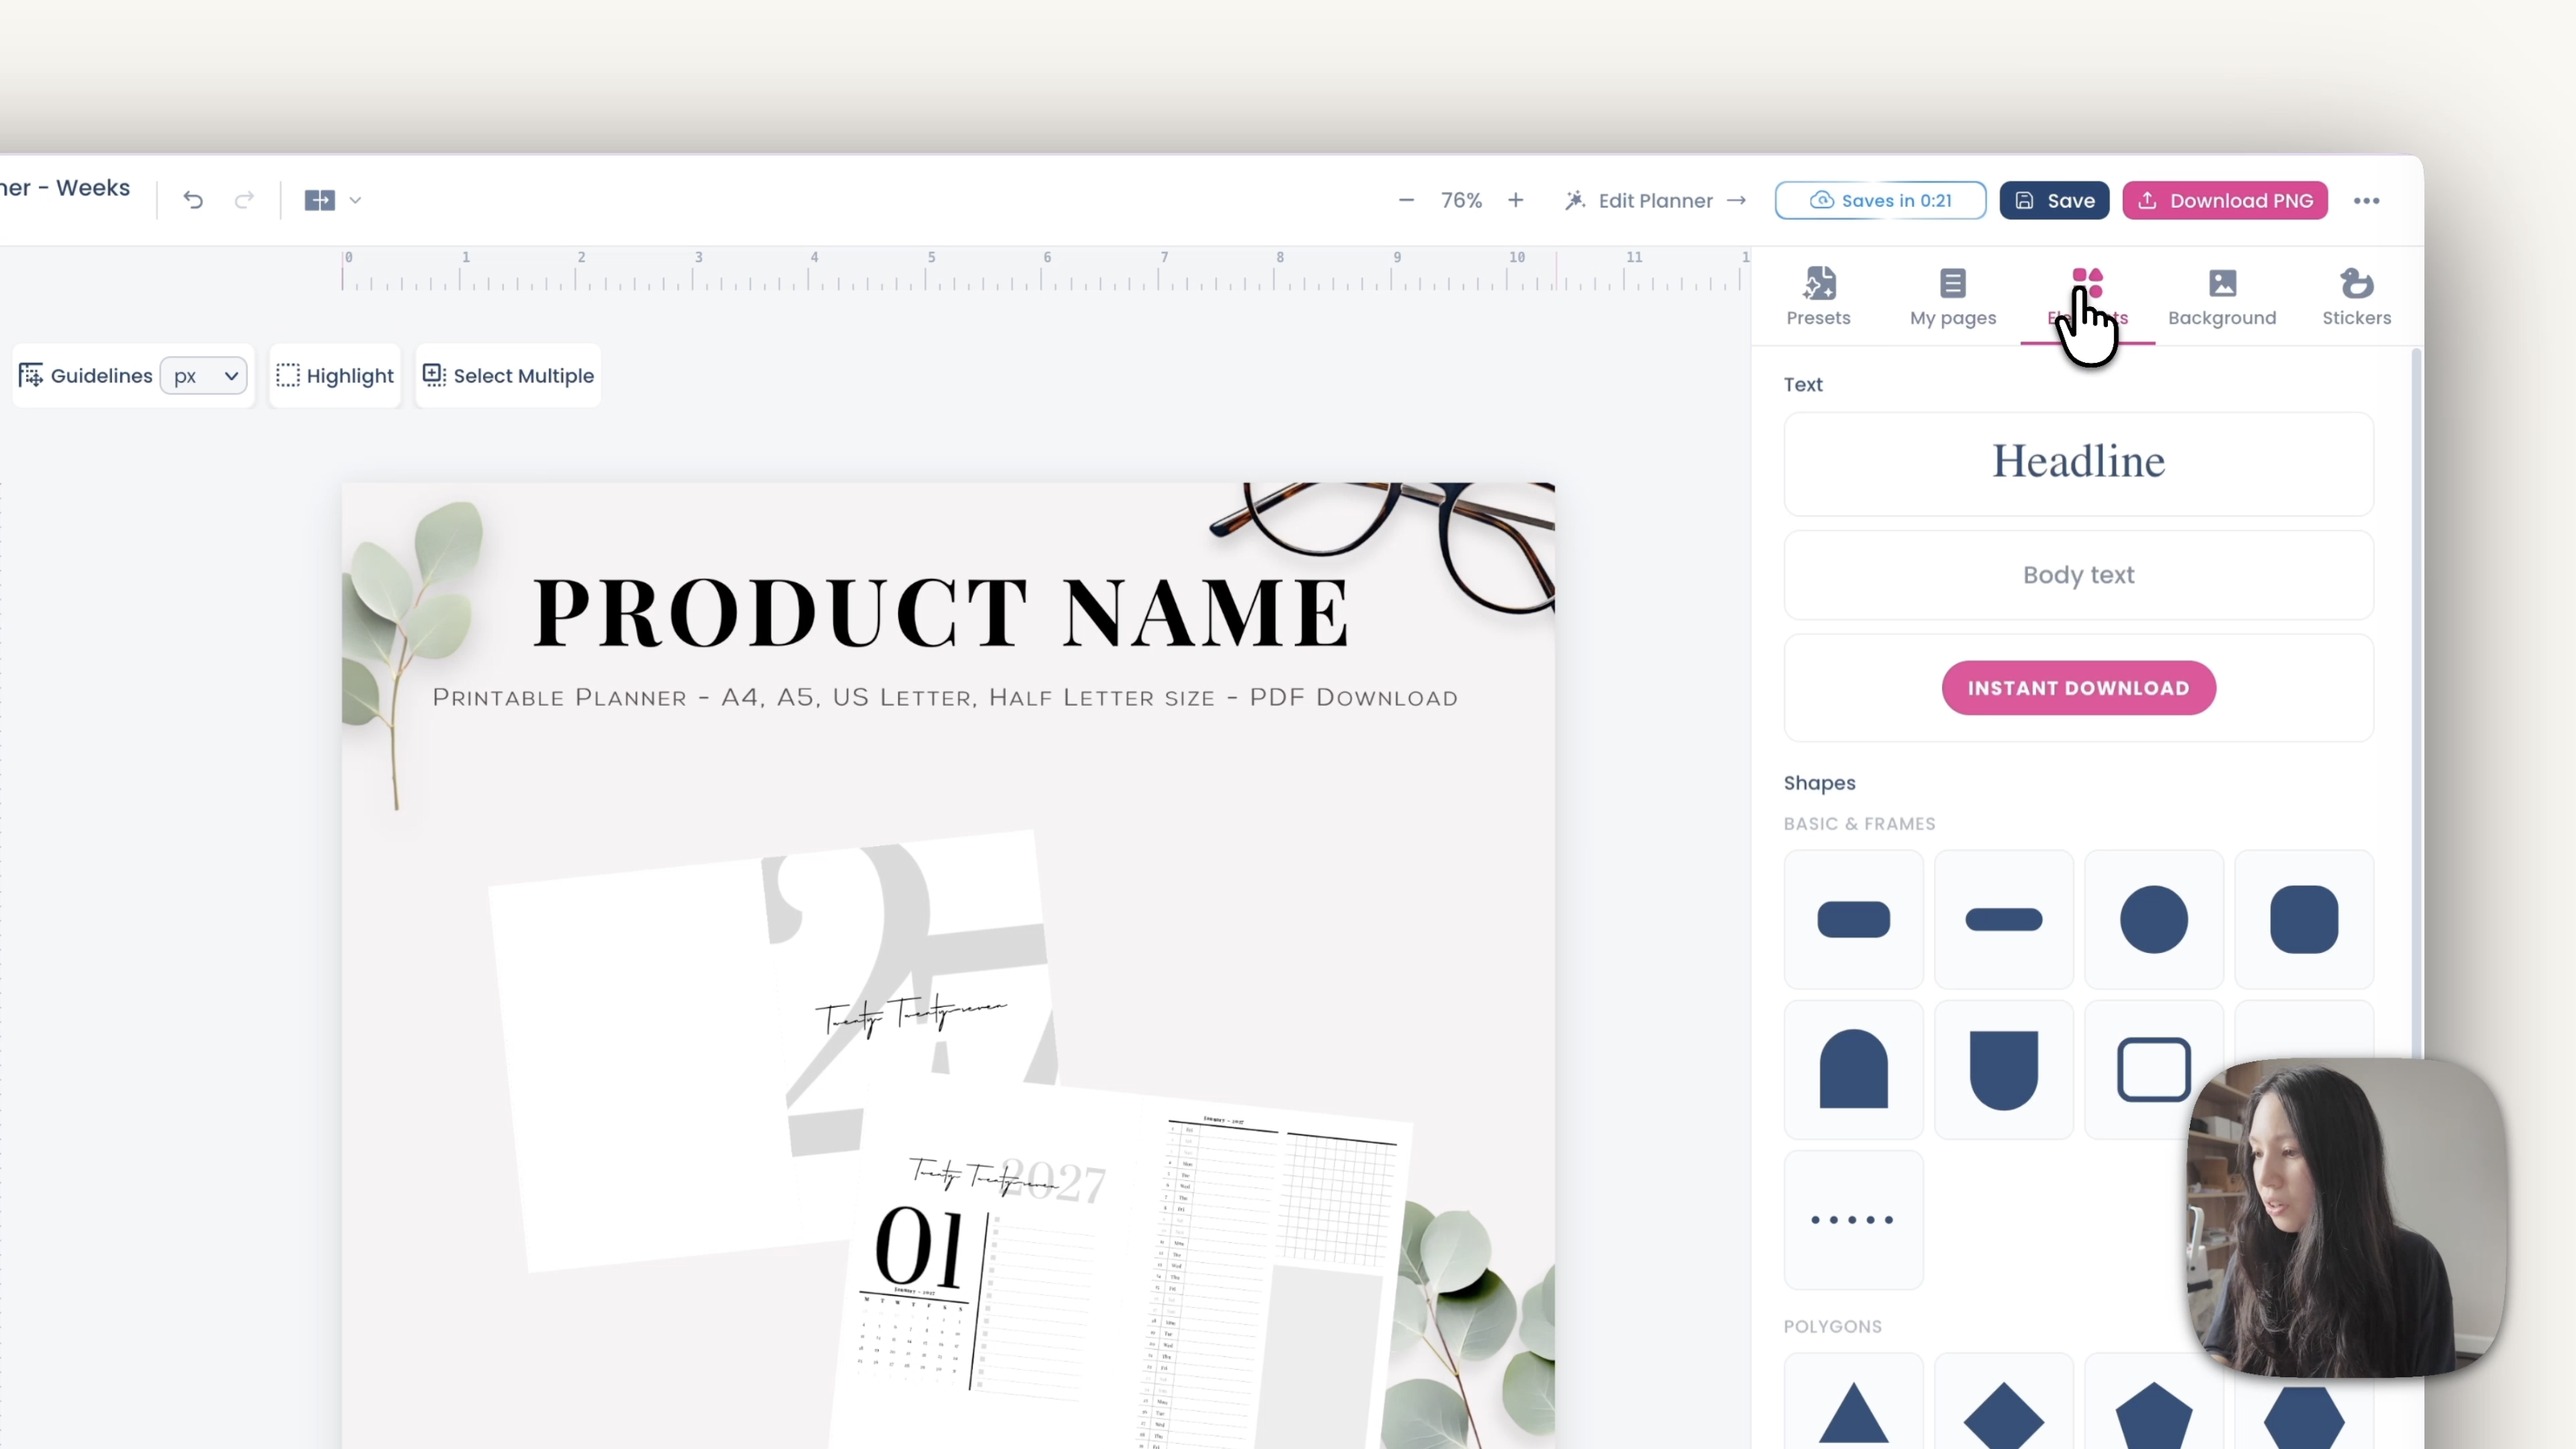
Headings — double-click to edit the text, or delete it and add your own. Set the font from the picker, or click browse all fonts for the full list. Size and colour are both adjustable.
Badges — stars and callouts, useful for page count or a discount.
Backgrounds — solid colours, gradients, or any pattern from the pattern menu. Patterns can fill the background or sit as a frame around the edge.
Stickers — the full sticker library is available; drag any of them straight in.
Export your images
When you're happy, click Download PNG. It takes a few seconds to generate, and you get a finished listing image ready to upload.
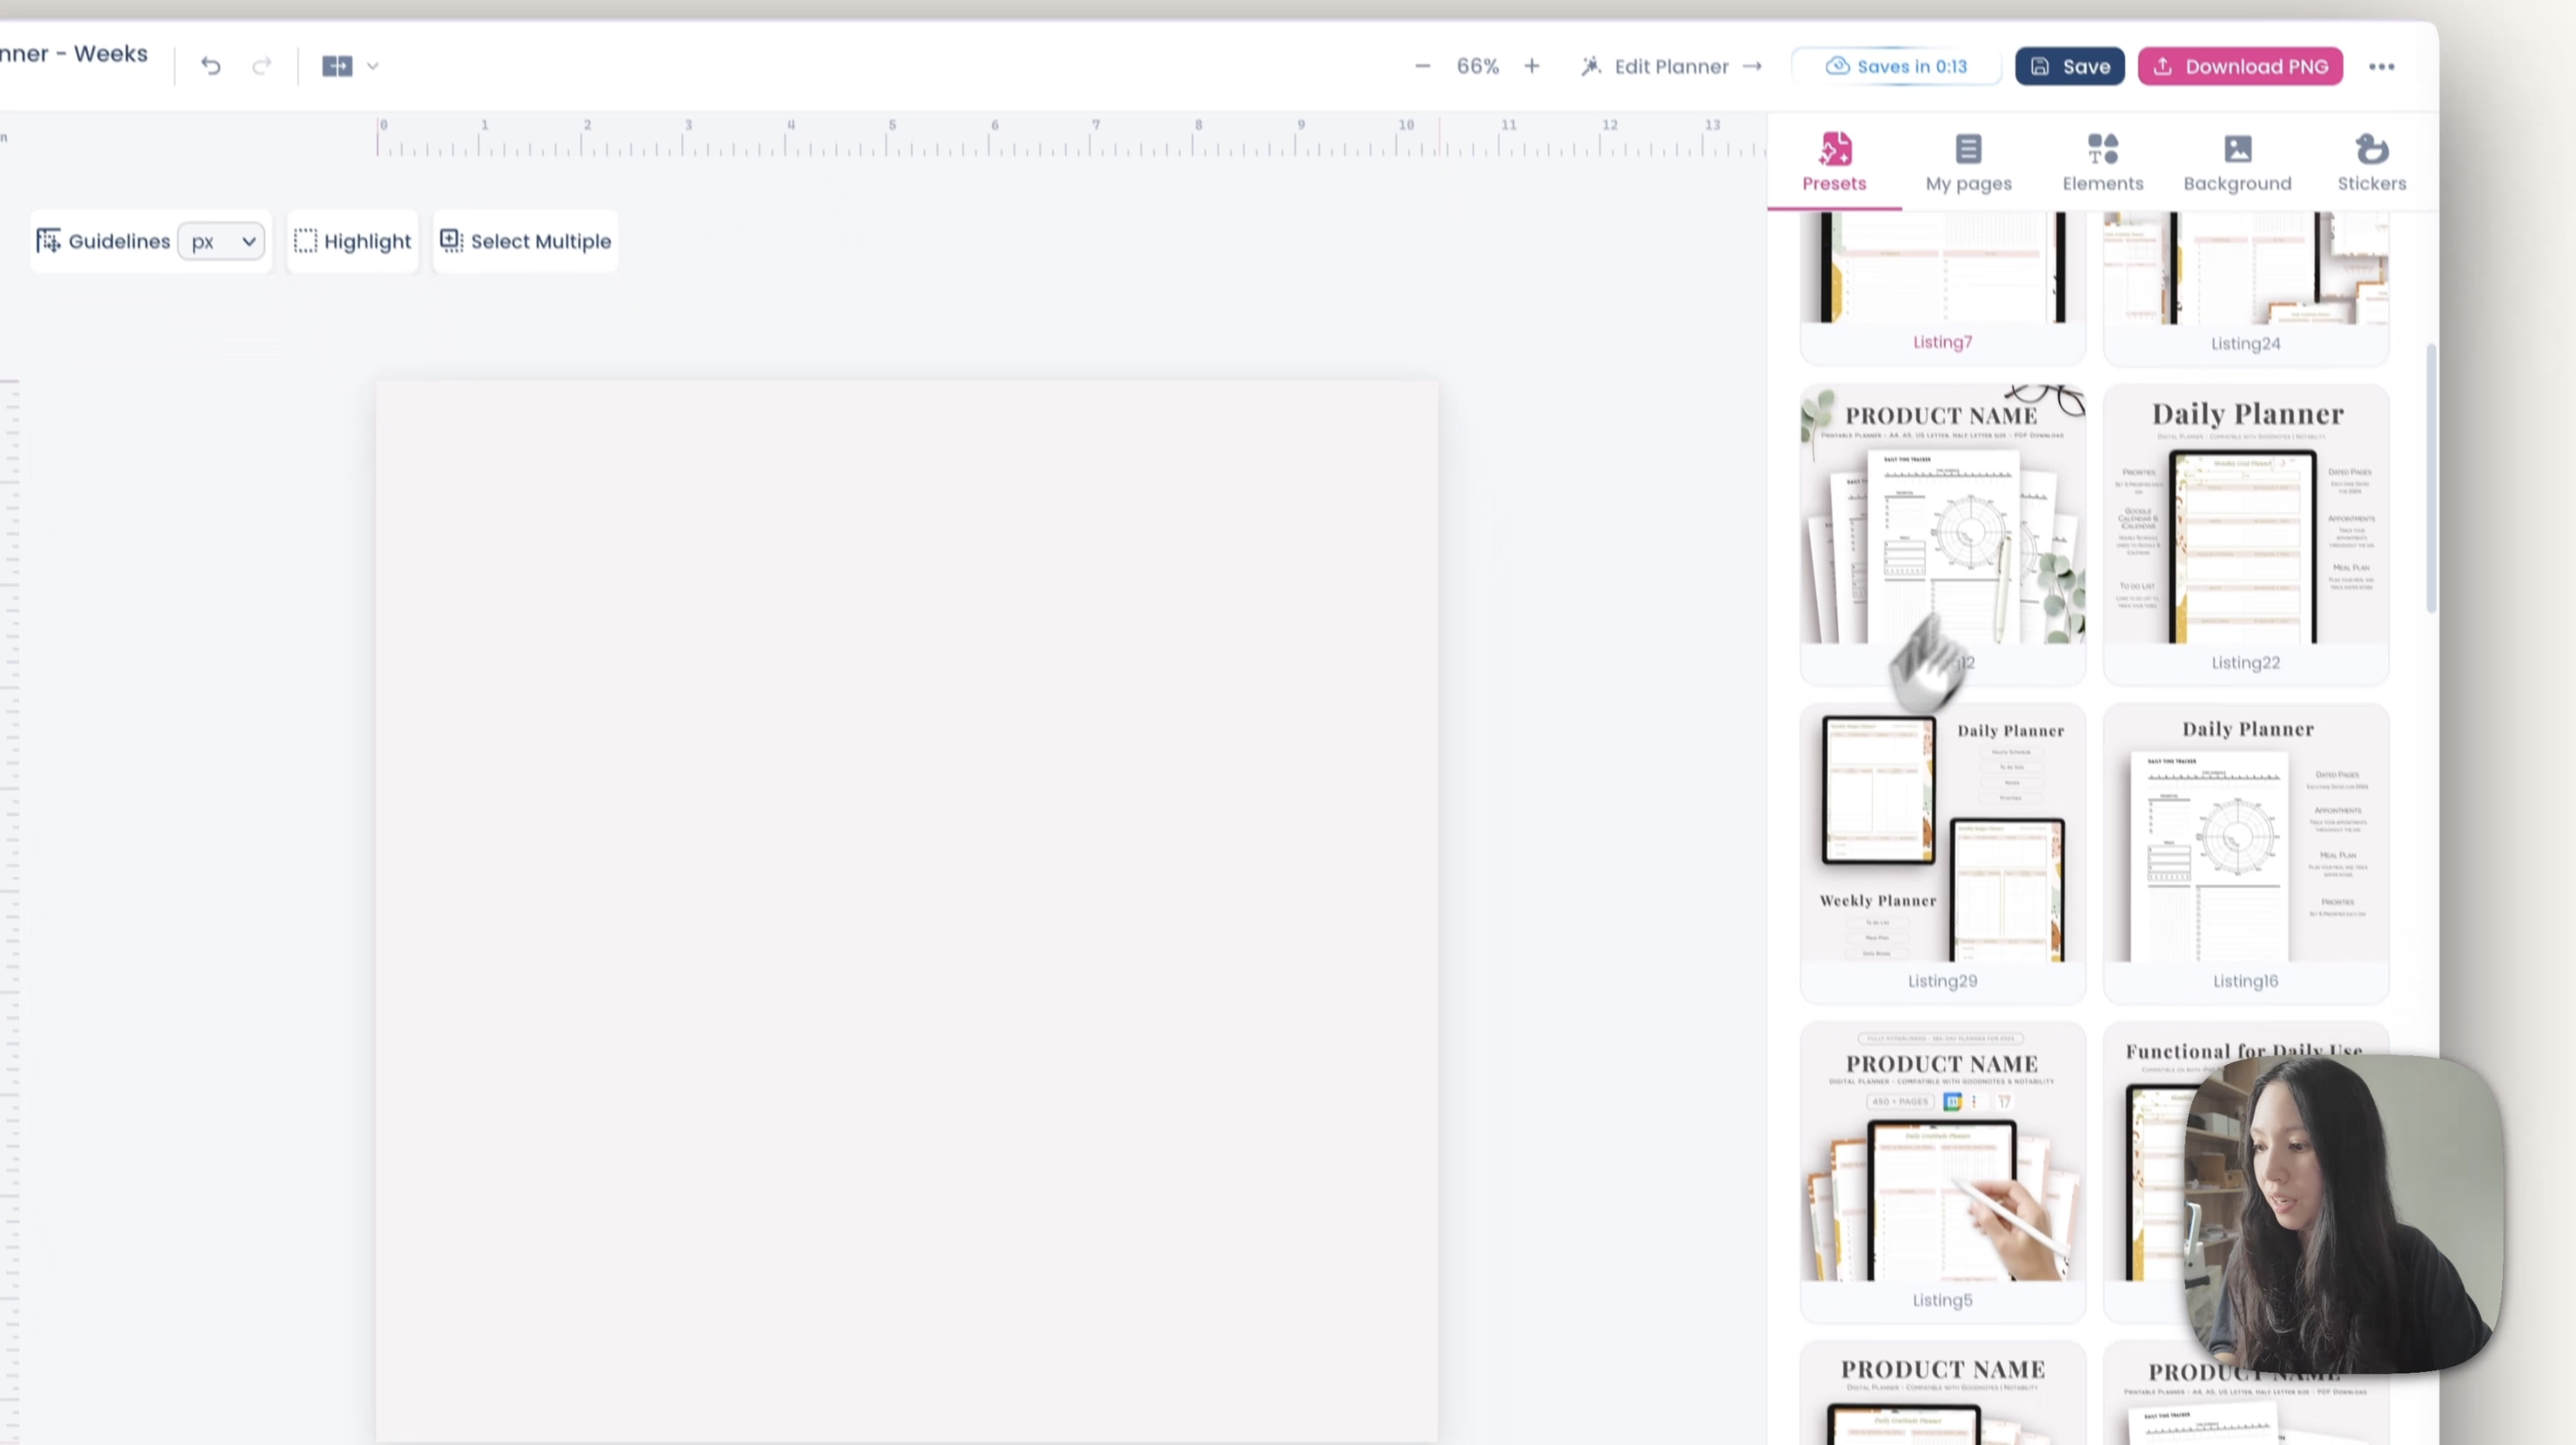
To make more, click add on the left to create another page and build the next one. At export you can select several pages and download them together.
Save a preset and apply it everywhere
This is the part that saves the most time across a whole shop.
Once you have a layout you like, click Save Preset and name it — something like "digital planner two tablets". It's stored under Saved and available in any other project.
And if you want one style across a whole set, click Apply to all pages. The styling updates across every image, so ten listings look like they came from the same shop rather than ten different ones.
A workflow that scales
Once you're producing listings regularly, this order is fastest:
- Build one preset per product type — one for dated planners, one for notepads, one for sticker sheets.
- Swap the pages, keep everything else. Background, placement and text stay fixed, so every listing matches.
- Use all ten Etsy image slots. Listings that fill every slot consistently outperform those with three.
- Apply to all pages rather than restyling each image by hand.
The first preset takes a while. Every listing after it takes minutes.
Keep going
- Etsy listing photos: what makes them convert
- How to sell planners on Etsy
- Etsy's listing policy for digital sellers
- 20 profitable planner niches
Questions about any of this? Message us on Instagram or in the Facebook group and we'll help.