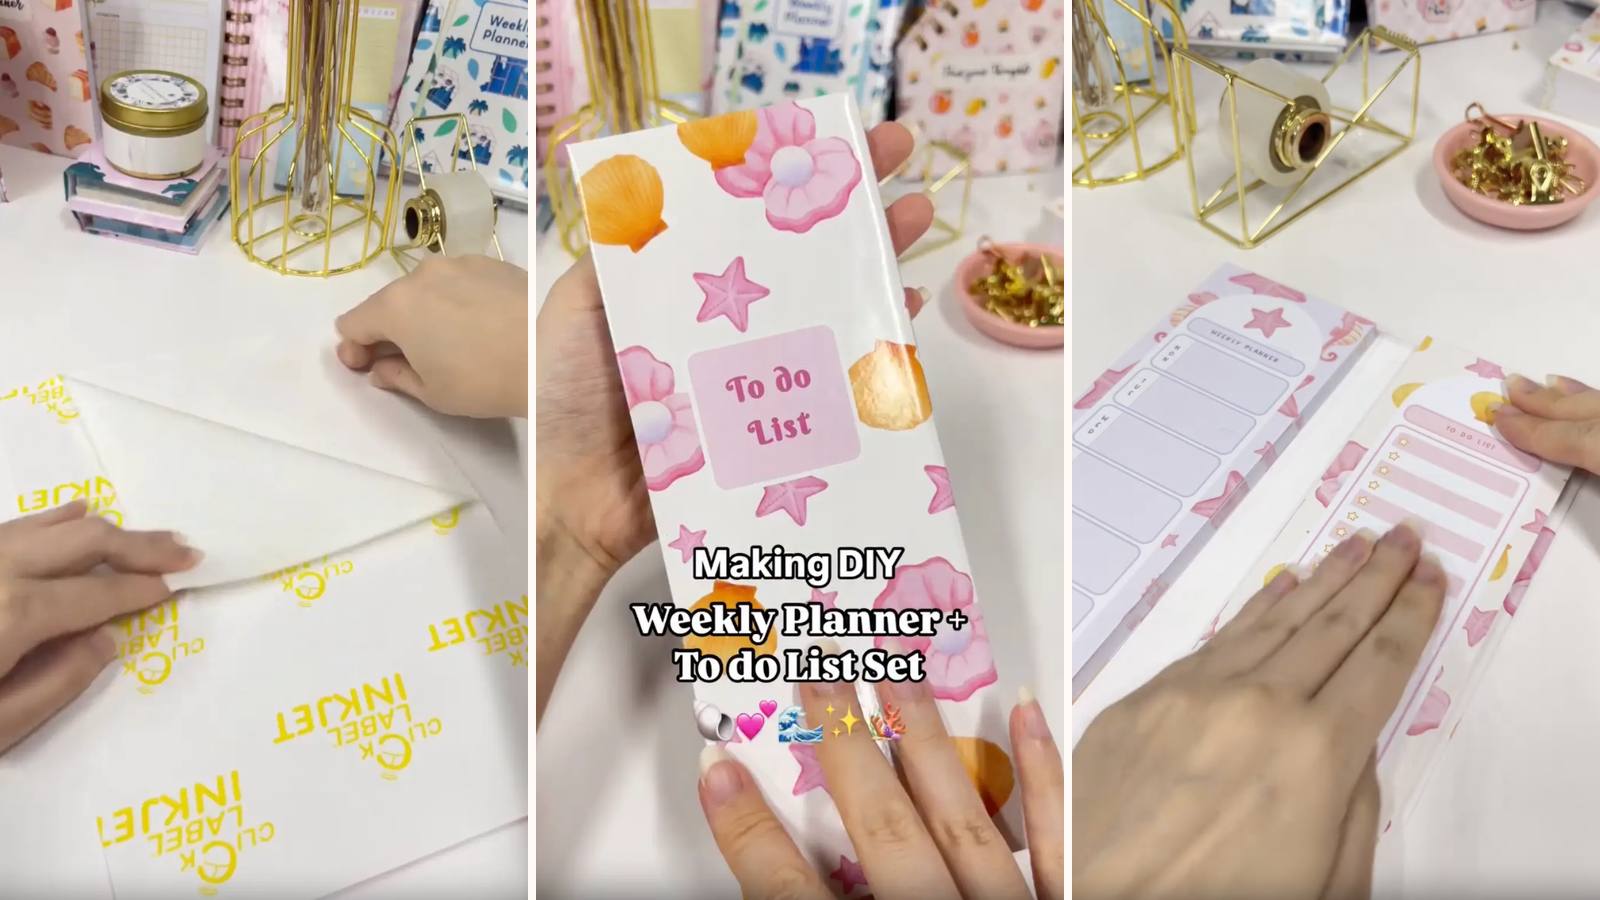
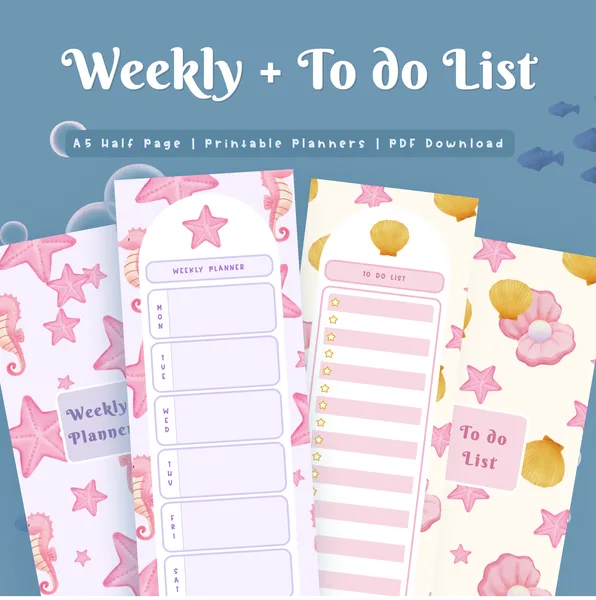
Two pads that work as a pair: a weekly planner on one side, a to-do list on the other, both glued and mounted inside a single folding cover. Plan the week on the left, work the day on the right, and the whole thing closes and goes in a bag.
These tutorials use Planify Pro, a drag-and-drop tool for designing printable planners and stationery. Building and editing is free — exporting a PDF needs a plan, from $9.99/month.
Get the template
Open it in Planify Pro to change the layouts, colours or artwork before printing — or print it exactly as it is.
Export and print
Both exports use the same route: Save/Export → Selected Page → Paper → A4 → Generate PDF — once for the notepad pages, once for the cover.
Print the pages 60 times on 80gsm at 100%, and the cover on white glossy sticker paper.
What You'll Need
 Chipboard 1.4mm Chipboard 1.4mm |
 Paper 80gsm Paper 80gsm |
 Glossy Sticker Paper Glossy Sticker Paper |
 PVA Glue PVA Glue |
 Heavy Duty Paper Cutter Heavy Duty Paper Cutter |
 Binder Clips Binder Clips |
You'll also need double-sided tape for mounting the pads.
Instructions
1. Print 60 sheets and trim. Each sheet carries both designs, so 60 gives you two pads of 60. Cut the whole stack in one pass so both pads end up the same size.  |
2. Clip each stack and glue the top edge. Thin layer, worked into the edge. Both pads at once.  |
3. Dry for 15 minutes. Clips on the whole time.  |
4. Print and trim the cover. On glossy sticker paper, white edge cut off.  |
5. Peel the backing. Adhesive side up on a clear surface.  |
6. Cut and place three chipboards. Two at 7.8 × 21.4 cm and one at 1.1 × 21.4 cm. The narrow strip goes between the two panels as the hinge — leave a gap either side of it.  |
7. Cut the four corners at 45°.  |
8. Fold all the sides in. Press each margin down along its full length.  |
9. Line the inside. Glossy sticker paper cut to fit over the folded edges — this is the face the pads mount to.  |
10. Score the folds. A firm line each side of the hinge strip so the cover closes cleanly over the thickness of two pads.  |
11. Tape the backs of both pads. Double-sided tape across the whole back of each.  |
12. Mount them inside the cover. One per panel, clear of the hinge. Dry-fit and close the cover once before pressing anything down.  |
Troubleshooting
The cover won't close over the pads. The gaps either side of the hinge strip are too narrow for two pad thicknesses. Set them with the pads to hand, before the sticker goes down.
The two pads are different sizes. The stack was cut in batches. One pass on the guillotine for the whole lot.
Pages tear instead of lifting. Too much glue. Thin, even, right into the edge.
A pad peels off the cover. Tape only around the edges. Cover the whole back.
Selling these
A set sells better than two singles, and this one costs barely more to make than one pad — same print run, same glue session, one extra piece of chipboard.
The pairing is what to lead with in the listing. "Weekly planner and to-do list" tells someone how they'd use it; "notepad set" doesn't.
It's also easy to re-theme for different buyers — meals and shopping, study and revision, work and personal — from exactly the same build.
See how to price bundles and DIY notepad design ideas for more.


