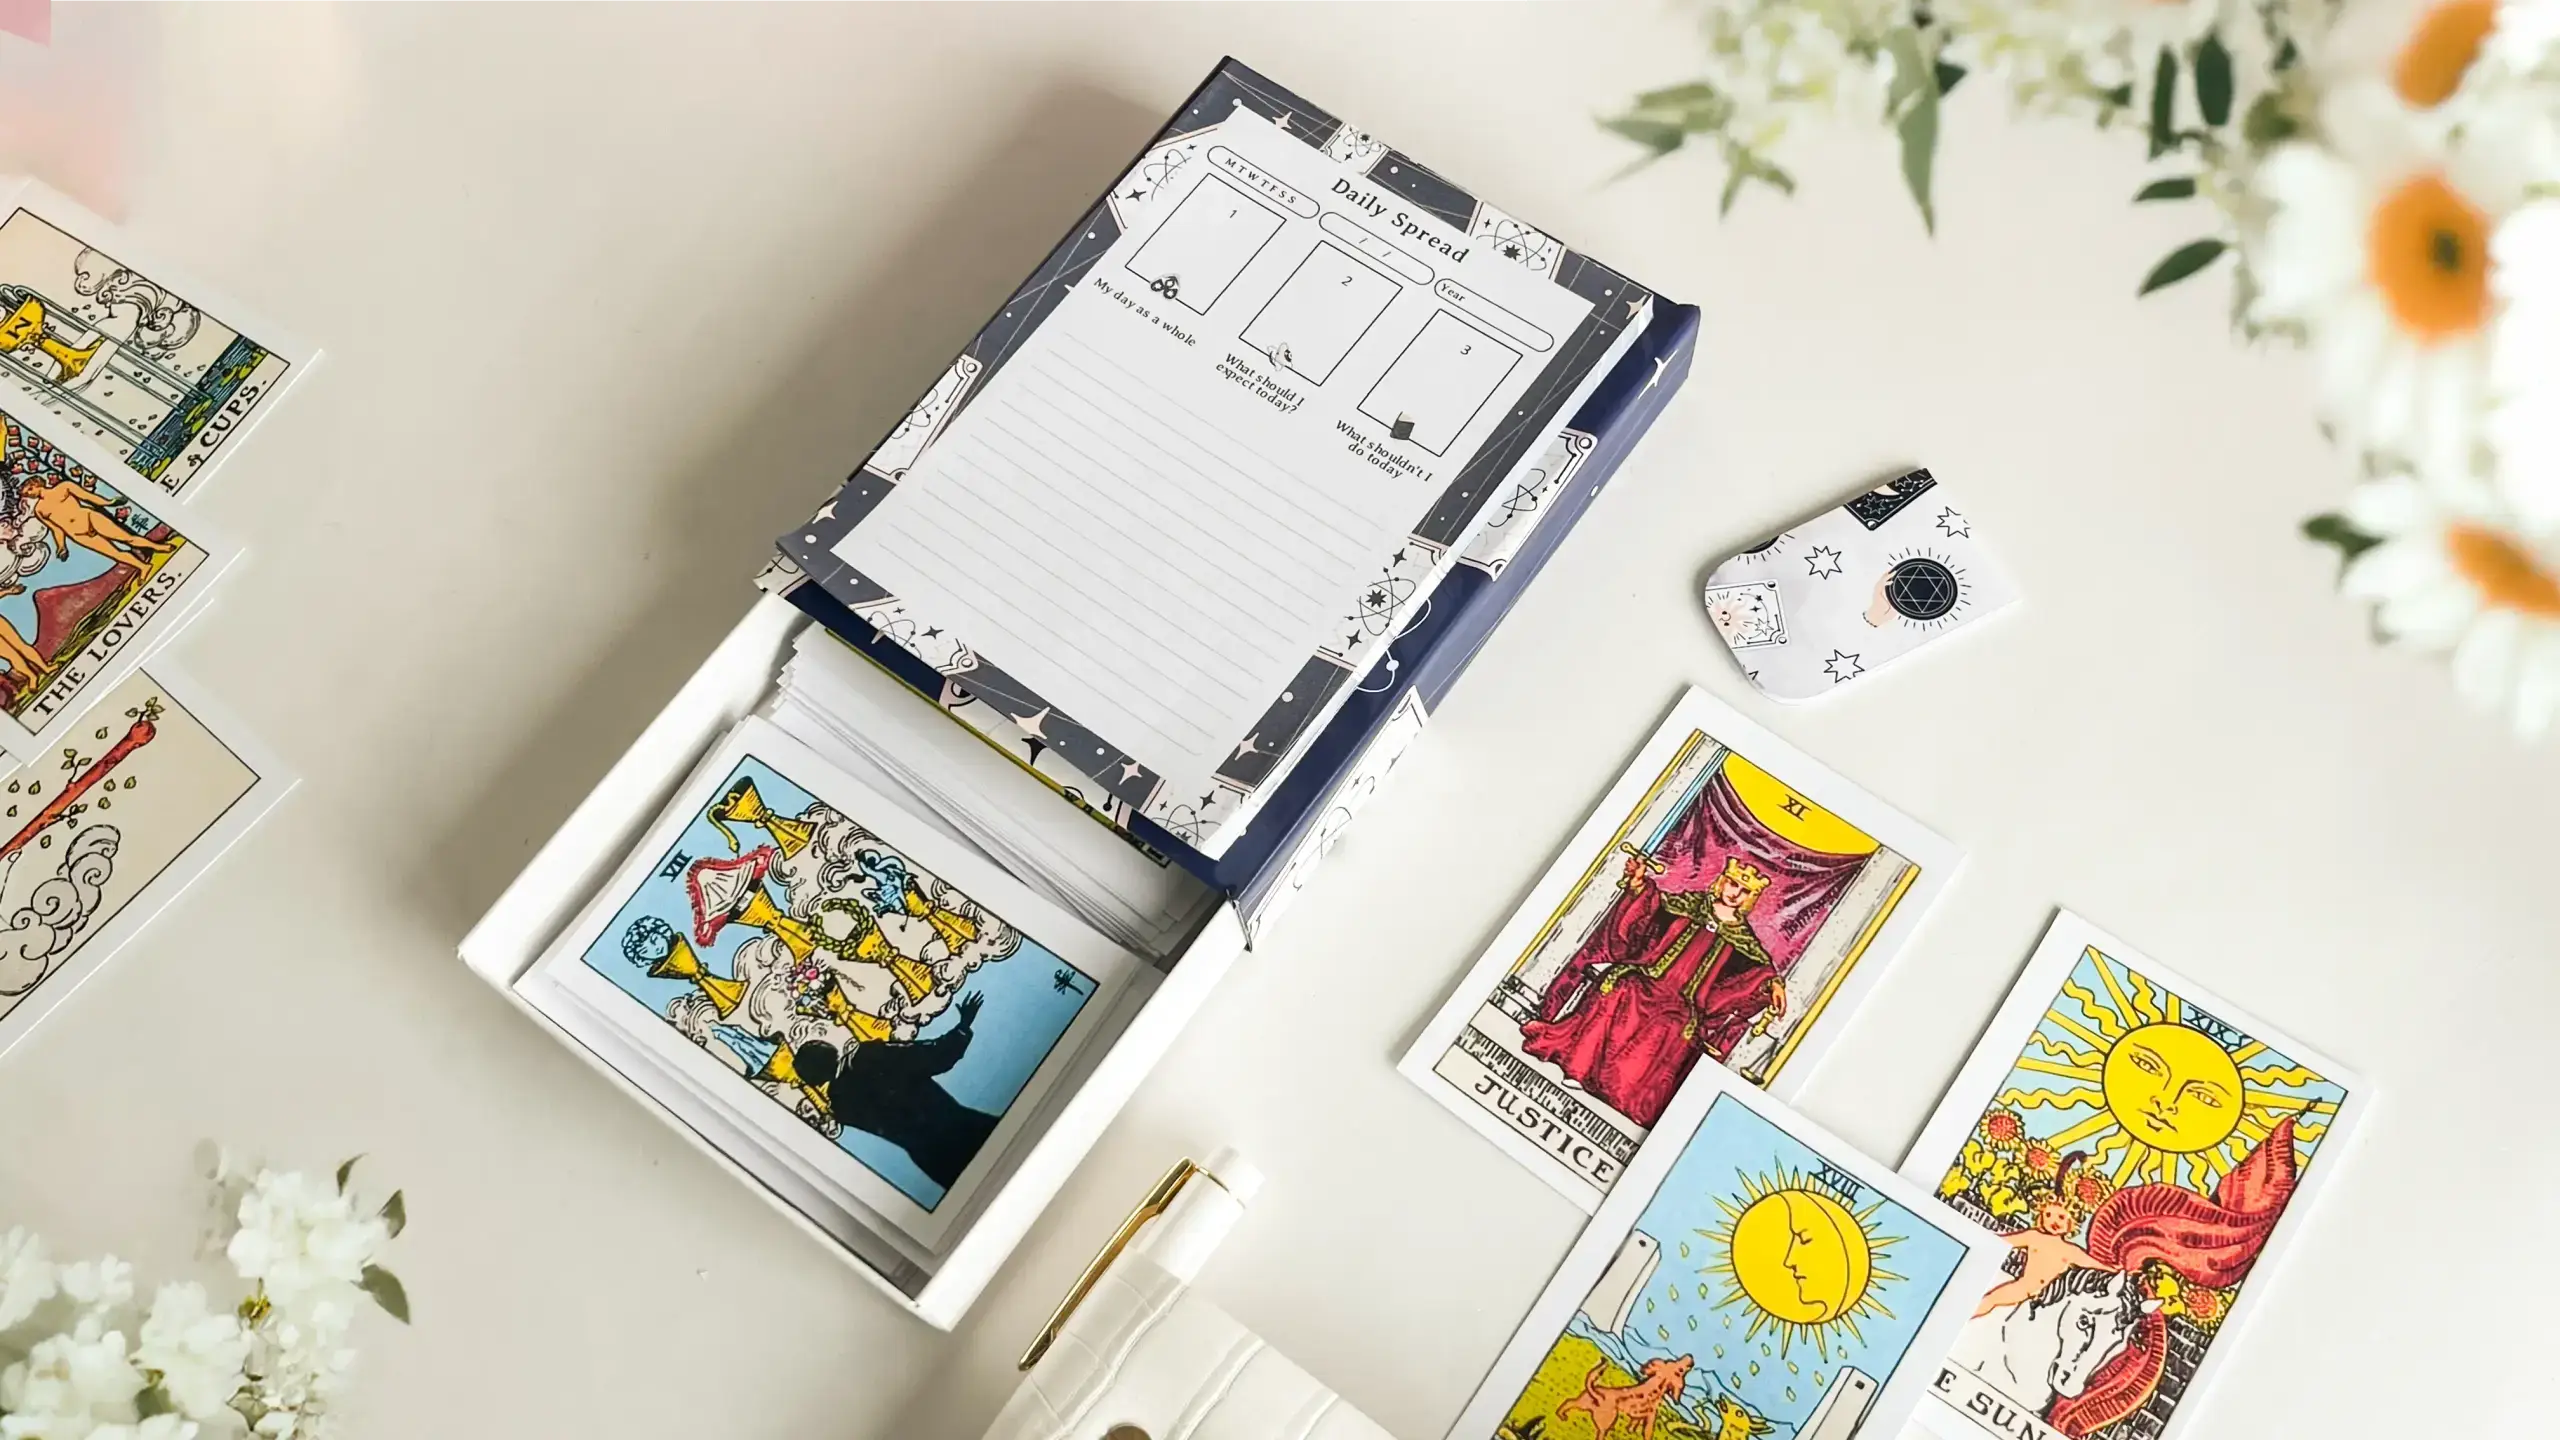
A tarot planner box keeps a daily-spread insert and a full deck of cards together in one lined chipboard case, so the reading and the journalling about it live in the same object. Everything except the printing is made by hand — cut, wrapped, glued and lined — which is what turns a stack of printouts into something that feels like a keepsake.
These tutorials use Planify Pro, a drag-and-drop tool for designing printable planners and stationery. Building and editing is free — exporting a PDF needs a plan, from $9.99/month.
Get the template
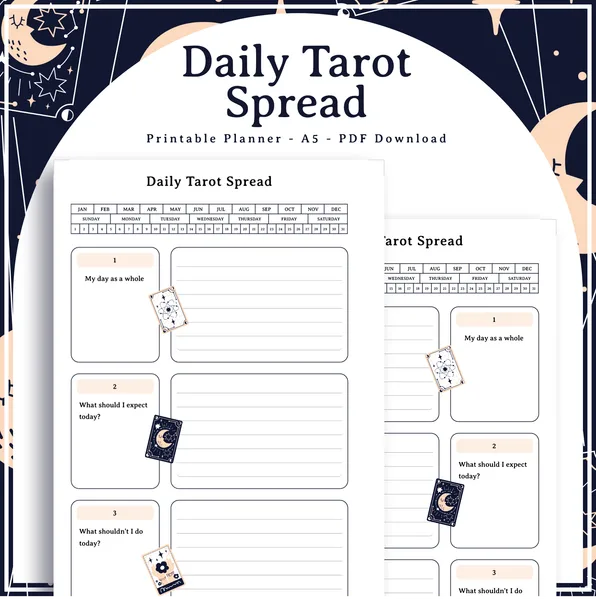
Two designs go into this box — the daily spread insert and the card deck. Open either one to change the size, colours or artwork before printing, or print them exactly as they are.

Export and print
Export the insert and the card sheet as separate PDFs, then print both on cardstock. The insert pages want a weight heavy enough to survive being punched and turned daily; the cards want the heaviest stock your printer will feed without jamming.
Print at 100% scale and turn off any "fit to page" or "shrink oversized pages" option. Scaling matters more than usual on this project: the cards and the insert are what you measure the box against, so a page printed at 96% gives you a deck that no longer matches the compartment you cut for it. Measure one printed card against a ruler before you cut a single piece of chipboard.
What You'll Need
 |  |  |
 |  |  |
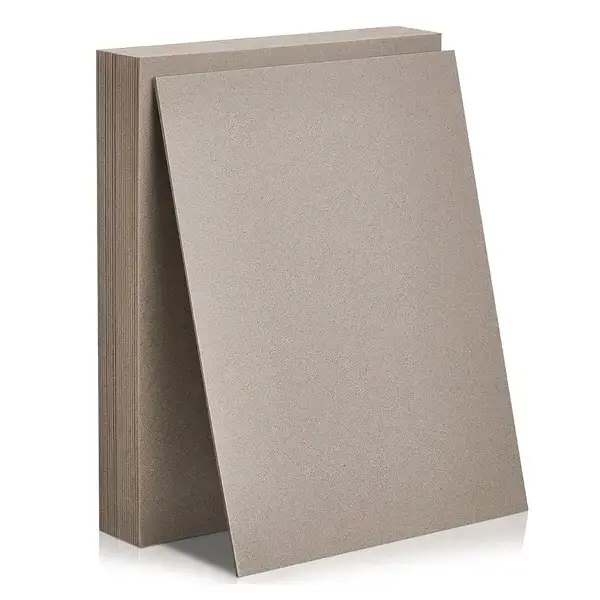
Plus PVA bookbinding glue and decorative paper or thin fabric to wrap the boards — enough to cover the outside of every panel with a margin to fold over, plus a second colour for the lining if you want the inside to contrast. Sticker paper is the easy option for a printed cover panel, since it goes on without any wet glue and so cannot bubble.
Need help choosing a printer for this? See our guide to the best printers for making and selling planners. If you would rather bind the insert some other way, the complete guide to binding styles covers wire, coil, stitch and glue.
Instructions
1. Measure the contents before you cut anything. Stack the printed insert and the card deck together and measure the stack. The box is built around what goes inside it, so every panel measurement starts here rather than from a fixed plan.  |
2. Cut the base, the four walls and the lid panels. Cut them all in one session while the ruler is still set the same way — panels cut on different days rarely match, and a box only closes properly if opposite walls are the same length.  |
3. Lay the pieces out and check them in pairs. Hold each wall against its opposite number and against the base. Any mismatch is far easier to trim away now than to hide once the corners are glued.  |
4. Dry-fit the box with no glue. Stand the walls up around the base and drop the insert and cards in. This is the last moment you can change your mind about the depth.  |
5. Wrap the first panel in decorative paper. Cut the paper oversize so there is a margin to fold around every edge — the fold is what hides the raw grey board, and a paper cut flush to the panel leaves it showing.  |
6. Glue the paper down with PVA. A thin, even coat is enough. Chipboard drinks moisture and warps as it dries, so a heavy layer of glue will leave you with a curved panel that never sits flat again.  |
7. Cover the remaining panels the same way. Wrap every piece before any of them are joined. Once the walls are glued into a box there is no way to get paper neatly into the inside corners.  |
8. Smooth each panel as you go. Work from the middle outwards so trapped air and surplus glue are pushed to the edges rather than sealed in as a bubble under the paper.  |
9. Glue the walls onto the base. Run glue along the bottom edge of one wall, stand it on the base and hold it until it grips. Do them one at a time rather than trying to balance four at once.  |
10. Check the corners are square before the glue sets. PVA gives you a minute or two of movement. A corner that is a couple of degrees out will stop the lid from ever seating properly, and there is no fixing it afterwards.  |
11. Add the remaining walls. Each new wall glues to the base along its bottom edge and to its neighbour along the vertical seam, so the box gets noticeably more rigid with every side you add.  |
The base with all four walls attached. Let it dry fully before handling it much — the seams are still the weakest part of the box at this stage.  |
12. Build the lid. Measure it off the finished base rather than off your original figures. The wrapped paper adds a little thickness to every face, so a lid cut to the bare board measurement comes out tight.  |
13. Test the lid on the base. You want it snug enough to stay put when the box is picked up, but loose enough to lift off without dragging the whole box with it.  |
14. Fit the interior divider. A divider between the planner and the cards is what stops the deck sliding underneath the insert every time the box is tipped, which is the difference between a box and a drawer full of loose cards.  |
15. Line the compartments. Lining paper covers the glue seams and the raw board edges inside, and gives the cards a smooth surface to slide against instead of catching on bare chipboard.  |
16. Work the lining into the corners. Press it right down into each internal angle. Lining that bridges a corner instead of folding into it will lift away from the wall within a few weeks of use.  |
The finished interior, lined and divided, with a compartment for the planner and one for the deck.  |
17. Bind the printed insert. Punch the pages and close a wire through them. Wire binding lets the insert lie flat while you write the day's reading into it, which a stapled or glued booklet will not do.  |
18. Try the bound insert in its compartment. The wire adds real thickness along the spine edge, so an insert that fitted as a loose stack can suddenly be a few millimetres too wide once it is bound.  |
19. Add the finishing touches. Ribbons, charms or a small fabric pull tab glued into the base make the insert far easier to lift out of a snug compartment, as well as looking the part.  |
Done — a lined box holding a wire-bound daily spread planner and a full deck, ready to sit on a shelf or go in a bag.  |
Troubleshooting
The panels have curled since they dried. Too much PVA. Chipboard absorbs water from the glue and pulls as it dries. Spread a thinner coat, and press finished panels flat under a heavy book until they are properly dry.
The lid will not go on, or rocks when it does. One of the corners is not square. Check the base against a set square; if a wall is leaning, that is what the lid is catching on. Building the lid off the assembled base rather than off your original measurements avoids most of this.
There are bubbles under the decorative paper. Air trapped when the paper went down. Smooth from the centre outwards next time. On a panel already dry, a pin prick and firm pressure will flatten a small bubble.
The bound insert does not fit the compartment. Either the pages printed at less than 100% and the box was cut to a different size, or the binding wire added width that was not allowed for. Always dry-fit the bound insert, not a loose stack of pages, before cutting the divider.
Selling these
A tarot planner box sells for far more than the sum of a planner and a deck sold separately, because it reads as a gift rather than as stationery. That is the whole argument for making it: the box is what lets you charge like a homeware seller instead of a printables seller.
It bundles naturally too. The obvious pairing is the box with a spare set of insert refills, so the buyer comes back for pages once the first year is filled — a repeat purchase built into the product rather than bolted on.
Price for the hours as well as the materials. Chipboard, paper and glue are cheap, but wrapping and lining a box is slow, careful work, and a price that only covers materials will make the tenth box feel like a chore. If the assembly time turns out to be the problem, sell the printable insert and card designs on their own alongside the finished boxes.
Try these next
DIY Hardbound Planner — the same chipboard-and-glue skills applied to a hard cover
Book Binding Methods Compared — other ways to bind the insert
DIY Corner-Bound Notebook — another wire-binding project
DIY Notepad Set — pads mounted into a folding chipboard cover
How to Make Your Own Planner Book — a full bound planner from scratch


