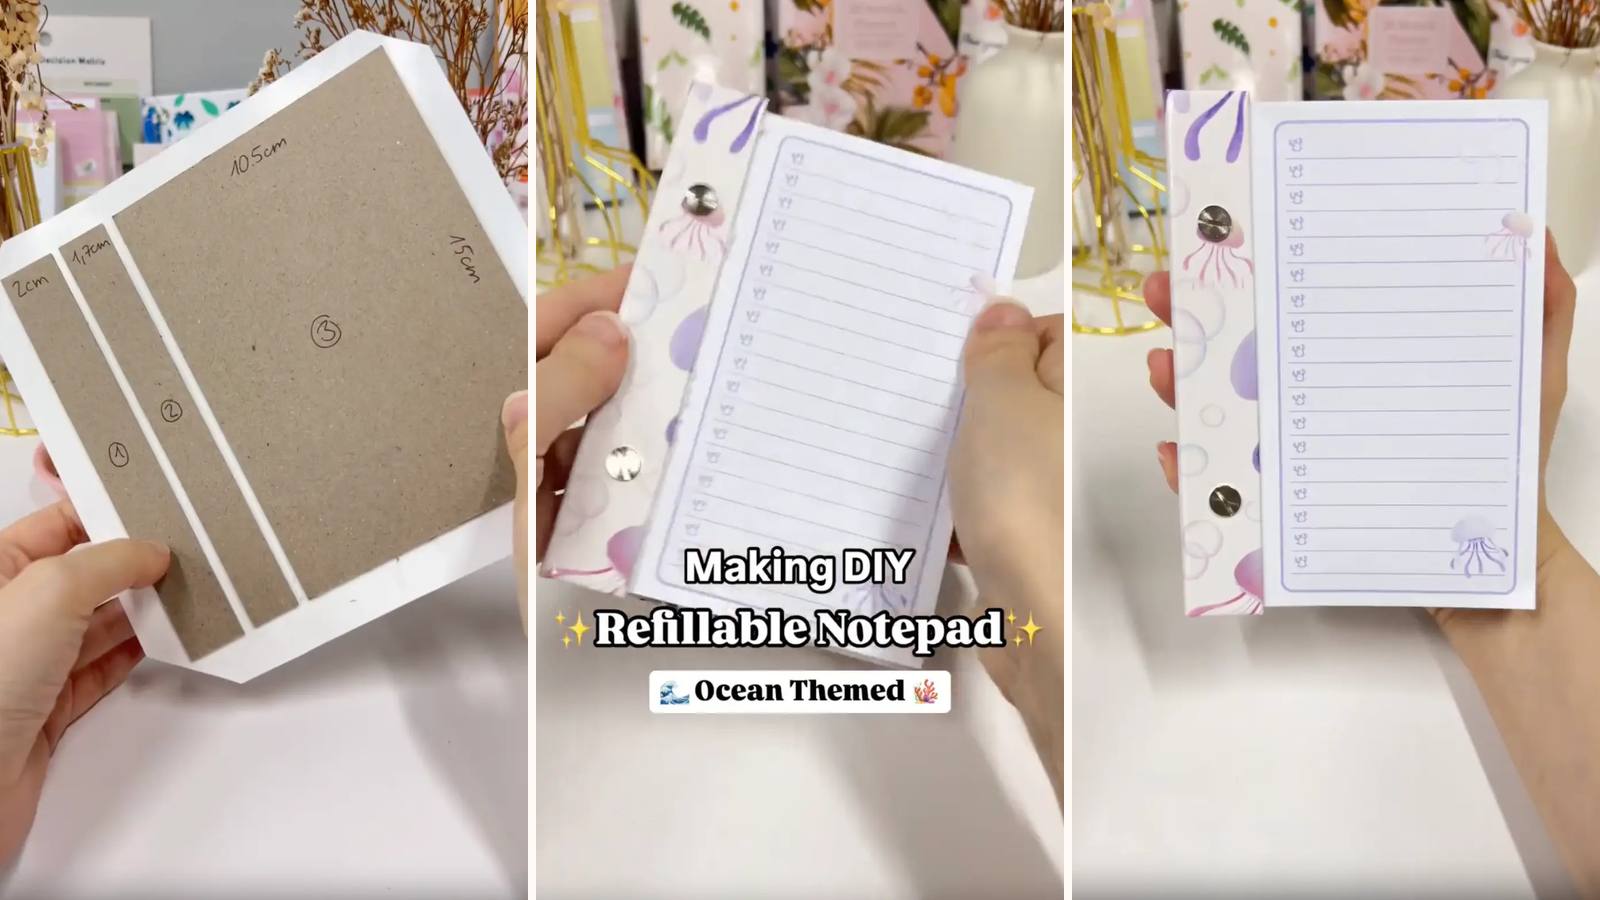
A hard-covered notepad held together by two Chicago screws — two-piece fasteners that screw through the punched holes and undo by hand when the pages run out. No glue, no wire, and no equipment beyond a hole punch, which makes this the easiest binding method in the whole library to start with.
These tutorials use Planify Pro, a drag-and-drop tool for designing printable planners and stationery. Building and editing is free — exporting a PDF needs a plan, from $9.99/month.
Get the template
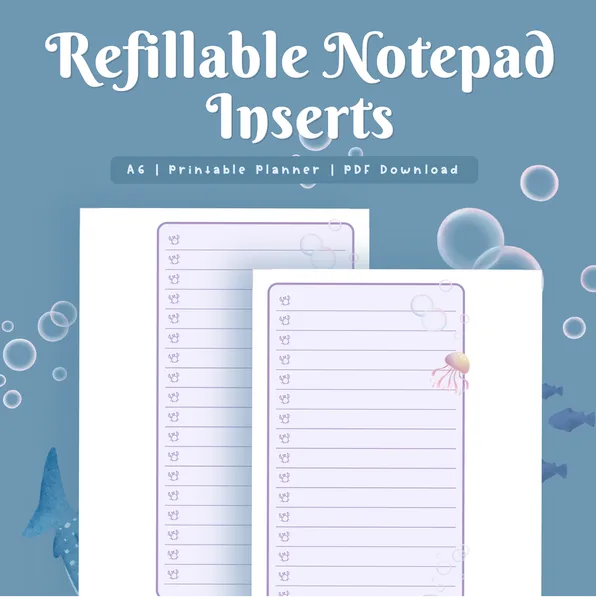
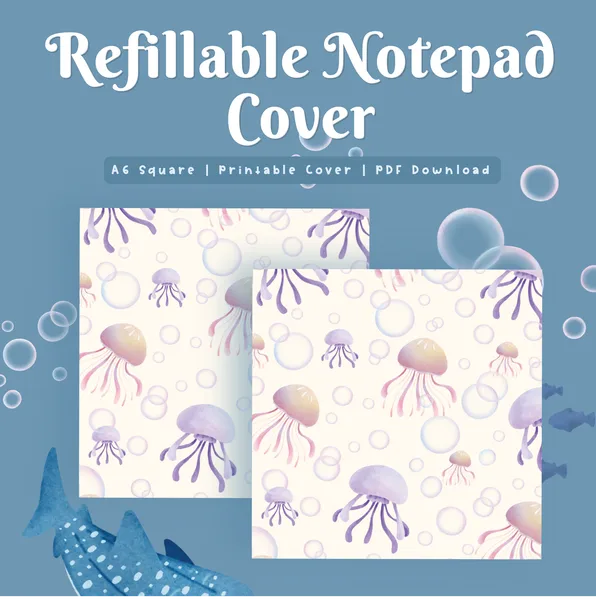
There are two files here — the Refillable Notepad Inserts and the DIY Refillable Notepad Cover. Open either in Planify Pro to change the size, colours or artwork before printing, or print them exactly as they are.
Export and print
Inserts: Save/Export → Selected Page → Paper → A6 → Generate PDF.
Cover: Save/Export → Selected Page → Paper → A4 Landscape → Generate PDF, on white glossy sticker paper.
Print at 100% from Adobe Acrobat Reader, on 70gsm paper for the inserts.
What You'll Need
 Chipboard 1.4mm Chipboard 1.4mm |
 Paper 70gsm Paper 70gsm |
 Glossy Sticker Paper Glossy Sticker Paper |
 Chicago Screws 3/4" Chicago Screws 3/4" |
 Hole Puncher Hole Puncher |
 Guillotine Paper Cutter Guillotine Paper Cutter |
Instructions
1. Print and cut about 150 pages. The stack has to match the screw length, so adjust the count to what you've got — 15mm screws need noticeably fewer. Measure the stack against a screw before committing.  |
2. Punch the inserts. An ordinary hole punch is fine. Small batches, all registered to the same edge, and keep one punched sheet as your template.  |
3. Print and trim the cover. On glossy sticker paper, white edges cut off.  |
4. Cut three chipboard pieces. 1) 2 × 15 cm · 2) 1.7 × 15 cm · 3) 10.5 × 15 cm. The two narrow pieces make a double hinge, so the cover folds right back rather than standing proud of the pad.  |
5. Peel the cover backing. Adhesive side up on a clear surface.  |
6. Lay the boards down with 3–4 mm gaps. Centred on the cover, evenly spaced. Those two gaps are the hinges.  |
7. Trim the corners at 45°. Scissors are fine.  |
8. Fold all the sides in. Press each margin down along its whole length.  |
9. Line the inside. Plain glossy sticker paper cut to fit, over the folded edges.  |
10. Mark the holes on the cover. Hold your punched template sheet against the narrow end panel and mark through it.  |
11. Punch the cover. A single hole punch, or whatever punching tool you have.  |
A leather punch works too, though it can drag on the sticker paper as it goes through. 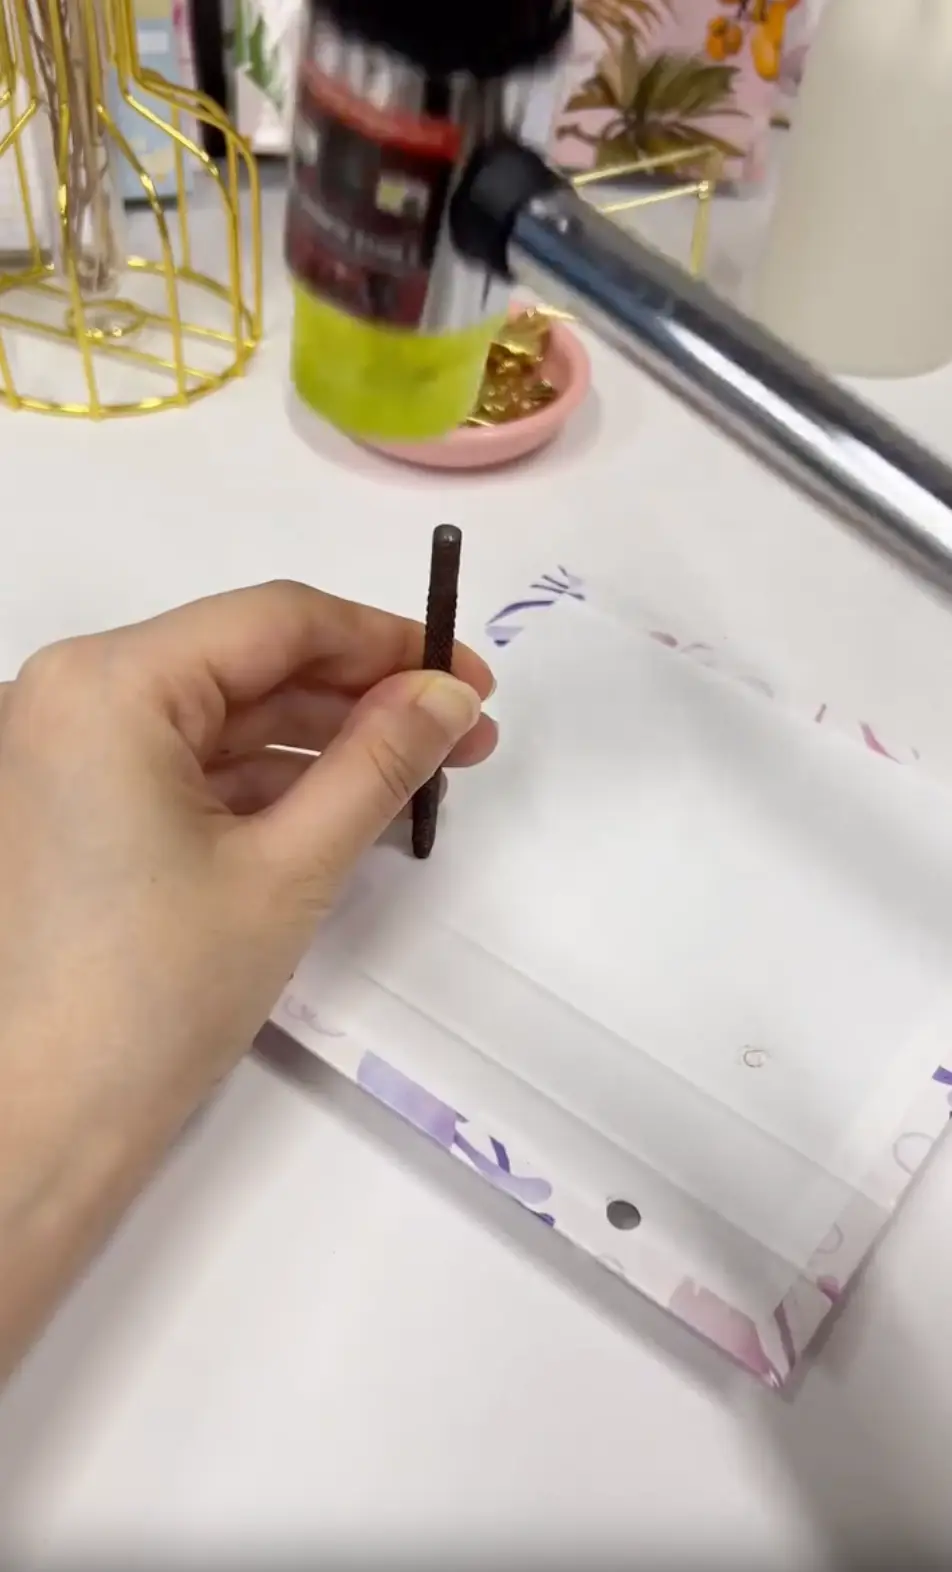 |
12. Take two Chicago screws. Separate the posts from the screws before you start.  |
13. Feed the pages onto the posts. The whole stack at once — adding pages later means taking it apart.  |
14. Screw them together. Snug by hand. Over-tighten and you strip the thread, which is the one failure that can't be undone. 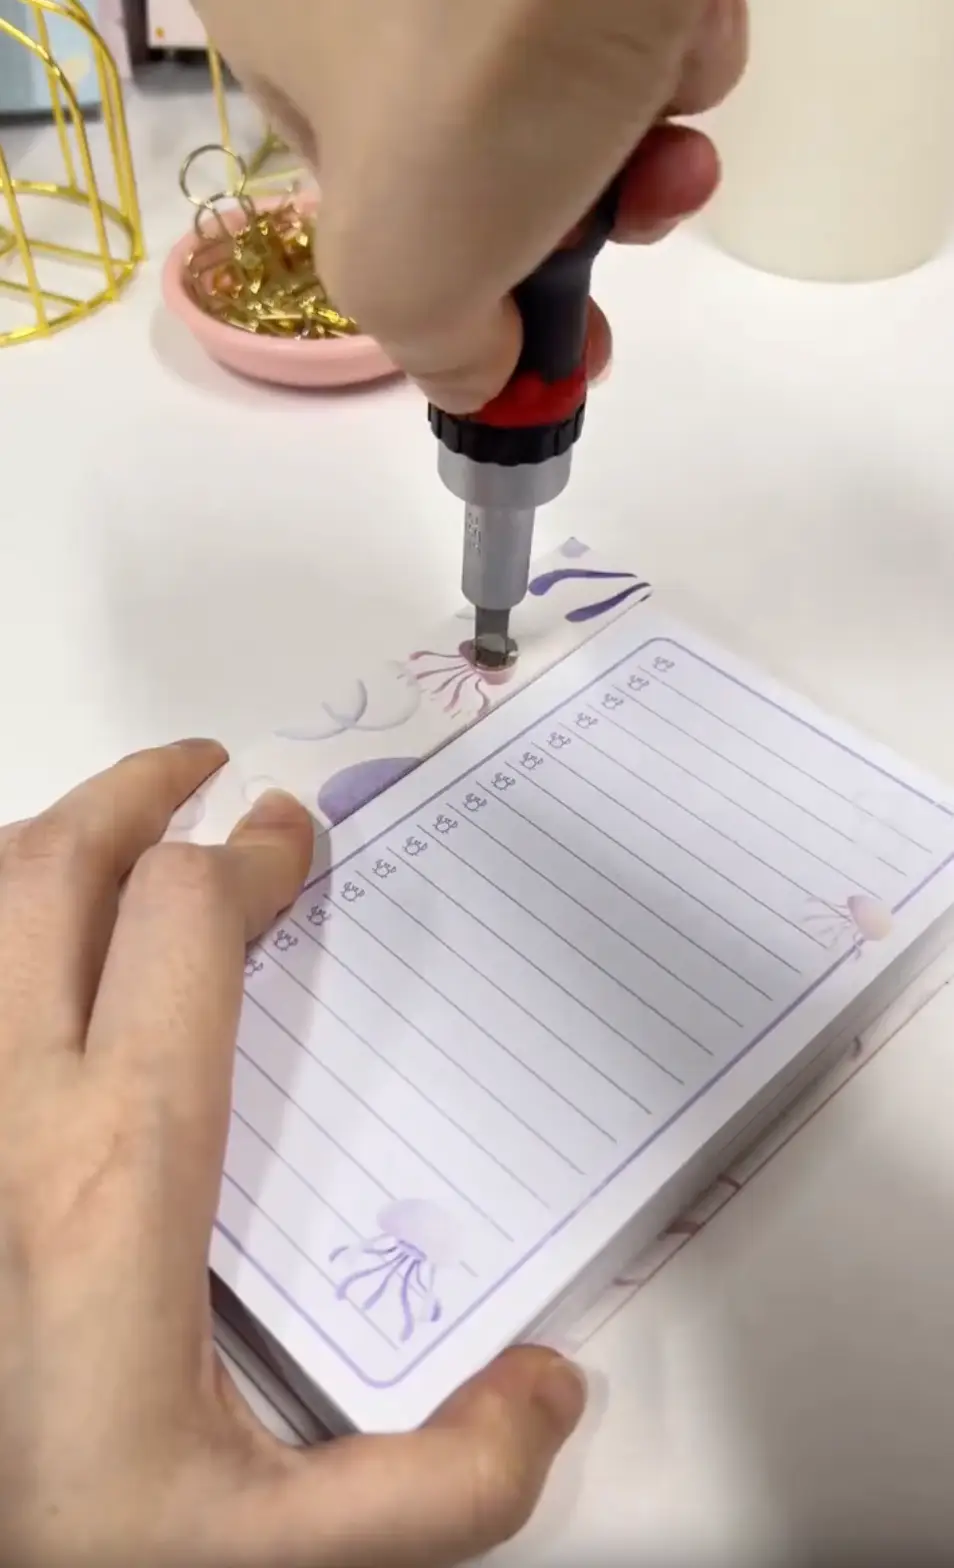 |
Done — and when the pages run out, unscrew and reload. 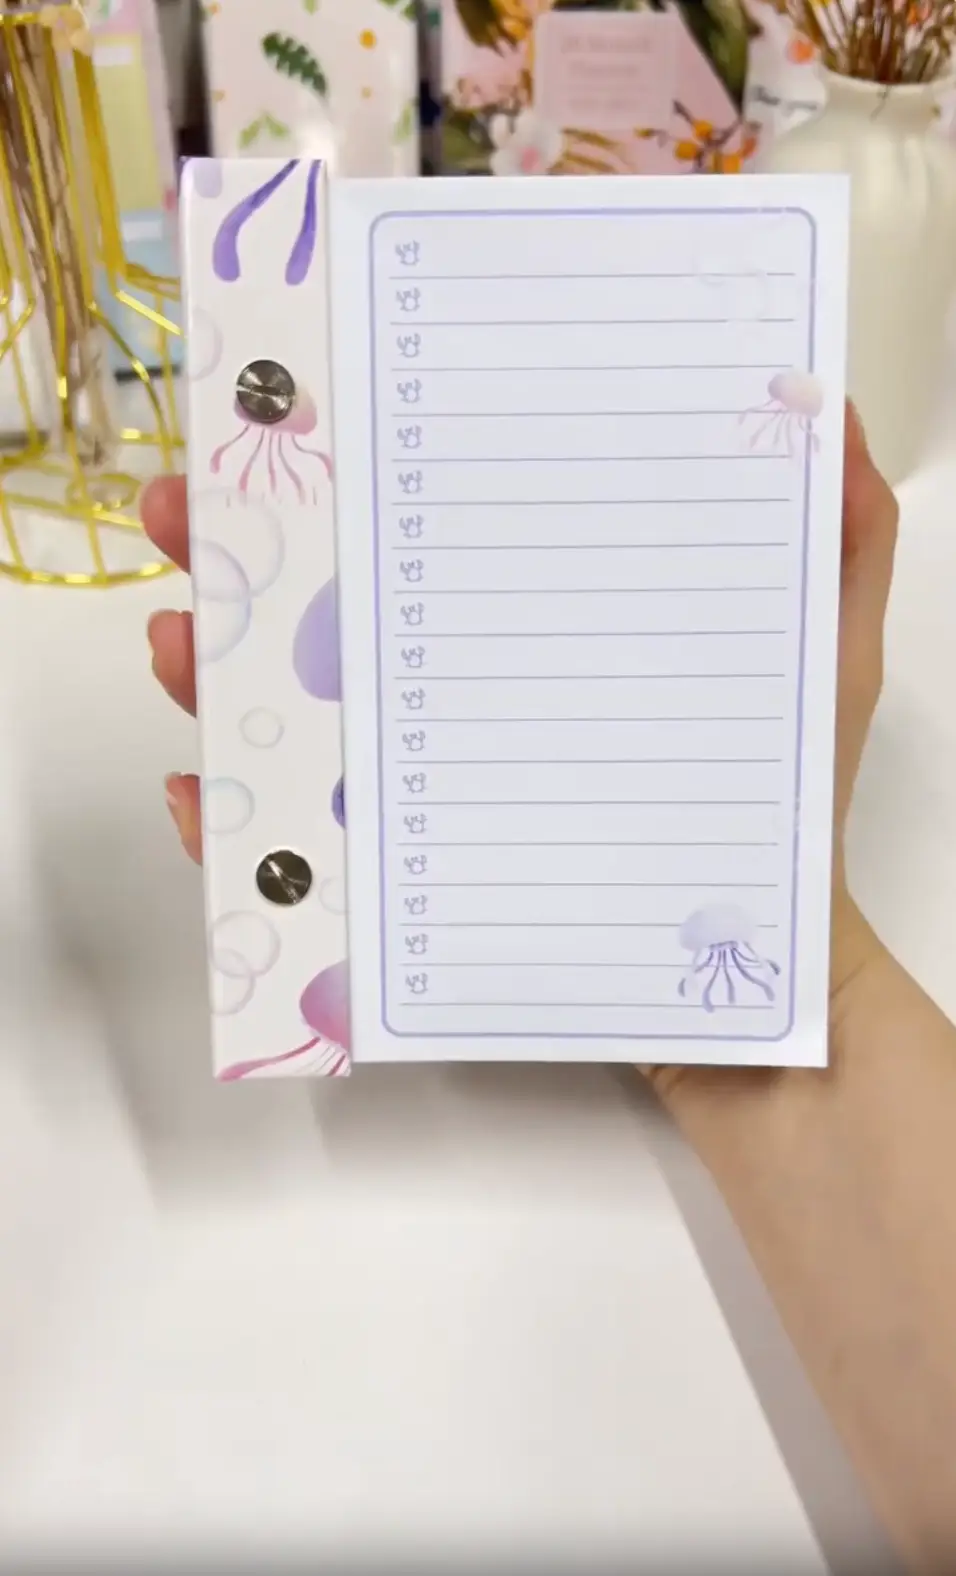 |
Troubleshooting
The screws won't reach through the stack. Too many pages for the screw length. Take sheets out — a Chicago screw that's only half engaged pulls apart in a bag.
Some pages won't go onto the posts. A batch was punched slightly out of register. Re-punch it against an already-punched page.
The cover won't fold back flat. The 3–4 mm gaps are too tight for the board thickness. This is set before the sticker goes down, so dry-fit first.
The screws work loose over time. Normal. Nip them up by hand occasionally — that's the trade-off for being able to open it at all.
Selling these
This is the best starting point if you're new to selling handmade stationery. It needs no binding machine, so the setup cost is a hole punch and a bag of screws.
Refillable is also the easiest thing to say in a listing that justifies a higher price than a glued pad — and it gives you a second product to sell the same customer later.
Because the cover build never changes, all the variety comes from the printed design. One session of cover artwork becomes a whole shop.
See 20 profitable planner niches and DIY notepad design ideas for more.
Try these next
- DIY Lemon Refillable Notepad — the same build, different cover
- DIY Dual-Section Refillable Notepad
- DIY Refillable Journal
- Book Binding Methods Compared
- Browse all DIY tutorials


