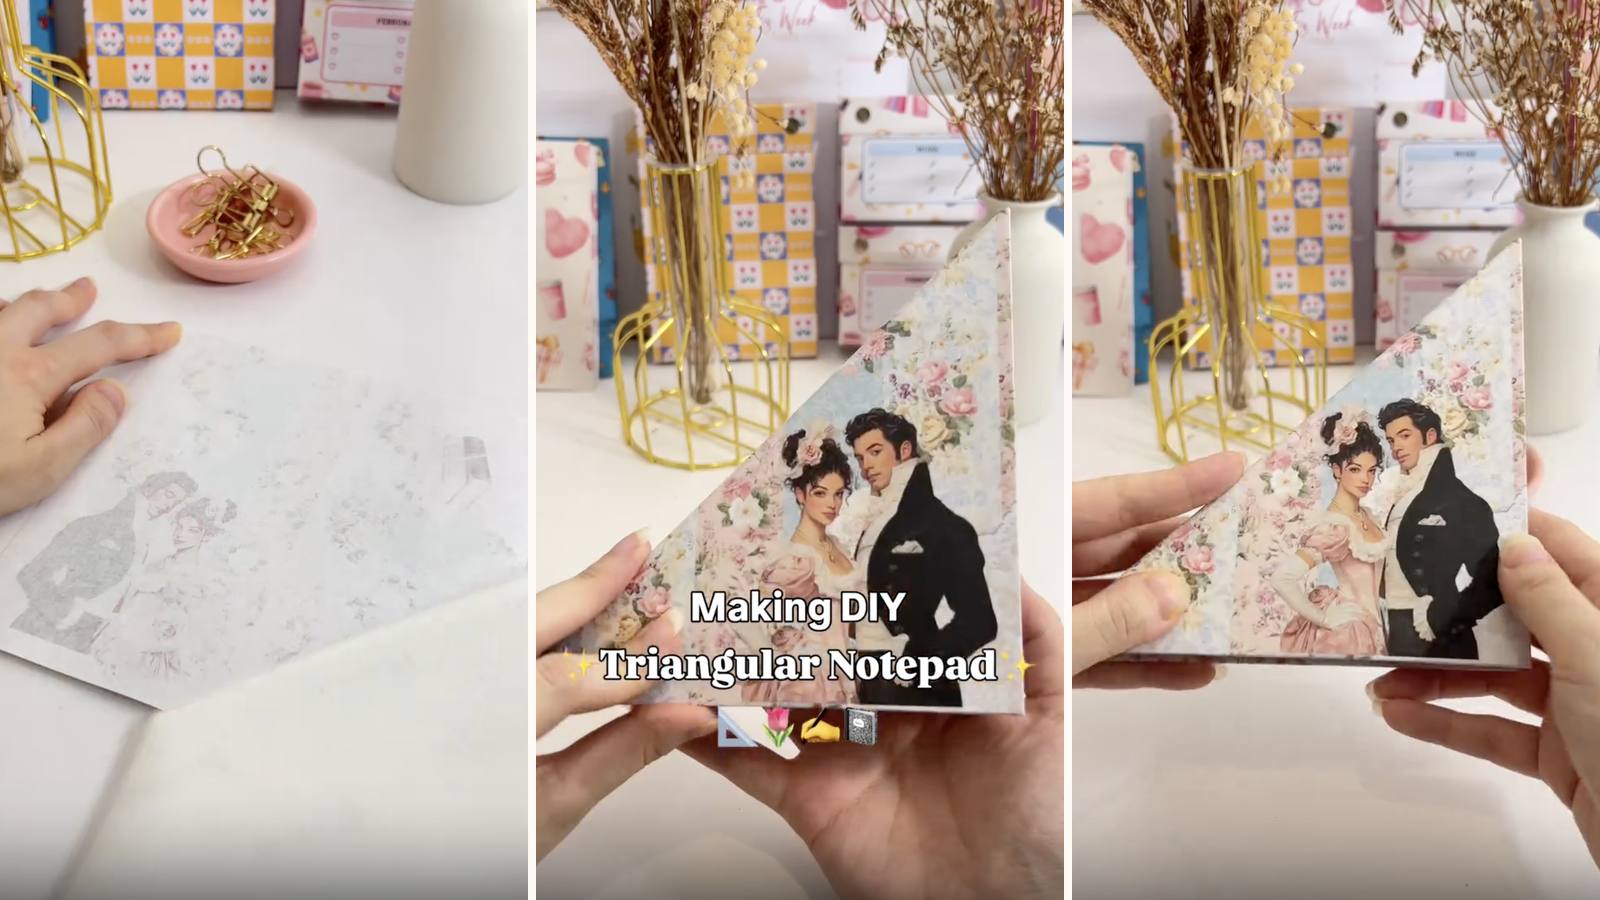
One printed sheet, cut corner to corner, gives you two triangular pads that sit back to back inside a folded chipboard cover. It takes up almost no desk space, and the diagonal cut means every page tears off at an angle you can actually read from across the desk.
These tutorials use Planify Pro, a drag-and-drop tool for designing printable planners and stationery. Building and editing is free — exporting a PDF needs a plan, from $9.99/month.
Get the template
There are two files here — the notepad pages and the cover. Open either in Planify Pro to change the size, colours or artwork before printing, or print them exactly as they are.
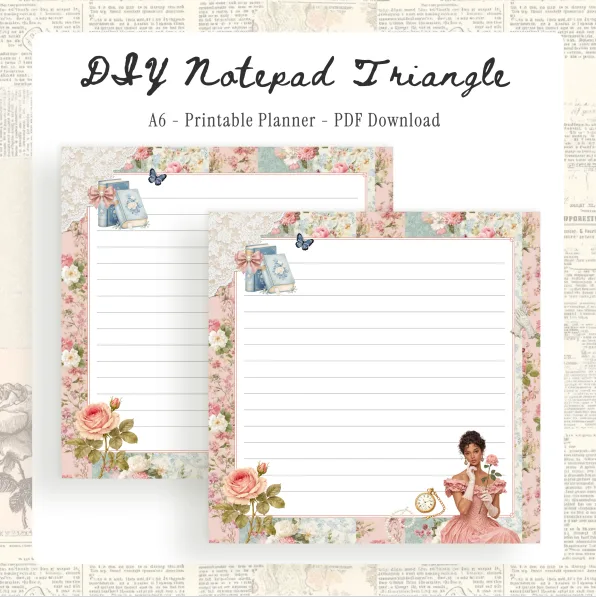
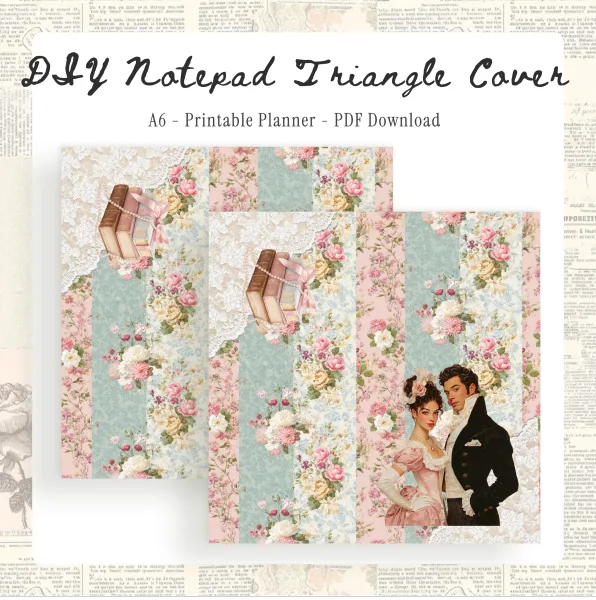
Export and print
In Planify Pro, go to Save/Export → Current Page → A4, then click Generate PDF. Open the PDF in Adobe Acrobat Reader to print it.
Print the insert pages at 100% — turn off "fit to page", or the diagonal cut won't line up with the cover panels. The cover prints at 130% onto white matte sticker paper. That extra size is deliberate: it gives you the overhang you need to fold the sticker around the chipboard edges later.
What You'll Need
 |  |  |
 |  |  |
You'll also need double-sided tape to mount the finished pads inside the cover.
Instructions
1. Print and cut the insert pages. Trim them to size on the guillotine, then cut each sheet corner to corner — one square sheet gives you two triangles.  | 2. Clip the stack together. Binder clips keep every sheet flush at the binding edge — if the stack shifts here, the glue soaks between the pages instead of sealing the edge.  |
3. Brush PVA glue along the binding edge. Keep the coat thin and even across the whole edge — a thick blob dries rubbery and the pages tear rather than lift.  | 4. Leave it about 15 minutes to dry. Keep the clips on the whole time. Test a corner before you unclip — tacky glue will pull the top sheets out of line.  |
5. Print the cover at 130% on matte sticker paper. The oversize print is what gives you enough margin to wrap the chipboard.  | 6. Trim the white edges off. Cut back to the printed area so no blank border shows once the cover is wrapped.  |
7. Peel off the adhesive backing. Peel it in one steady movement and lay the sheet sticky side up — once it curls back on itself it won't separate cleanly.  | 8. Turn the cover into position. Get the orientation right now — the design only lands the right way up on the finished notepad from this one position.  |
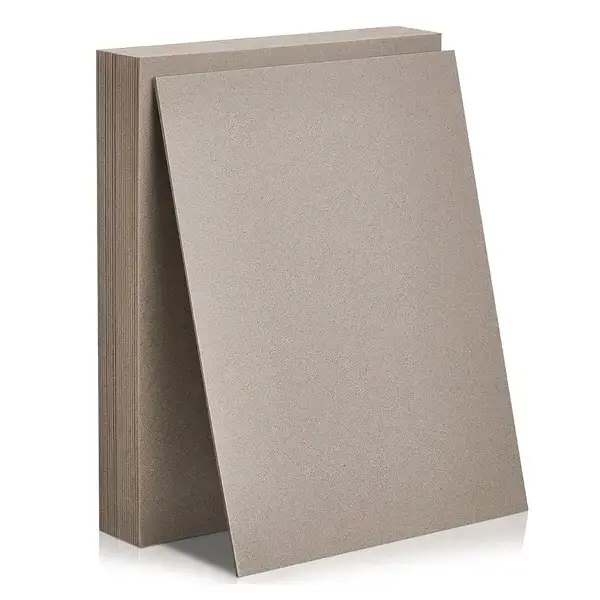
9. Cut three chipboard pieces. Two panels at 14.7 × 14.7 cm and one spine strip at 21 × 1.5 cm. Cut them on the guillotine so the edges stay square.  | 10. Lay the chipboard onto the sticky cover. Leave the small gaps either side of the spine strip as shown — those gaps become the hinges the cover folds on.  |
11. Fold the edges in, corners around the spine first. Working from the spine outwards keeps the sticker taut instead of trapping a bubble in the middle.  | 12. Trim the opposite corners at an angle, then fold the rest in. Cutting the corner off first stops the paper bunching where two folds meet.  |
13. Line the inside with a plain sticker sheet. It hides the folded edges and gives the pads a smooth surface to stick to.  | 14. Score along both spine edges. Run a firm line down each side of the spine strip so the cover opens and closes on the hinge rather than cracking the board.  |
15. Tape the back of each pad. Double-sided tape across the backing board, not just at the edges, so the pad can't peel up as pages are torn off.  | 16. Press the pads into the cover. Position both before you press down — the tape grabs immediately and won't reposition.  |
That's it — a triangular notepad that folds shut like a little book and opens to two tear-off pads.  |
Troubleshooting
Pages tear instead of lifting off cleanly. Too much glue, or it went on unevenly. A thin coat brushed right across the edge is all it needs.
The stack slid while gluing and the edge is ragged. The clips weren't tight enough, or they came off too early. Clip hard, and leave them on until the glue is properly dry.
The cover won't close flat. The gaps either side of the spine strip are too narrow. They need to be wide enough for the chipboard to swing on — check before you fold the sticker down, because it's fixed after that.
The cover print doesn't wrap far enough. It printed at less than 130%, usually because the printer defaulted to "fit to page". Reprint with scaling set explicitly.
Selling these
The triangular shape does most of the selling here. It photographs differently from every other notepad in a marketplace search, and that's most of the battle on Etsy — buyers scroll past a fifth rectangular pad without registering it.
It's also cheap to make in batches. One A4 sheet yields two pads, and the cover is a single sticker print over offcut chipboard, so the marginal cost of a second unit is low once you're set up.
Bundle it with something practical rather than something similar — a desk calendar or a set of planner inserts makes a gift set. Two triangular notepads in one bundle just looks like you couldn't think of a second product.
See 20 profitable planner niches and easy templates that sell for more product ideas.
Try these next
DIY Perforated Notepad — tear-off lines without glue
DIY Notepad Design Ideas — cover and sticker ideas
How to Make Notepads at Home — the full beginner guide
Memo Notepad Block Holder — another chipboard build


