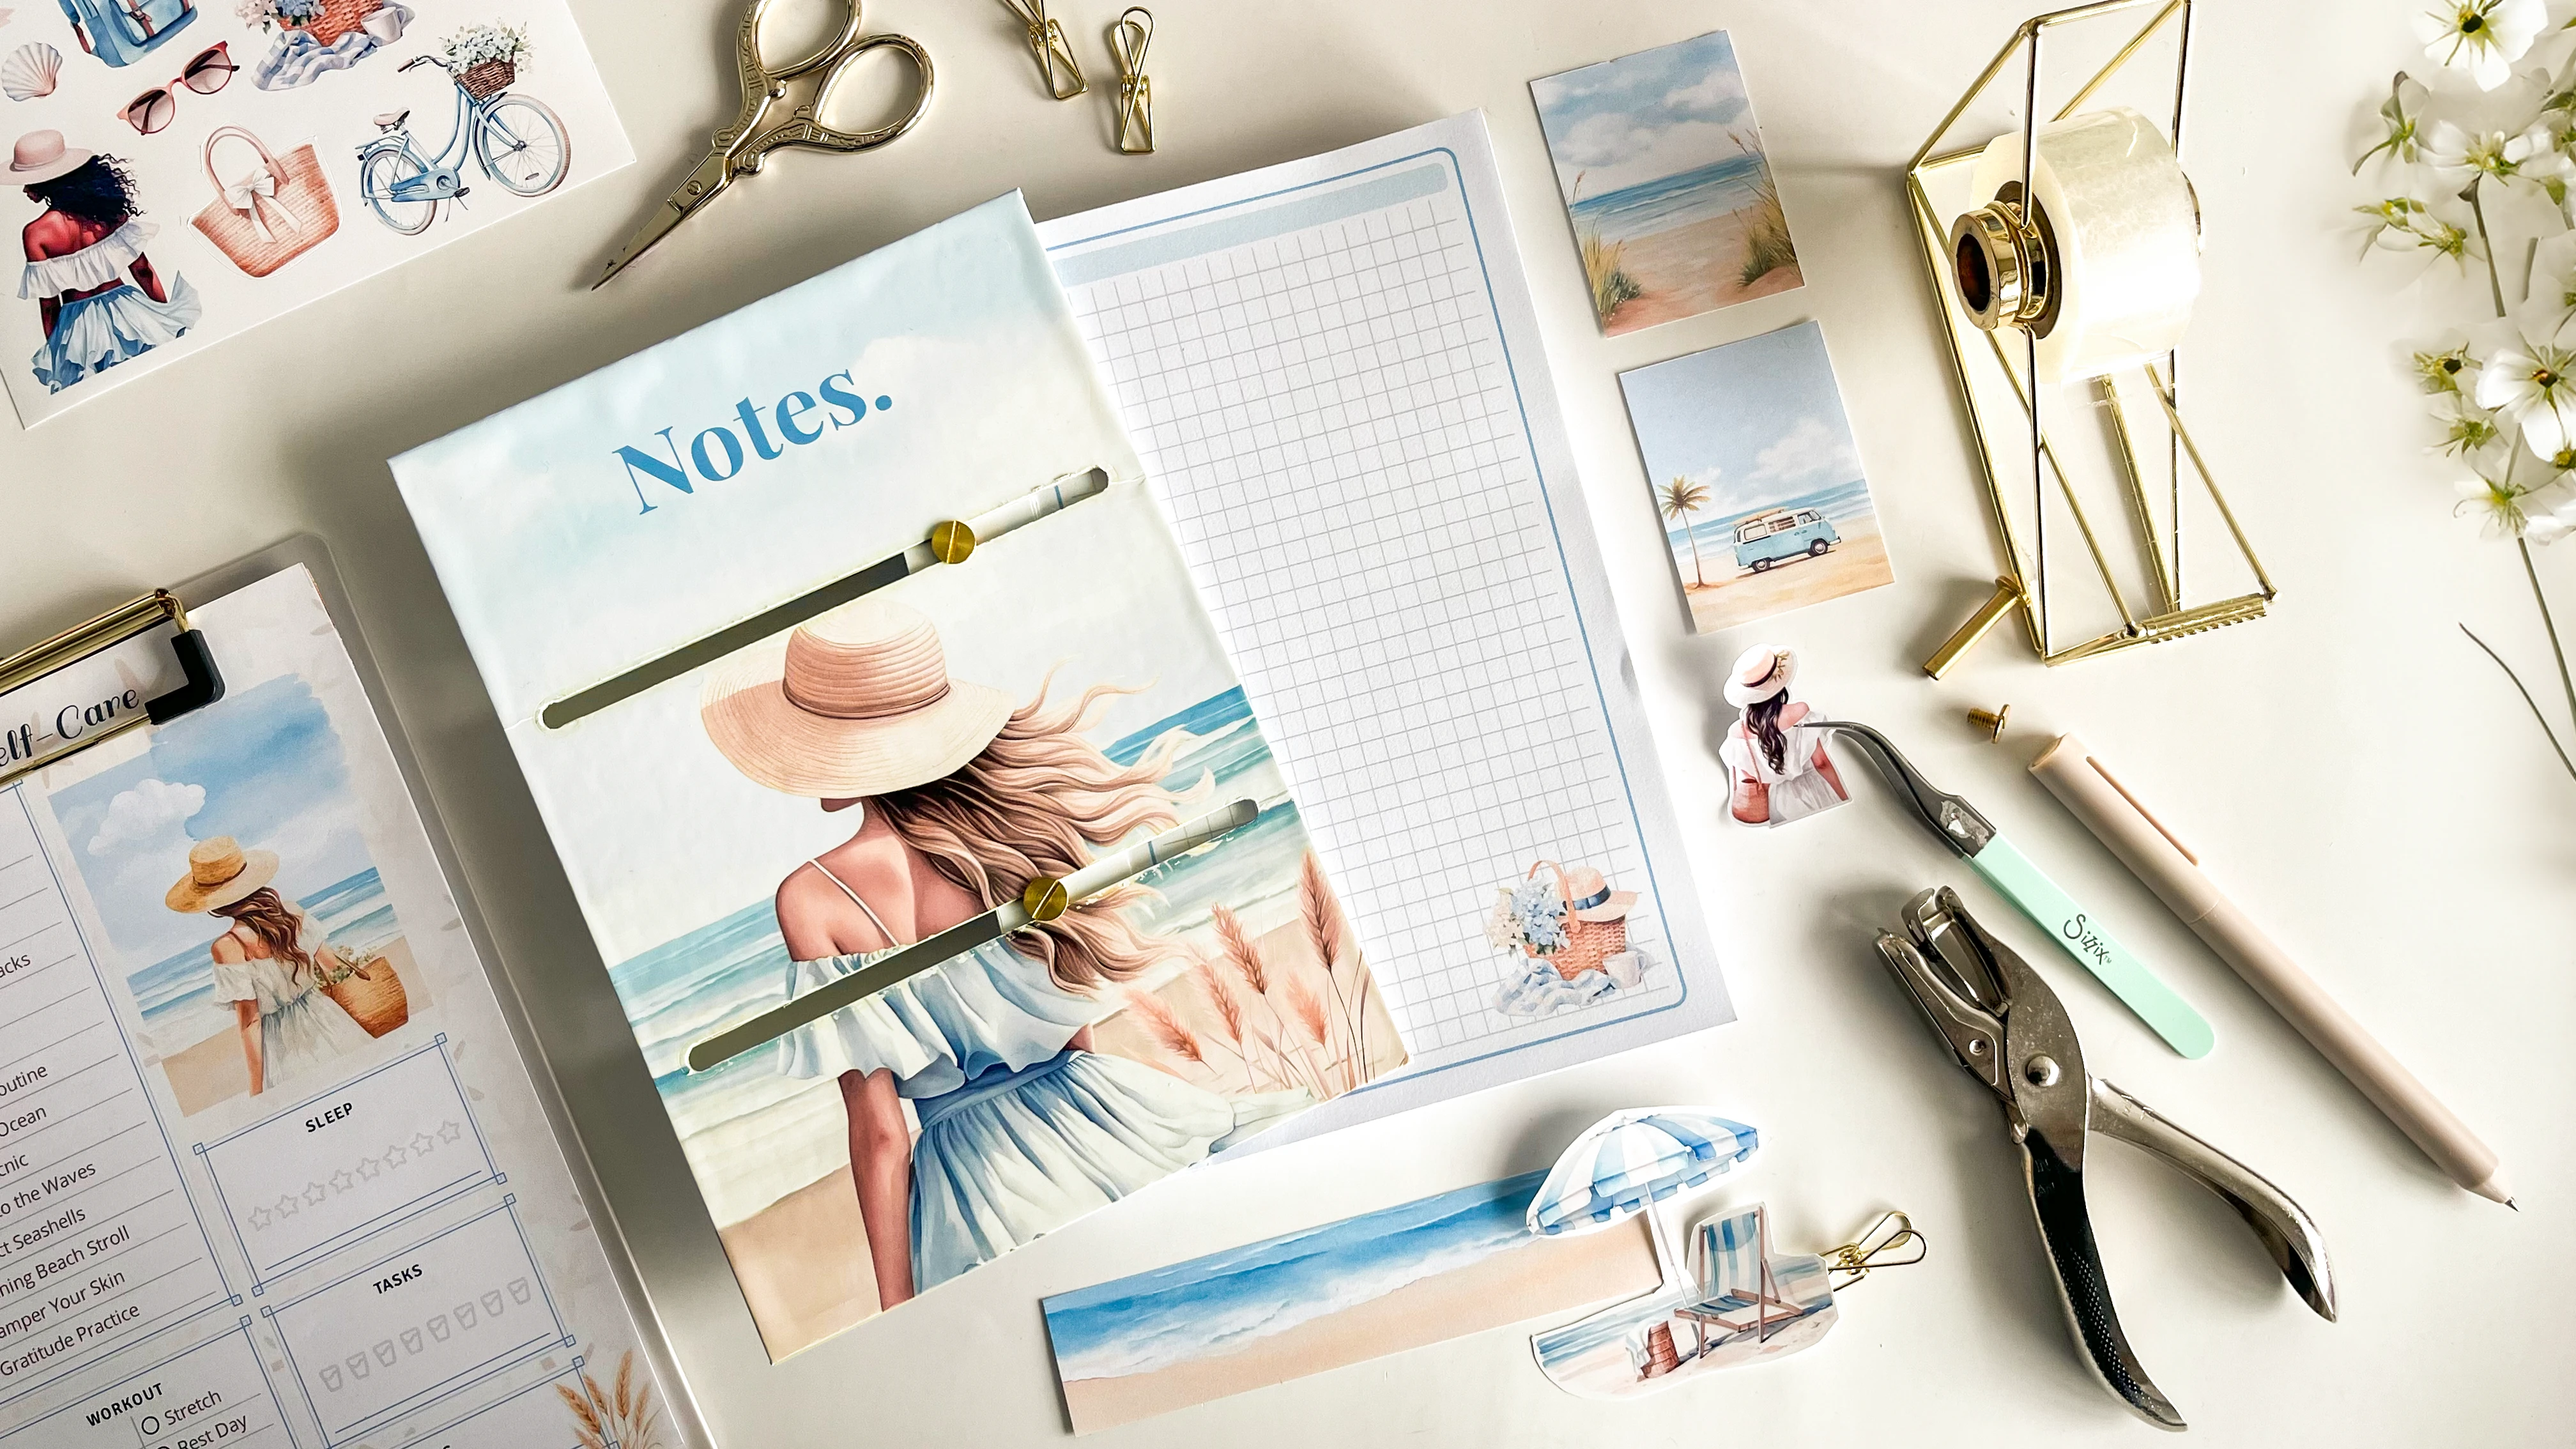
Most refillable notebooks pin the cover to the binding posts, so the cover is fixed and only the pages move. This one has a slot cut into the cover instead of two holes, so the front board rides along its Chicago screws — and because the inserts are perforated, a finished page tears out cleanly and leaves its punched strip behind on the posts.
These tutorials use Planify Pro, a drag-and-drop tool for designing printable planners and stationery. Building and editing is free — exporting a PDF needs a plan, from $9.99/month.
What You'll Need
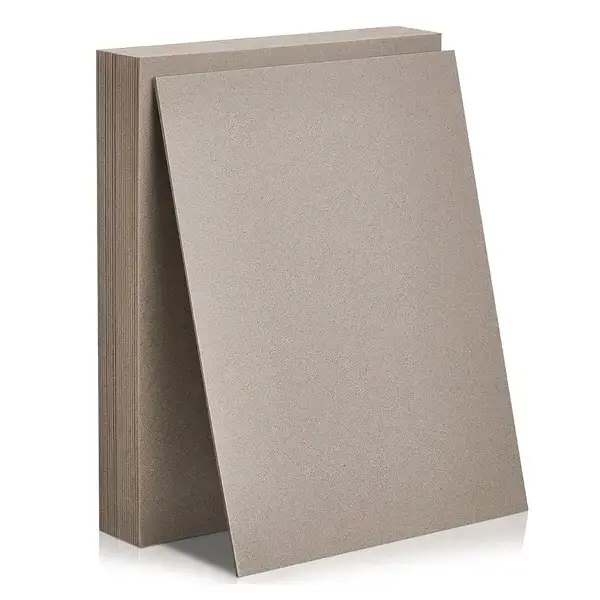 |  |  |
 |  | Perforating Cutter |
You will also need a two-hole punch — a standard office hole puncher is what these photos use — plus a craft knife, a metal ruler and a cutting mat. The slot that makes the cover slide is cut by hand, so there is no way round the knife.
Instructions
1. Print and trim the covers. Guillotine each printed cover down to A5 before anything else. Every measurement that follows — hole position, slot length — is taken from a trimmed edge, so a crooked cut here throws the binding out at the end.  |
2. Peel the backing off the sticker sheet. Lift one corner and pull the liner away in a single steady movement rather than in stages — stopping and restarting leaves ridges in the adhesive that show through the glossy face.  |
3. Lay the chipboard onto the adhesive. Set the board down on the sticky side with an even white margin showing on all four sides. That margin is the material you will fold over the edges, so centre it properly — you only get one attempt on self-adhesive stock.  |
4. Smooth it down and wrap the edges. Press outward from the middle of the board so no air is trapped under the face, then fold each margin over the edge and burnish it flat. A ruler on edge makes a serviceable burnisher.  |
5. Cover both boards the same way. The front carries the printed design; in these photos the back is left plain glossy white. Use the same board for both — matched thickness is what lets the finished notebook close square.  |
6. Punch the two binding holes. A standard two-hole punch registered against the binding edge sets the screw spacing for the whole book. Punch both covers on the same setting, and keep the punch for the inserts too — everything has to line up on one pair of posts.  |
7. Cut the slot between the holes. Lay a metal ruler along the line joining the two punched holes and run a craft knife down it. This single cut is what makes the notebook slide: the cover ends up carrying one long channel instead of two fixed holes.  |
8. Use several light passes. Sticker-covered chipboard is tougher than it looks, and one heavy stroke tears the glossy coating and pushes the blade off the ruler. Repeat shallow cuts, ruler never moving, until the waste strip drops out.  |
9. Check the slot runs clean end to end. You want an open channel with the original punched holes as rounded stops at either end and nothing bridging the middle. Any fibre left in there will catch on the screw and the cover will stick instead of glide.  |
10. Perforate the inserts, then punch them. Run each printed insert under a perforating blade just inside the binding edge, then punch it with the same two-hole punch you used on the covers. The perforation is the whole point of the tear-off: a filled page pulls away along the dashes while its punched strip stays on the posts. |
11. Screw it together. Stack back cover, insert block, front cover, drop an 18mm Chicago screw through each position and tighten by hand. The inserts sit on round holes so they are held fast; the front cover sits on the slot, so it travels along the posts — that is the sliding action. |
From here it refills itself. Tear pages off as you fill them, and when the block runs low, undo the two screws by hand, drop in a fresh perforated and punched stack, and screw it back up. The covers never need remaking. |
Troubleshooting
The cover will not slide. Either the slot still has fibres bridging it, or the screws are done up too hard. Chicago screws only need to be finger tight to hold a stack — back them off a quarter turn and try again.
The slot tore out to the edge of the cover. There was not enough board left between the slot and the outside edge. Set the punch deeper so the holes sit further in from the edge, and the strip of board outside the slot stays wide enough to take the pull of the screws.
Pages tear raggedly instead of coming away cleanly. The perforation was too shallow, or it was made in more than one pass so the dashes no longer line up. One pass, with the sheet held flat against the fence.
The sticker lifts off the board edges. The margin was folded over before the flat face was fully burnished down, so the wrap is under tension and slowly pulls itself free. Press the face out from the centre first, fold second.
Selling these
The sliding cover is the thing people pick up and fiddle with. It reads as engineered rather than glued, and it costs you one extra knife cut over an ordinary screw-bound pad — the chipboard, sticker paper and pair of screws are the same either way.
That makes it a straightforward upsell against a plain notepad: near-identical production cost, visibly more product. Refill packs sell alongside it too. A perforated, punched stack in a paper sleeve is cheap to batch and gives a buyer a reason to come back to your shop rather than to a stationer.
See 20 profitable planner niches and easy templates that sell for more product ideas.
Try these next
DIY Refillable Notepad with Chicago Screws — the same fastener without the slot
DIY Perforated Notepad — the perforating technique on a glued pad
DIY Bookmark Pen — another tear-off project
DIY Corner-Bound Notebook — wire binding turned 45°
Book Binding Methods Compared — where screw binding sits against wire and glue


