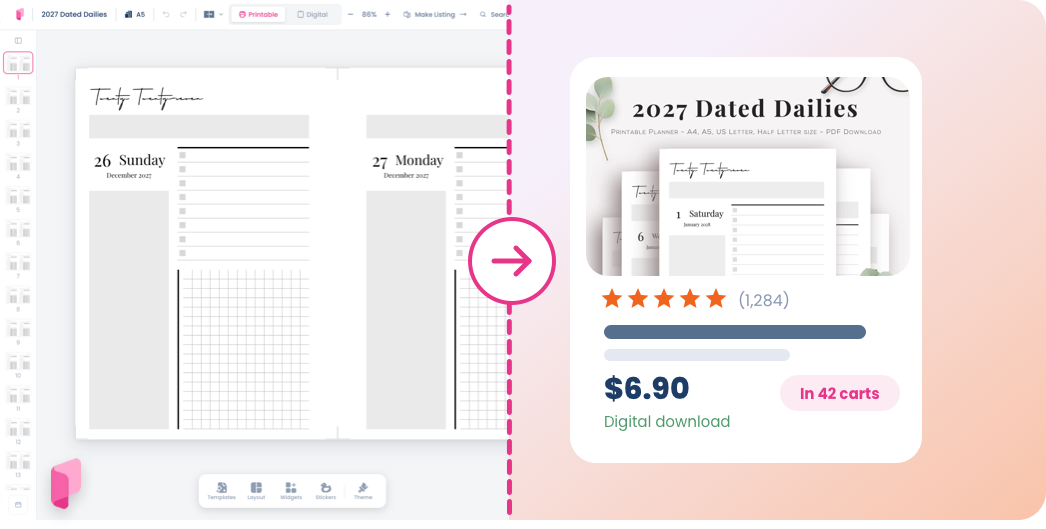
Planify Pro now supports WebMCP, which means you can connect ChatGPT or Claude directly to it and have them build and edit planners for you. You describe what you want in plain words, and the AI works inside the editor the way you would.
This guide walks through the whole setup for both, start to finish.
What you need before you start
Three things, and all three are required. If any one is missing the connection will not work.
Google Chrome. The connection runs through Chrome, so this will not work in Firefox or Safari.
A paid Planify Pro plan. Personal or Business both work. It will not run on the free plan.
A paid ChatGPT or Claude subscription. Neither company allows MCP access on a free account, so you need an active subscription on their side too.
Once both subscriptions are running, you can connect them together.
Open the AI agent instructions
Start in Planify Pro. Click Create a new planner, then Full control, and let the editor load.
In the top right corner there is a menu button. Open it and choose Work with AI agent. That panel holds everything you need: the address for turning WebMCP on in Chrome, and the instructions you will paste into your AI.
Turn WebMCP on in Chrome
The panel gives you an address to open. Copy it, open a new Chrome window, and paste it in.
A settings screen appears with an entry for WebMCP for testing. Set it to Enabled. Chrome will almost certainly ask to relaunch, which is normal and expected, and after the restart your browser is ready to run WebMCP.
Then go back to the panel and pick which AI you are going to use.
Connecting Claude
Copy the instructions from the panel, then open the Claude application.
Start a new coding session. It will also work in an ordinary chat, but a coding session is the better route and the one worth using if you have the option.
Paste the instructions in and send. Claude will reach out to the browser and set up the connection. If a prompt appears asking you to allow it, choose Try Chrome.
You can check it worked by looking at your browser window: a message appears at the top saying Claude started debugging this browser. When Claude reports that the tools are available and asks what you want to create or change, you are connected.
Try something small first to confirm it is really working:
Start a new project, create a new planner, and make a simple to-do list with two columns.
While it works, a banner in the browser reads Claude is working. Leave the page alone until it finishes — clicking around the website while the agent is mid-task will interfere with it. A new tab opens with the result.
Connecting ChatGPT
ChatGPT takes a little more setup, and one step catches most people out.
First, download the ChatGPT desktop application. Open its Settings, search for browser, and turn on Let ChatGPT control the built-in browser.
Next, open a Codex session. This matters: Codex is the coding side of ChatGPT, not the normal chat. In the app you will see one option for ChatGPT and one for Codex — choose Codex and start a new session there.
Paste in the same instructions from the panel and send.
If it says no Planify Pro tool is available
This is the step that trips people up, and it is not an error. ChatGPT needs you signed in to Planify Pro inside its own browser, which is separate from your normal Chrome session.
The message guides you to open Planify Pro in the ChatGPT desktop app. Click Planify Pro in that message and a browser window opens inside the application, on one side of the screen. Sign in there.
Once you are signed in, ask it to confirm:
Are you now connected, and can you make planners?
When it tells you Planify Pro is connected, you are ready. Unlike Claude, ChatGPT works inside its own application window rather than taking over your Chrome tab.
Try a prompt:
Can you make a simple daily planner with a schedule, a to-do list and notes?
Getting planners worth selling
A simple prompt gives you a simple planner. If you ask for "a daily planner" you will get something plain and basic, because that is all you asked for.
The real difference comes from giving the AI something to look at.
Send a screenshot. If you have seen a planner style you like, give the AI a picture of it as a visual guide. You do not have to ask for a copy — ask for a planner inspired by that styling, with similar fonts, colours, mood and tone.
Point it at your own collection. If you already sell planners and have a look of your own, tell the AI to go and look at the styling and branding in your existing planners, then build the new one to match. That keeps a shop's catalogue consistent without you specifying every detail each time.
Which AI assistants work today
ChatGPT and Claude are the two supported right now. Gemini, Muse and others are still in development and are not ready yet.
If something is not working
No tools show up at all. Check the WebMCP flag is still enabled — a Chrome update can reset it — and reload the Planify Pro tab afterwards, since the page has to load with the flag already on.
ChatGPT says no Planify Pro tool is available. You are not signed in inside its built-in browser. See the step above.
The agent stalls partway. Make sure you have not clicked into the page while it was working.
Nothing connects at all. Confirm you are on a paid Planify Pro plan and a paid ChatGPT or Claude plan. The free tier on either side will not work.
What is coming next
This guide covers the connection itself. More tutorials are on the way on what to actually build with it, including sticker sheets with ChatGPT and digital planners with Claude.
If you get stuck, message on Instagram or Facebook and you will get an answer.