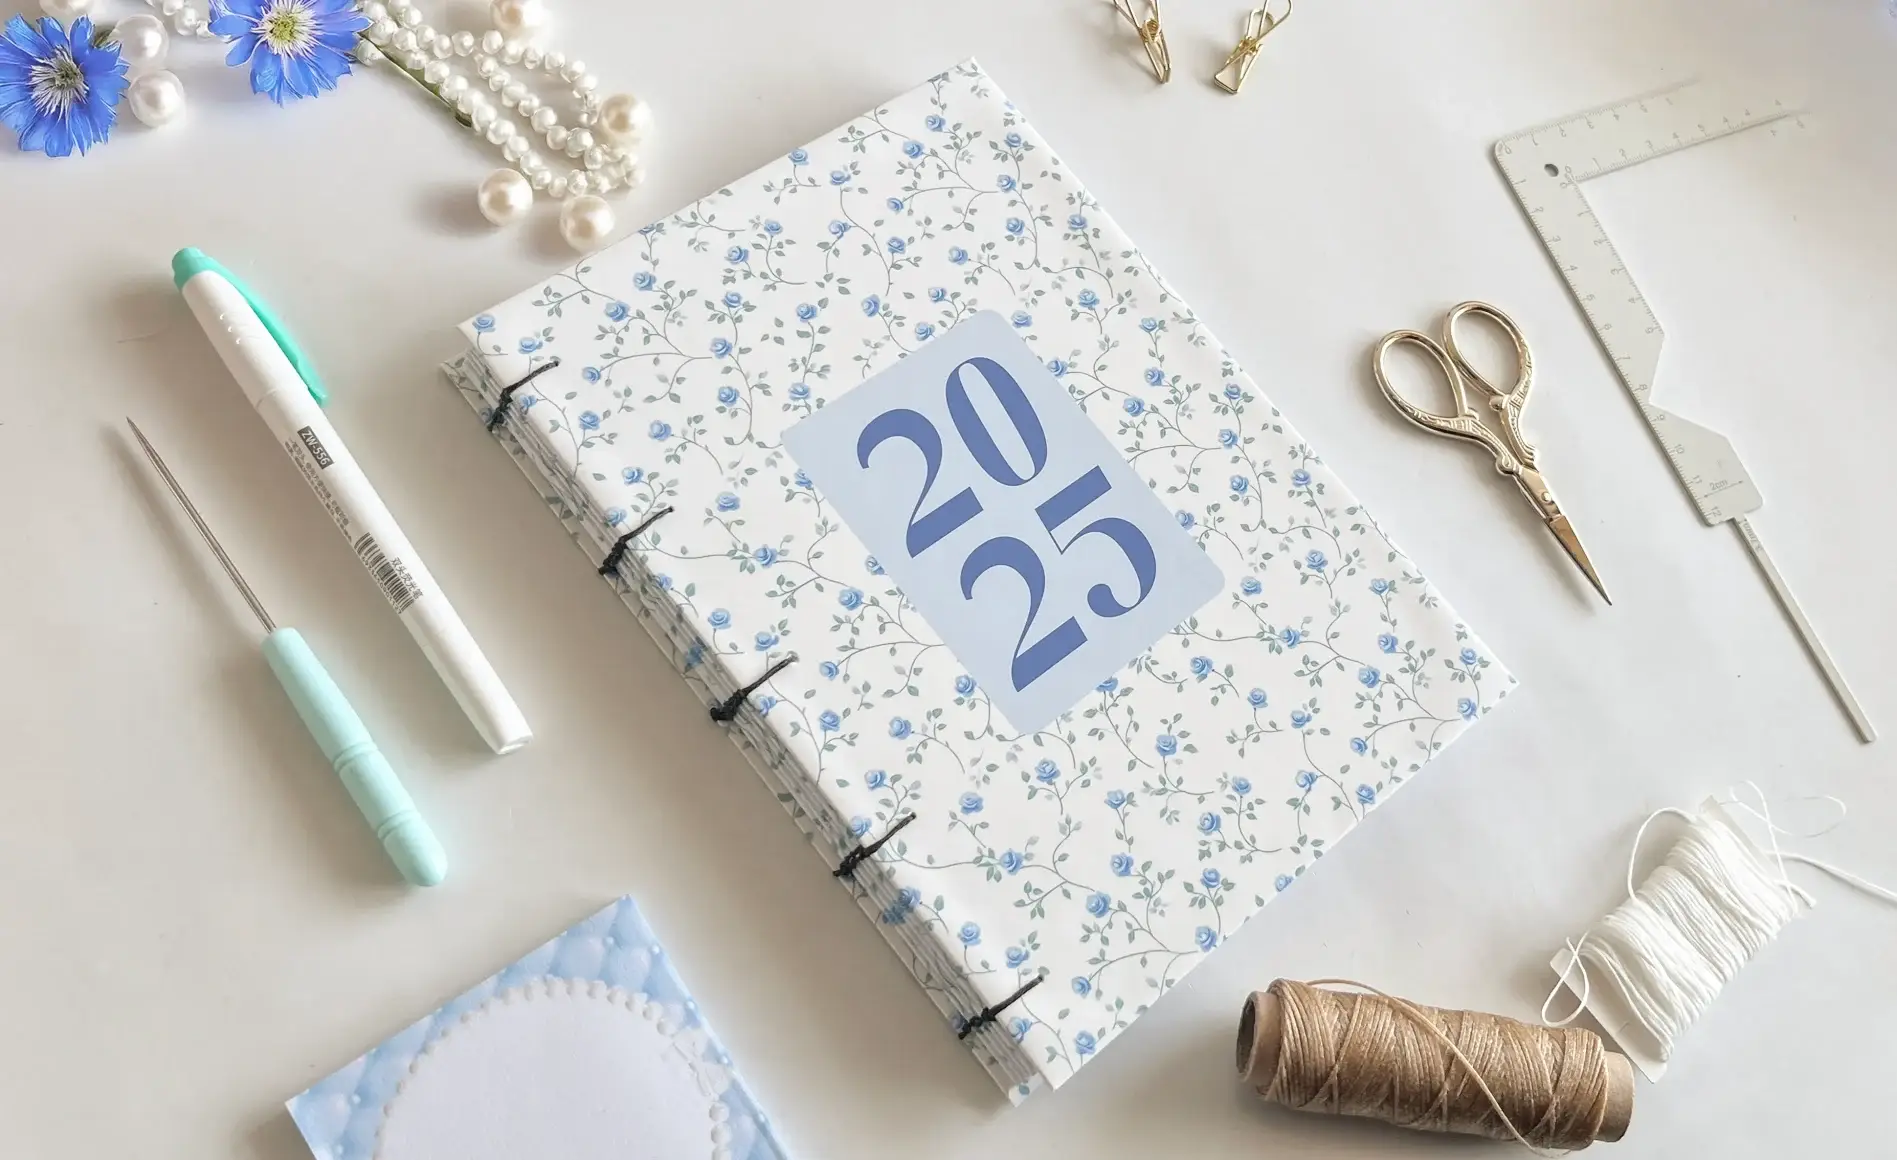
A signature-bound booklet is built the way books were built for centuries: sheets are folded into small nested groups called signatures, and those groups are sewn to each other along the spine rather than glued. Nothing crosses the gutter but thread, so the finished booklet drops open flat at any page and the exposed Coptic stitching becomes the decoration.
These tutorials use Planify Pro, a drag-and-drop tool for designing printable planners and stationery. Building and editing is free — exporting a PDF needs a plan, from $9.99/month.
Get the template
Any multi-page design works here — the binding is indifferent to what is printed on the pages. Browse the Planify Pro template library for a planner, journal or notes layout with enough pages to fill a few signatures, and adapt the size or colours before you print. The build in the photographs uses a 72-page A5 weekly planner.
Export and print
Export the interior pages as a PDF imposed for booklet printing — that is, with the pages shuffled out of reading order so that once the sheets are folded and nested, the numbers run correctly again. You also choose how many sheets go into each signature at this point; the booklet in the photographs uses six sheets per signature, which turns 72 A5 pages into 18 A4 sheets and three signatures of 24 pages each.
Print the imposed file at 100% scale, double-sided, flipping on the short edge. Both of those matter: any shrink-to-fit and the folded halves stop matching, and flipping on the long edge gives you upside-down alternate pages that no amount of folding will fix. No duplex printer? Print the odd pages, reload the same stack, then print the even pages. A printer with proper duplex saves a lot of reloading on a job this size.
Design and export the cover as a separate file — keep it out of the interior document, because booklet imposition will shuffle it into the middle of the block. Print the cover on glossy sticker paper at 120% scale, which leaves enough overhang to wrap around the finished booklet's edges.
What You'll Need
 Cardstock / Paper Cardstock / Paper |
 Glossy Sticker Paper Glossy Sticker Paper |
 Guillotine Paper Cutter Guillotine Paper Cutter |
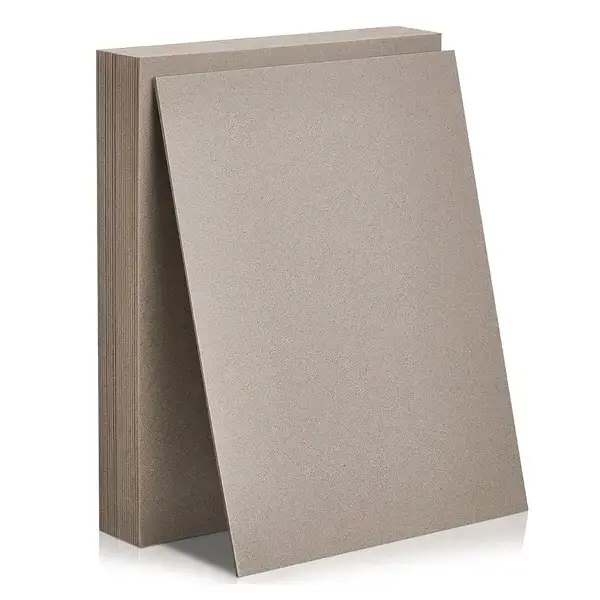 Chipboard / Book Board Chipboard / Book Board |
You will also need a small bookbinding kit: an awl to pierce the folds, a large-eye needle, and waxed linen thread, which grips its own knots and does not saw through paper the way ordinary sewing thread does.
A note on the paper. Interior sheets want to be light — ordinary 70–100gsm copy paper folds crisply and nests without bulking. Save the cardstock for the cover boards; a signature folded from cardstock springs open and fights the stitching.
Instructions
1. Print the imposed sheets and keep them in order. Take the stack off the printer without shuffling it — the imposition only works if the sheets stay in the sequence they were printed. Fan through and check the front and back of each sheet belong together before you fold anything.  |
2. Fold each sheet in half and crease it hard. Fold printed-side out, line the corners up before you press, then run a bone folder or the back of a spoon down the crease. A soft fold is the single most common reason a hand-sewn booklet ends up loose in the spine.  |
3. Nest the folded sheets into signatures. Working in the order the sheets came off the printer, slide each folded sheet inside the previous one — not on top of it — until you have a group of six. That nested group is one signature. Repeat until the whole stack is divided up; the booklet shown makes three.  |
4. Mark the sewing stations and pierce every fold the same way. Lay a ruler along the fold and mark four to six evenly spaced points, keeping the outermost ones about a centimetre in from the head and tail. Mark one signature, then use it as the guide for the rest so every hole lines up. Open each signature over a spare block or a folded towel and push the awl through from the inside of the fold, straight down, one hole at a time.  |
5. Sew the first signature. Thread a long length of waxed thread — roughly the spine height multiplied by the number of signatures, plus a hand's width — and sew in and out along the fold, leaving a tail at the first hole to tie off later. Pull the thread along the line of the spine rather than out sideways; pulled sideways it tears through the fold.  |
6. Chain each new signature onto the last. This is the Coptic stitch. Lay the next signature on top, bring the needle out through its matching hole, hook it under the stitch below that joins the two previous signatures, then take it straight back into the hole it came out of. Move to the next station and repeat, working back and forth along the spine, one signature at a time. Each hook leaves a small linked loop, and the row of loops is the chain you can see running down the finished spine.  |
7. Tie off, trim and add the cover. Knot the working thread to the tail inside the last fold and trim close. Square the fore edge on the guillotine if the inner pages creep past the outer ones, then wrap the sticker-paper cover around the front and back boards, leaving the sewn spine exposed — that stitching is the point of this binding, and covering it turns the booklet back into an ordinary glued block. |
Troubleshooting
Alternate pages are upside down. The duplex setting flipped on the long edge instead of the short edge. Reprint that sheet; nothing can be recovered by refolding.
The pages do not run in order once folded. Either the sheets were shuffled between the printer and the folding table, or a sheet was nested on top of the previous one instead of inside it. Unfold the signature and rebuild it in printing order.
The inner pages stick out past the outer ones. Normal — the further inside the nest a sheet sits, the further its edge travels round the fold. Fewer sheets per signature reduces it, and a single cut on the guillotine after sewing removes the rest.
The spine is loose and gappy. Thread tension was uneven, or the folds were not creased hard enough. Keep a light, constant pull as you work along each signature, and re-crease every fold before sewing rather than after.
The awl tore through a fold. Too much sideways force, or the holes sit too close to the head and tail. Keep the end stations at least a centimetre in from the edges and push the awl straight down onto a supporting surface.
Selling these
Sewn booklets sell on the spine. A visible Coptic chain reads as handmade in the way buyers are willing to pay for, and it photographs far better than a wire or glued edge — which matters when a listing lives or dies on its first thumbnail.
They also scale sideways rather than upwards. One interior design printed with four different sticker-paper covers is four products, and a matching booklet, notepad and sticker sheet bundles into a gift set worth more than the pieces sold apart.
Price the sewing in. Materials for a small booklet cost very little, but folding, piercing and stitching three signatures is genuine bench time — an hour or so until you are practised, and it never drops to nothing. See 20 profitable planner niches for more product ideas.
Try these next
- Book Binding Methods Compared — Coptic, wire, coil, saddle stitch and more
- DIY Lay-Flat Sketchbook — folded sheets glued at the folds instead of sewn
- DIY Hardbound Planner — a glued book block cased into a hard cover
- DIY Half-Hidden Wire Notebook — wire binding with the spine concealed
- How to Make Your Own Planner Book — the same pages, wire bound
- Browse all DIY tutorials


