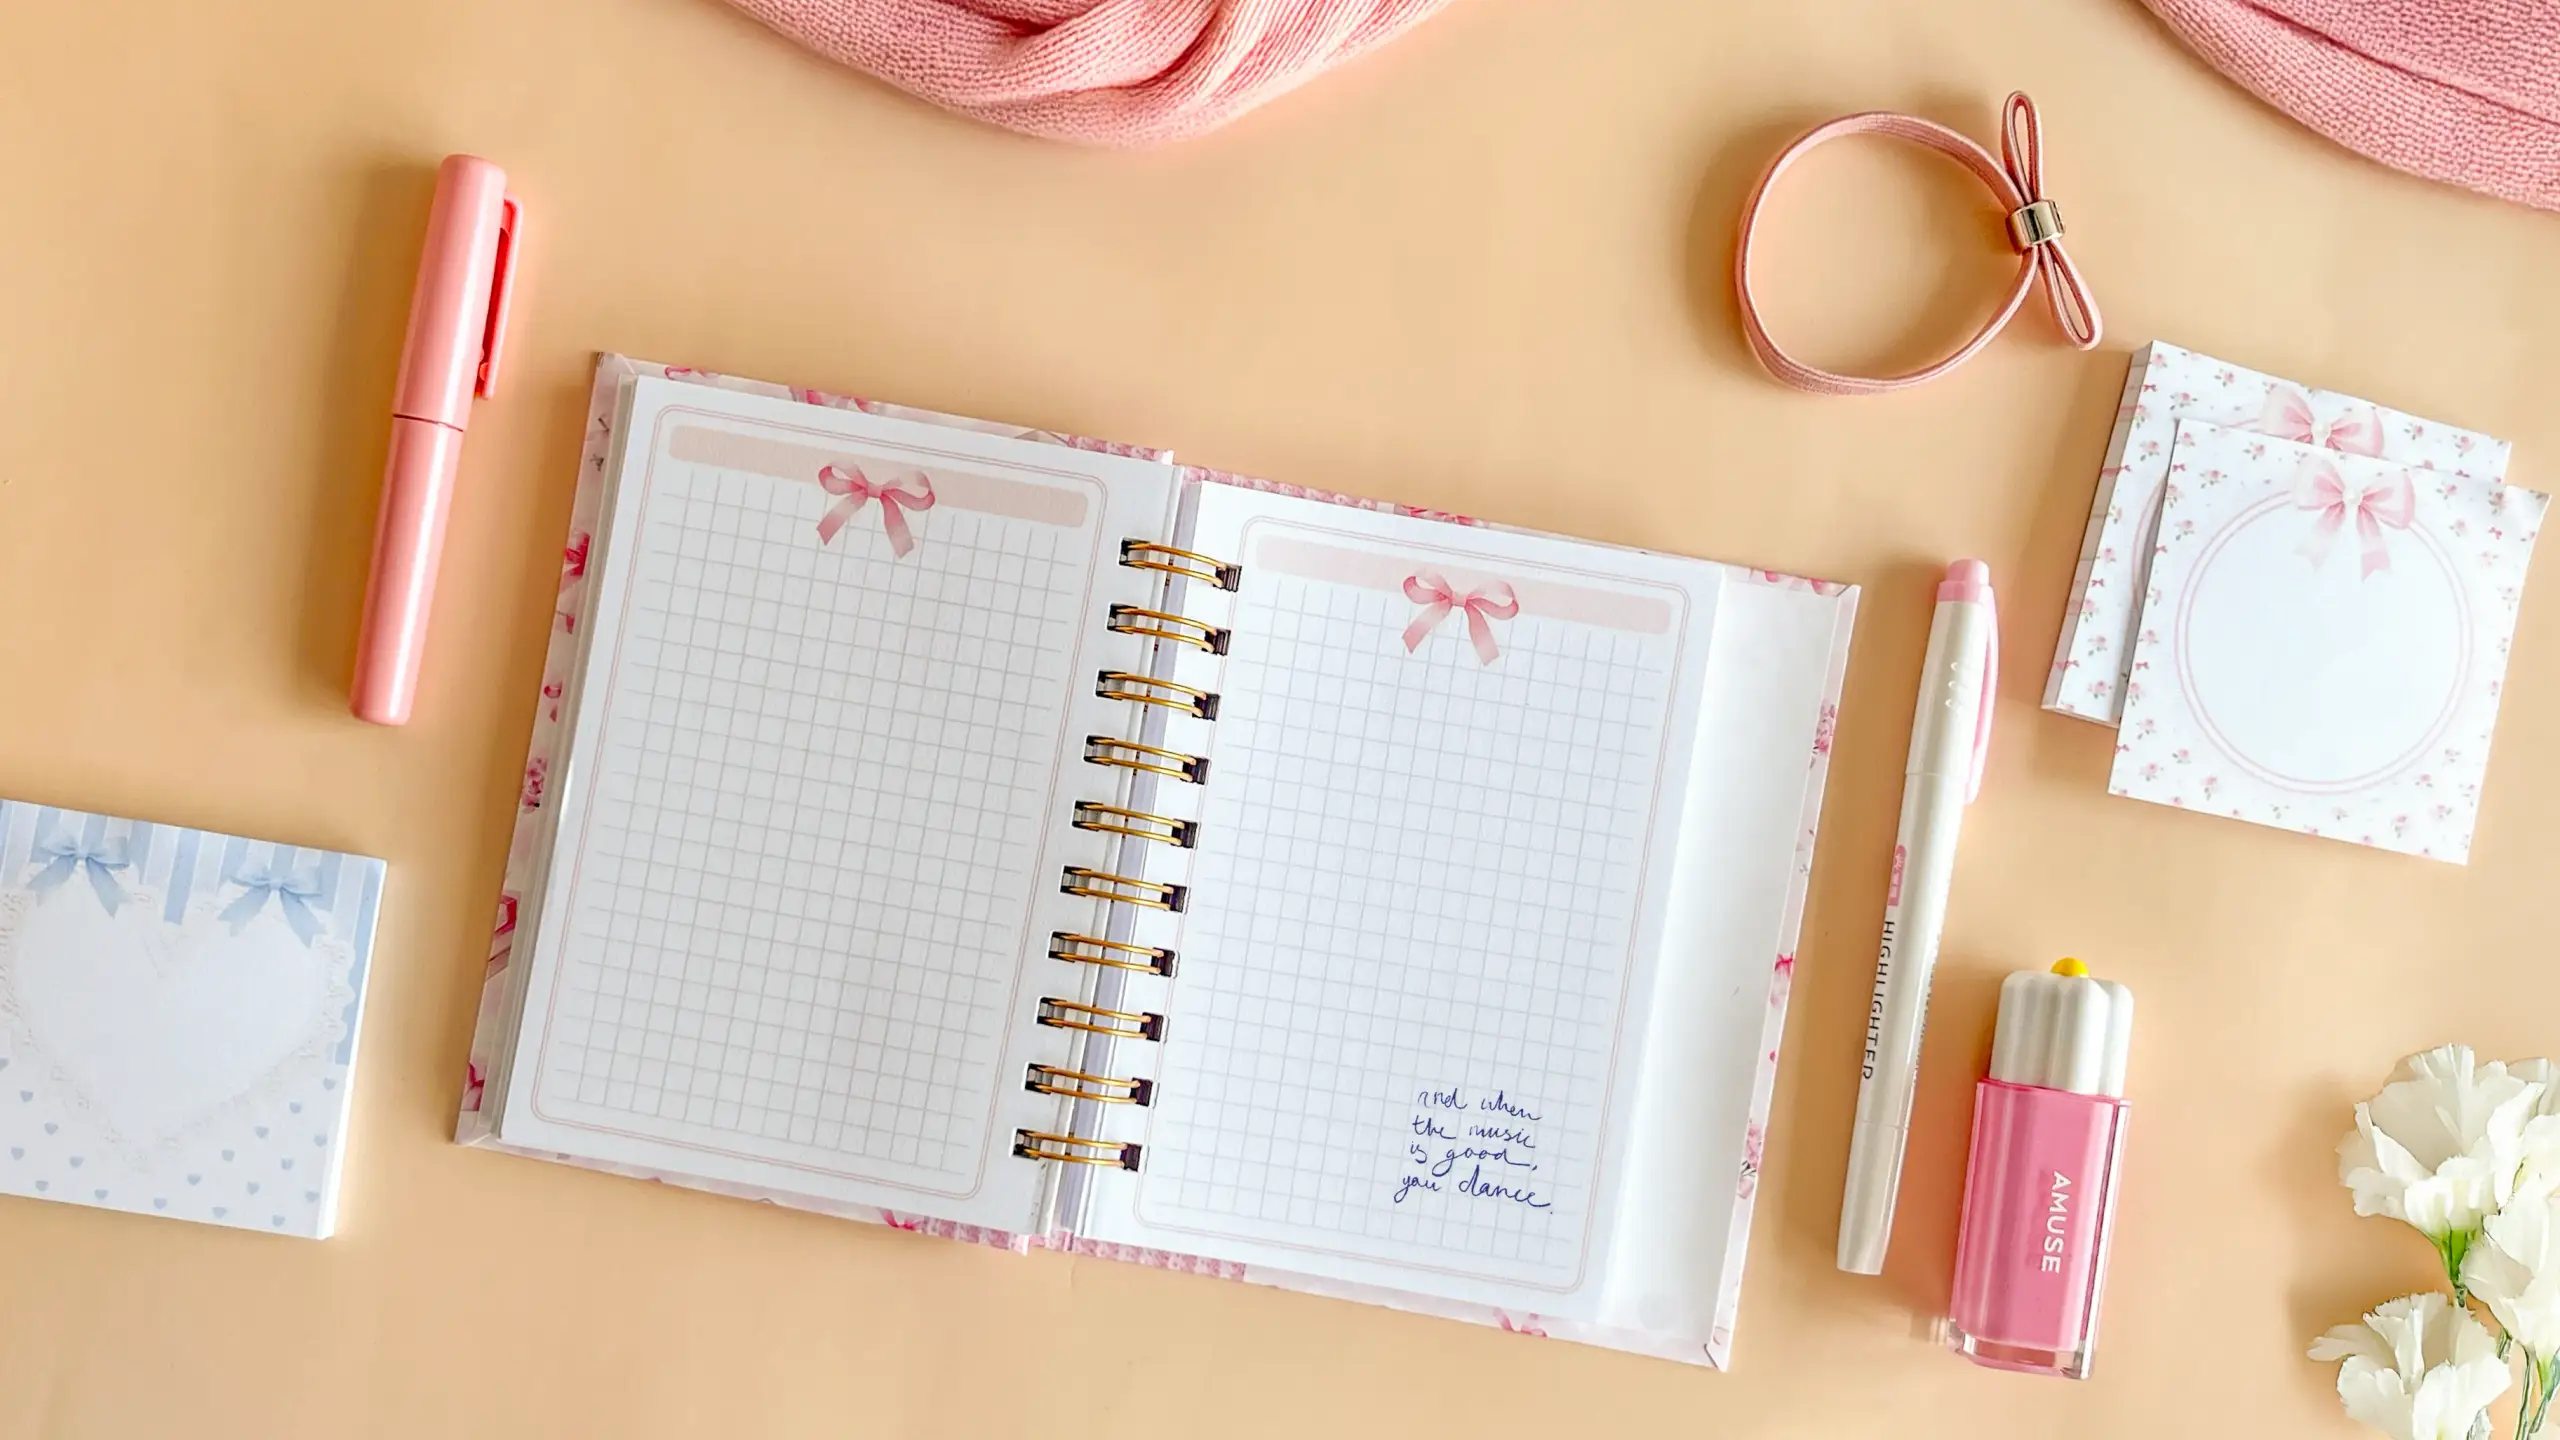
A half-hidden wire notebook keeps most of its binding out of sight: the printed cover carries a narrow spine strip that folds over the twin-loop wire, so the spine reads as a flat printed panel with only part of each loop showing. It still behaves like a wire book — the pages turn the whole way round and the notebook lies flat — but from the outside it looks like something off a shop shelf.
These tutorials use Planify Pro, a drag-and-drop tool for designing printable planners and stationery. Building and editing is free — exporting a PDF needs a plan, from $9.99/month.
Get the template
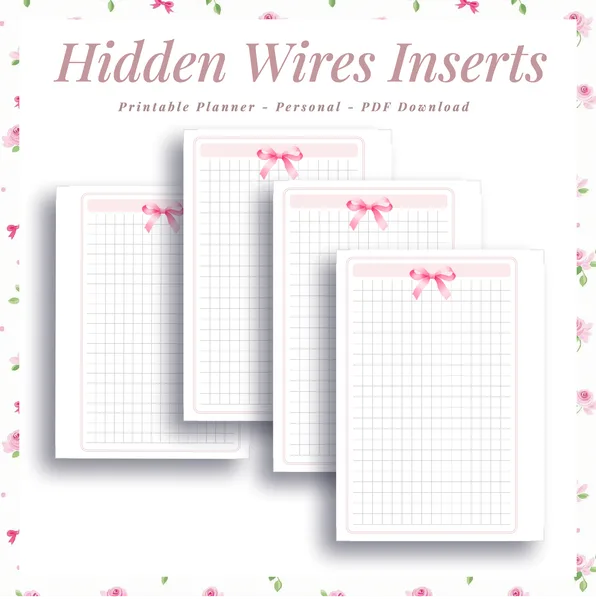
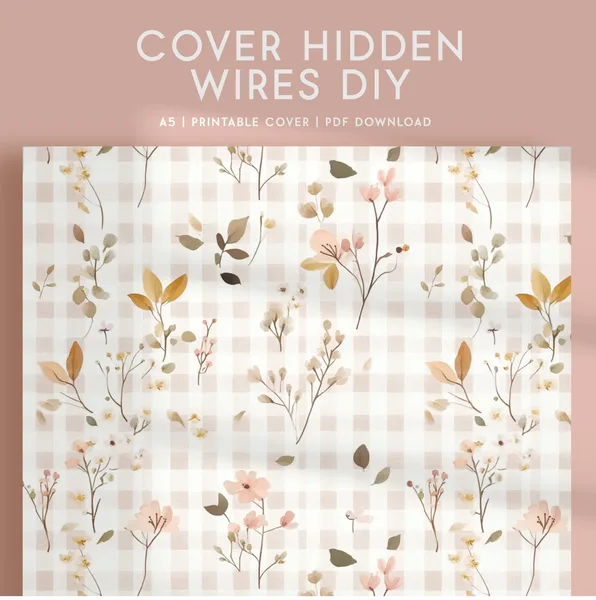
Two files make the notebook: the A6 inserts and the wrap-around cover. Open either one in Planify Pro to change the size, colours or layout before printing, or print them exactly as they are.
Export and print
Export both files as PDFs and print them at 100% scale. Turn off "fit to page" or "shrink oversized pages" — the cover is drawn around a specific board size, and even a few percent of scaling will leave the printed spine strip narrower than the boards it has to wrap.
Print the inserts on A4 or US Letter paper, two A6 pages to a side. Print the cover onto white glossy sticker paper, which is what lets you burnish it down onto the chipboard without glue and without bubbles. If you are choosing a printer for this kind of work, our best printers for planner making comparison is a good starting point.
What You'll Need
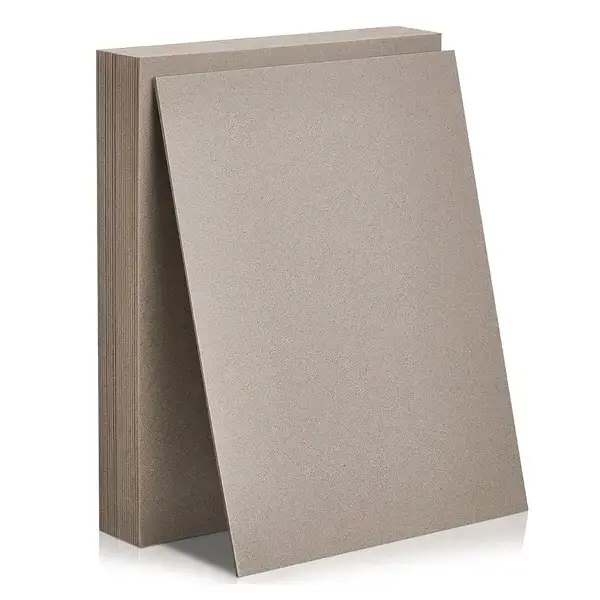 Chipboard / Book Board |  Binding Wires |  |
White Glossy Sticker Paper | Paper 70gsm |
You will also want a metal ruler and a craft knife — every straight cut and every score line on this cover is made against a steel edge, and a plastic ruler will get shaved.
A note on the board. 1.2mm is the ceiling, not a target. The cover has to fold along the spine strip, and thicker board fights the fold — it springs back open and the wire never sits flush against it.
Instructions
1. Cut four chipboard panels. A front, a back, and two narrow strips for the spine. Cut them a little larger than the A6 pages so the cover overhangs on three sides — the boards in the photo are marked at roughly 11.2 x 15.5cm.  |
2. Stick the panels to the printed cover and trim the excess. Leave a small gap between each panel — those gaps are the hinges the cover folds on. Cut the surplus back against a metal ruler, keeping a margin all round to fold over.  |
3. Score the folds, then wrap and line the cover. Run a ruler along each gap so the hinge creases in a straight line, fold the margins over the board edges, and cover the inside with white glossy sticker paper to hide the folded flaps.  |
4. Punch the cover. Feed it into the binding machine and punch the row of slots that runs alongside the spine strip. Punch the cover first, while it is still one flat piece and easy to line up square.  |
5. Check the inside before you go further. The slots should sit just inside the hinge score, on the panel next to the narrow spine strip. That offset is the whole trick — it leaves the strip free to fold over the outside of the wire.  |
6. Punch the inserts and load the wire. Punch the pages a few sheets at a time so the slots stay clean, then hang the cover and the pages on an open 20mm wire.  |
7. Squeeze the wire closed. Set the closing bar to 20mm and press in one smooth movement. Closing it too far flattens the loops and the pages stop turning; too little and the wire pops open at the ends.  |
Fold the spine strip over and you are done — the wire sits behind the printed strip, half concealed, and the notebook closes flat like a bought one.  |
Troubleshooting
The cover will not close flat. The hinge gaps between the boards are too narrow. Board needs a gap roughly its own thickness to fold through; any tighter and the panels butt against each other and spring back.
The wire pops open along the spine. Either the closing bar was set wider than 20mm, or there are too many pages on the wire. A 20mm wire has a fixed capacity — take a few sheets out rather than forcing it shut.
The cover slots do not line up with the page slots. The cover was punched at a different position in the machine than the inserts. Push everything firmly against the same edge guide, and punch the pages in even batches so no batch drifts.
The spine strip will not stay folded over. The score is too shallow, or the board is thicker than 1.2mm. Re-score along the hinge with a ruler and press the fold under a heavy book for a few minutes.
Selling these
A half-hidden wire notebook sells for more than the same pages in a plain wire binding, and it costs almost nothing extra to make — two narrow strips of board and one more score line. The finish is what people are paying for: it reads as manufactured rather than handmade, which is exactly the impression a plain exposed coil does not give.
The cover is also the cheapest thing to vary. One insert design and six cover prints gives you six products, and a themed set — notebook, matching notepad, matching stickers — is worth more together than the pieces are apart.
If you are selling the finished notebook rather than the template, price the assembly in as well as the materials. The boards, the wrapping and the lining are most of the work; the binding itself takes a couple of minutes. See 20 profitable planner niches for more product ideas.
Try these next
DIY Corner-Bound Notebook — the same wire binding, rotated 45 degrees
How to Make Your Own Planner Book — wire binding at full planner size
DIY Hardbound Planner — a glued book block in a hard case instead
DIY Refillable Notepad — chipboard covers held by Chicago screws
Book Binding Methods Compared — wire, coil, Coptic, saddle stitch and more


