All posts
DIY

How to make a Meal Planner

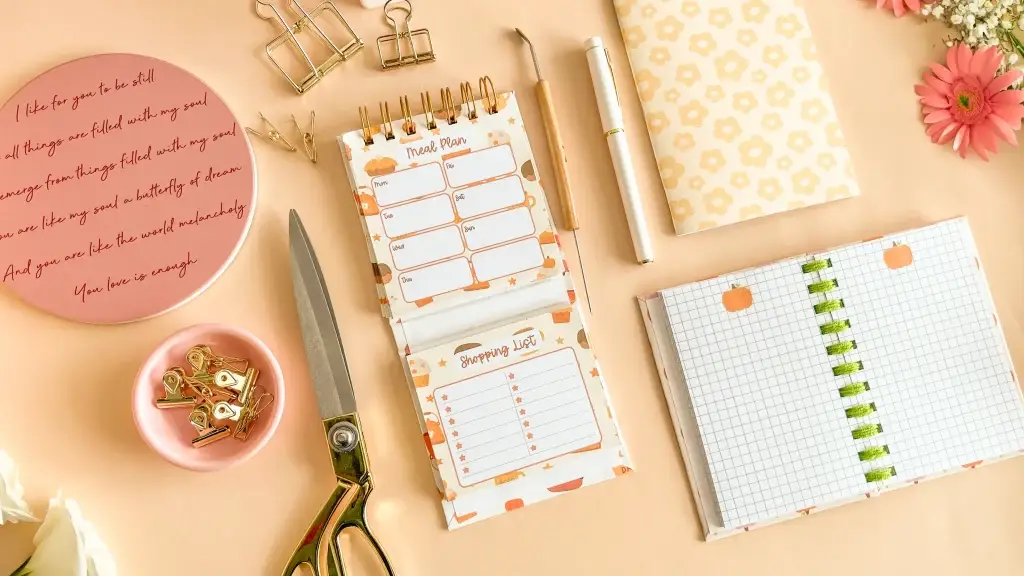
A handmade meal planner, the finished make from this DIY tutorial

Design an A5 slim meal planner in Planify Pro with Monday-to-Sunday boxes, print 80 inserts and a sticker-paper cover, glue a tear-off shopping list and O-wire bind it.

Fall into a healthier lifestyle with a DIY meal planner that’s as vibrant as the autumn leaves! This personalized planner isn’t just about listing meals; it’s about taking control of your nutrition, managing your budget, and creating delicious dishes that nourish your body and soul. Let’s transform meal planning into a joyful and creative experience, where each page reflects the beauty of the season.

With Planify Pro’s user-friendly interface, you can design a meal planner that’s both visually appealing and functional. Incorporate warm autumn colors, cozy patterns, and inspiring quotes to motivate you on your wellness journey. Track your meals, monitor your nutrient intake, and plan your grocery shopping with ease.

Whether you’re a seasoned cook or just starting to explore the world of healthy eating, this tutorial will guide you through every step. From designing custom layouts to adding those final touches, you’ll discover the satisfaction of creating a planner that’s uniquely yours. Get ready to embark on a culinary adventure and make this autumn your healthiest and most delicious yet!

What you’ll need to prepare before crafting your meal planner:

Paper to print out the Notes PagesChipboard book board for planner covers
Chipboard / Book Board
Printable vinyl sticker paper
Sticker Paper
Cinch book binding machine
Cinch Binding Machine
Twin loop wire binding spines
Binding Wires

Design Meal Planner Inserts

Steps for customizing your meal planner with Planify Pro

Starting a new meal planner project in the Planify Pro editor

Selecting the A5 slim page size for the meal planner inserts

Step 1: Choose A5 slim size and set up layout

Open Planify Pro and select A5 slim size for your meal planner. Add two vertical multiple box widgets to create the layout for your weekly meal sections.

Renaming the top boxes Monday through Sunday for the weekly meal plan

Adding a to-do list section at the bottom for grocery shopping and meal prep

Two vertical multiple box widgets being arranged to form the weekly layout

The weekly meal boxes and to-do list in place on the A5 slim page

Step 2: Name the boxes and add to-do list

Name the top boxes Monday through Sunday for your weekly meal planning. Add a to-do list section at the bottom for grocery shopping and meal prep tasks.

Changing the styling of an individual weekly meal box

Recoloring a meal planner box using the color controls

Picking a warm autumn color palette for the meal boxes

Warm autumn colors applied across the weekly meal boxes

Step 3: Change styling and colors

Customize the styling and color of each box to match your aesthetic. Choose warm autumn colors like oranges, browns, and burgundies to create a cozy seasonal feel.

Adding a custom text element to the meal planner page

Choosing a font for the meal planner text

Applying a background pattern to the meal planner insert

Adjusting the text styling once the pattern is in place

Step 4: Add text, fonts, and patterns

Add custom text, choose fonts that match your style, and incorporate patterns or backgrounds to make your meal planner visually appealing and unique.

Reviewing the finished insert design before moving on to printing

Previewing the completed meal planner insert in Planify Pro

Making final layout adjustments to the insert before export

Checking the Monday to Sunday meal sections on the finished insert

Step 5: Finalize your design

Review your design and make any final adjustments to ensure everything looks perfect before moving on to the printing stage.

Saving the completed meal planner design in Planify Pro

Choosing PDF as the export format for the planner inserts

The PDF export settings for the meal planner file

Setting the page count to 80 pages before exporting

Step 6: Save and export as PDF

Save your design and export it as a PDF file. Make sure to set the correct page count (80 pages recommended) for a complete meal planner that will last you several months.

Printing the 80 pages of meal planner inserts

Checking printer settings and print quality on the inserts

The printed insert pages stacked after coming off the printer

The printed inserts sorted into order ready for trimming

Step 7: Print the inserts

Print all 80 pages of your meal planner inserts on quality paper. Make sure your printer settings are correct for the best results.

Designing the meal planner cover page in Planify Pro

Adding the title text to the meal planner cover

Adding a button element to the cover design

Adding decorative elements to finish the cover design

Step 8: Create the cover page

Design a beautiful cover page for your meal planner. Add custom text, buttons, and decorative elements to make it eye-catching and personalized.

Exporting the finished cover design ready for printing

Printing the cover design onto white glossy sticker paper

The printed sticker-paper cover ready for assembly onto chipboard

Step 9: Print cover on sticker paper

Print your cover design on white glossy sticker paper for a professional, durable finish that will protect your meal planner.

Binding Meal Planner

Physical assembly steps

Trimming the printed inserts down to the correct size

Punching binding holes along the edge of the trimmed inserts

Step 1: Trim and punch holes in the inserts

Carefully trim all your printed inserts to the correct size, then use a hole punch to create binding holes along the edge where you’ll add the wire binding.

Stacking the shopping list pages together before gluing

Applying glue along the top edge to make a tear-off shopping list pad

Step 2: Glue the shopping list section together

Stack your shopping list pages together and apply glue along the top edge to create a tear-off notepad section for your meal planner.

Chipboard cut to size for the front and back covers

Laying the printed sticker-paper cover onto the chipboard

Smoothing the sticker paper down to remove bubbles and wrinkles

The chipboard fully covered by the printed sticker-paper cover

Step 3: Prepare chipboards and cover with sticker paper

Cut chipboards to size for your front and back covers. Carefully apply the sticker paper with your printed cover design to the chipboards, smoothing out any bubbles or wrinkles.

Threading the O-wire through the punched holes in the inserts

Adding the front and back covers onto the O-wire

Taping the shopping list notepad to the inside cover

The finished wire-bound meal planner with its printed sticker cover

Step 4: Assemble everything together

Thread the O-wire through all your inserts and covers using your binding machine. Use double-sided tape to attach the shopping list notepad to the inside cover. Your beautiful DIY meal planner is now complete and ready to use!

What you need to get started
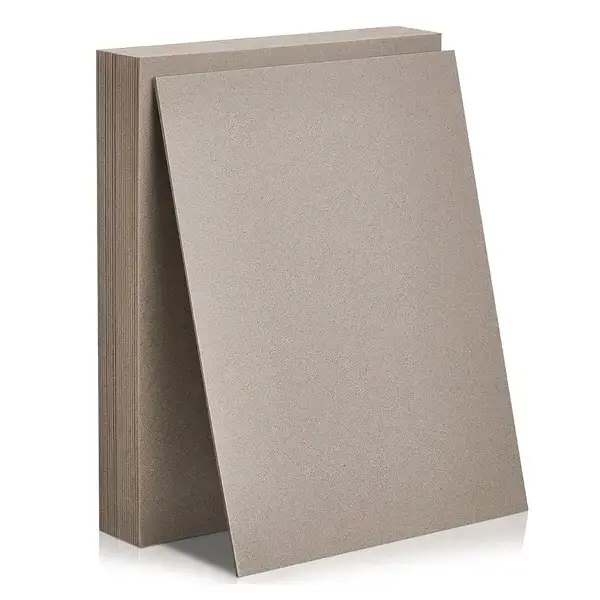
Rigid chipboard book board that stiffens the front and back covers
Chipboard / Book Board
A guillotine paper cutter for trimming printed planner inserts to size
Guillotine Paper Cutter
The Cinch machine that punches the holes and closes the wire binding
Cinch Binding Machine
Twin-loop binding wires that form the spine of the planner
Binding Wires
White glossy sticker paper for printing the planner cover
Sticker Paper
Heavier cardstock paper used for planner covers and dividers
Cardstock Paper

More in DIY

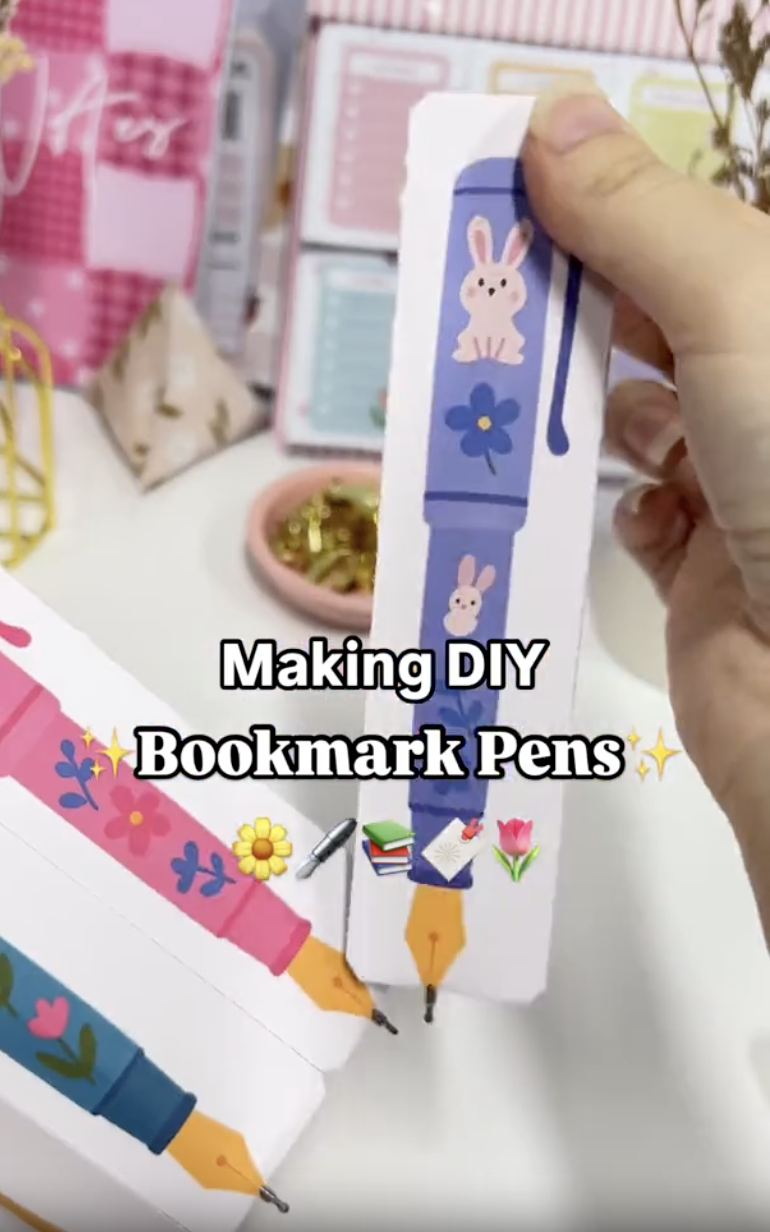
Completed DIY bookmark pens with perforated tear-off sections
diy tutorial

DIY Bookmark Pen: How to Make Tear-Off Bookmark Pens for Your Planner

Make a bookmark that's also a pen — perforated tear-off sections wrapped around ink cartridges, so there's always a fresh bookmark underneath.

6 min read
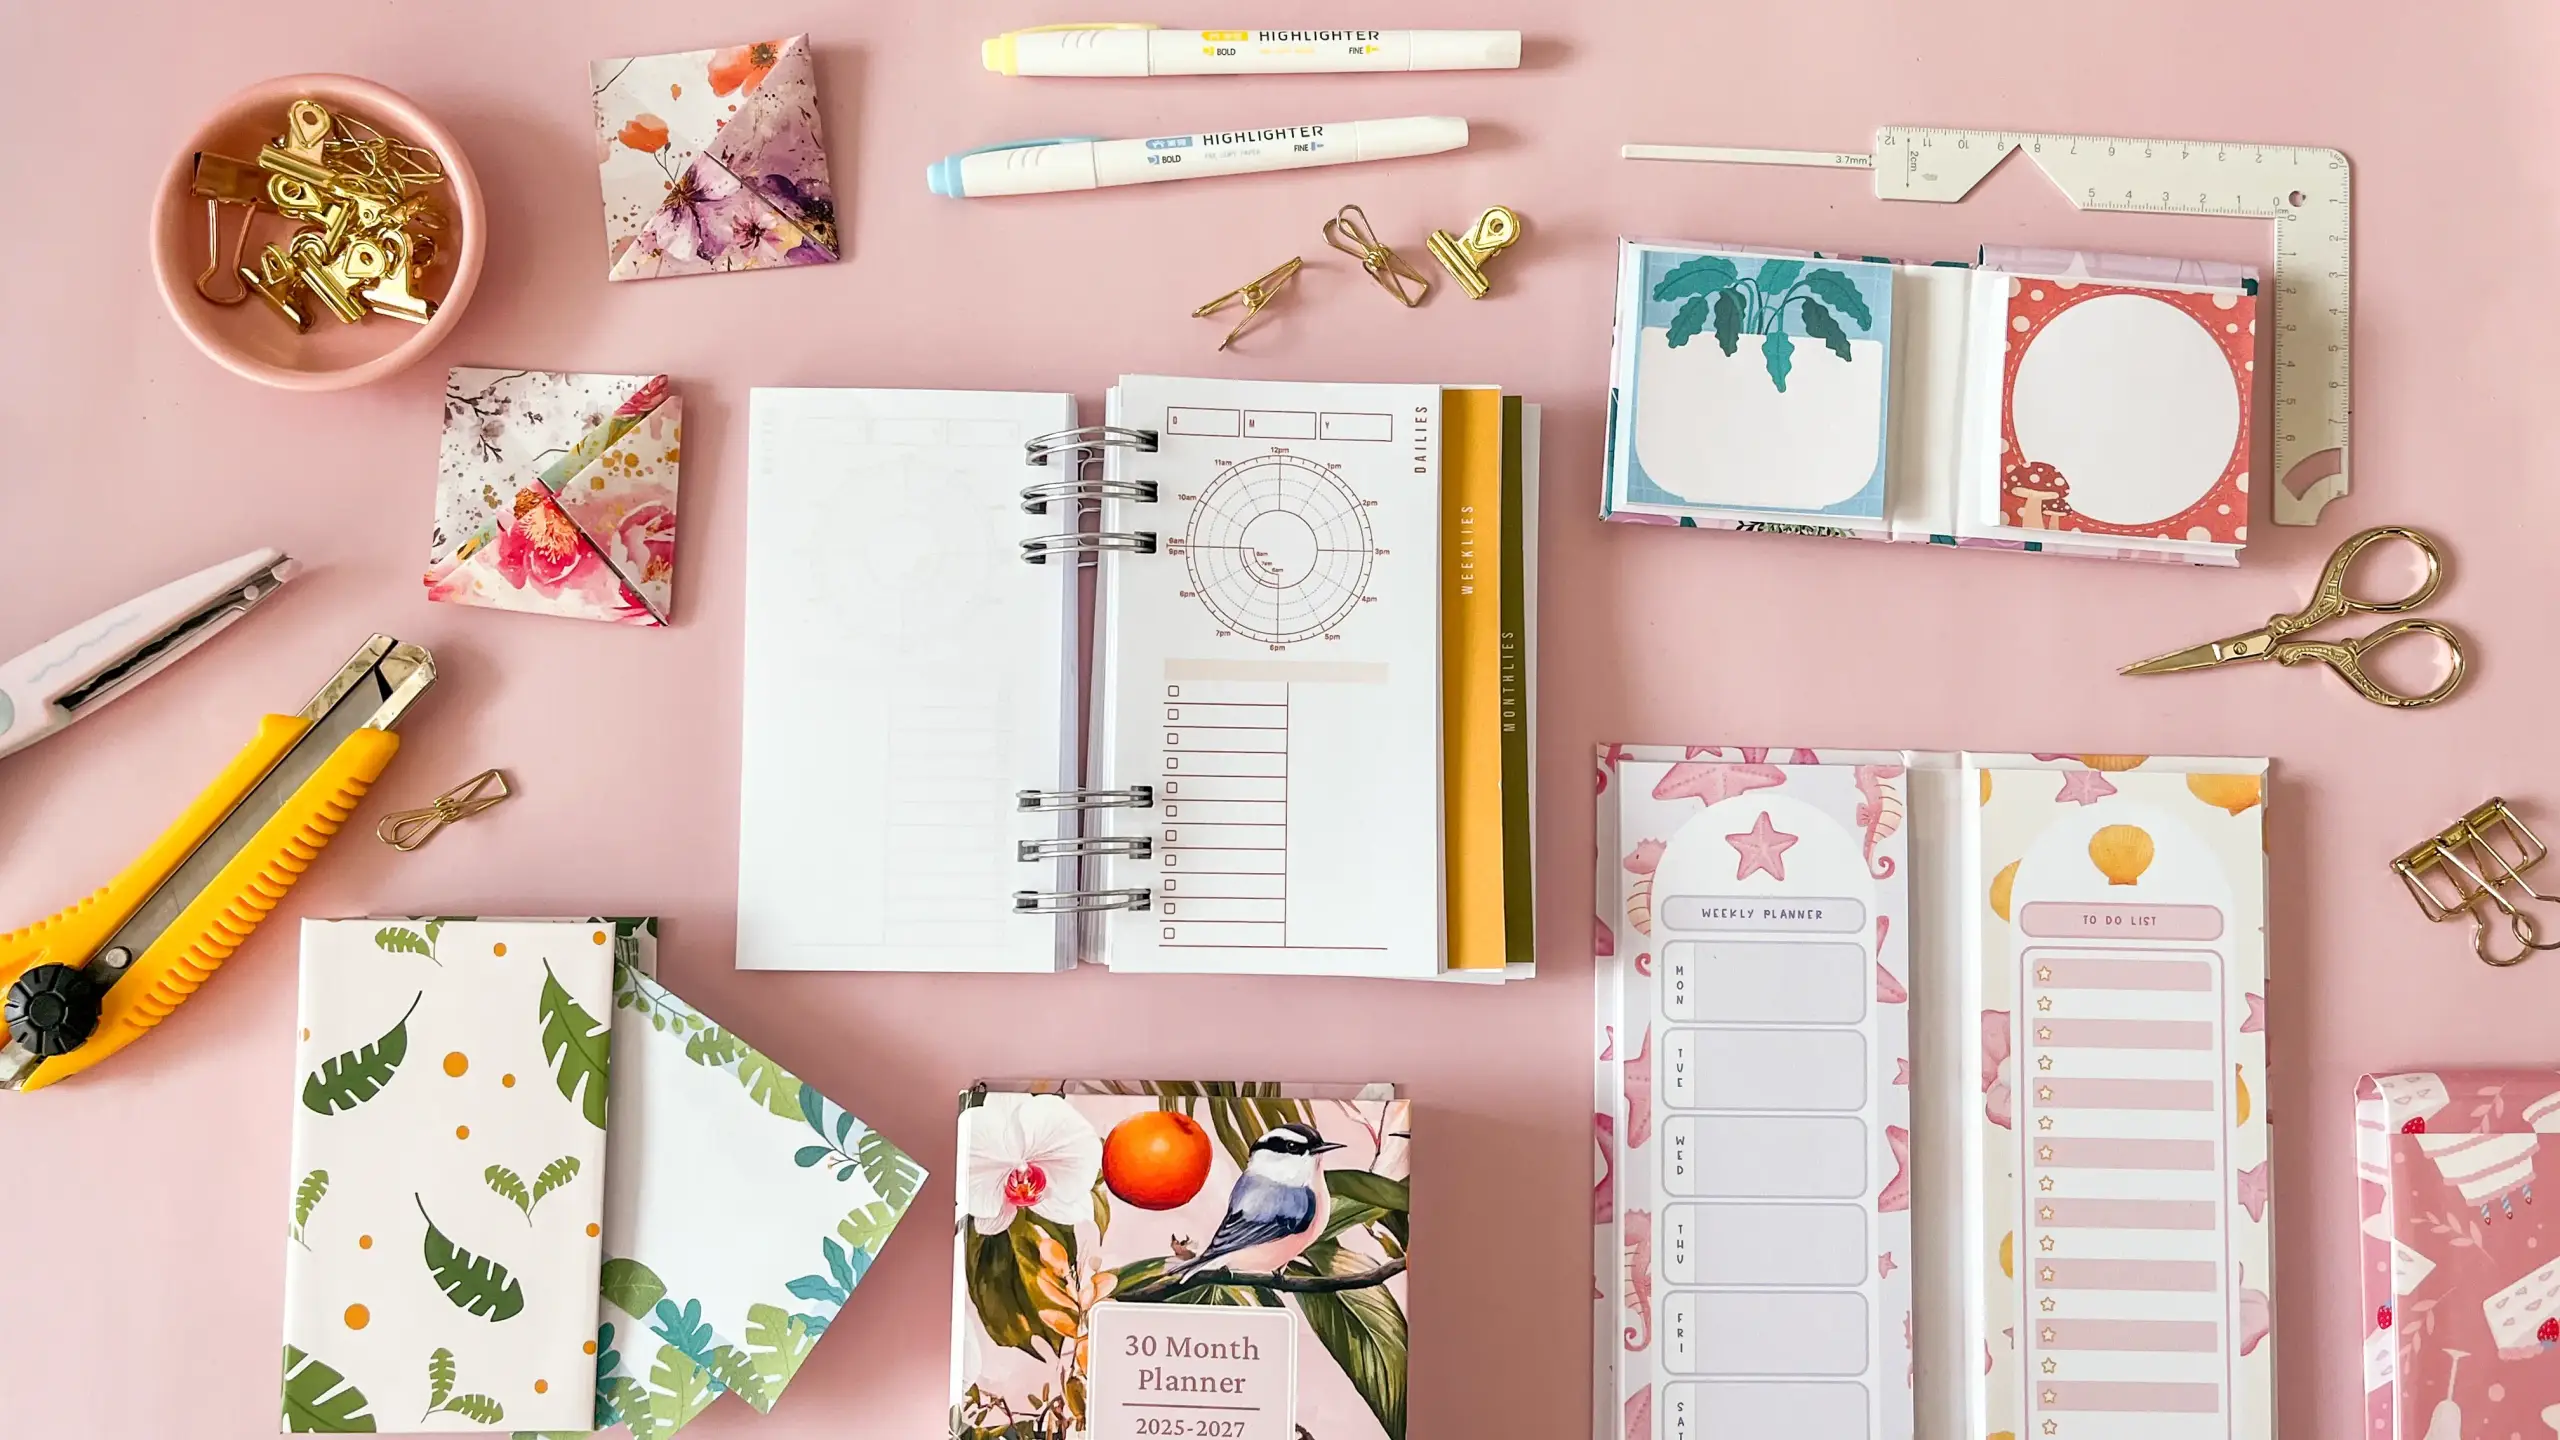
A handmade planner book made with Planify Pro templates

How to Make Your Own Planner Book: Complete DIY Guide

Build a bound planner book: pick a booklet template in Planify Pro, export and print the inserts, add a glossy sticker cover at 120%, then bind with a Cinch.

3 min read
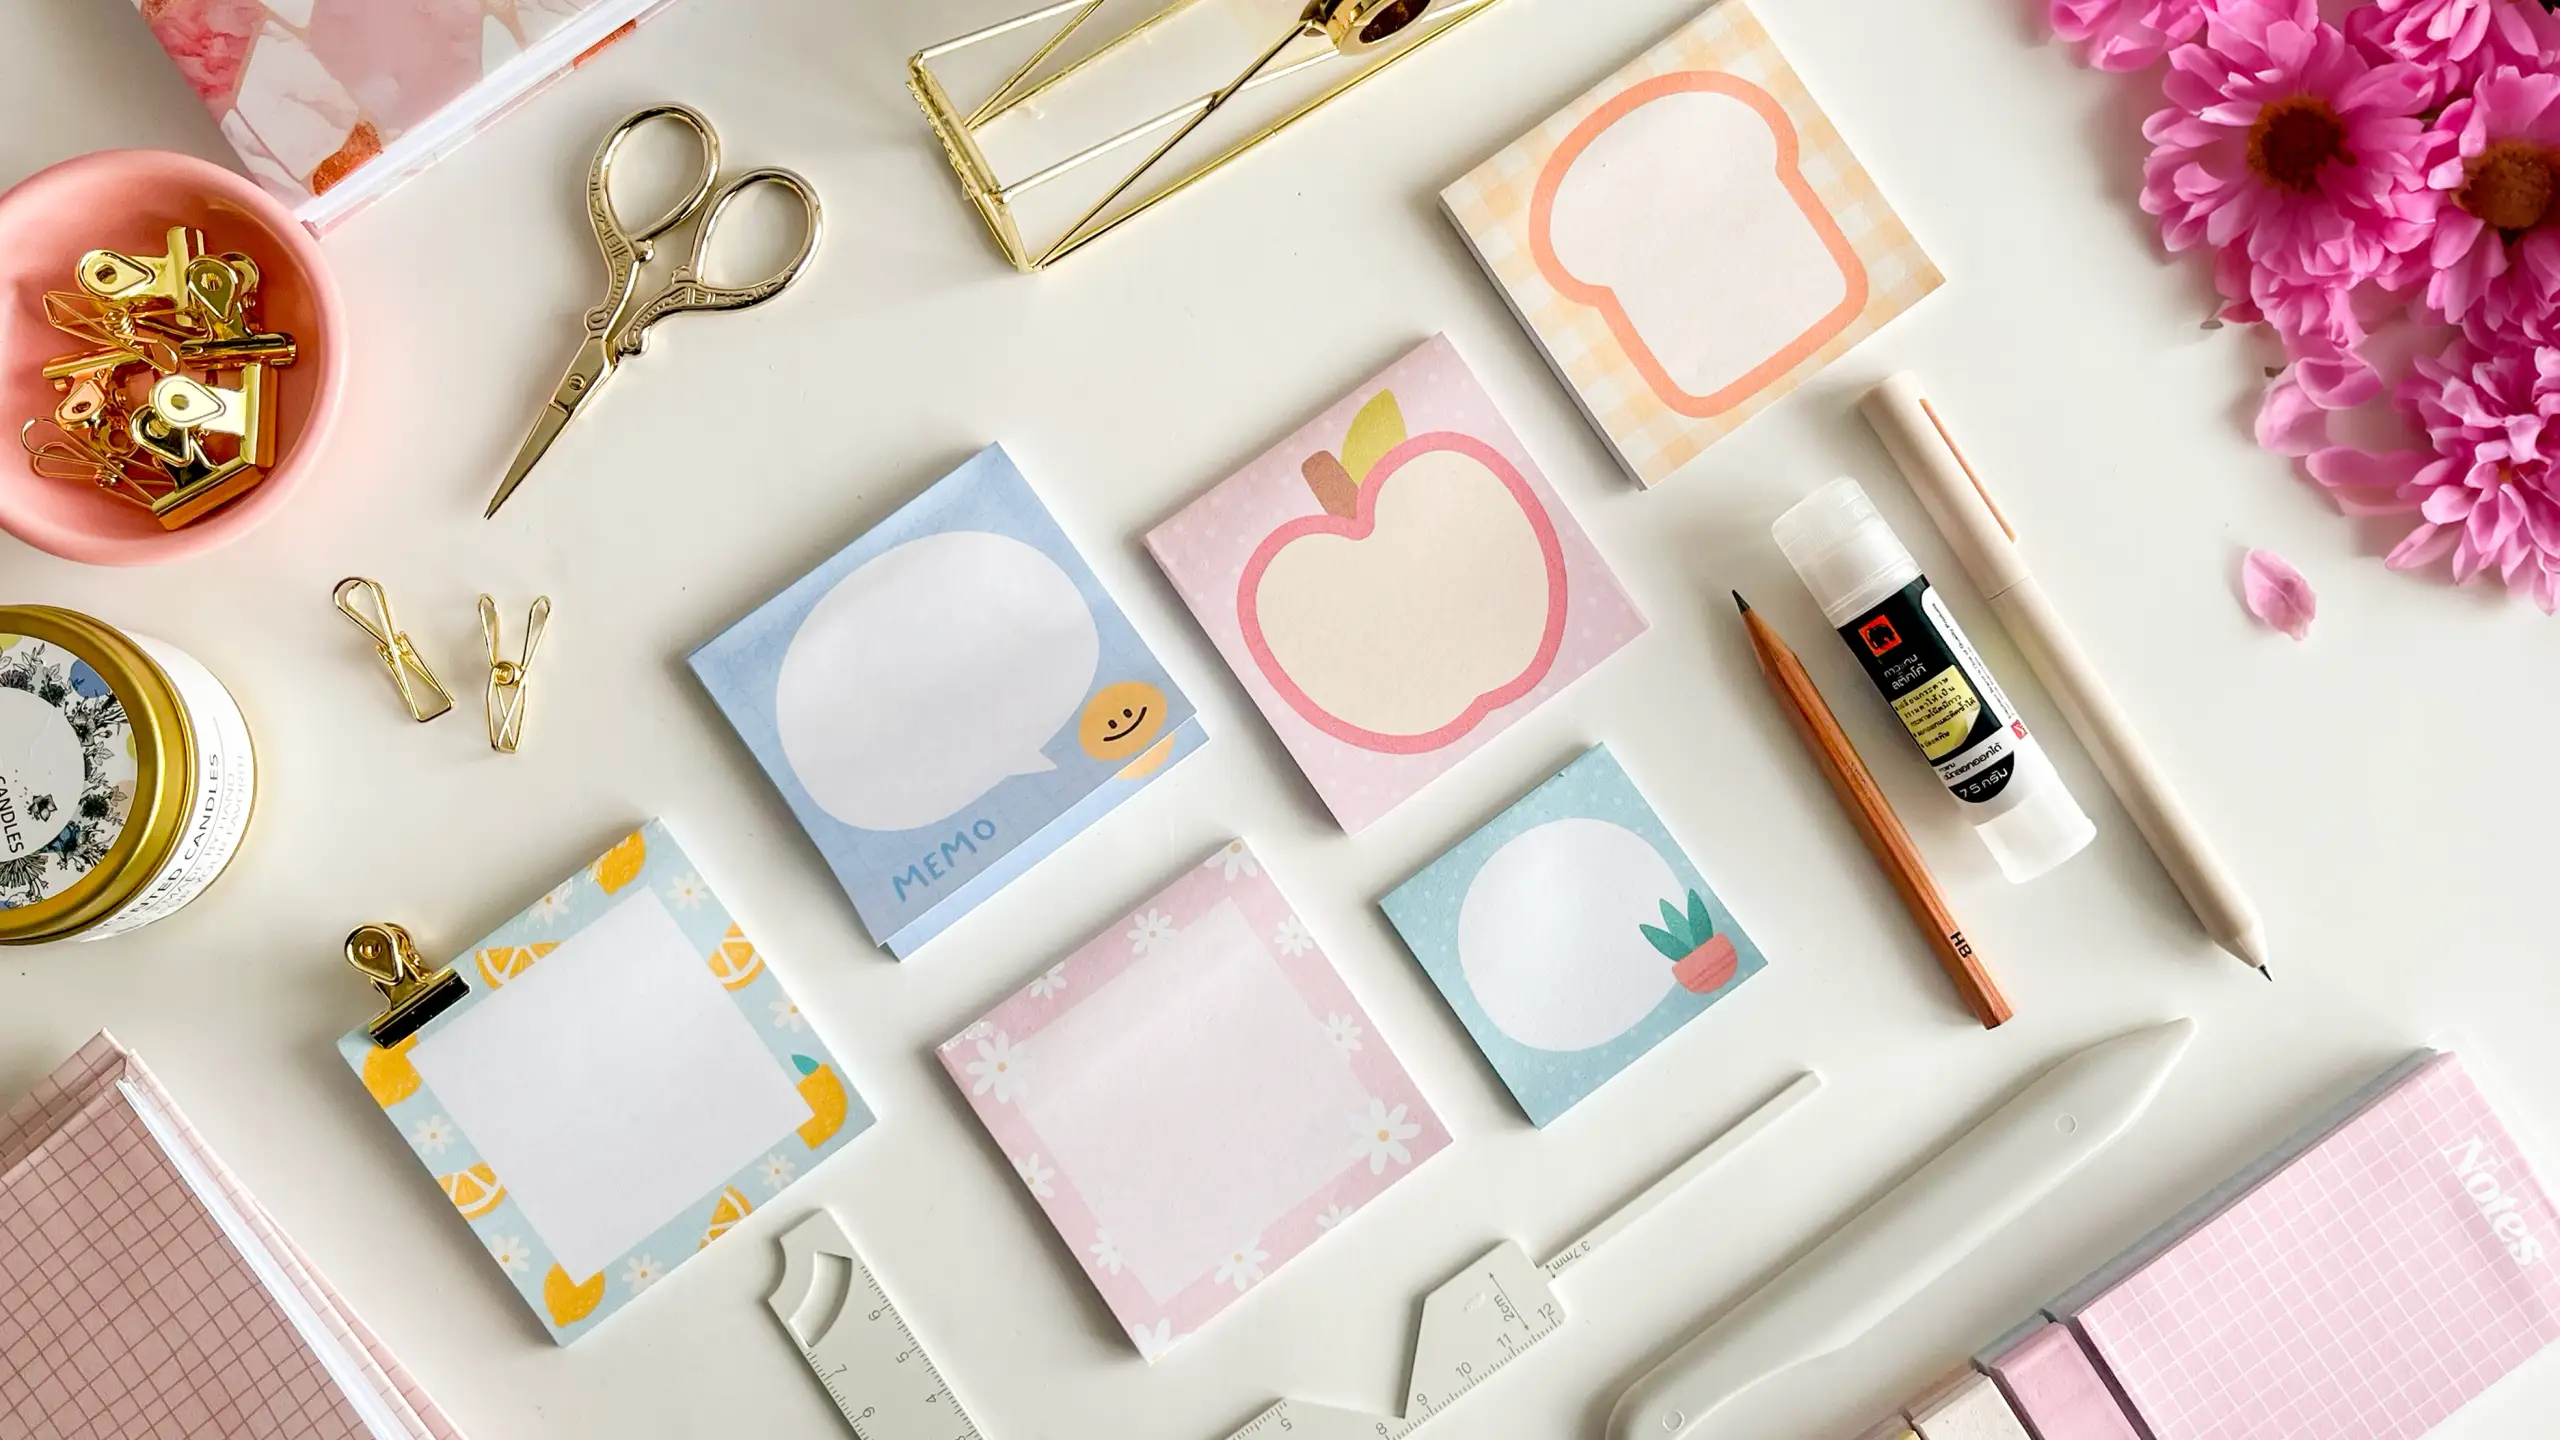
Homemade sticky notes made at home from printed Planify Pro designs

How to Make Sticky Notes at Home: DIY Step-by-Step Guide

Make your own sticky notes: lay out six designs on an A4 page in Planify Pro, print at 100%, then stack, glue a 1.5 cm strip and trim with a paper cutter.

3 min read