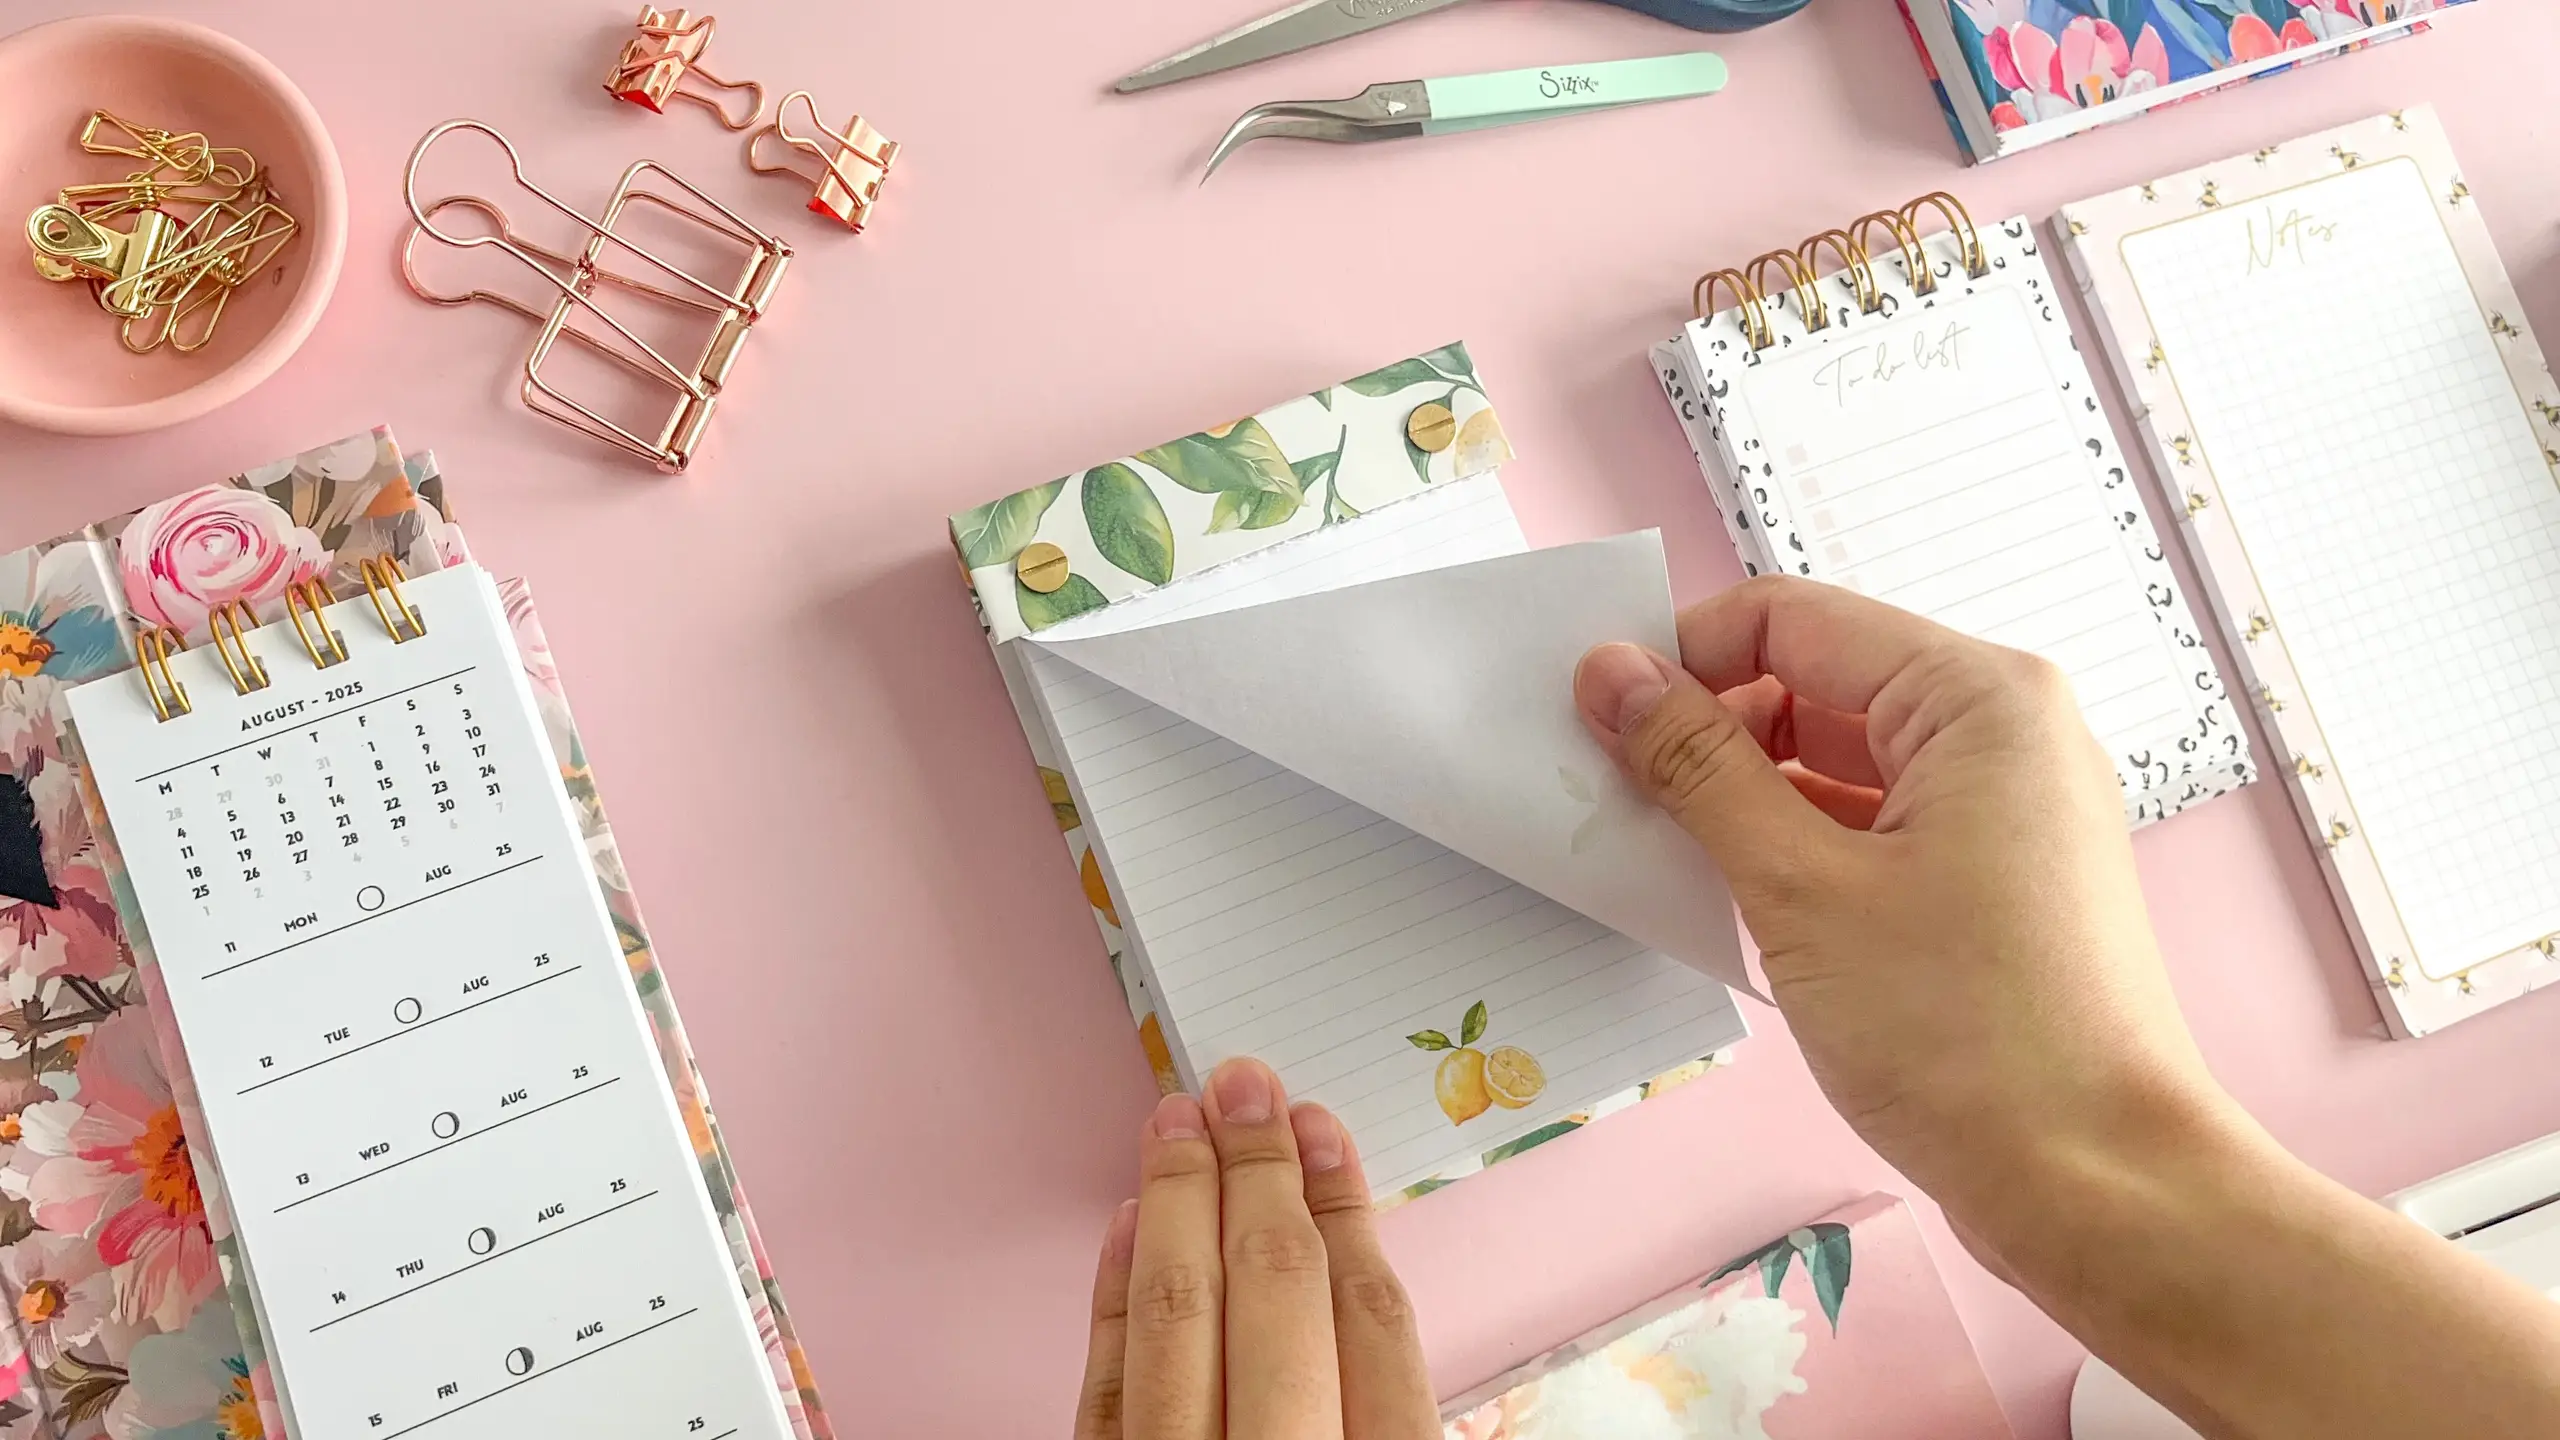
A refillable notepad is a pad whose pages are held by two Chicago screws instead of glue, so undoing them by hand is all it takes to drop in a fresh stack. The cover is chipboard wrapped in printed sticker paper, which means one cover outlives dozens of pads.
These tutorials use Planify Pro, a drag-and-drop tool for designing printable planners and stationery. Building and editing is free — exporting a PDF needs a plan, from $9.99/month.
Get the template
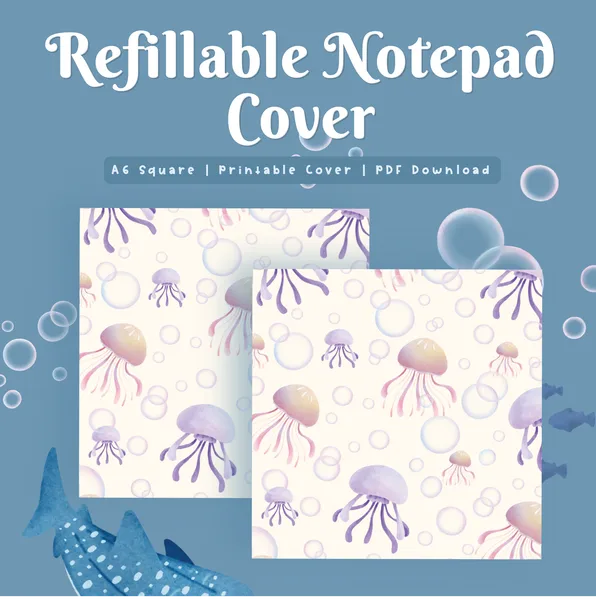
Two designs go with this build — the refill pages and the cover. Open either one in Planify Pro to change the colours, pattern or ruling before printing, or print them exactly as they are.
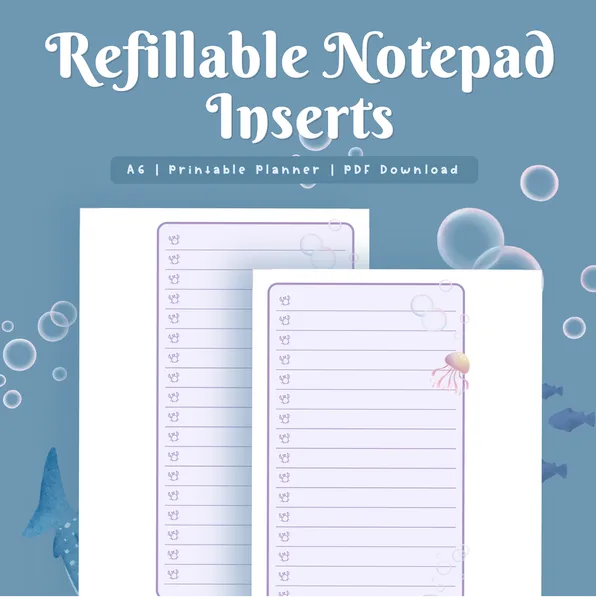
The refill pages carry a 23 mm header across the top. That strip is dead space by design — it is where the screws pass through, so nothing you write ever sits under the binding.
Export and print
Export two PDFs: one for the refill pages, one for the cover.
Print the refill pages on plain paper at actual size, with no scaling. This is the step to watch. If the printer shrinks the page even slightly, the 23 mm header shrinks with it and the punched holes end up inside the ruled area.
Print the cover onto sticker paper at 150%. The enlargement is deliberate: the printed sheet has to be bigger than the chipboard so there is a margin left over to fold around the edges.
What You'll Need
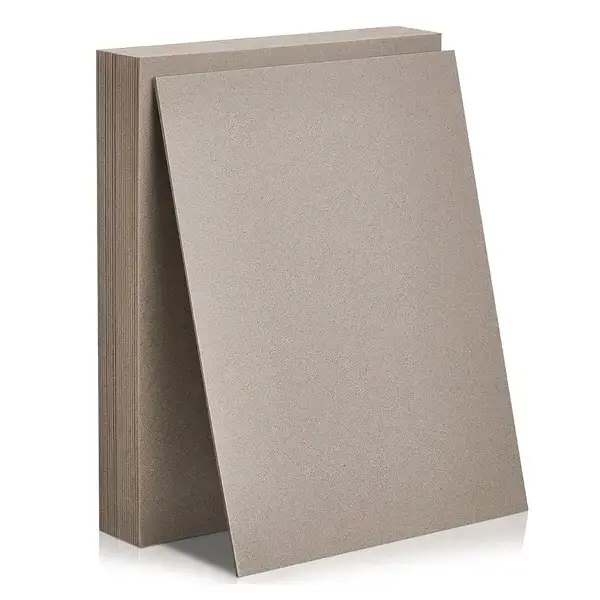 Chipboard 1.2mm Chipboard 1.2mm |
 Sticker Paper Sticker Paper |
 Cardstock Paper Cardstock Paper |
 Chicago Screws 18mm Chicago Screws 18mm |
 Hole Puncher Hole Puncher |
 Guillotine Paper Cutter Guillotine Paper Cutter |
Plus scissors, a ruler and a screwdriver for the screws. The cardstock is for a stiff back sheet behind the pad — the refill pages themselves print on ordinary paper, since a thick sheet wastes the limited length of an 18 mm screw post.
Instructions
1. Trim the printed refill pages. Cut the whole stack in one pass on the guillotine rather than sheet by sheet — that is what keeps every page the same width, and a ragged edge is very visible once the pad is bound.  |
2. Punch the binding holes. Punch two holes through the header strip at the top of the pages, a few sheets at a time so the punch stays square. Keep every sheet the same way up — flip a handful and those holes will not line up with the rest.  |
3. Cut the three cover panels. From 1.2 mm chipboard: a 14.7 x 10.5 cm back panel, plus two strips at 1.4 x 10.5 cm and 2.4 x 10.5 cm. Thicker cardboard is fine; thin card is not, because it bows as soon as the screws are tightened.  |
4. Lay the panels on the printed sticker sheet. Face down, in a row, with a 2 mm gap between each one. Those two gaps are the hinges — butt the boards up against each other and the cover will not fold over the top of the pad.  |
5. Trim the sticker paper and fold it in. Leave a margin all the way round, snip the corners off at an angle so they do not bunch, then run a ruler along each edge to press the sticker down onto the back of the boards. Finish the inside with a plain white sheet to hide the folded edges.  |
6. Punch the cover and fit the screw posts. Punch through the narrow top strip, using one already-punched page laid on top as the guide so the holes land in the same place. Push a screw post up through each hole from the inside.  |
7. Screw the pad together. Drop the stack over the posts, fold the top strip down across the header and tighten a screw into each post. Hand-tight is enough — leaning on the screwdriver crushes the paper around the holes and the top sheets start to tear out.  |
Refilling later is the whole point: undo the two screws by hand, lift the old stack off, drop a freshly punched one on and do the screws back up. Nothing is glued, so the cover keeps going long after the paper has run out. |
Troubleshooting
The cover holes don't line up with the pages. Punch the cover with a finished page sitting on top of it as a template, not by measuring twice. Two separate measurements are two chances to be a millimetre out.
The screws won't close. An 18 mm post only takes so much paper. Either take sheets out of the stack, or move up a size — the post has to pass through the cover strip, the whole pad and the back panel with thread left to grip.
The cover won't fold flat over the pad. The 2 mm gaps between the panels have been lost. Without them the sticker paper has nothing to bend across, and the boards fight each other at the fold.
The punched holes sit in the ruled area. The pages were printed scaled down, so the 23 mm header came out short. Reprint at actual size and measure the header with a ruler before punching anything.
Selling these
Refillable notepads are one of the few handmade stationery products with a built-in repeat purchase. Customers who buy the pad come back for refill packs, and a pack of punched pages costs almost nothing to make and posts flat in an ordinary envelope.
They also bundle well. Cover plus two refill packs is an easy gift set, and it reads as better value than a single pad even though the extra paper is the cheapest part of it.
On pricing, the cover is where the work is — cutting, wrapping and folding the panels takes far longer than trimming and punching paper. Price the first pad to cover that work, then price the refills low enough that reordering feels obvious.
Try these next
- DIY Perforated Notepad — tear-off pages instead of screws
- How to Make Notepads at Home — the glue-bound basics
- DIY Stacked Notepad — three pads on one backing board
- DIY Bookmark Pen — a small add-on project
- Book Binding Methods Compared — which binding suits which project
- Browse all DIY tutorials


