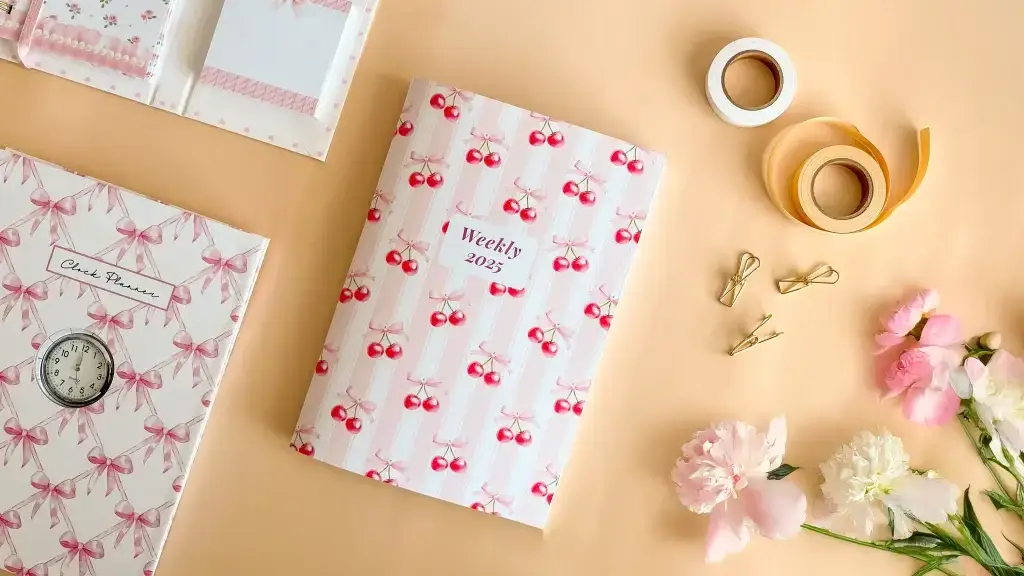
A planner journal that is one folded stack of paper and a row of staples down the middle — no wire, no glue, no drying time. It is the fastest way to turn a set of printed weekly spreads into something that reads and opens like a real book.
These tutorials use Planify Pro, a drag-and-drop tool for designing printable planners and stationery. Building and editing is free — exporting a PDF needs a plan, from $9.99/month.
Get the template
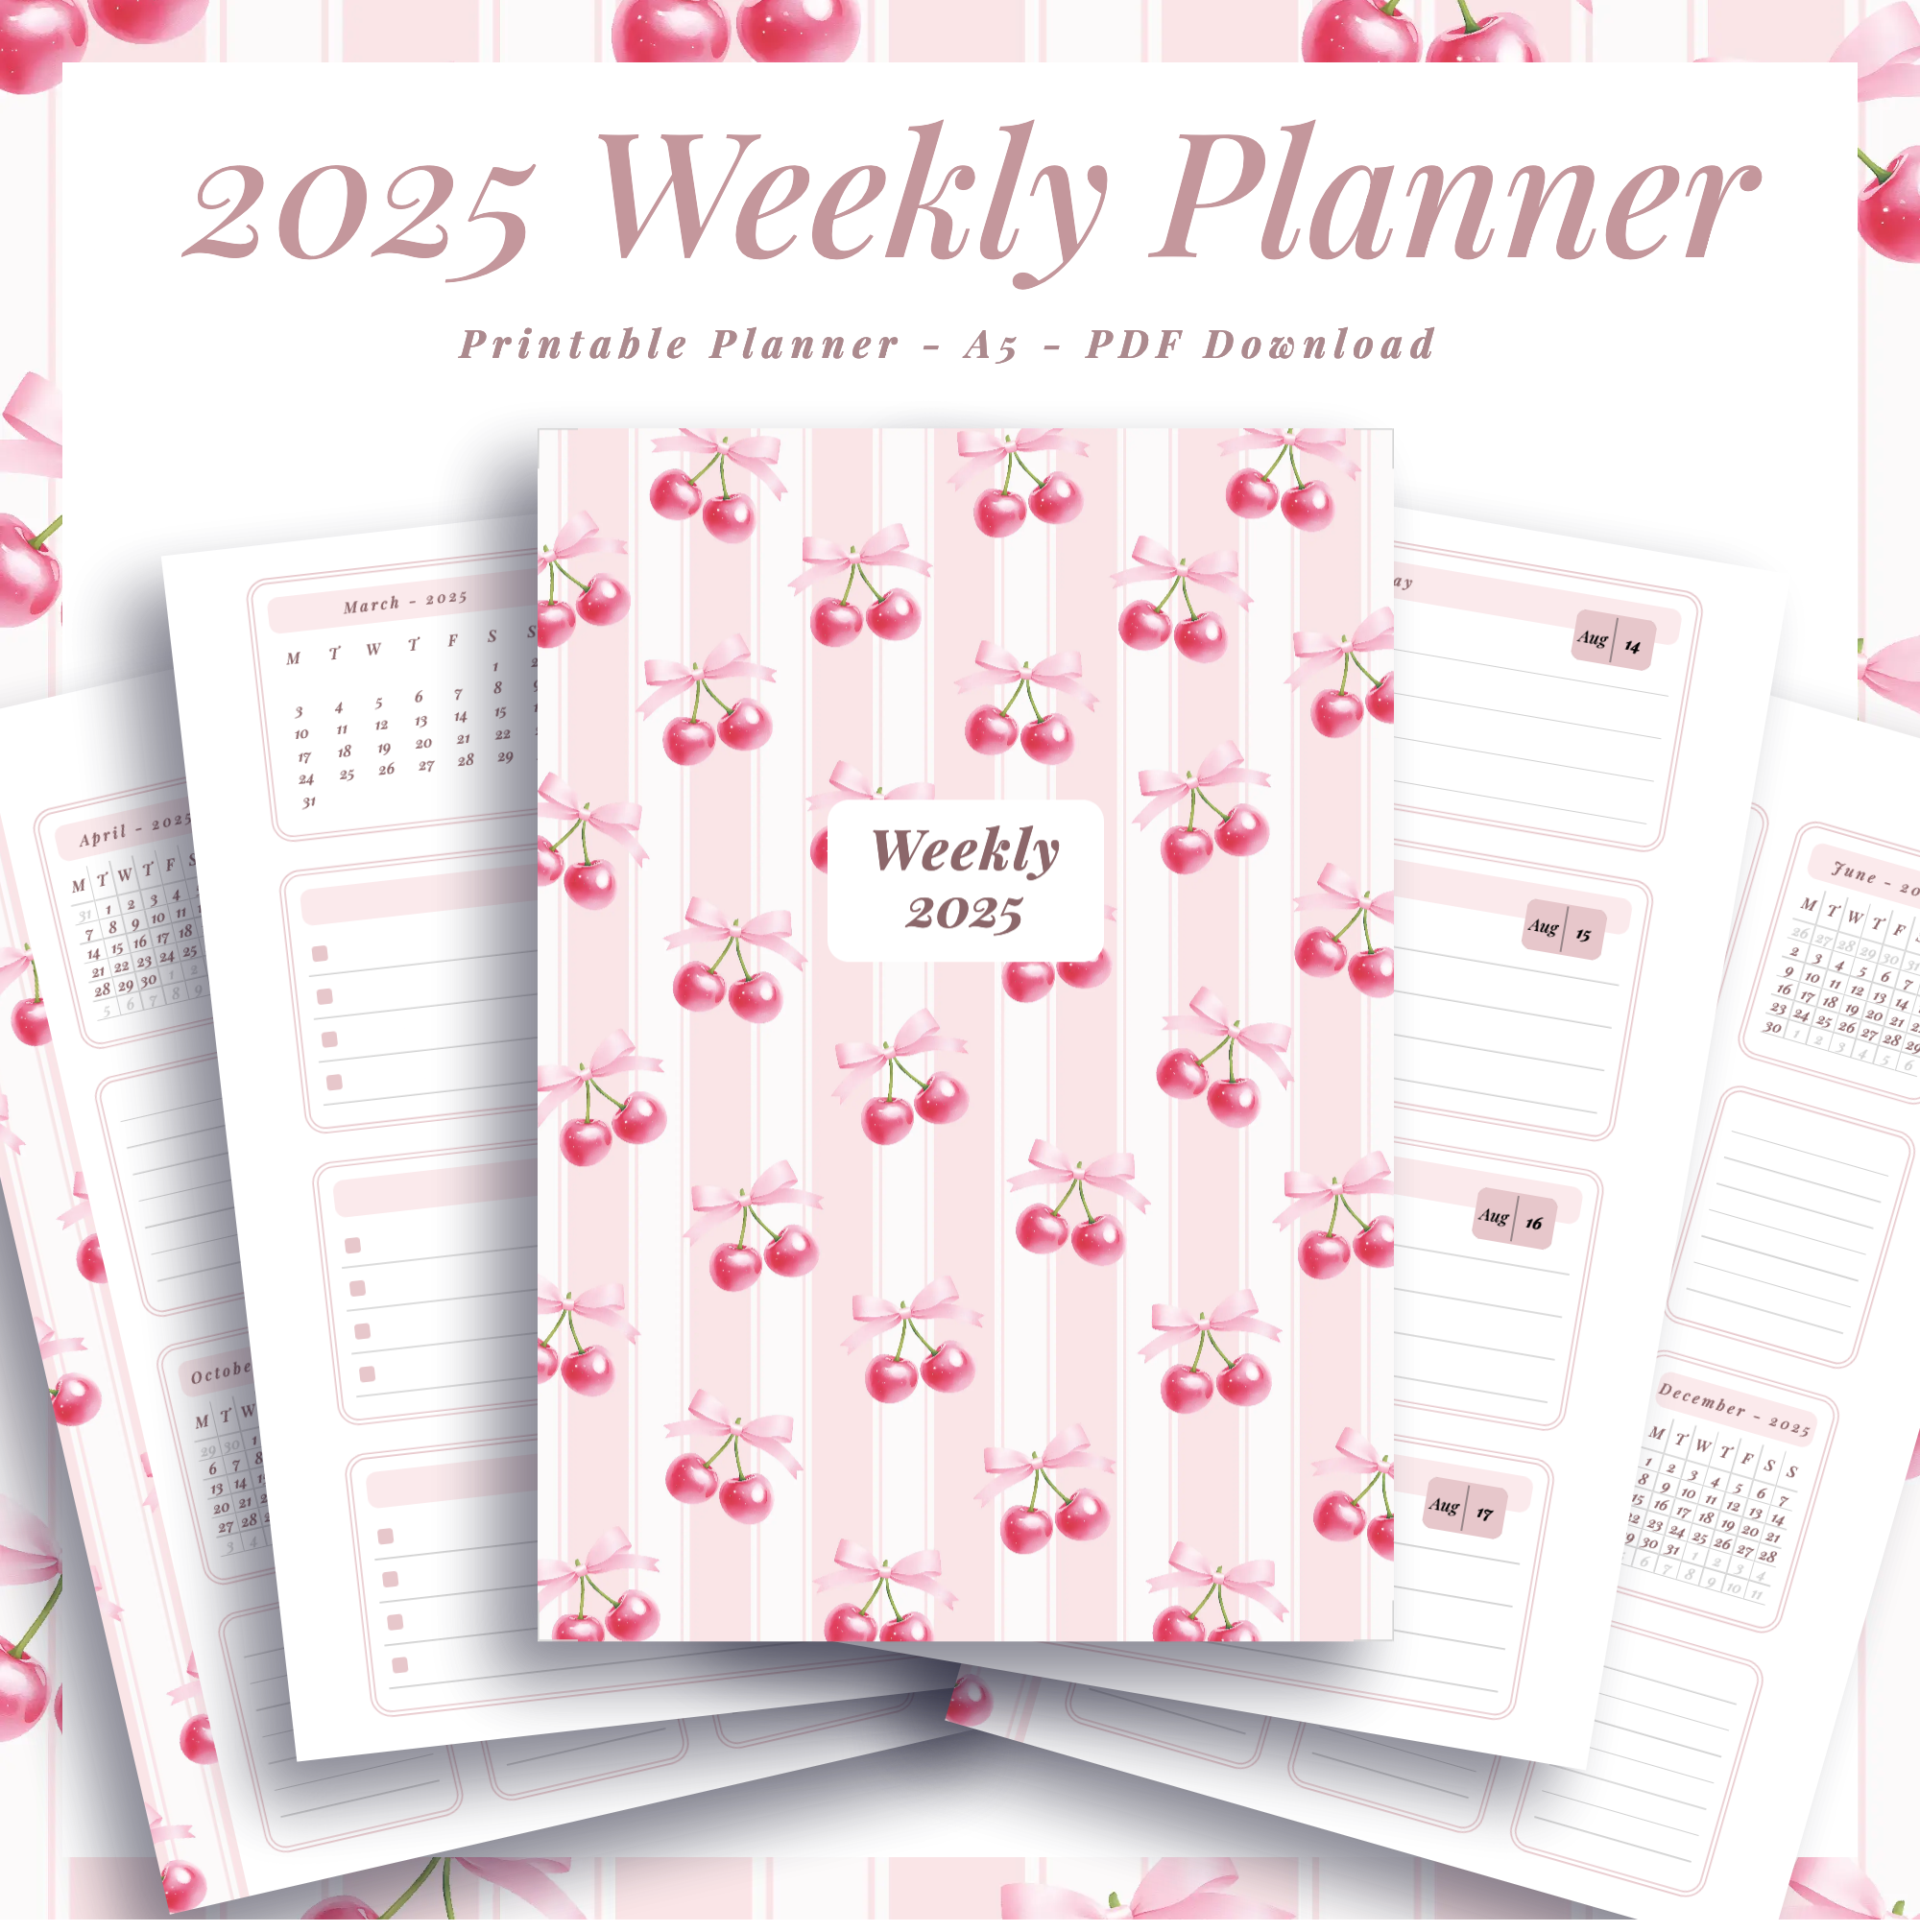
Open it in Planify Pro to change the size, colours or cover art before printing — or print it exactly as it is.
Export and print
Export the inserts as a PDF at A4 landscape — 11.7 x 8.2in. Two planner pages sit side by side on each sheet, and the gap between them is where the booklet folds, so the landscape sheet is the whole trick.
Print at 100% scale. Do not let the printer fit or shrink the page to the paper: any scaling moves the centre line off the middle of the sheet, and after that the fold never lands on the spine.
The sheets have to be printed on both sides. If your printer has no automatic duplex, run the even pages first, put the stack back in the tray and run the odd pages onto the reverse.
Print the cover separately on 220gsm cardstock. Paper that light will not hold a crease under a staple; the cover is the only part of this build carrying any structure. See our best printers for planners guide if you are choosing a machine for this kind of work.
What You'll Need
 | Plain A4 paper | Long-arm stapler |
Plus a craft knife, a metal ruler and a cutting mat for trimming the fore-edge. A guillotine trimmer does the same job in one pass if you have one.
A note on the stapler. An ordinary desktop stapler cannot reach the middle of an A5 spread — its throat is only a few centimetres deep. A long-arm stapler is the one tool this project genuinely needs.
Instructions
1. Fold and nest the inserts. Fold each printed sheet in half so the two planner pages become two leaves, then slot the folded sheets one inside another in page order. Nesting rather than stacking is what makes a single line of staples hold the whole book. |
2. Print the cover on cardstock. One sheet takes the front, the spine and the back in a single piece — there is no separate spine part to line up.  |
3. Set up the long-arm stapler. Two small clips are set on the arm as a stop, so every staple lands the same distance in from the fold instead of wandering.  |
4. Staple through the fold. Open the nested stack flat inside the cover, line the crease up under the stapler head and fire two or three staples spaced down the spine.  |
5. Check the pages line up. Open the booklet at a spread and look down the centre — the border artwork should run straight across the fold. If it steps sideways, a sheet went in the wrong way round.  |
6. Close the booklet and press the fold. Run both hands out from the spine towards the edges so the air comes out of the stack and the cover sits down on the staples.  |
7. Sharpen the spine with a bone folder. Draw it firmly along the fold end to end. This is what turns a rounded bundle of paper into a flat spine that will sit on a shelf.  |
8. Press the booklet. Slide it between the boards of a book press and tighten. Paper holds a crease far better under sustained weight than under your hands — a stack of heavy books works if you have no press.  |
9. Trim the fore-edge flush. Folding a nested stack pushes the inner pages further out than the outer ones, so the open edge ends up stepped. Cut the whole edge in one line against a ruler and the step disappears.  |
That is the whole build. Staple binding stays flat when it is open, which is exactly what you want from a week-to-a-spread planner you write in every day.  |
Troubleshooting
The fold doesn't land in the middle of the page. Printer scaling, almost every time. Reprint at 100% and measure both halves of a sheet before folding anything else.
The stapler won't reach the crease. A desktop stapler physically cannot — its throat is too shallow for an A5 spread. Borrow a long-arm one rather than stapling near the edge, which gives you a stack of paper on a hinge instead of a book.
The open edge is stepped, not straight. That is creep, and it is normal: the more sheets you nest, the further the inner pages travel. Trim it flush after pressing, not before, or the step will come back.
The booklet springs open on the desk. The spine was not worked hard enough. Bone-folder the fold again and leave it in the press longer — a thick stack needs more time than a thin one.
Too thick to staple at all. Split it into two or three thinner booklets and use them a season at a time. Past roughly a centimetre of folded paper, staple binding stops being the right method — see the binding methods guide for what to use instead.
Selling these
Staple-bound booklets are the cheapest handmade planner you can put on a table. The materials are a stack of plain A4 and one sheet of cardstock, so nearly all of the price is your design and your time — which means the margin survives even at a low sticker price.
That low price is the point. A booklet is the thing someone buys on impulse next to the expensive wire-bound planner, and it is light enough to post in an ordinary envelope. Undated spreads help too: nothing goes stale in January.
They bundle well. A booklet, a notepad and a pen makes a gift set that looks considered and costs very little to assemble. And because the whole thing comes from one PDF, you can sell the printable version alongside the finished object without doing any extra work — see 20 profitable planner niches for where that sells best.
Try these next
DIY Weekly Planner with Magnetic Closure — the wire-bound version of this idea
How to Make Your Own Planner Book — a full-size planner with chipboard covers
DIY Hardbound Planner — folded pages again, but glued into a hard case
Book Binding Methods Compared — where saddle stitch sits against wire, coil and Coptic
DIY Bookmark Pen — a small add-on to tuck inside the finished booklet


