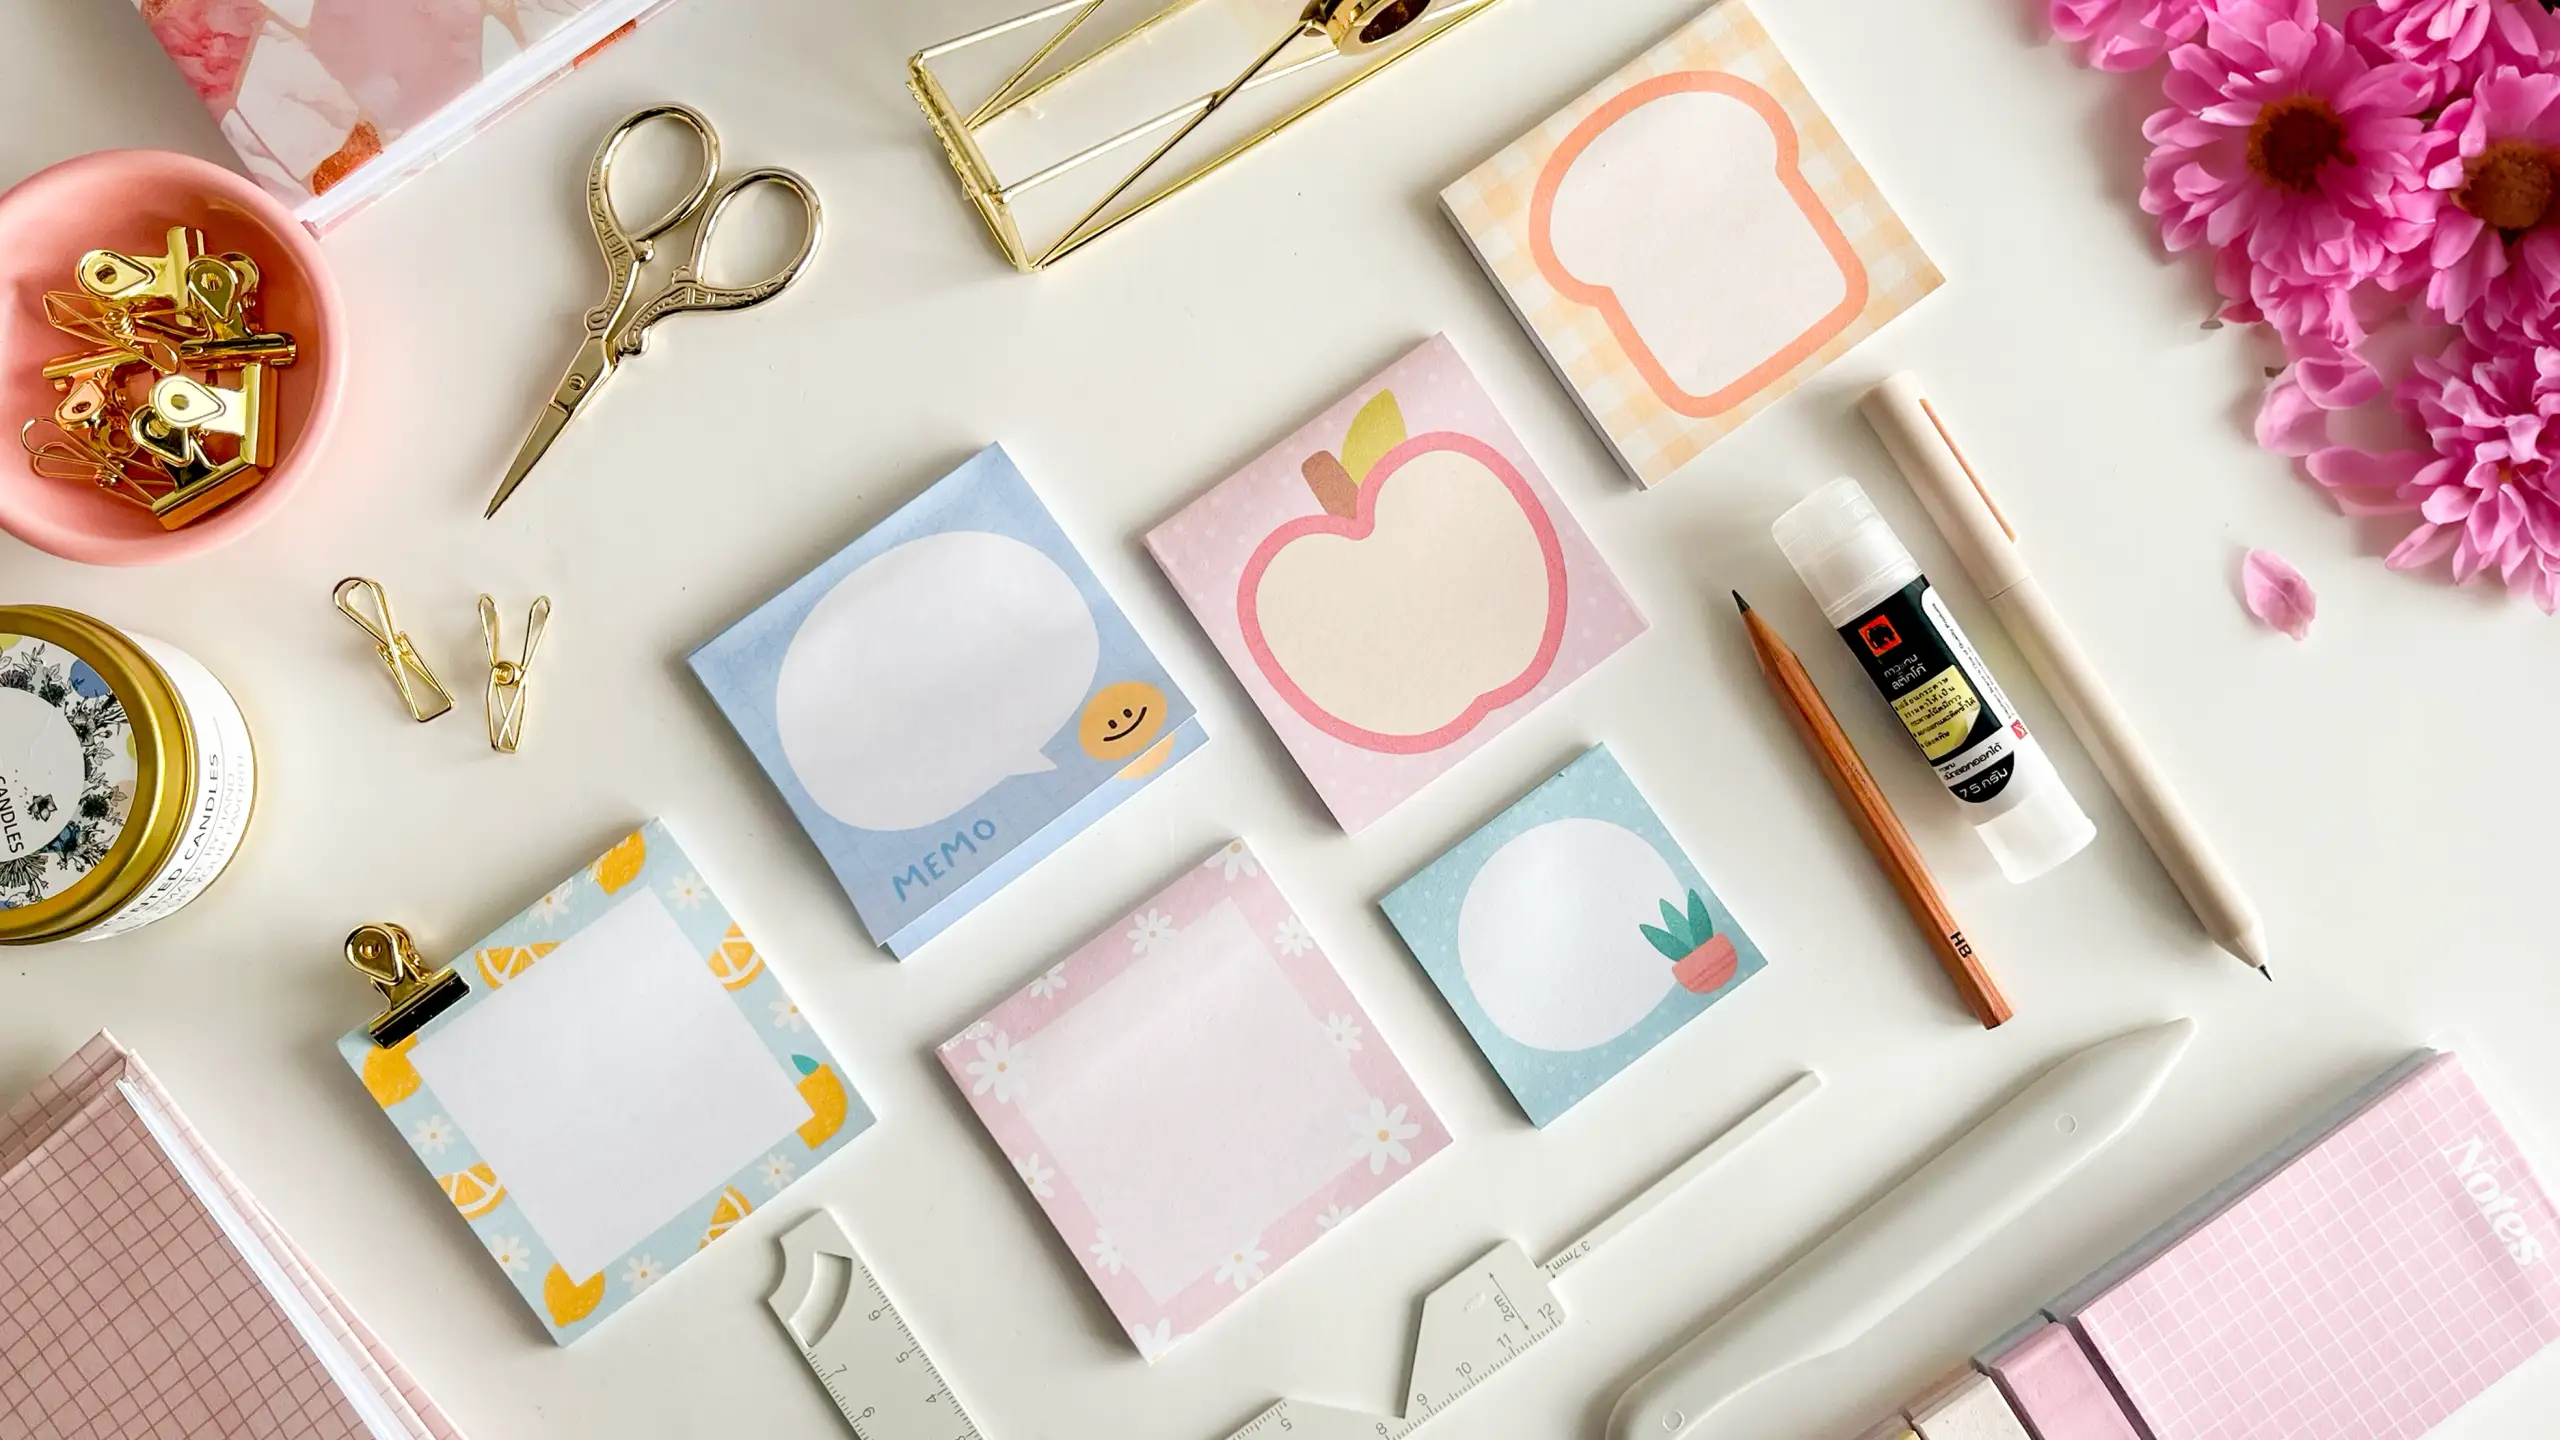
Six sticky notes fit on one A4 sheet, printed at home and padded into a block with repositionable stick glue. The whole thing rests on one narrow band of glue along the top edge — that band is the only difference between a sticky note and a small stack of paper.
These tutorials use Planify Pro, a drag-and-drop tool for designing printable planners and stationery. Building and editing is free — exporting a PDF needs a plan, from $9.99/month.
Get the template
Open it in Planify Pro to swap the artwork, recolour it or resize the squares before printing — or print it exactly as it is.
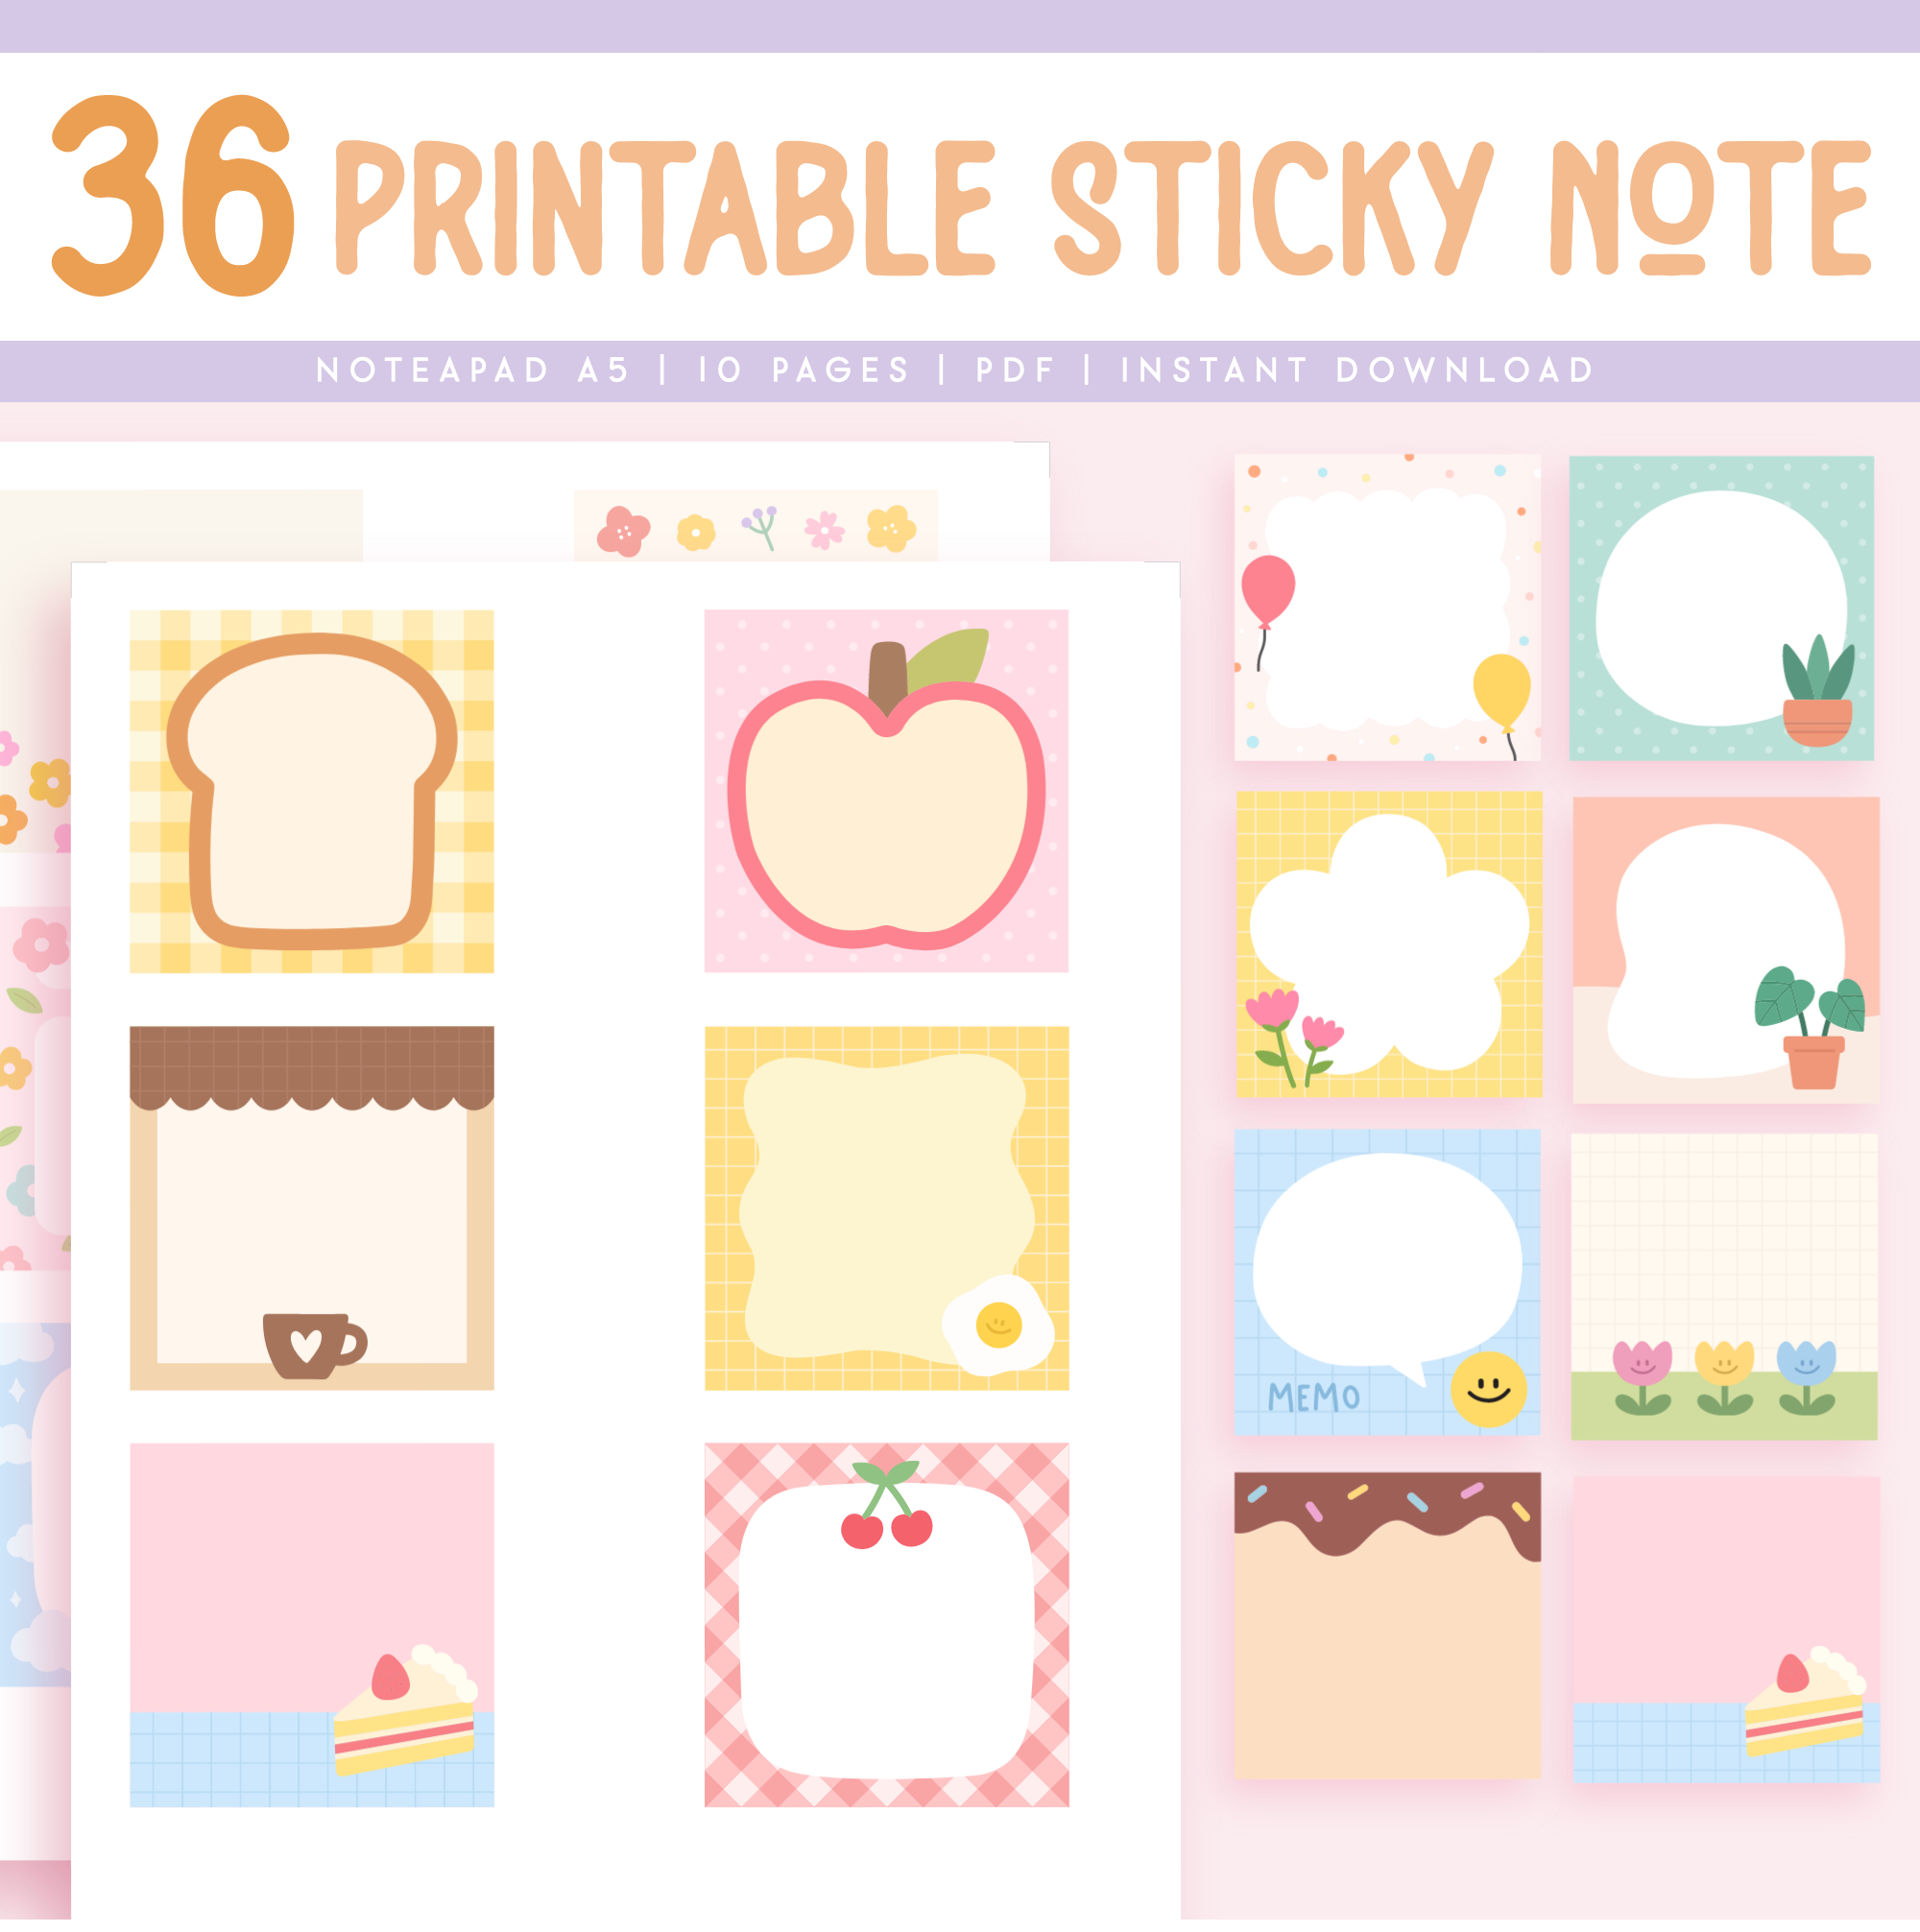
The layout is an A4 landscape page holding six squares, three across and two down, each one 3.0 × 3.0 inches (about 7.6 cm).
Export and print
Export the design as a PDF at A4, then print it on A4 at 100% scale — not "fit to page" and not "shrink to printable area".
Scaling matters more here than in most projects. Every note is a 3-inch square, and the pad is built by stacking dozens of identical sheets on top of each other. If the printer shrinks the page even a little, the squares drift from sheet to sheet and the finished block will not trim square no matter how carefully you cut.
Print one copy first and measure a square with a ruler before committing to the rest. Then print as many copies as you want sheets in your pad — the build photographed here was set to 40.
What You'll Need
 |  |
Plus a repositionable glue stick — this is the one material you cannot substitute. Ordinary glue stick or PVA will bond the sheets permanently and you will have made a small notepad instead of a sticky pad. A book press is optional but makes the pressing step far more even than a hand.
A note on paper. Plain printer paper is the right choice here. Heavy cardstock will not peel away cleanly or lie flat once it is stuck to something, and a forty-sheet pad of it becomes a brick.
Instructions
1. Print your sheets. A4, 100% scale, as many copies as you want sheets in the pad. Check one printed square against a ruler before printing the rest. |
2. Cut each printed sheet in half. That gives two strips of three notes. Use the guillotine rather than scissors — every sheet has to end up the same size, because the stack is only as square as its worst cut.  |
3. Stack the strips and clip the bottom edge. Tap the stack against the table first so the top edge sits perfectly flush. Any sheet standing proud will pick up glue on its face instead of its edge and bond to its neighbour. |
4. Glue the top edge, layer by layer. Build up a band of at least 1.5 cm with the repositionable glue. Keep it even along the whole edge — a thin patch gives notes that fall off, a heavy one gives notes that tear when you peel them. |
5. Press the stack down. A flat hand works; a book press works better. Pressure while the glue is still wet is what drives it into the edge of every sheet rather than leaving it sitting on the top one.  |
6. Trim the block into individual pads. Run the glued block through the paper cutter to separate the notes and square off the edges. Cutting after gluing is what gives the pad its clean sides.  |
7. Leave it to dry. Thirty to sixty minutes is usually enough; overnight is safer if you glued generously. Do not test-peel a note before it has set — you will pull the band apart. |
That is the whole build. One A4 sheet is six notes, so a forty-copy print run gives you a serious stack of pads for the cost of the paper. |
Troubleshooting
The notes have no tack — they just fall off. Either the glue band is too thin, or it is not repositionable glue. A permanent glue stick and PVA both look identical going on and neither will ever let go afterwards.
Peeling one note lifts the whole block. Too much glue, and it has run down between the sheets rather than staying on their edges. Thinner layers, and press while the glue is still wet.
The pad fans out instead of sitting square. The stack was not flush when it was clipped, or the sheets were not all cut to the same size. Jog the stack against a flat surface before the clips go on, and cut with the guillotine rather than by hand.
The squares do not line up from sheet to sheet. Almost always printer scaling. Reprint at 100% and measure a square — it should be 3 inches across.
Selling these
Sticky notes are the cheapest thing you can make from a printer and among the easiest to sell, because nobody thinks twice about the price. They cost pennies in paper, they post flat in an ordinary envelope, and a shopper who will not commit to a planner will happily add a pad at the till.
They bundle well for exactly that reason. A notepad, a set of planner inserts and a couple of sticky pads reads as a gift set rather than three separate purchases, and the pads add almost nothing to your material cost.
If you are pricing finished pads rather than the template, price by sheet count as well as by design — a 40-sheet pad and a 100-sheet pad take very different amounts of paper and pressing time, and buyers do read the sheet count. Themed sets sell better than singles: three or four coordinated designs from the same sheet is a natural product.
For more on turning printables into products, see 20 profitable planner niches and notepad design ideas.
Try these next
How to Make Notepads at Home — the same padding idea with permanent glue
DIY Perforated Notepad — tear-off pages instead of peel-off
DIY Stacked Notepad — a multi-layer pad bound with PVA
DIY Magnetic Fridge Notepad — a pad that sticks to something else
DIY Notepad Design Ideas — decoration and selling ideas


