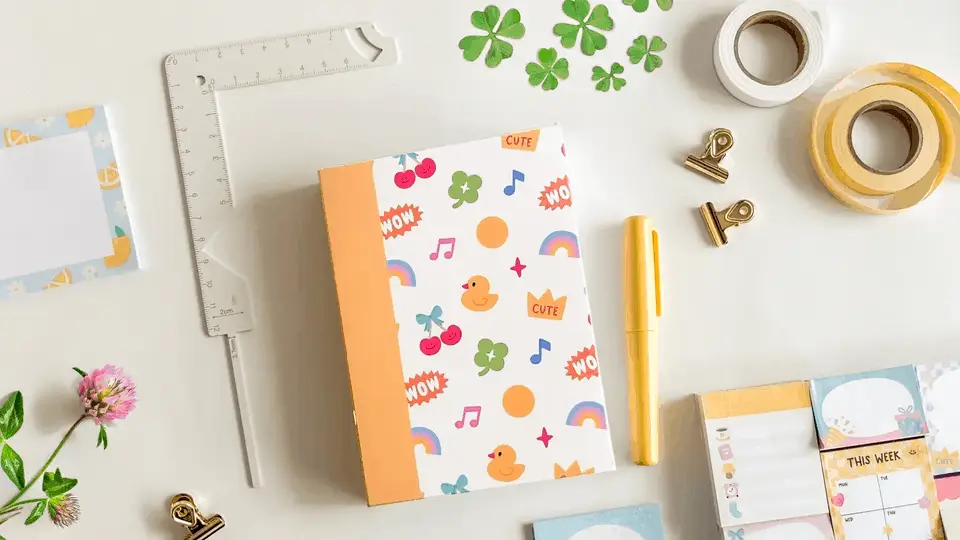
A sketchbook whose pages open to a full 180 degrees, because every leaf is a sheet folded in half and only the folded edges are glued to the spine. Nothing is clamped across the gutter, so the book drops open on the desk and stays there while you draw.
These tutorials use Planify Pro, a drag-and-drop tool for designing printable planners and stationery. Building and editing is free — exporting a PDF needs a plan, from $9.99/month.
Get the template
There is no ready-made lay-flat sketchbook file in the library, and this project barely needs one: the printed parts are a pair of inside covers and a wraparound outer cover, both of which are plain rectangles you can lay out from a blank page in the Planify Pro template library.
Start from a book cover design at the size you want and adapt it — the custom planner walkthrough covers building pages from scratch. Leave the outer cover until the block is bound, because the spine width depends on how many sheets you actually folded.
Export and print
Export the cover artwork as a PDF at the paper size you designed it at, then print it at 100% — actual size, with any fit-to-page or shrink-to-printable-area option turned off.
Scale matters here more than it looks. Every fold line on the outer cover is measured off the printed sheet against the real spine, so a cover that came out of the printer 3% small will not wrap. Print the covers on cardstock; the inner pages are ordinary copier paper and need no special treatment.
What You'll Need
Some links below are Amazon affiliate links — they cost you nothing extra.
 Chipboard Chipboard |  Bookbinding Glue Bookbinding Glue |  Paper Cutter Paper Cutter |
 Sticker Paper Sticker Paper |  Cardstock Paper Cardstock Paper |
Plus about 100 sheets of A5 paper for the pages — the pack used in the video is 70gsm A5 (148 x 210 mm) — and something to clamp the block while the spine dries. A bookbinding press is ideal; two offcuts of wood and a couple of clamps do the same job.
Instructions
This is the part that makes the book lay flat. Every page is a folded sheet, and the glue only ever touches the outside of the folds, so opening the book unfolds a single continuous sheet instead of prising two glued leaves apart. That is the difference between this and wire binding or signature binding, where the spine itself resists the page.
1. Start with around 100 sheets of A5 paper. The pack in the video is 70gsm A5, 148 x 210 mm. Folded in half, 100 sheets give you an A6 book with roughly 200 leaves — thick enough to feel like a real sketchbook, thin enough that the glue can still reach every fold.  |
2. Fold every sheet in half. Crease each one firmly with a fingernail or a bone folder. The fold becomes the spine edge and the two loose ends become the fore-edge, so a soft fold means a spongy spine that never squares up.  |
3. Build the stack with every fold on the same side. Check each new fold against the pile as you go. A sheet folded a millimetre off does not show now, but it shows at the fore-edge of the finished book.  |
4. Glue a folded page inside each printed cover. Trim the white border off the printed inside covers and fold them in half the same way, then brush glue on and lay a folded page over each one. Keep the coat thin — flooded PVA cockles paper this light.  |
5. Press it down from the fold outwards. Working outwards pushes the air and the excess glue towards the open edge instead of trapping a bubble in the middle. Let the two covers dry flat before you build the block.  |
6. Stack the folded pages between the covers, folds flush. Tap the block on the table spine-edge down until the folds line up as one clean face. That face is the only surface the glue can grip, so any sheet sitting proud of it will not be held.  |
7. Clamp the block and run PVA along the folded edges. In the video the block is held between two wooden boards, spine up, and the glue goes on in a zigzag. Clamping matters as much as the glue: if the folds can spread apart, glue runs down between the pages and the book stops opening flat. Glue the folded edges only, never the loose ones.  |
8. Spread the glue into every fold, then leave it clamped to dry. Work the bead along the whole spine until no bare paper shows. Give it several hours, or overnight — PVA feels dry on the surface long before the spine is actually strong. If the first coat soaks in and leaves the folds visible, add a second thin coat once it is touch-dry.  |
9. Once it is properly dry, ease the pages apart. Take the block out of the clamp and lift the top few leaves. They should separate cleanly while the folds stay put; anywhere two pages cling together, glue has crept past the spine face.  |
10. Open it in the middle and check it lies flat. Because each opening is one folded sheet, the spread should drop open and stay there without being held down. If it springs shut, the glue has reached too far in from the folded edge.  |
11. Square up the outer cover and mark the fold lines. Now that the block exists you can measure its real spine thickness. Mark the spine and flap folds with a set square so they run truly parallel to the spine — lines judged by eye leave the cover twisted and the book will not close square.  |
12. Fold the cover and wrap it around the book. Fold along the marked spine and outer-edge lines to make flaps, wrap the cover round the block, and glue the flaps down onto the inside covers. Fold with the cover face up so the printed side sits on the outside of each crease and does not crack. |
13. Trim the fore-edge for a clean finish. Optional, but it is what makes a handmade book look bought. The loose ends of every folded sheet meet at the fore-edge and never line up perfectly, so a single millimetre or two off the whole stack with a heavy-duty paper cutter squares it up. No cutter? A steel ruler and a sharp craft knife, a few light passes, does the same. |
That is the whole book. It should sit open at any page, hands-free — and if you want a different cover next time, only the printed parts change; the binding is identical. |
Troubleshooting
Pages stick together near the spine. Too much glue, or the block was not clamped tightly enough, so glue ran in between the folds. Ease them apart while the glue is still slightly soft; next time use a thinner bead and squeeze the block harder before gluing.
The book springs shut instead of lying flat. Same cause, milder — the glue has bonded a few millimetres in from the folded edges, which stiffens the hinge. Only the very edge of the folds should be wet.
The spine cracks and pages pull out. Not enough glue, or the book was opened before the PVA had fully cured. Give it a full overnight in the clamp, and add a second thin coat if the first one soaked away into the paper.
The fore-edge is ragged and the block is not square. The folds were not flush when you glued them. Tap the stack down on its spine edge on a hard table before clamping, and trim the fore-edge at the end.
Selling these
A lay-flat sketchbook is an easy thing to sell because the benefit shows itself in two seconds — you hand someone the book, it stays open, and they get it. Wire-bound notebooks are everywhere; this is not.
The cost per unit is close to nothing: a hundred sheets of copier paper, a little PVA and two printed sheets of cardstock. What you are actually charging for is the folding and the overnight dry, so batch it — fold and glue six blocks at once while the press is out, and cover them the next day.
It also bundles well. The same printed cover artwork can be reused across a sketchbook, a notepad and a set of planner inserts, which turns one design into a matching set that sells for more than the three items separately.
For more on pricing and product mix, see what you need to start a planner shop.
Try these next
- DIY Planner Booklet — the same PVA spine with a soft wraparound cover
- Booklets with Signature Binding — folded signatures sewn instead of glued
- DIY Half-Hidden Wire Notebook — a wire spine, half concealed
- DIY Tarot Planner Box — a chipboard box built around wire-bound inserts
- Book Binding Methods Compared — wire, coil, PVA and signature side by side
- Browse all DIY tutorials


