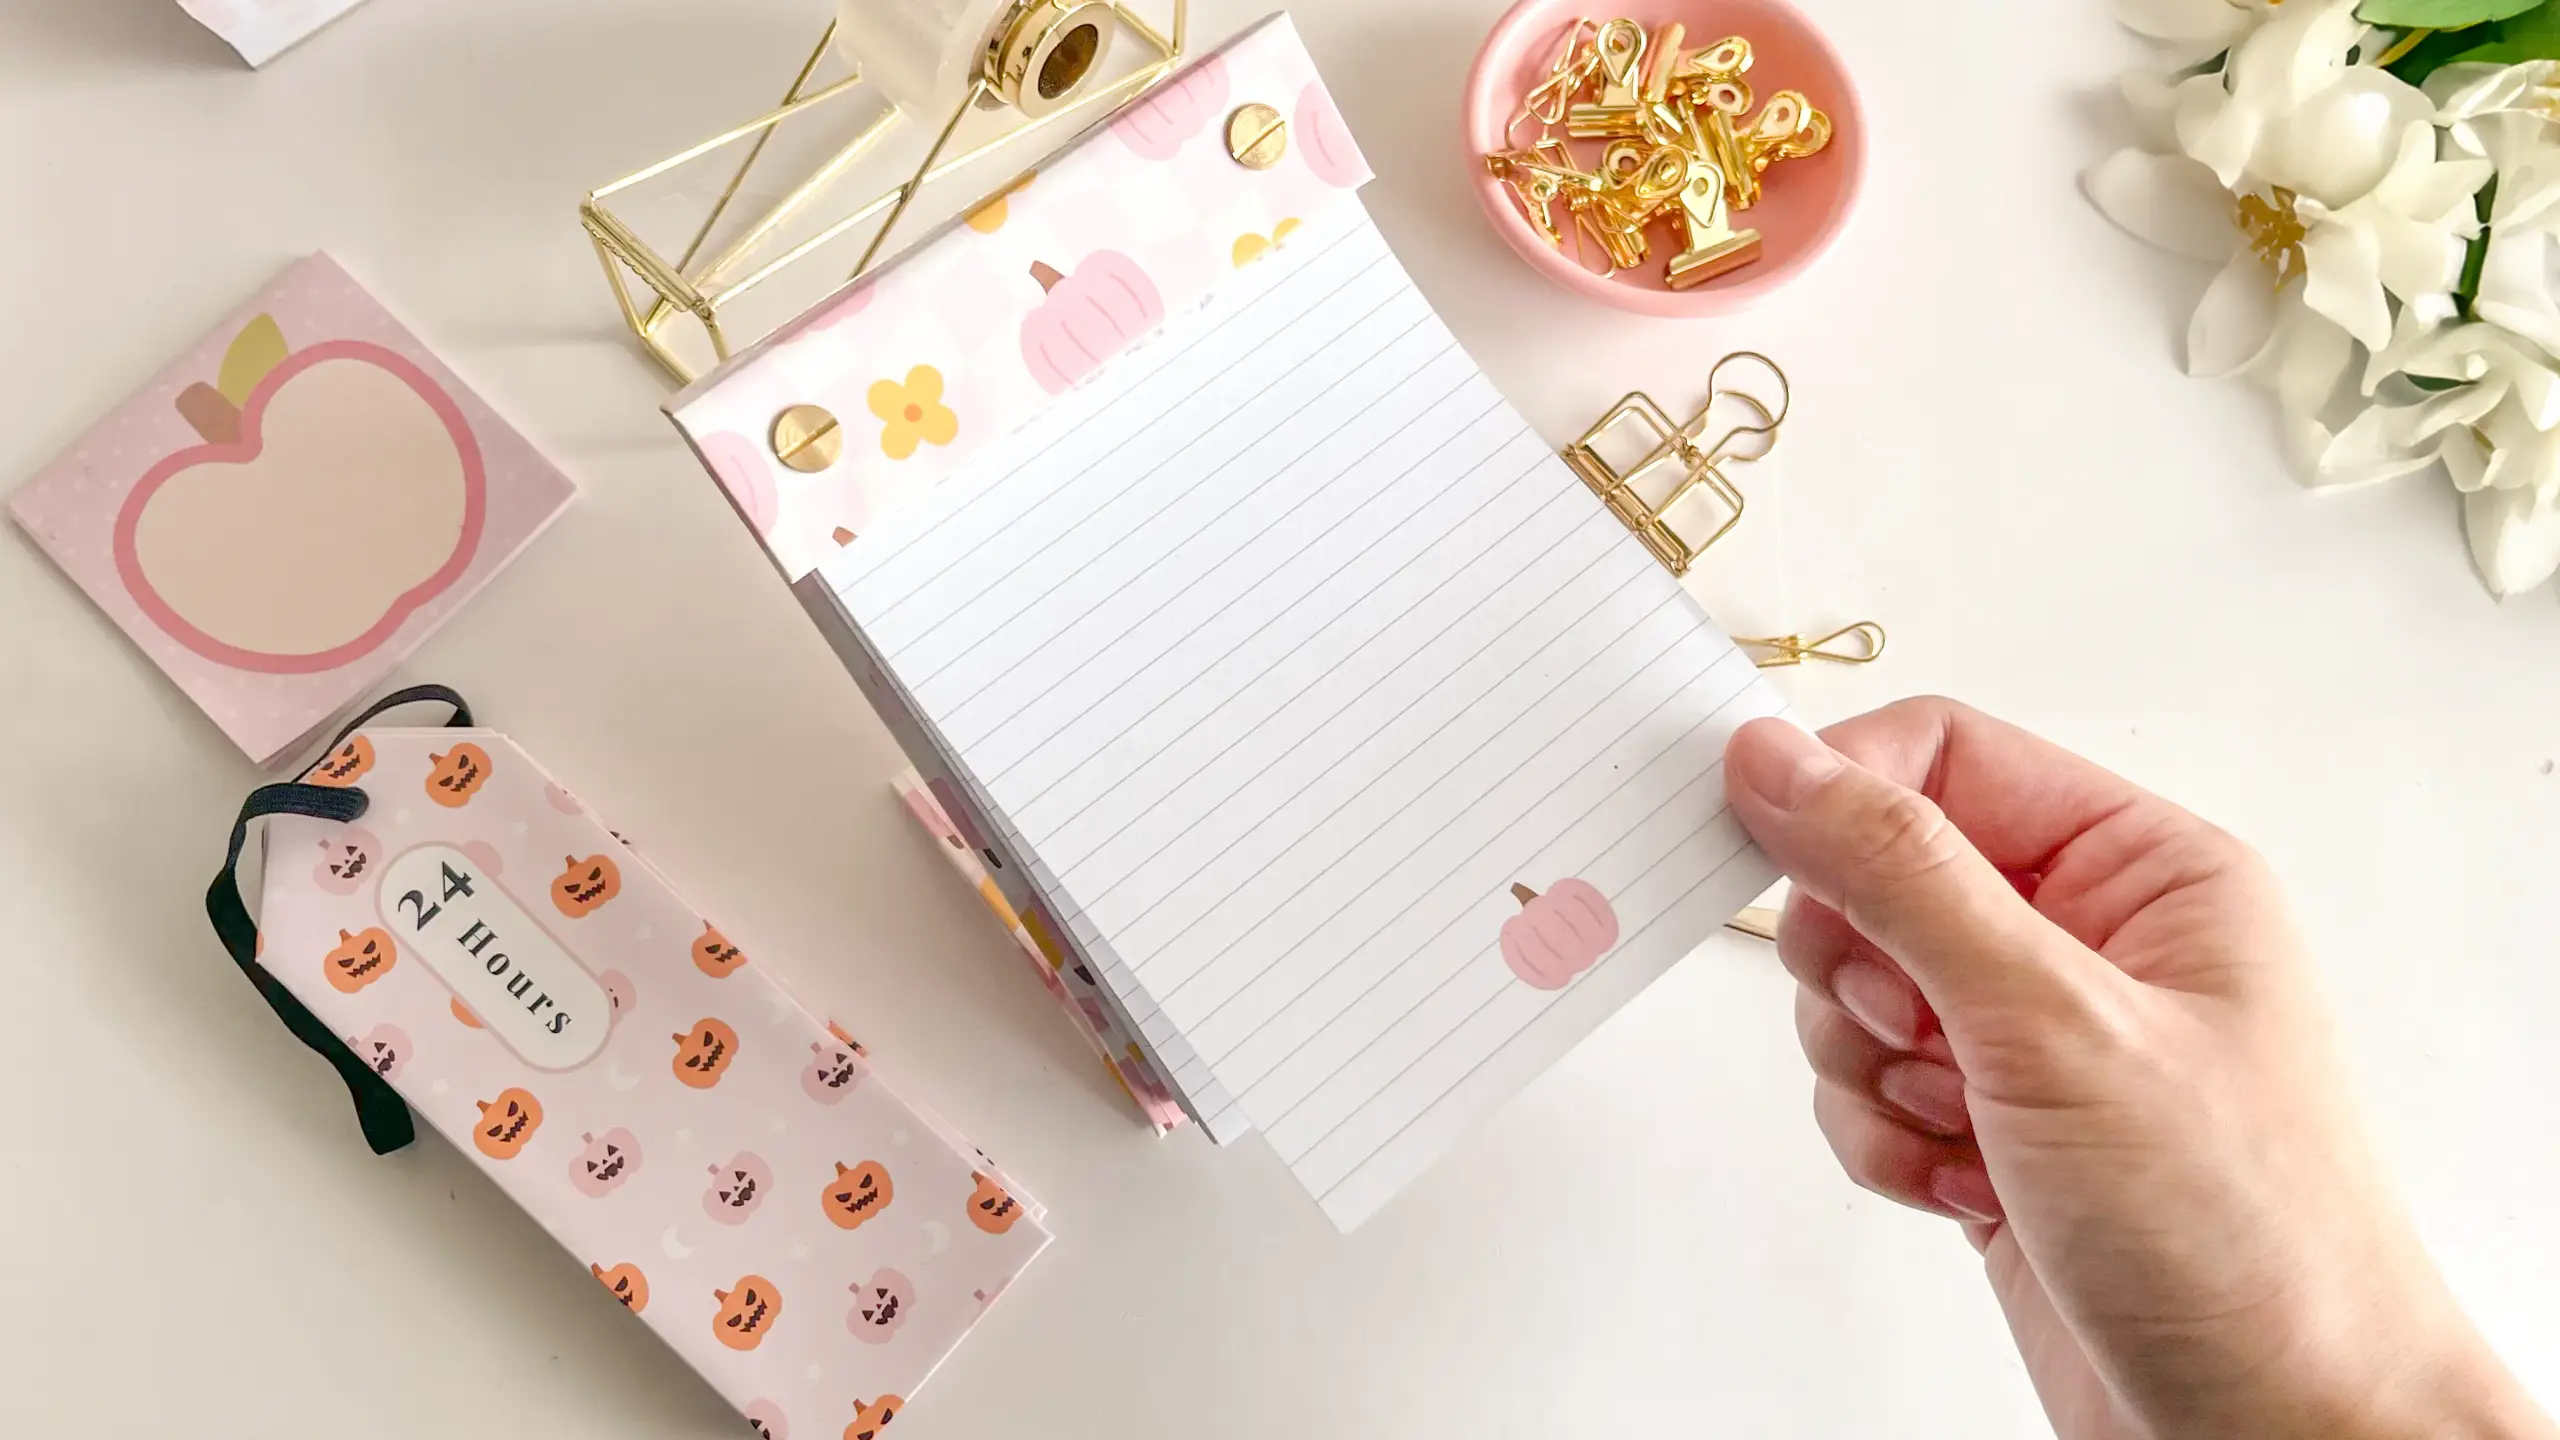
Looking for DIY notepad design ideas to create beautiful notepads you can use, gift, or sell? Notepads are one of the easiest stationery projects to start with — they don’t require complex binding machines, just paper, glue, and a bit of creativity. In this guide, we’ll show you how to decorate notepads step by step using Planify Pro templates, plus tips for turning your creations into a small business.
If you’re already familiar with making custom planners or book binding methods, notepads are a natural next step — simpler to produce and quick to sell. You can also pair them with bound projects like our DIY sliding notebook with tear-off inserts for a complete stationery line.
Why People Love Personalized Notepads
Think about how often people reach for a notepad — at work, in class, or just to jot down shopping lists. A plain one gets the job done, but a personalized notepad? That feels special.
Here’s why they sell so well:
They’re useful every day: perfect for notes, lists, or planning.
They make great gifts — thoughtful, affordable, and practical.
They’re easy to customize with color, quotes, or even someone’s name.
They’re low-cost to produce but look high-value when decorated.
In short: notepads are small, but they can become powerful little products when you give them a personal touch.
DIY Notepad Design Ideas
Here are some creative ways to transform a plain pad into a personalized planner or custom notepad:
1. Dress Up the Cover
Print a design from Planify Pro (florals, seasonal, or minimal layouts) on sturdy cardstock. Add lamination or a clear protective sheet to keep it looking fresh. For the best results, check our guide to the best printers for planners — the same printers work great for notepad covers.
2. Add Fun Details
This is where your notepad really comes alive. Small touches instantly turn plain paper into a personalized notepad with character:
Stickers for Themes: Set a mood — 🍂 cozy fall leaves, 🌴 tropical icons, 🌸 pastel blooms. Seasonal stickers help create mini custom planners buyers love.
Checkboxes: Adding checkboxes gives your notepad a planner-like vibe and makes it more functional. Start from a ready-made layout in the printable planner templates guide and you get pages that already include checkboxes.
3. Glue the Top
Unlike planners, notepads don’t need binding. They’re held together with a simple layer of glue at the top, making it easy to tear off each page. The easiest way is to use PVA glue — the same safe, nontoxic white glue often called kids’ glue.
Neatly stack your pages and clip them together.
Brush on a thin, even layer of glue across the top edge.
Let it dry completely — this one layer is enough to hold your notepad.
💡 Tip: Avoid adding thick layers of glue. The more glue you use, the harder it becomes to remove the pages cleanly. If you want a more durable binding, see our guide on book binding methods for alternatives like saddle stitch or wire binding.
4. Personal Touches
This is where your DIY notepad design feels truly unique. Personalization makes every pad special and gift-worthy:
Add a Name: Use vinyl stickers, stamps, or digital printing to customize covers with someone’s name. Perfect for gifts or branded notepads.
Motivational Quotes: Print a short, uplifting phrase on the first page. It costs nothing to add and gives the whole pad a positive start.
Themed Pages: Insert habit trackers, weekly planners, or recipe cards. With a printable planner template to build on, it’s easy to create practical pages that turn a simple pad into a personalized planner.
From Craft to Business
So, you’ve made a few notepads. What’s next? If you want to sell them, here’s a quick roadmap:
Pick Your Niche
Before you start selling, decide who your notepads will serve best:
Minimal Planners for Students: Clean, simple layouts that make note-taking and organizing easy.
Seasonal & Cute Designs: Themes like Halloween 🎃, Valentine’s ❤️, or Christmas 🎄 work perfectly as affordable, thoughtful gifts.
Branded Corporate Notepads: Sleek, professional designs with logos or company colors — great for business events, giveaways, or client gifts.
💡 Tip: Choosing a clear niche helps your notepads stand out and attract the right buyers.
Price Them Smartly
Getting your pricing right is key if you want to make your DIY notepads profitable while still attractive to buyers:
Factor in Costs: Include paper, ink, binding supplies, packaging, and — most importantly — your time. Don’t undersell your work.
Singles or Bundles: Sell one notepad for entry-level buyers, but offer bundles of 2–3 pads for extra value (and higher sales).
Add Extras: Boost perceived value by pairing notepads with matching stickers, tabs, or bookmarks. Small details make your product feel like a complete set.
Where to Sell
Etsy: ideal for personalized stationery
Instagram/TikTok shops: perfect for showing off your DIY process
Local craft fairs: where people love buying handmade items
Your own website (bonus: pair physical notepads with Planify Pro digital planners)
Marketing Tips
Smart marketing can make your notepads stand out and attract steady buyers:
Show the Process: Share short DIY videos or reels — people love seeing how products are made, and it builds trust.
Seasonal Limited Editions: Launch holiday or seasonal collections (like fall, Valentine’s, or summer themes) to create urgency and excitement.
SEO-Friendly Listings: Use keywords such as personalized notepad, custom planner, and DIY stationery in your titles and product descriptions to boost visibility in search results.
Planify Pro Makes It Easy
If you don’t want to start from scratch, ready-made printable planner templates are a huge time-saver. You can grab layouts for daily and weekly planners, grocery and meal planners, to-do lists and study flashcards, and seasonal notepad pages. You just print, decorate, and bind. It’s DIY without the design stress — and it gives your products a polished, professional look.
Wrapping Up!
Decorating notepads is more than just a weekend craft — it can be the start of a fun, creative business. With DIY notepad design ideas, a bit of personalization, and smart marketing, you can create stationery people will actually use and love.
So grab some paper, try out a printable planner template, and start experimenting. Who knows? Your first little notepad could be the beginning of your own personalized planner brand.
More DIY Planner and Notebook Tutorials
Want to go beyond notepads? Try one of our step-by-step build tutorials:
How to Make Notepads at Home — the plain-pad build these decorating ideas sit on top of
DIY Half-Hidden Wire Notebook — wire binding with a hidden spine technique
DIY Sliding Notebook — refillable notebook with Chicago screw binding and tear-off pages
DIY Folding Gratitude Notebook — wire-bound gratitude journal with a folding cover
DIY Standing Refillable Notepad — desk pad with a fold-out easel back and refillable tear-off pages
DIY Planner Journal Booklet — staple-bound planner journal
Book Binding Methods Guide — compare wire, coil, PVA, and signature binding techniques
Or browse every project in the DIY tutorials index.
Ready to dive deeper? Explore our custom planner maker guide for design tools, browse 50+ planner template ideas for sellers, or see our complete guide to starting a profitable planner business on Etsy.


