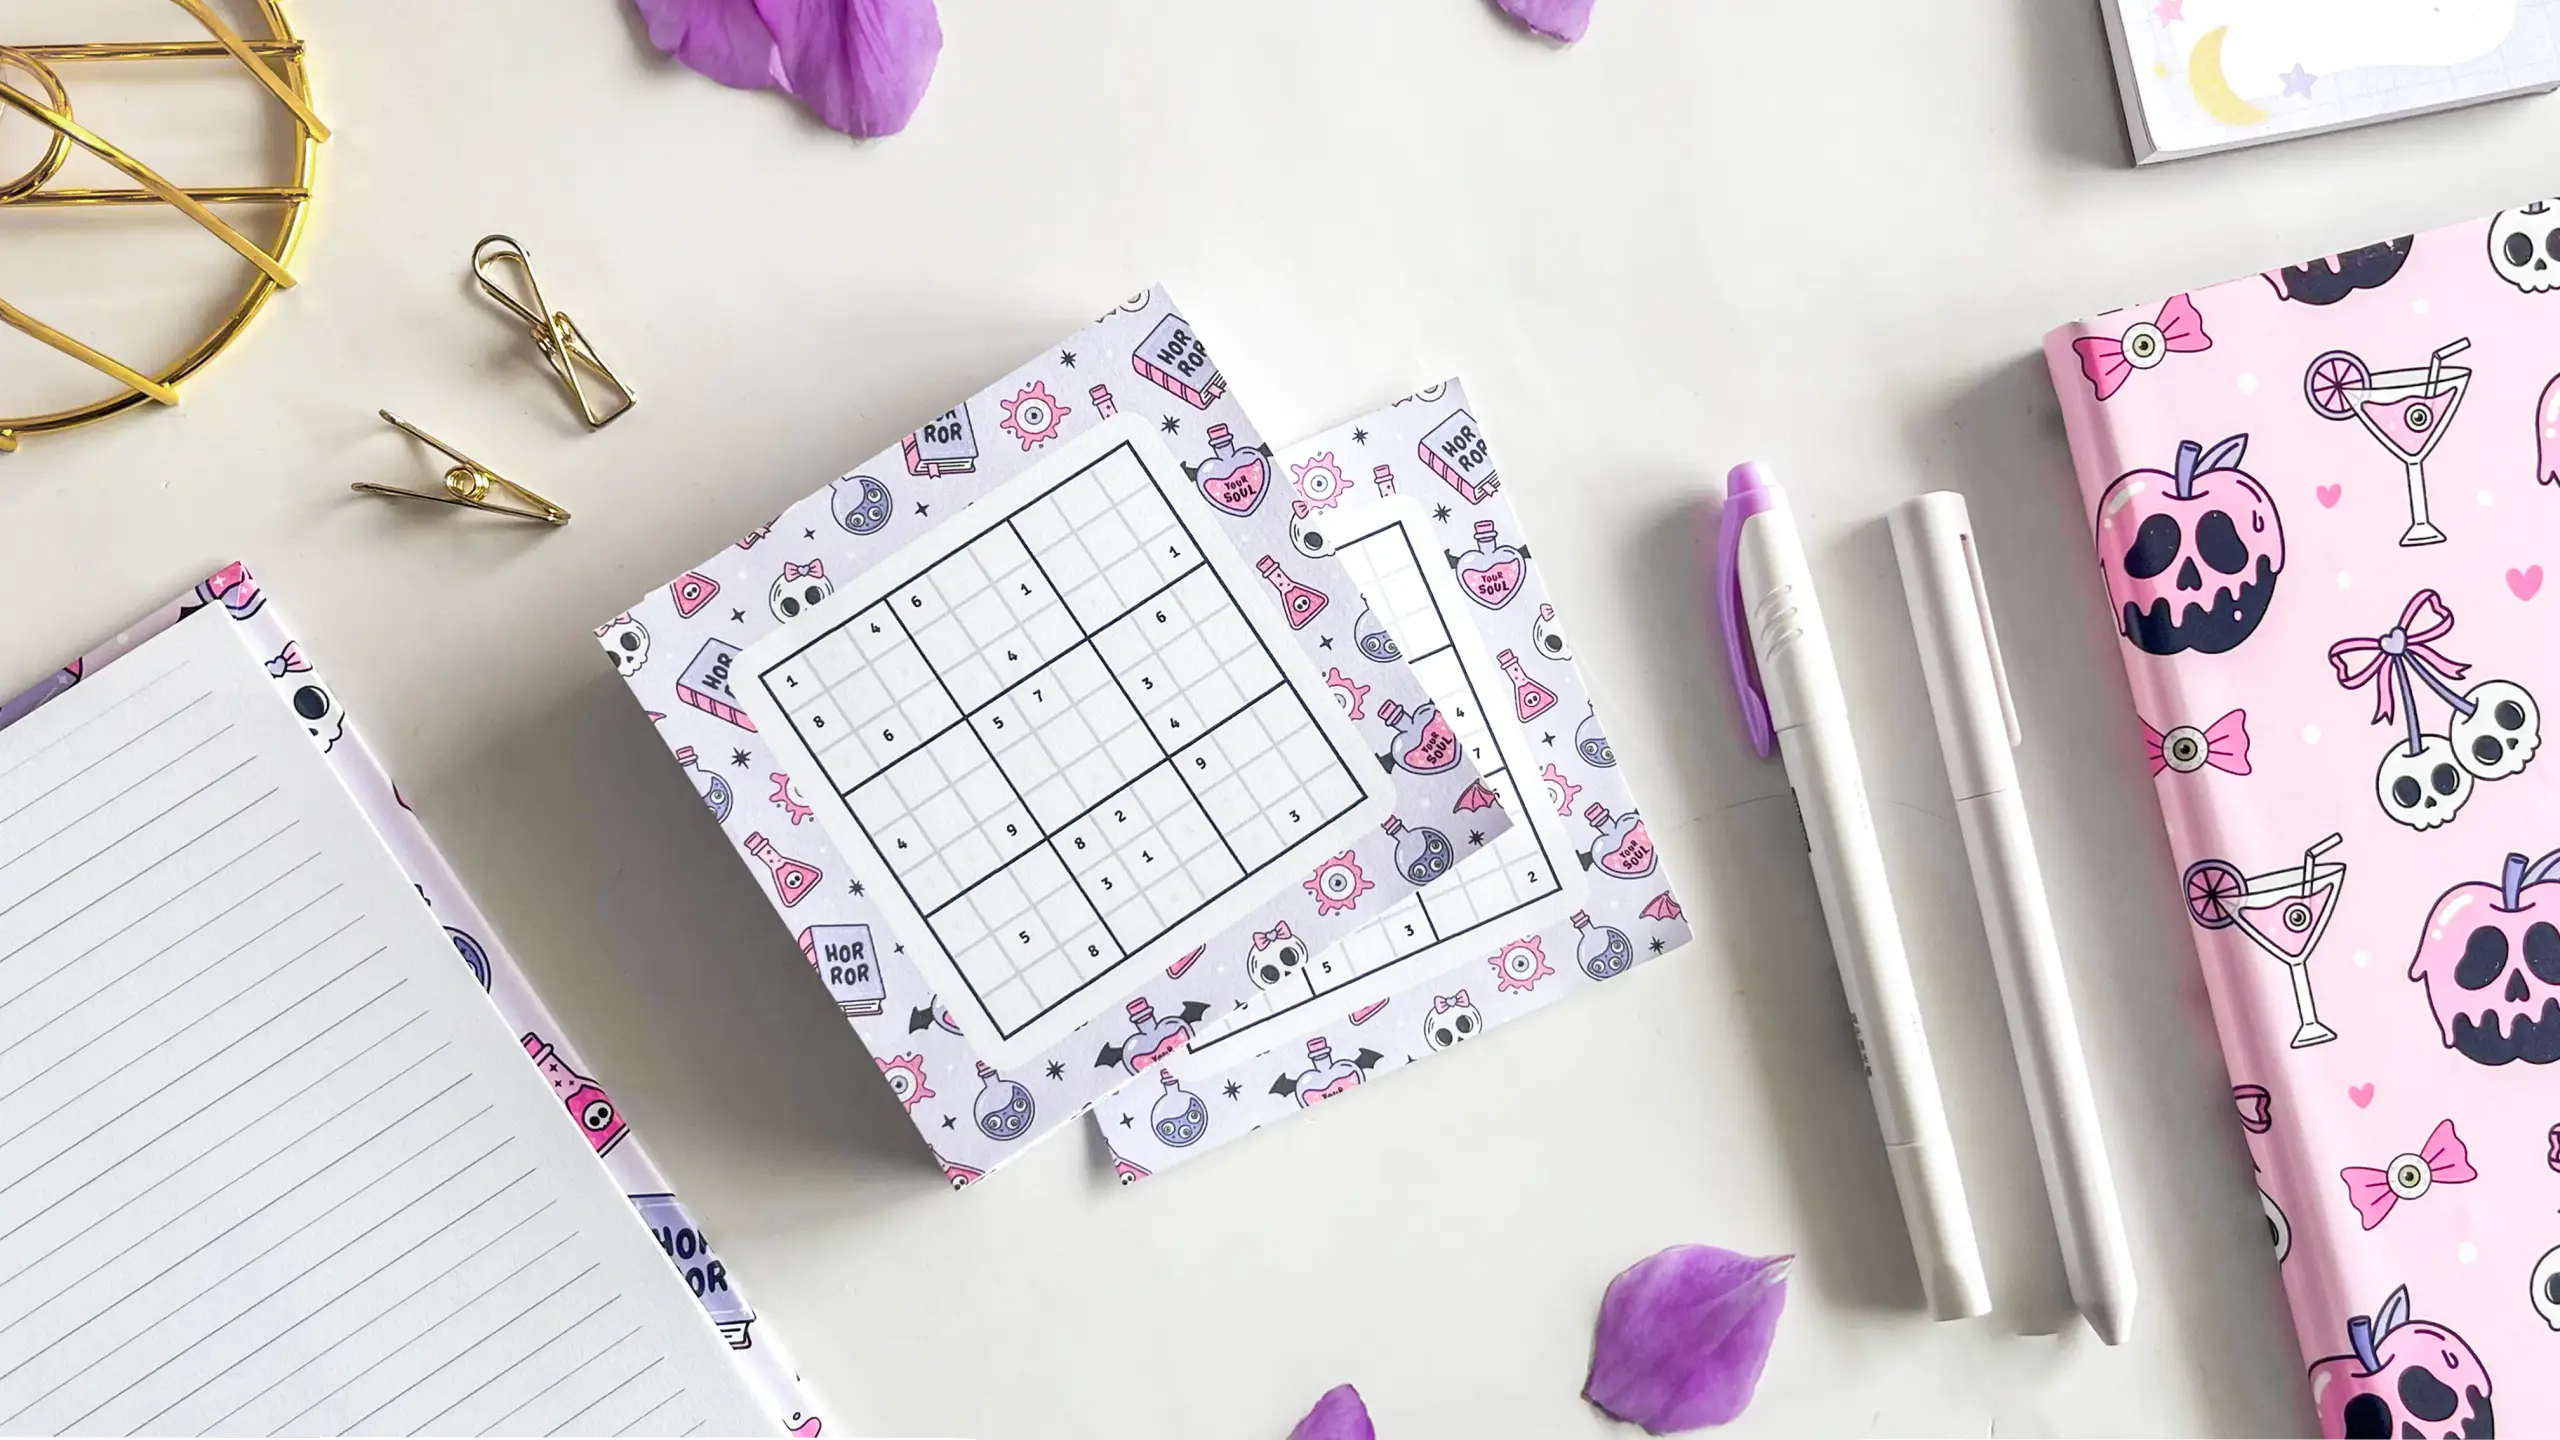
A sudoku notepad is a block of printed puzzles glued along one edge, so you tear off a fresh grid whenever you want one and bin it once it is solved. At 100 × 100mm it lives in a bag or a desk drawer, and each copy costs a stack of plain paper, an offcut of chipboard and a smear of glue.
These tutorials use Planify Pro, a drag-and-drop tool for designing printable planners and stationery. Building and editing is free — exporting a PDF needs a plan, from $9.99/month.
Get the template
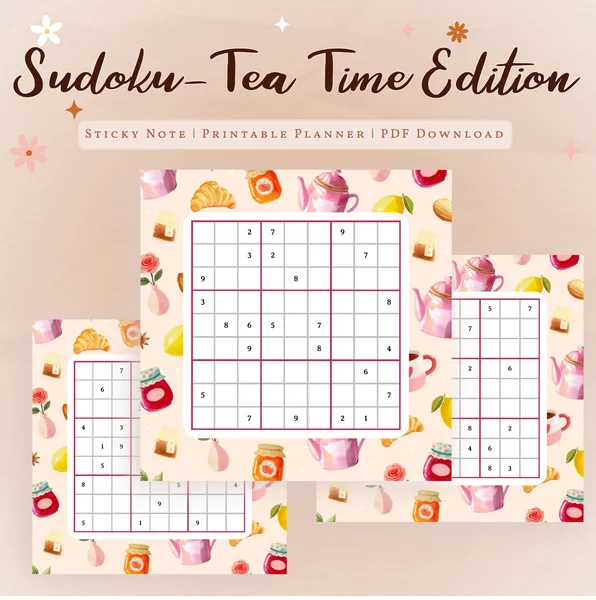
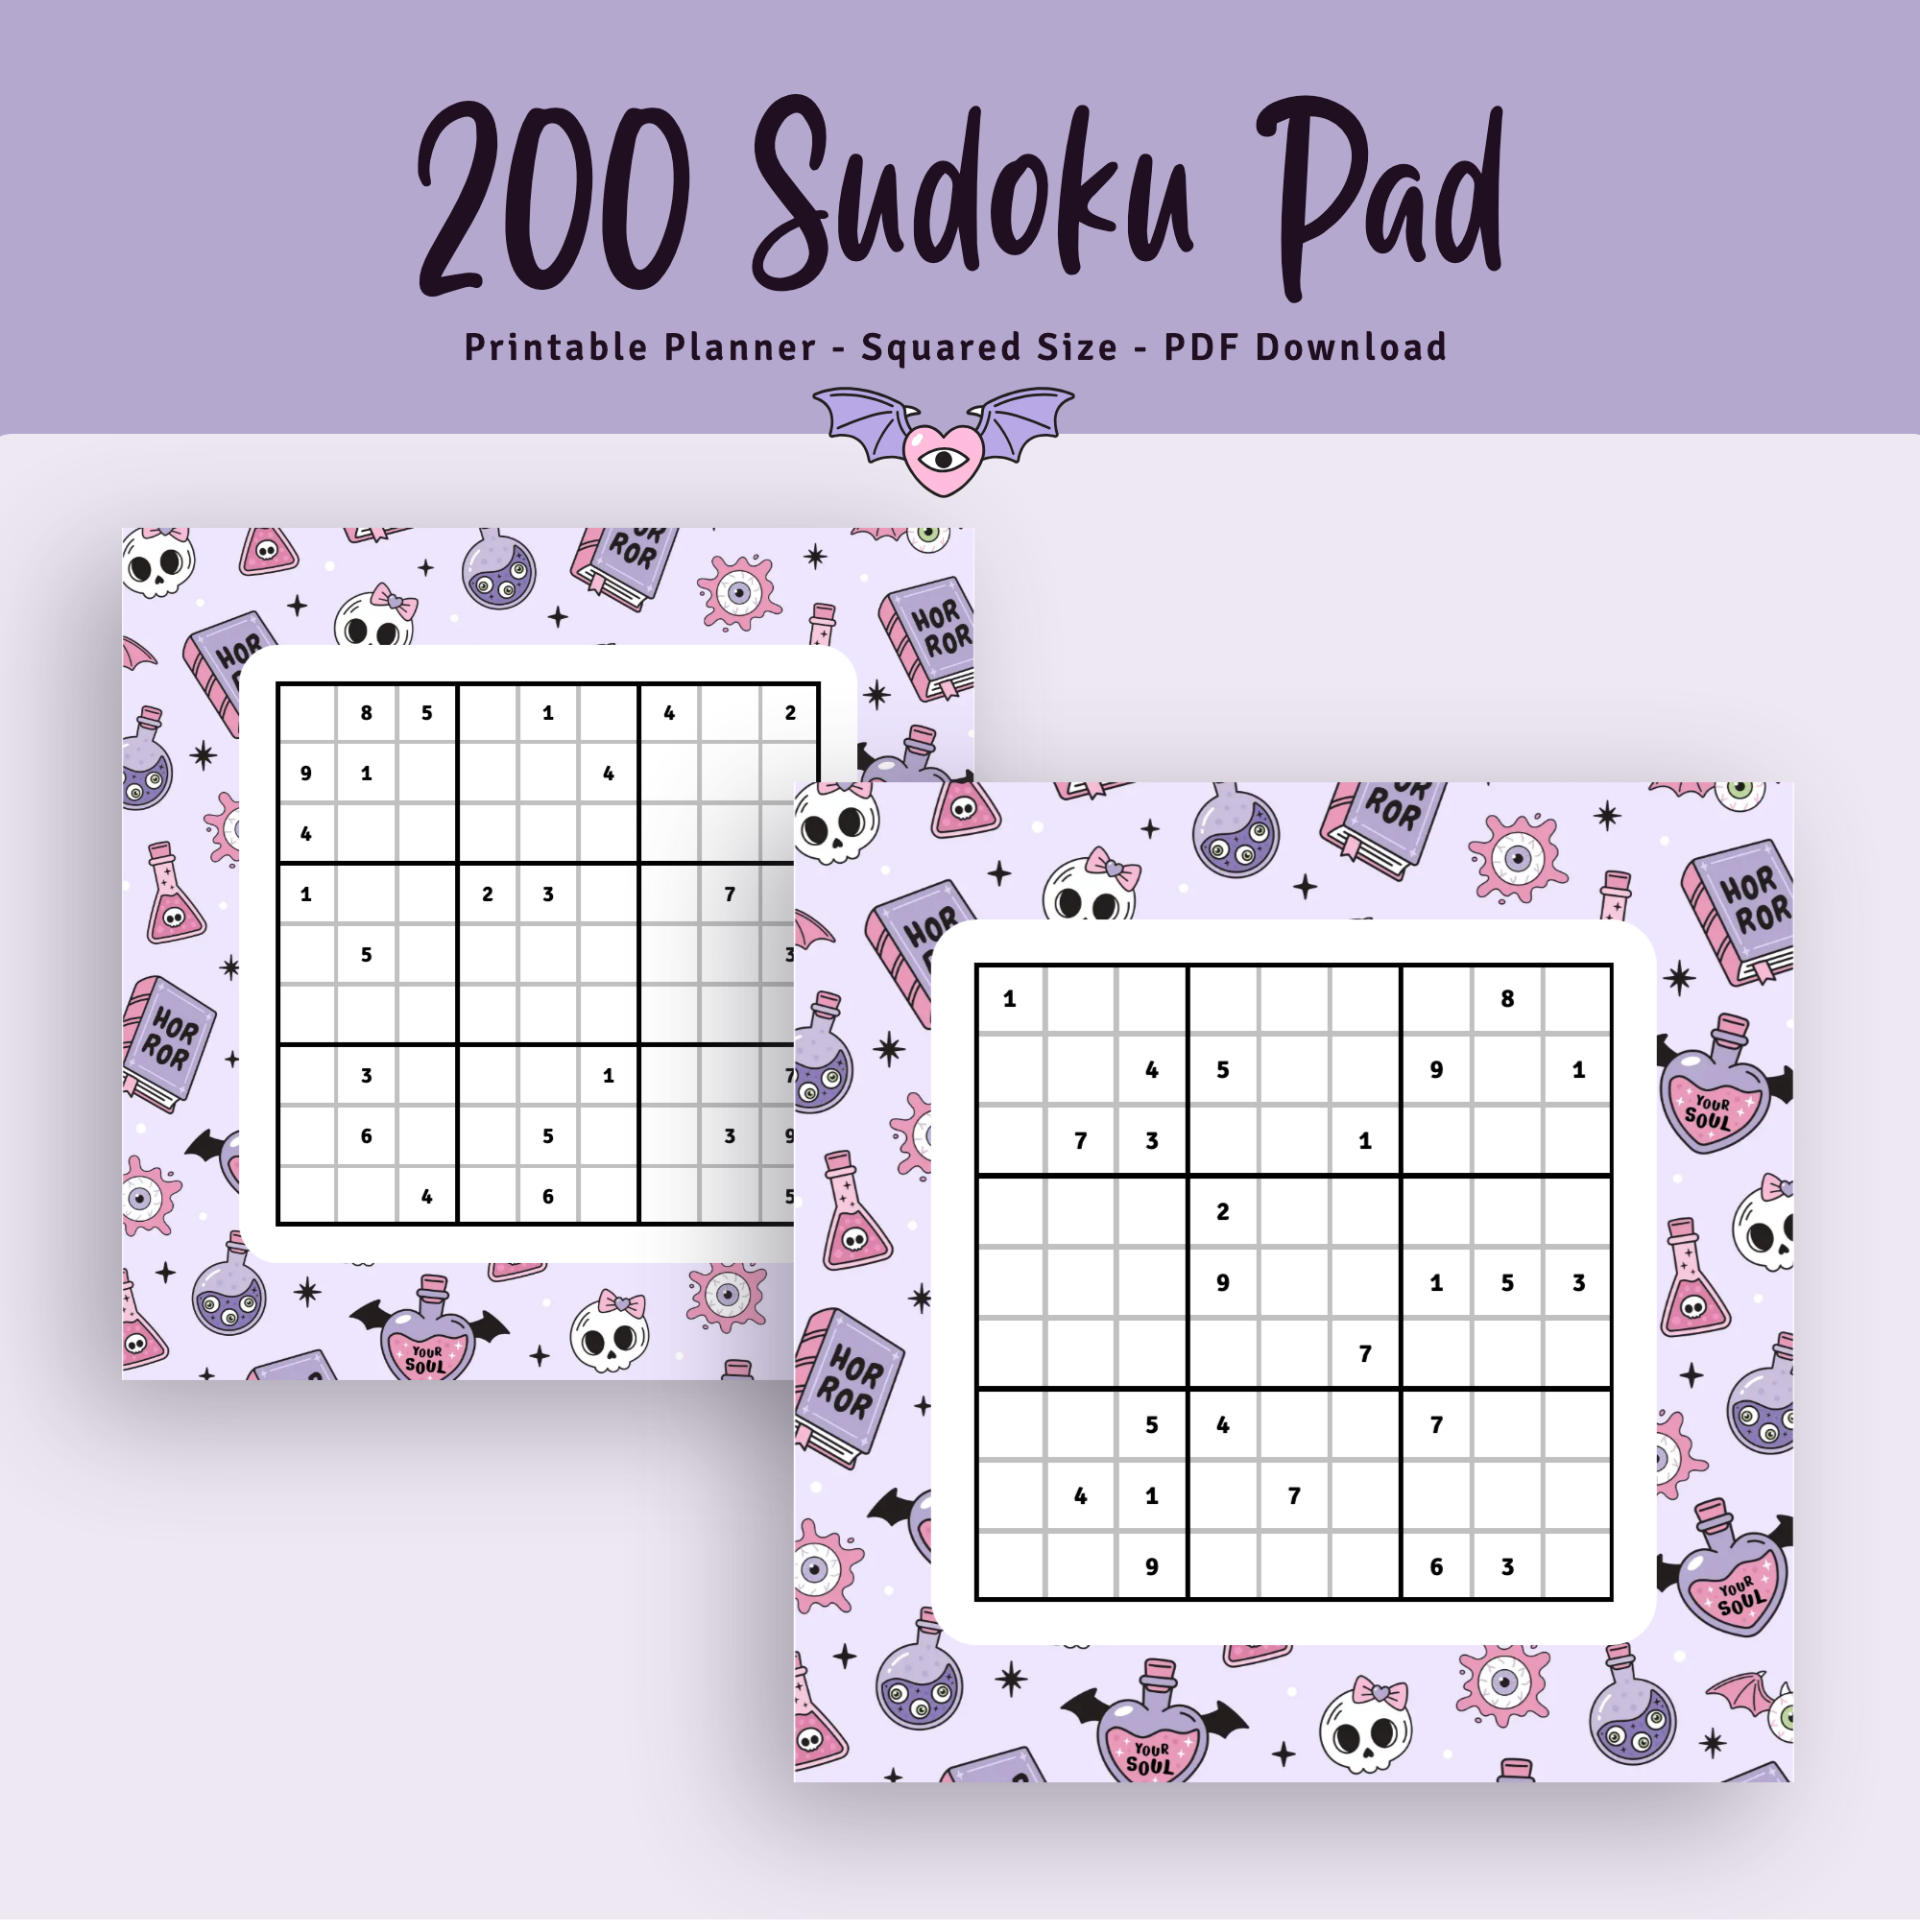
The puzzles come with it — one grid per page, already generated, so there is nothing to fill in before you print. Open it in Planify Pro to change the size, colours or background pattern, or print it exactly as it is.
Export and print
Export the puzzle pages as a PDF at the paper size you will actually feed the printer — A4 or US Letter — then print at 100% scale, with any "fit to page" or "shrink oversized pages" option switched off.
Scale matters more here than on most projects. The pages have to come off the printer at their true 100 × 100mm, because you cut the chipboard backing to match them; if the printer shrinks the PDF even slightly, the board will be a few millimetres proud on two sides and the finished pad will never sit square. Measure one printed page with a ruler before you cut anything.
The pages are small, so several fit on one sheet. The build in these photos printed two puzzles per sheet in landscape, which roughly halves the paper for a 100-page pad. Plain printer paper is the right stock — this is a pad you tear from, so heavy card works against you.
What You'll Need
 |  |  |
 |
The clamp in the photos below is just two lengths of wooden batten squeezed onto the block — heavy-duty binder clips do the same job. A ruler and craft knife will stand in for the guillotine, though cutting a hundred identical squares by hand is slow and the glued edge is only ever as straight as your worst cut.
Instructions
1. Print the puzzle pages. Print as many as you want in the pad — the build in these photos used 100. Keep them in one pile as they come off the printer rather than letting them scatter; you are about to square this stack up, and it is much easier if the sheets never get shuffled. |
2. Trim every sheet to 100 × 100mm. Cut them all to exactly the same square. This is the step that decides whether the finished pad looks made or homemade — sheets that vary by a millimetre will never stack into a clean block, and the ragged edges show on every side of the pad. |
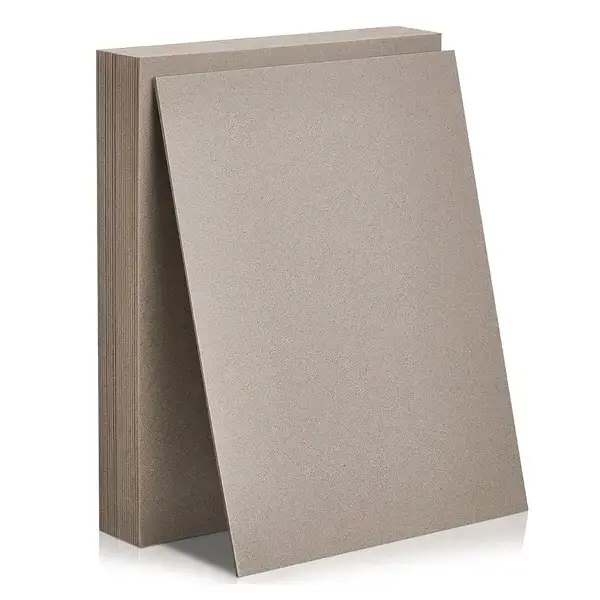
3. Cut the chipboard backing to match. One piece, the same 100 × 100mm as the pages. The board is what keeps the pad rigid enough to write on without a desk under it, and it gets glued into the spine along with the paper — so it needs to be flush with the stack, not oversized. |
4. Square the stack up. Put the chipboard at the back, then tap the block on the desk until every sheet is flush along the edge that will become the spine. Any sheet sitting even slightly proud of its neighbours will miss the glue and drop out of the finished pad.  |
5. Clamp the block with the spine edge exposed. Grip the stack so only the edge you are about to glue stands proud of the clamp. The clamp does two jobs at once: it squeezes the sheets tight so glue cannot seep down between them and weld pages together, and it holds the spine flat while it dries. |
6. Run PVA glue along the exposed edge. Lay a bead down the full length of the spine and spread it out so every sheet is covered from corner to corner. Thin and even beats thick — a heavy layer dries into a rubbery ridge that cracks the first time you tear a page off.  |
7. Leave it clamped until the glue is dry — around ten minutes. The clamp stays on the whole time; taking it off early lets the block spring open and the spine sets bowed. In the photo it is parked in front of a small desk fan, which moves things along.  |
That is the pad finished. Peel the top sheet off once a puzzle is solved, and the chipboard back keeps the rest of the block stiff enough to write on in your lap.  |
Troubleshooting
Pages come away in twos and threes. The glue did not reach every sheet. Either the stack was not properly squared before clamping, or the bead was too thin to bridge the full width. Re-square, and check the glue covers corner to corner.
The spine cracks the first time you tear a page. Too much glue. A thick layer dries hard and brittle instead of flexible; one thin, evenly spread coat is enough.
The printed grids do not match the chipboard. The printer scaled the PDF. Print at 100% with fit-to-page off, then measure a printed page before you cut the board.
The finished block bows, or the pages splay at the fore edge. The clamp came off before the glue set. Give it the full drying time with the clamp still on, and let it finish flat rather than standing on edge.
Selling these
Puzzle pads sell on a different impulse from planners. Nobody has to adopt a system to buy one — it is just something to do — which makes them an easy impulse item at a craft fair or an add-on in an online shop.
The economics are good. A pad is a hundred sheets of plain paper, an offcut of chipboard and a little glue, and the whole run batches neatly: trim, clamp and glue several pads in one session and they all dry together. Price them as a novelty rather than as stationery, and bundle where you can — a pad with a pen, or three pads in different cover patterns, moves better than a single pad on its own. Seasonal prints (the one in these photos is a Halloween pattern) let you sell the same build again every few months.
For more on positioning and pricing, see 20 profitable planner niches and easy templates that sell.
Try these next
How to Make Notepads at Home — the plain PVA padding method this build is based on
DIY Perforated Notepad — add clean tear-off lines to the same kind of pad
DIY Stacked Notepad — three pads glued onto one chipboard back
Notepad Design Ideas — cover, pattern and packaging ideas


