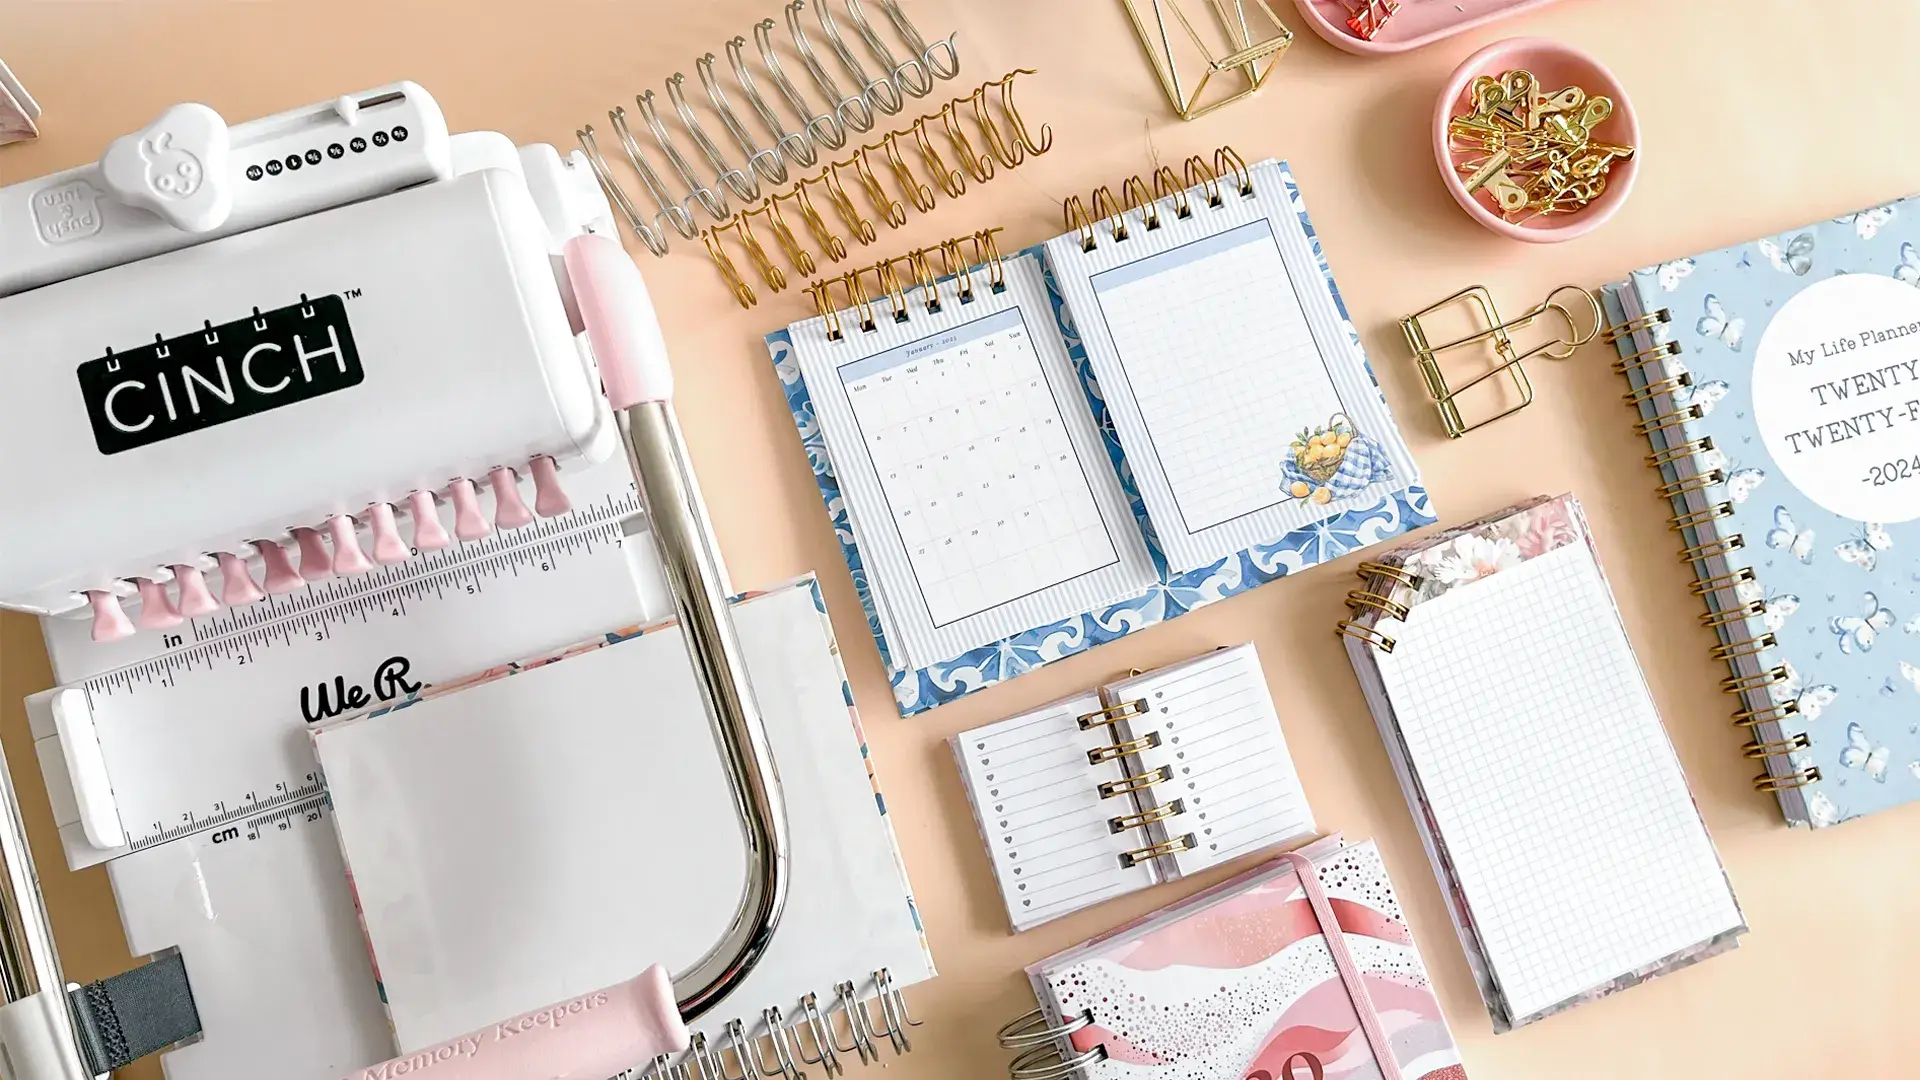
This DIY productivity notepad has a clever twist: every page is already hole-punched, so you can tear one off and clip it straight into your ring planner. Each page combines a priority matrix, a to-do list and a notes grid, and the whole pad is bound with PVA glue inside a folding cardstock cover.
These tutorials use Planify Pro, a drag-and-drop tool for designing printable planners and stationery. Designing is free, and saving and exporting a PDF need a plan, from $99.99/year.
Get the template
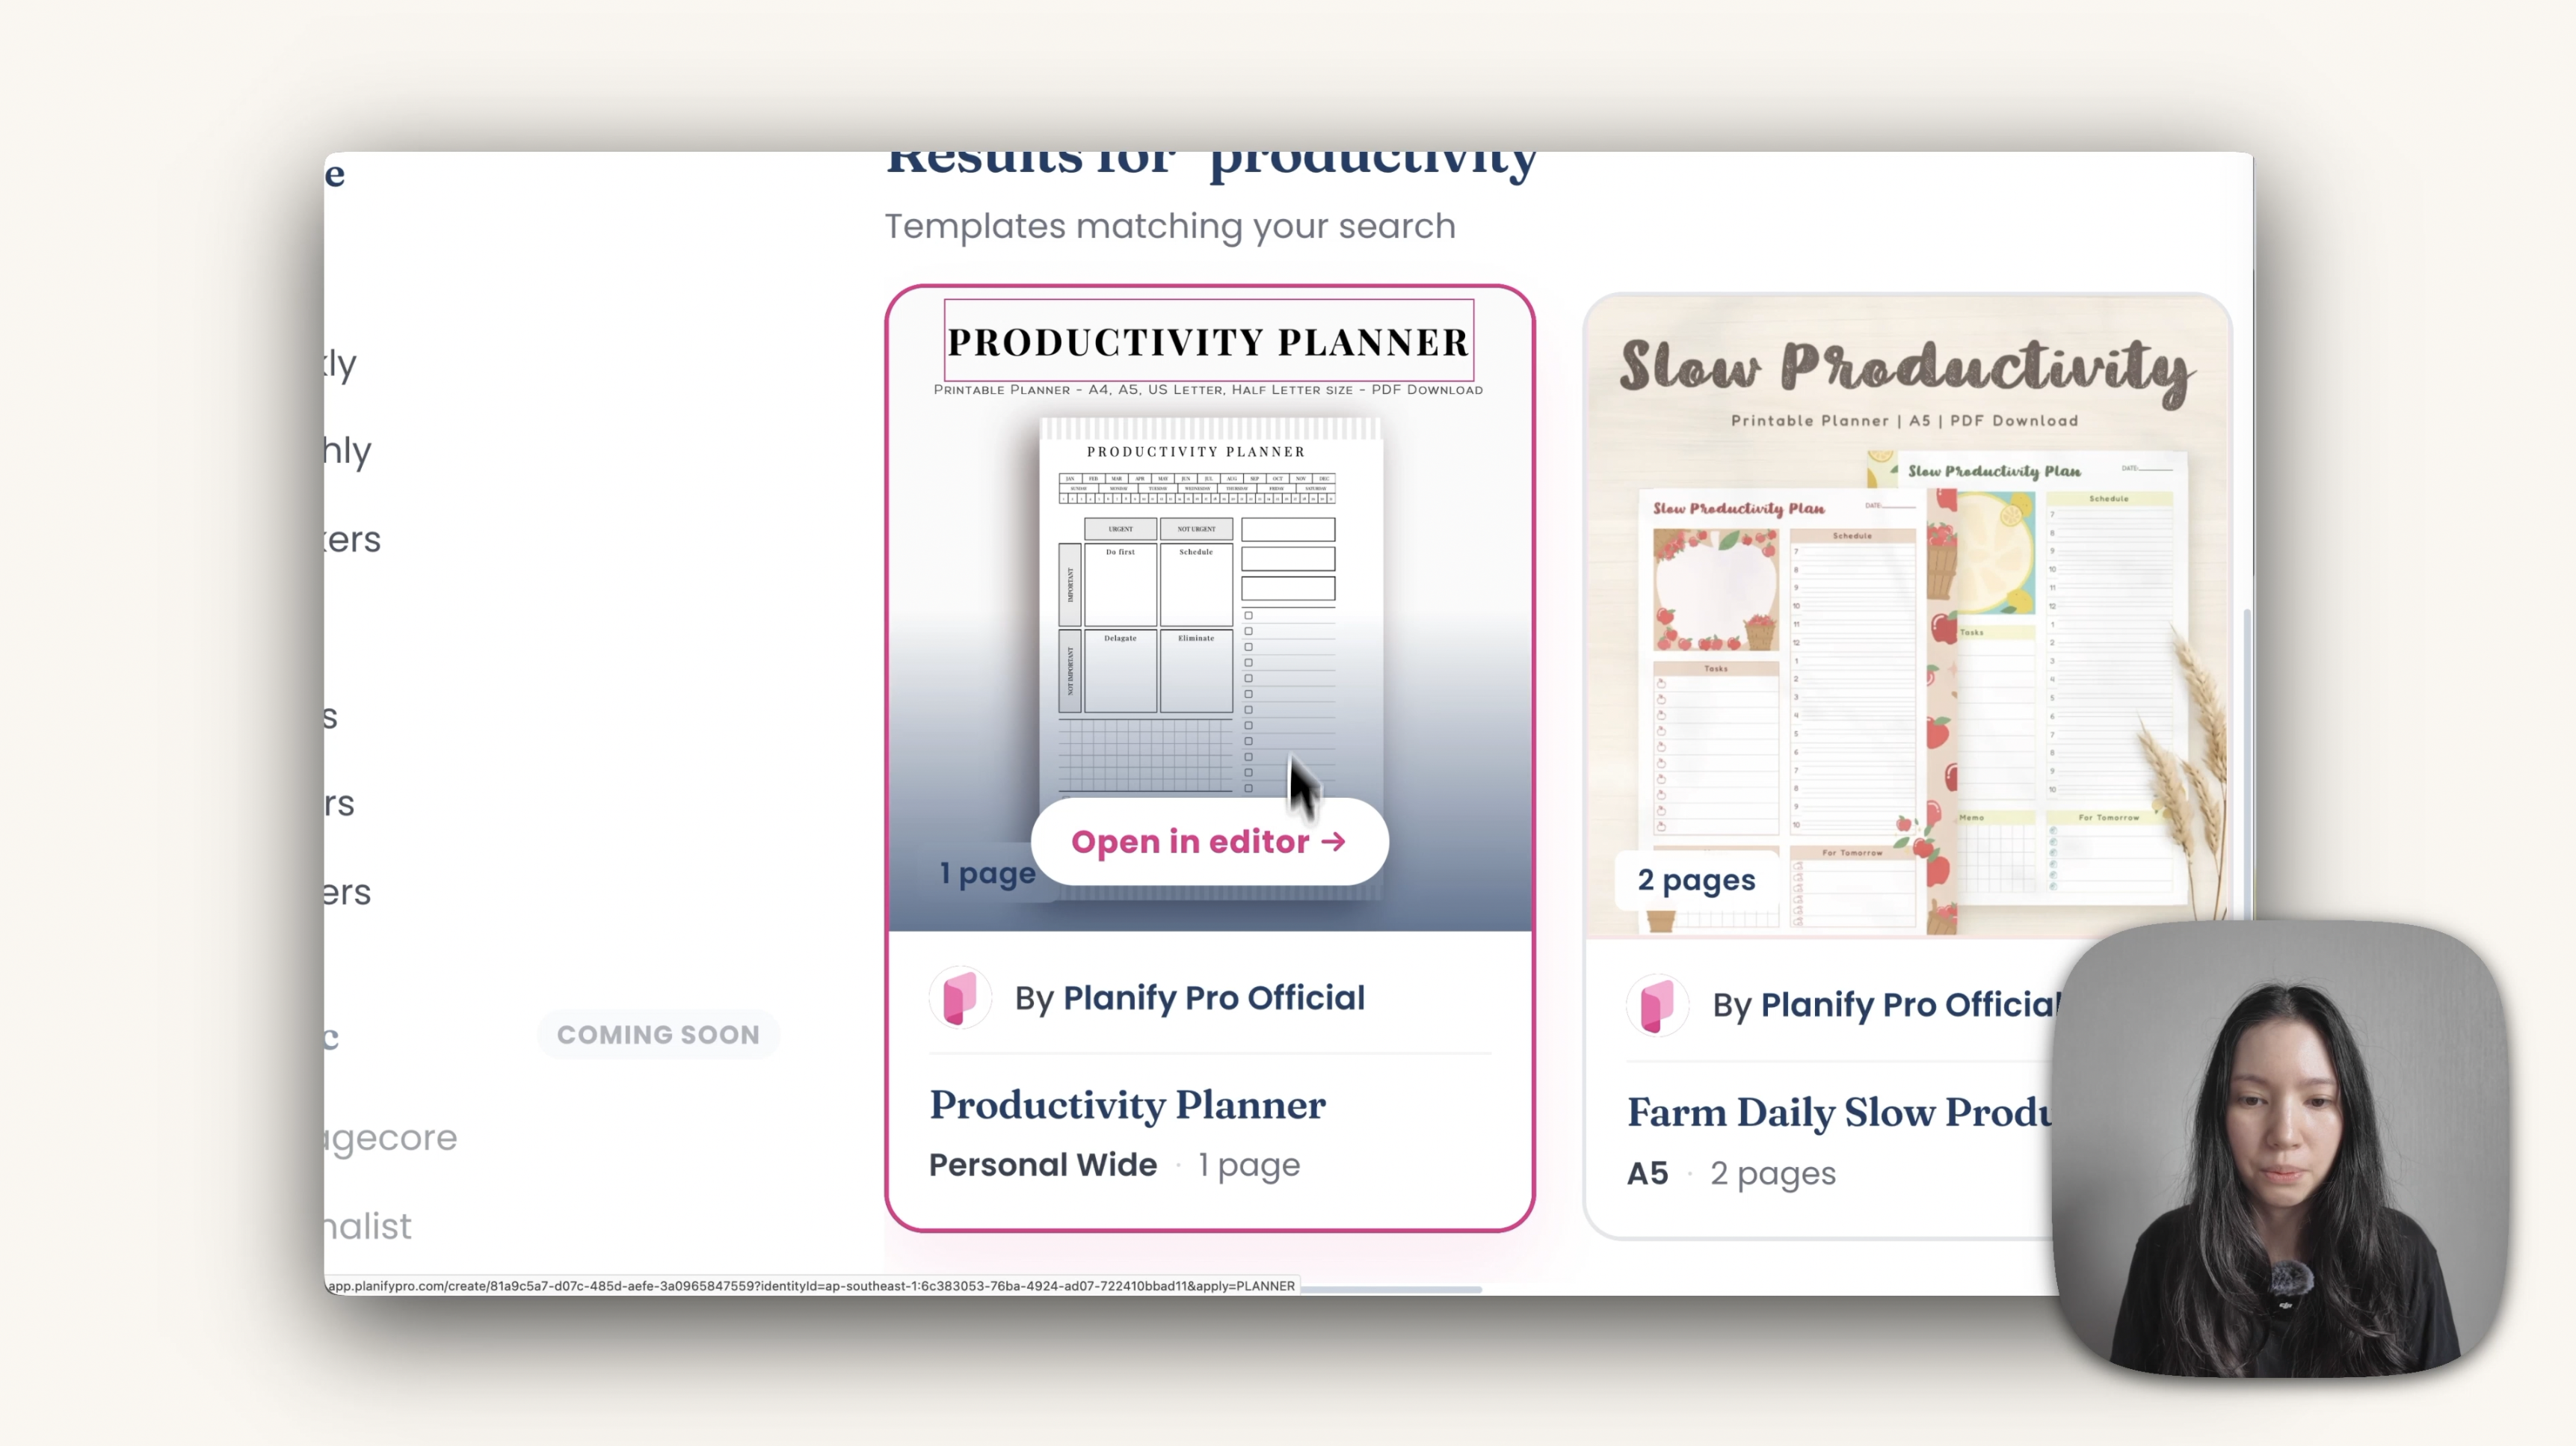
The finished design is ready to open and export. Click the card below to open it in Planify Pro, or go to Explore and search for "productivity".
Export and print the planner inserts
Open the template, click Export and choose the first option to get single pages. The PDF has two pages. Page 2 is the one with the wider margin on the left, which is where the holes go, so print that page if you only want the design on the front. To print the design on both sides, print the two pages front and back.
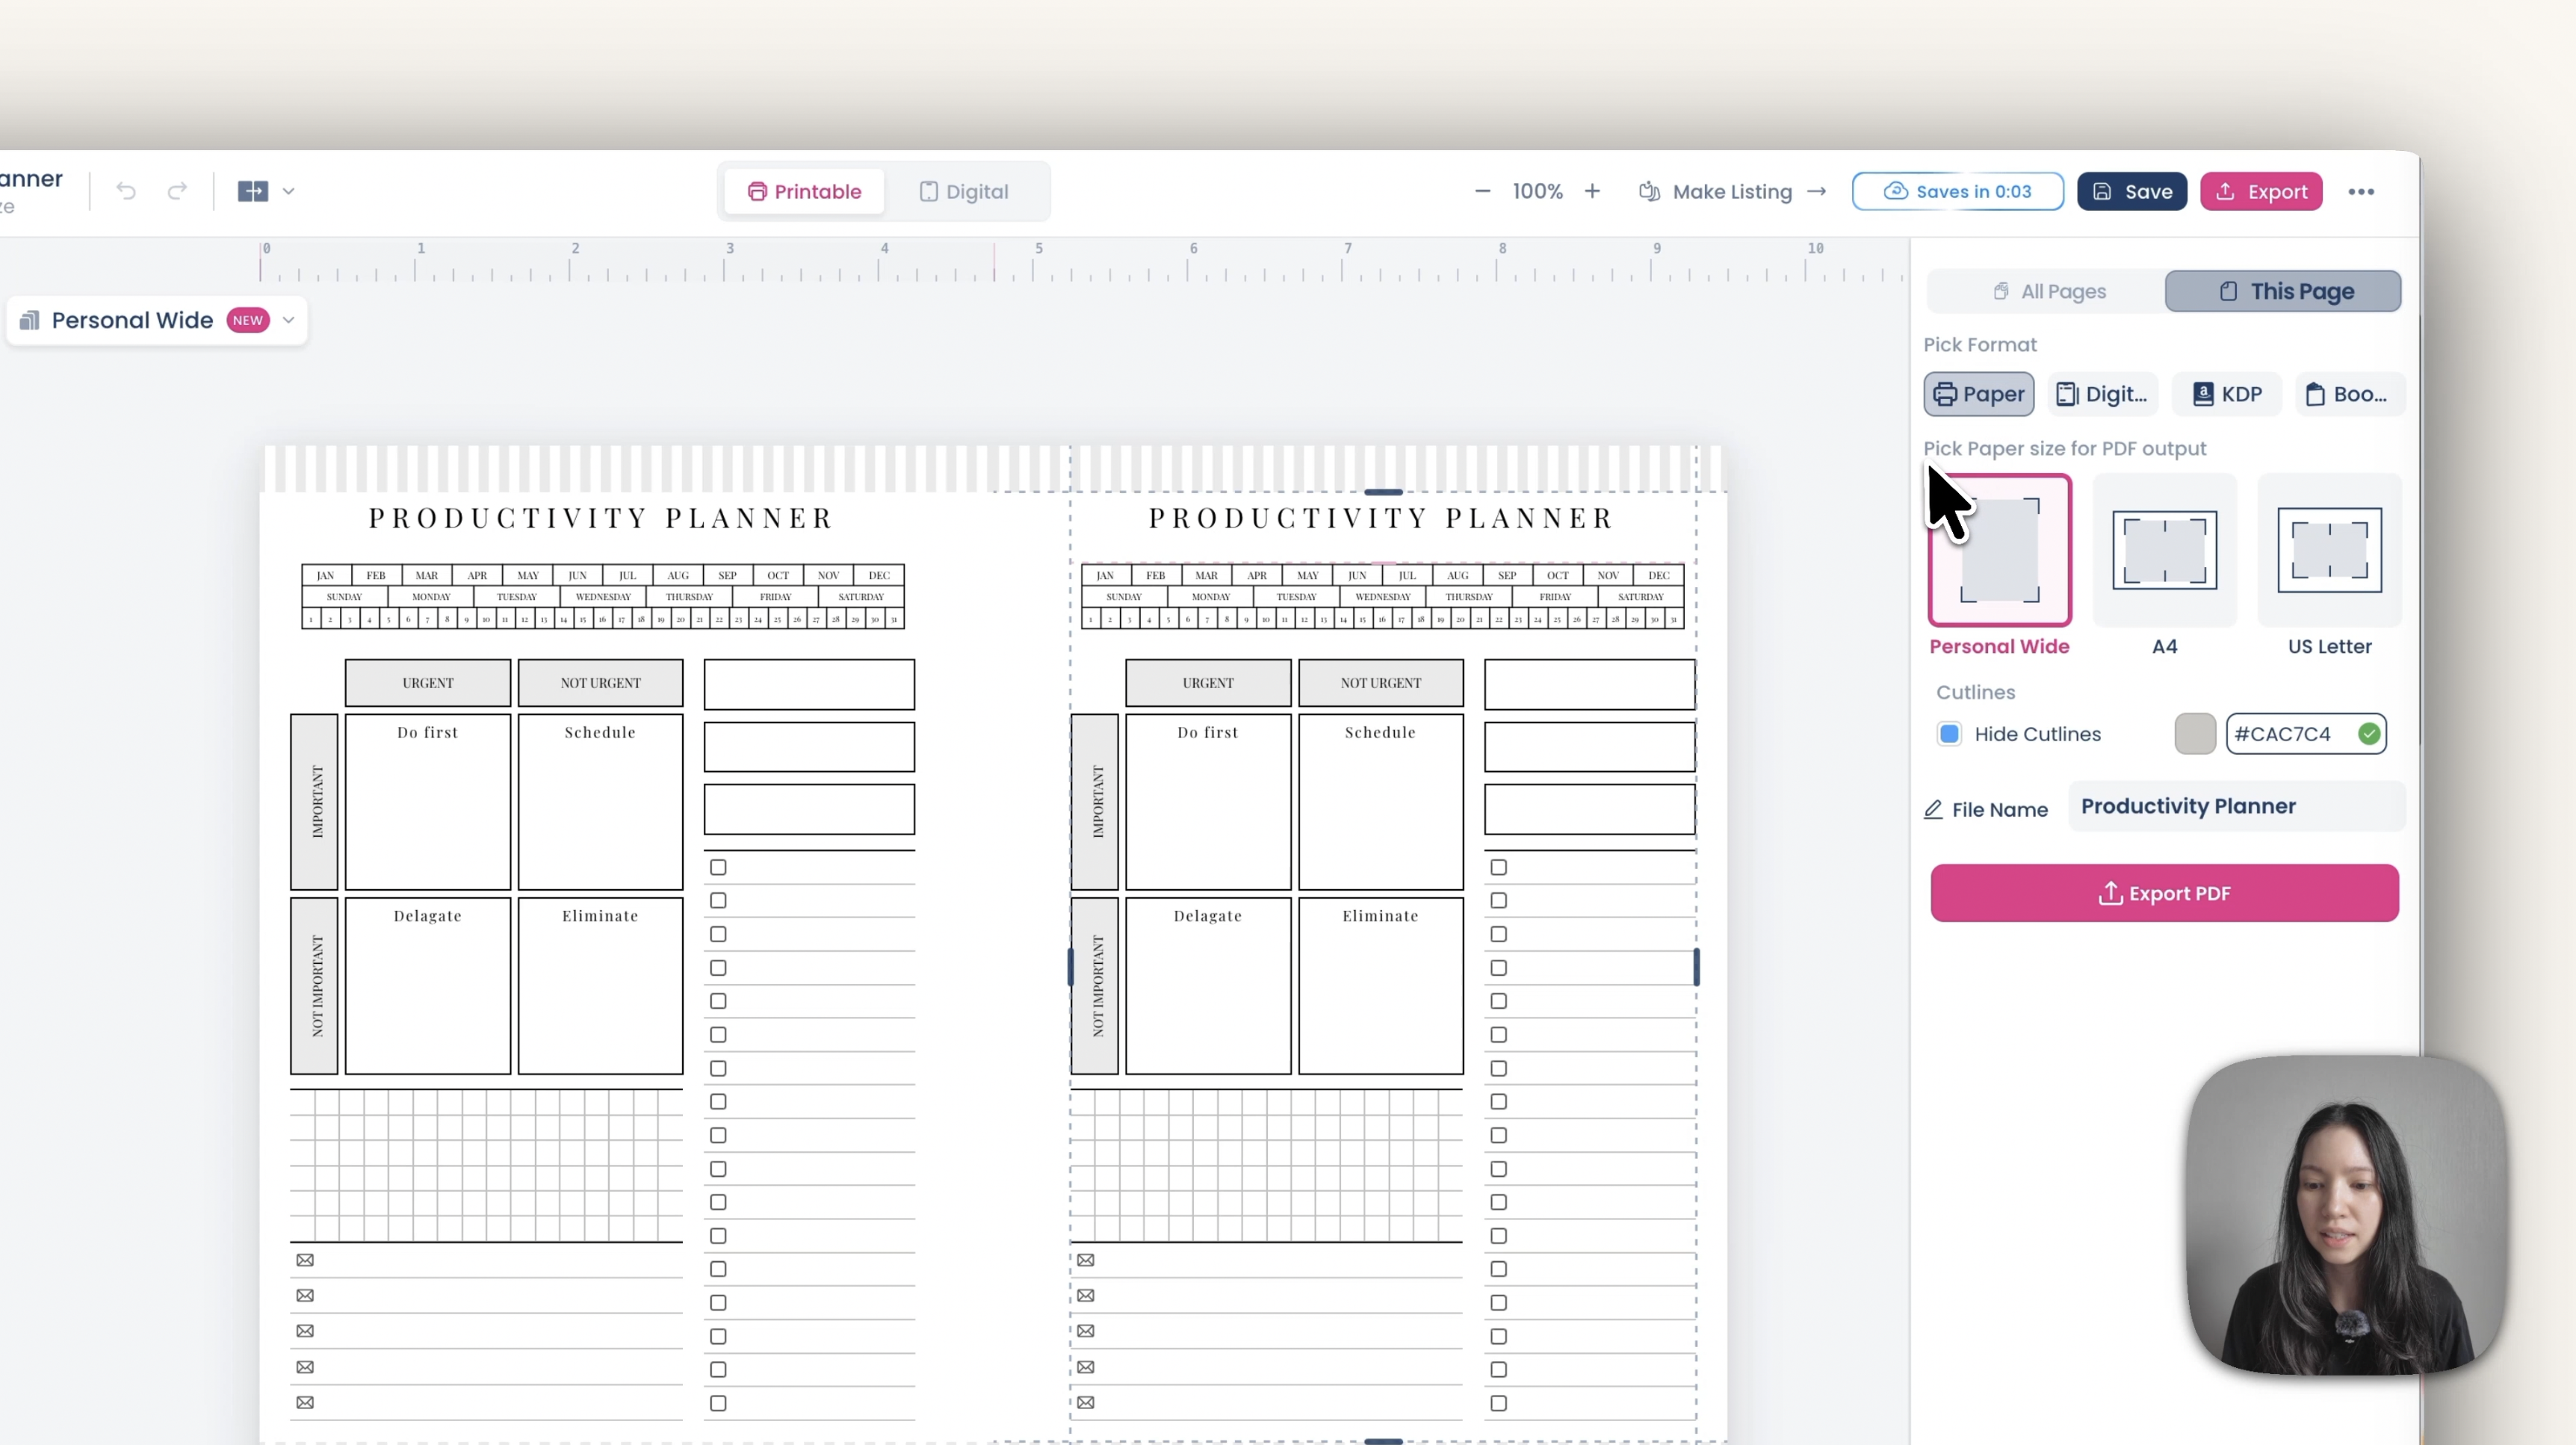
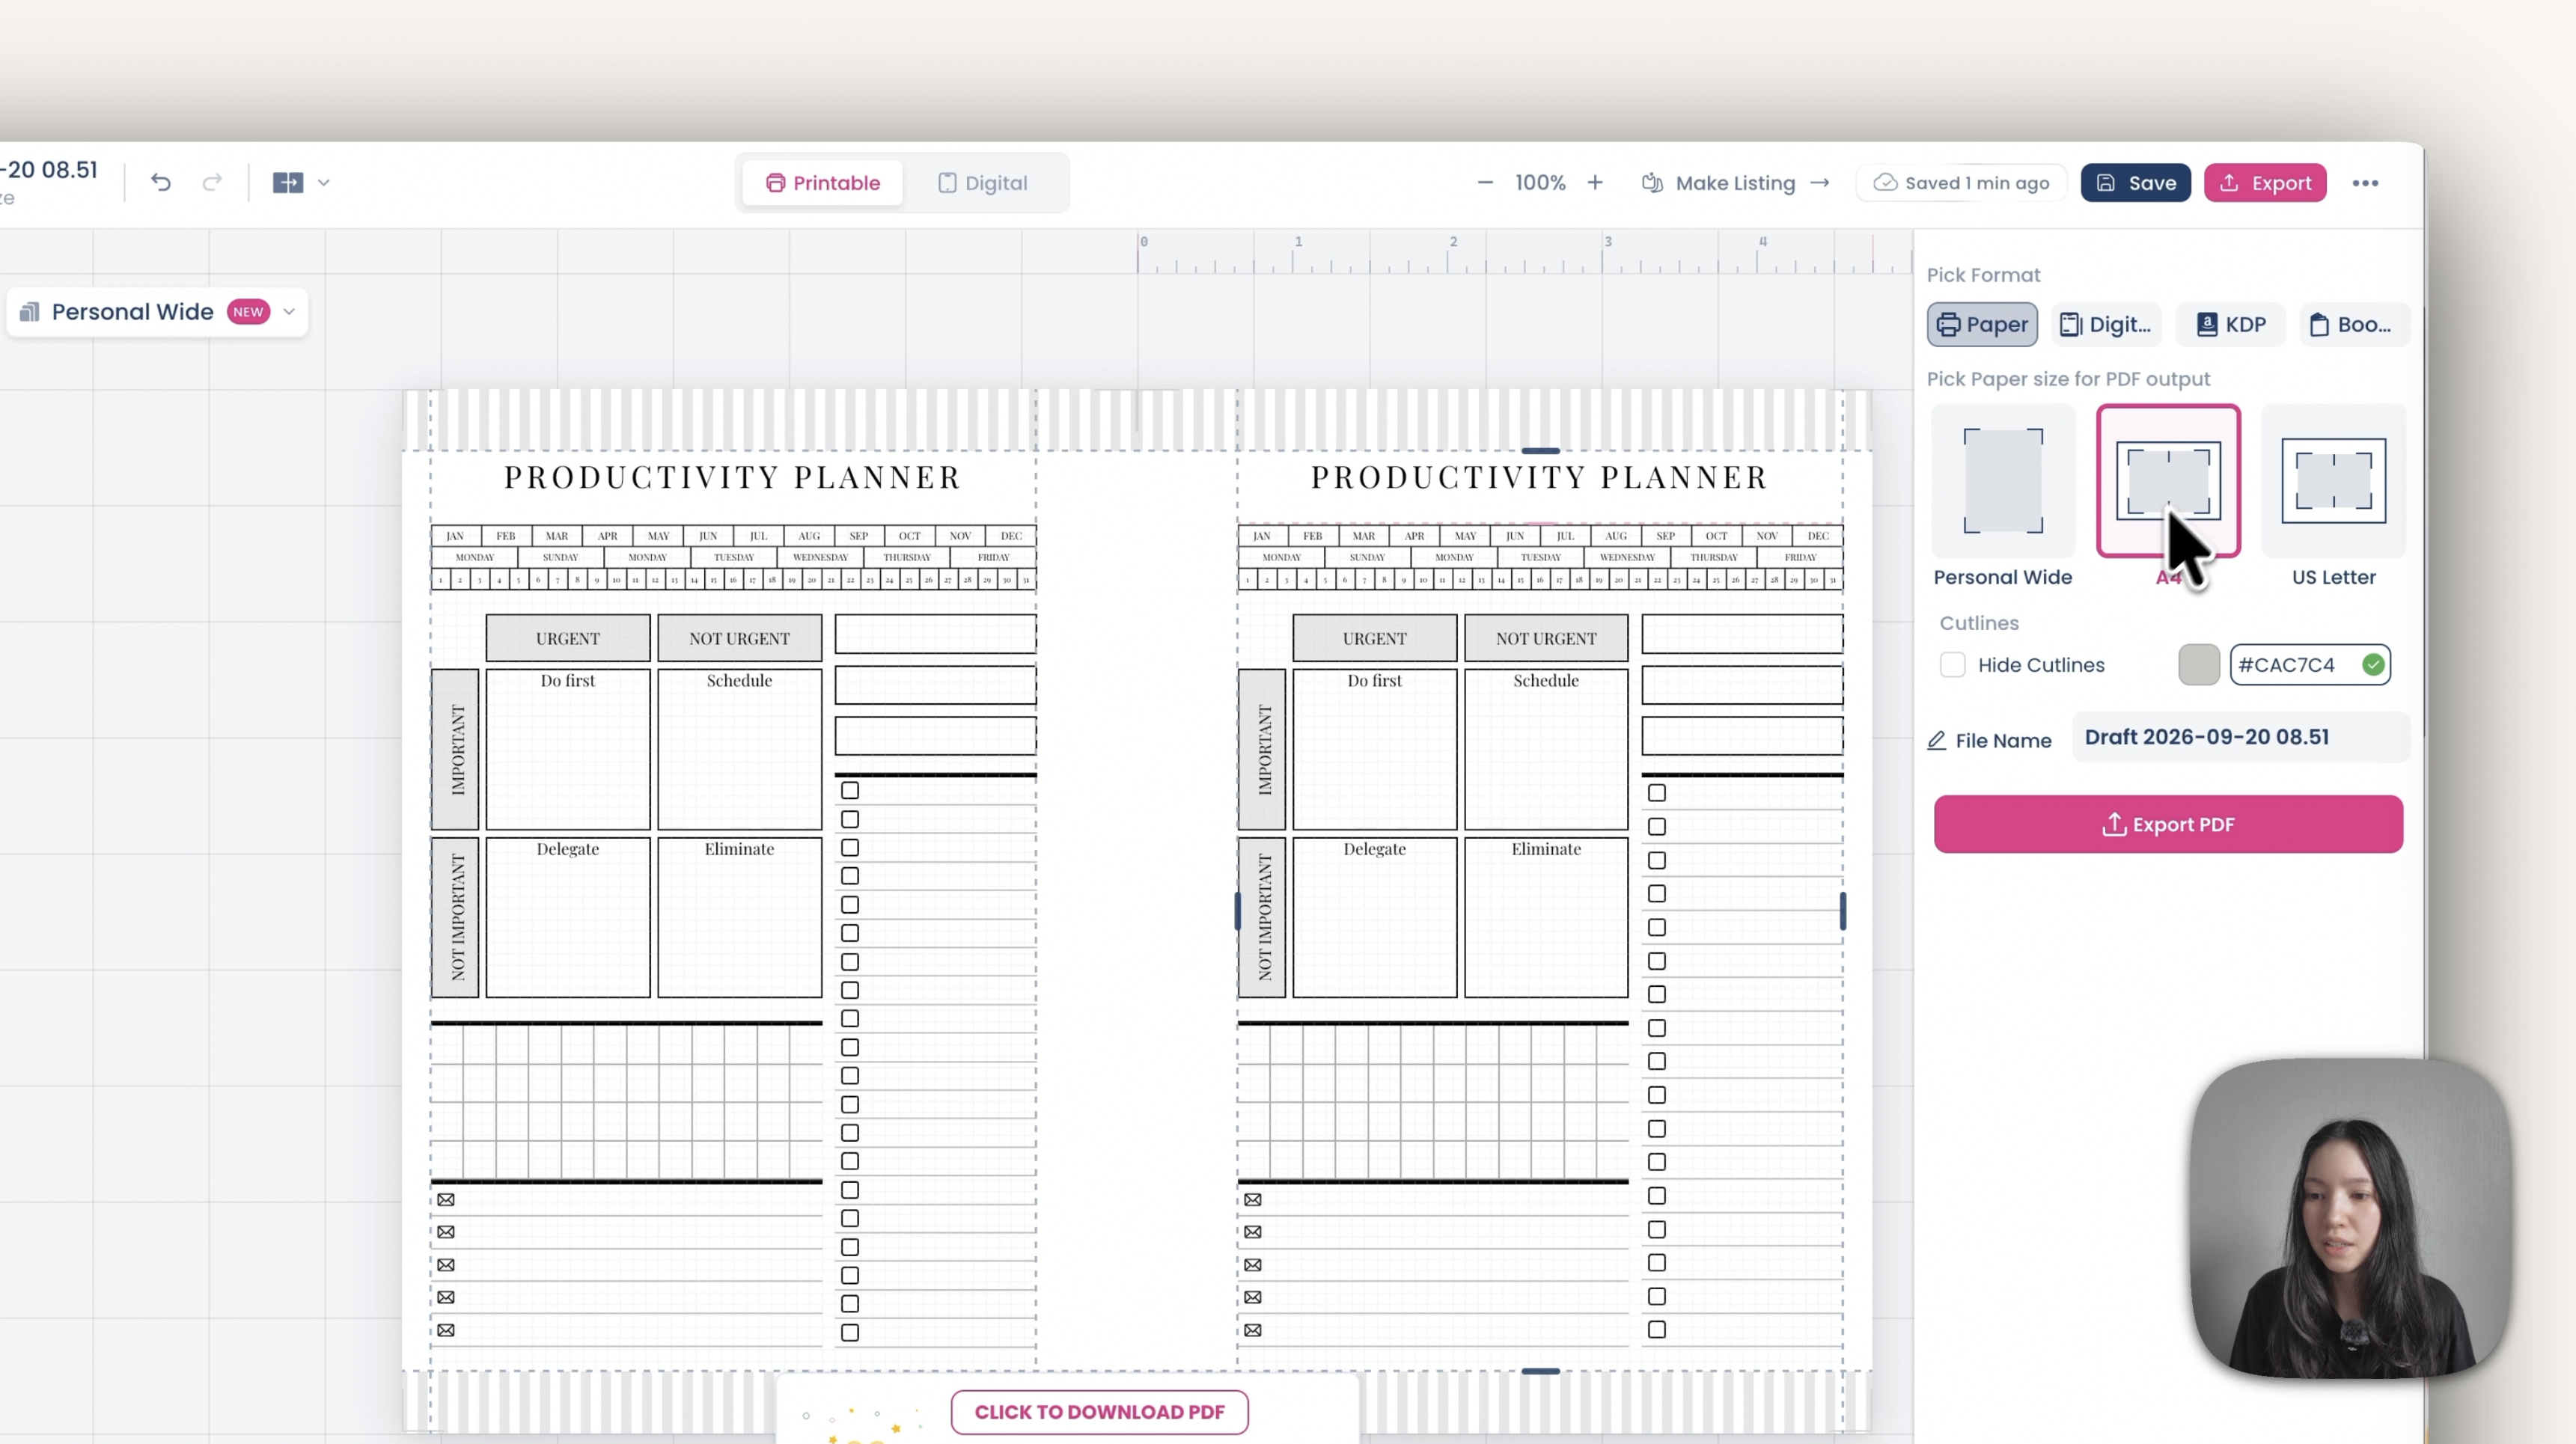
The A4 option places the left and right pages side by side if you prefer to print duplex that way.
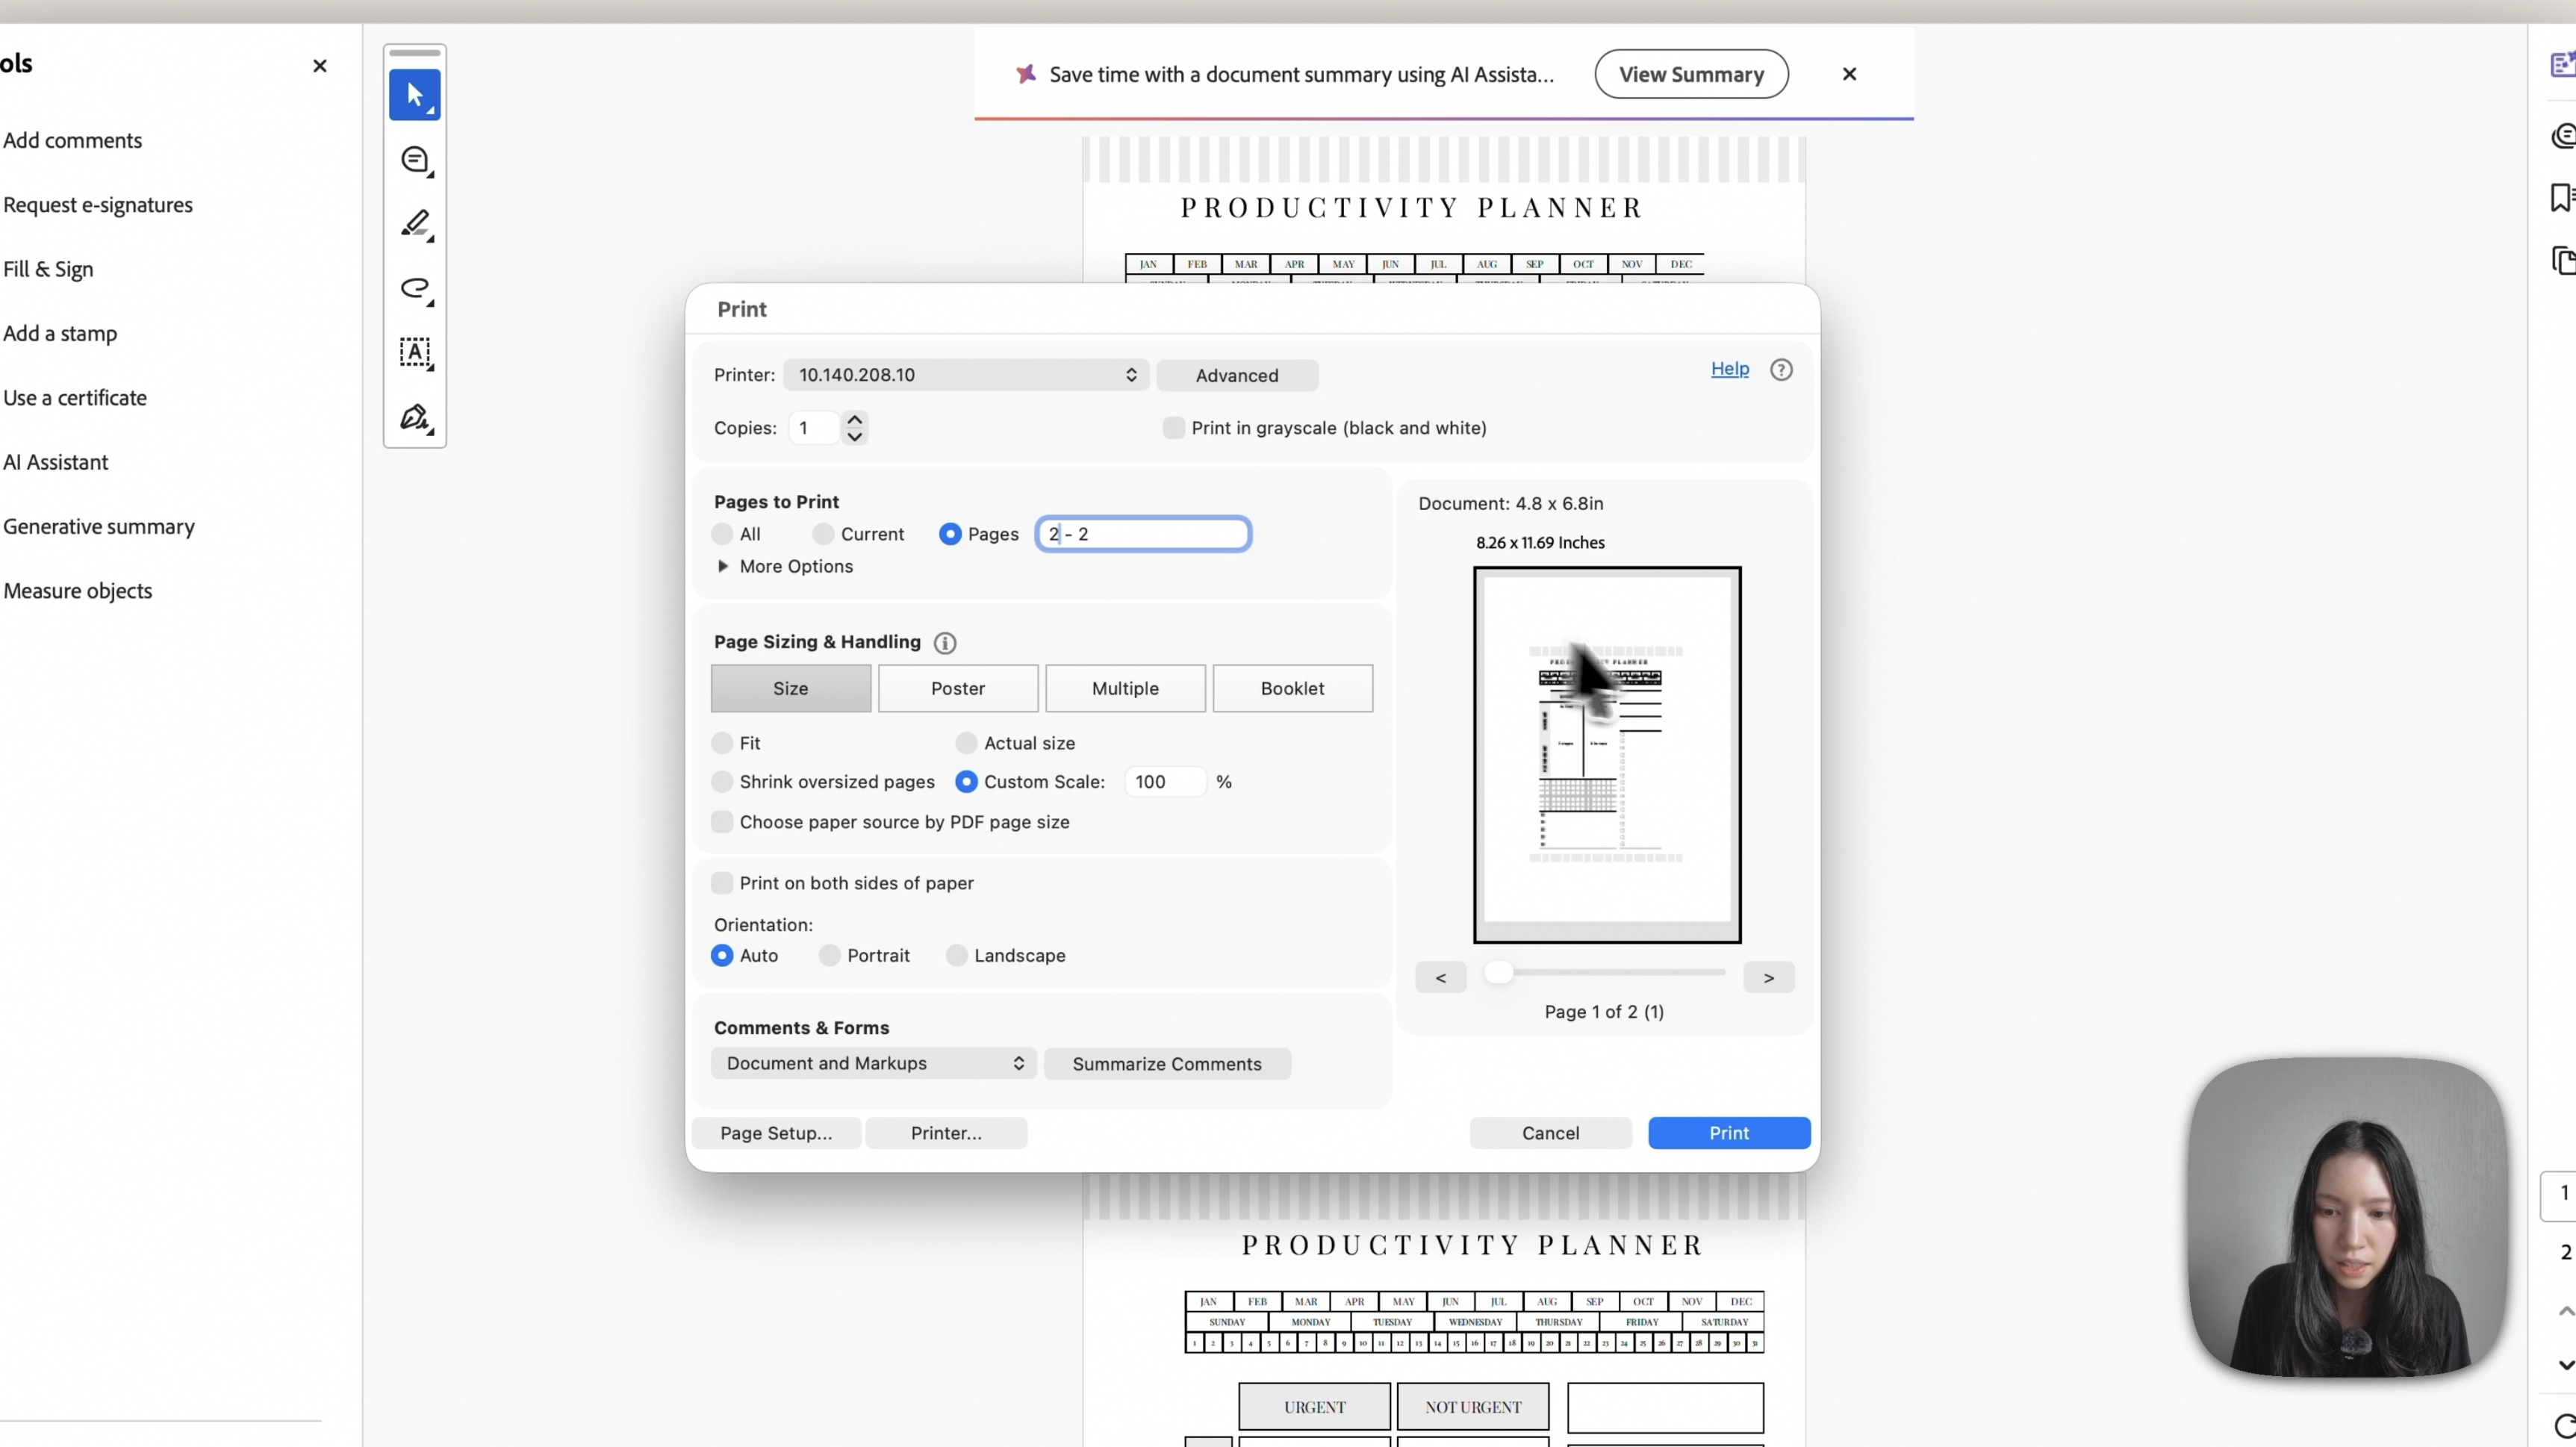
Print from Adobe Acrobat Reader with these settings:
Inserts: custom scale 100%, orientation Auto, 70 copies on regular 90gsm copy paper, printing page 2 of 2.
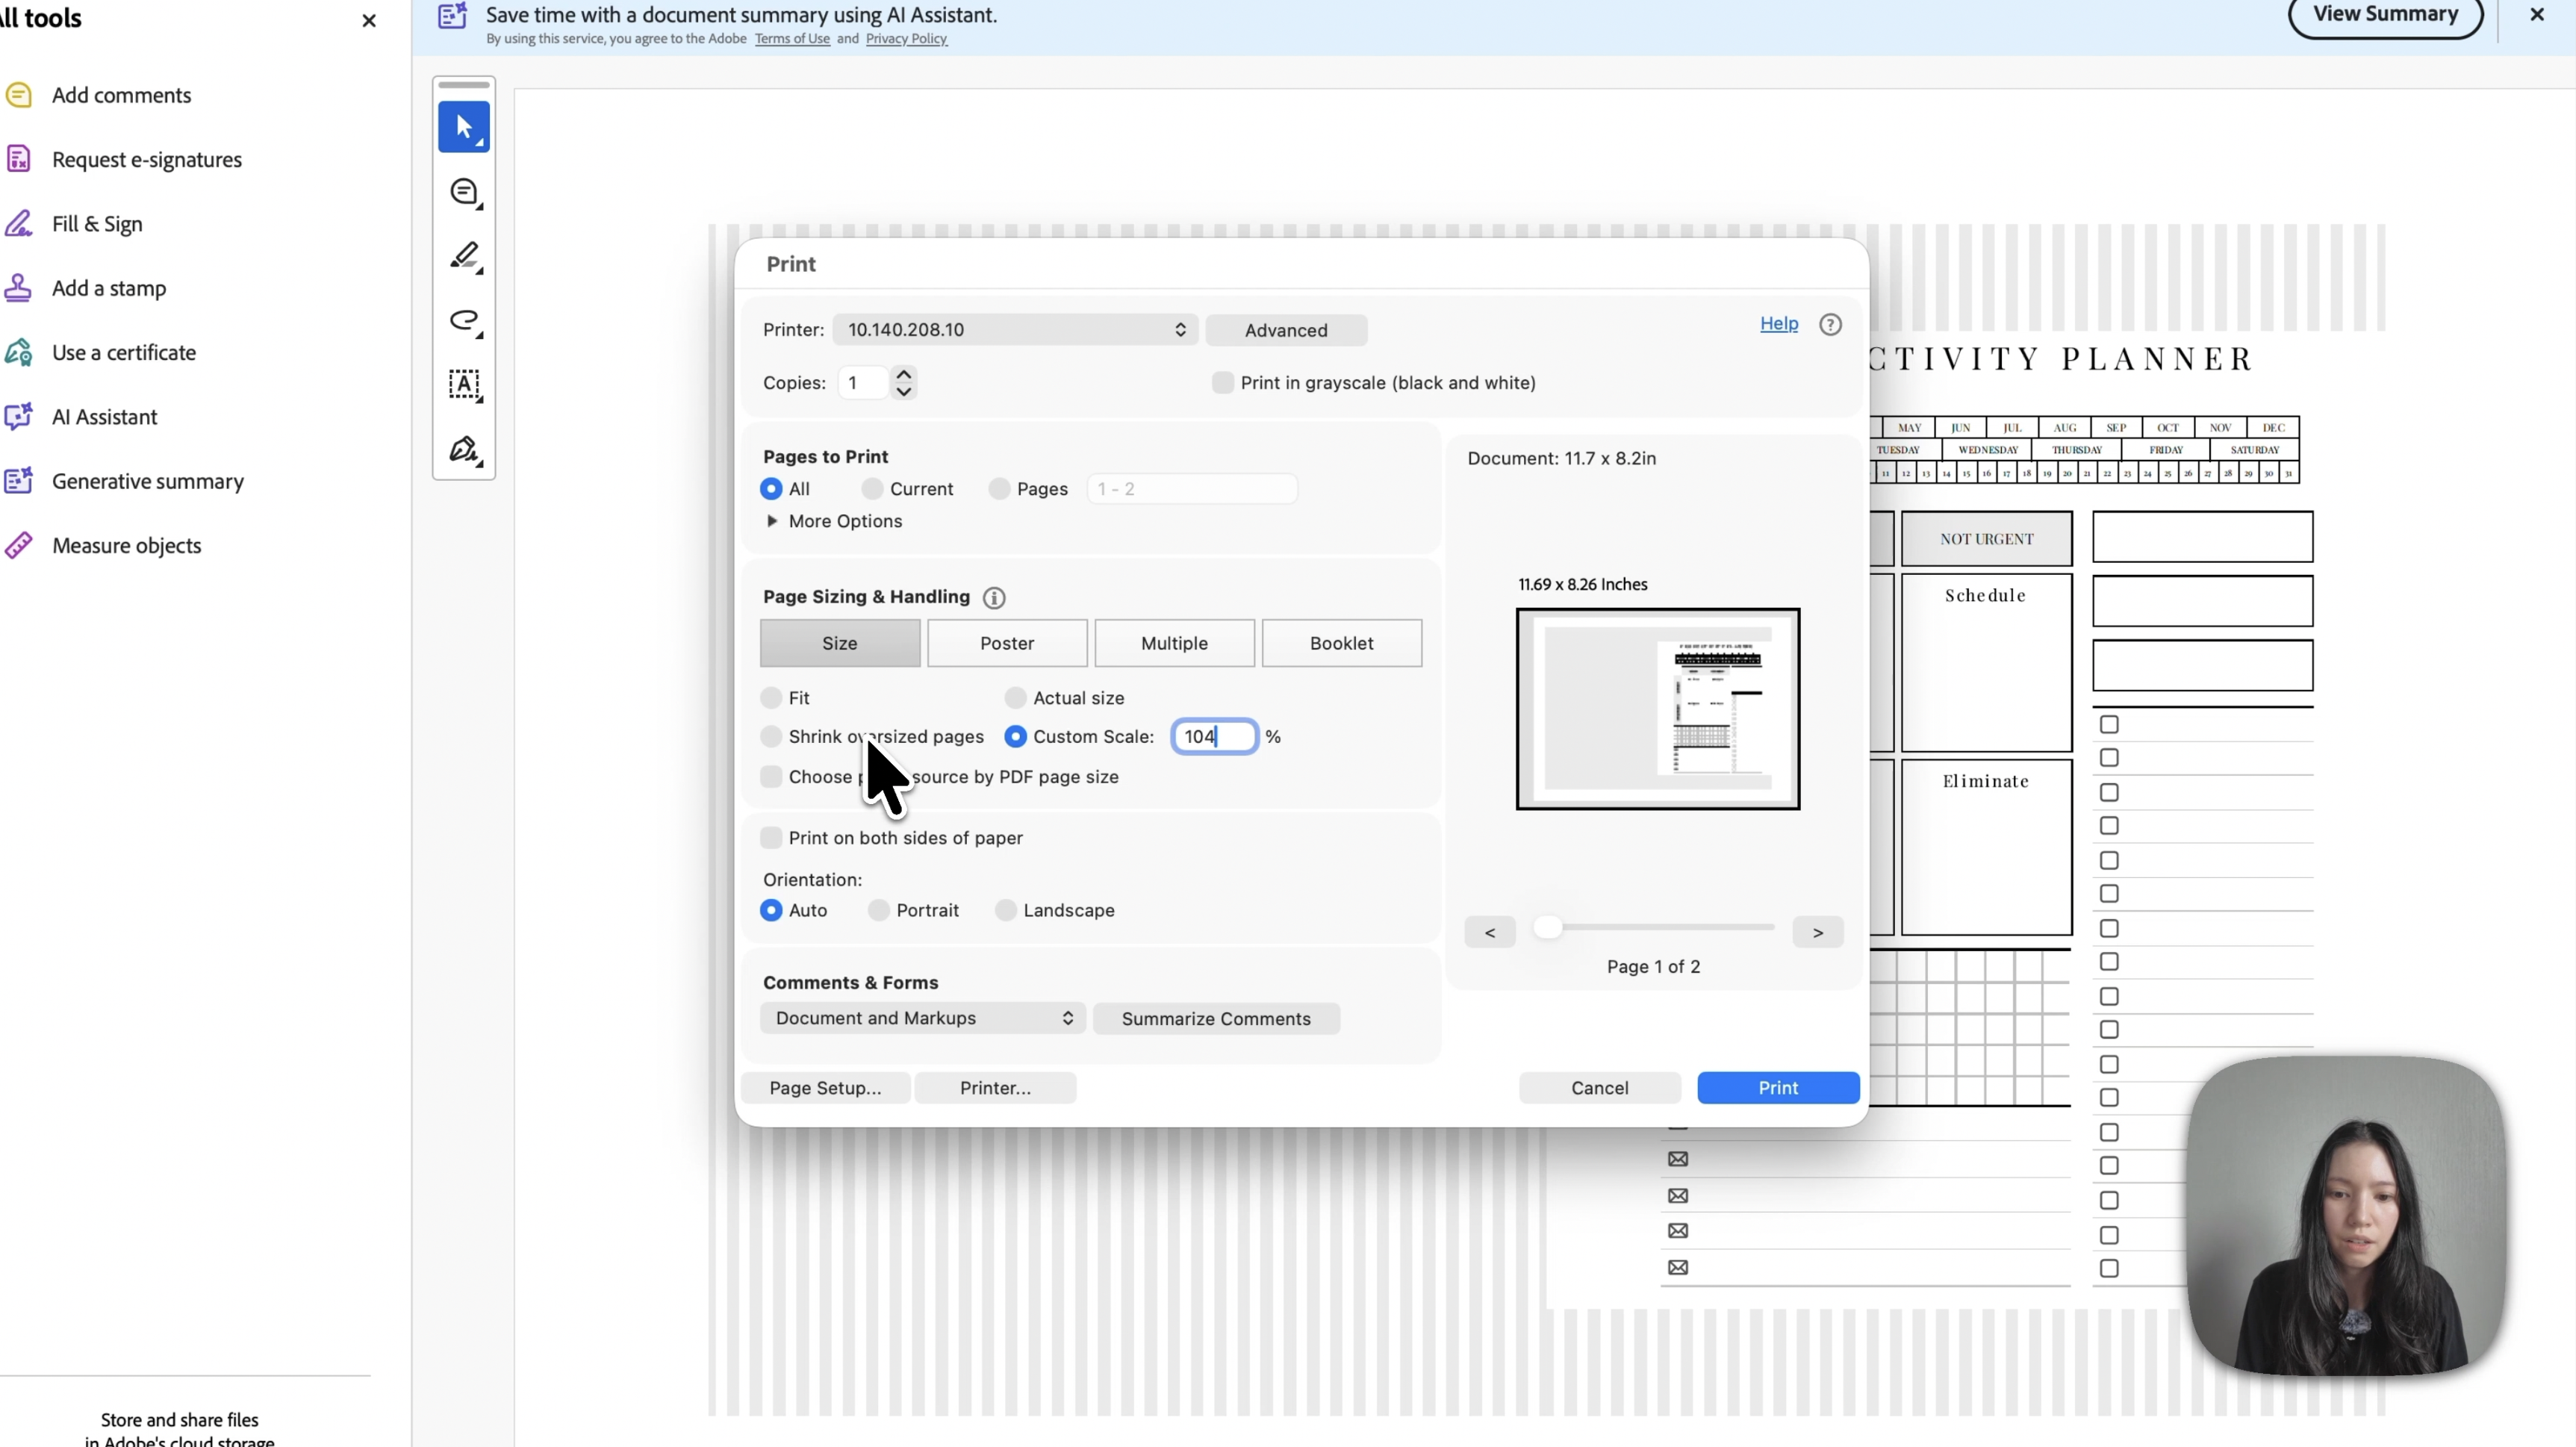
Cover: export with the A4 option and print at exactly 104% on cardstock of around 210gsm. The extra 4% lets the cover wrap around the pad and leaves room for the spine. Set the printer to best quality for a cleaner finish.
Designing the productivity planner yourself
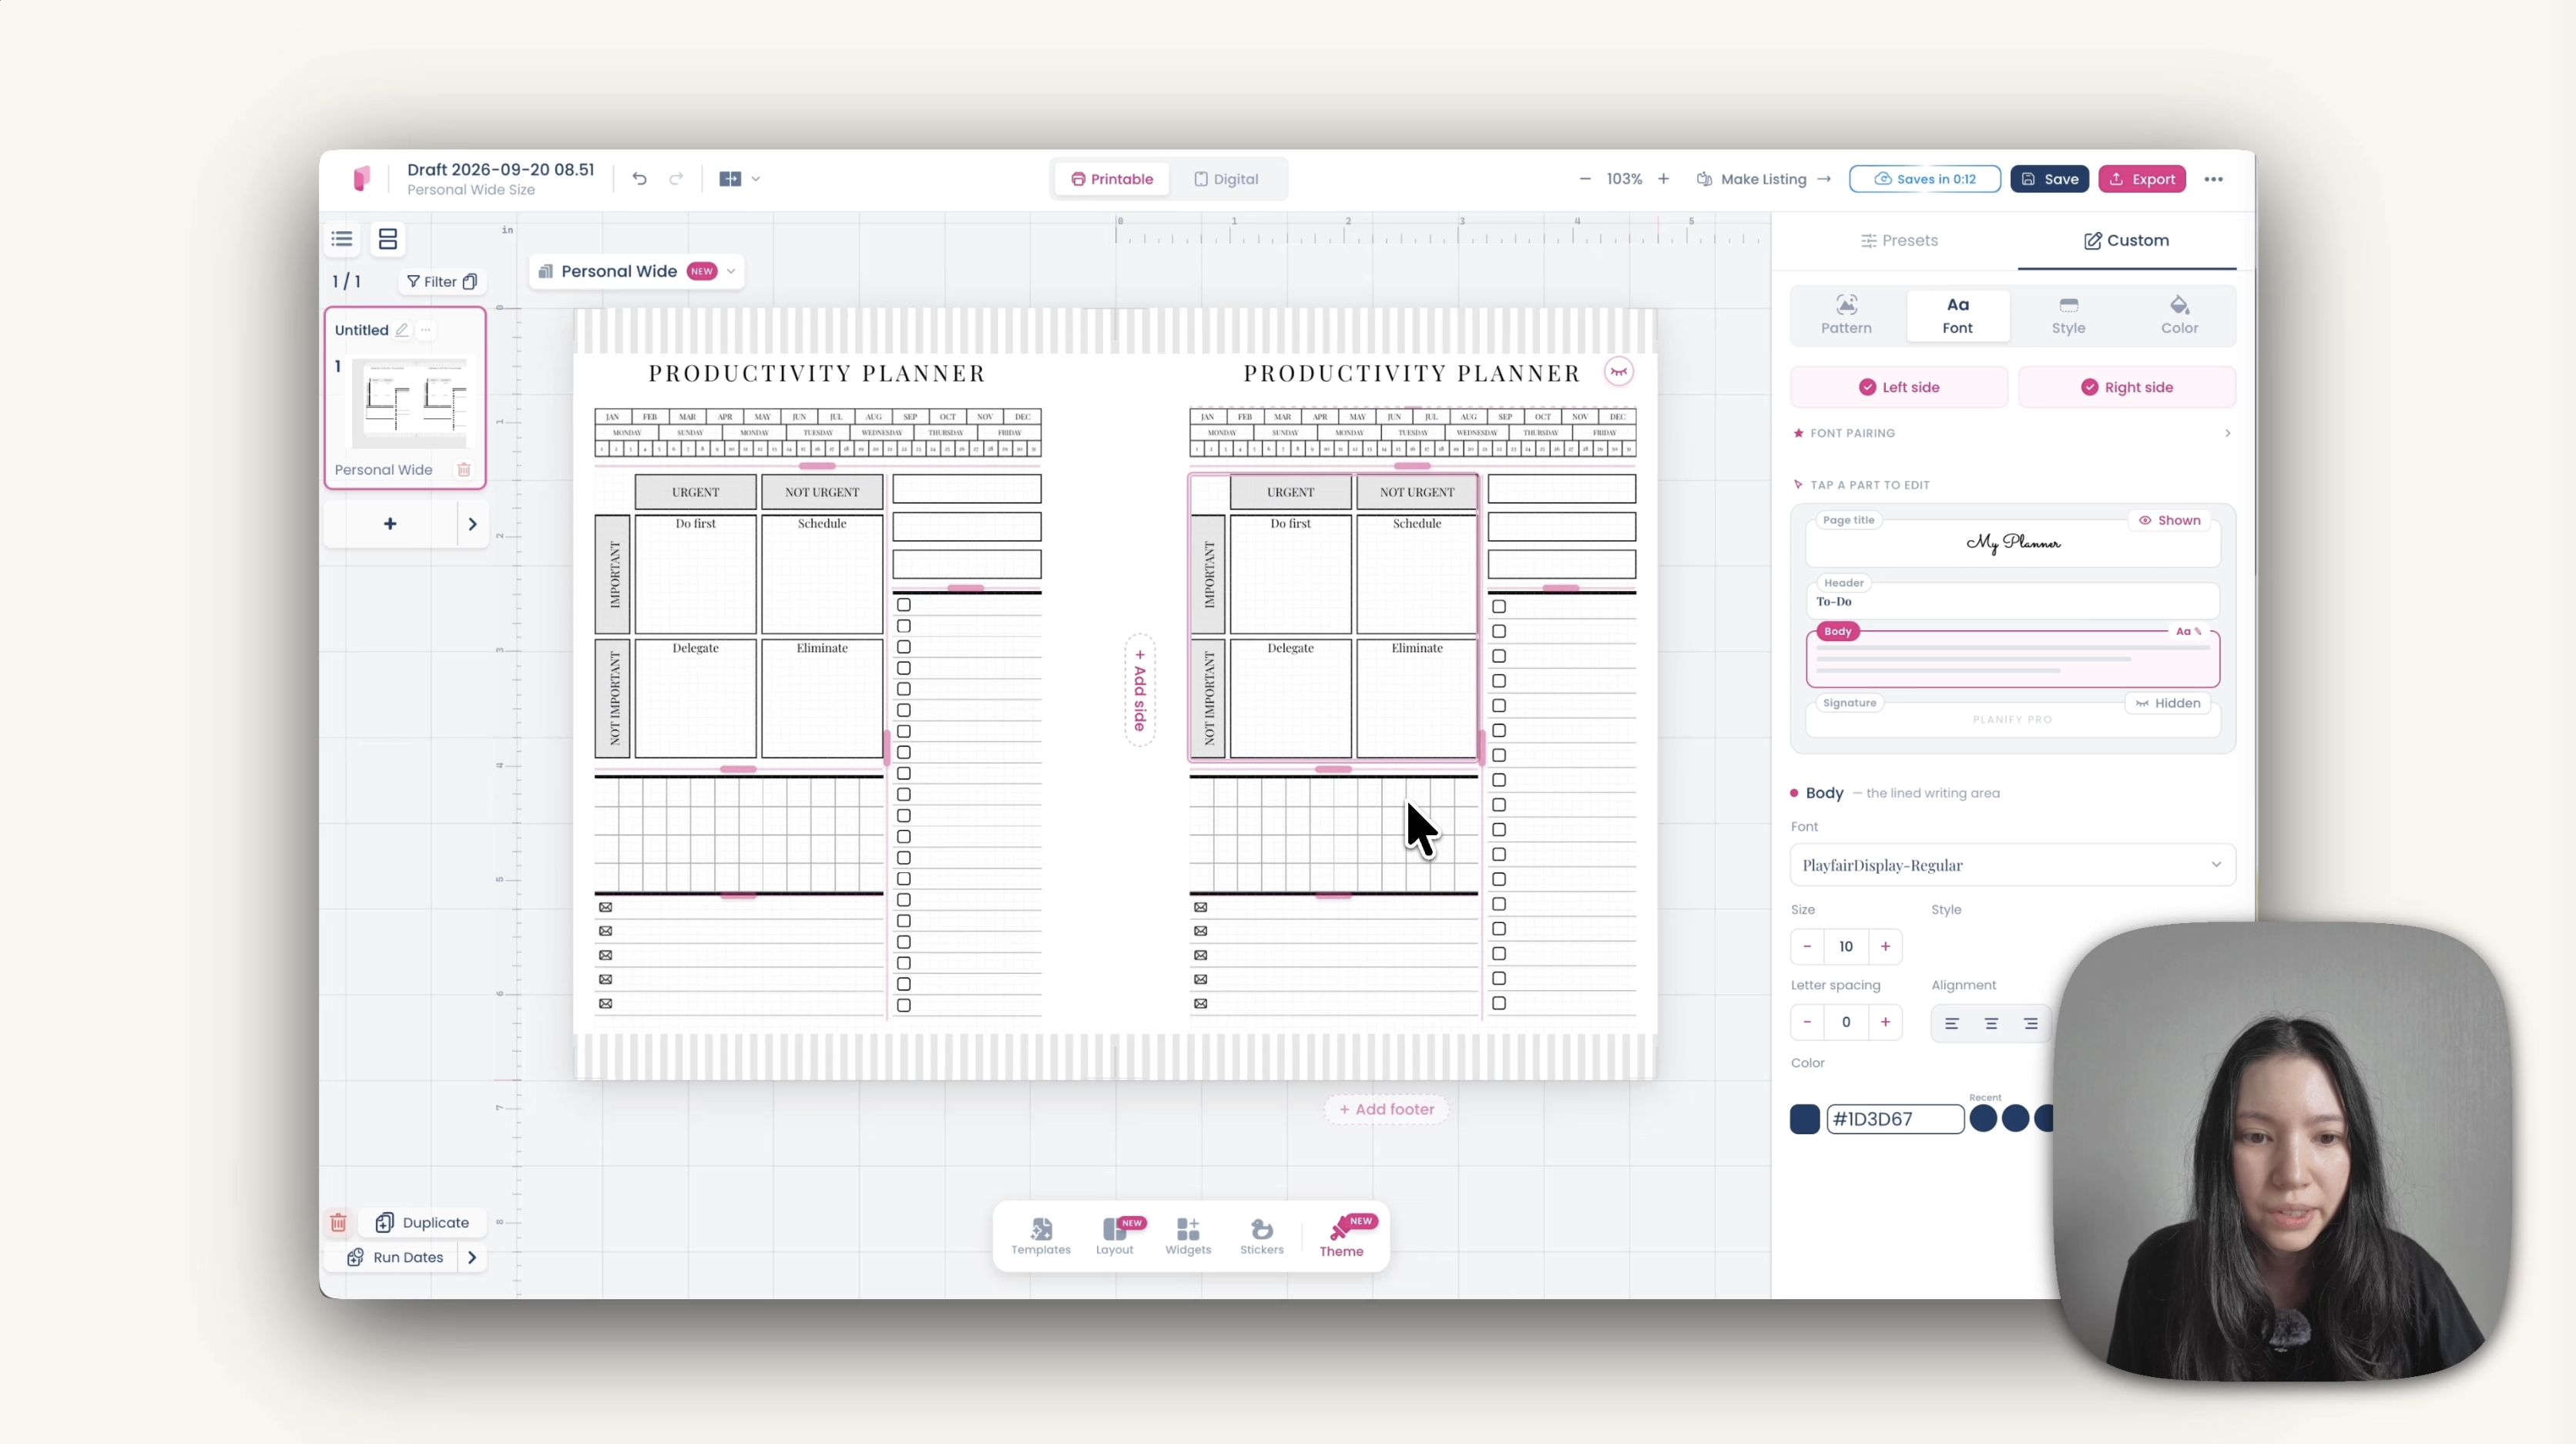
Recreating the layout is a good way to learn the editor. Start a new planner with Create a planner, then Full control, and pick the Personal Wide size (4.75 × 6.75 inches).
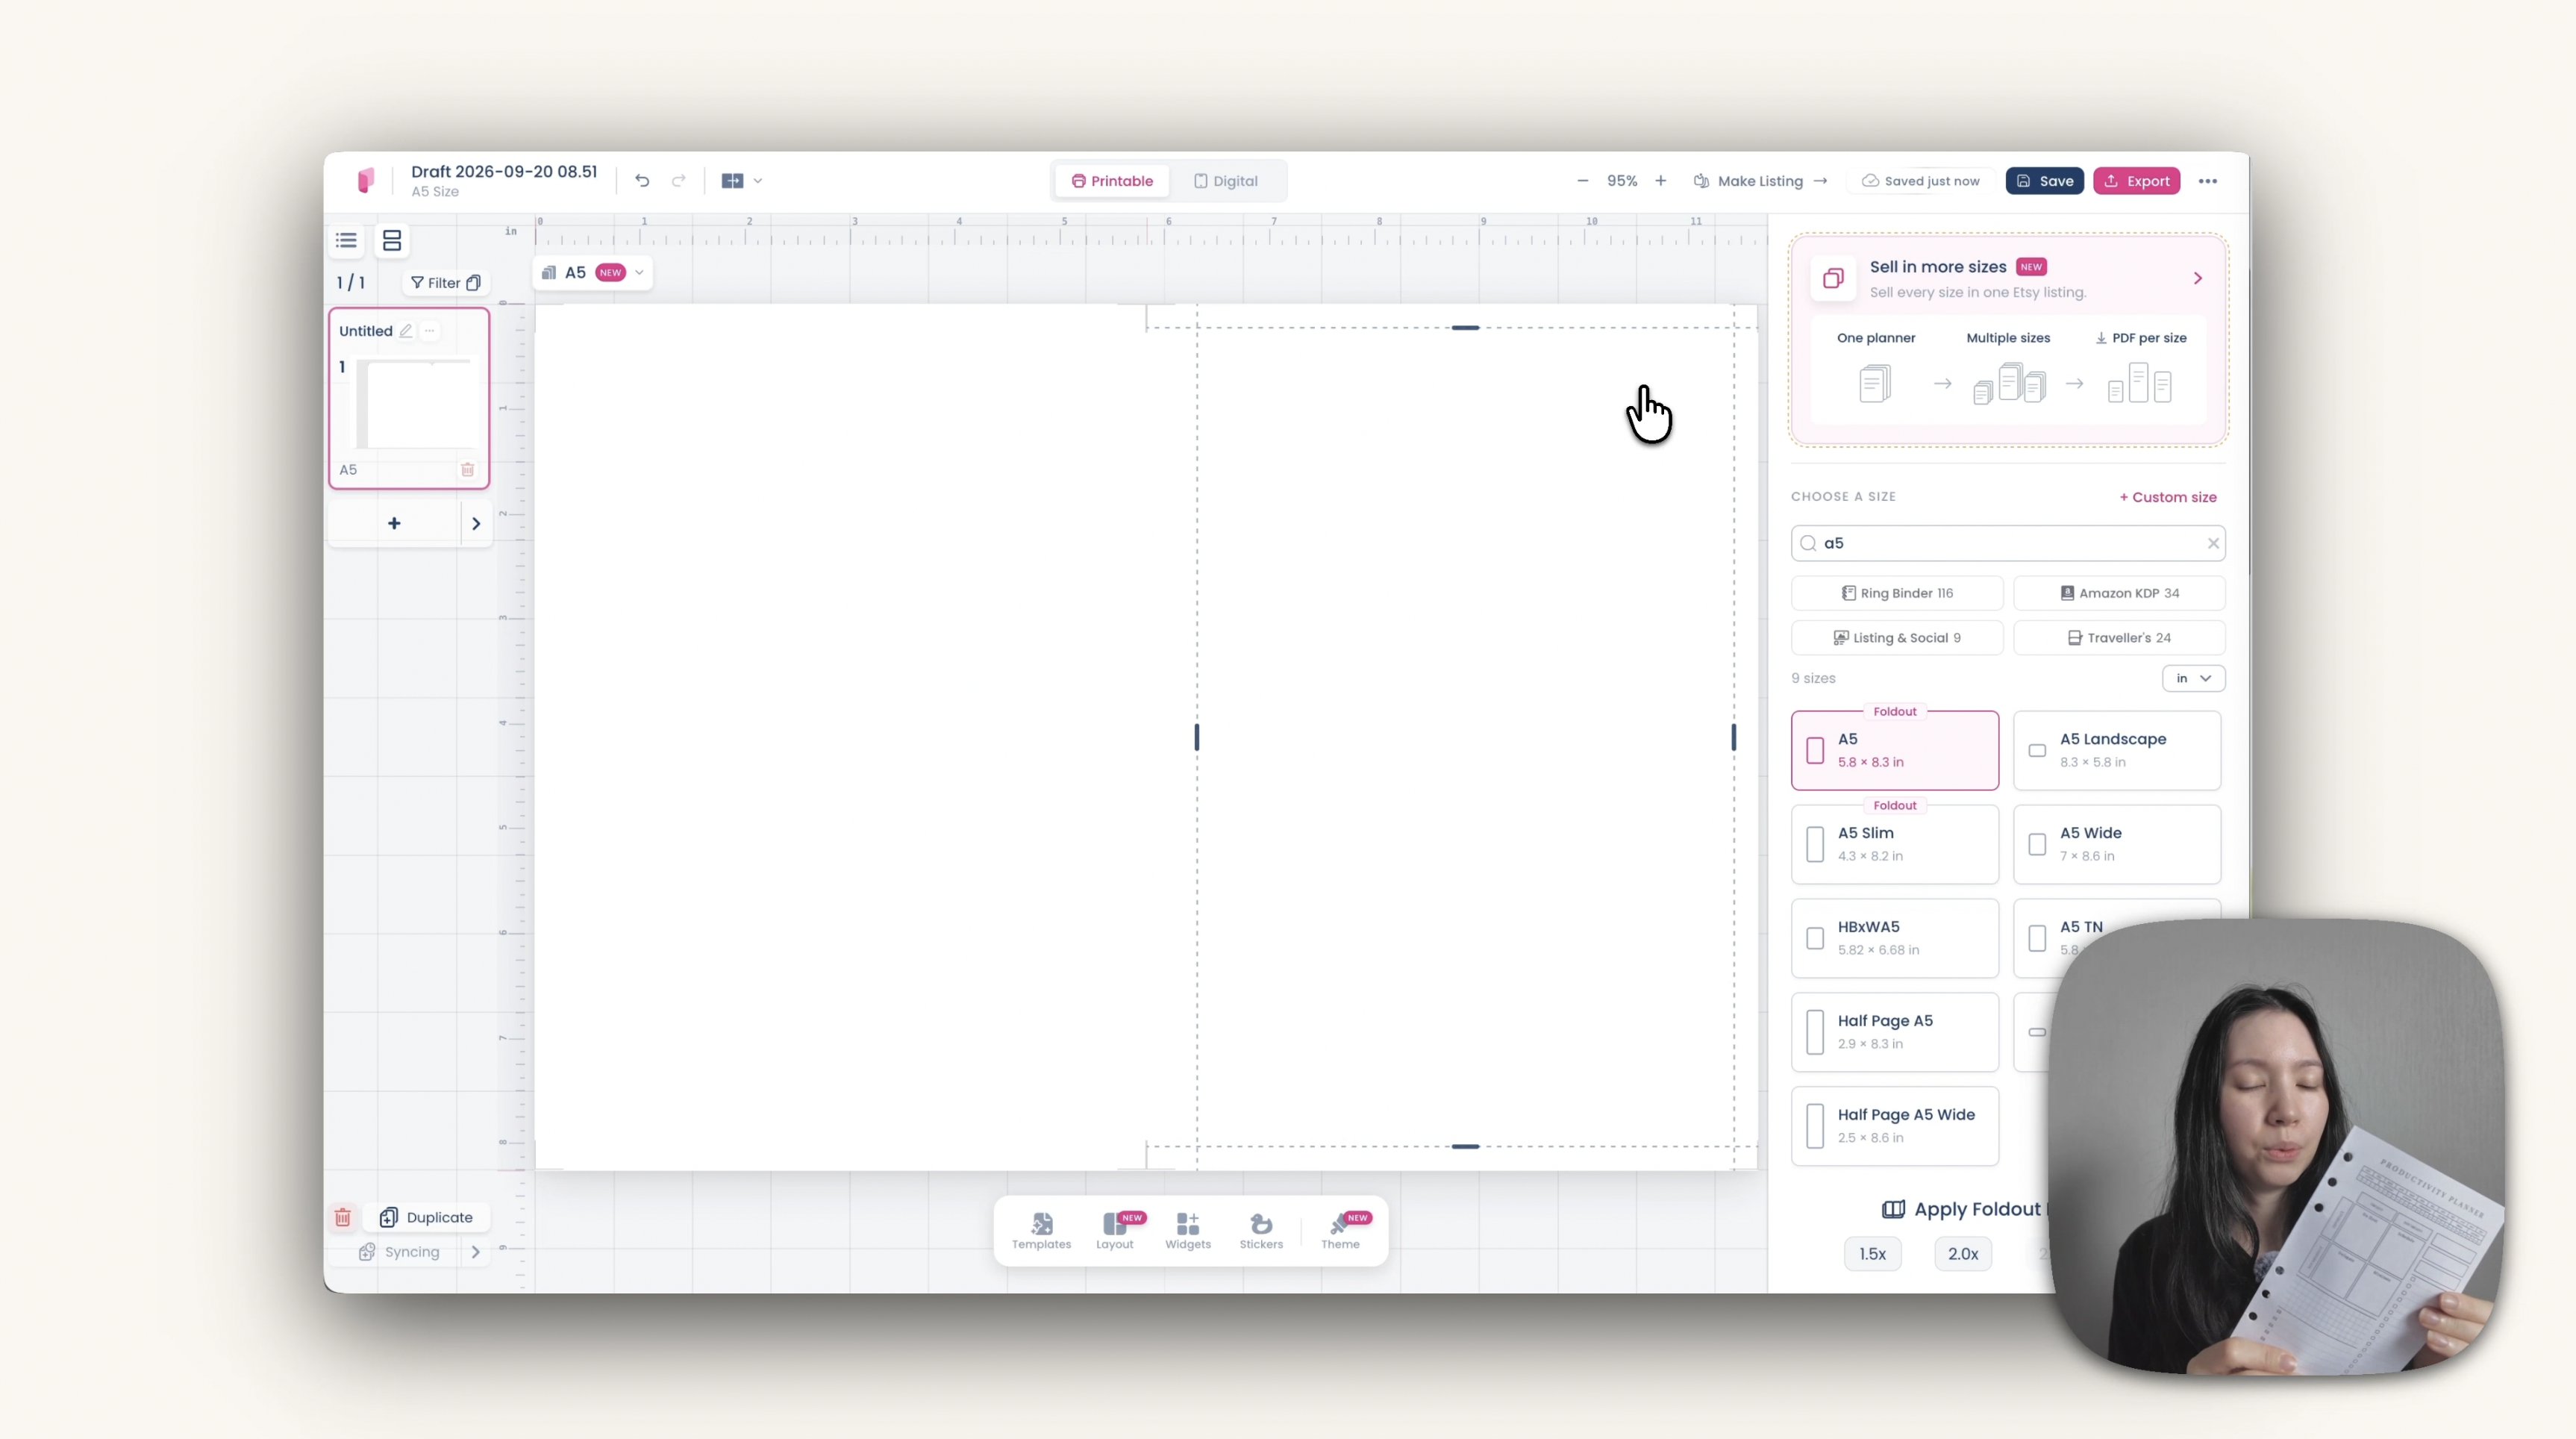
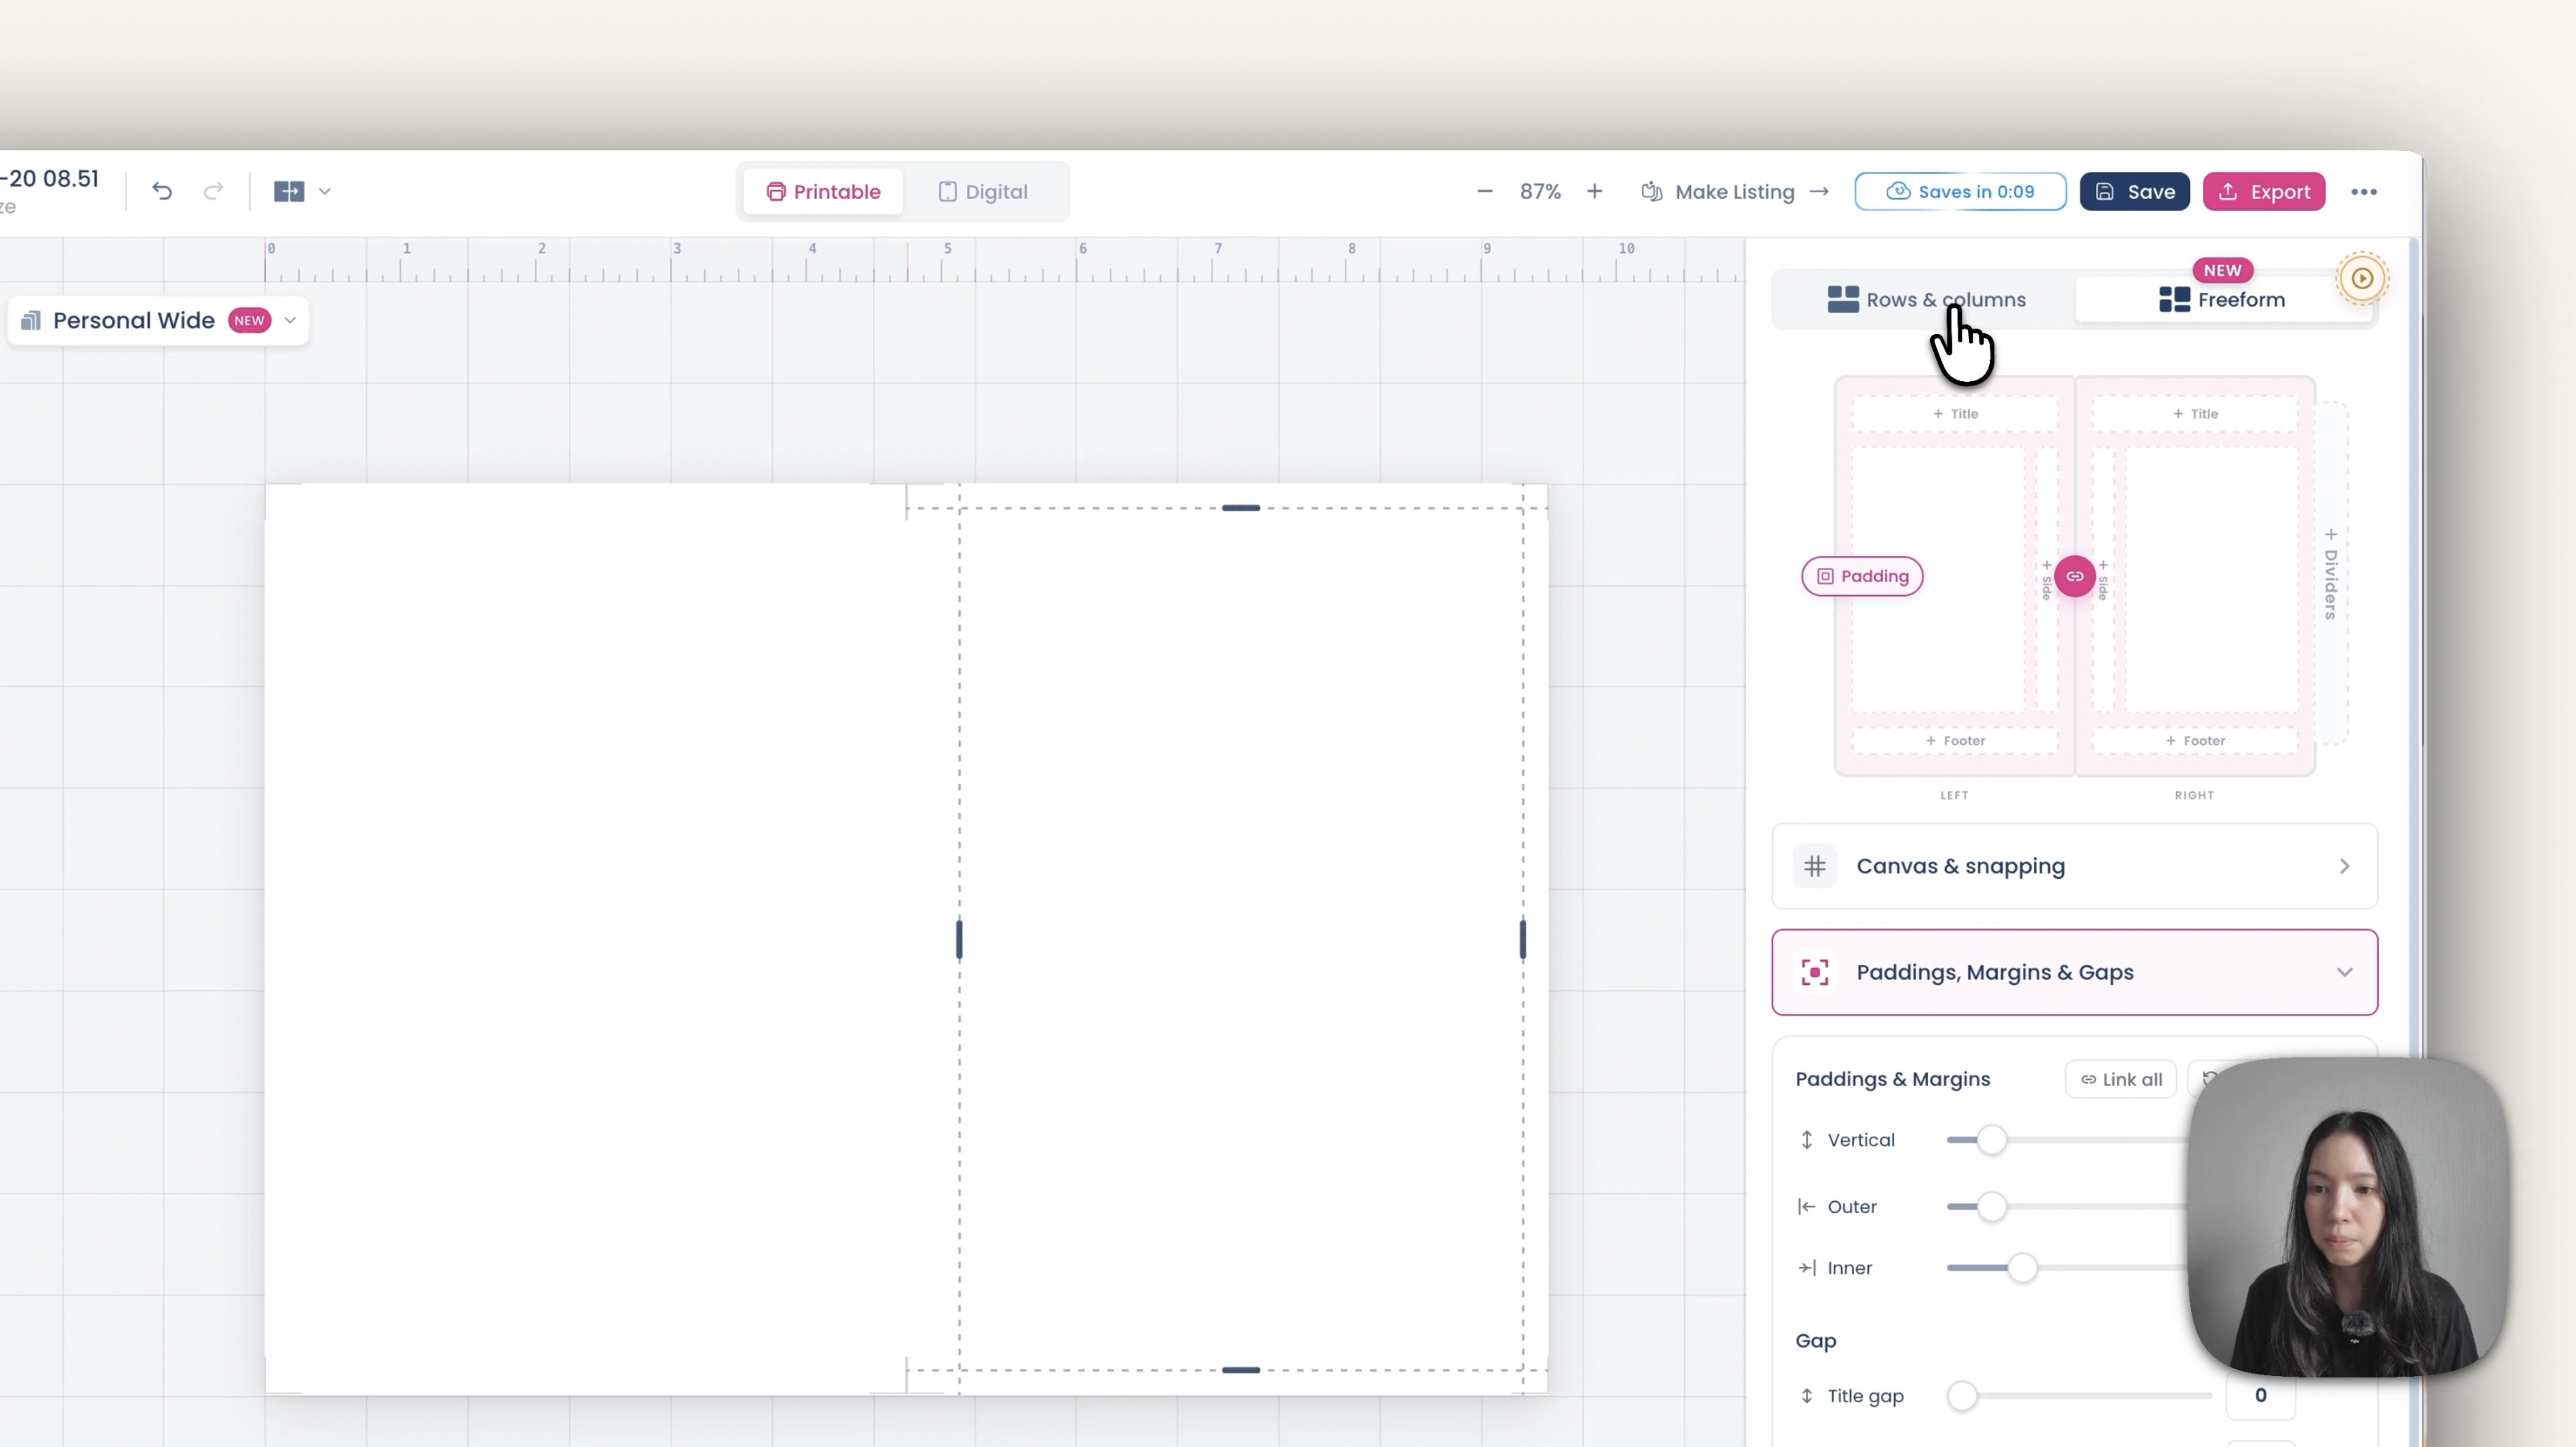
Check that Layout is set to Freeform, which lets you place widgets anywhere without setting up rows and columns.
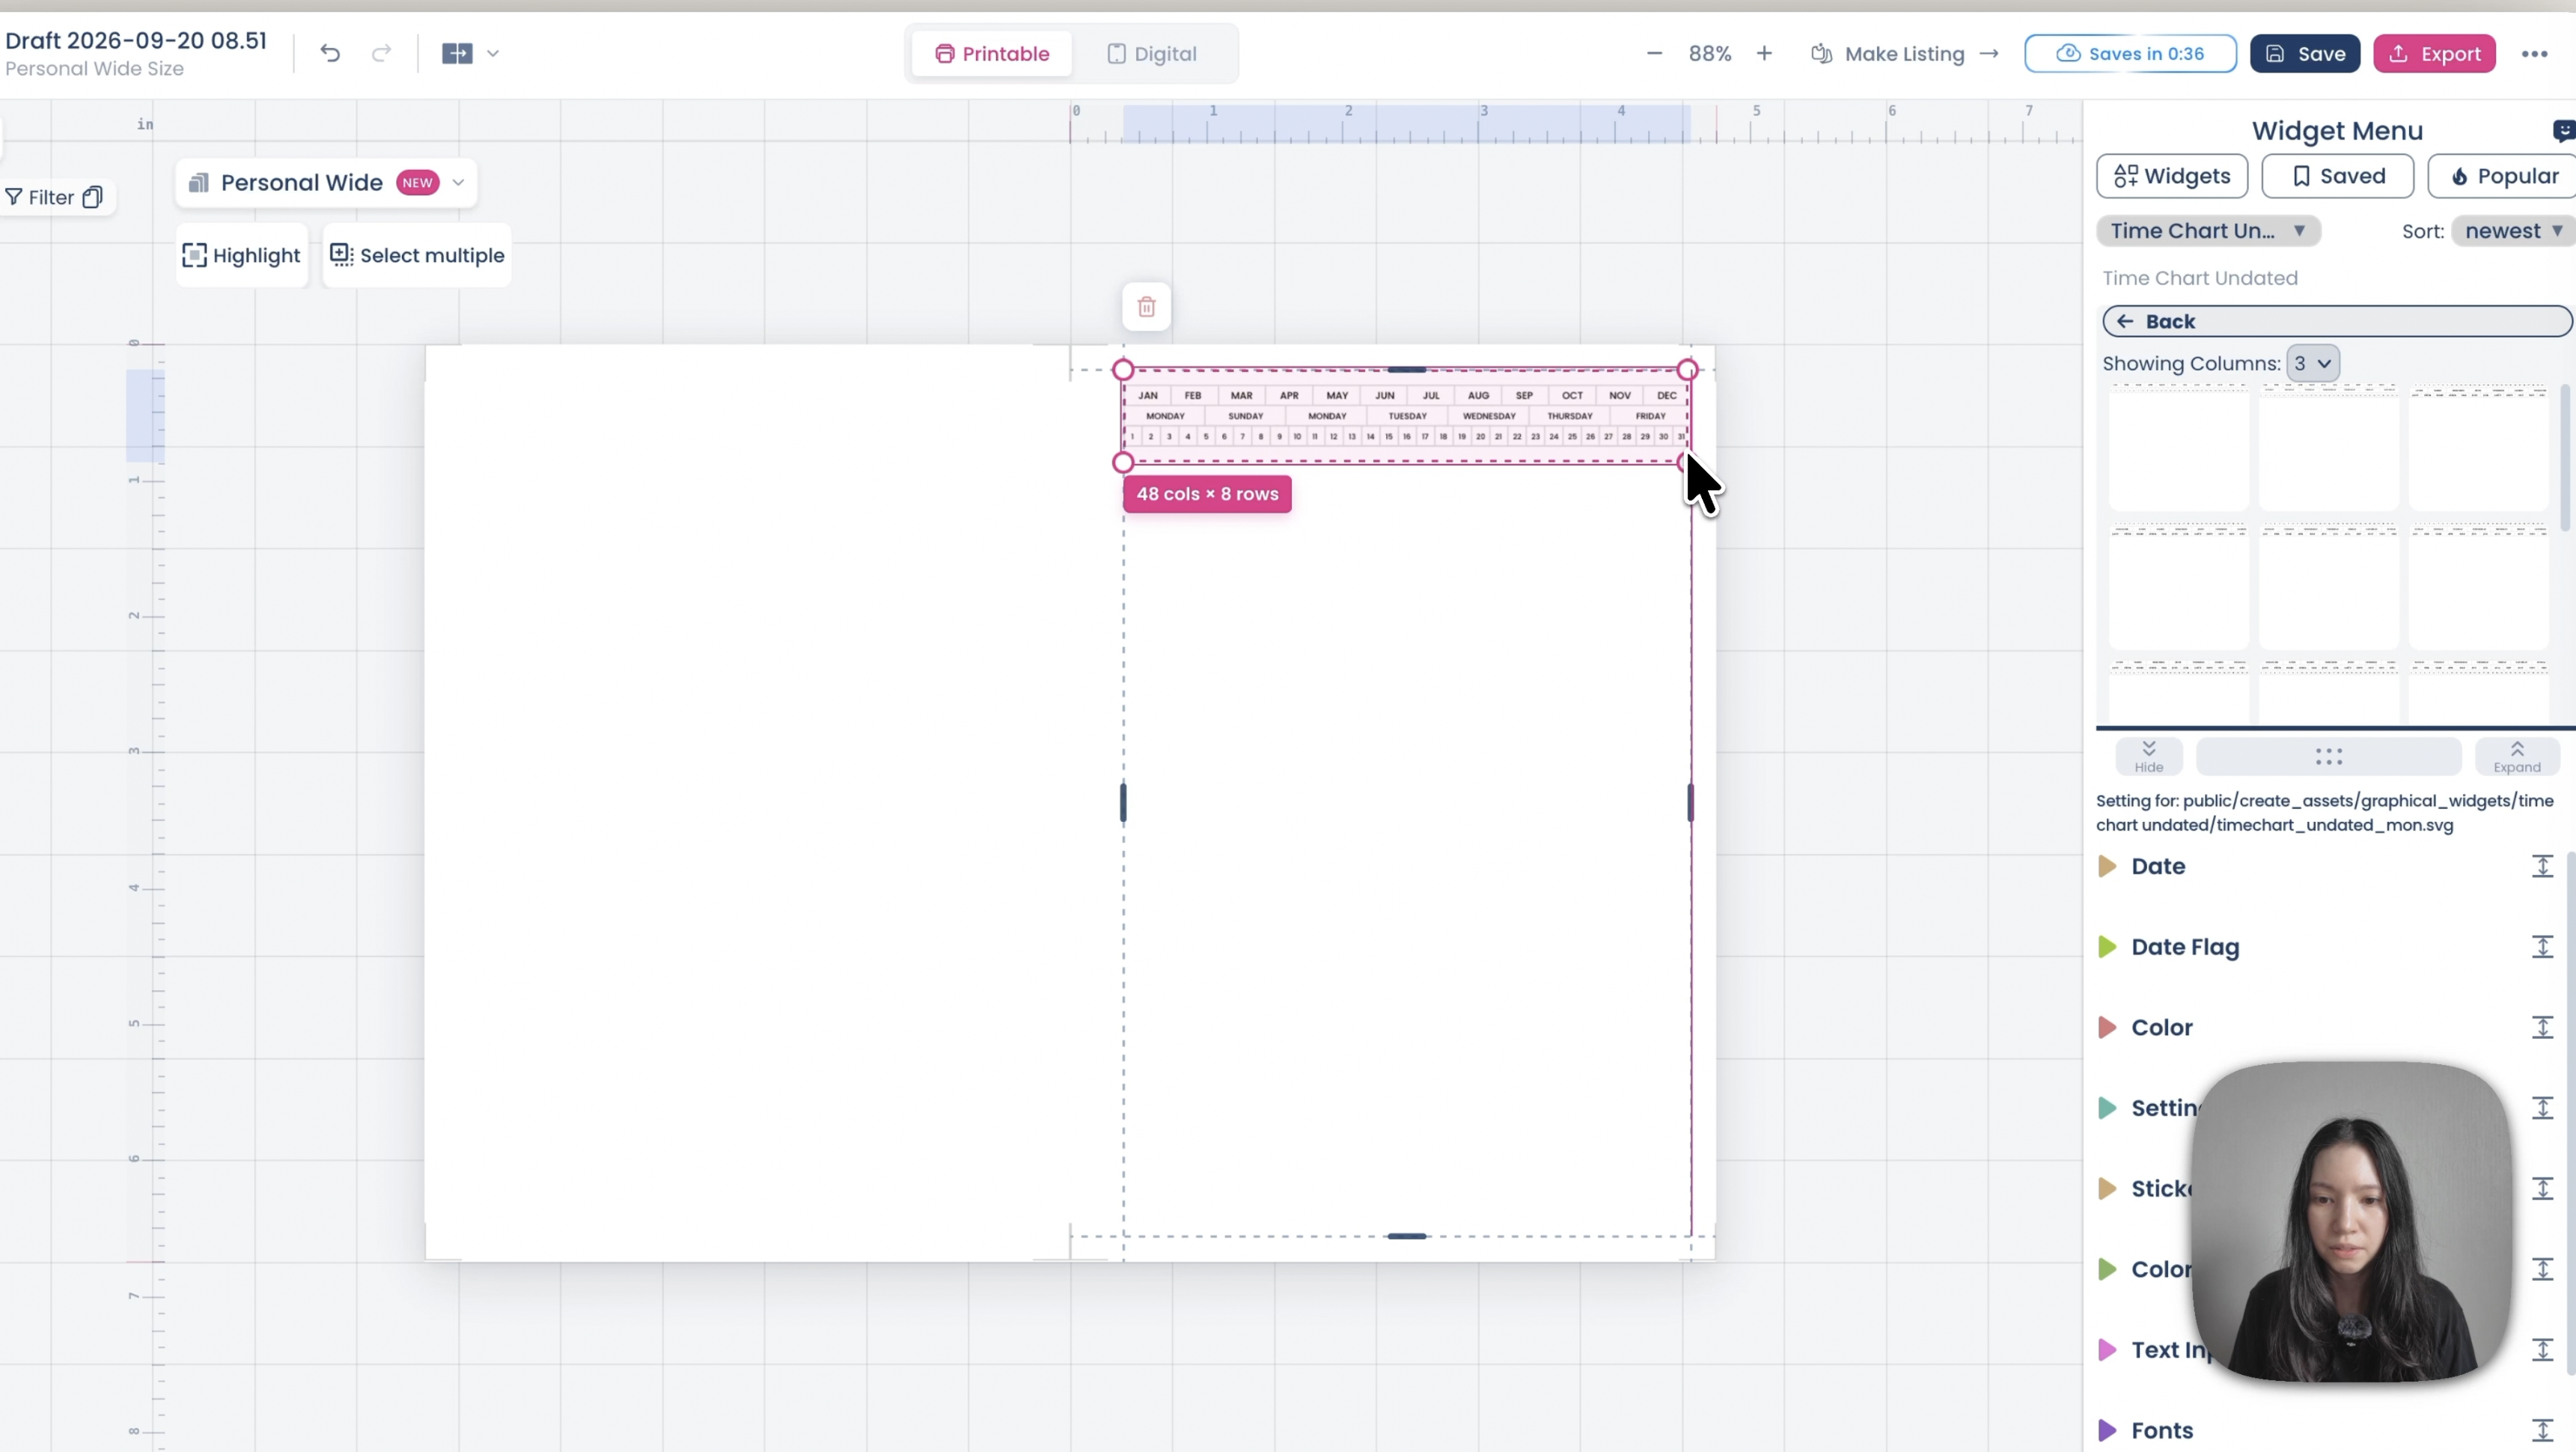
Date: from Widgets, open Stickers and add the date sticker along the top.
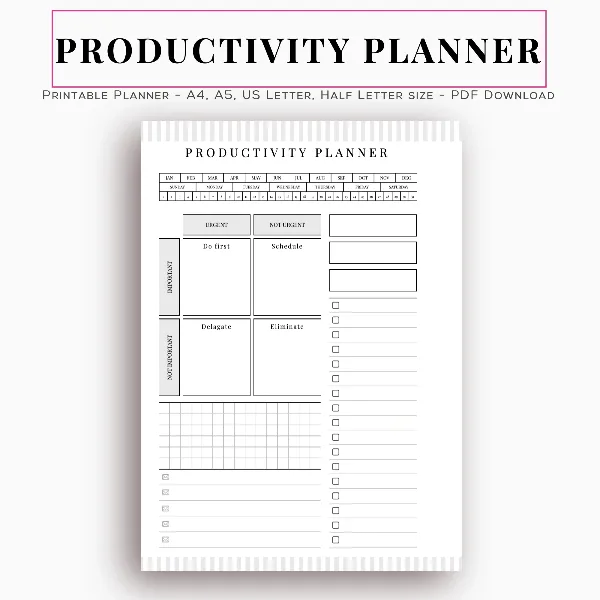
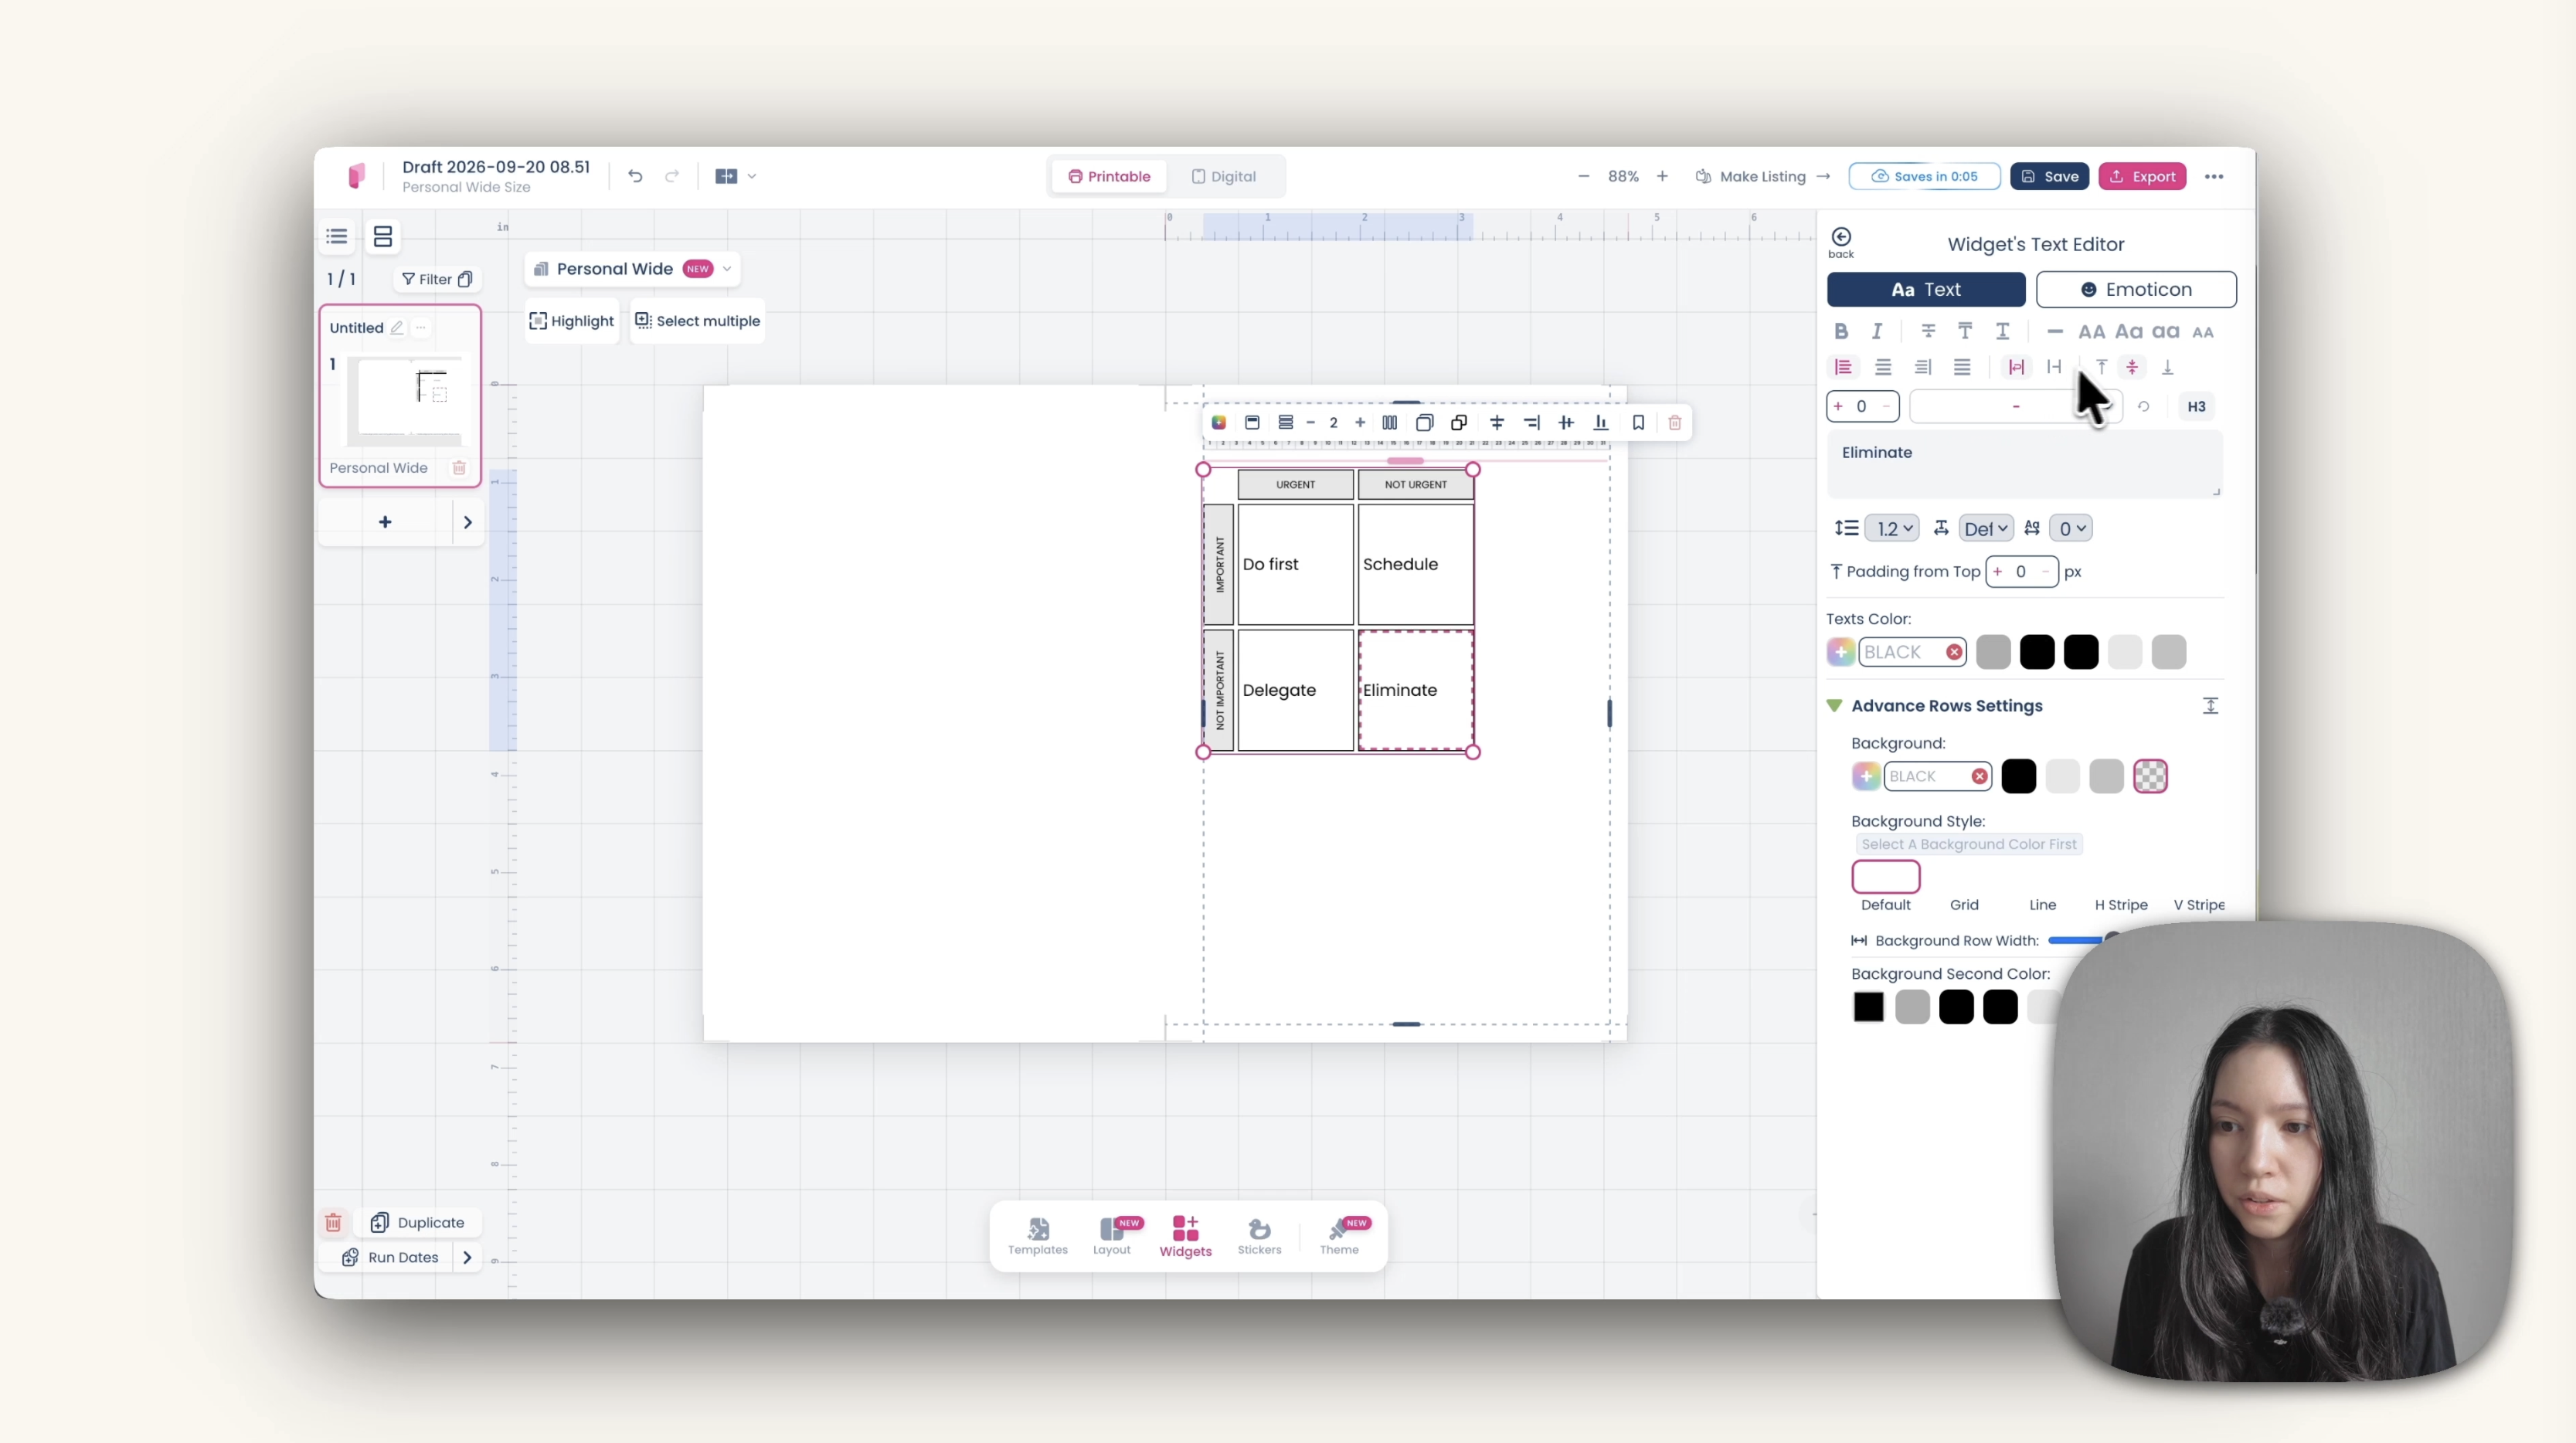
Priority matrix: add a Metrics widget and reduce it to two columns and two rows. Label the columns Urgent and Not urgent, the rows Important and Not important, then double-click inside each cell to type Do first, Schedule, Delegate and Eliminate.
Three boxes: add a Multi-box widget set to three boxes.
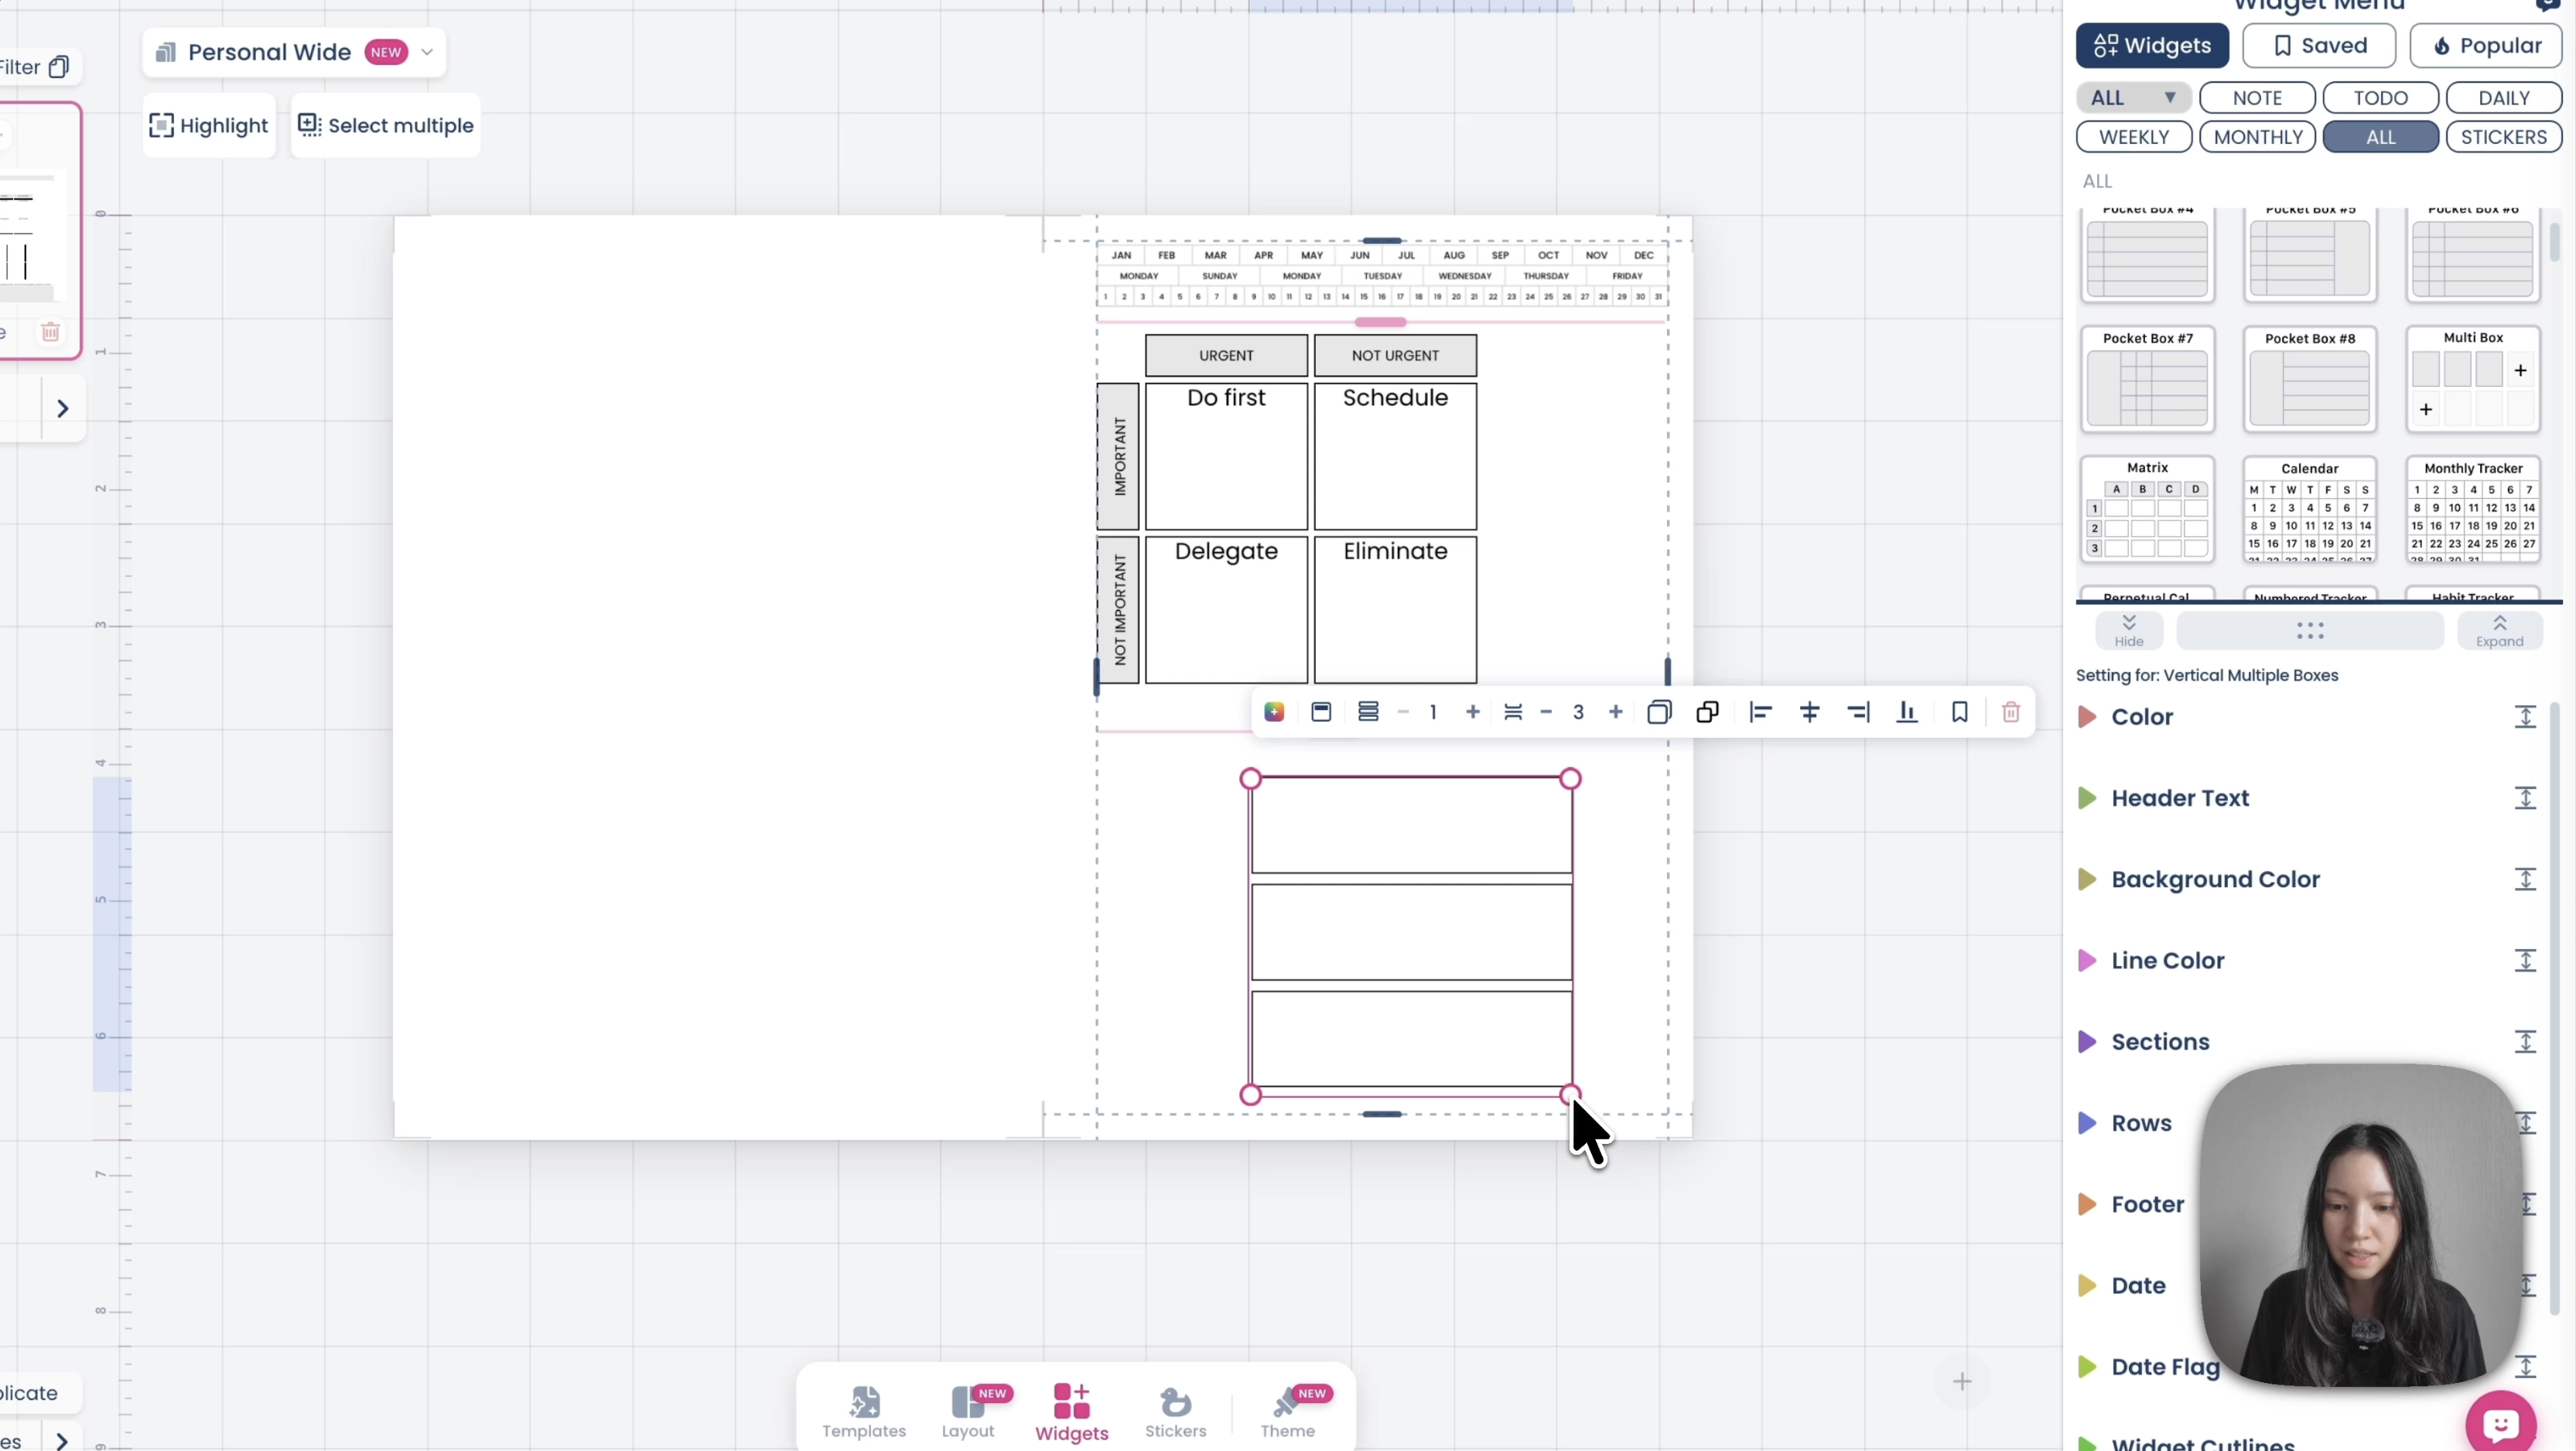
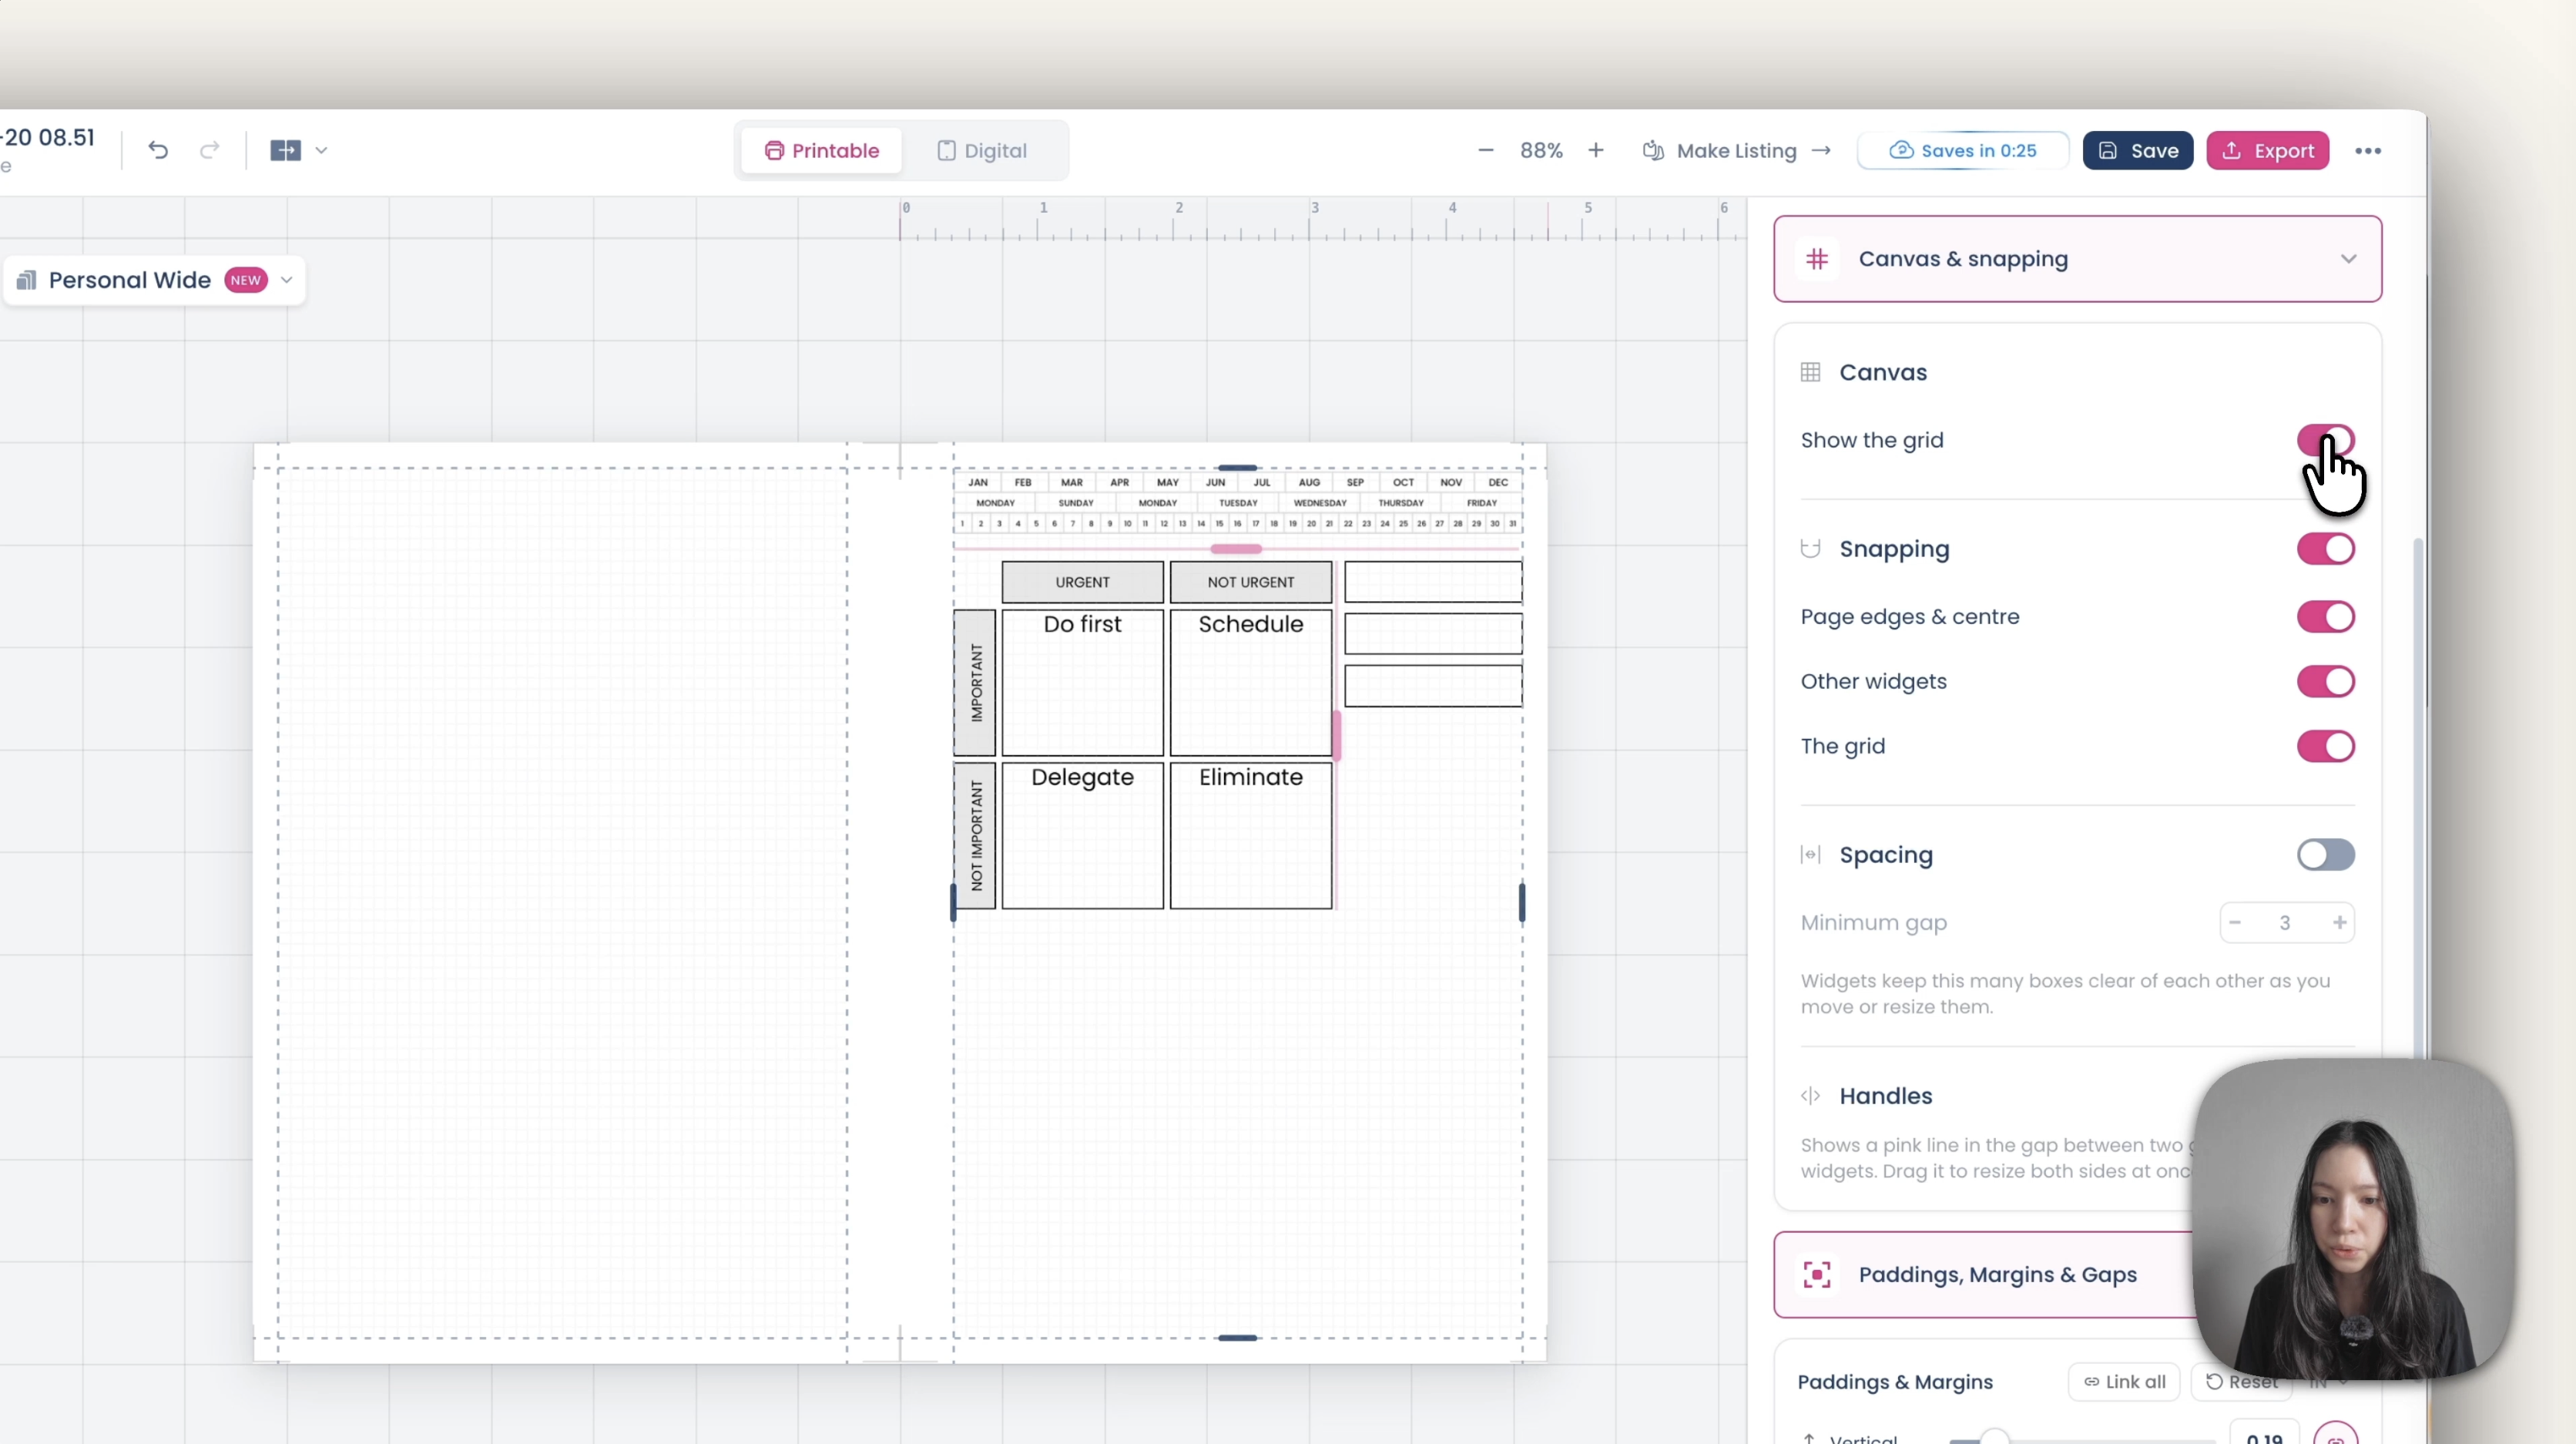
Switching on the grid under Layout, Canvas and snapping helps you keep the gaps between widgets even. It doesn't show up in the PDF.
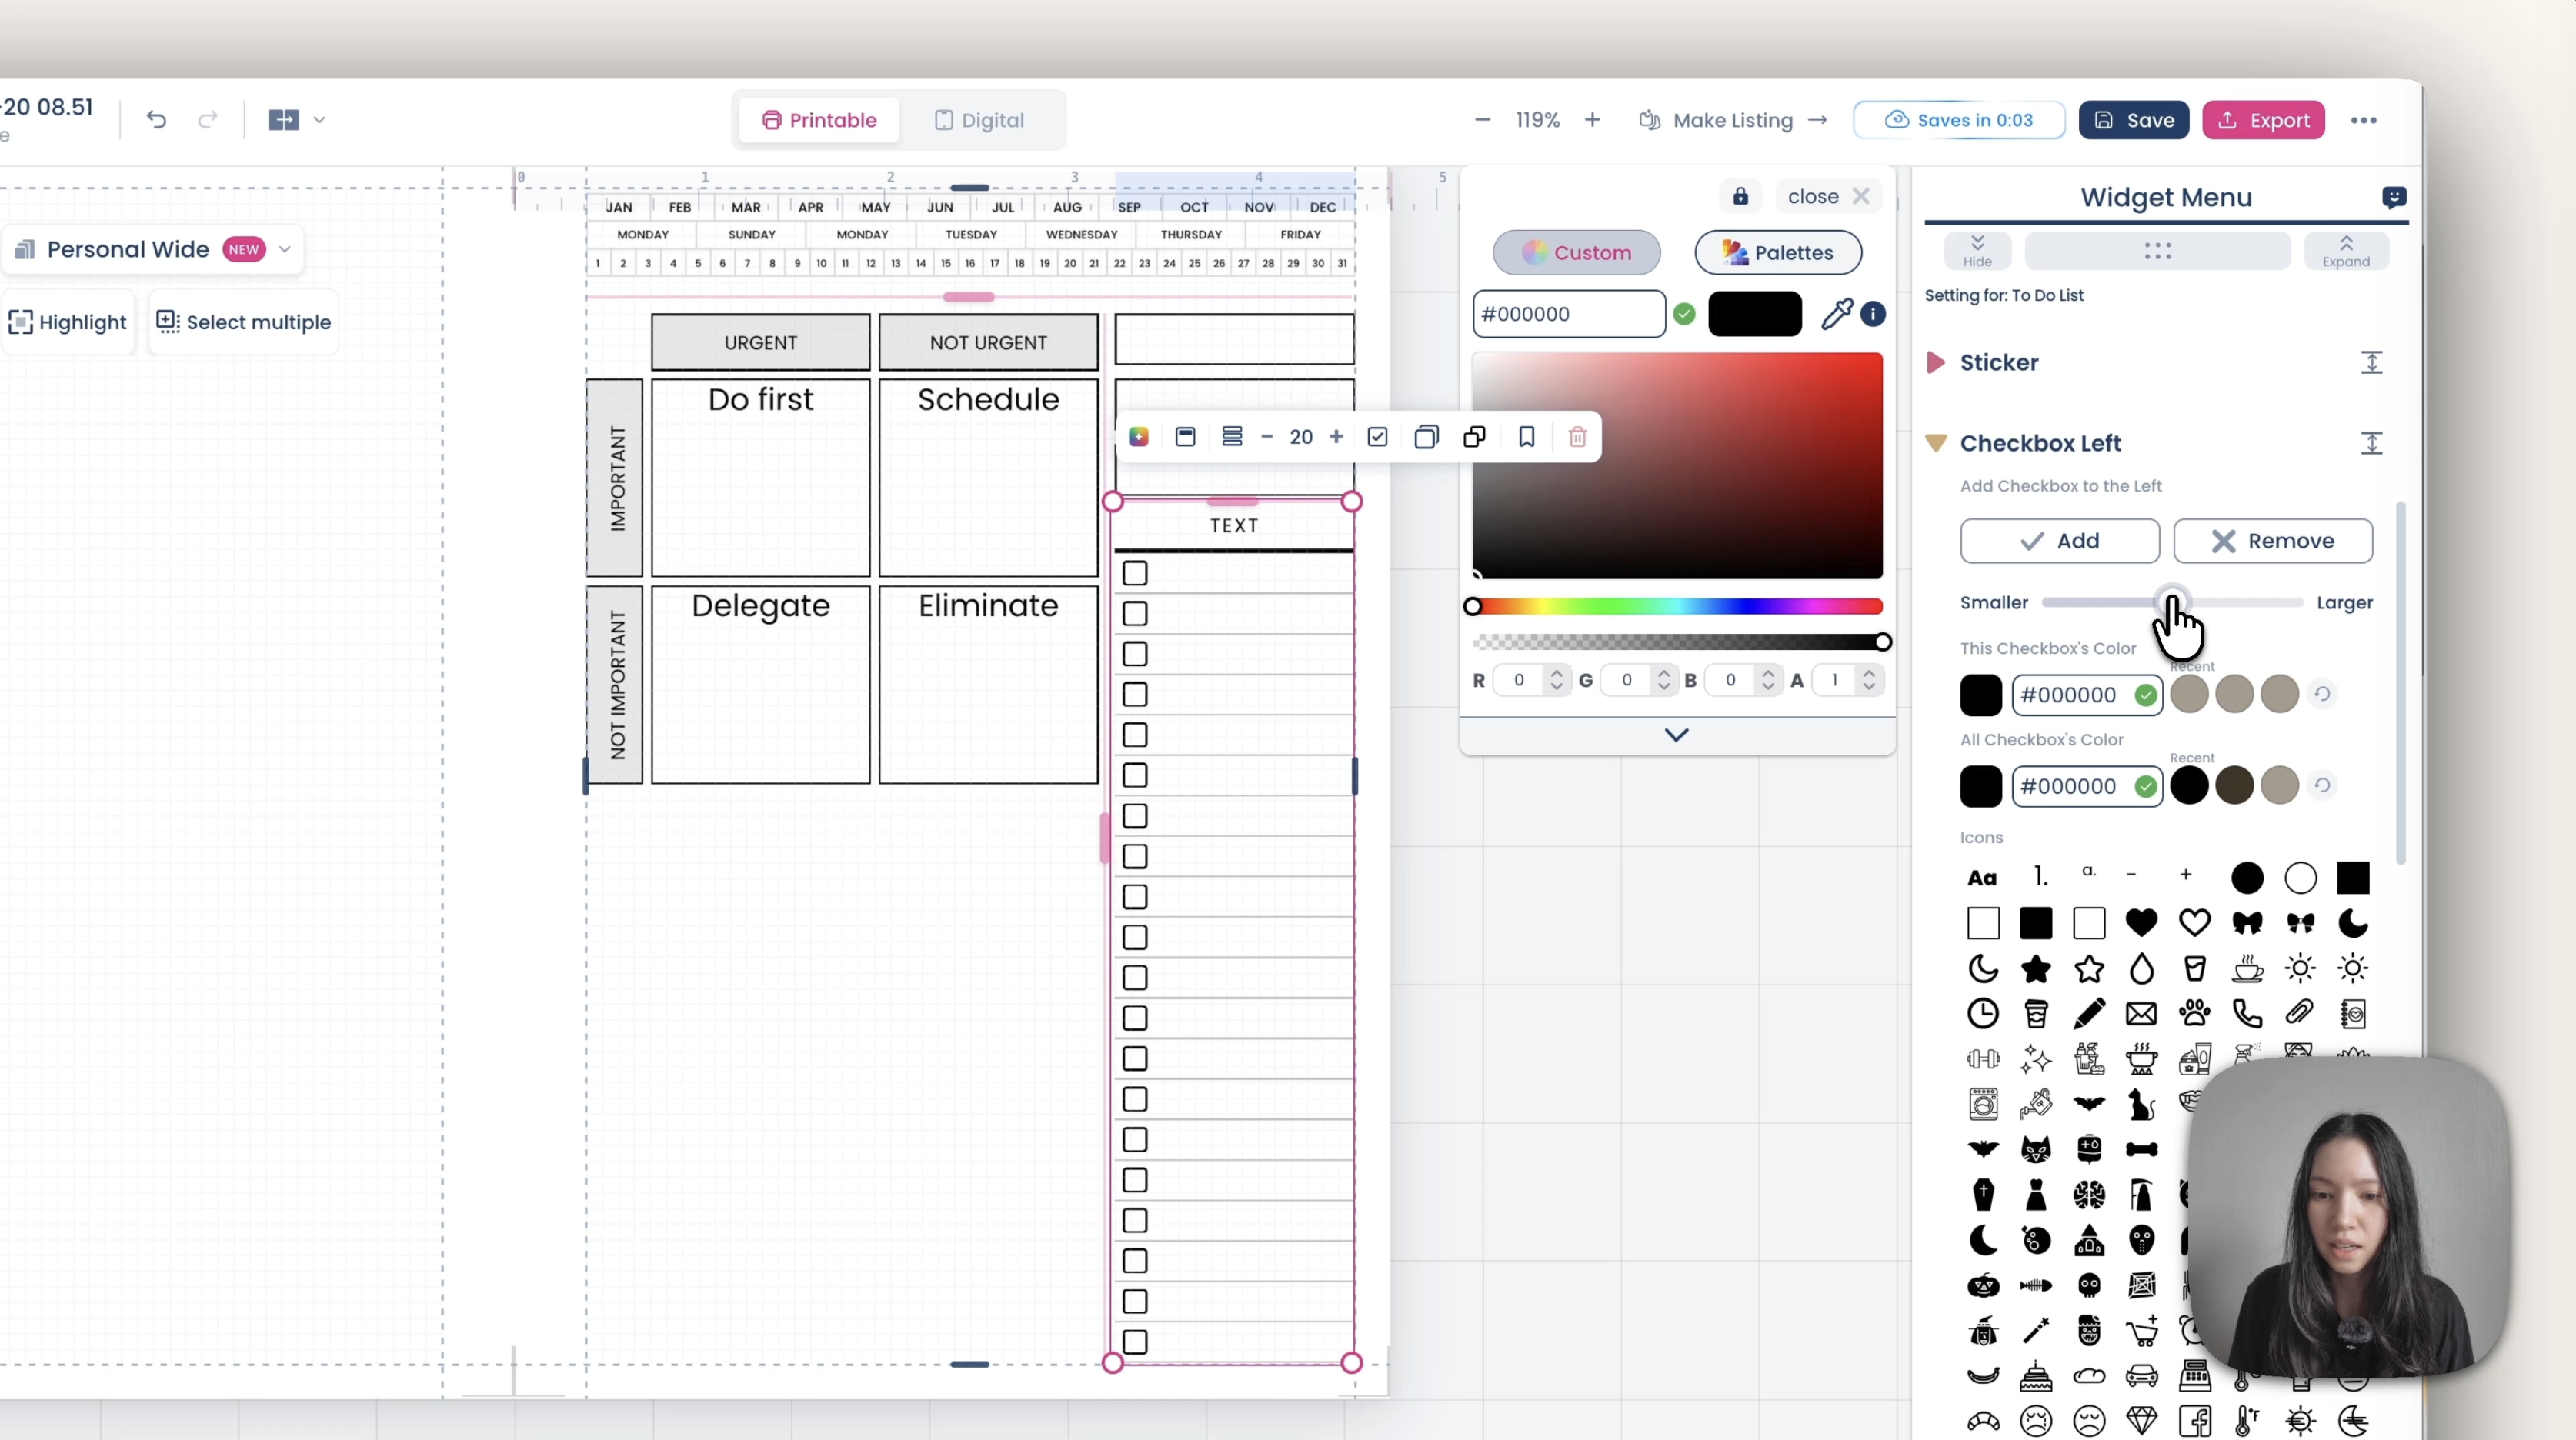
To-do list: add a To-do widget with around 19 or 20 rows, switch the icon to a small black square and hide the header.
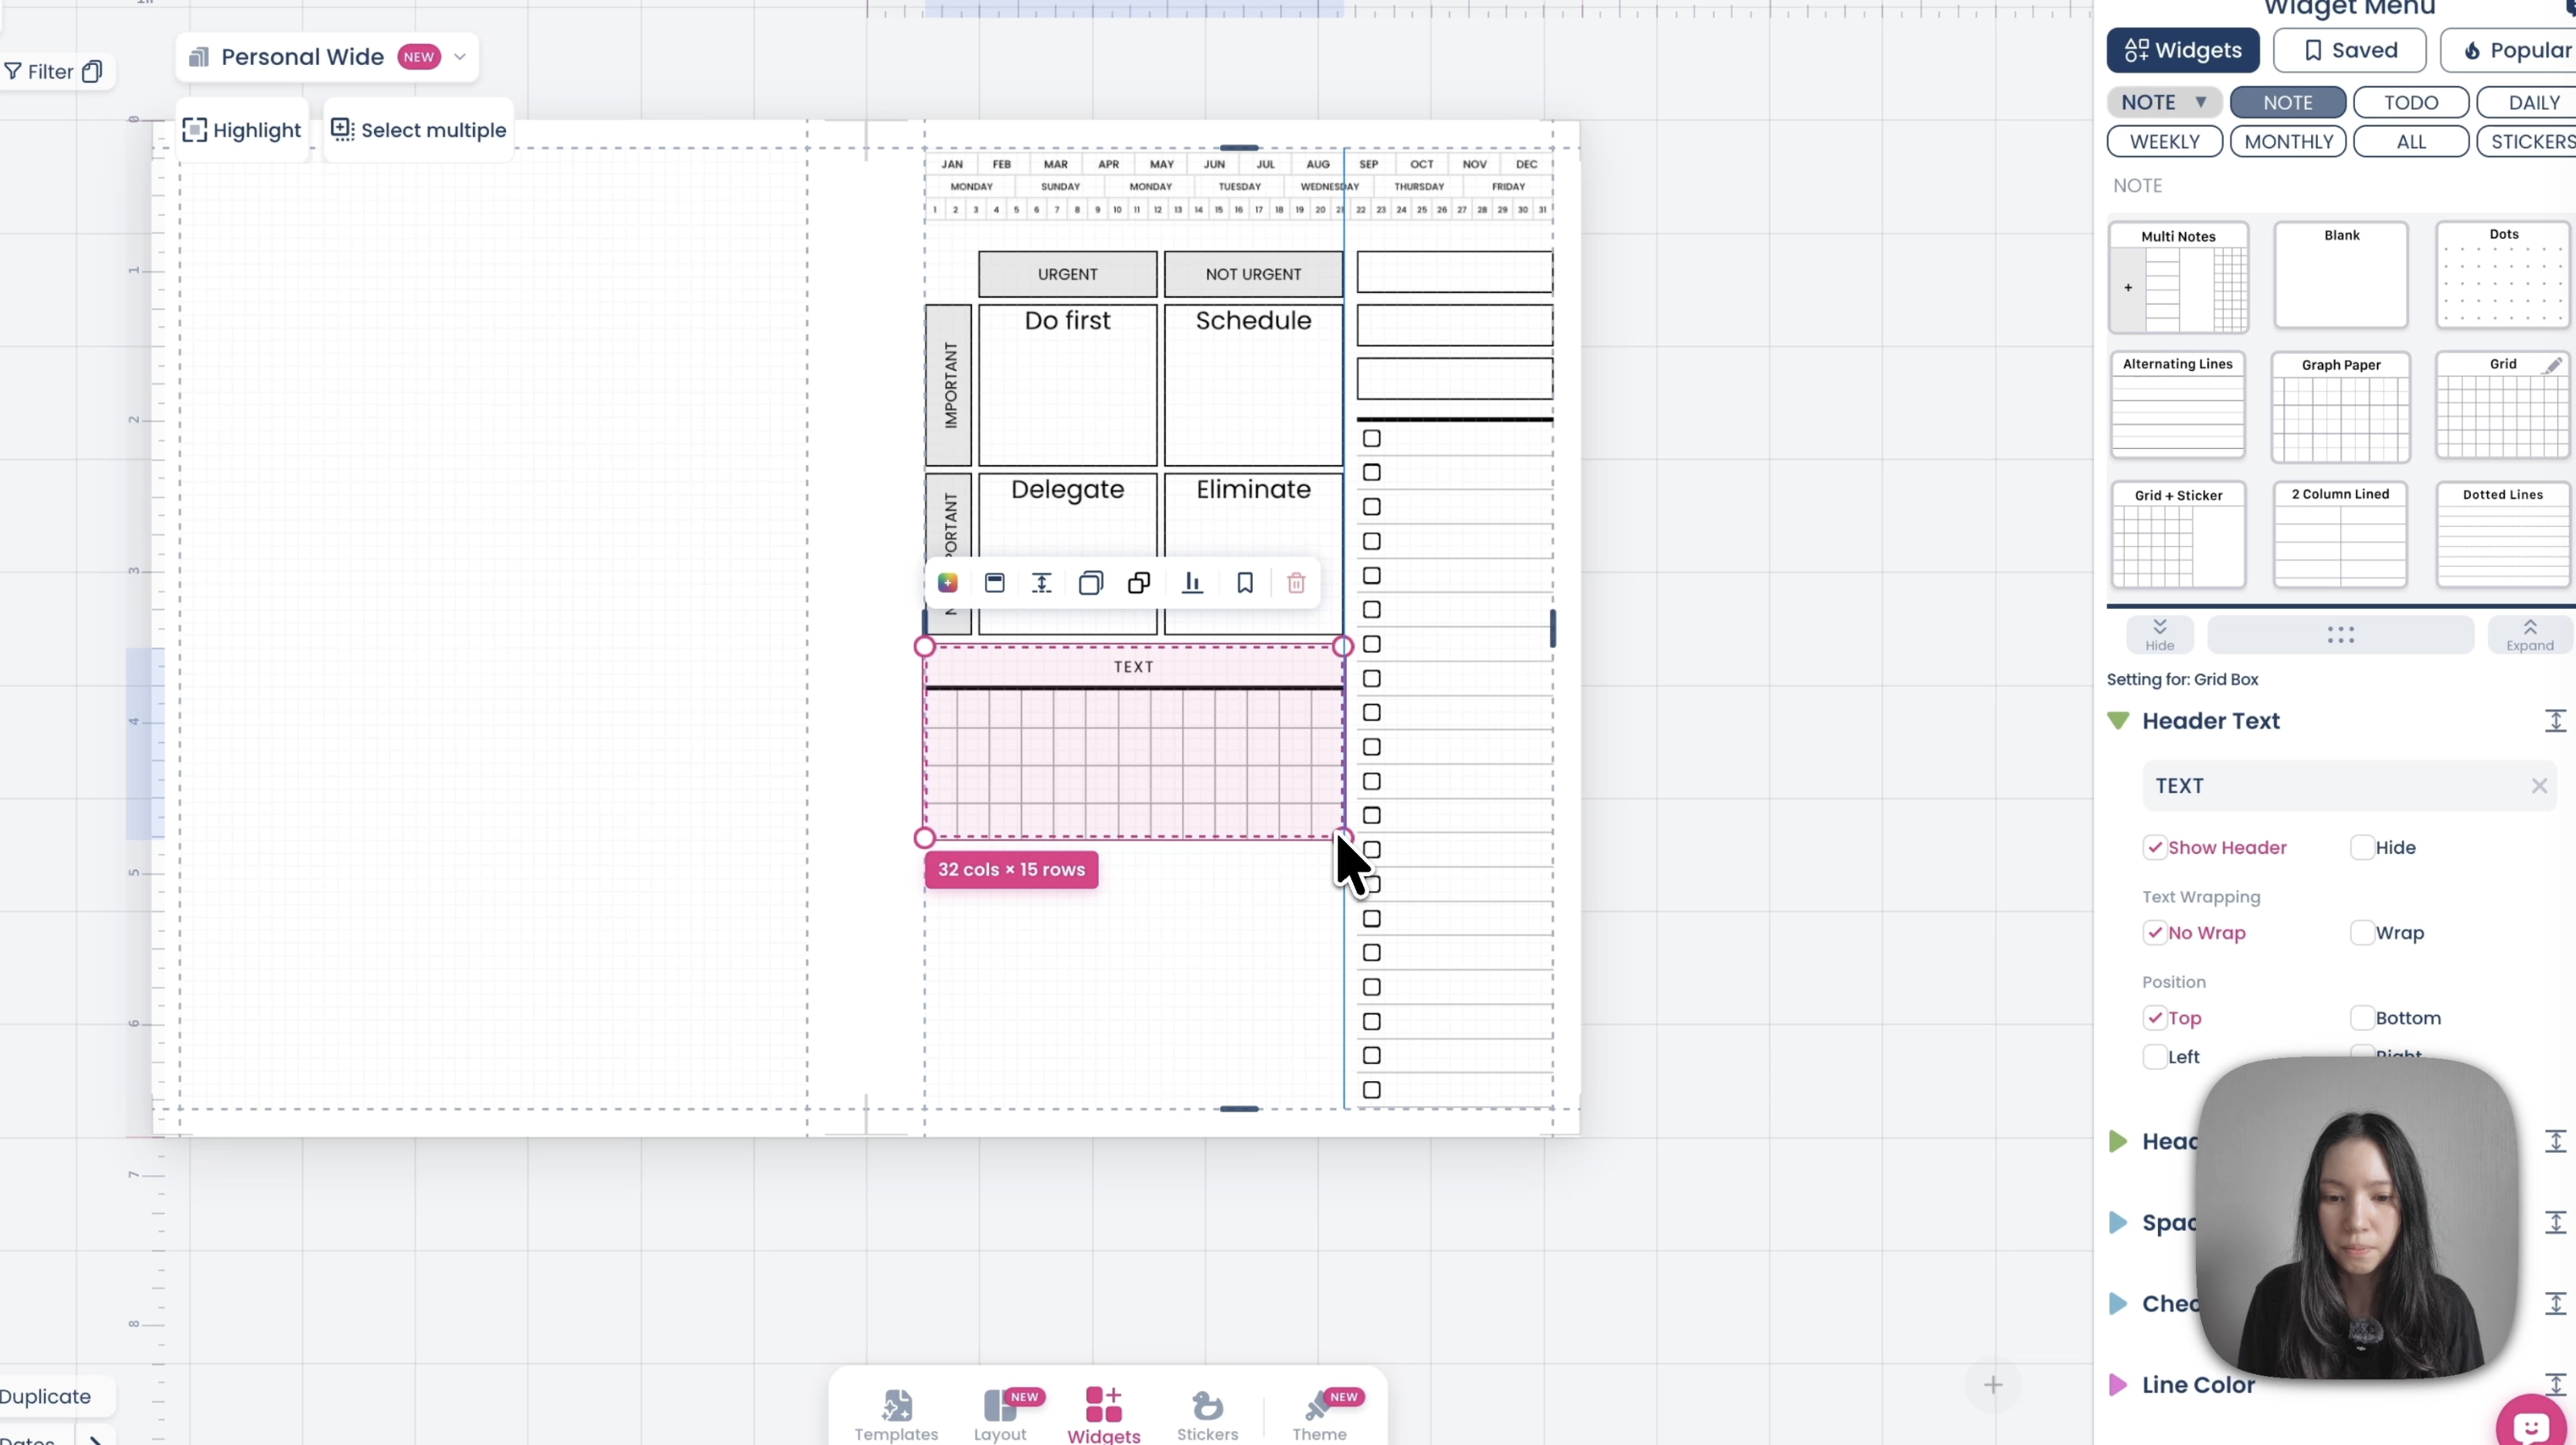
Notes: add a Grid from Notes and hide its header. Then add a second to-do list below with around five rows, also with the header hidden.
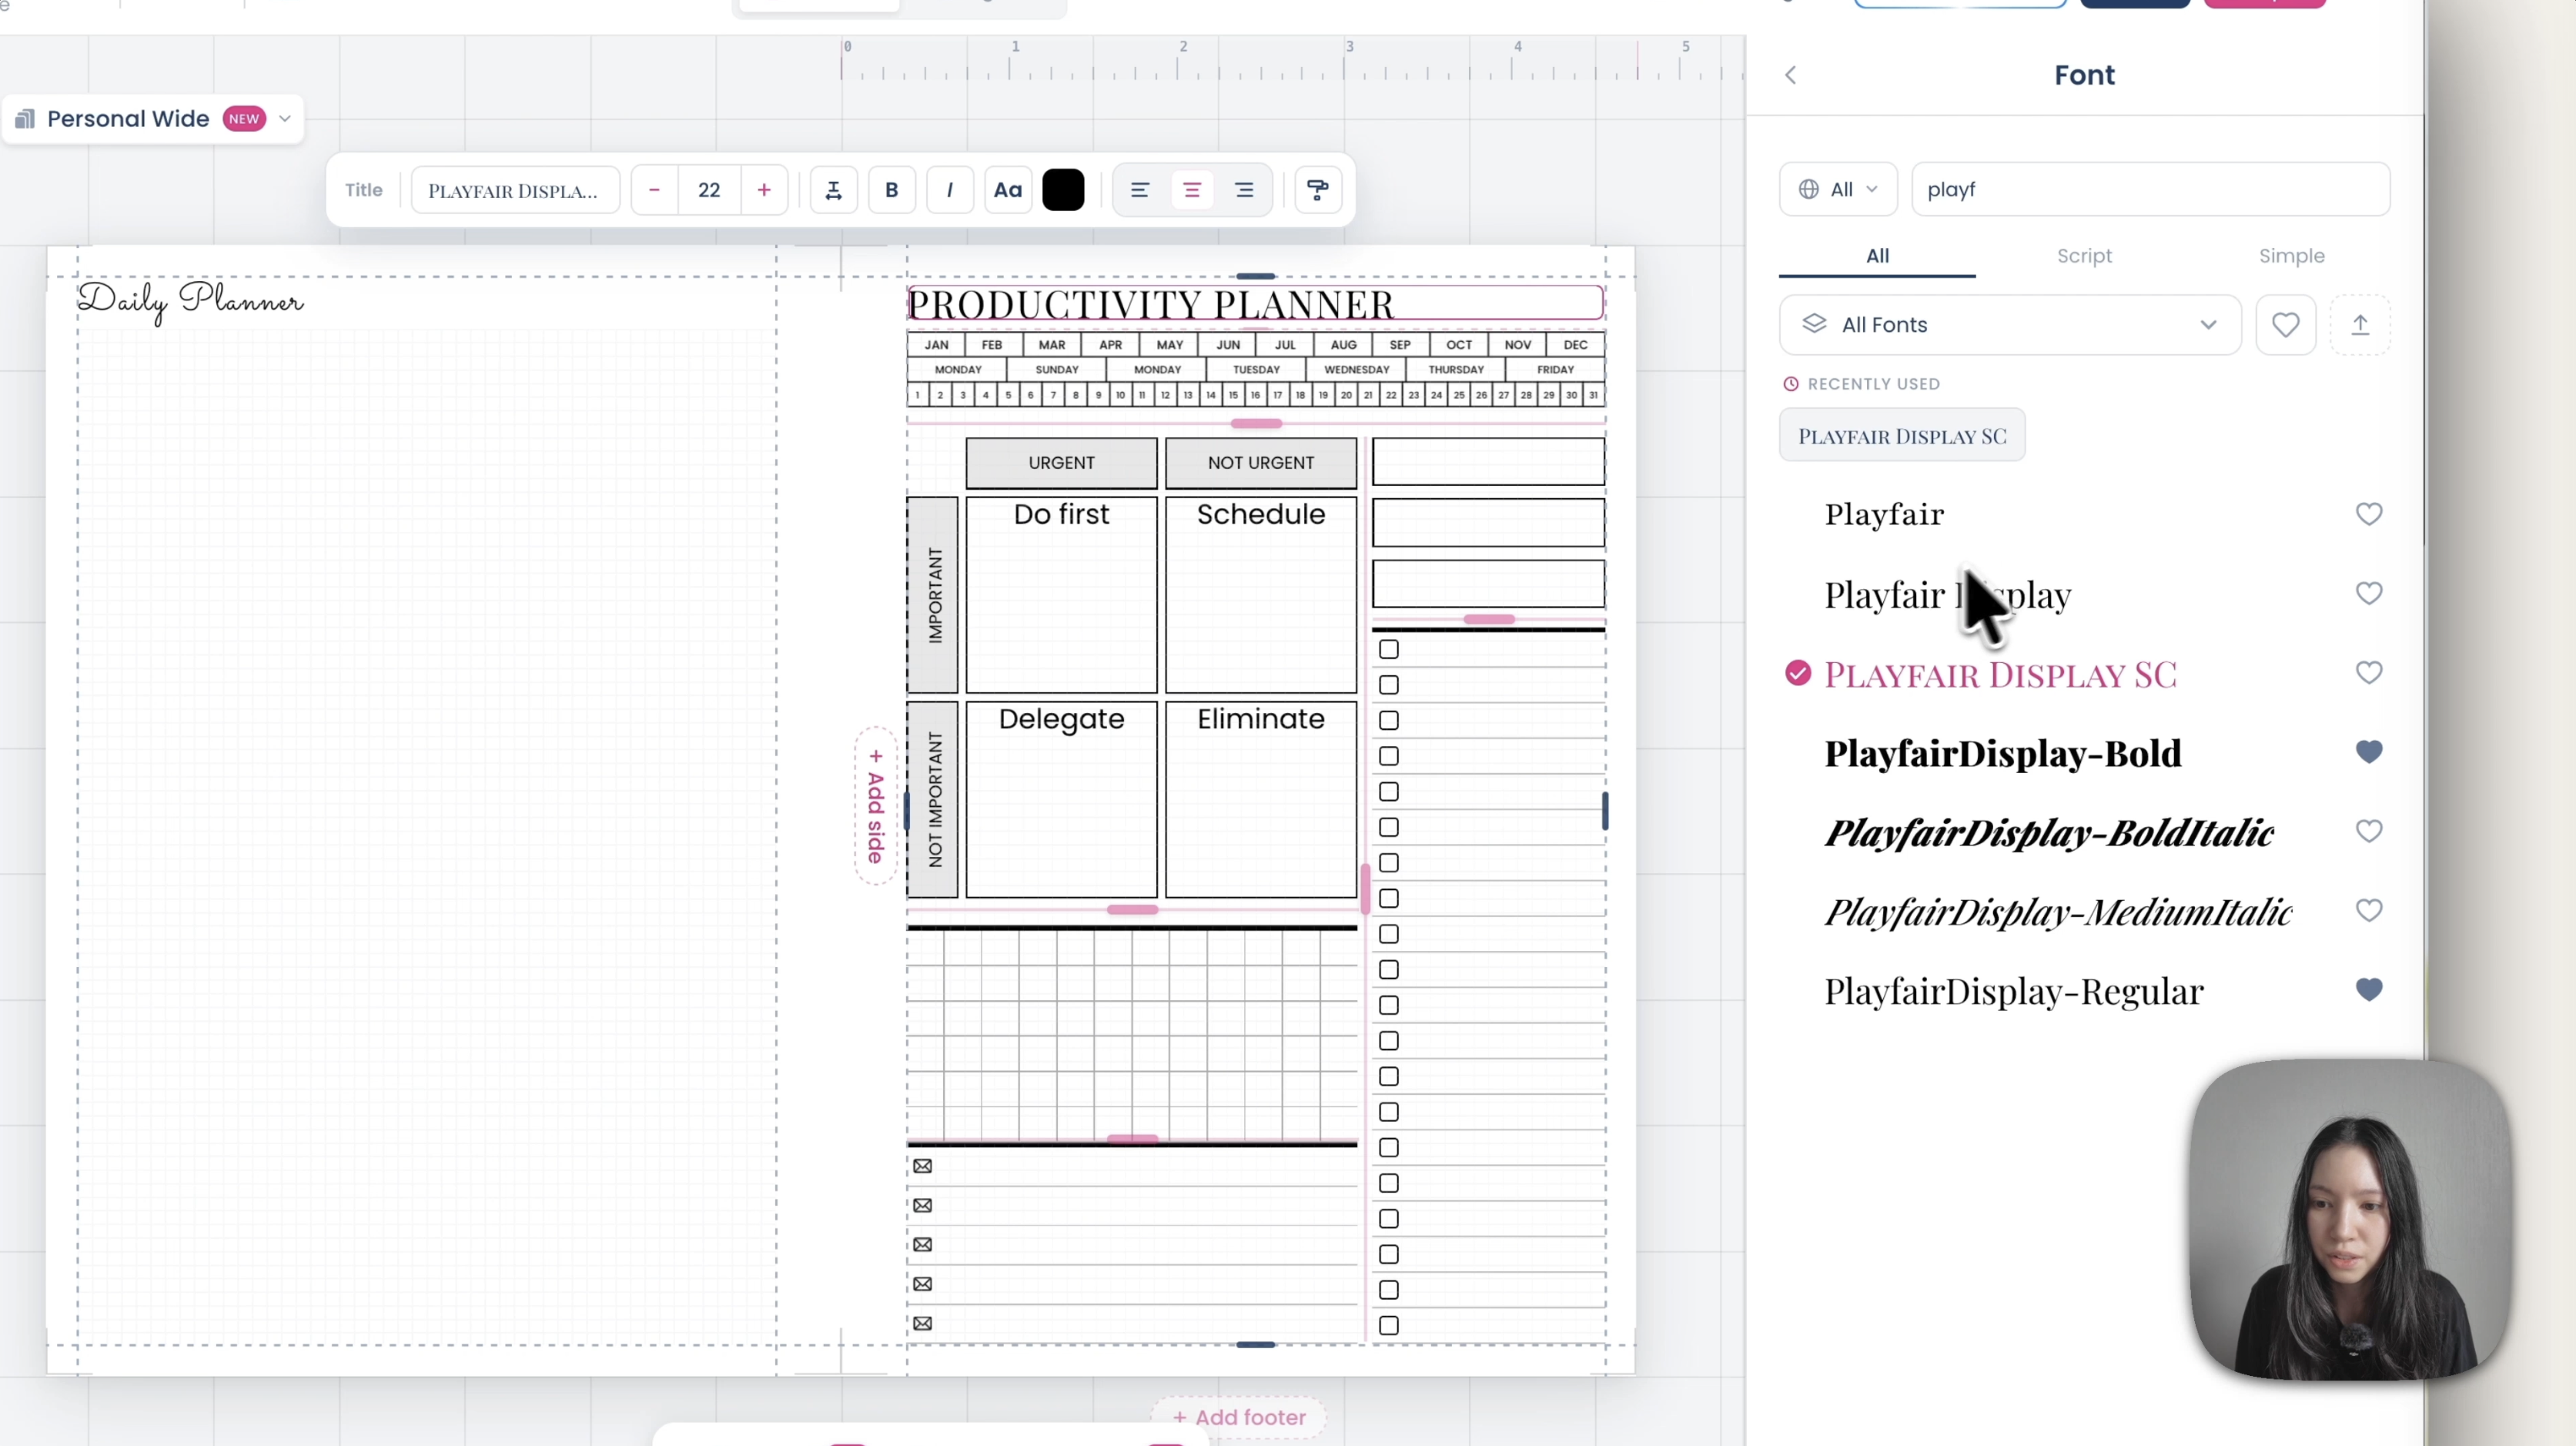
Title: add "Productivity Planner" in Playfair, centred, with slightly wider letter spacing.
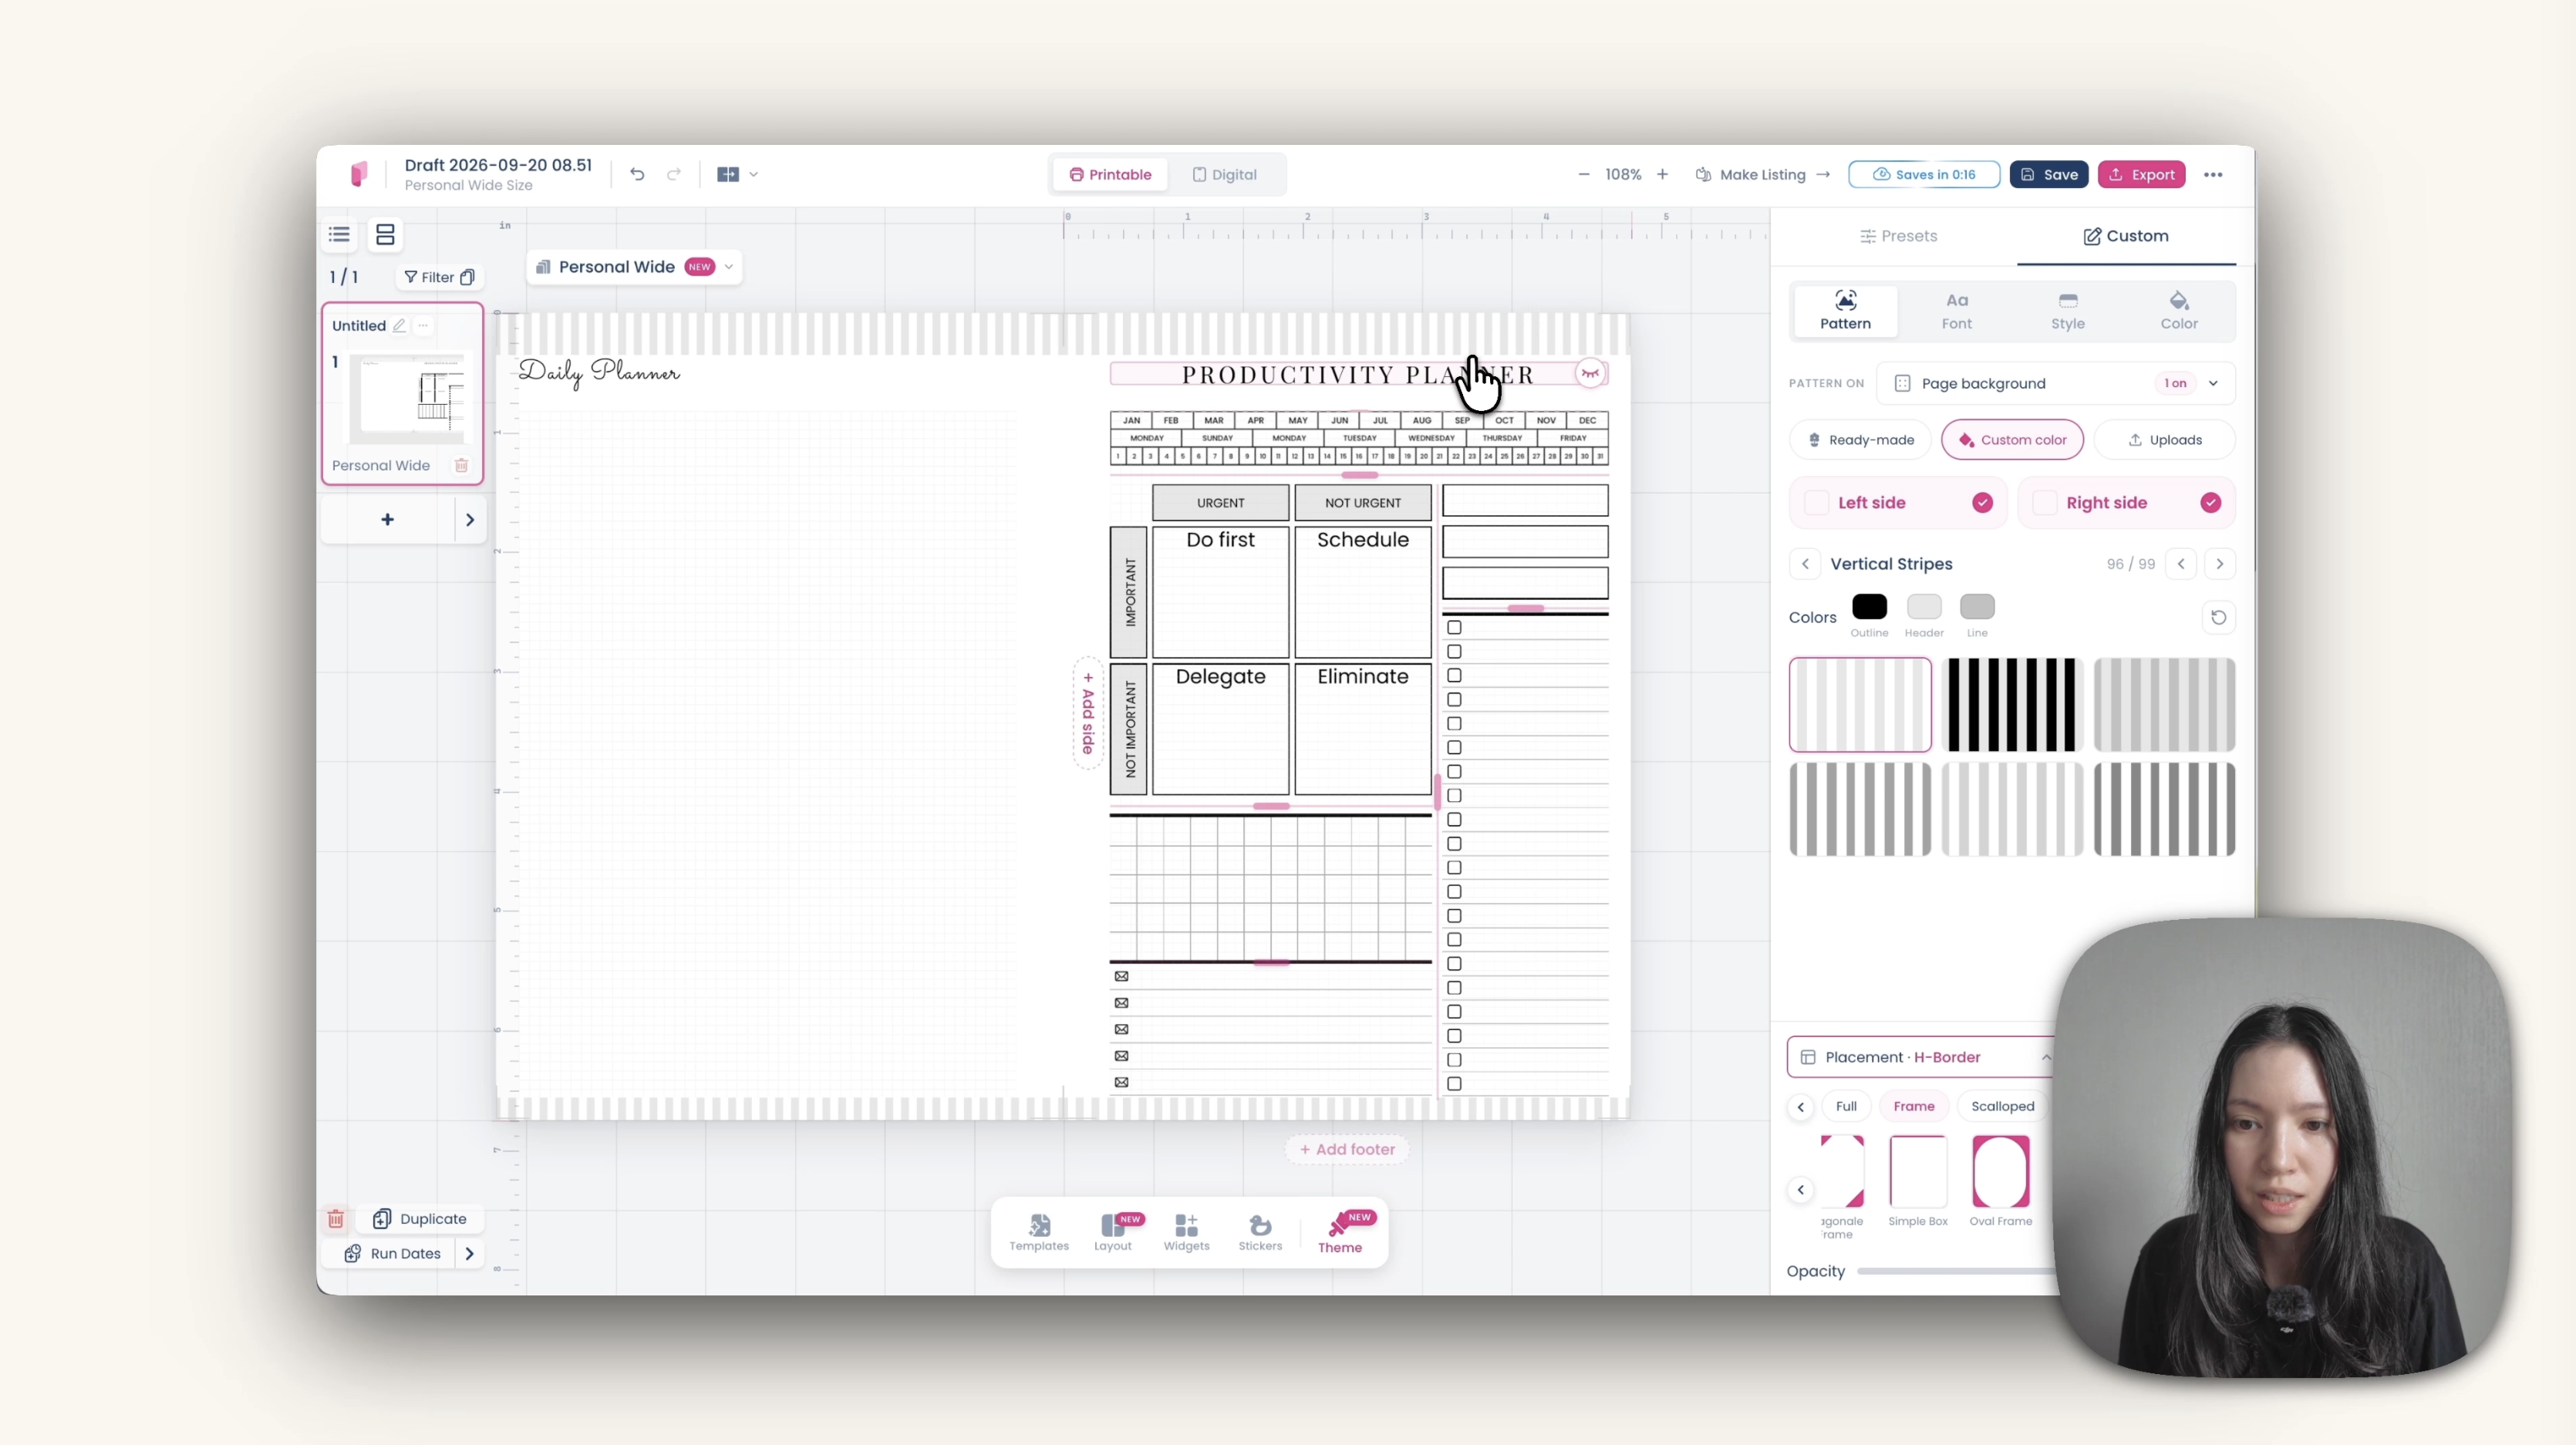
For the minimal look, keep it black, grey and white. Darken the grid lines and set their opacity to 100 so they print crisply. The faint border at the top and bottom is the Vertical Stripes pattern from the Stripes collection, placed with H Border and set to 40 at each edge.
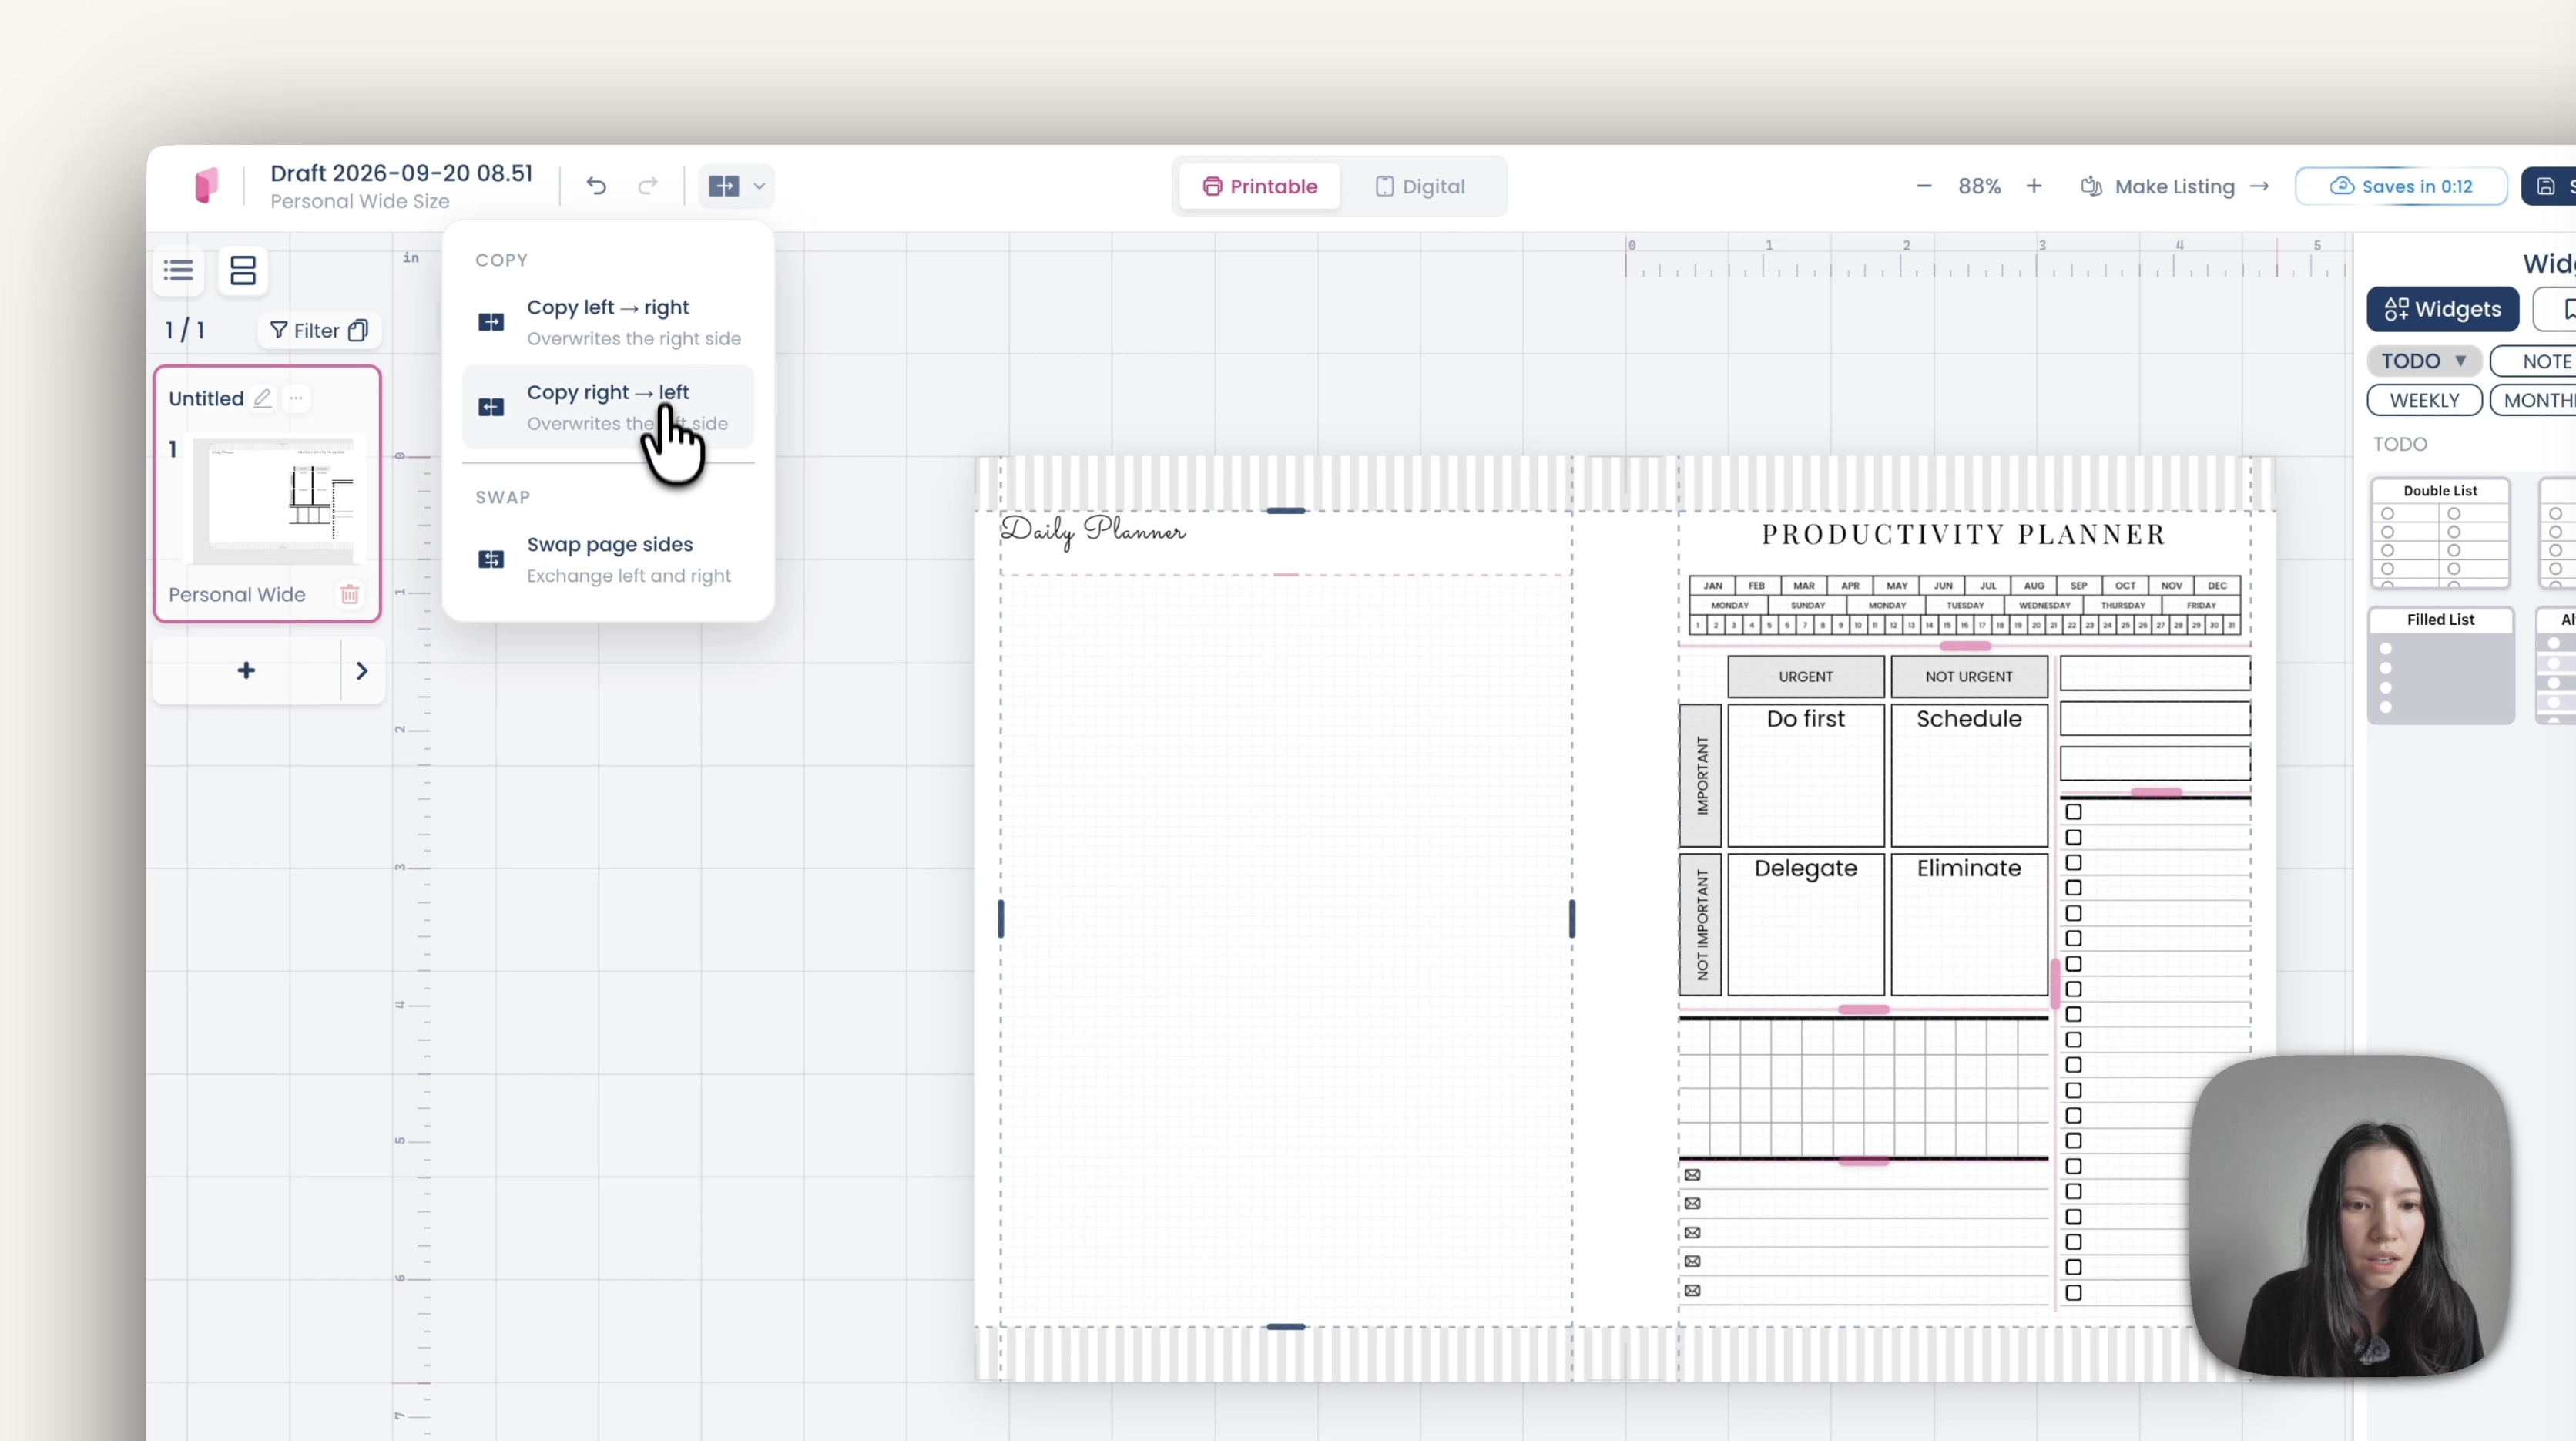
When the right page looks right, use Copy right to left to mirror it.
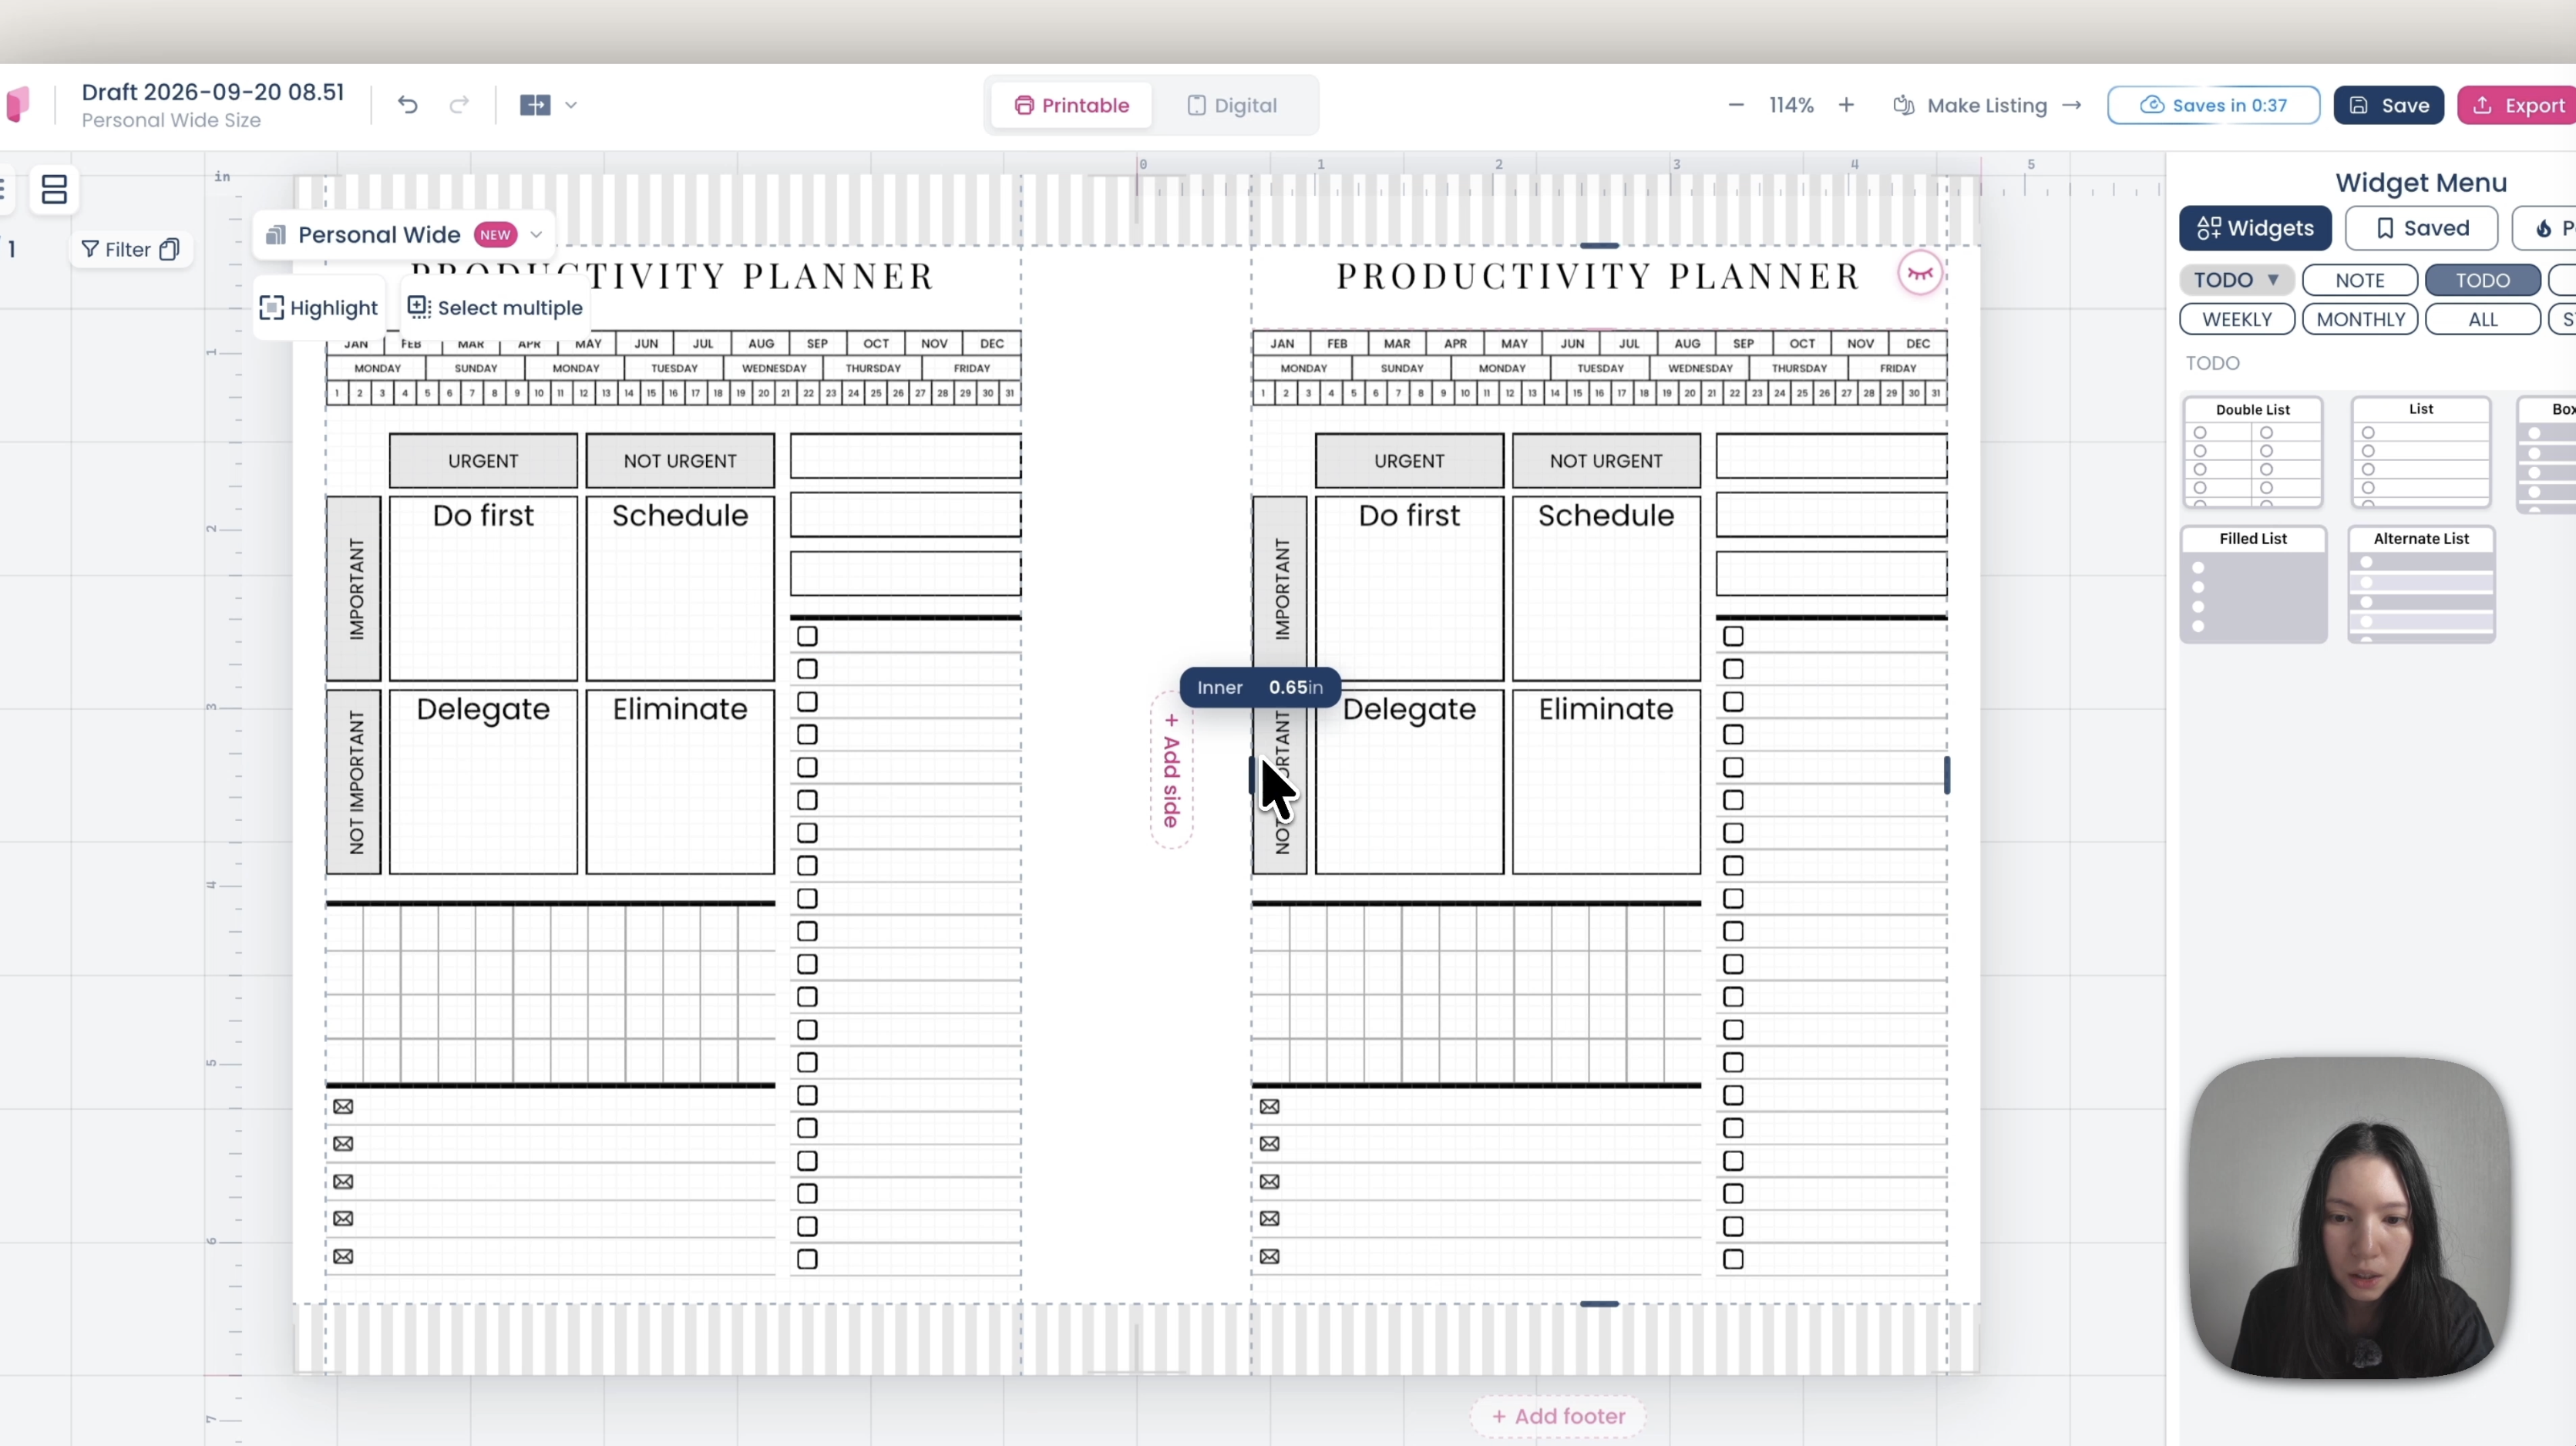
Then set the inside margin to 0.6 inches, since that strip is where the holes will be punched. Finish by setting both header and body fonts to Playfair at around size 10.
Your planner pages are now complete.
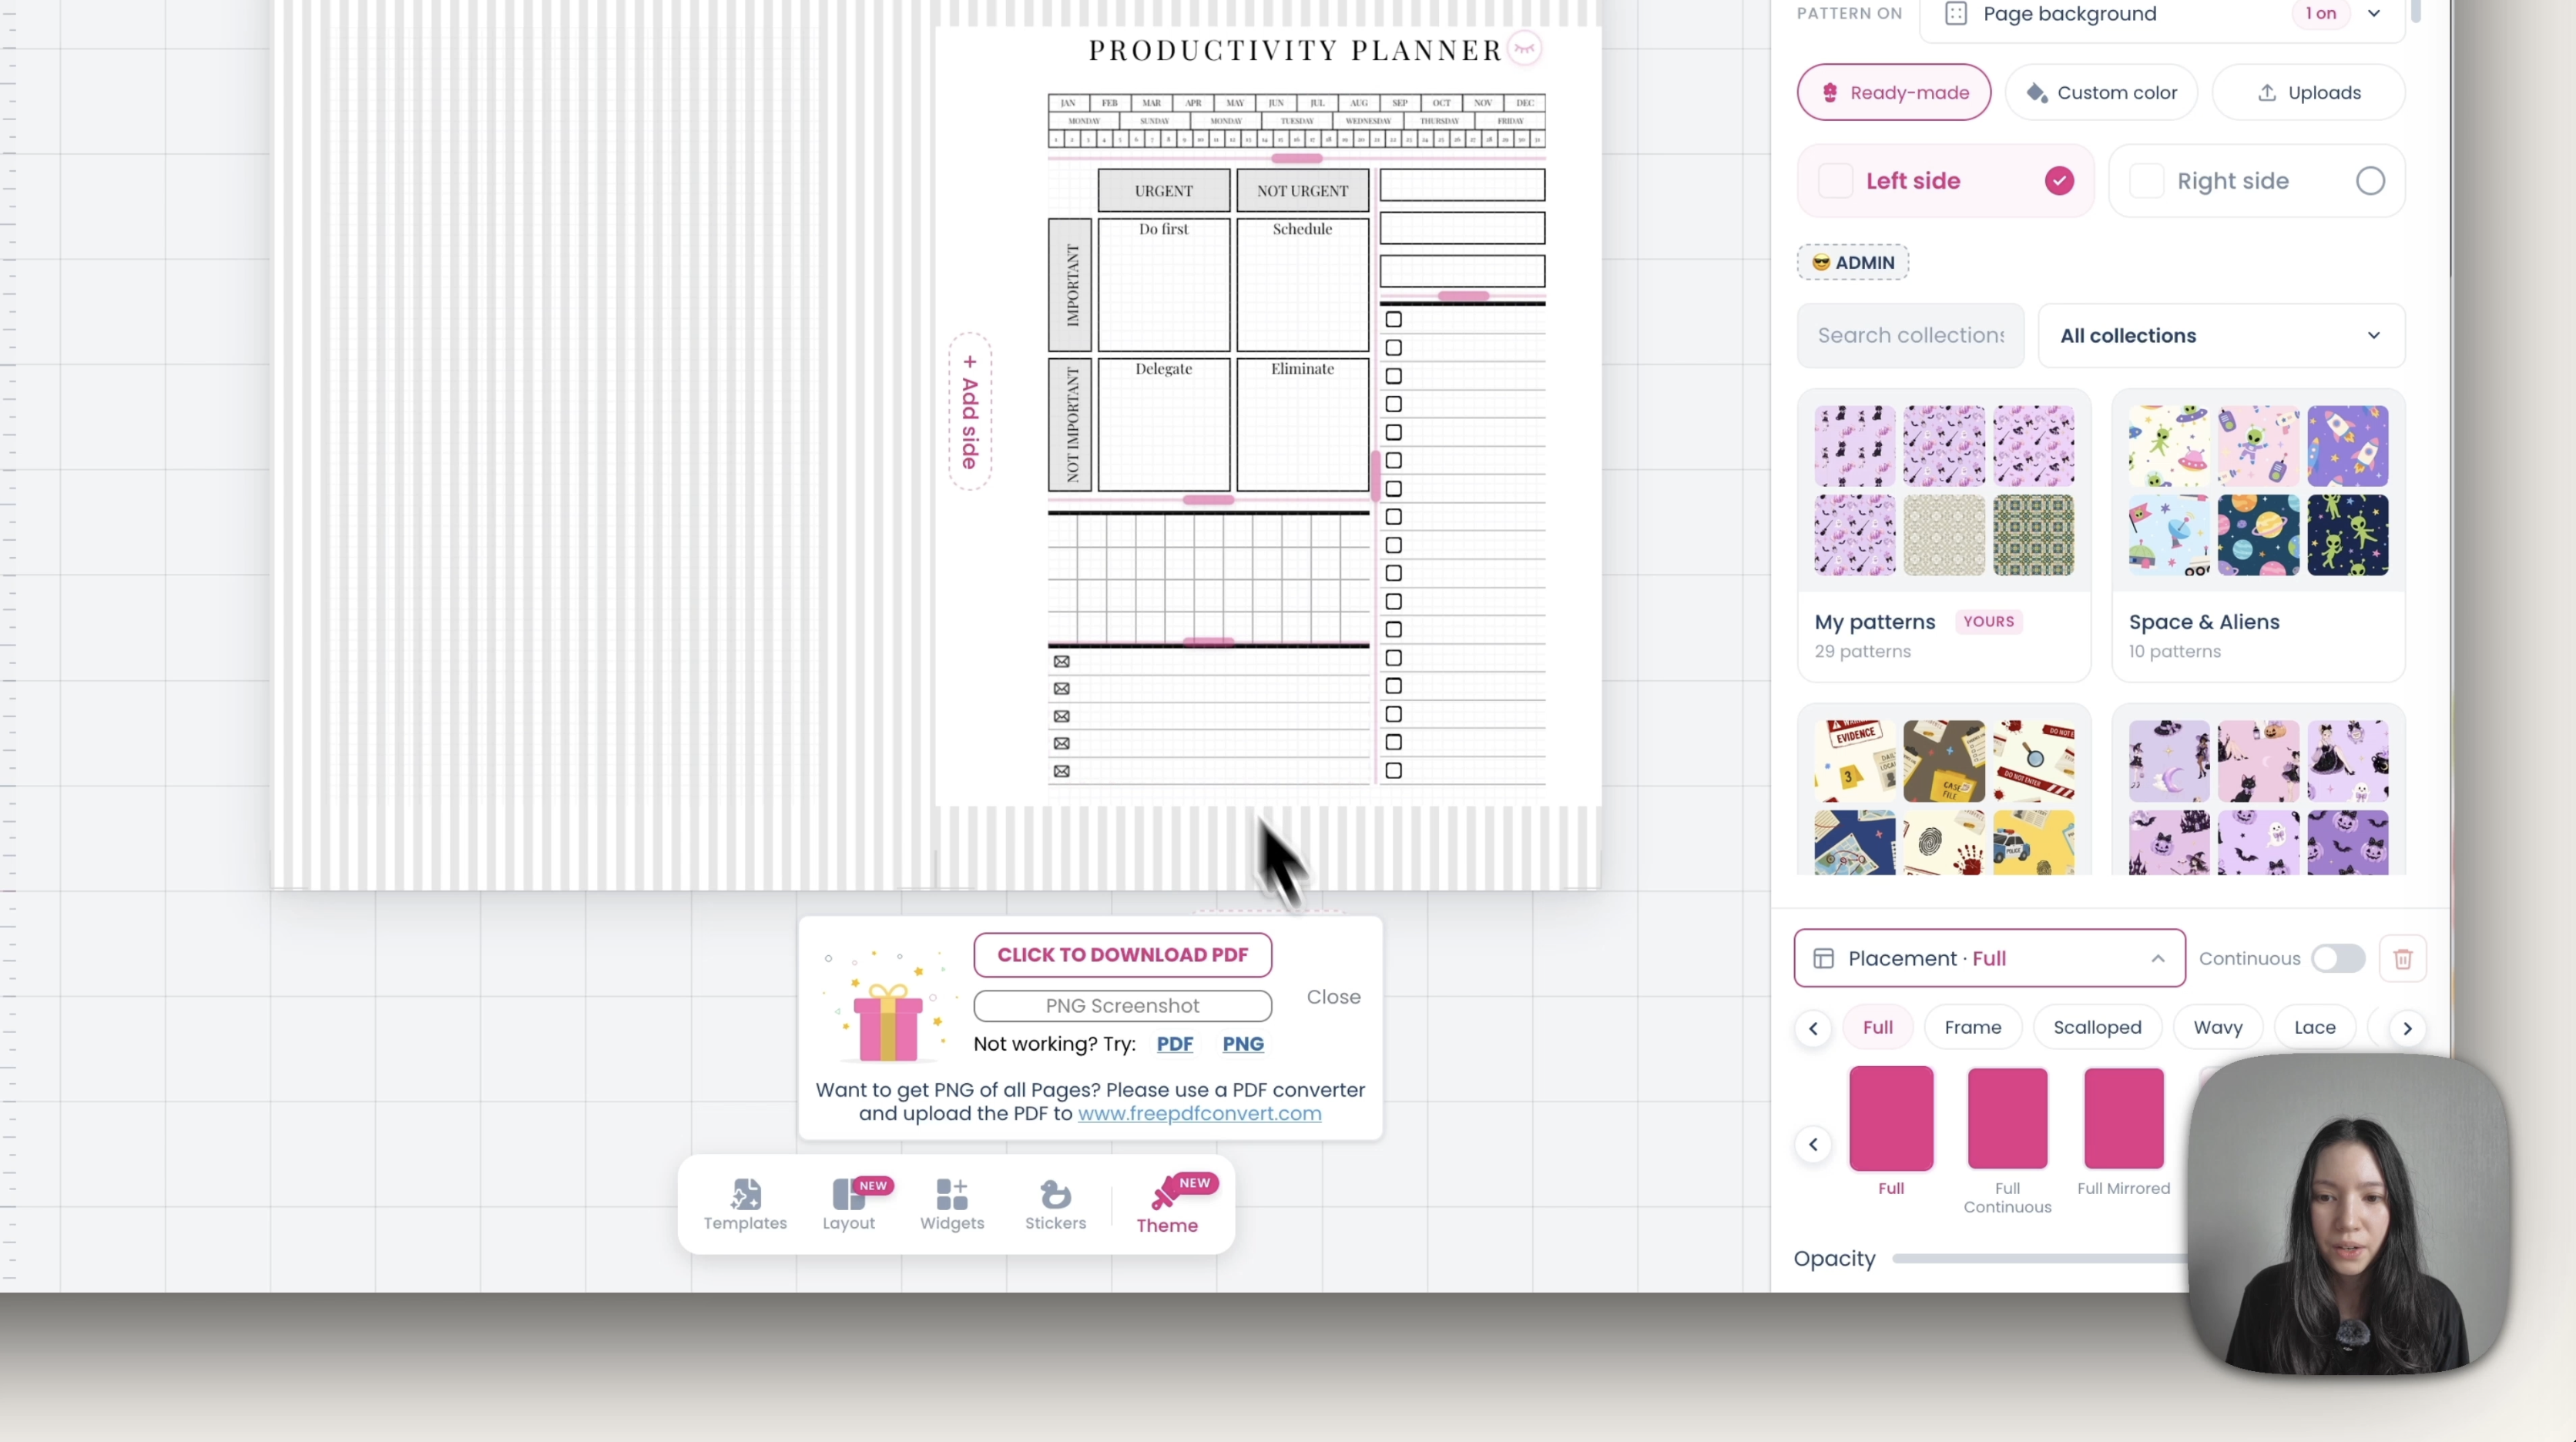
For the cover, delete everything on the right page and remove the title, so the right side becomes the front cover and the left side the back. Then set the pattern placement on the left page to Full so the back cover is fully patterned.
What You'll Need
Regular 90gsm copy paper | Glue stick and a pencil |
How to assemble the notepad
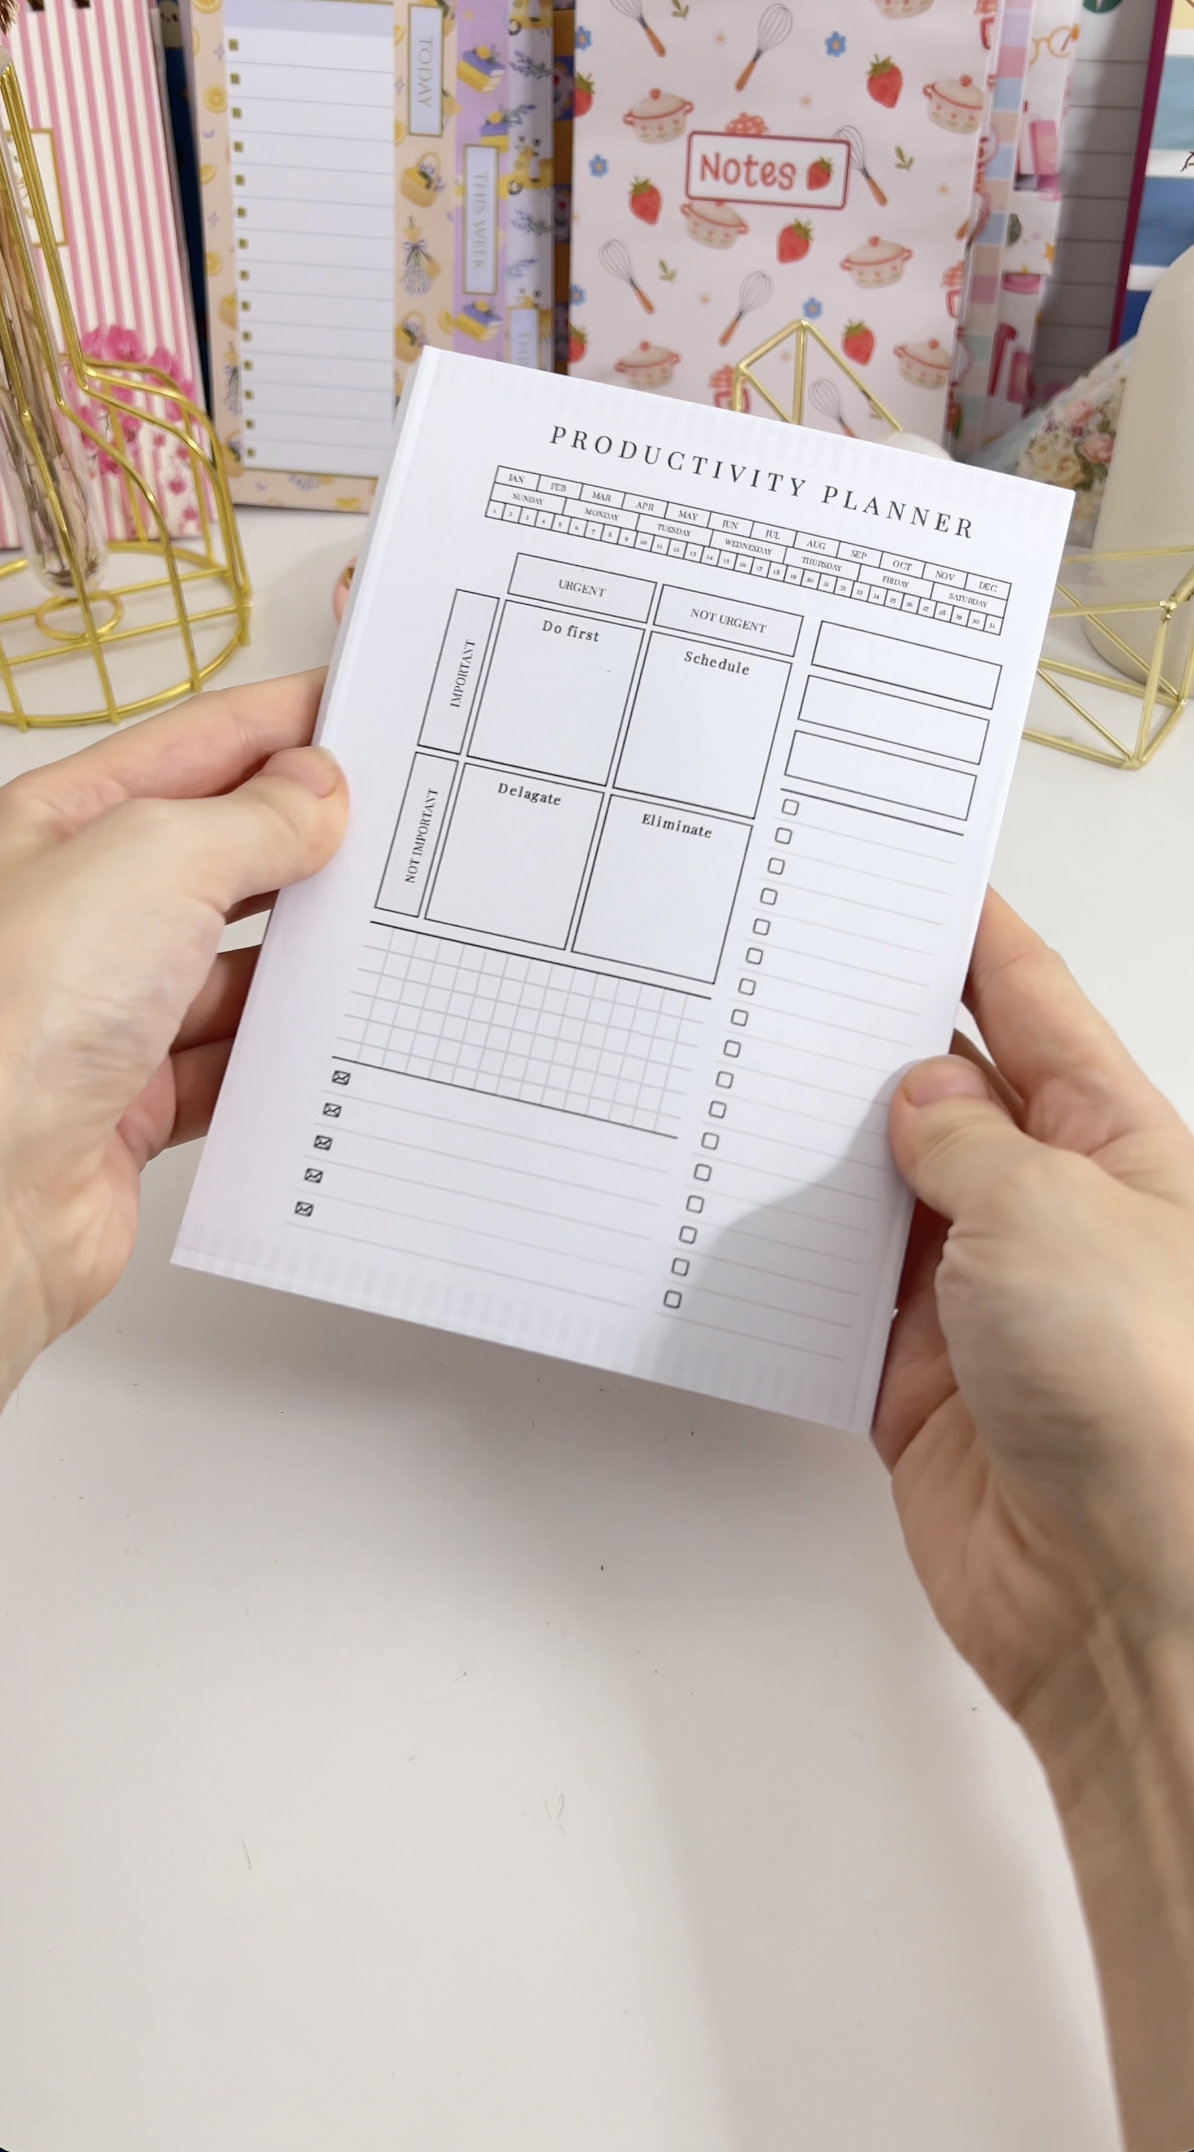 1. Cut the inserts to size. Trim the stack of 70 printed pages with a heavy-duty paper cutter. Cutting the whole stack at once keeps every edge identical, which matters when the pad is glued as one block. | 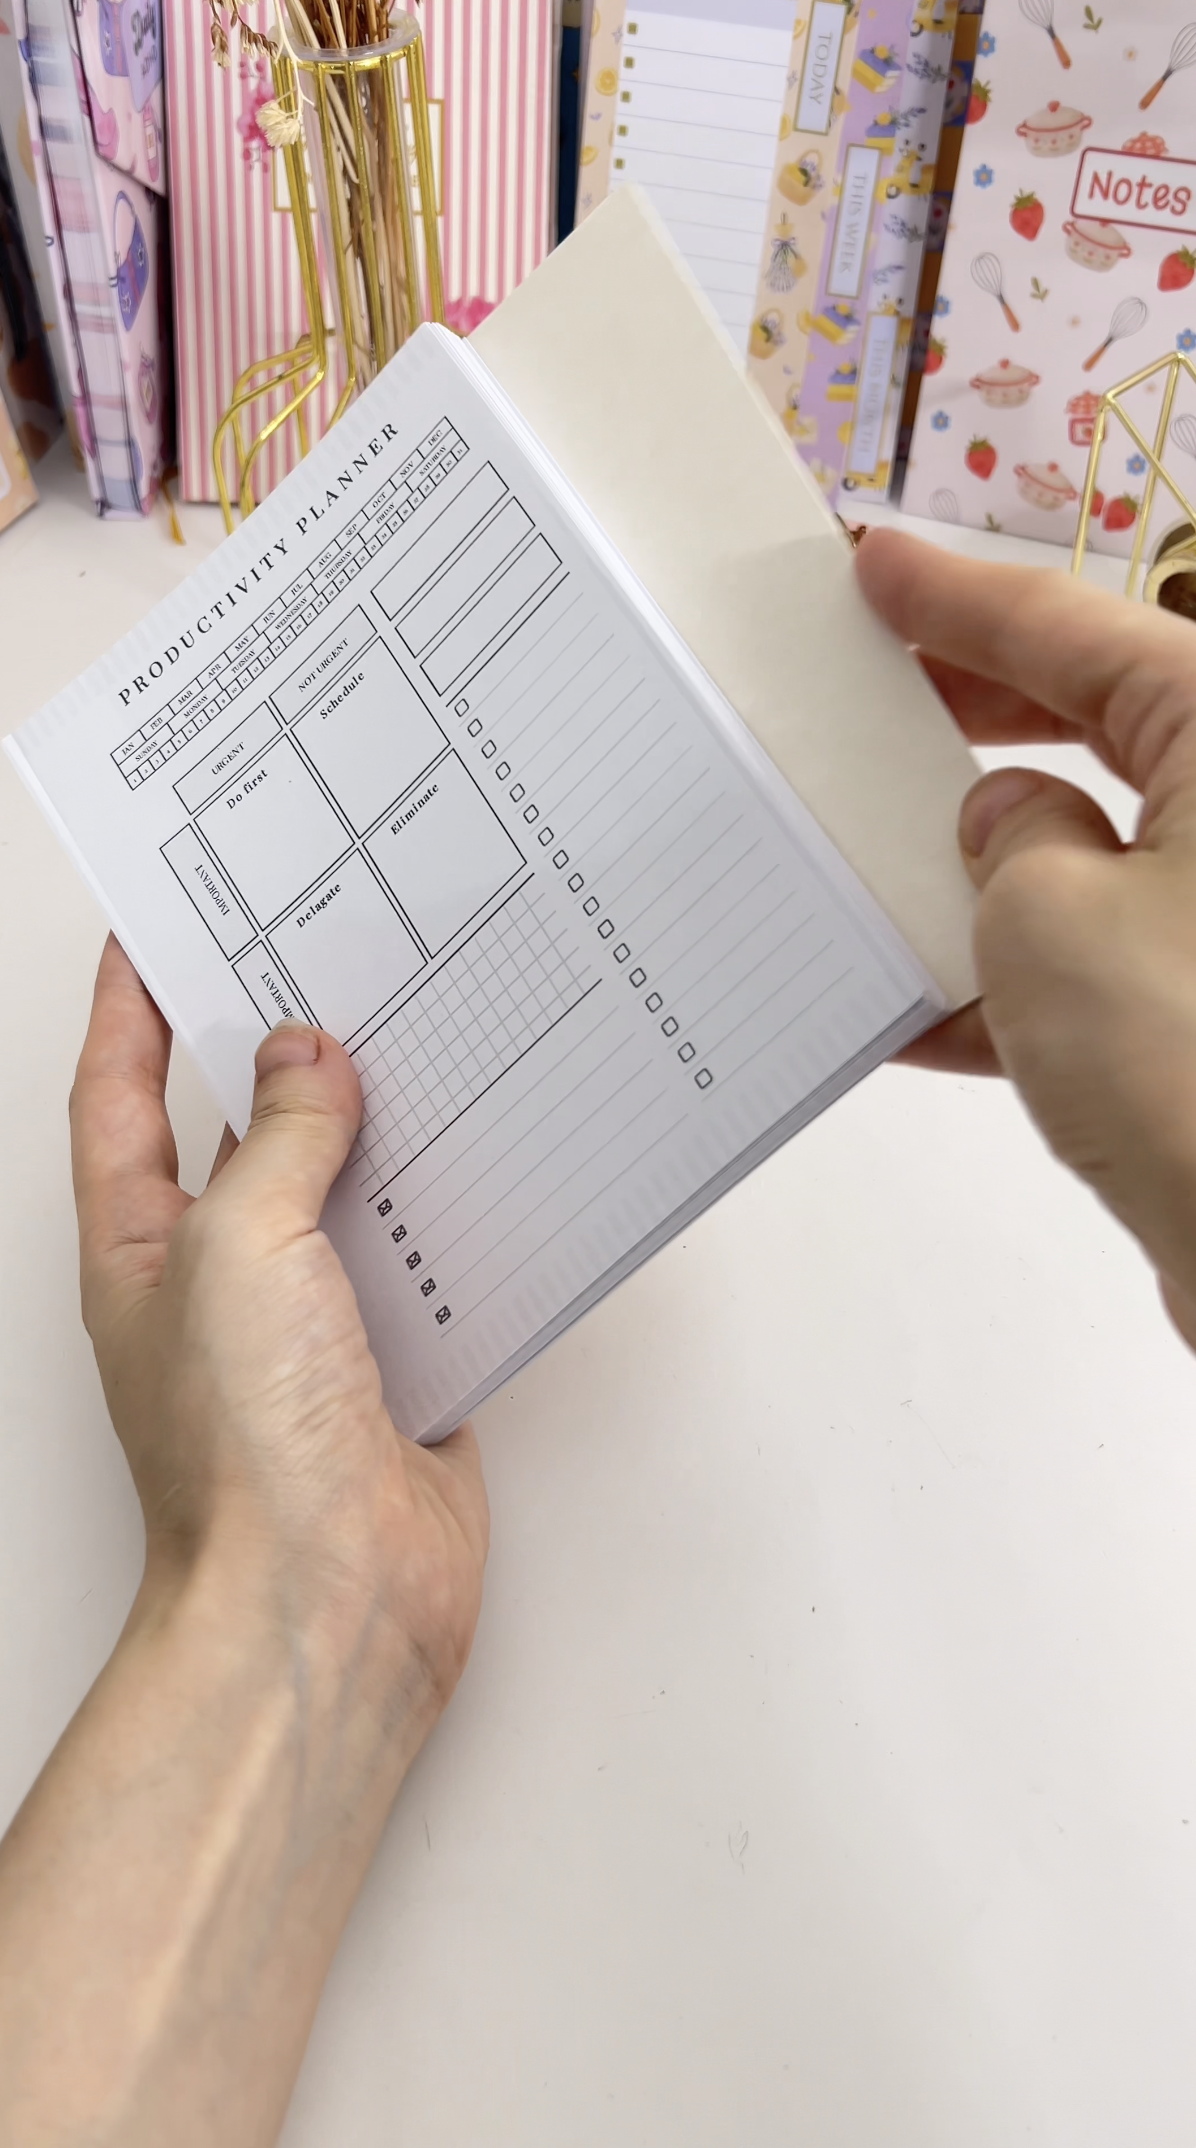 2. Cut a chipboard back. Cut chipboard around 1.4mm thick to exactly the size of the inserts. It gives the pad a rigid base so it doesn't flop when you write on it. |
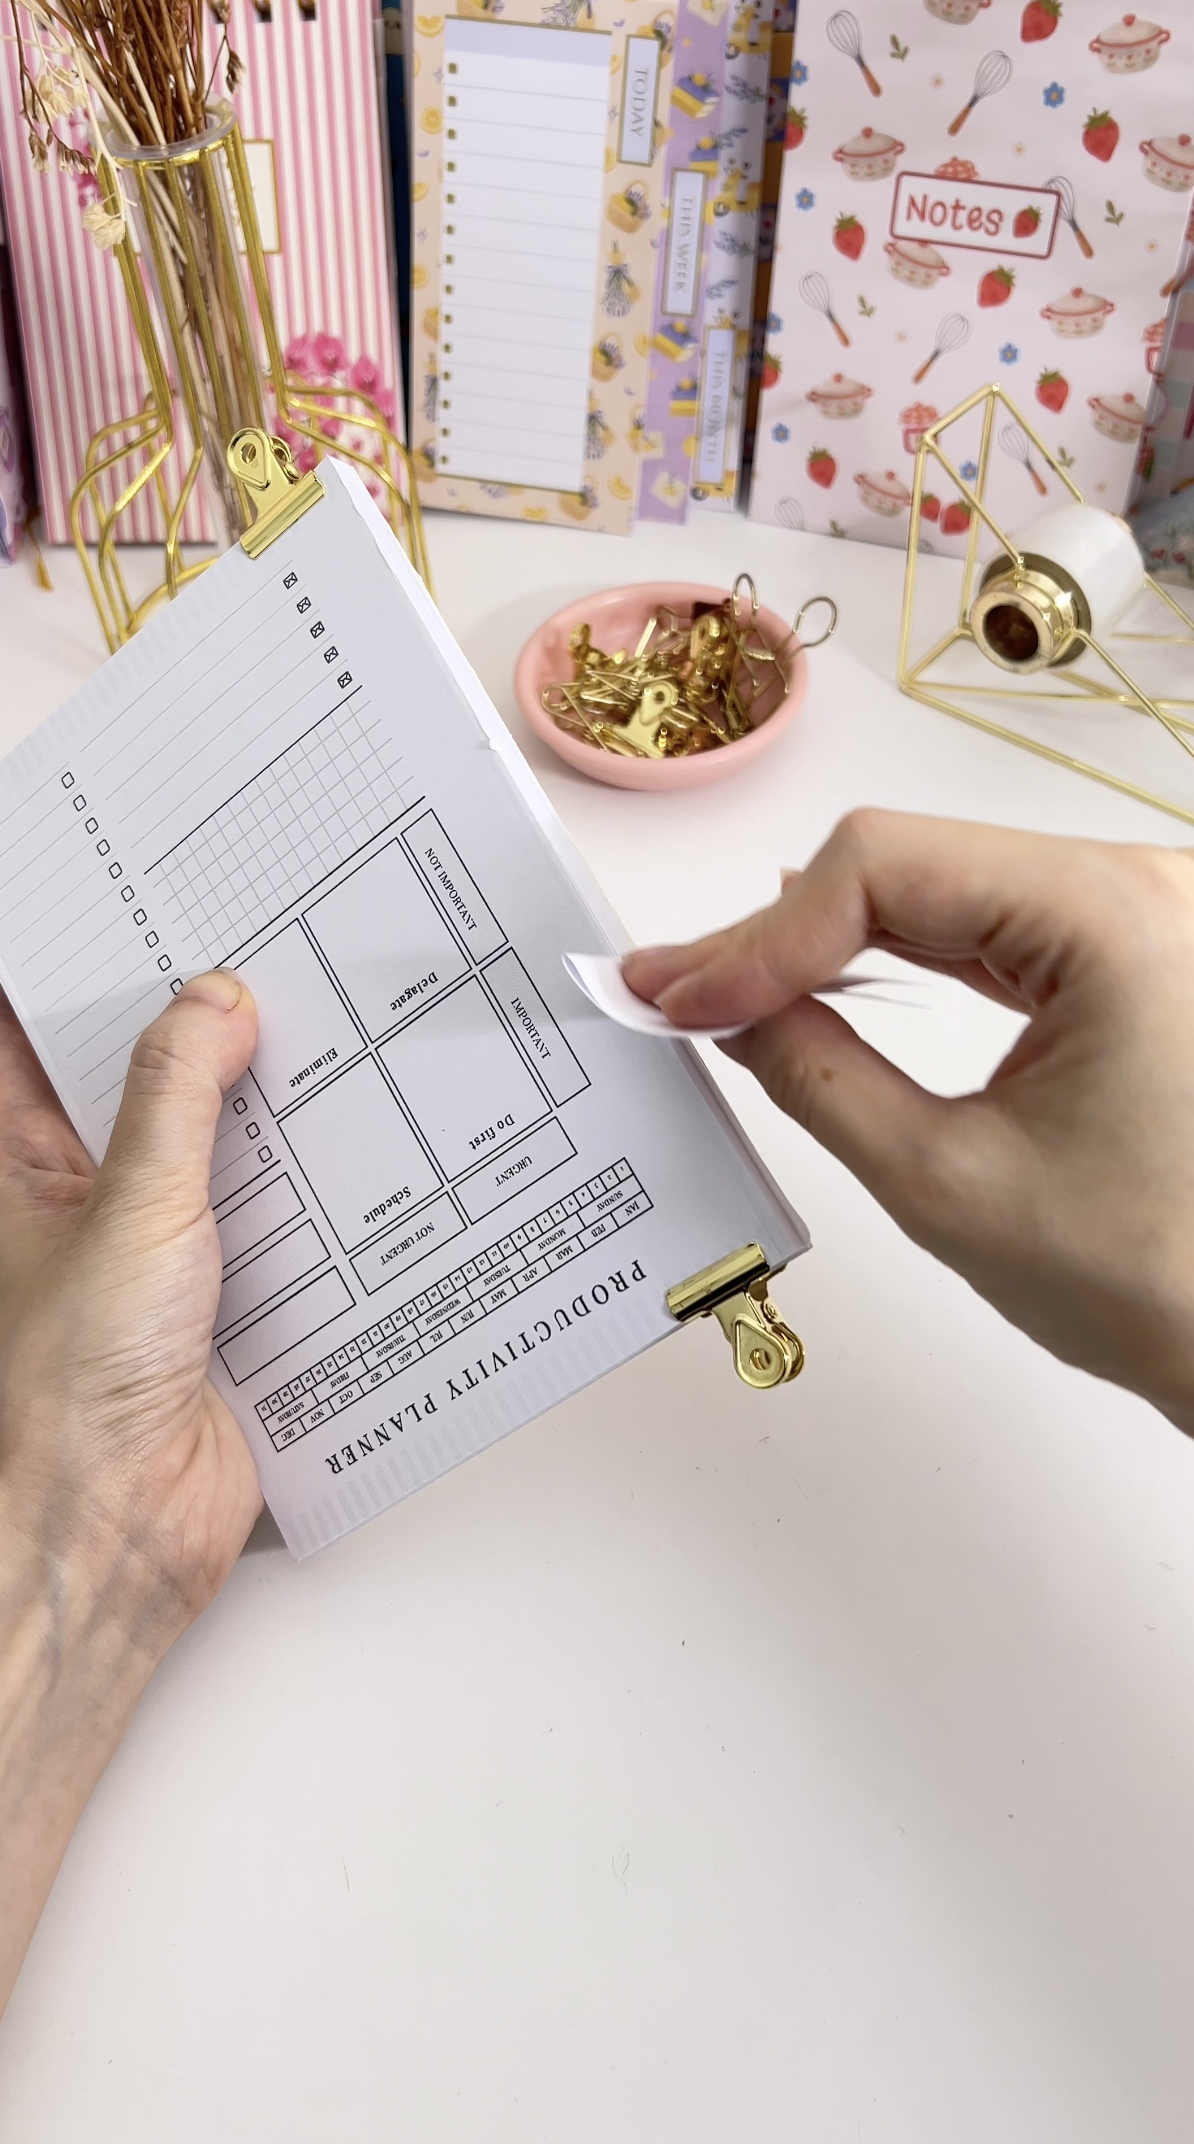 3. Clip and glue the spine. Clip the inserts and chipboard together, then brush PVA glue along the left edge. The clips hold the pages square so the glue sets into one clean spine. | 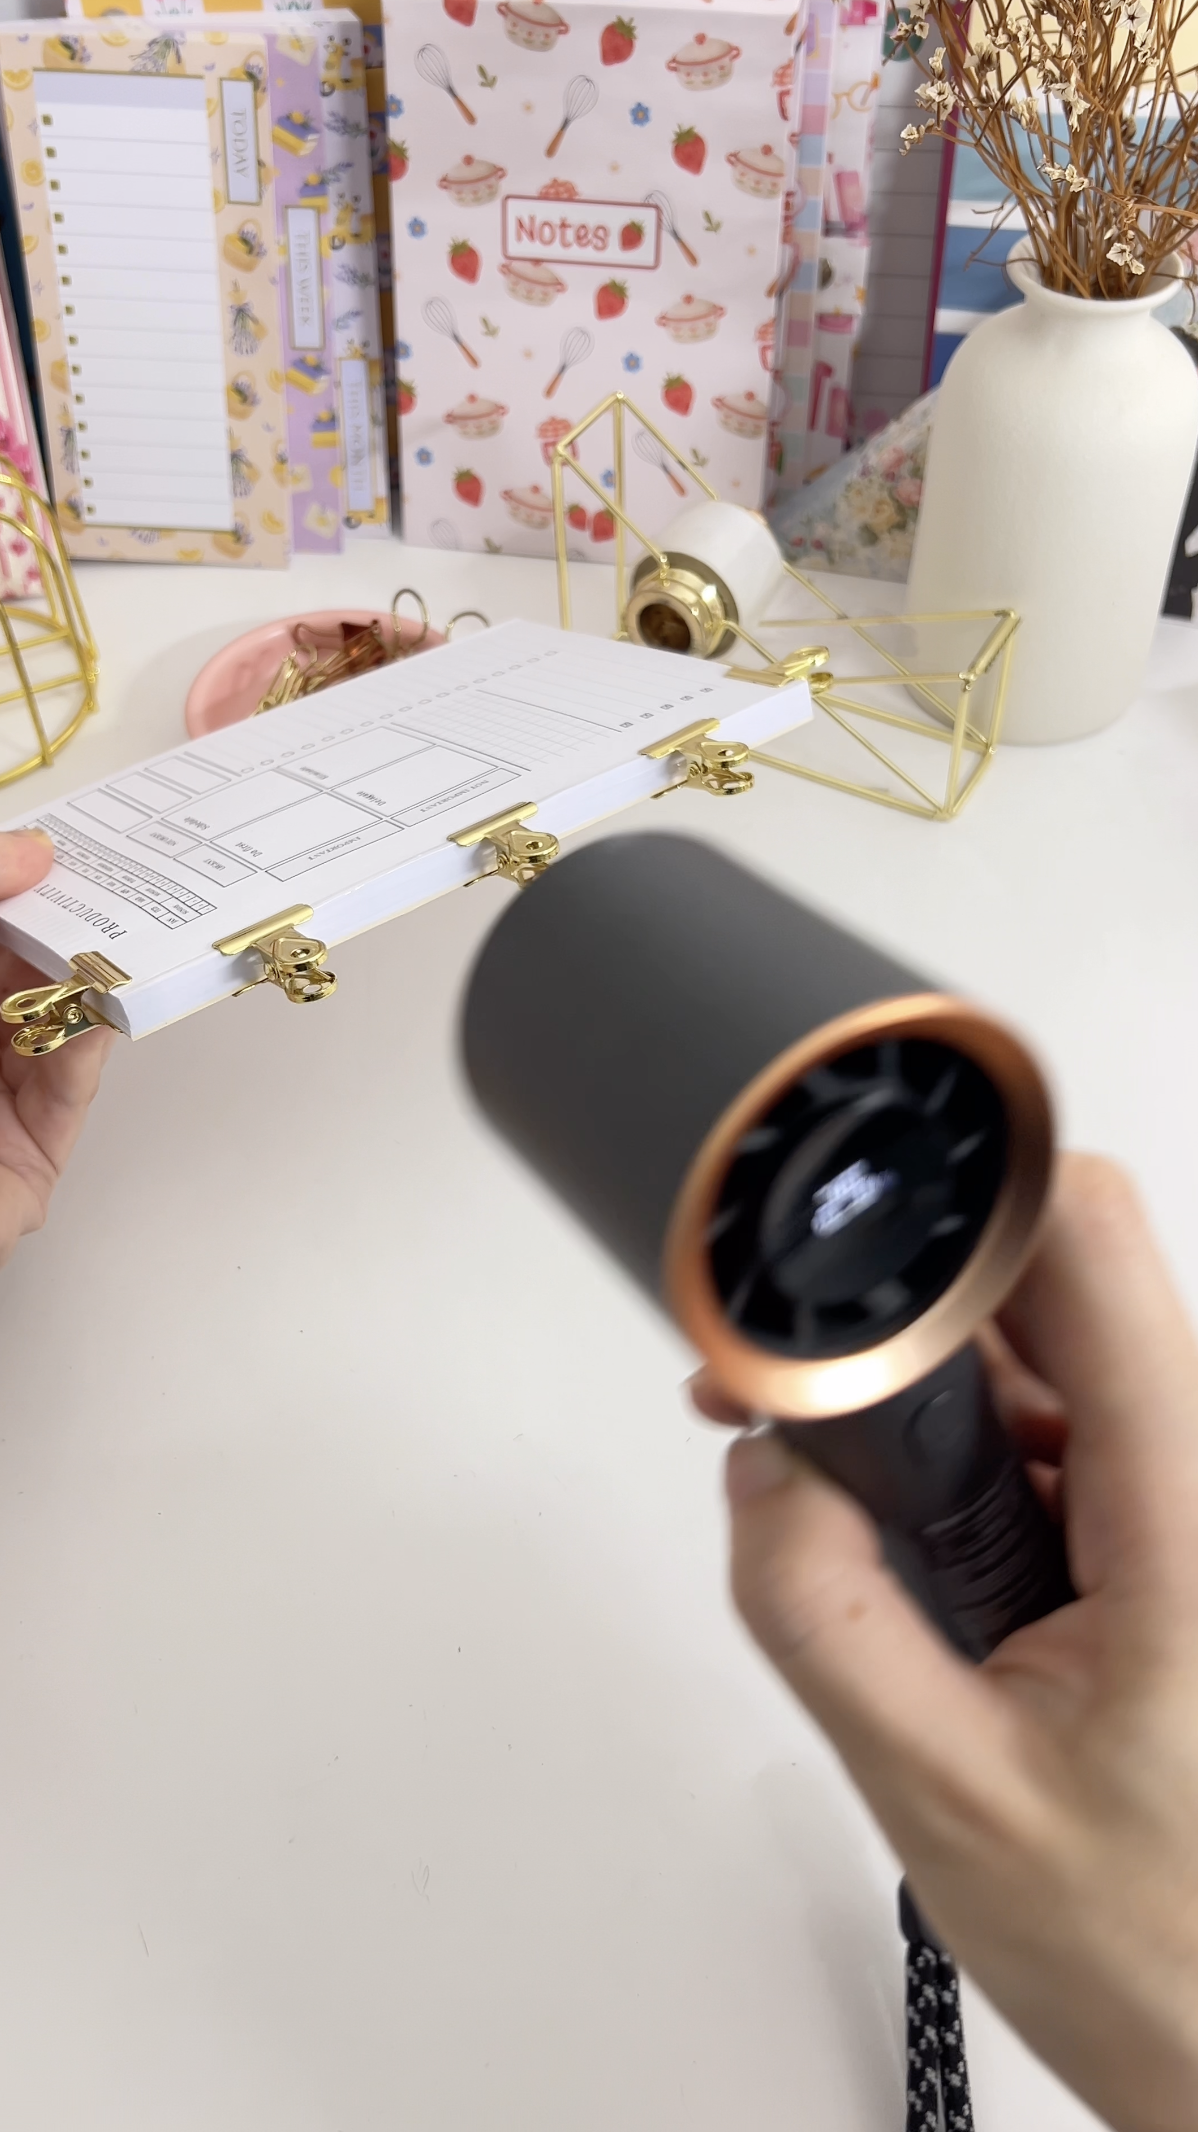 4. Let it dry. Leave it for around 15 minutes or longer, then remove the clips. If the pages pull away, give it more time before moving on. |
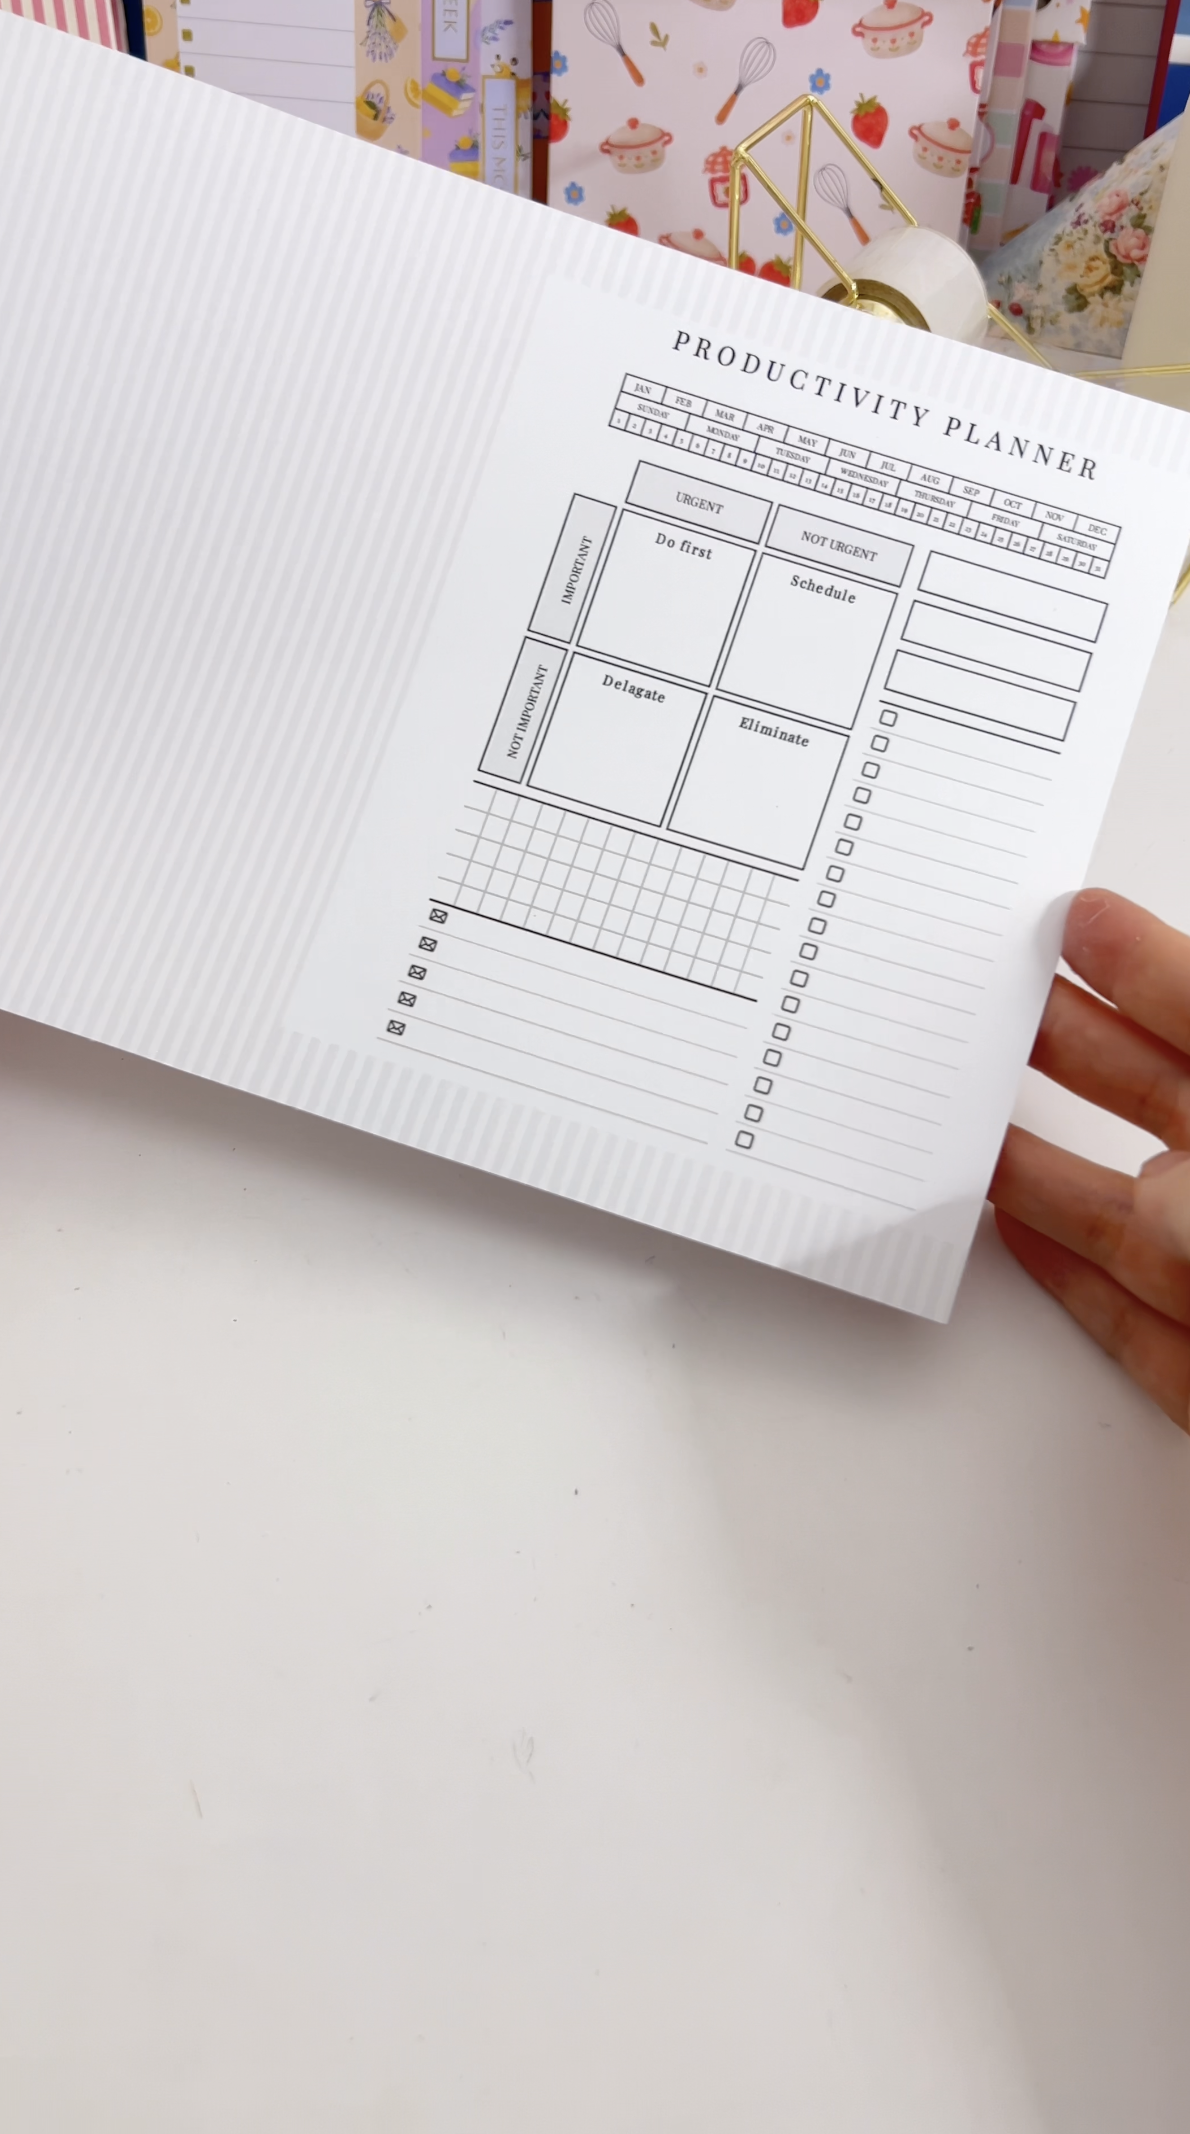 5. Trim the cover. Cut away the white edges around the printed cover, then trim the top and bottom until the cover is exactly the height of your pad. Measure against the pad itself rather than a ruler, because pad heights vary slightly. | 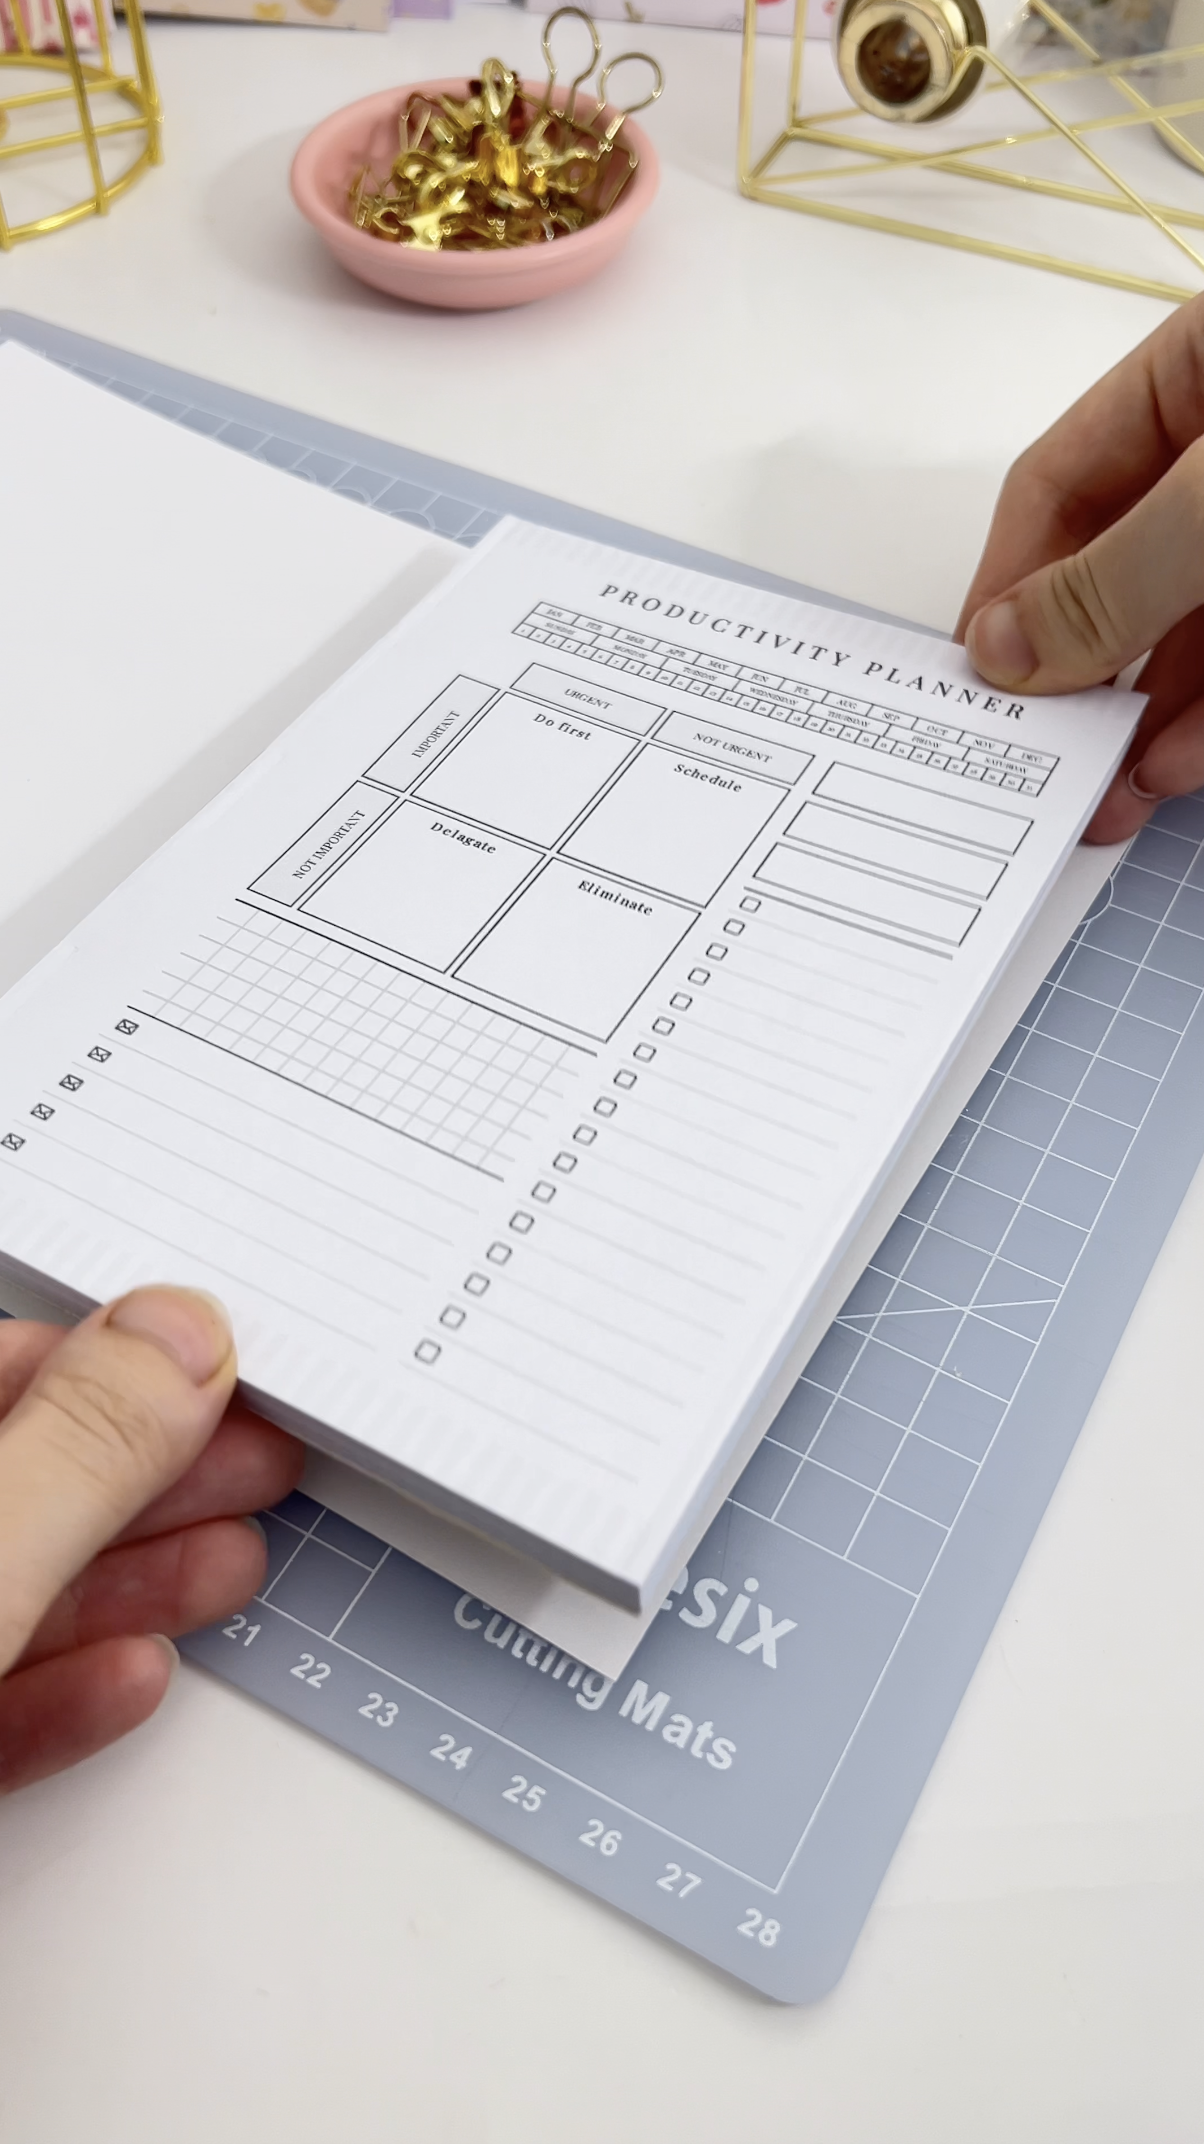 6. Attach the pad. Spread glue evenly over the back of the pad (a glue stick works well here) and press it onto the inside right of the cover. |
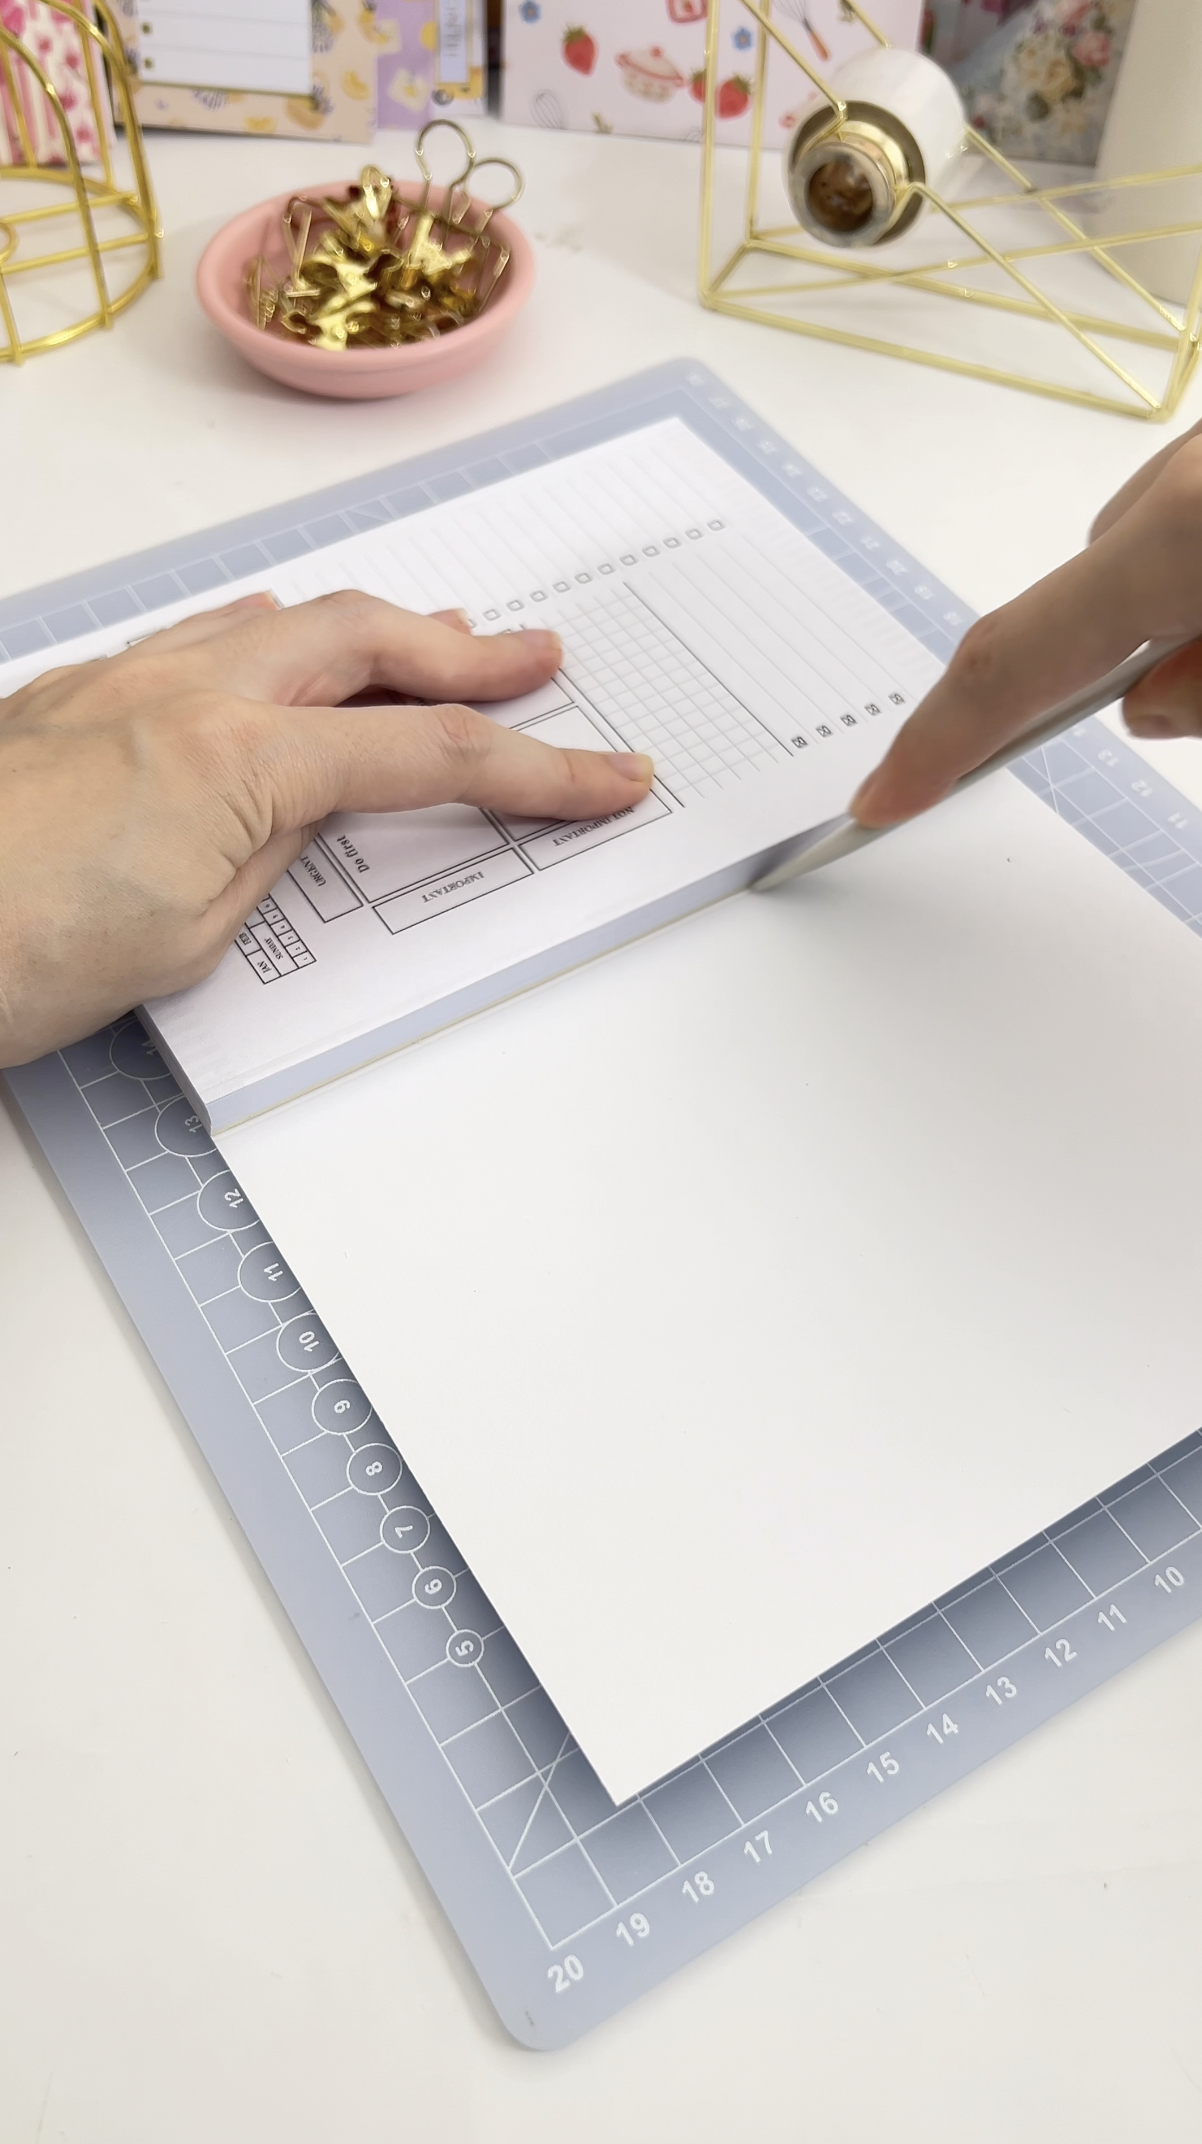 7. Score the first fold. Run a bone folder along the inside of the cover exactly where the spine starts, then fold. Scoring first stops cardstock from cracking along the fold. | 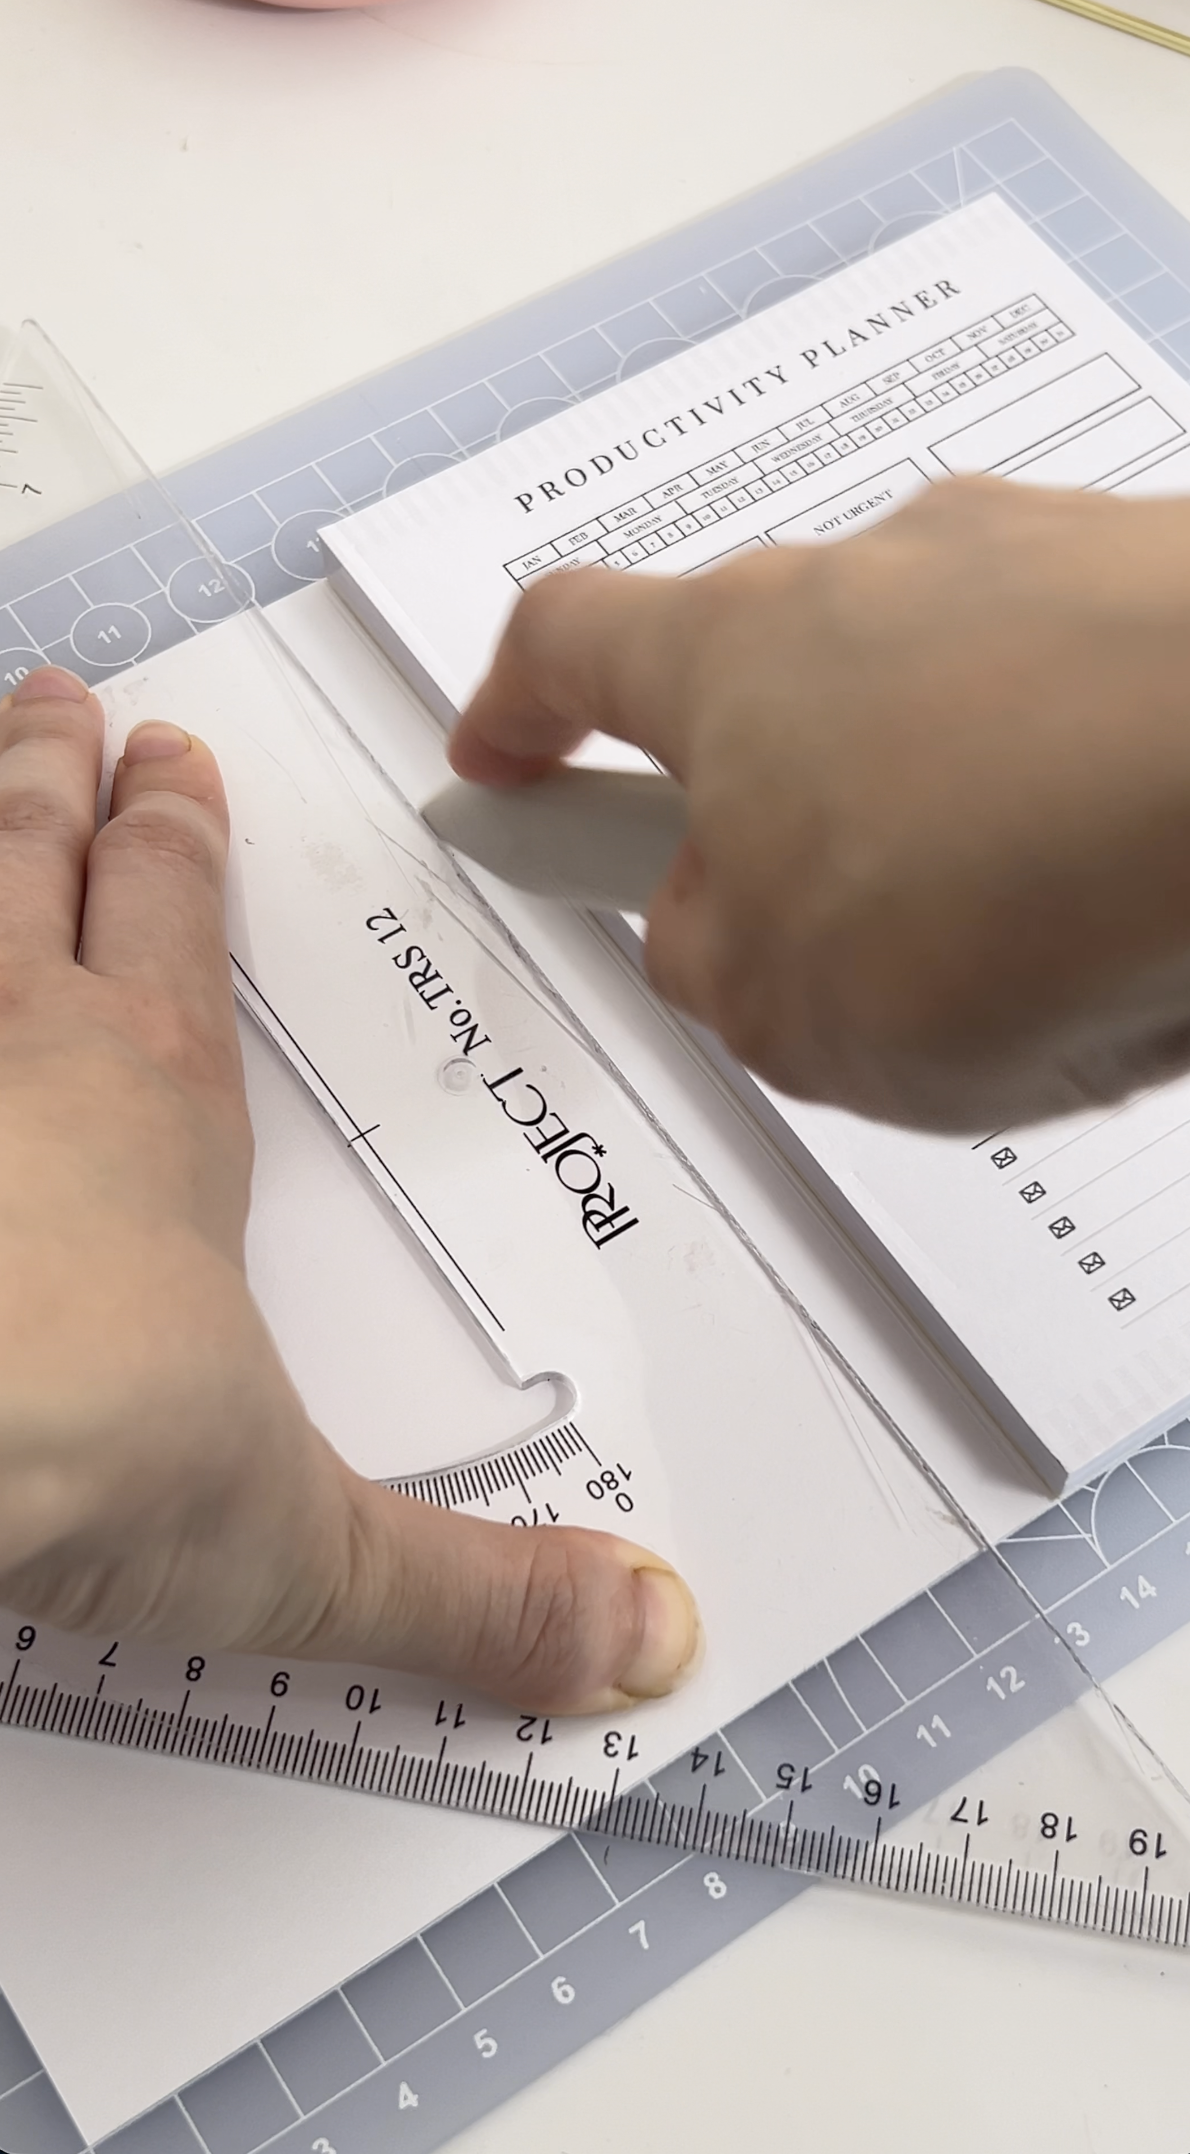 8. Score the second fold. Fold the cover over the pad and mark where it meets the other side. Score there too, so the spine is exactly as thick as the pad and the cover closes flat. |
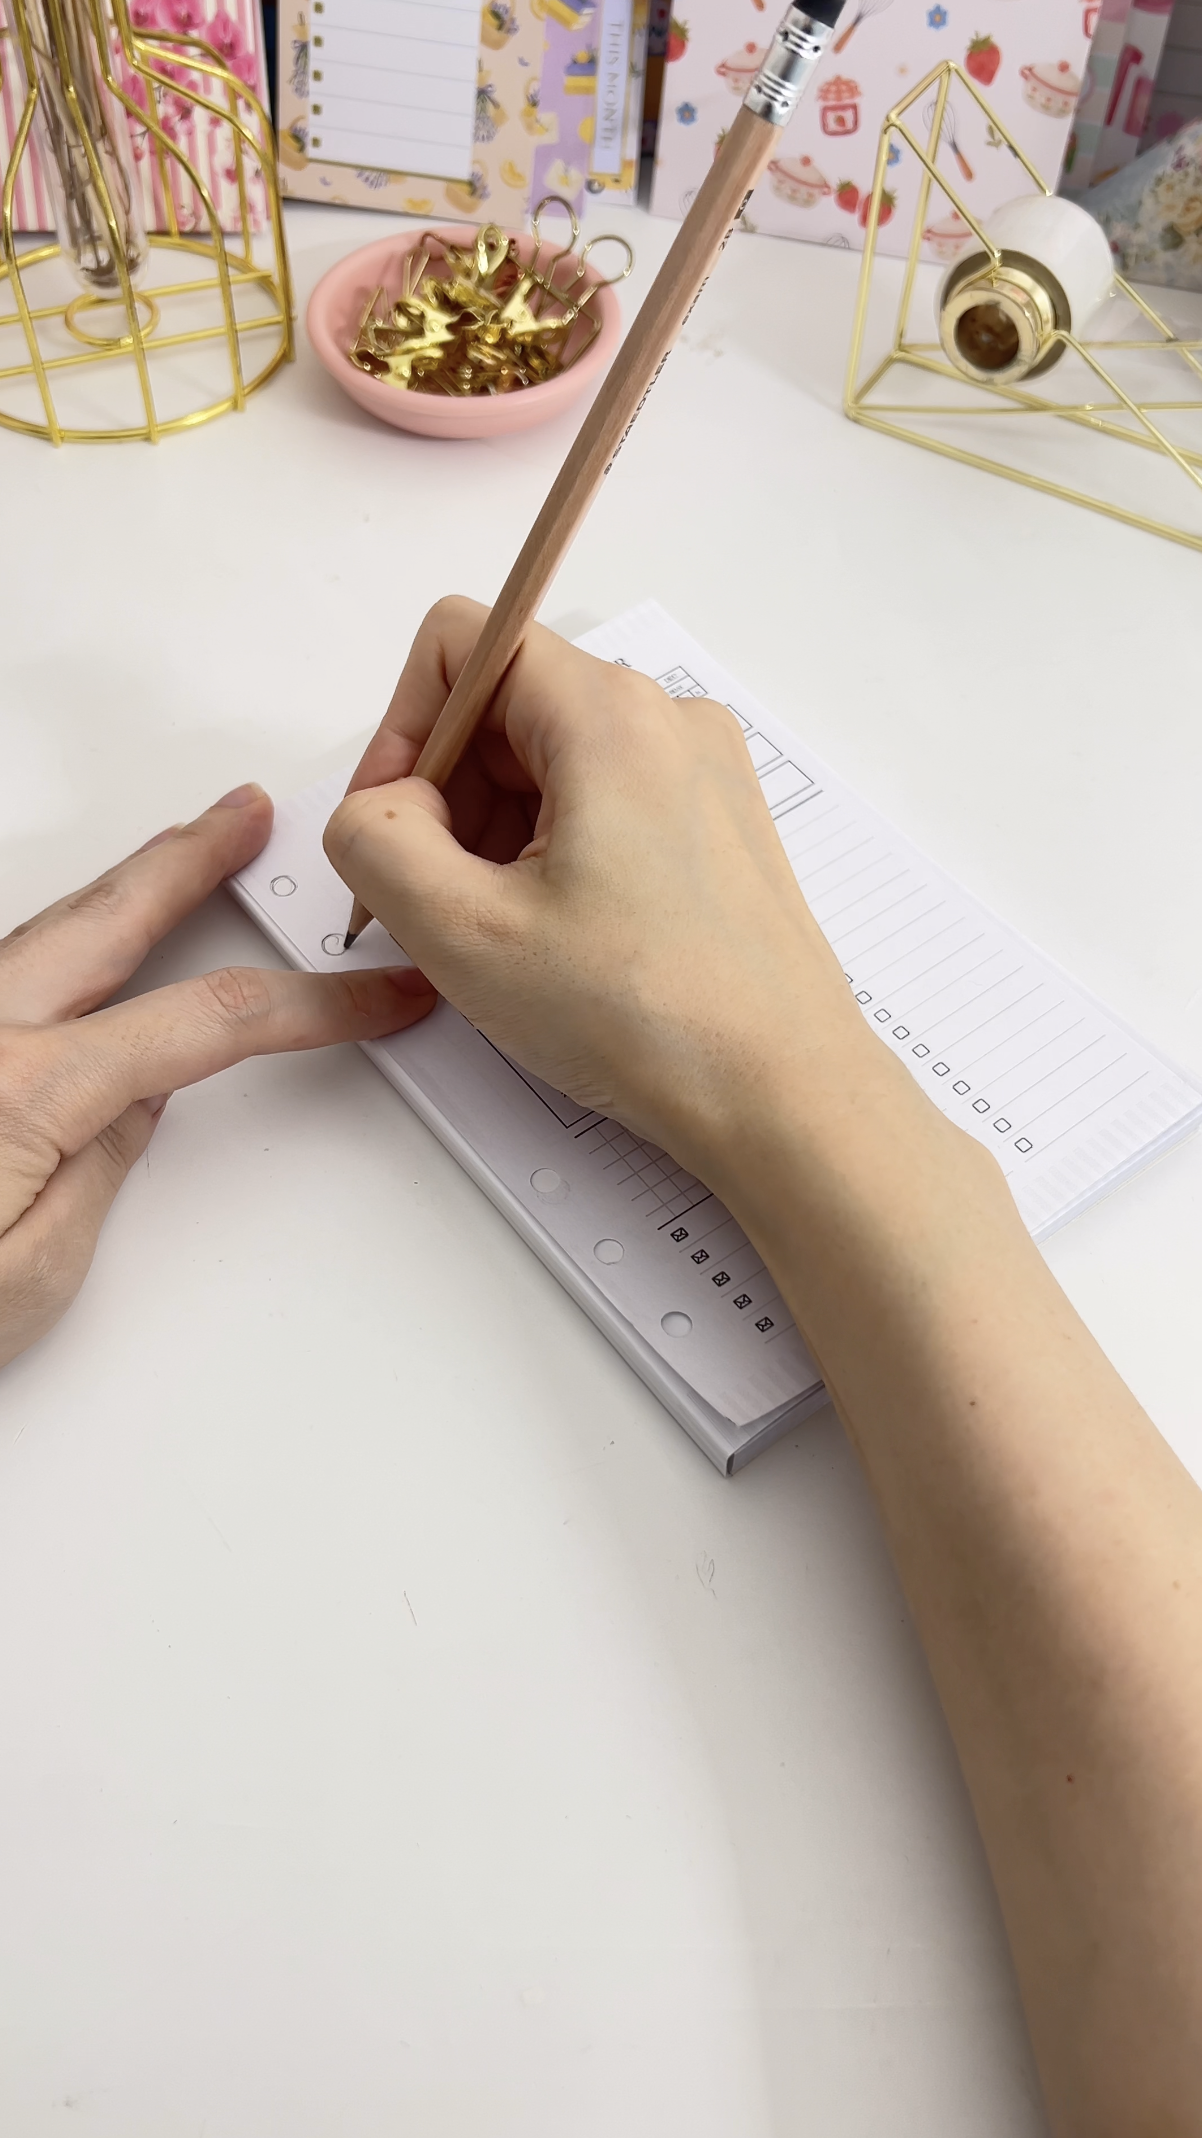 9. Make a hole template. Tear off one page and punch it so it fits your planner, using an existing insert as a guide. Lay it on top of the pad and pencil in where each hole goes. | 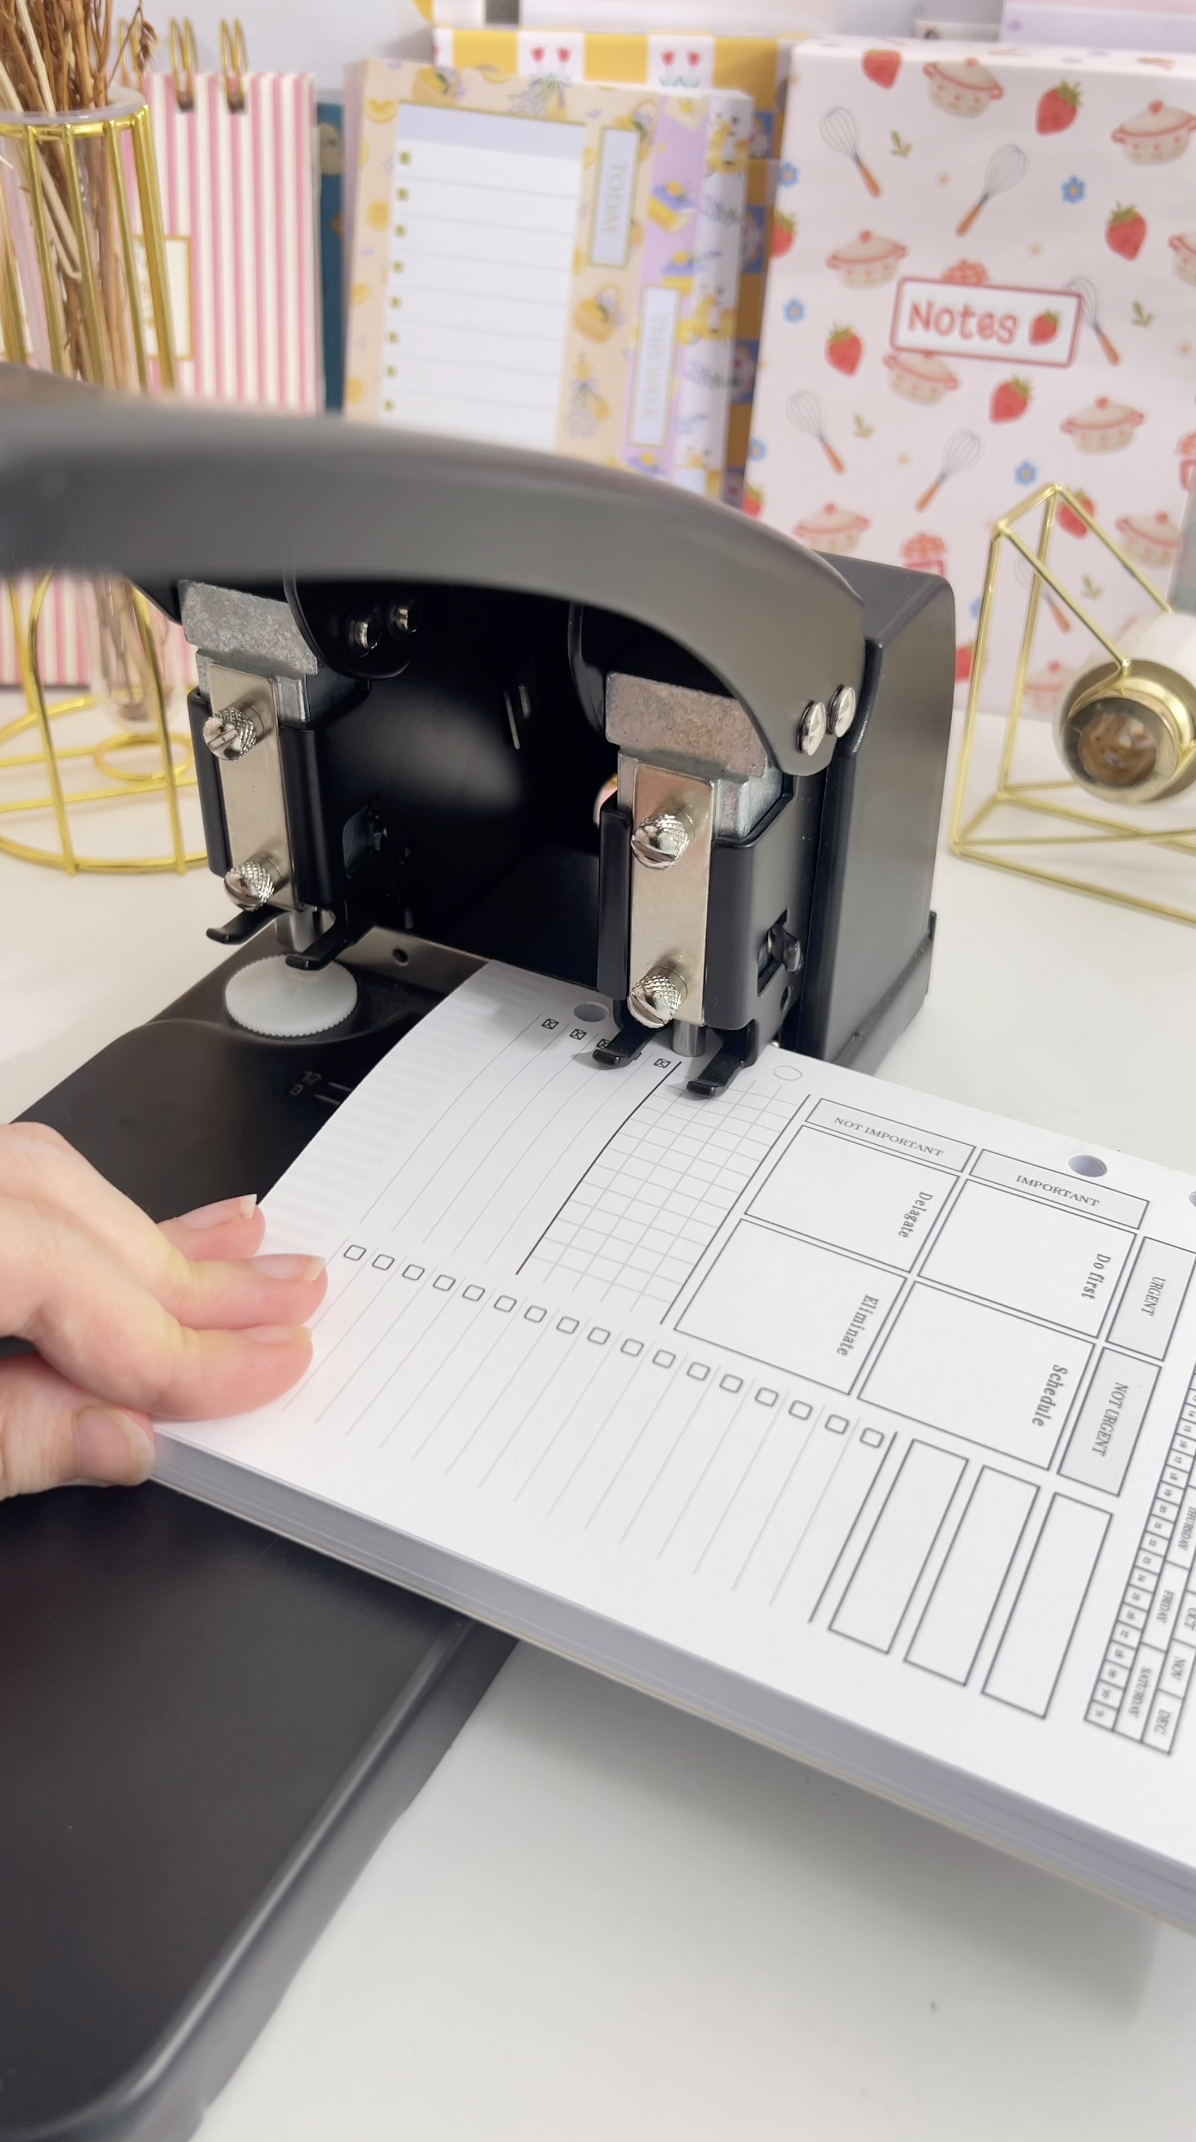 10. Punch the pad. Use a heavy-duty hole puncher that handles 70 or more sheets to punch through the whole pad at once. Every page is now ready to tear off and add to your planner. |
Troubleshooting
The holes don't line up with my planner. Planner ring spacing varies, so there's no universal hole position. Always punch your template page using an insert that already fits your planner.
I don't have a heavy-duty hole puncher. Punch the inserts before gluing, in small batches, then stack them for binding. Use a single-hole punch for the cover, or skip the cover holes entirely and only punch the pages you'll move into your planner.
The cover is too short to wrap around the pad. Check that it was printed at 104% and not 100%. At actual size there isn't enough paper left for the spine.
The design prints on the wrong side of the hole margin. Print page 2 of the single-page PDF. That's the version with the wide margin on the left, where the holes go.
Selling these
This notepad reaches two kinds of buyer at once: people who want a simple standalone planning pad, and people who use a ring or binder system and want refills. You can list it for both audiences, and the whole pad also slots into a planner if the buyer prefers to keep it together.
The design is minimal and easy to recolour, so it works well as a set in two or three colourways. If you sell what you make with Planify Pro, you'll need a Business plan or higher for the commercial licence.