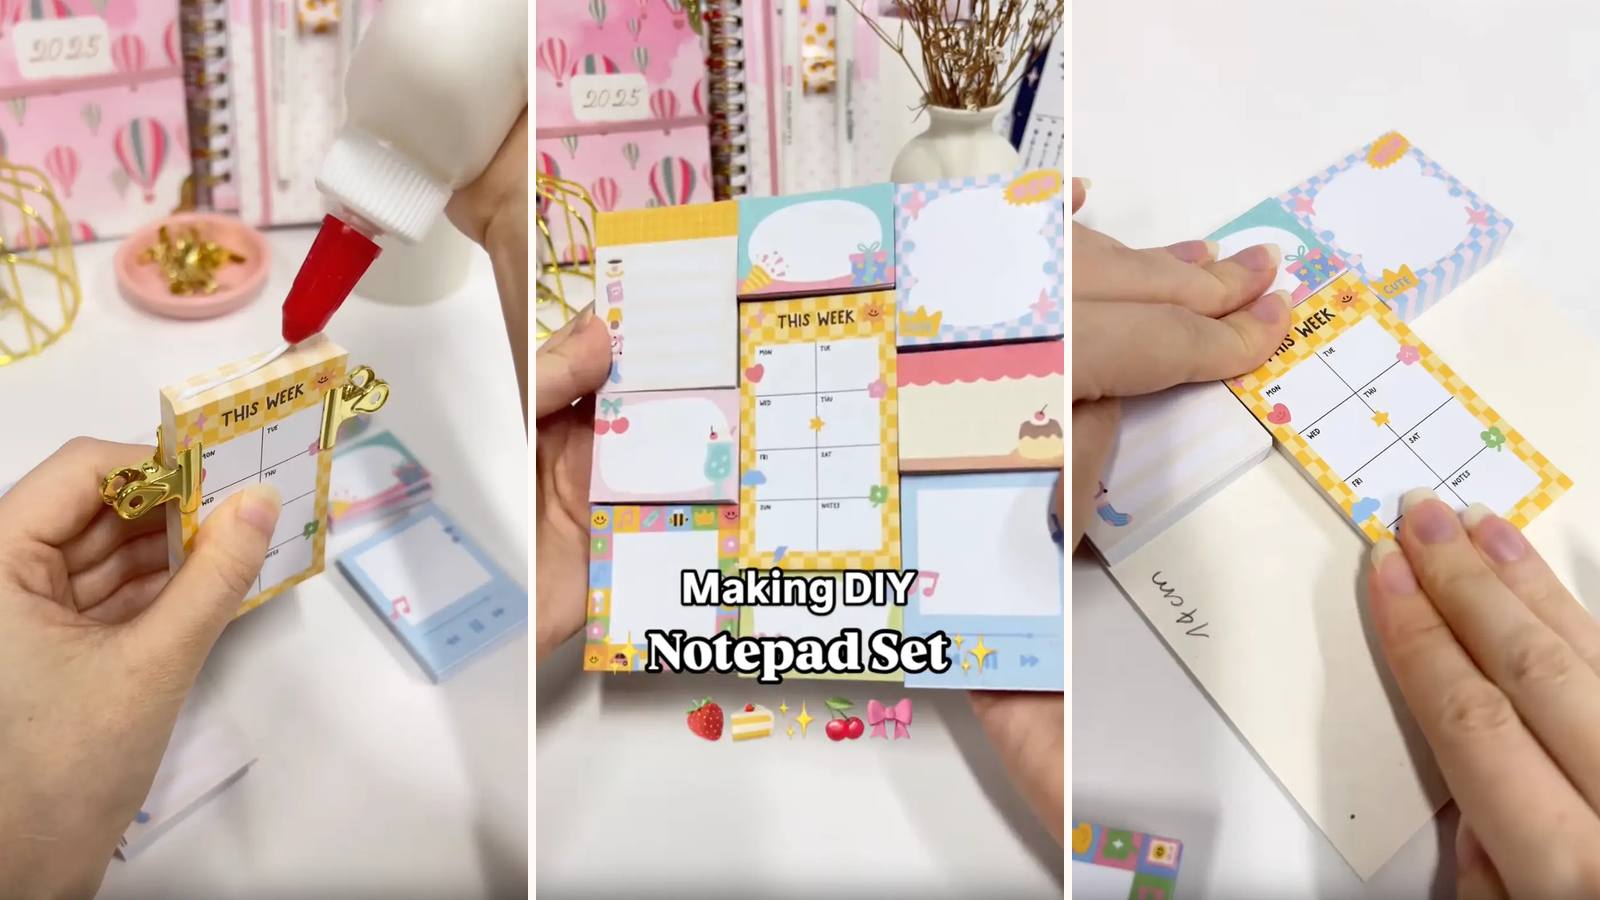
Nine mini notepads made from one printed sheet, each glued separately and then mounted back onto a chipboard base in the same grid they were cut from. The whole set takes under an hour, most of which is the glue drying.
These tutorials use Planify Pro, a drag-and-drop tool for designing printable planners and stationery. Building and editing is free — exporting a PDF needs a plan, from $9.99/month.
Get the template
Open it in Planify Pro to change the nine designs, colours or artwork before printing — or print it exactly as it is.
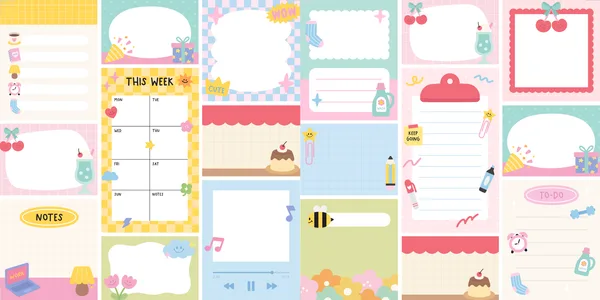
Export and print
Go to Save/Export → Selected Page → Paper → A6 Square, then Generate PDF and print at 100% from Adobe Acrobat Reader.
Print 60–80 sheets. That's not 60 pages per pad — each sheet carries all nine designs, so 60 sheets gives you nine pads of around 60 pages each.
What You'll Need
 Paper 80gsm Paper 80gsm |
 Chipboard Chipboard |
 PVA Glue PVA Glue |
 Heavy Duty Paper Cutter Heavy Duty Paper Cutter |
 Binder Clips Binder Clips |
You'll also need double-sided tape and a sponge for spreading the glue.
Instructions
1. Print 60–80 sheets. Each one carries all nine designs.  |
2. Cut them into nine mini pads. Cut the whole stack at once on the guillotine — cutting sheet by sheet is how you end up with nine slightly different sizes.  |
3. Clip each mini stack. Knock each one square first. Nine small stacks means nine chances for a stray sheet to sit proud.  |
4. Glue the top edge of each. A thin layer. Do all nine in one pass so they dry together.  |
5. Spread it evenly. A sponge or a scrap of paper works better than a brush on a spine this small.  |
6. Dry for 15 minutes. Thin spines dry fast, but the clips still stay on.  |
7. Cut a 14 × 14 cm chipboard base. Square, and cut it accurately — nine pads in a grid will show up any board that isn't.  |
8. Tape the back of each pad. Double-sided tape across the whole back, not just the top.  |
9. Mount them in the original grid order. Same positions they had on the printed sheet — the designs were laid out to work together in that arrangement, and shuffling them undoes it.  |
Troubleshooting
The pads are different sizes. The stack was cut in batches rather than all at once. Cut the full stack in one go on the guillotine.
The grid looks crooked. Mark the base lightly with a pencil before mounting anything. Nine pads placed by eye will always drift.
Pages tear instead of lifting. Too much glue for a small spine. Thin, spread with the sponge.
The colours don't sit right together. They were mounted out of their printed order. Photograph the sheet before cutting if you're likely to lose track.
Selling these
A set of nine is a gift, and it prices like one. The same nine pads sold separately would be nine cheap items; presented as a set on a board, it's a single product at several times the price.
It's also the fastest thing in the library per unit of value — one print run, one cutting session, nine pads drying together.
Themed sets are the obvious extension: a household set, a study set, a seasonal set. The build never changes, only the nine designs.
See how to price bundles and DIY notepad design ideas for more.


