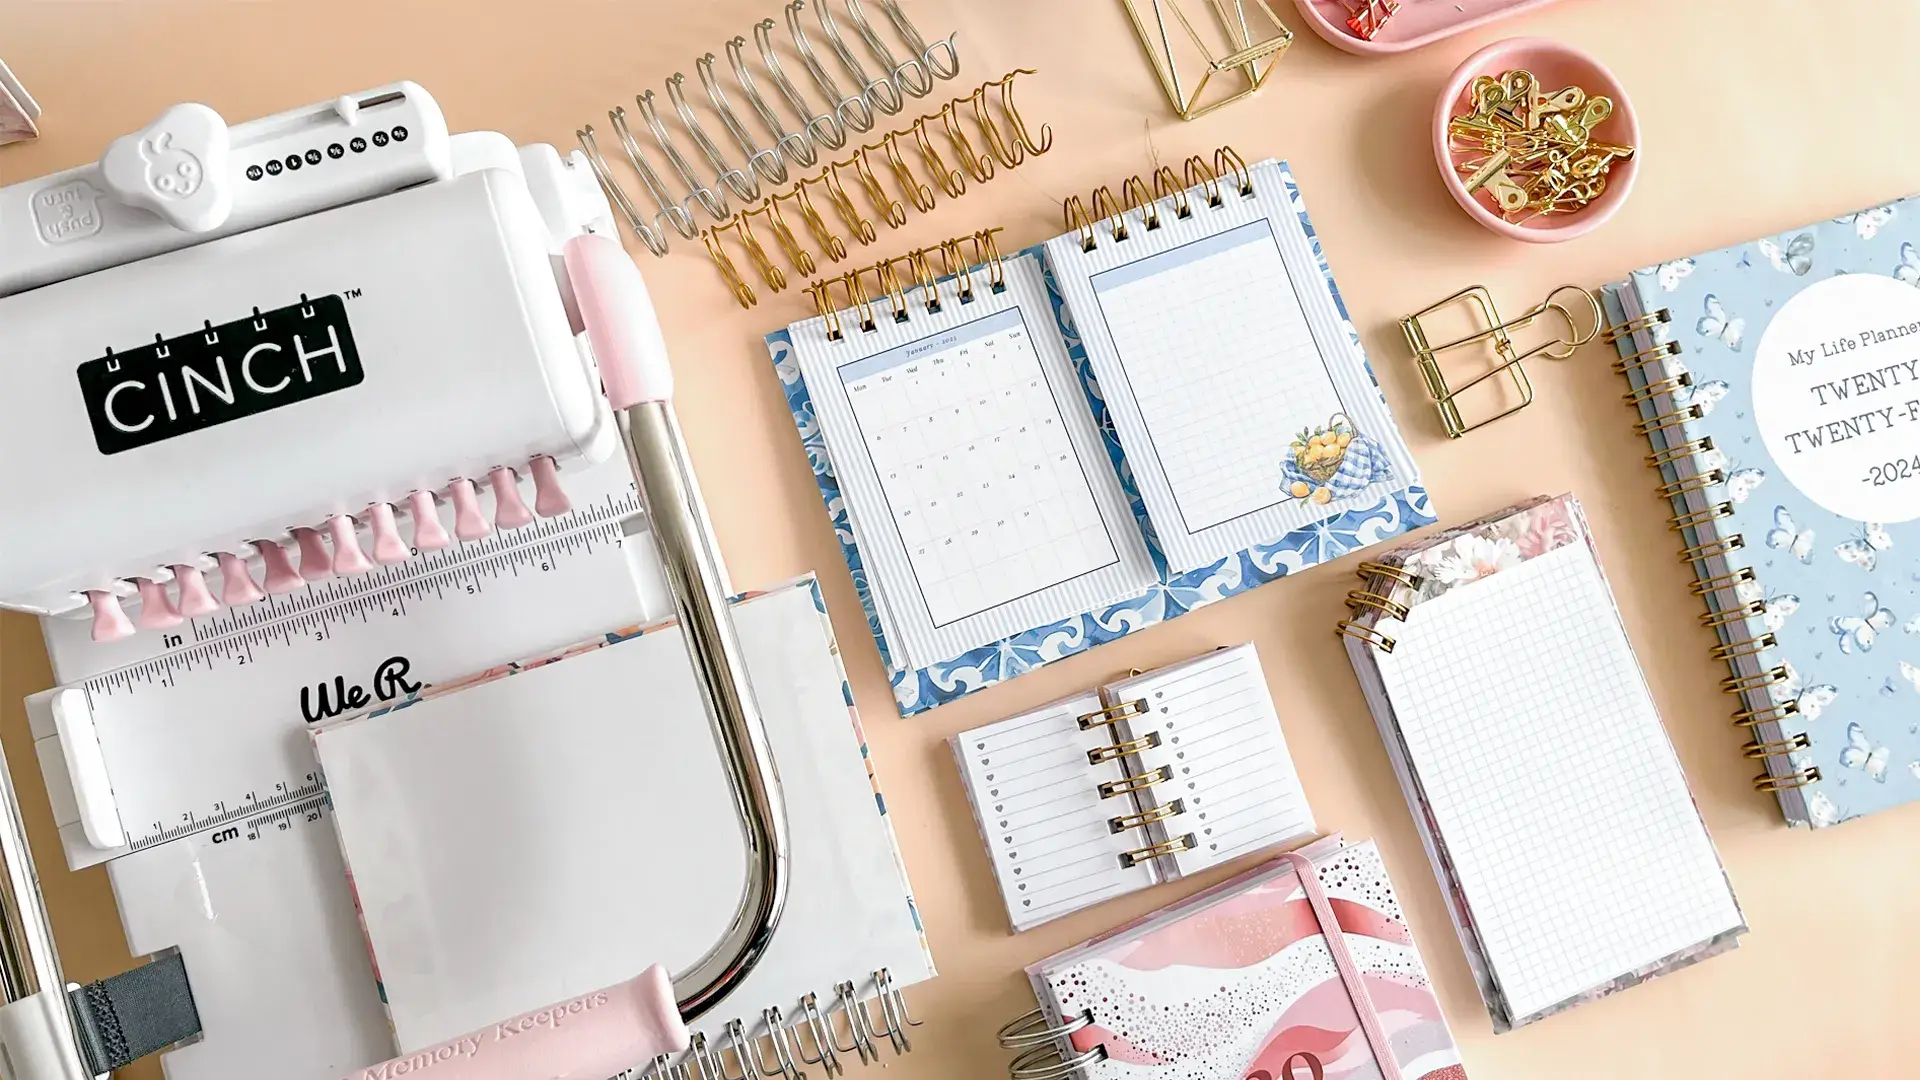
Understanding different book binding methods is the first step to creating your own handmade planners, notebooks, journals, and sketchbooks. Whether you want to make a custom planner from scratch or start a planner business, knowing which binding method to use will help you choose the right technique for every project.
There are countless ways to bind a book, from simple techniques you can do at home with a few basic supplies to more complex methods used by professional bookbinders. In this guide we'll walk through the eight most useful methods — from saddle stitching and Wire-O to Coptic stitch and Japanese binding — with the trade-offs of each.

1. Saddle Stitch Binding
Saddle stitch binding is the simplest method there is. You take your sheets, fold them in half, and secure them through the fold line with staples or stitches.
It's ideal for small booklets, brochures, zines, or simple pamphlets — quick, cheap, and requiring no special equipment.

Pros: easy to learn, fast, and budget-friendly — all you need are staples or a needle and thread.
Cons: not suitable for thick books. Too many pages and the staples won't hold.
2. Spiral Binding (Coil Binding)
Spiral binding uses a plastic or metal coil threaded through punched holes along the spine. You'll recognise it from notebooks, journals and calendars.
You punch holes with a hole-punching machine, then wind the coil through with a coil inserter tool.
Pros: pages turn smoothly, the book folds completely flat, and coils come in many colours and sizes.
Cons: the coil adds bulk to the spine, and it can bend or get damaged with rough handling.
3. Wire-O Binding
Wire-O uses a double-loop metal wire for a noticeably more professional finish than plastic coil. This is the method used in our half-hidden wire notebook tutorial.

Pros: clean professional appearance, durable double-loop wire, and pages lay completely flat.
Cons: needs a Wire-O binding machine, which is an investment, and pages can't easily be added or removed afterwards.
4. Case Binding (Hardcover)
Case binding is the classic hardcover method — sewn signatures attached to rigid boards covered in cloth or paper.

Pros: extremely durable, professional-looking, and the rigid cover protects the pages for years.
Cons: multiple steps requiring real skill, time-consuming, and the materials cost more.
5. Perfect Binding (PVA Glue)
Perfect binding glues the page edges into a flat spine — the method used for most paperbacks. Our lay-flat sketchbook tutorial uses a variation that lets pages open completely flat.

Pros: clean modern finish, cheaper than case binding, and lightweight.
Cons: standard perfect binding doesn't lay flat, which makes writing awkward, and it's less durable than hardcover.
6. Japanese Binding
Japanese stab binding sews decorative thread patterns along the spine, creating a distinctive look with no glue at all.

Pros: genuinely distinctive, pages lie relatively flat, and it's versatile across project types.
Cons: the stitching takes practice, and it's slower than mechanical methods.
7. Coptic Binding (Signature Binding)
Coptic binding uses exposed chain stitching to connect signatures directly to the covers. See our signature binding tutorial for the full method.

Pros: beautiful exposed stitching, strong and durable, and the book opens completely flat.
Cons: takes time to master, and neat even stitches require practice.
8. Long Stitch Binding
Long stitch uses visible decorative stitches running the length of the spine, often through a soft cover.

Pros: eye-catching exposed stitching, easy to customise with different threads, and durable.
Cons: needs basic sewing skills, and complex patterns take time.
Which method should you choose?
For a first project, start with saddle stitch or spiral binding — both are forgiving and need minimal equipment.
If you're binding planners to sell, Wire-O is usually the right answer: it looks professional, lays flat, and buyers recognise it as a quality finish. The machine pays for itself quickly once you're selling regularly.
For something more personal or handmade-looking, Coptic and Japanese binding are worth the practice. They're slower, but no machine-bound book looks quite like them.
Tips for beginners
- Start small. A twenty-page notebook teaches you the same skills as a two-hundred-page one, with far less to unpick when it goes wrong.
- Score before you fold. A bone folder or the back of a craft knife gives a clean crease that won't crack.
- Let glue dry fully. Rushing a PVA spine is the most common cause of pages pulling loose.
- Measure your margins. Leave enough inner margin for hole-punching or stitching, or your text will disappear into the spine.
Designing pages to bind
Whichever method you choose, you need pages to bind. Planify Pro lets you design planner and notebook inserts with the right page size and inner margins, then export a print-ready PDF.
Ready to try one? Start with the lay-flat sketchbook for glue binding, or the half-hidden wire notebook for wire binding. For printer recommendations, see our guide to the best printers for planner making.


