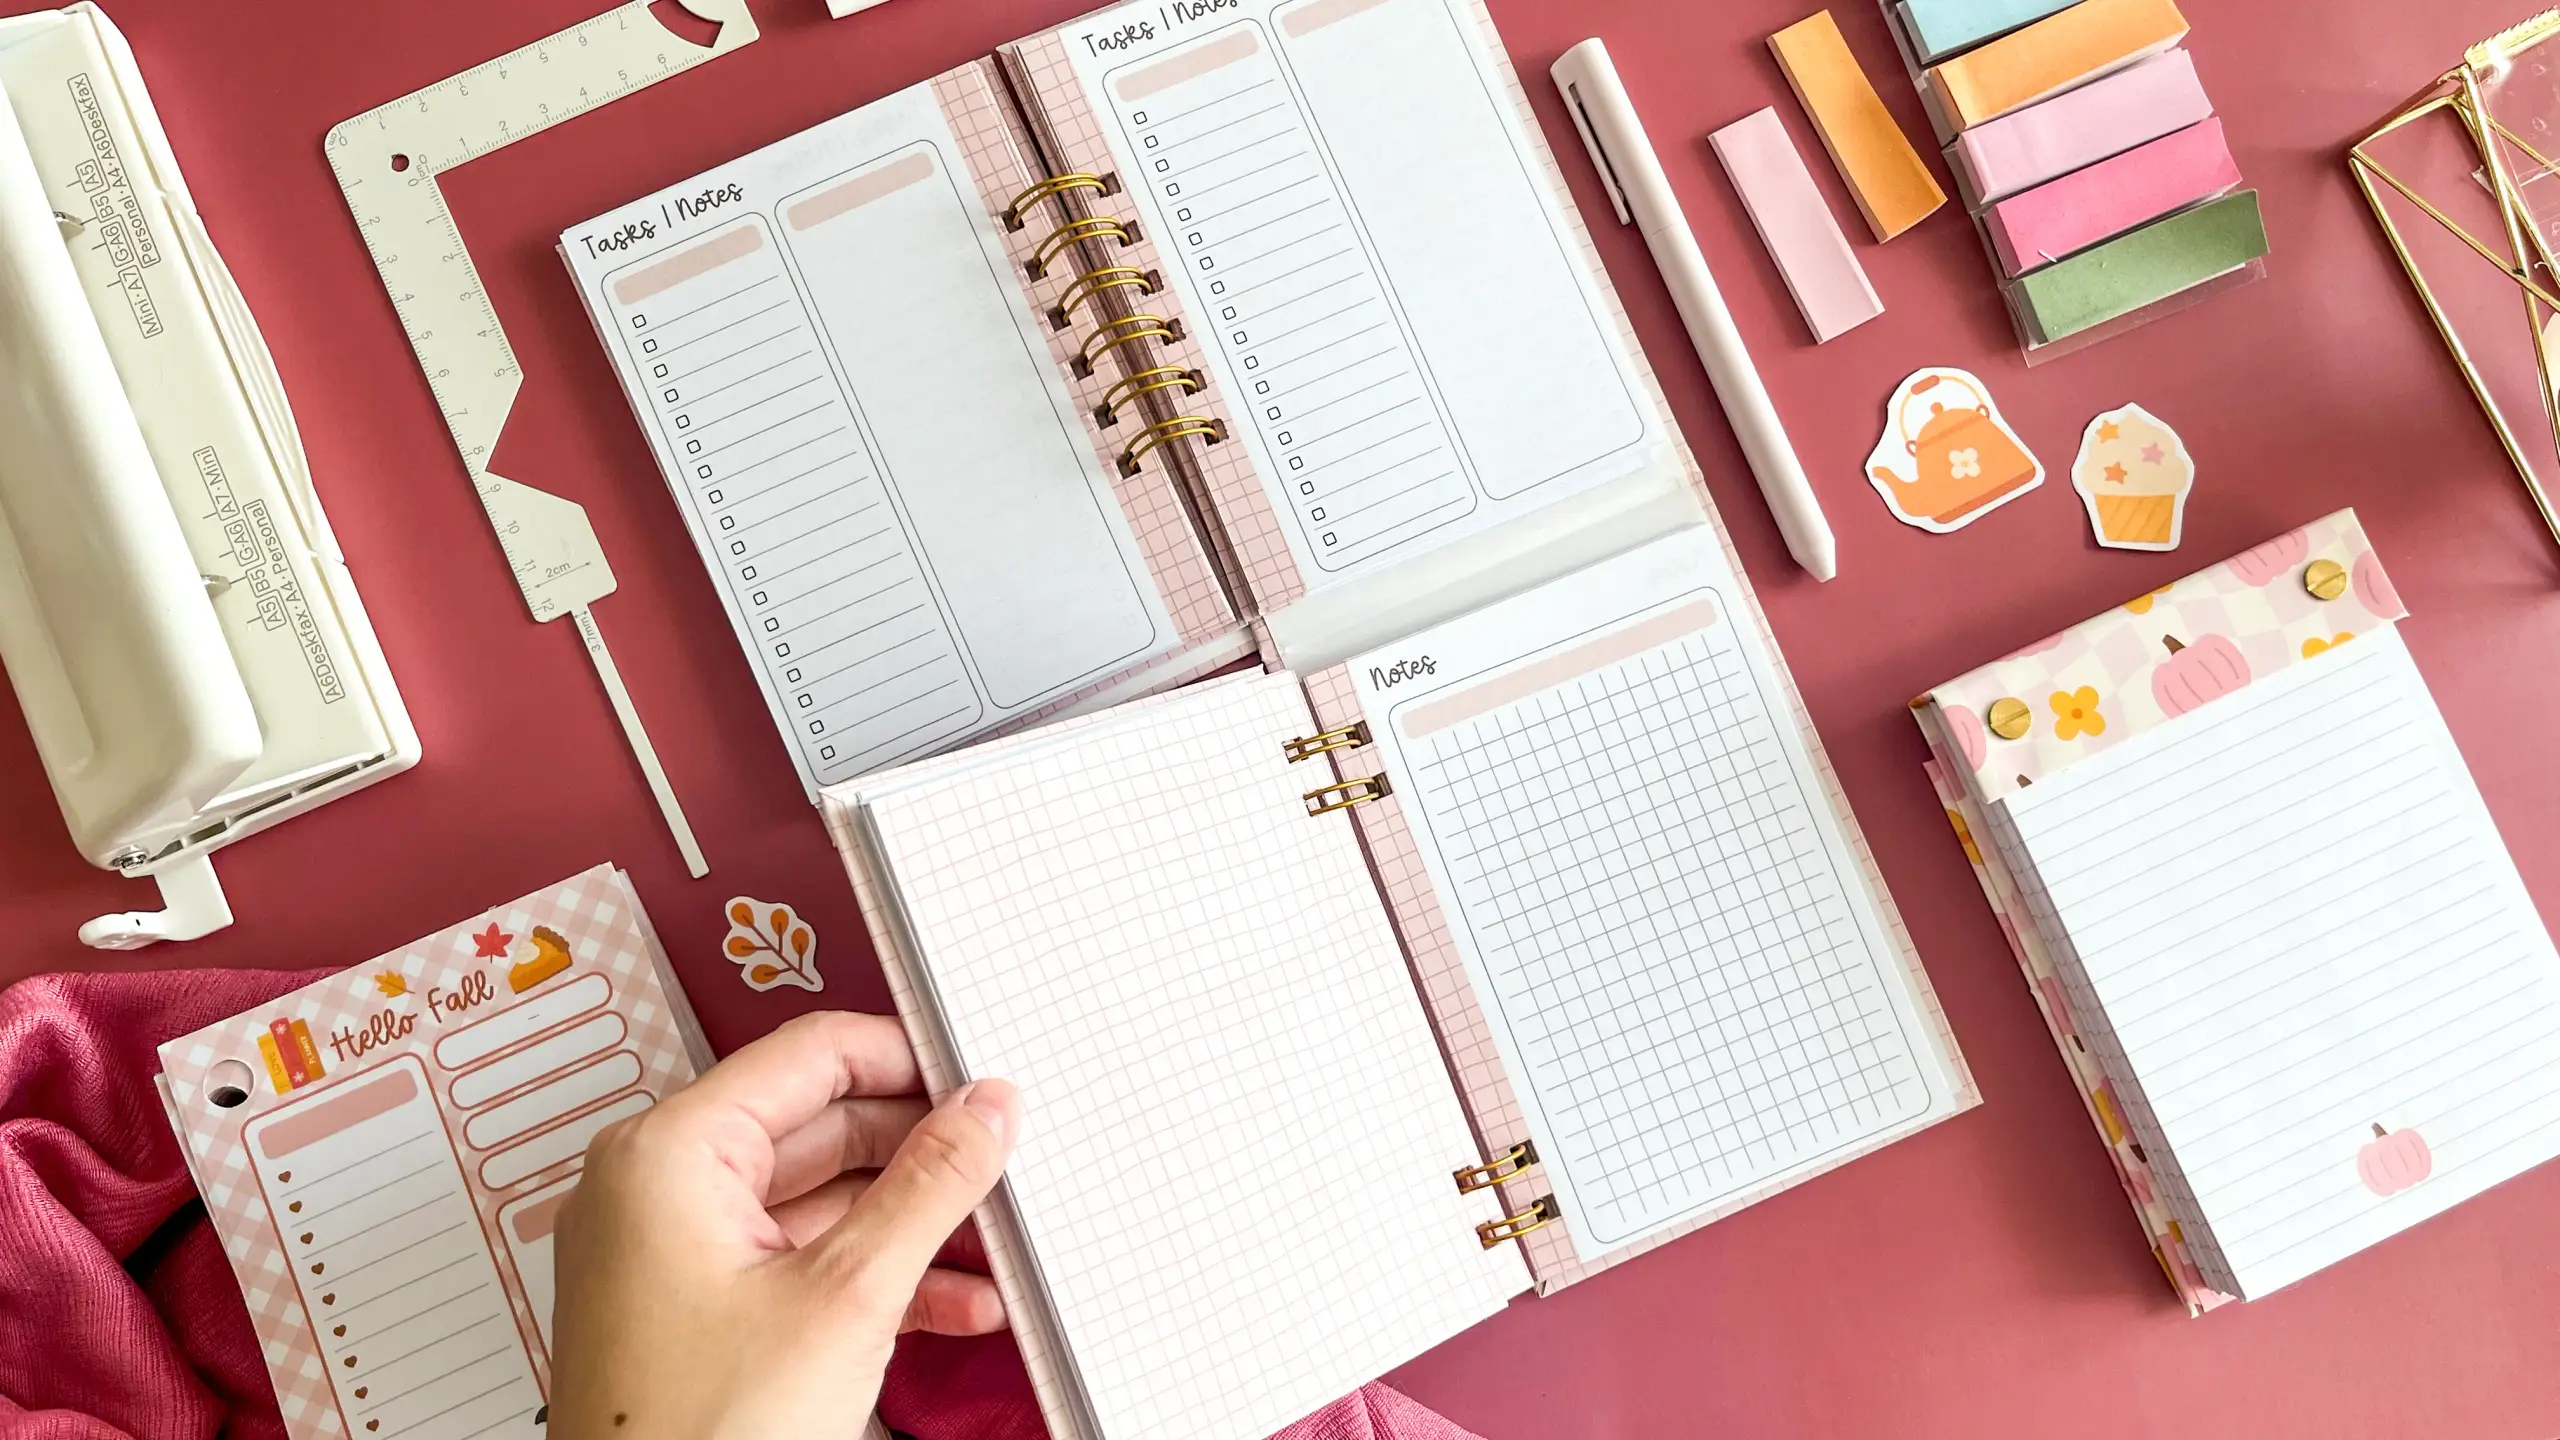
A folding planner keeps a whole year on one piece of card: the month view on the top half, the week view on the bottom, each bound with its own wire onto a cover that hinges in the middle. Fold it shut and it is a pocket notebook; open it out and both views sit side by side.
These tutorials use Planify Pro, a drag-and-drop tool for designing printable planners and stationery. Building and editing is free — exporting a PDF needs a plan, from $9.99/month.
Get the template
There is no ready-made folding planner in the template library yet. Browse planifypro.com for a monthly and a weekly layout at the size you want — A6 inserts are what the build below uses — and adapt them, or build the two halves yourself. The cover is just a printed pattern with a title on it, so any sheet you like will do.
Export and print
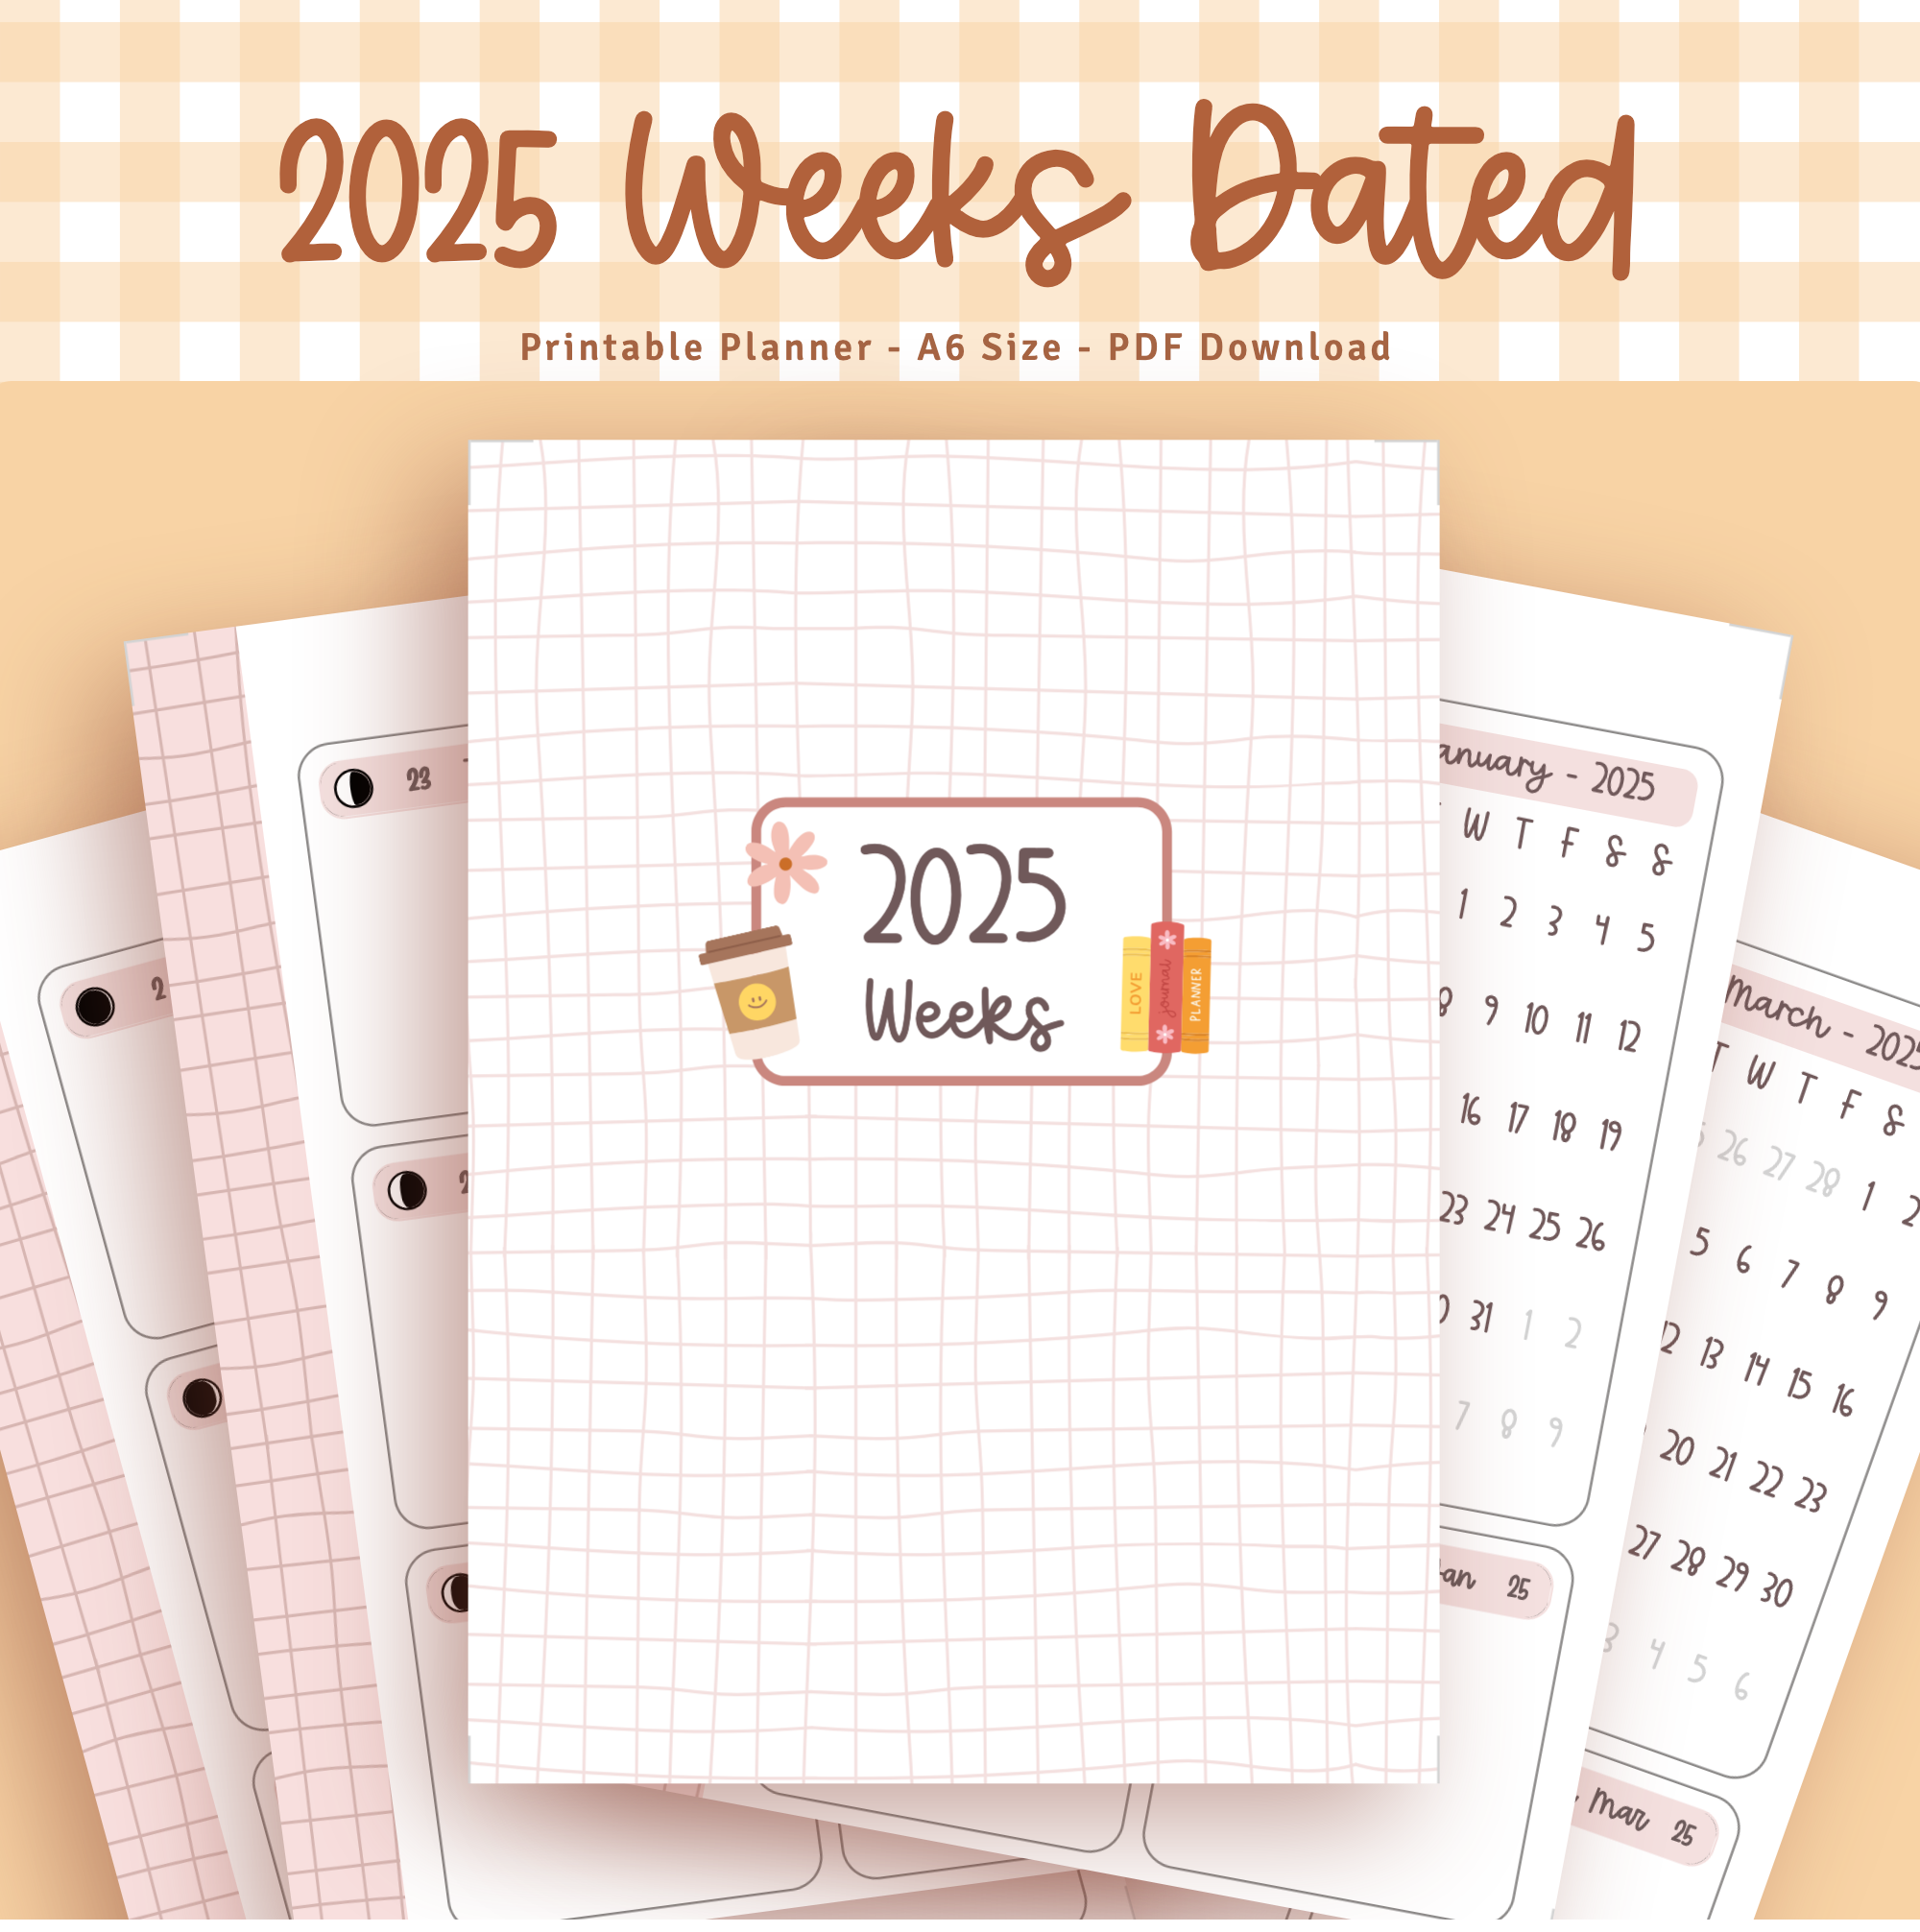
Export the inserts and the covers as a PDF at the page size you designed them, and print at 100% scale with fit-to-page turned off.
Scale is the one thing worth checking here. The cover panels are cut to 12 × 16.5 cm and the printed sticker has to wrap round them, so a page the printer has quietly shrunk by 3% leaves you short of paper on every edge. Measure the first sheet before printing the rest.
Print the covers on sticker paper and the inserts on plain paper or a light cardstock.
What You'll Need
 |  |  |
 |  |  |
Plus scissors, a craft knife and metal ruler, a cutting mat and a pair of wire cutters for trimming the binding wire to length.
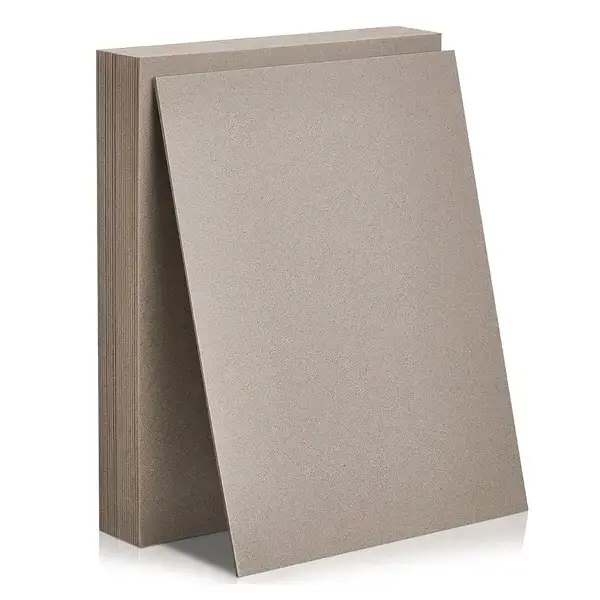
A note on the chipboard: 1.2mm is the weight used here. It is stiff enough that the folded planner holds its shape in a bag, and still thin enough for the Cinch to punch through without a fight.
Instructions
1. Cut four chipboard panels, 12 × 16.5 cm each. Four, not two — the front cover is two panels and so is the back, which is what lets the finished planner fold across the middle.  |
2. Check the panels against your inserts. The boards in the video are marked 11 × 15.5 cm; 12 × 16.5 cm is the better call, because the cover needs to overhang the pages rather than match them.  |
3. Lay a panel onto the back of the printed cover sheet. Leave an even margin of sticker paper all the way round — that margin is what folds over the edges of the board.  |
4. Trim the corners and the excess. Snip the waste back to a narrow border before folding it over, or the corners bunch up and leave a lump under the finished cover.  |
5. Set the panels on white sticker paper for the lining. Position both panels of one cover on the same sheet, with a narrow gap between them — that gap becomes the hinge.  |
6. Cut the lining slightly smaller than the cover. A metal ruler and a fresh blade give a cleaner edge than scissors here, and a lining a millimetre or two inside the edge will not peel.  |
7. Smooth the lining down from the middle outwards. It hides the folded-over margins and, more importantly, it is the only thing joining the two panels together.  |
8. Check the hinge. The finished cover should fold shut cleanly along the gap. Too narrow and the boards jam against each other; too wide and the fold goes floppy.  |
9. Set the punch pins before you punch anything. The weekly half and the monthly half use different pin patterns, so each binding sits on its own part of the edge and the two wires stay clear of the fold.  |
10. Punch the covers first. If a hole ends up crooked you would rather lose a cover panel than a full set of printed inserts.  |
11. Punch the inserts in small batches. A few sheets at a time punches cleanly; a thick stack drags and the holes come out ragged.  |
12. Push every sheet against the same edge guide. The pins are numbered, so note which ones you used — you will need the identical setting for the second half.  |
13. Cut the wire to length. Count the punched holes and trim the twin loop wire to match, one loop per hole. Cut between loops so no half-loop is left sticking out.  |
14. Thread the stack onto the open wire. Front cover panel, then that half's pages, then the matching back cover panel flipped over so its printed face ends up outside.  |
15. Close the wire. Squeeze it shut in one steady press. Going back for a second squeeze on an already-closed wire is what flattens the loops out of round.  |
Then repeat steps 9 to 15 for the other half. Two bindings, one hinged cover — months on top, weeks below, and the whole thing folds down to pocket size.  |
Troubleshooting
The printed cover does not reach round the board. The print scaled down. Reprint at 100% and measure the sheet before cutting more chipboard — the margin you lose is exactly the margin you needed to fold over.
The cover will not fold flat. The hinge gap between the two panels is too narrow, so the board edges are butting together. Cut a fresh lining and set the panels a little further apart.
The lining is lifting at the hinge. That strip of sticker paper is carrying the whole fold, so it takes the most stress. Press it down hard along the gap, and keep the lining a touch inside the cover edge rather than flush with it.
The holes in the cover and the inserts do not line up. Either a sheet was not pushed fully against the edge guide, or the pin setting changed between batches. Punch a scrap first and hold it against the cover to check before committing the real pages.
The closed wire gapes open. Too many sheets for that wire diameter. Either move up a wire size or drop a few pages — a wire forced shut over a fat stack will spring open the first time the planner is opened flat.
Selling these
A folding planner reads as more designed than a plain notebook, and that difference is doing most of the work on a product listing. It is the same materials as any wire-bound planner — chipboard, sticker paper, wire — but the hinge and the two separate bindings make it look like something that had to be engineered.
It also sells well as a dated product. Months and weeks in one object means someone buys a new one each year rather than refilling the old one, so a design you draw once has a natural repeat cycle.
Bundle it with a matching notepad or a set of stickers using the same cover pattern. The cover art is already drawn, and a coordinated pair carries a higher price than the planner alone.
Try these next
DIY Weekly Planner with Magnetic Closure — wire binding plus a magnetic flap
How to Make Your Own Planner Book — the full-size version of this build
DIY Hardbound 30-Month Planner — a glued book block in a hard case
DIY Corner-Bound Notebook — wire binding turned 45 degrees
Book Binding Methods Compared — wire, coil, PVA and signature side by side


