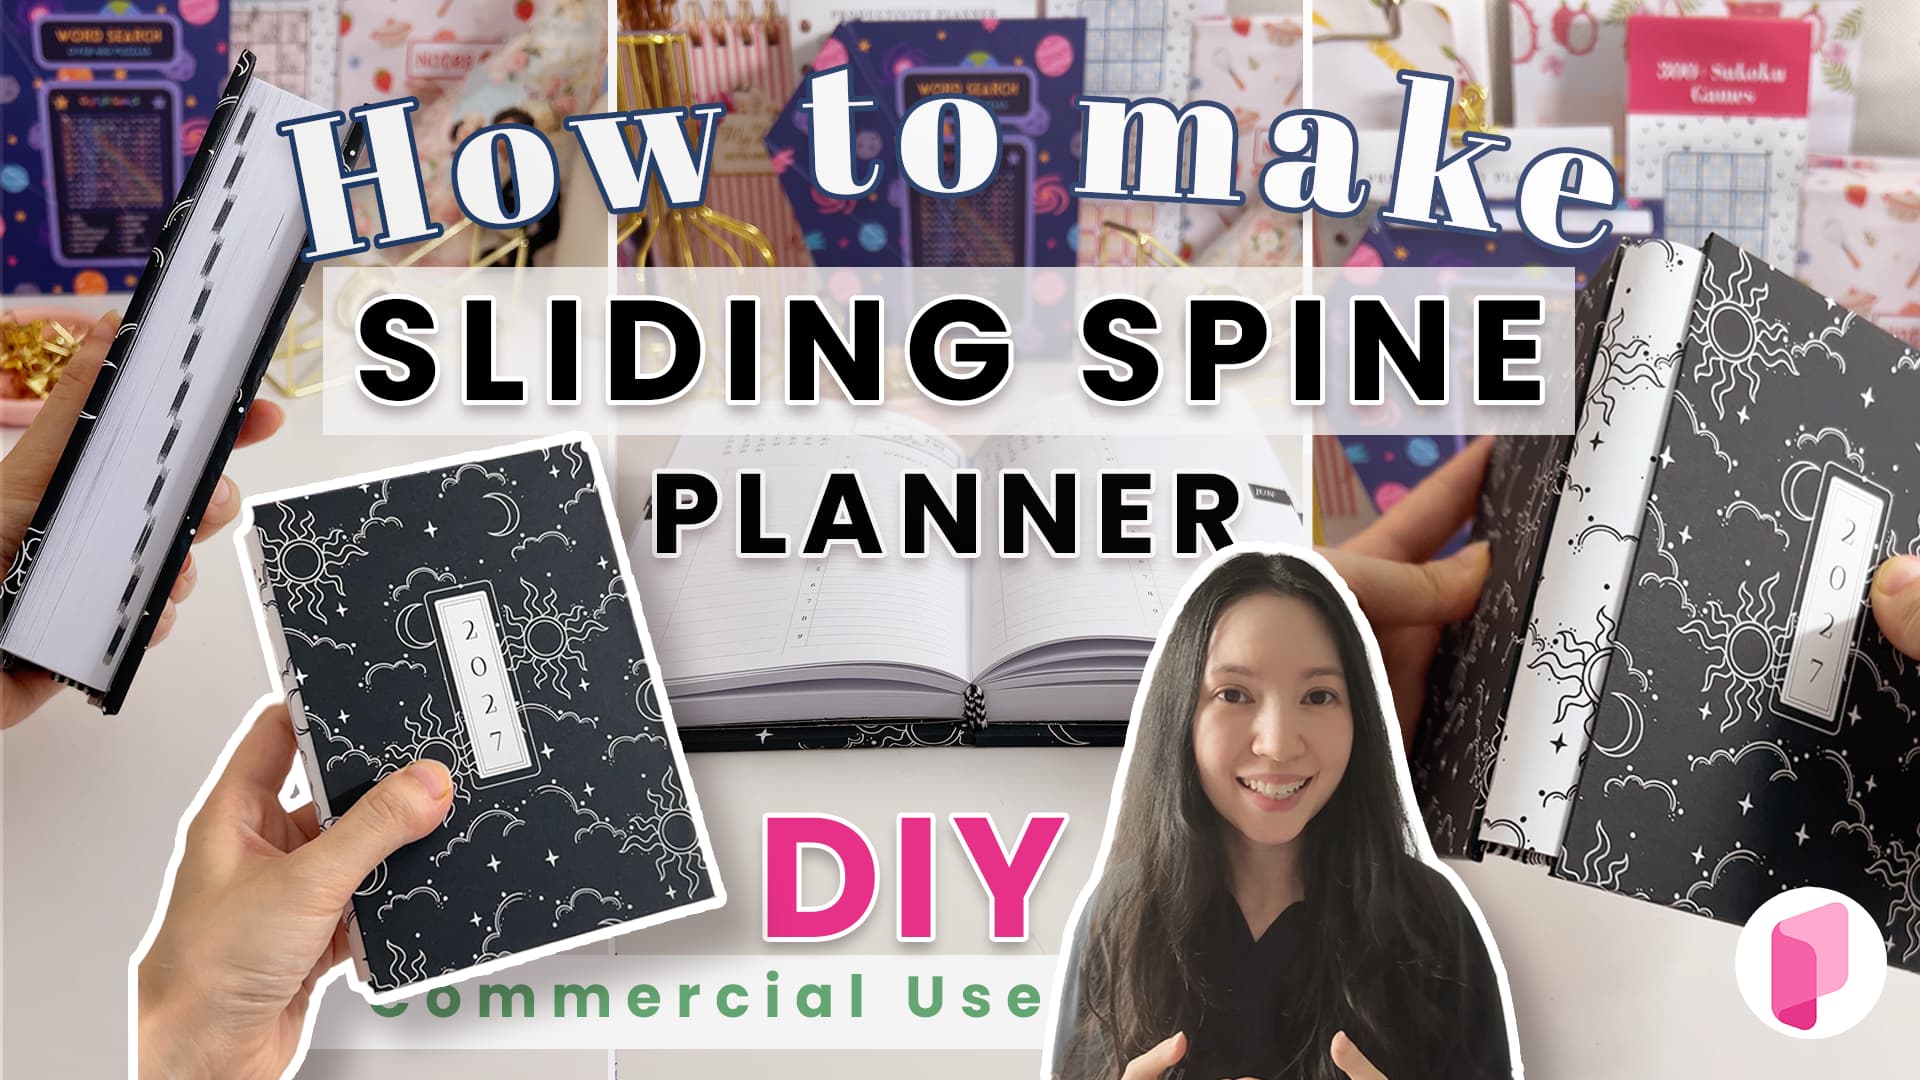
A sliding spine planner looks like a normal hardcover book when it's closed, but when you open it the spine slides into the cover instead of bending. That means every page, from January 1st to December 31st, lies completely flat while you write.
These tutorials use Planify Pro, a drag-and-drop tool for designing printable planners and stationery. Designing is free, and saving and exporting a PDF need a plan, from $99.99/year.
Get the template
Search for "Sliding Spine Lay Flat DIY Planner" under Explore in Planify Pro. It's an A6 planner with a cover, a 2027 calendar, monthly pages, dated daily pages and month tabs.
Export and print
You'll export three things: the covers, the inside cover and the inserts.
Front and back cover. Open the first page, choose Export this page → A4 → Export PDF. Do the same with the second page for the back cover.
Inserts. Delete the front cover so the file starts with the inside cover, then go to Export → All Pages → Booklet → A4 and set it to one signature. You'll fold every sheet one by one, so one signature is what keeps the dates in order. Some dates will look out of order in the PDF (December 11th next to December 8th, for example). That's normal: they line up once the sheets are printed front and back and stacked.
Print from Adobe Acrobat Reader at the best print quality:
✓ Covers: 125% custom scale, on matte white sticker paper. Matte slides much more smoothly than glossy, which matters for the spine.
✓ Inside cover: on 200 GSM cardstock, printed twice. Print the front at 100%, then flip the paper and print the back at 102% so no white border peeks through after trimming.
✓ Inserts: 100% scale. On a duplex printer, choose print on both sides, flip on short edge. On a manual printer, print the odd pages, flip the stack, reinsert it and print the even pages.
✓ Spine: choose any pattern in Planify Pro, keep the project at A6, apply it to both sides and print it at 125% on matte white sticker paper.
What You'll Need
 |  |  |
 | 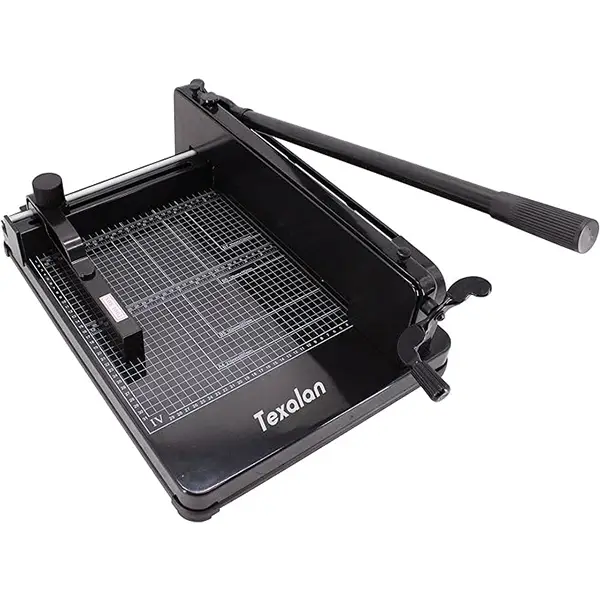 |
You'll also need black cloth tape, transparent tape, double-sided tape, a sponge or scrap paper for spreading glue, and optionally a pair of book headbands.
Instructions
1. Trim the inserts. Cut off the white edges around every printed sheet. A heavy-duty paper cutter lets you do them in batches; a ruler and craft knife works too, it just takes longer. 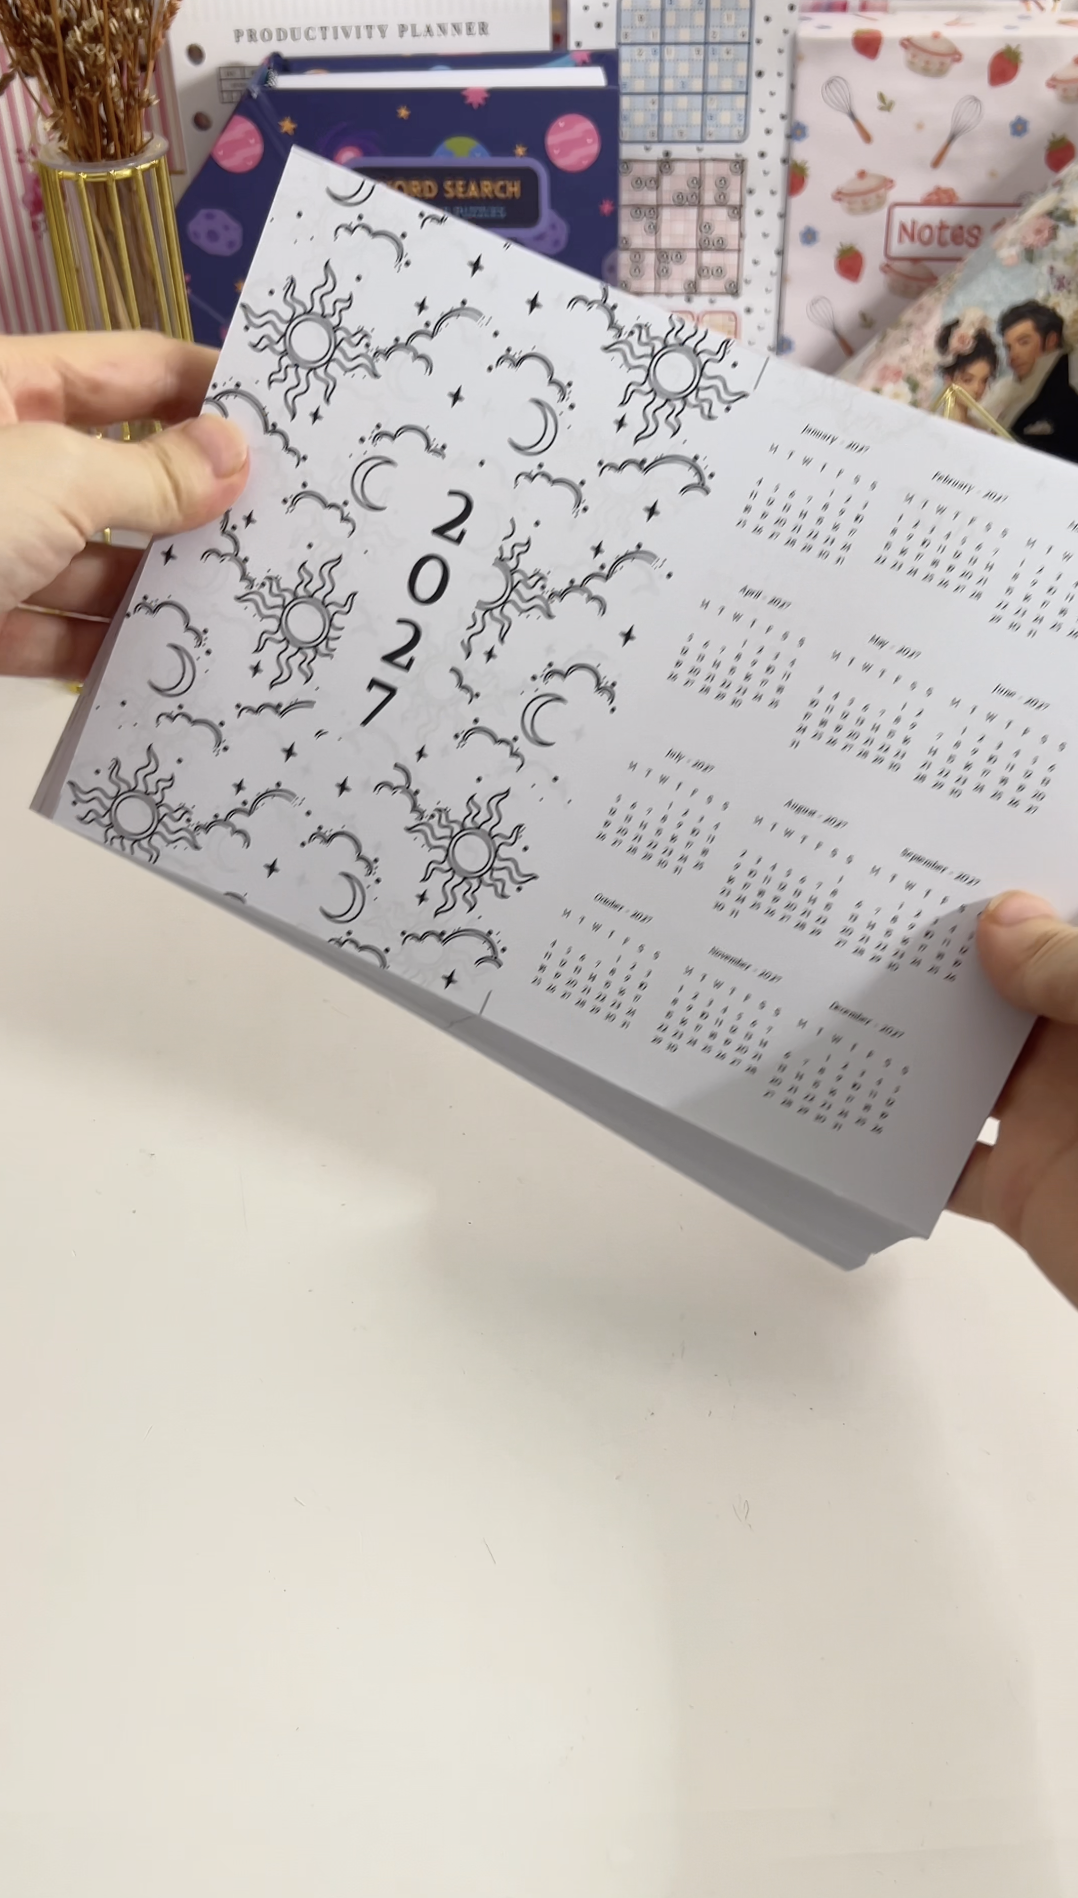 | 2. Fold every sheet in half. Fold one sheet at a time and add it to the stack. Check the first few as you go: January 1st should be followed by January 2nd, and turning the page should show January 3rd and 4th. 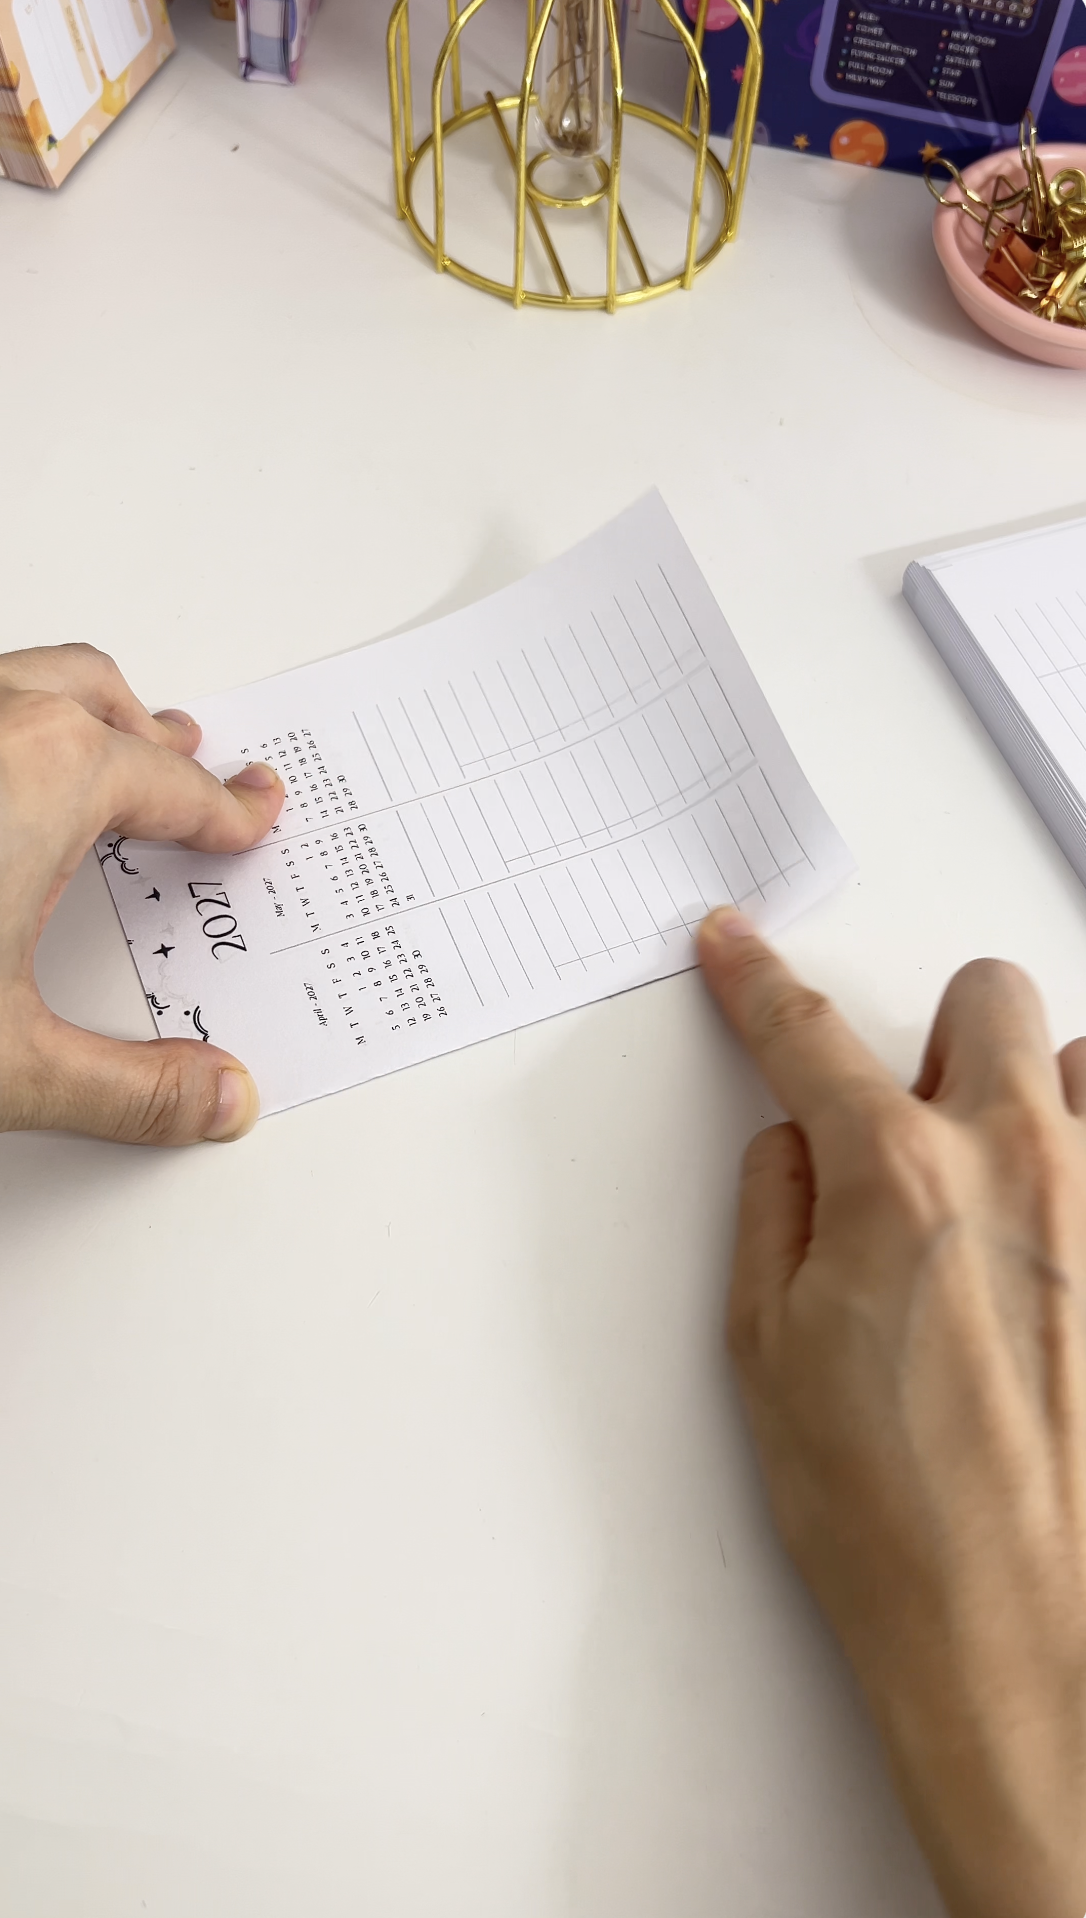 |
3. Prepare the inside covers. Trim the white edges off the two cardstock inside covers and fold each one in half. Place one at the front of the stack and one at the back. 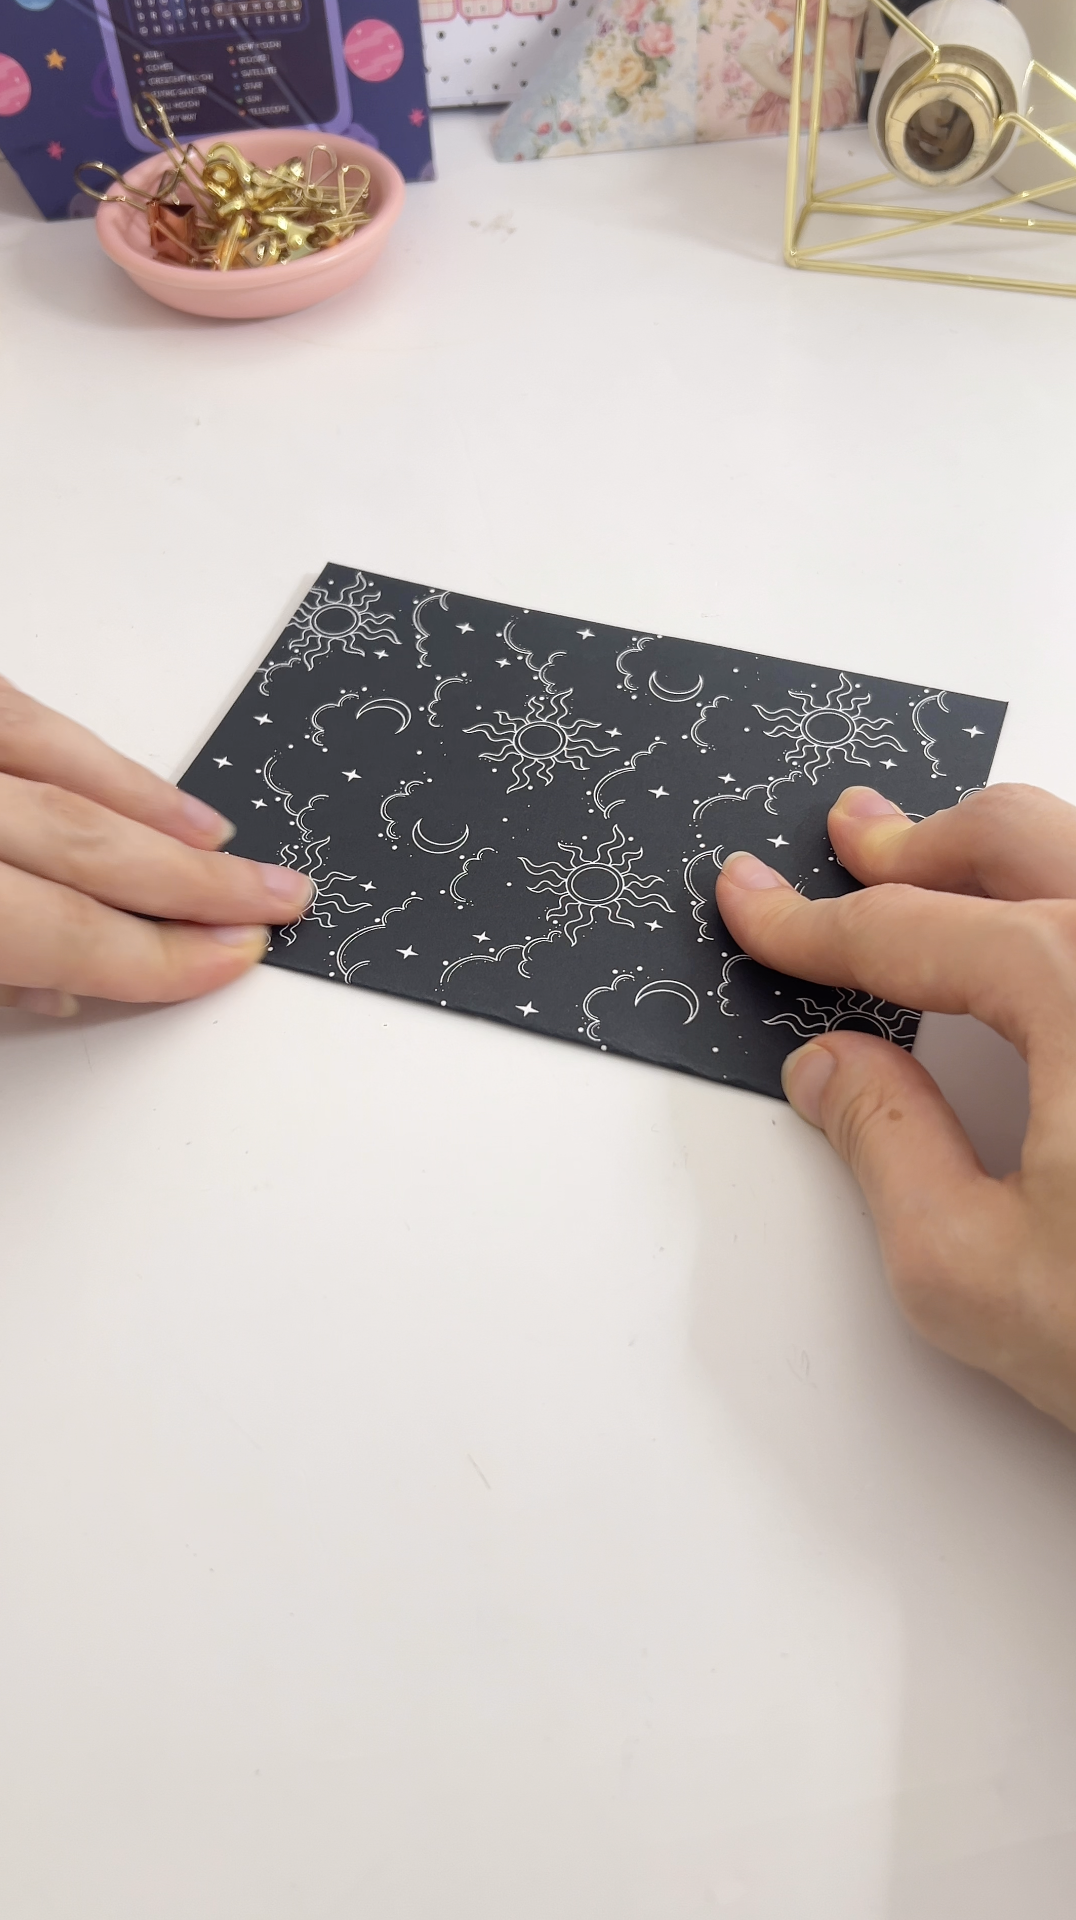 | 4. Glue the spine. Clamp the stack in the book press with the folded edges facing up — that's the side you glue, not the loose edges. Apply a generous layer of PVA glue along the whole spine. 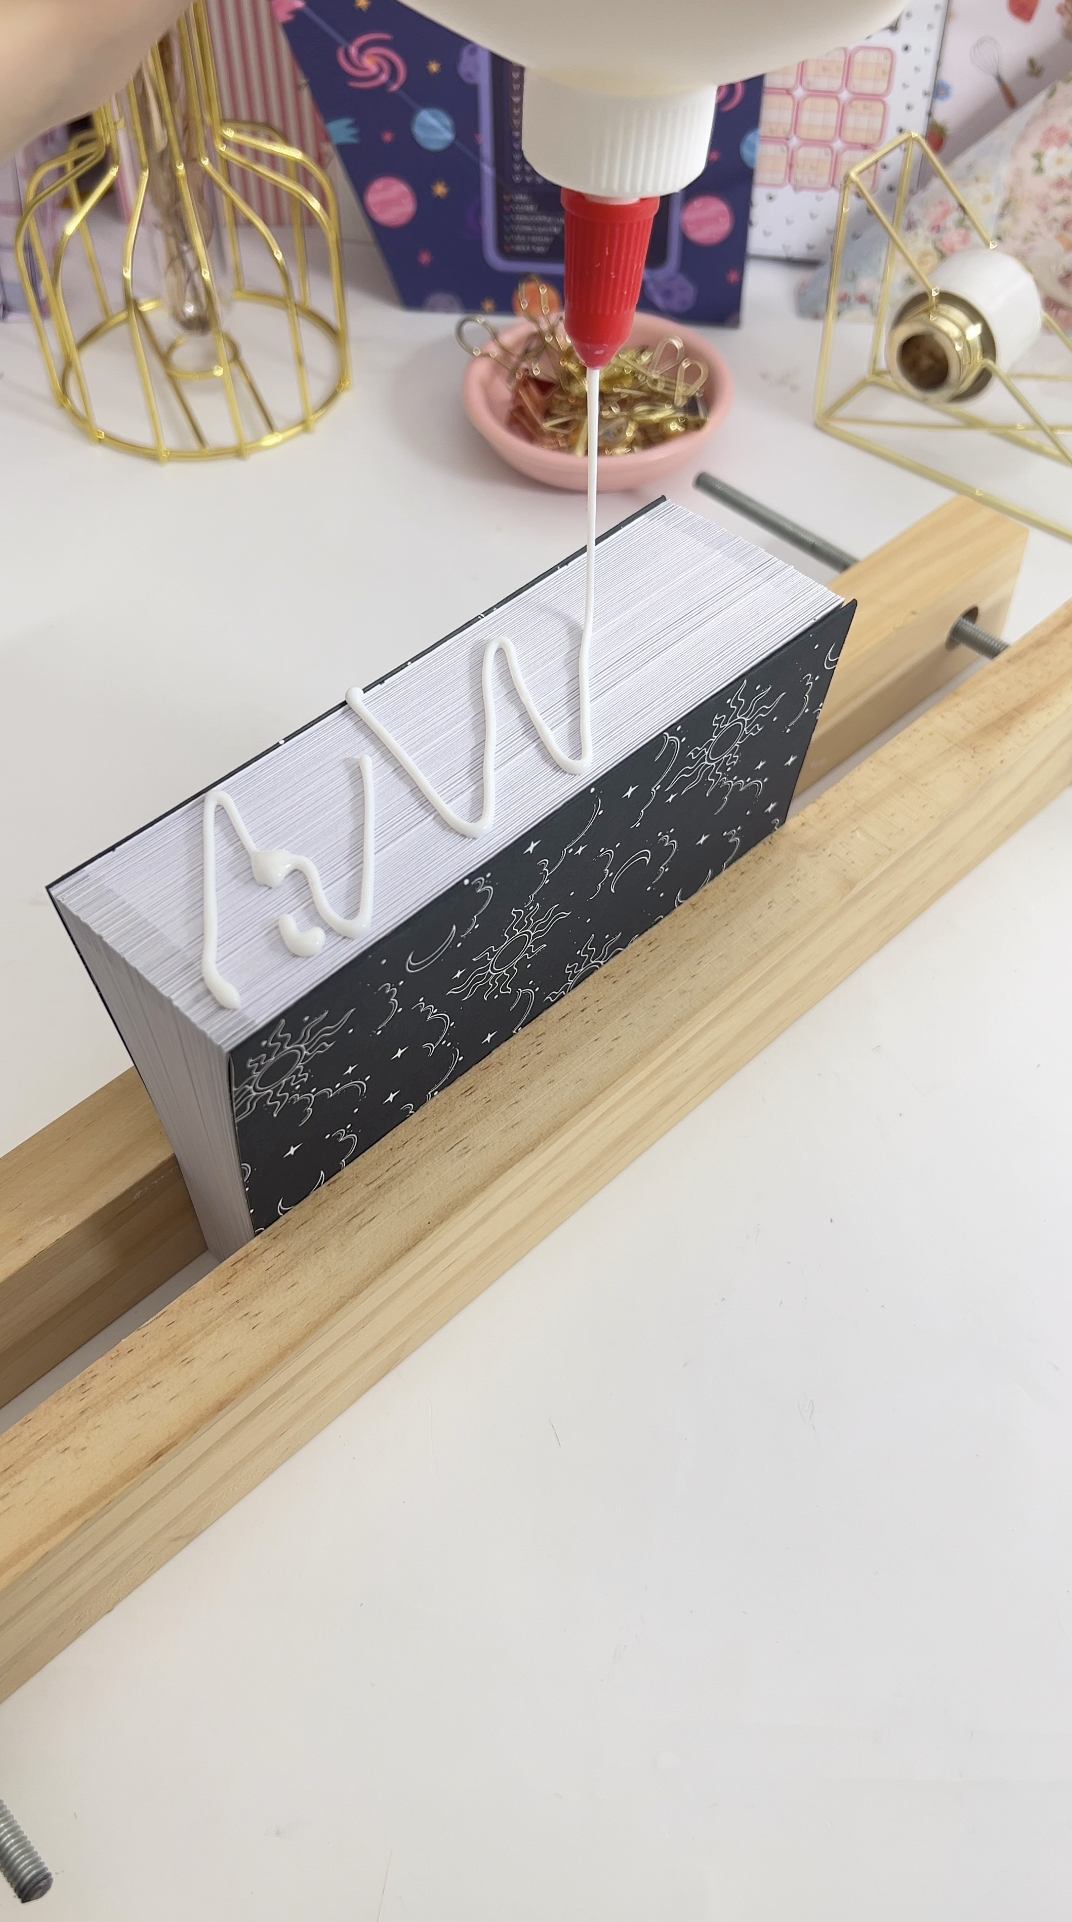 |
5. Work the glue in, then press. Bend the stack to the right, add glue and spread it with a sponge or scrap paper, then repeat to the left and in the middle so the glue gets between the folds. Tighten the press over the spine and let it dry for two to three hours, or overnight. 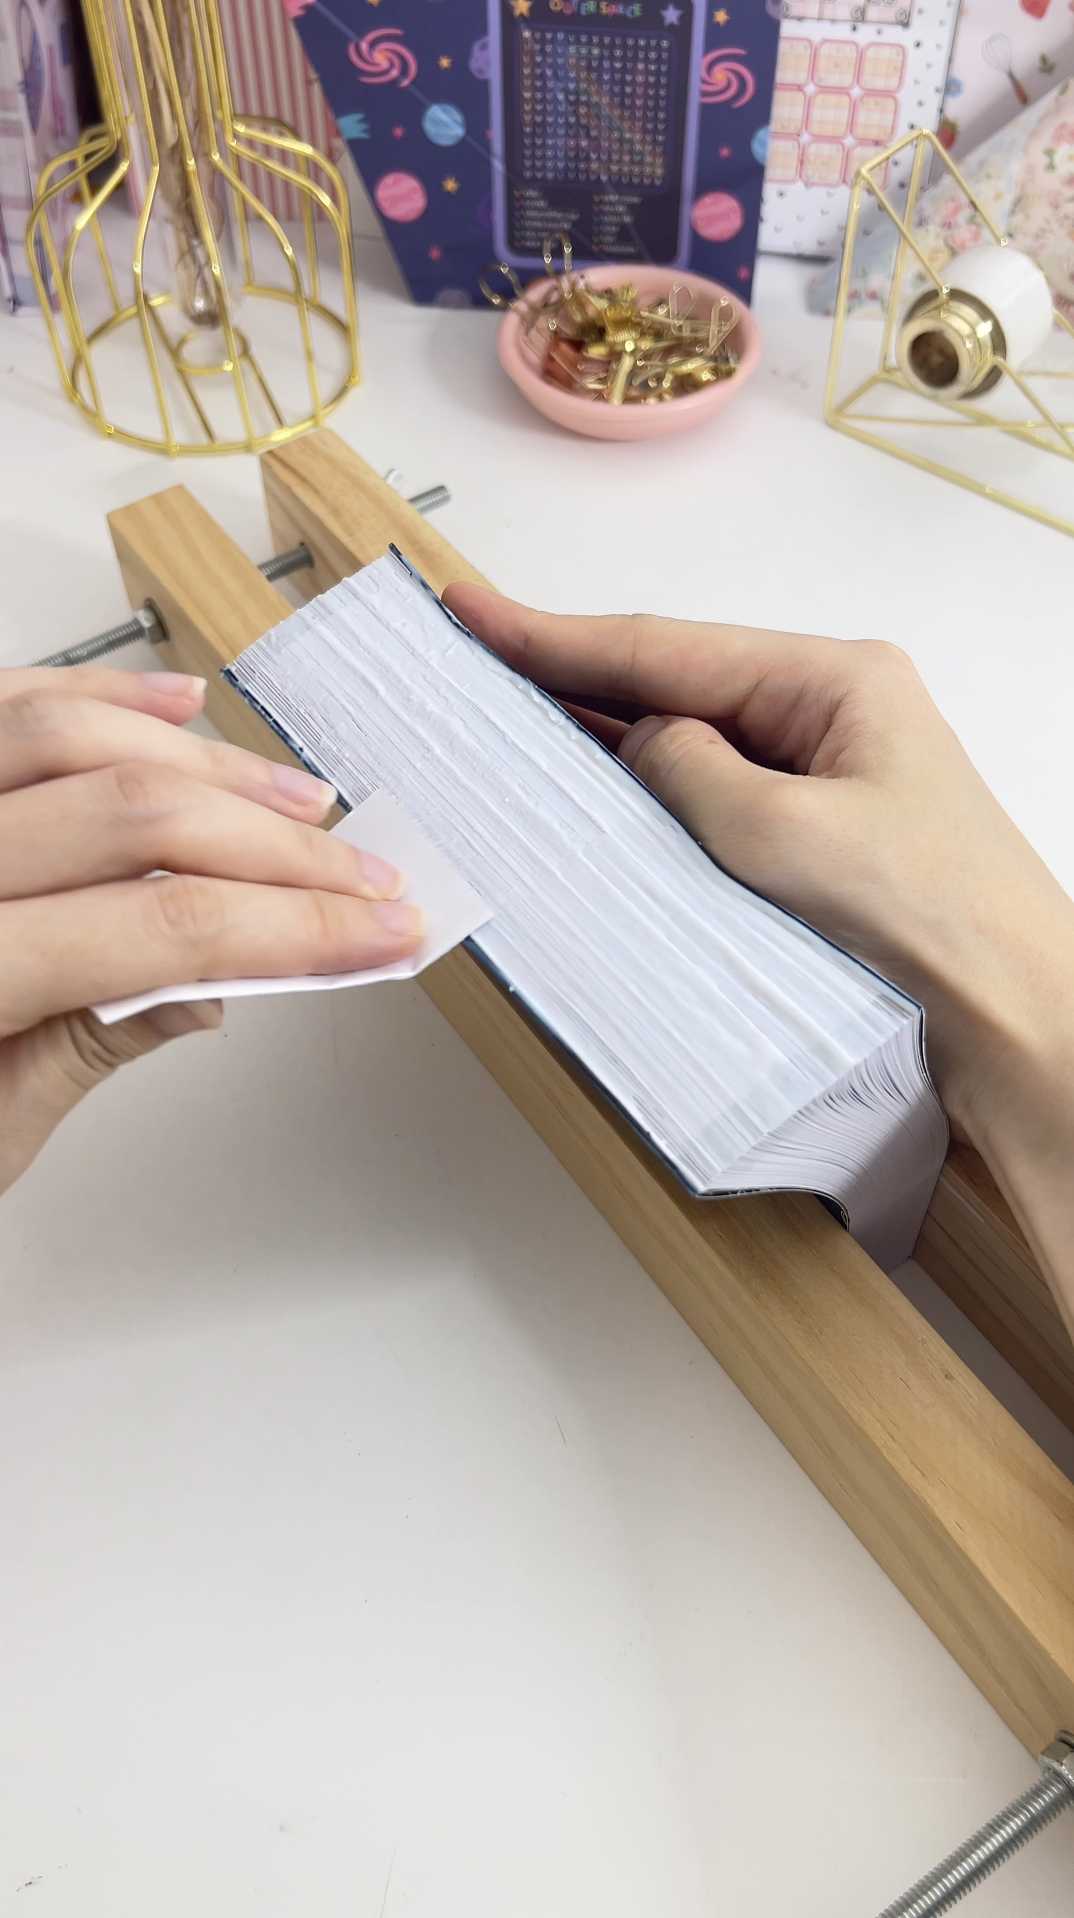 | 6. Tape the spine. Once it's dry, cut a strip of black cloth tape to the length of the book and wrap it over the spine. It makes the spine sturdier and stops pages from working loose. 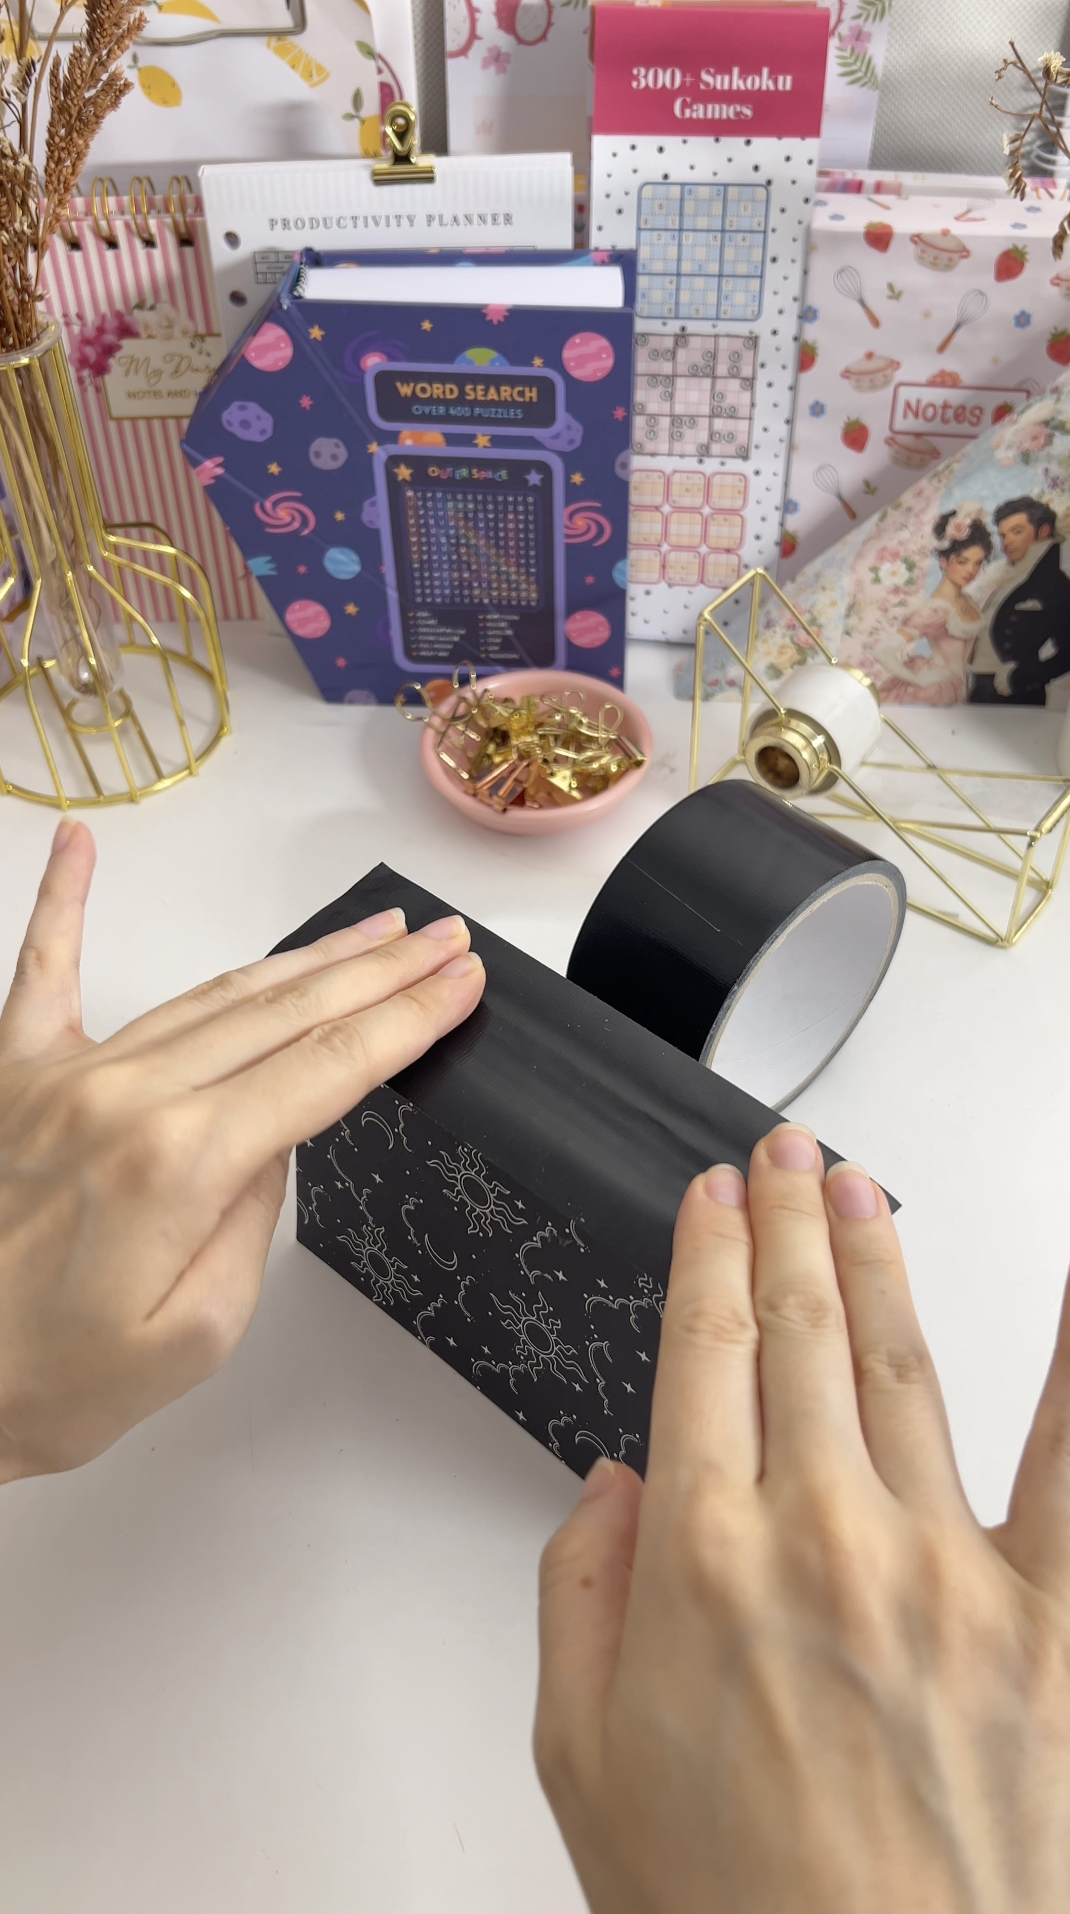 |
7. Trim the edges (optional). For a crisp finish, trim the three open edges with the heavy-duty paper cutter. You can also glue headbands to the top and bottom of the spine. Neither step is needed for the planner to work. 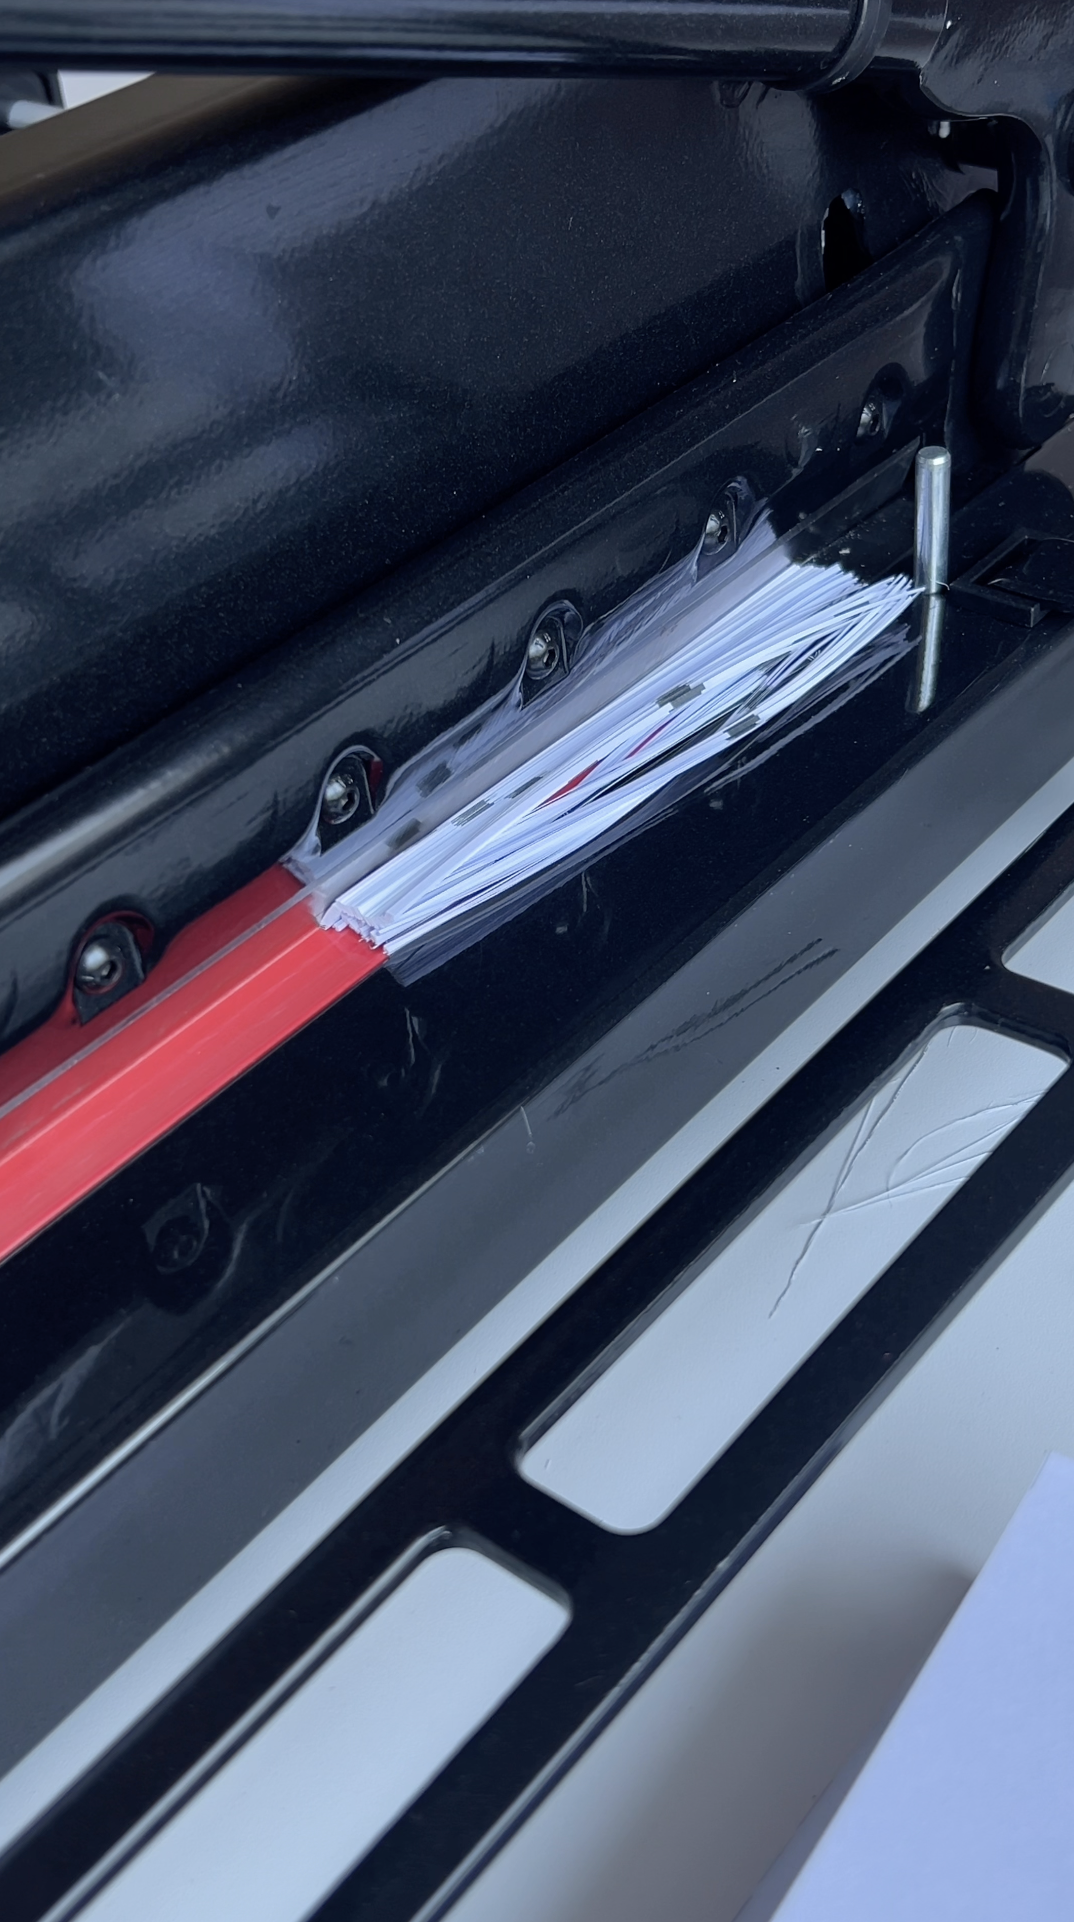 | 8. Prepare the covers. Trim the white edges off the front and back covers you printed on sticker paper. Prepare four chipboards, each 10.7 × 15 cm. 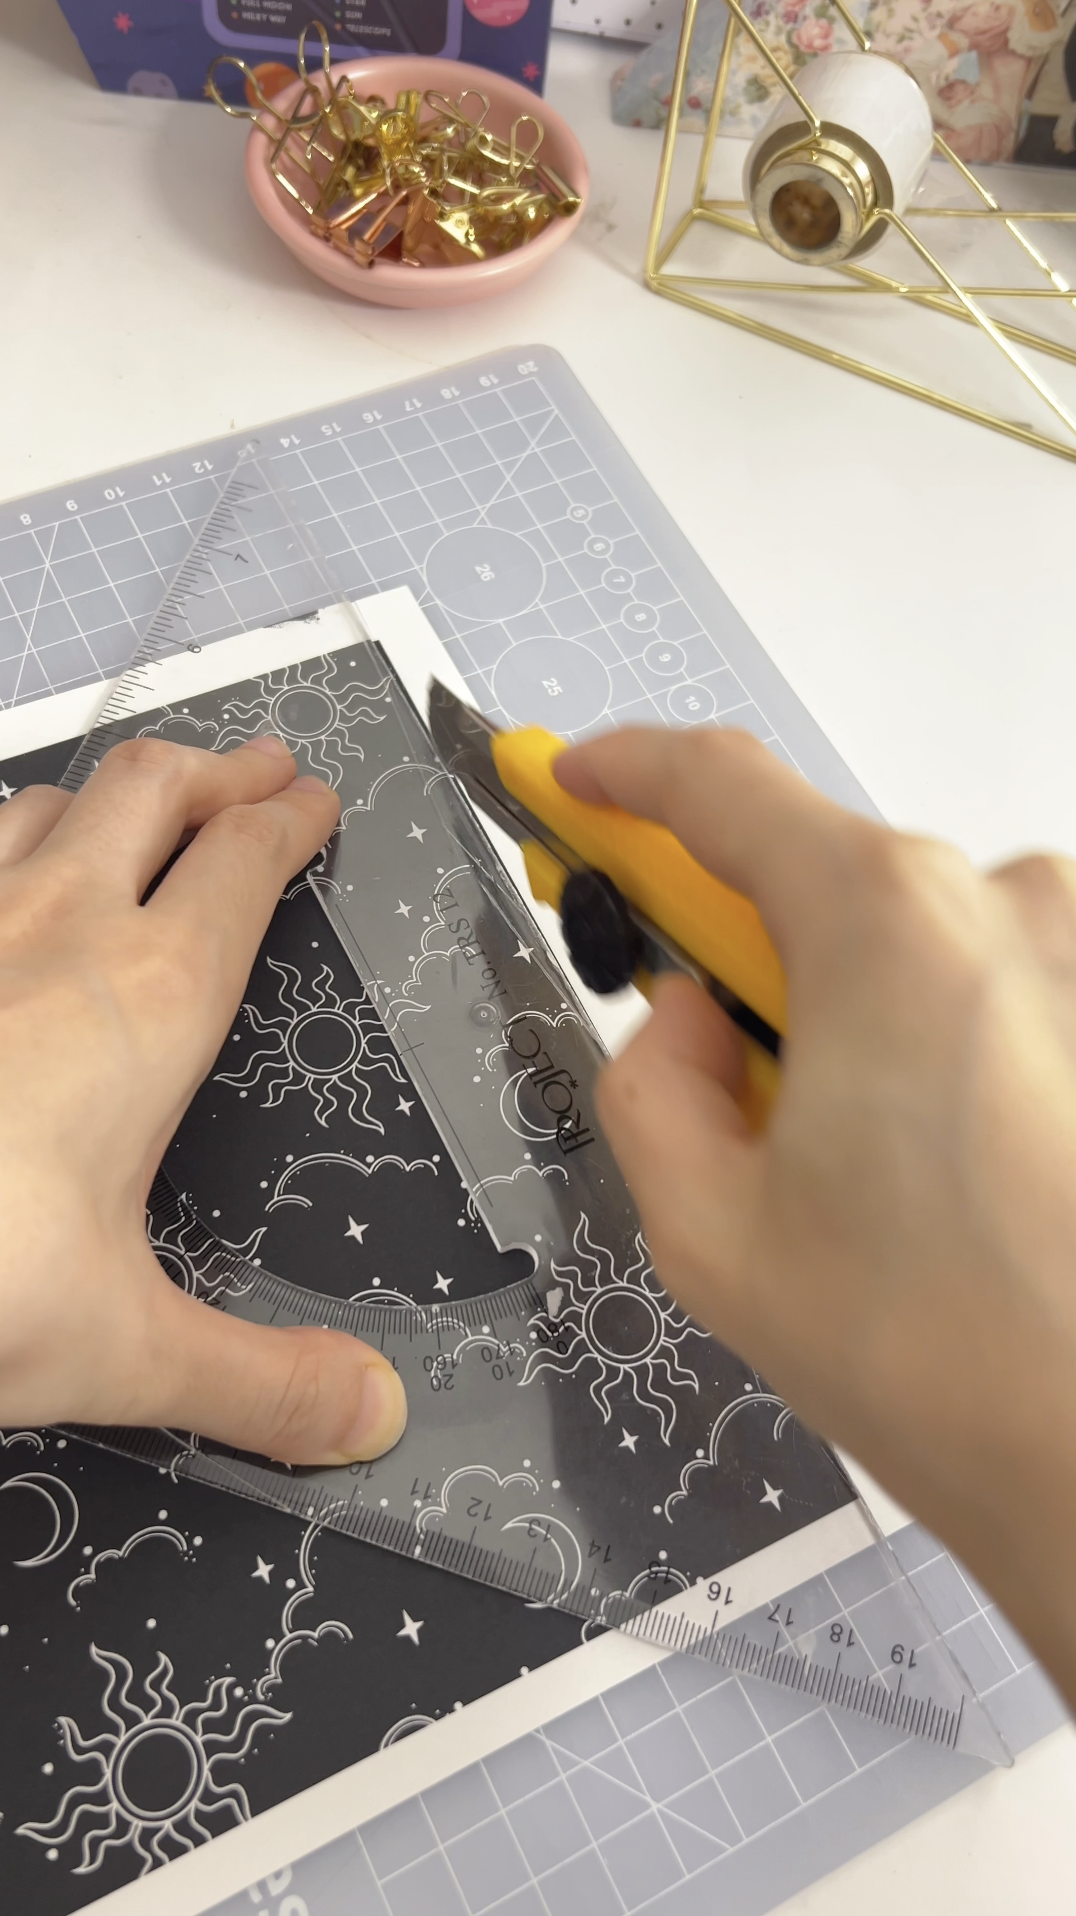 |
9. Place two chipboards on the back cover. Peel off the sticker backing and set two chipboards side by side with a 3–4 mm gap between them. That gap is what lets the cover fold around the spine. 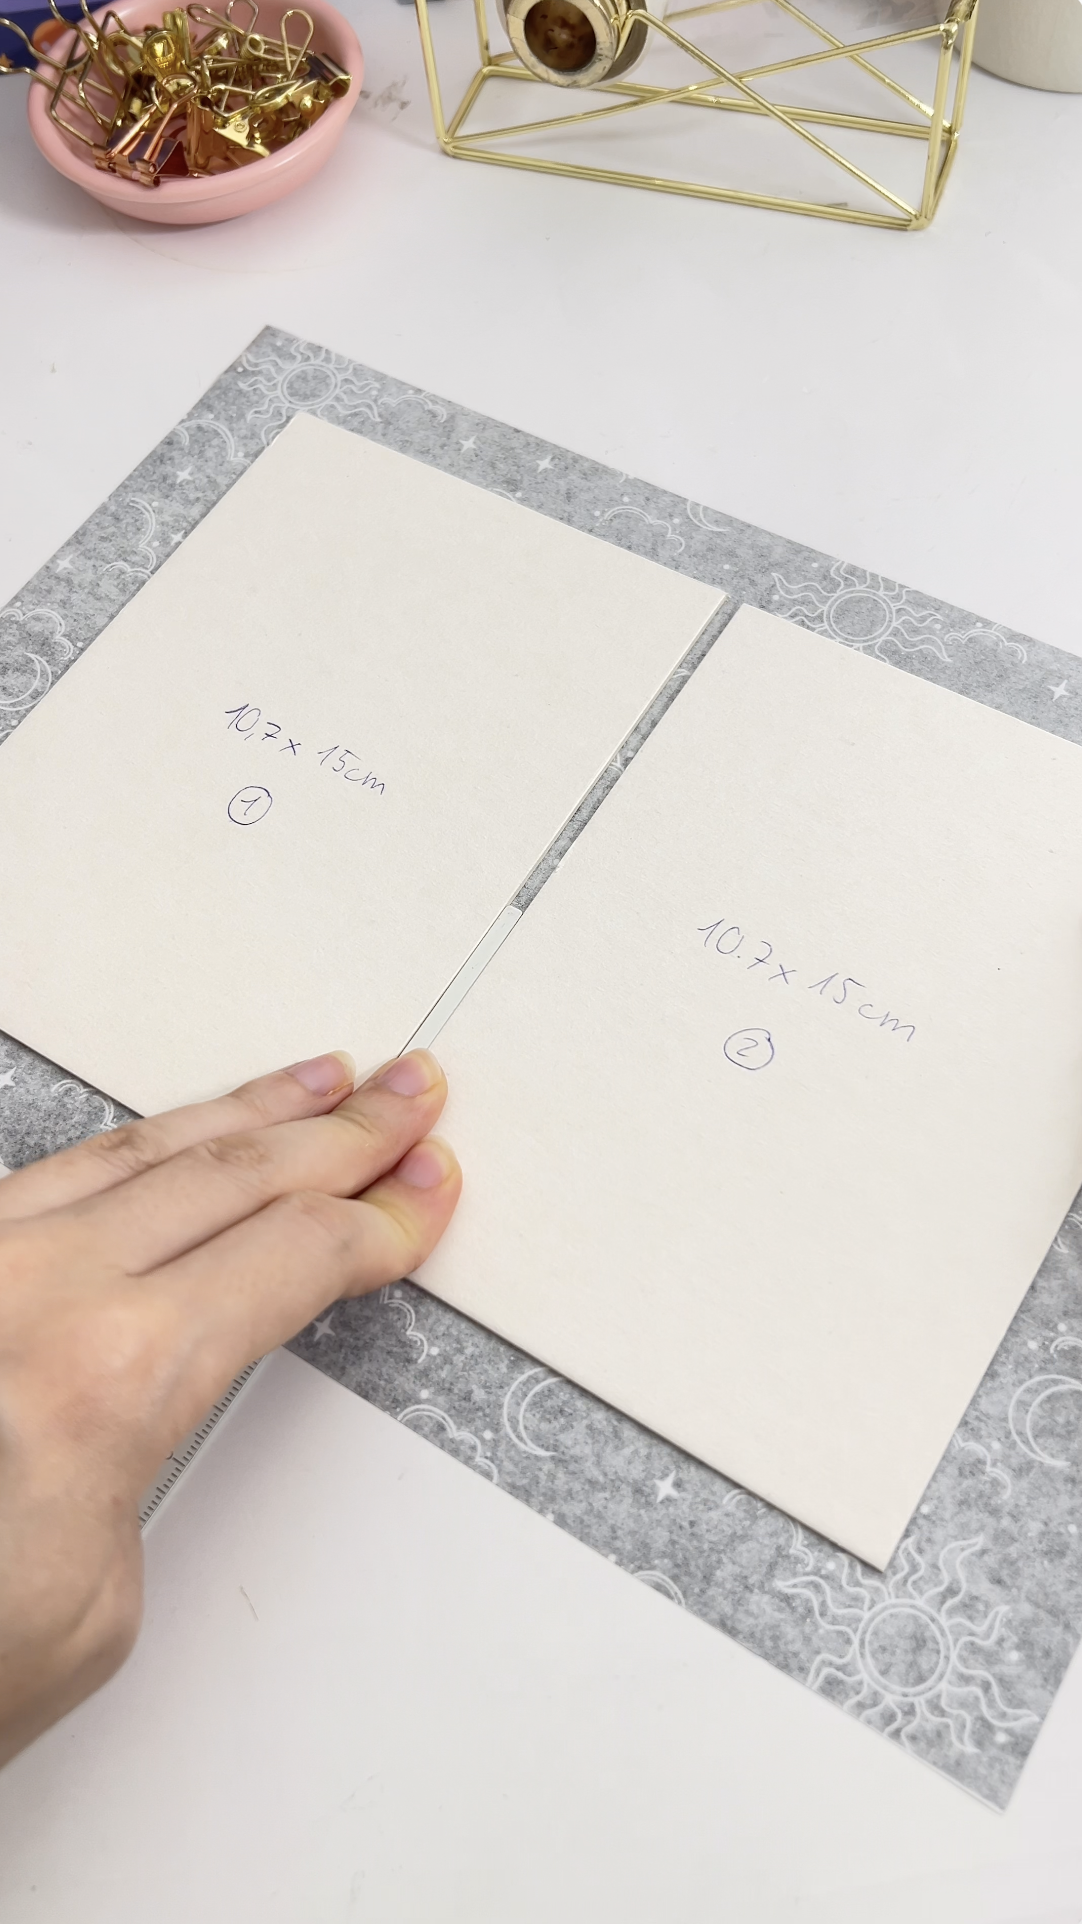 | 10. Cut the corners and the triangles. Cut off the four corners, then cut a small triangle at the top and bottom of the middle, with its tip pointing at the edge of the right chipboard. 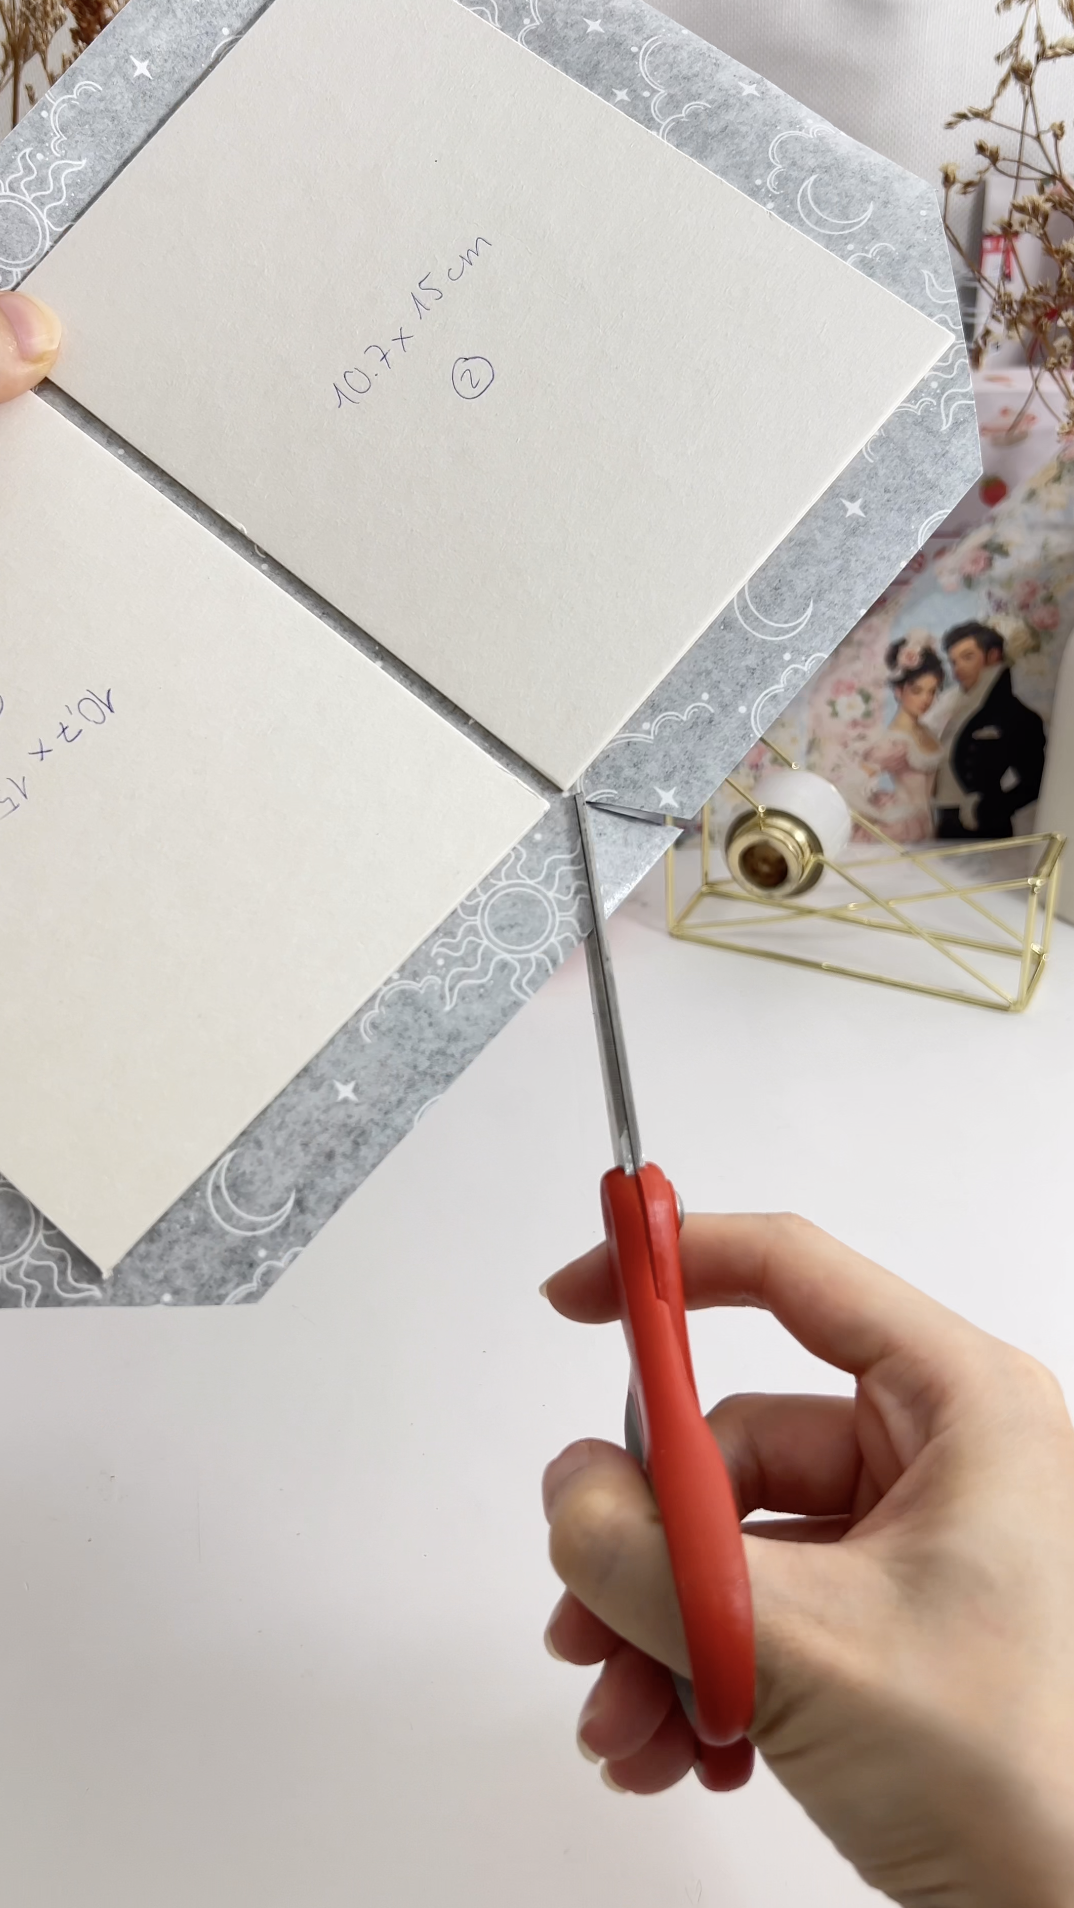 |
11. Fold it into a pocket. Fold in the outer sides, then the top and bottom flaps of the right side only. Fold the two chipboards together and close the flaps so they form a pocket. Repeat for the front cover, but mirrored: the triangles point to the left chipboard and you fold the left flaps. 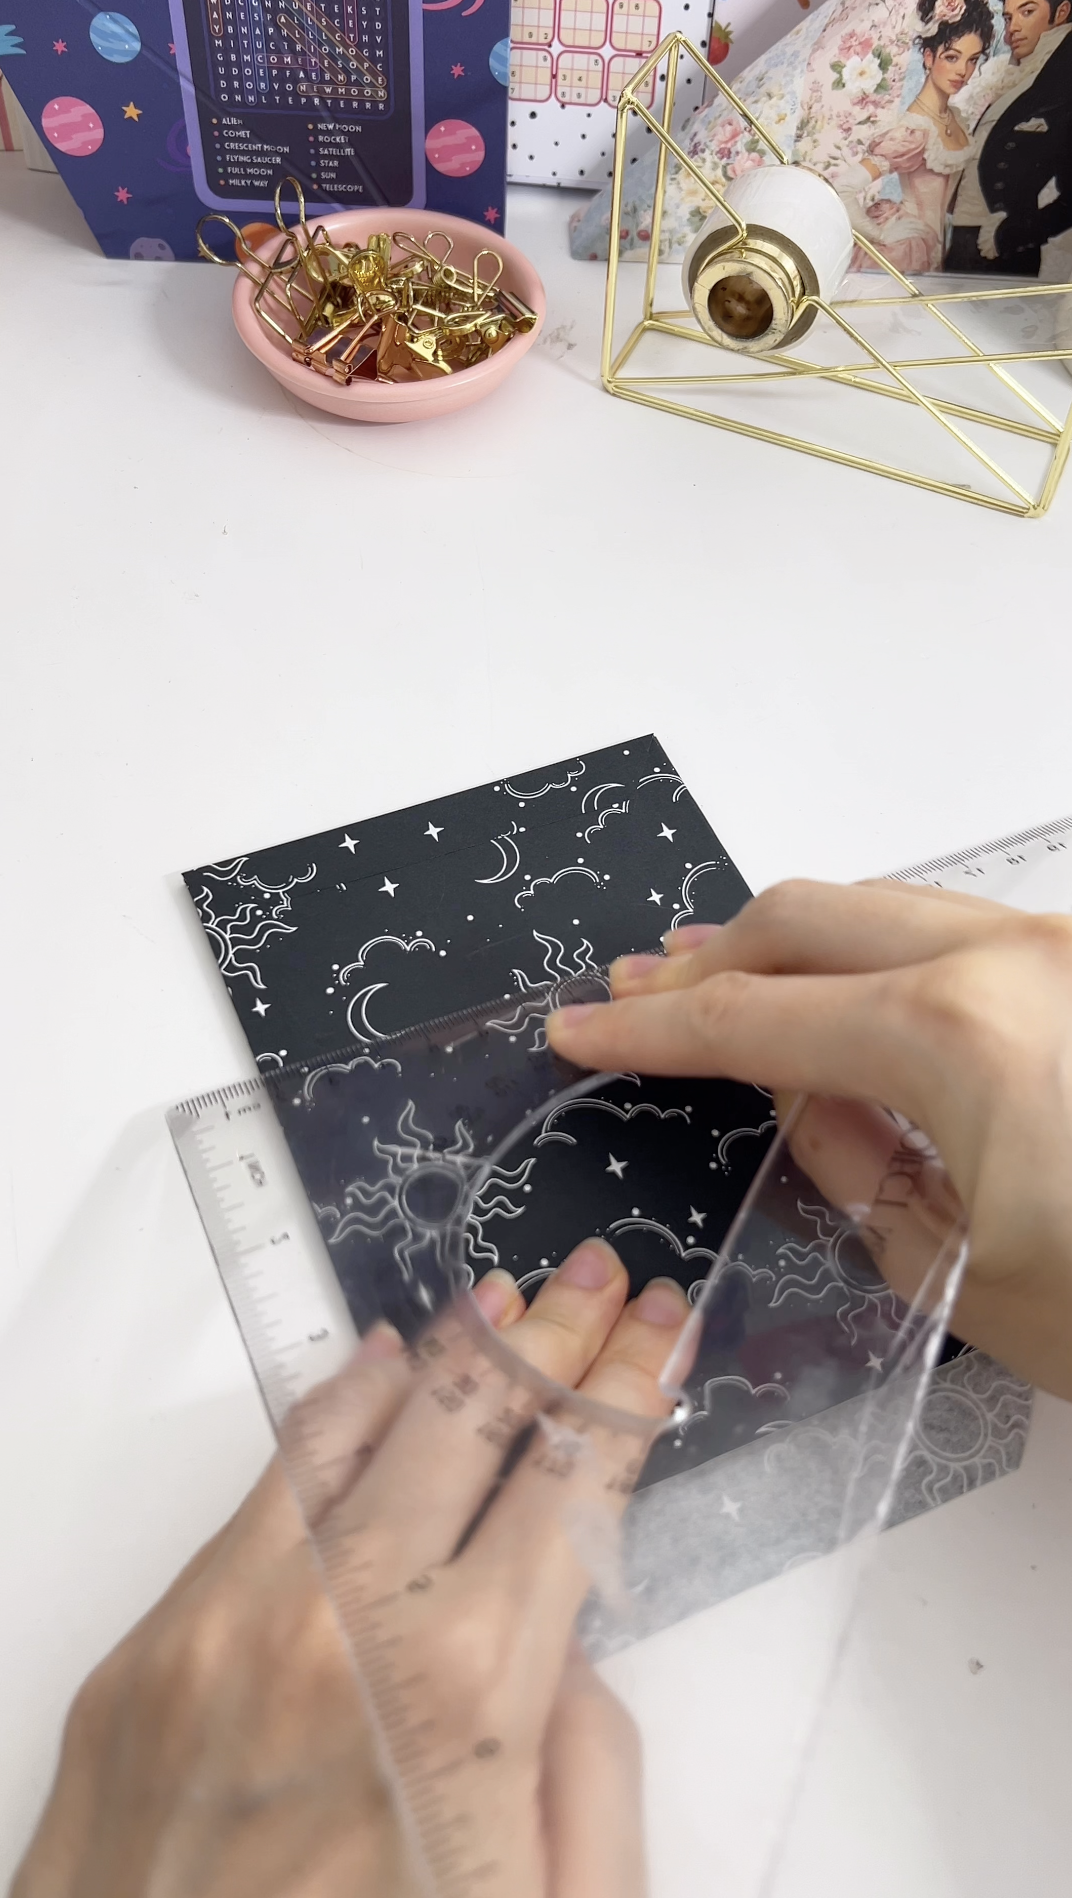 | 12. Make the spine. Fold the printed spine sticker sheet in half with the backing peeled off, so it sticks to itself, then trim it to 12 × 14.3 cm. 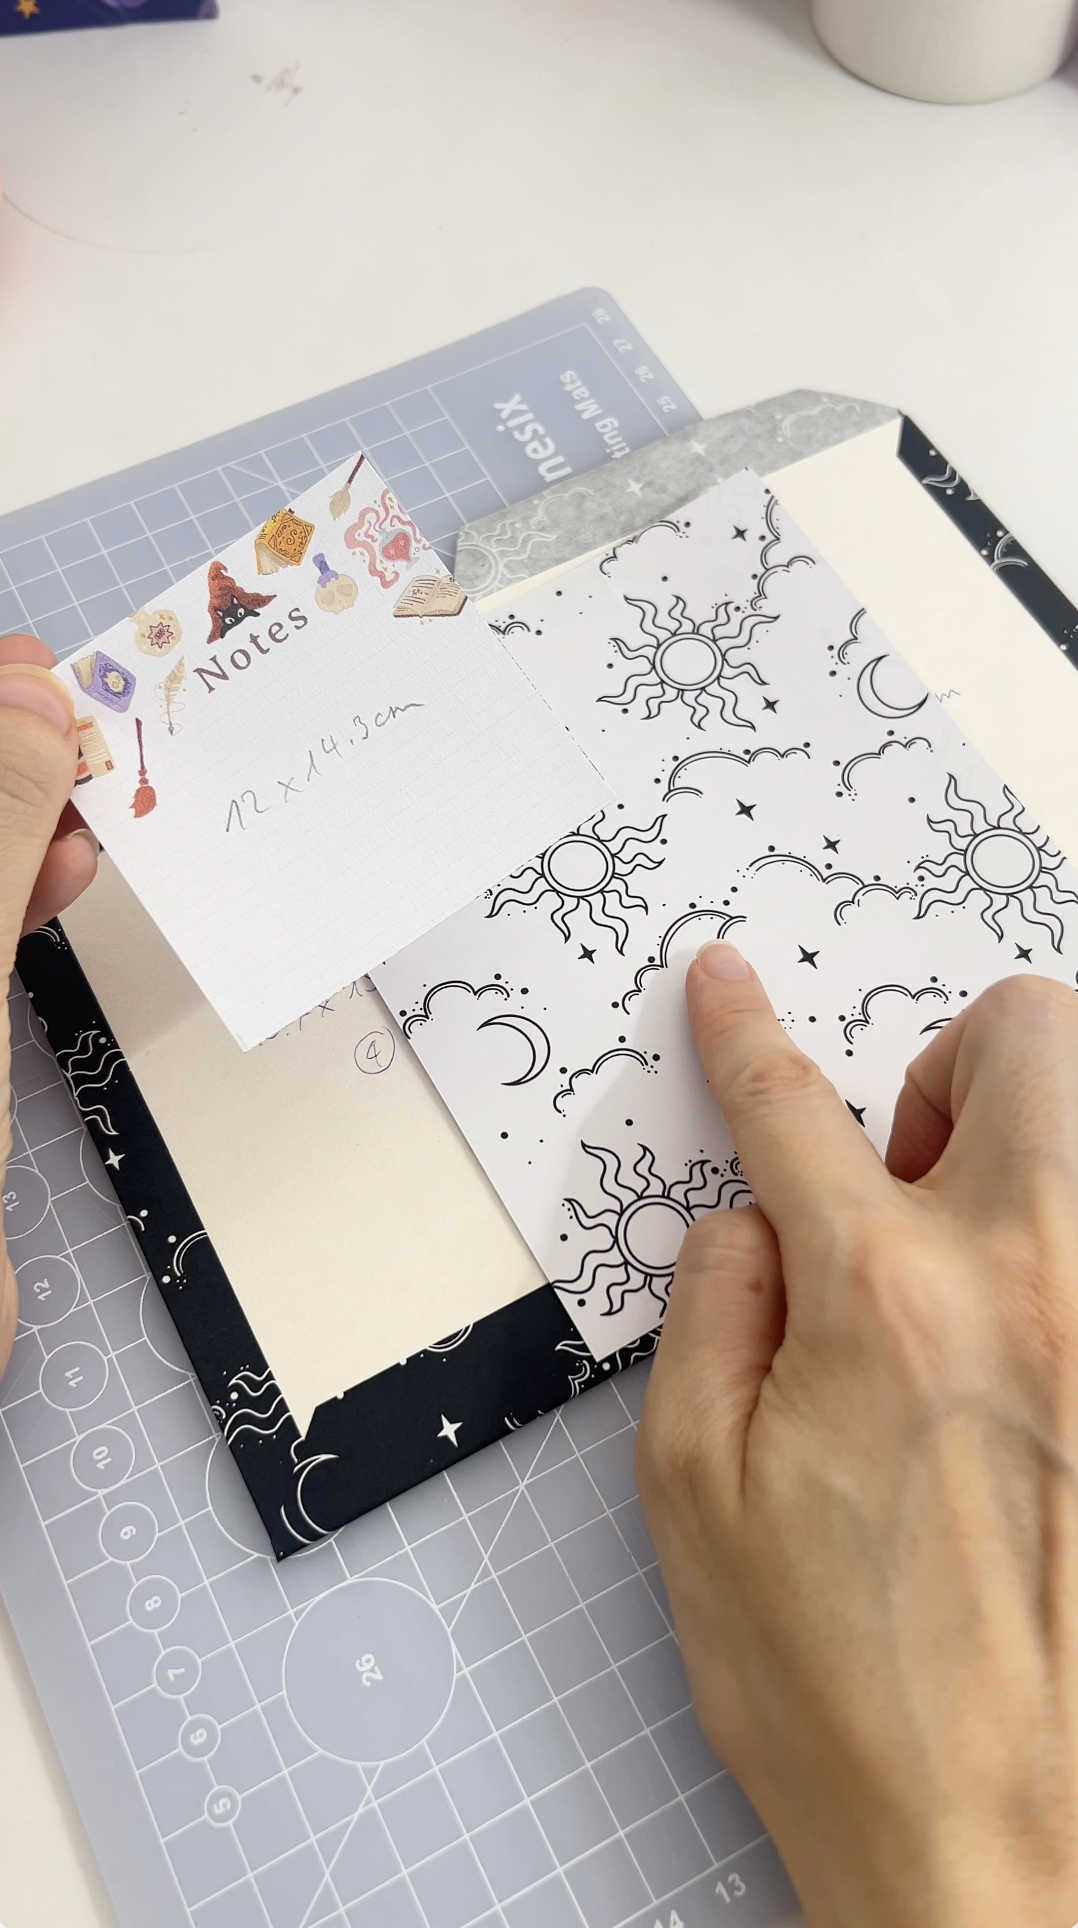 |
13. Attach the spine so it slides. Place the spine between the two chipboards of the front cover and tape it down with transparent tape. Turn it over to the left, pull it out slightly until it almost reaches the edge where the book will sit, and tape the back. The spine should now move freely. Then close the cover by folding in its top and bottom flaps. 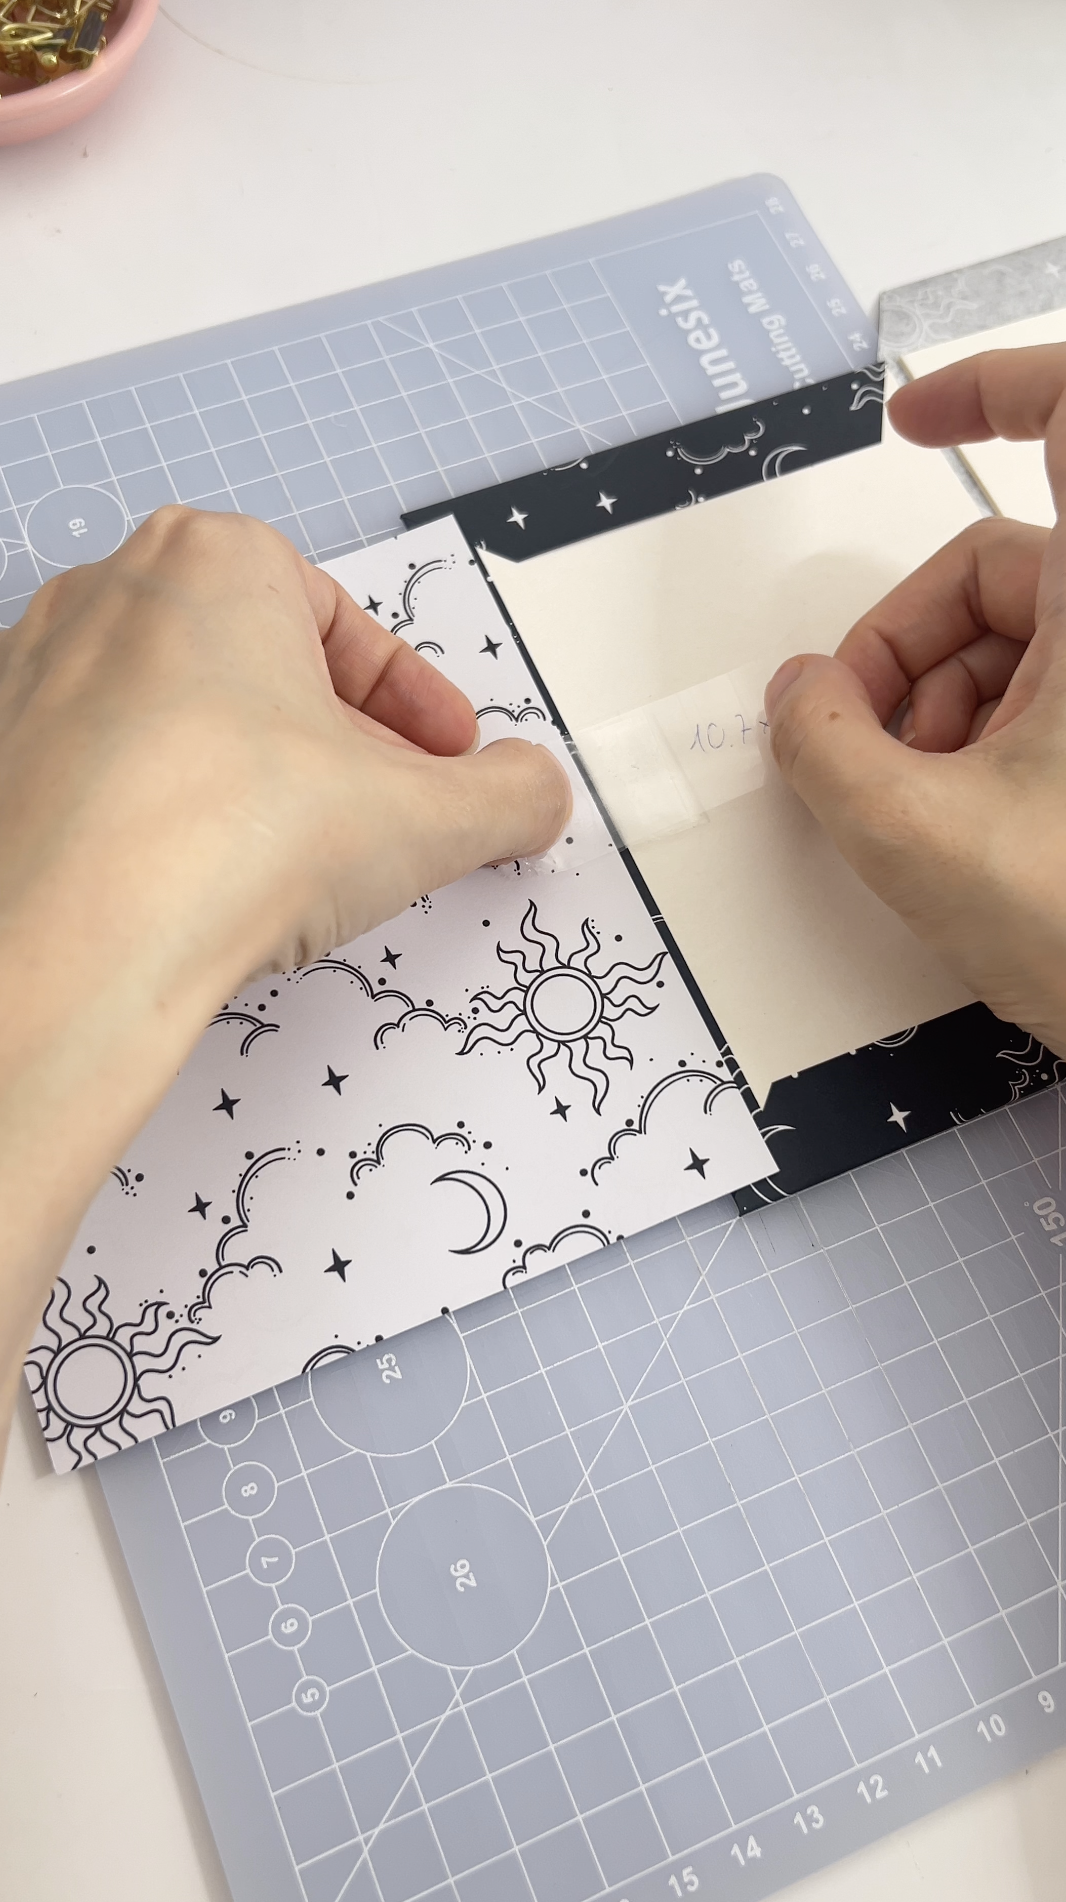 | 14. Join the covers. Slide the back cover over the spine and close it, so the spine is completely hidden between the two covers. 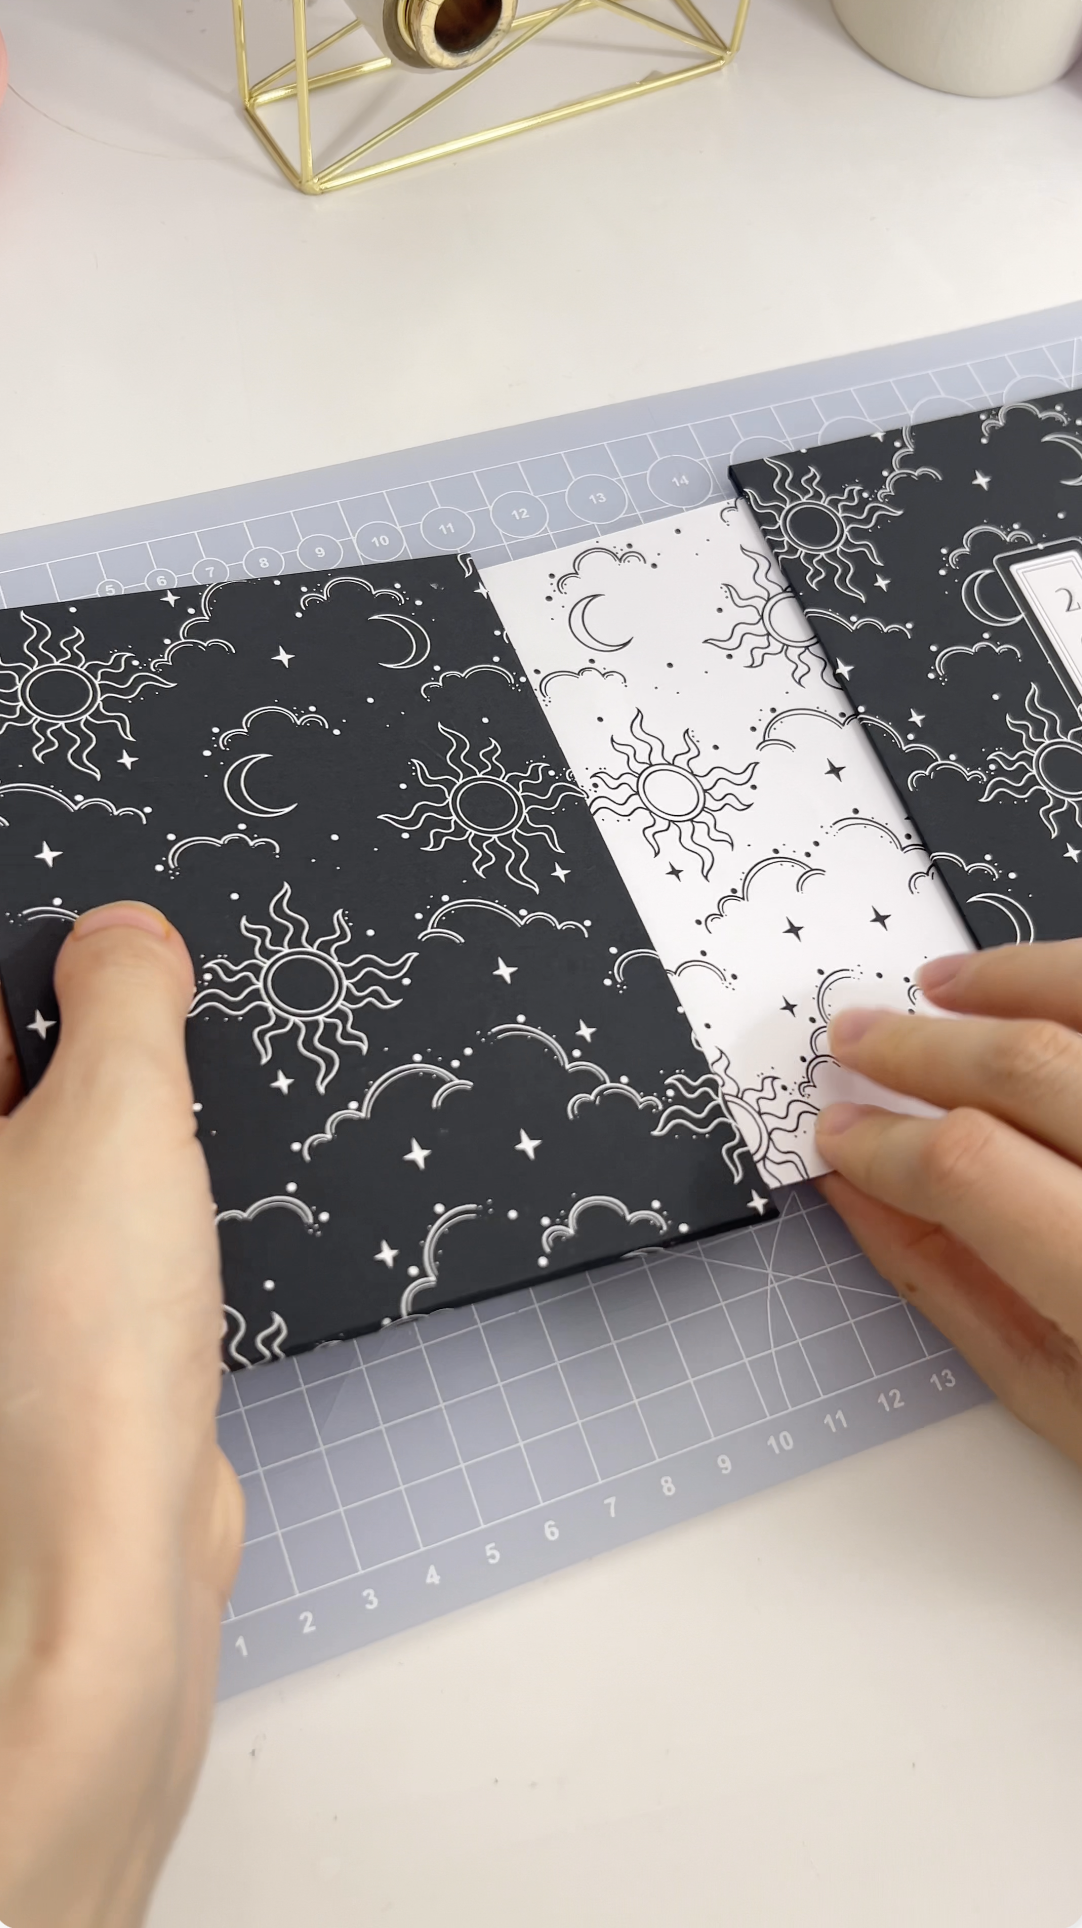 |
15. Attach the book block. Put double-sided tape on the front and back of the book block. Open it exactly at the middle page and place it on the inside of the cover, centred. Close one side, remove the tape backing and press the inside cover onto the cover. Then close the book and repeat on the other side. 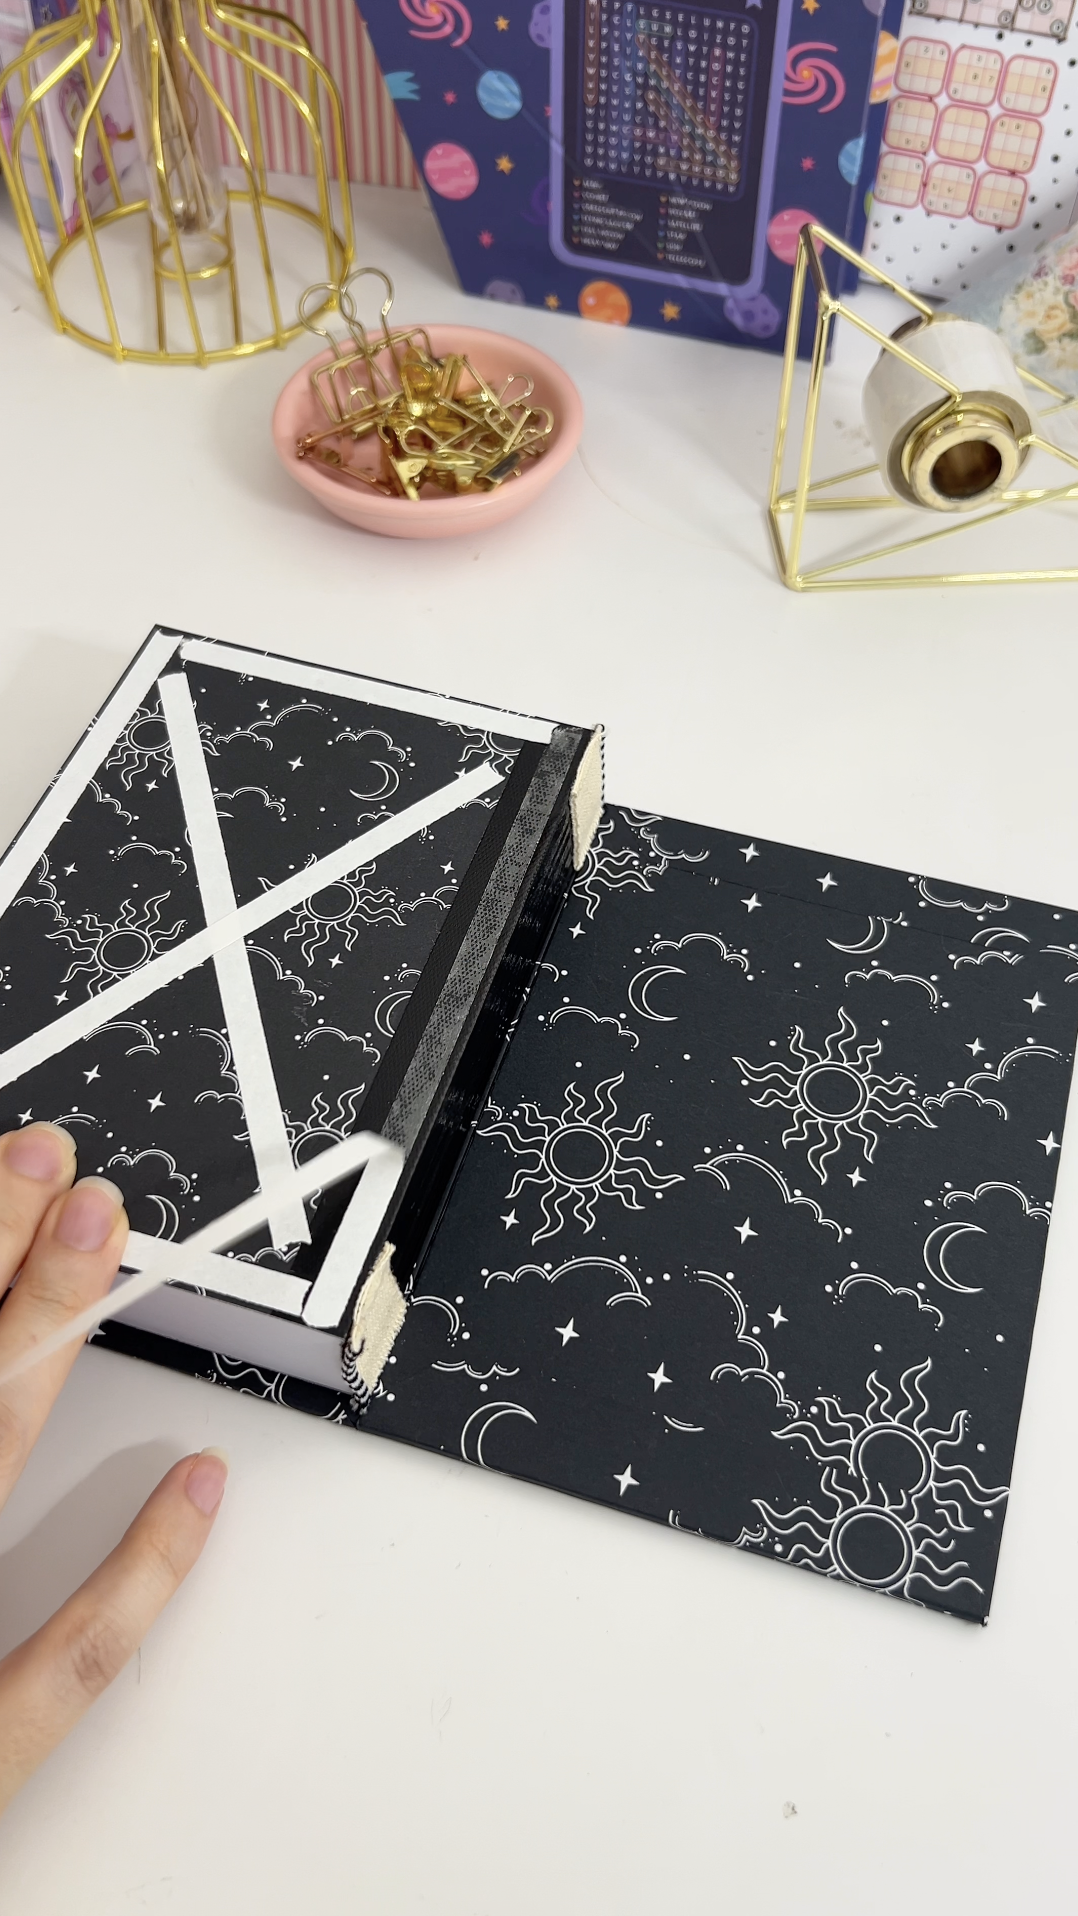 | 16. Open it flat. That's it. Open the planner on any page and the spine slides into the cover, so the pages lie completely flat. 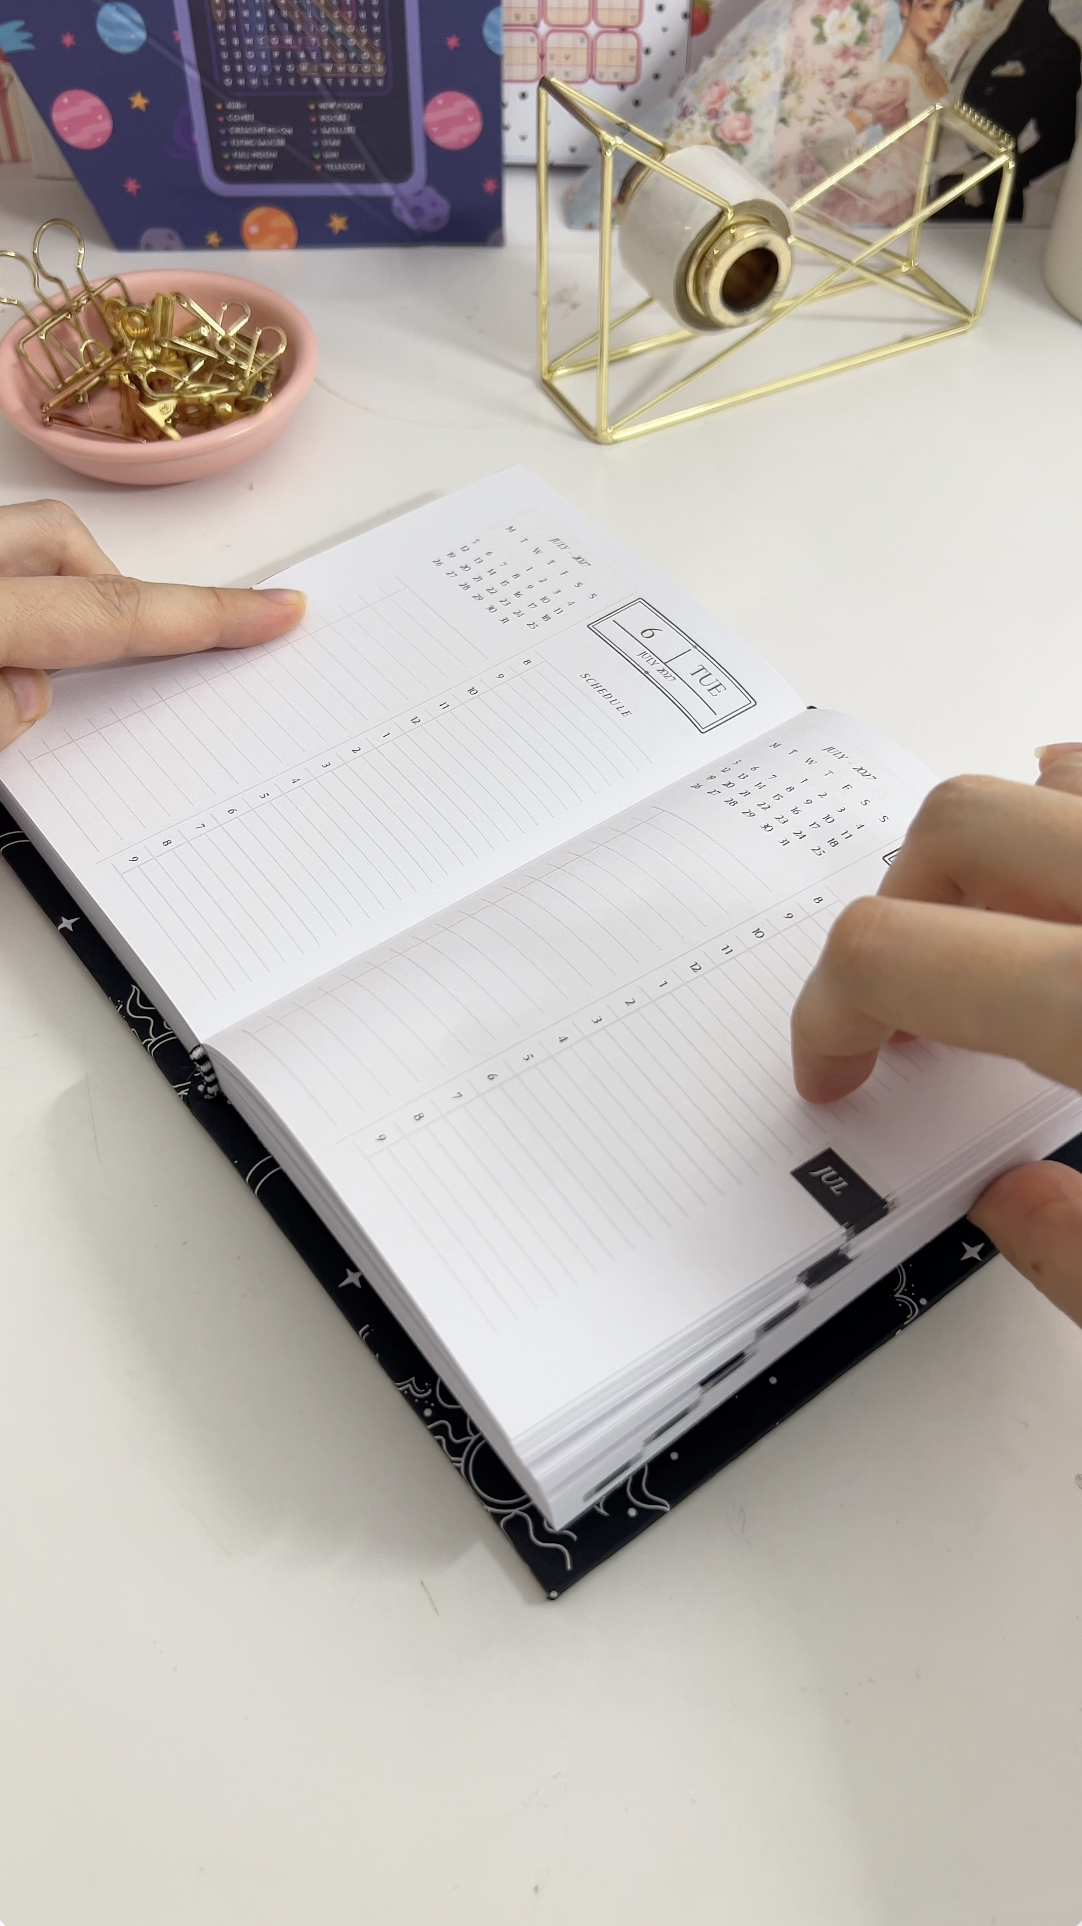 |
Troubleshooting
The spine sticks or doesn't slide. Glossy sticker paper grips; matte white sticker paper slides much more easily. Also check you only pulled the spine out slightly in step 13. Too far and it catches on the cover.
The dates look out of order in the PDF. That's expected with booklet export. Print front and back, fold the sheets one by one and they'll fall into order. If the whole stack comes out reversed, your printer may need "reverse pages" switched on, but most printers don't, so check a test sheet first.
White edges show on the inside cover. Print the back side at 102% rather than 100%, so the design covers slightly more than the front and nothing white peeks through after trimming.
Pages come loose. The glue didn't get between the folds. Bend the stack to both sides while gluing, let it dry fully in the press, and don't skip the cloth tape.
Selling these
A lay flat planner solves a real annoyance — fighting the binding while you write — and the sliding spine is a detail people notice and ask about, which makes it a strong product to show in photos and videos. Because the template is fully editable, one build process gives you a whole range: swap the cover pattern, fonts and widgets for different styles, or change the year. You can sell the finished planners, or sell your customized design as a printable or digital download. Price for the time it takes: printing, folding every sheet, drying overnight and assembling the cover all add up.
Try these next
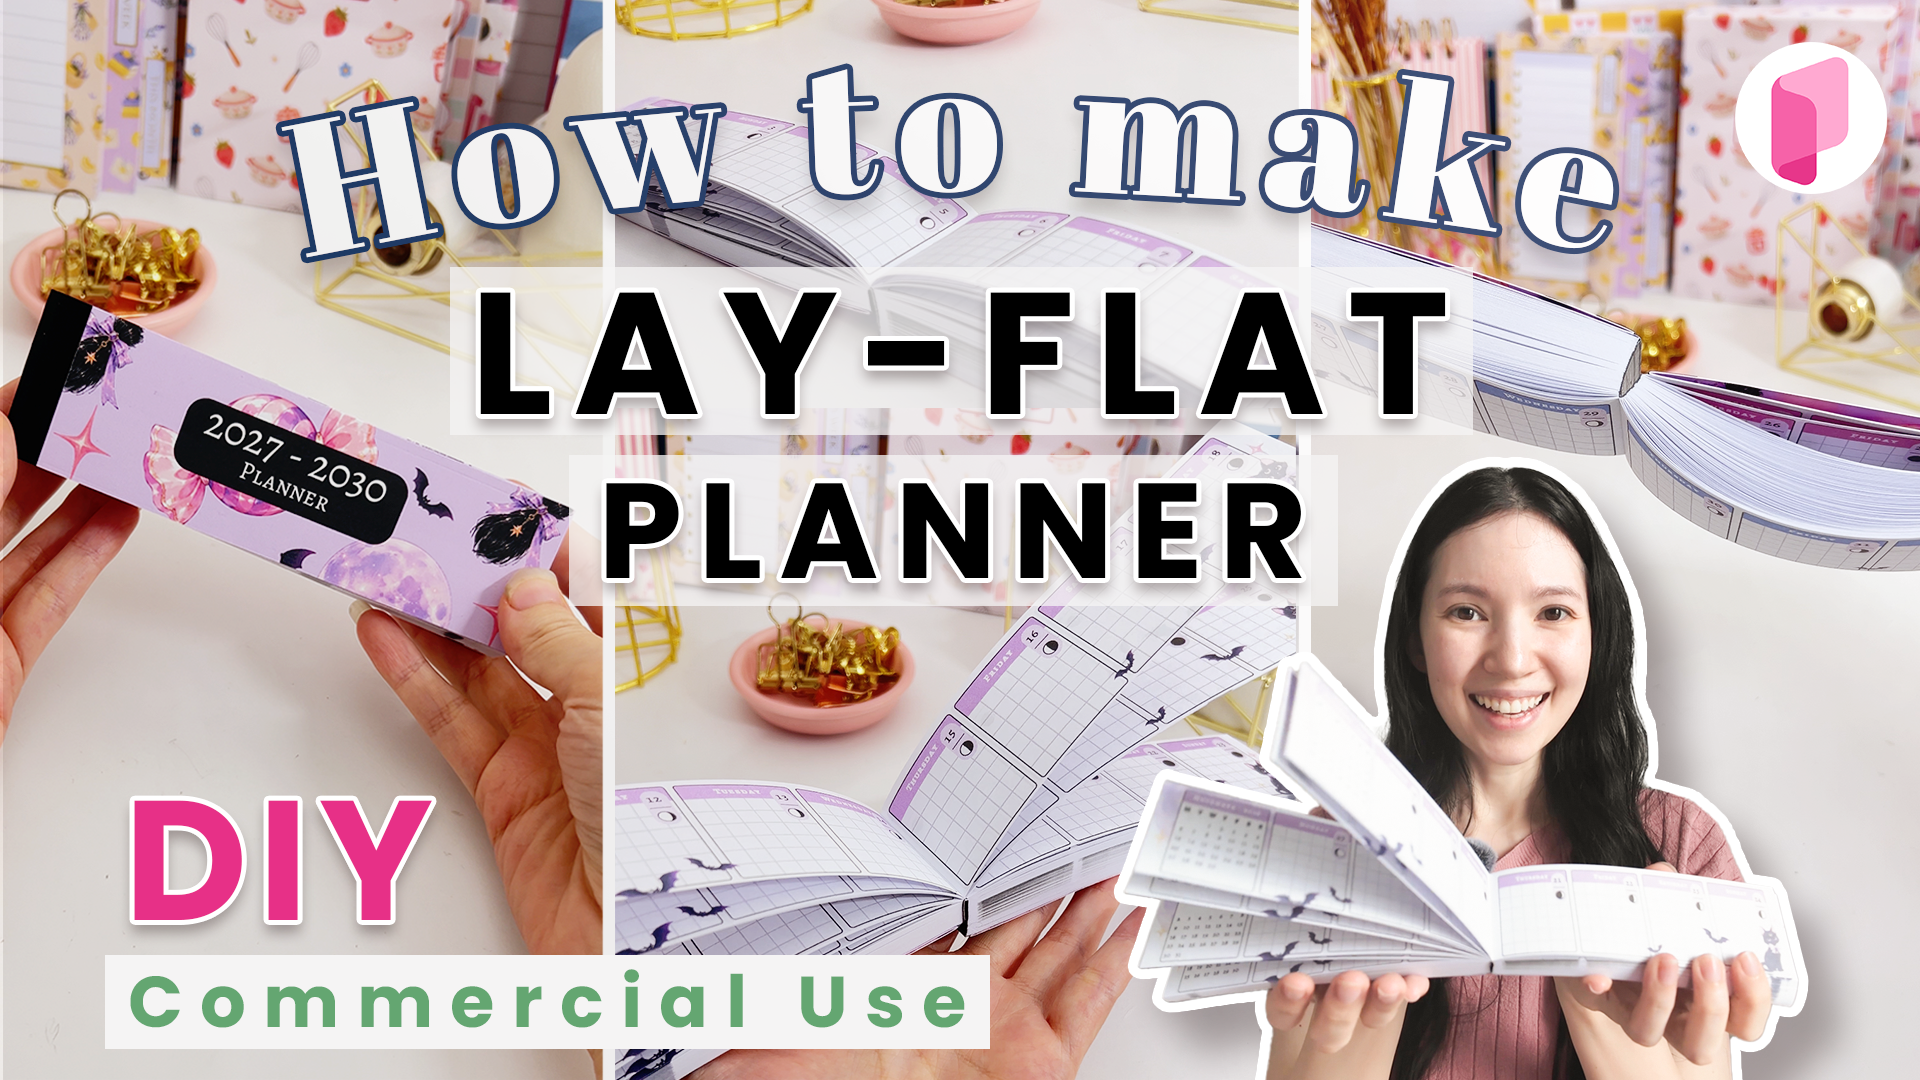
DIY Lay Flat Planner
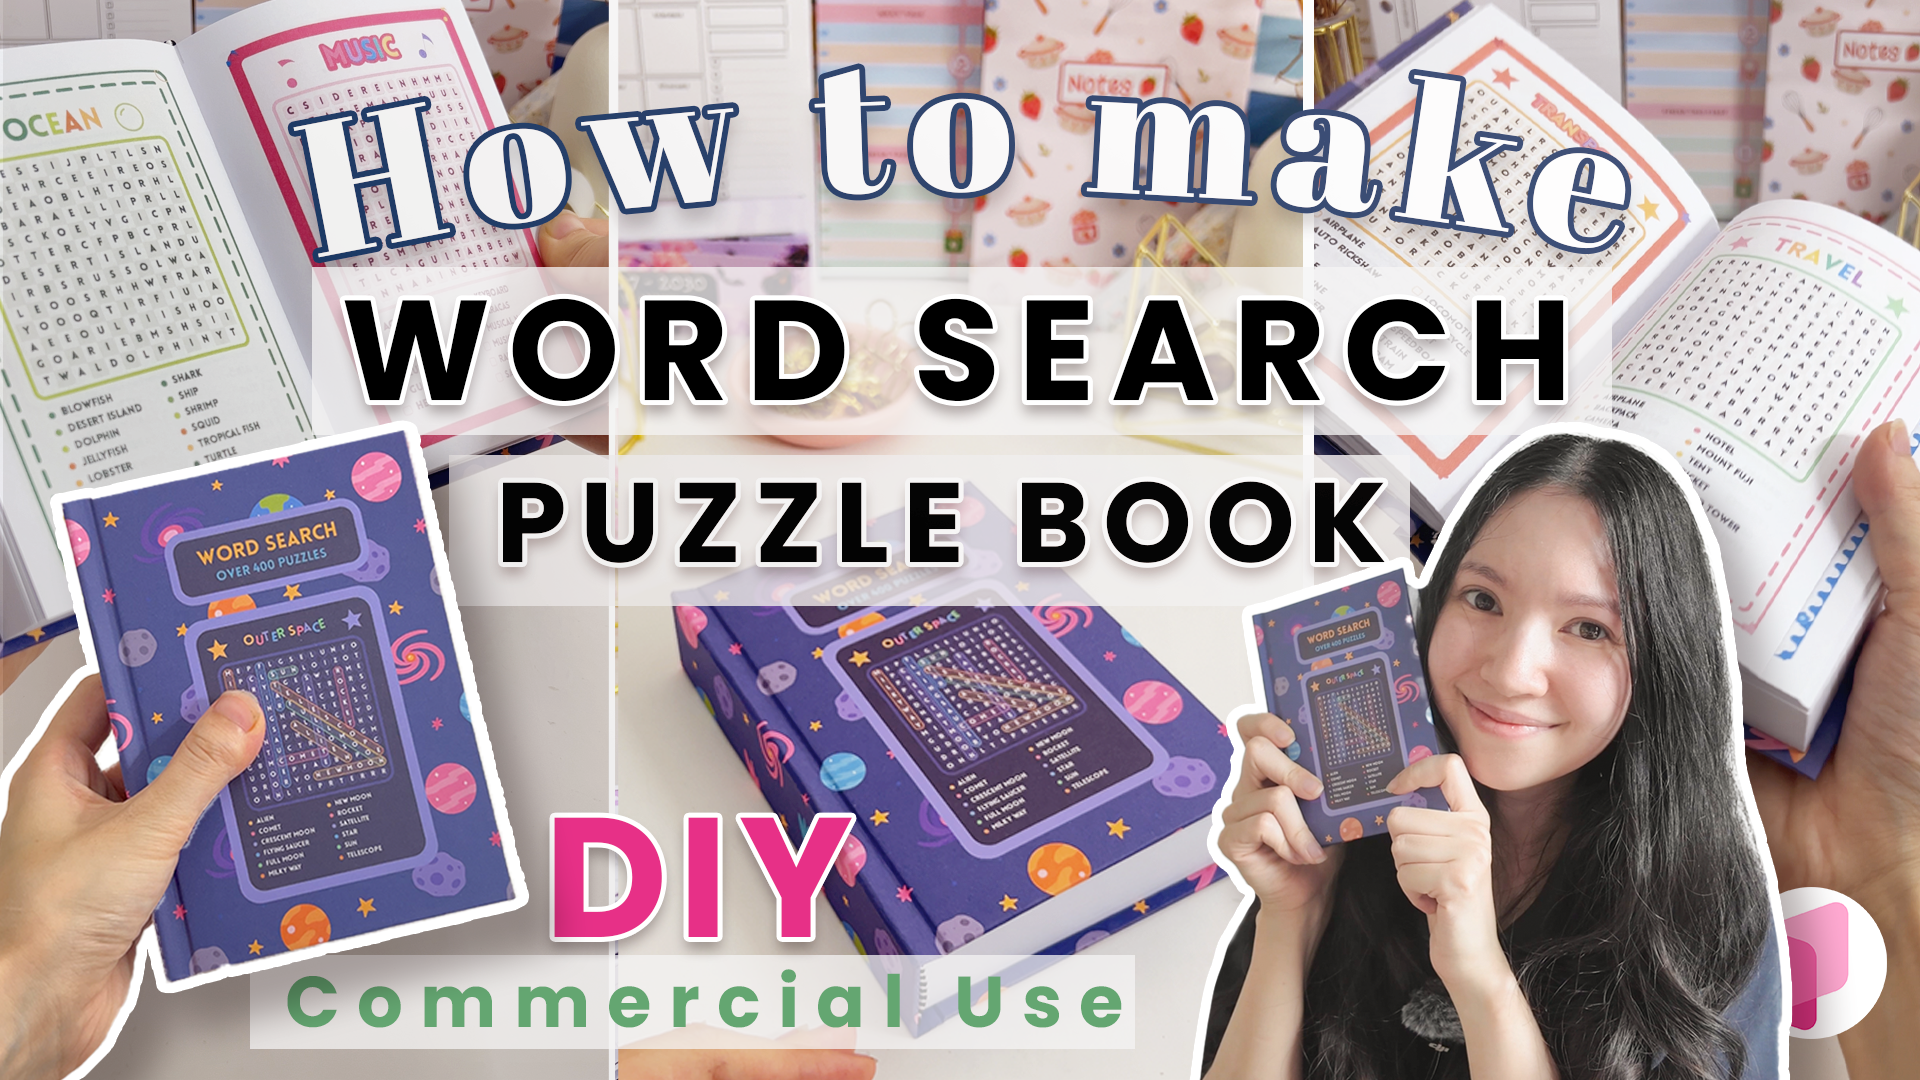
DIY Word Search Puzzle Book in a hardbound A6 cover
DIY Hardbound 30-Month Planner
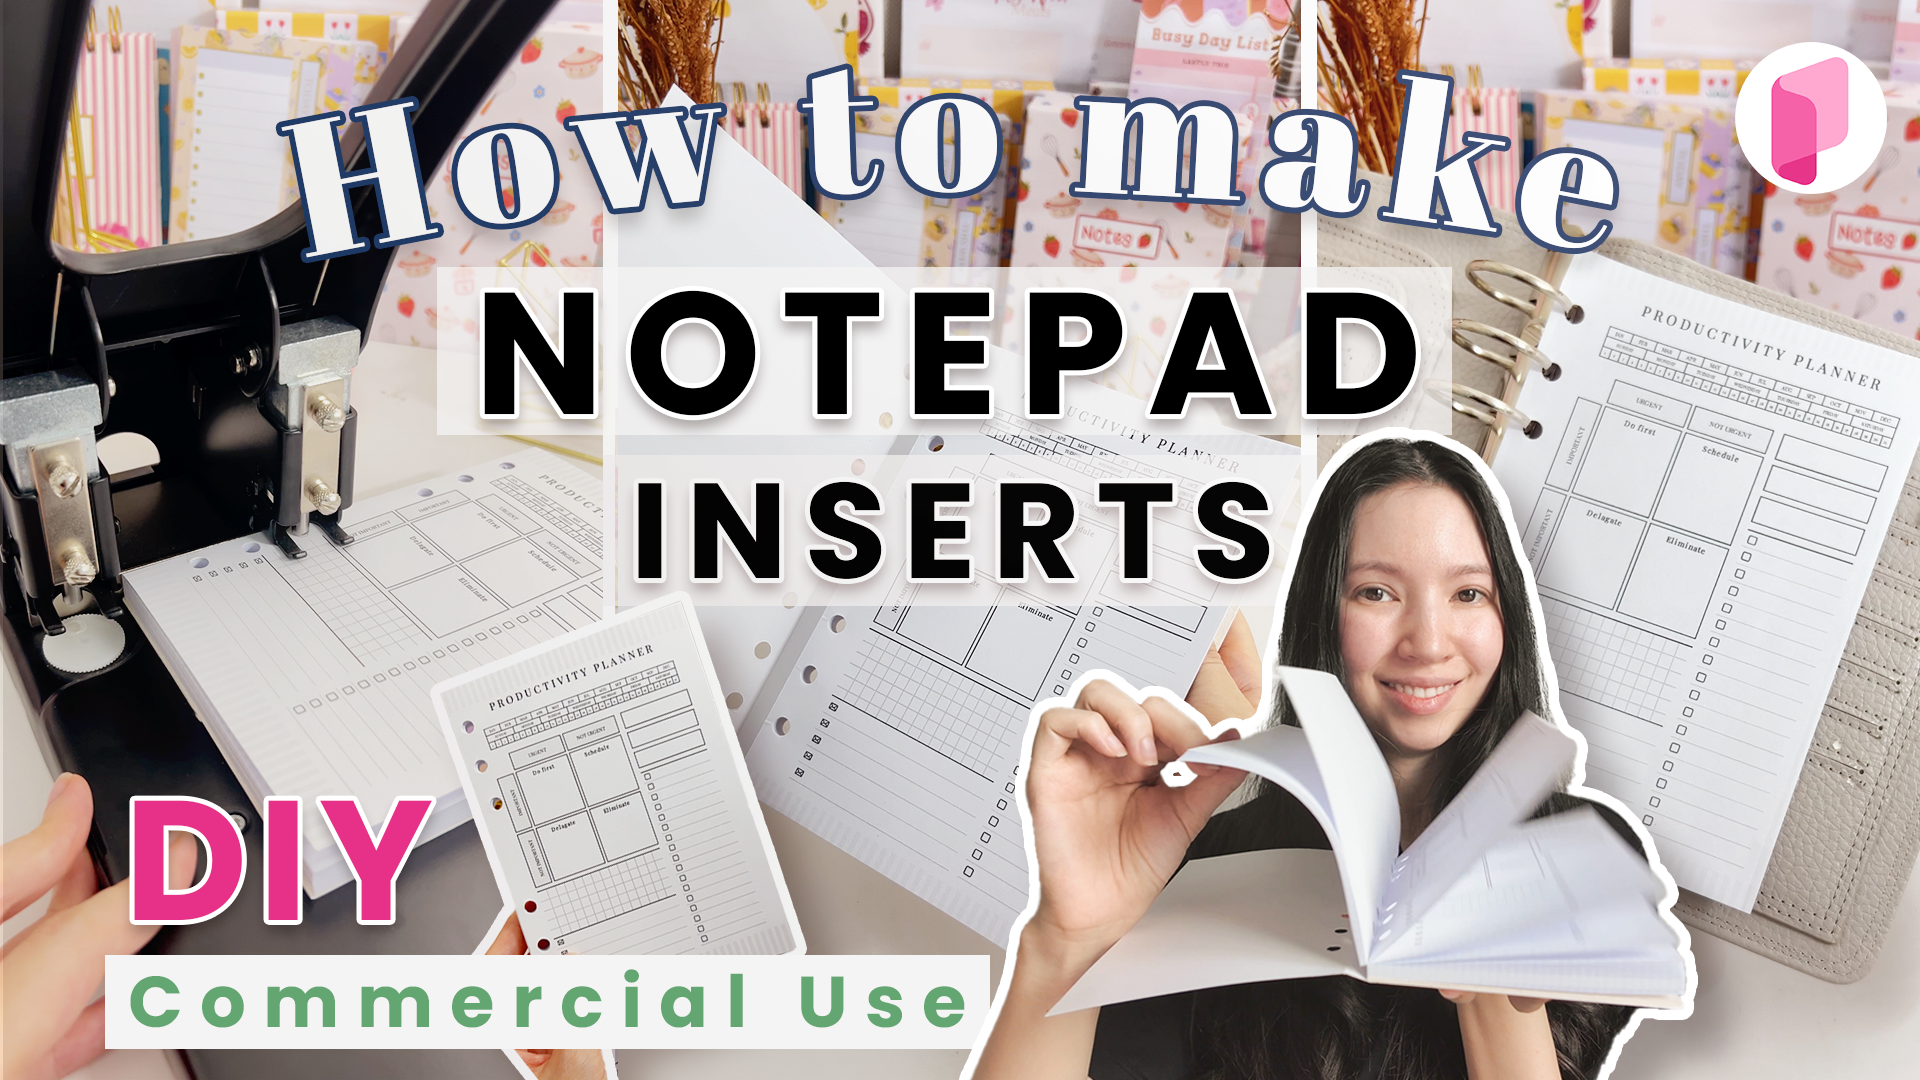
DIY Planner Booklet with a PVA-bound soft cover
DIY Planner with Magnetic Closure
All DIY tutorials