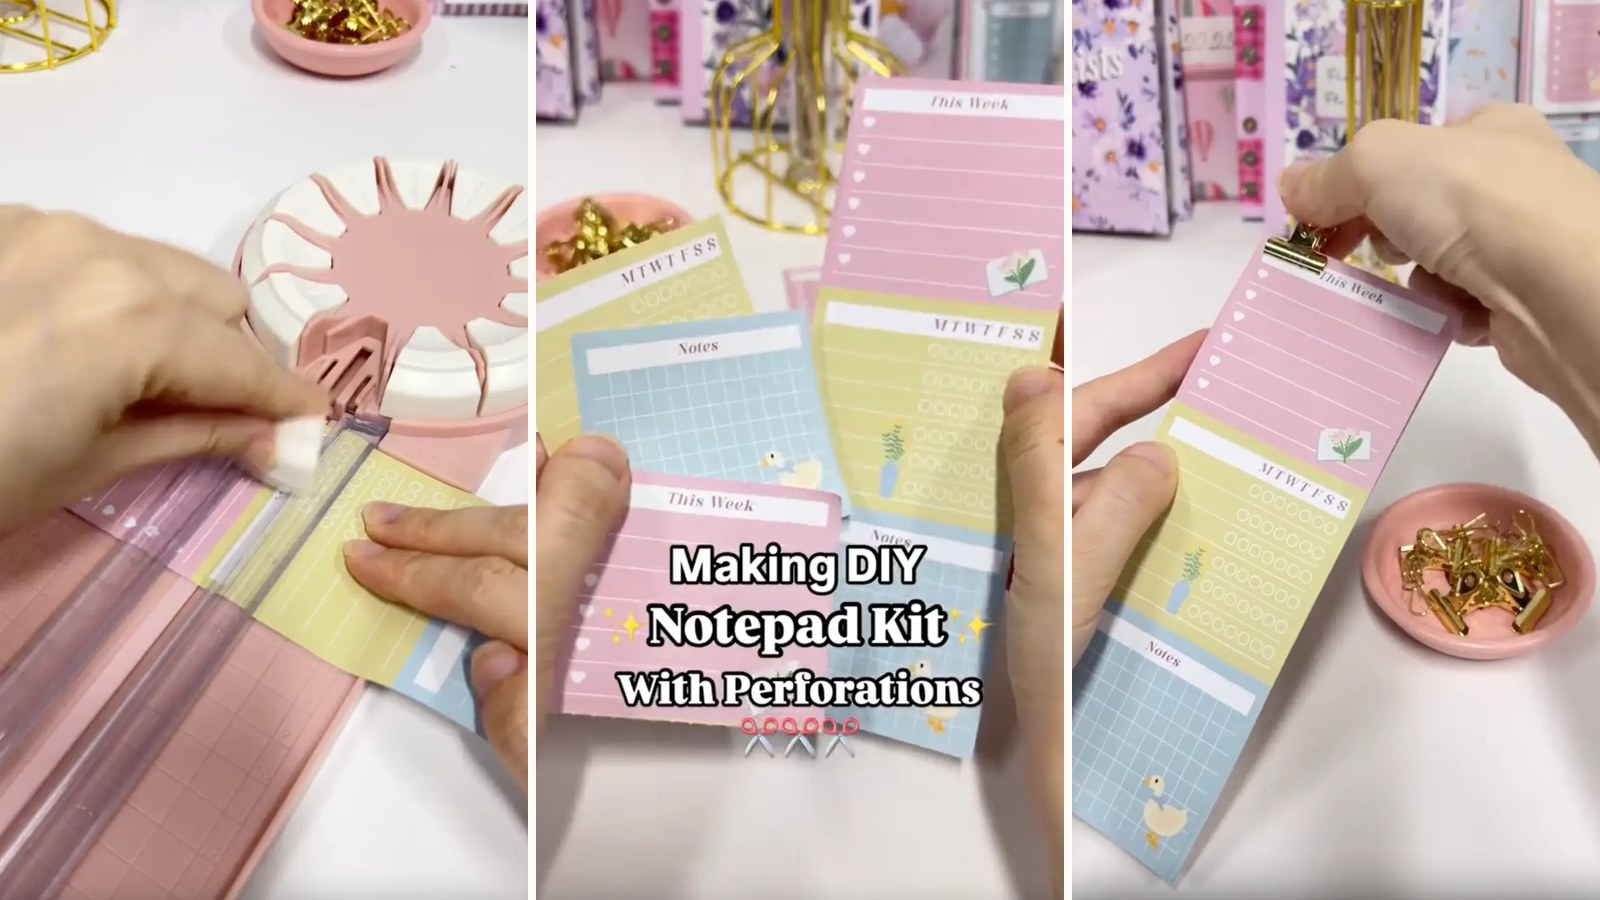
A notepad with perforated pages tears away cleanly every time — no ragged edges, no tugging at the glue. It's one extra step over a standard PVA-bound pad, and it's the difference between something homemade and something that looks bought.
These tutorials use Planify Pro, a drag-and-drop tool for designing printable planners and stationery. Building and editing is free — exporting a PDF needs a plan, from $9.99/month.
Get the template
Open it in Planify Pro to change the size, colours or design before printing — or print it exactly as it is.
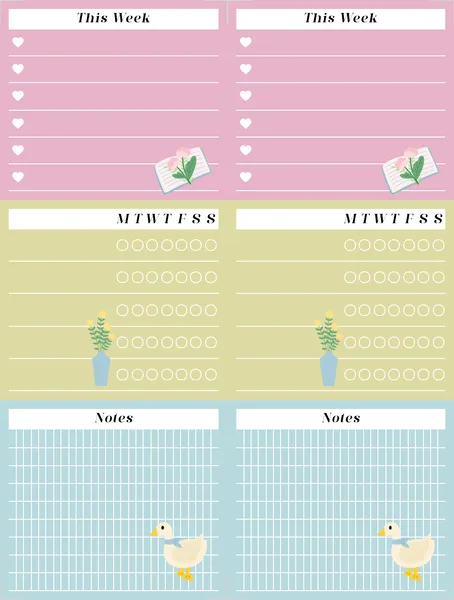
Export and print
In Planify Pro, go to Save/Export → Selected Page → Paper → A4 (or US Letter), then click Generate PDF.
Open the PDF in Adobe Acrobat Reader and print at 100% scale. Regular 80gsm paper is fine here — this is a notepad you tear from, so thick card works against you.
What You'll Need
 |  |  |
 |  |  |
A ruler and craft knife work instead of the guillotine if you'd rather not buy one. The perforating cutter is the only tool without a workaround.
Instructions
1. Print and cut the templates. Trim each sheet down to the notepad size before you do anything else.  | 2. Set up the perforating cutter — or a multi-cutter switched to its perforation blade.  |
3. Perforate each page between the pink and green sections, and again between the green and blue.  | 4. Cut the chipboard backing to 6.5 × 17.5cm, or match it to your template size.  |
5. Stack the pages on the chipboard and clip them together. Line the top edge up exactly — that edge becomes the spine.  | 6. Apply a thin layer of PVA glue along the top edge, then re-clip.  |
7. Spread the glue evenly with a sponge or scrap of paper. Thin and even matters more than thick.  | 8. Leave it to dry for 15 minutes, clips still on.  |
9. Remove the clips. The pages should tear away cleanly along each perforation.  | That's the notepad done. The chipboard keeps it rigid enough to write on without a desk, and each page tears off in one clean pull. |
Troubleshooting
Pages fall out on their own. Too much perforation or too little glue. One pass with the cutter, and make sure the glue reaches every sheet.
The spine cracks when you tear a page. The glue was too thick, so it dried brittle. Thin layers, spread evenly.
Pages tear raggedly. The stack shifted before the glue set — line the top edge up precisely and keep the clips on the whole time.
Selling these
Perforated notepads sell better than plain ones for the same production cost, because the tear-off edge reads as professionally made. They're also quick to batch — glue six at once and they all dry together.
They work well as an add-on to a planner listing, or bundled into a stationery set.
See 20 profitable planner niches and easy templates that sell for more product ideas.
Try these next
How to Make Notepads at Home — the basic PVA method
DIY Refillable Notepad — a pad that never runs out
DIY Bookmark Pen — another perforated project


