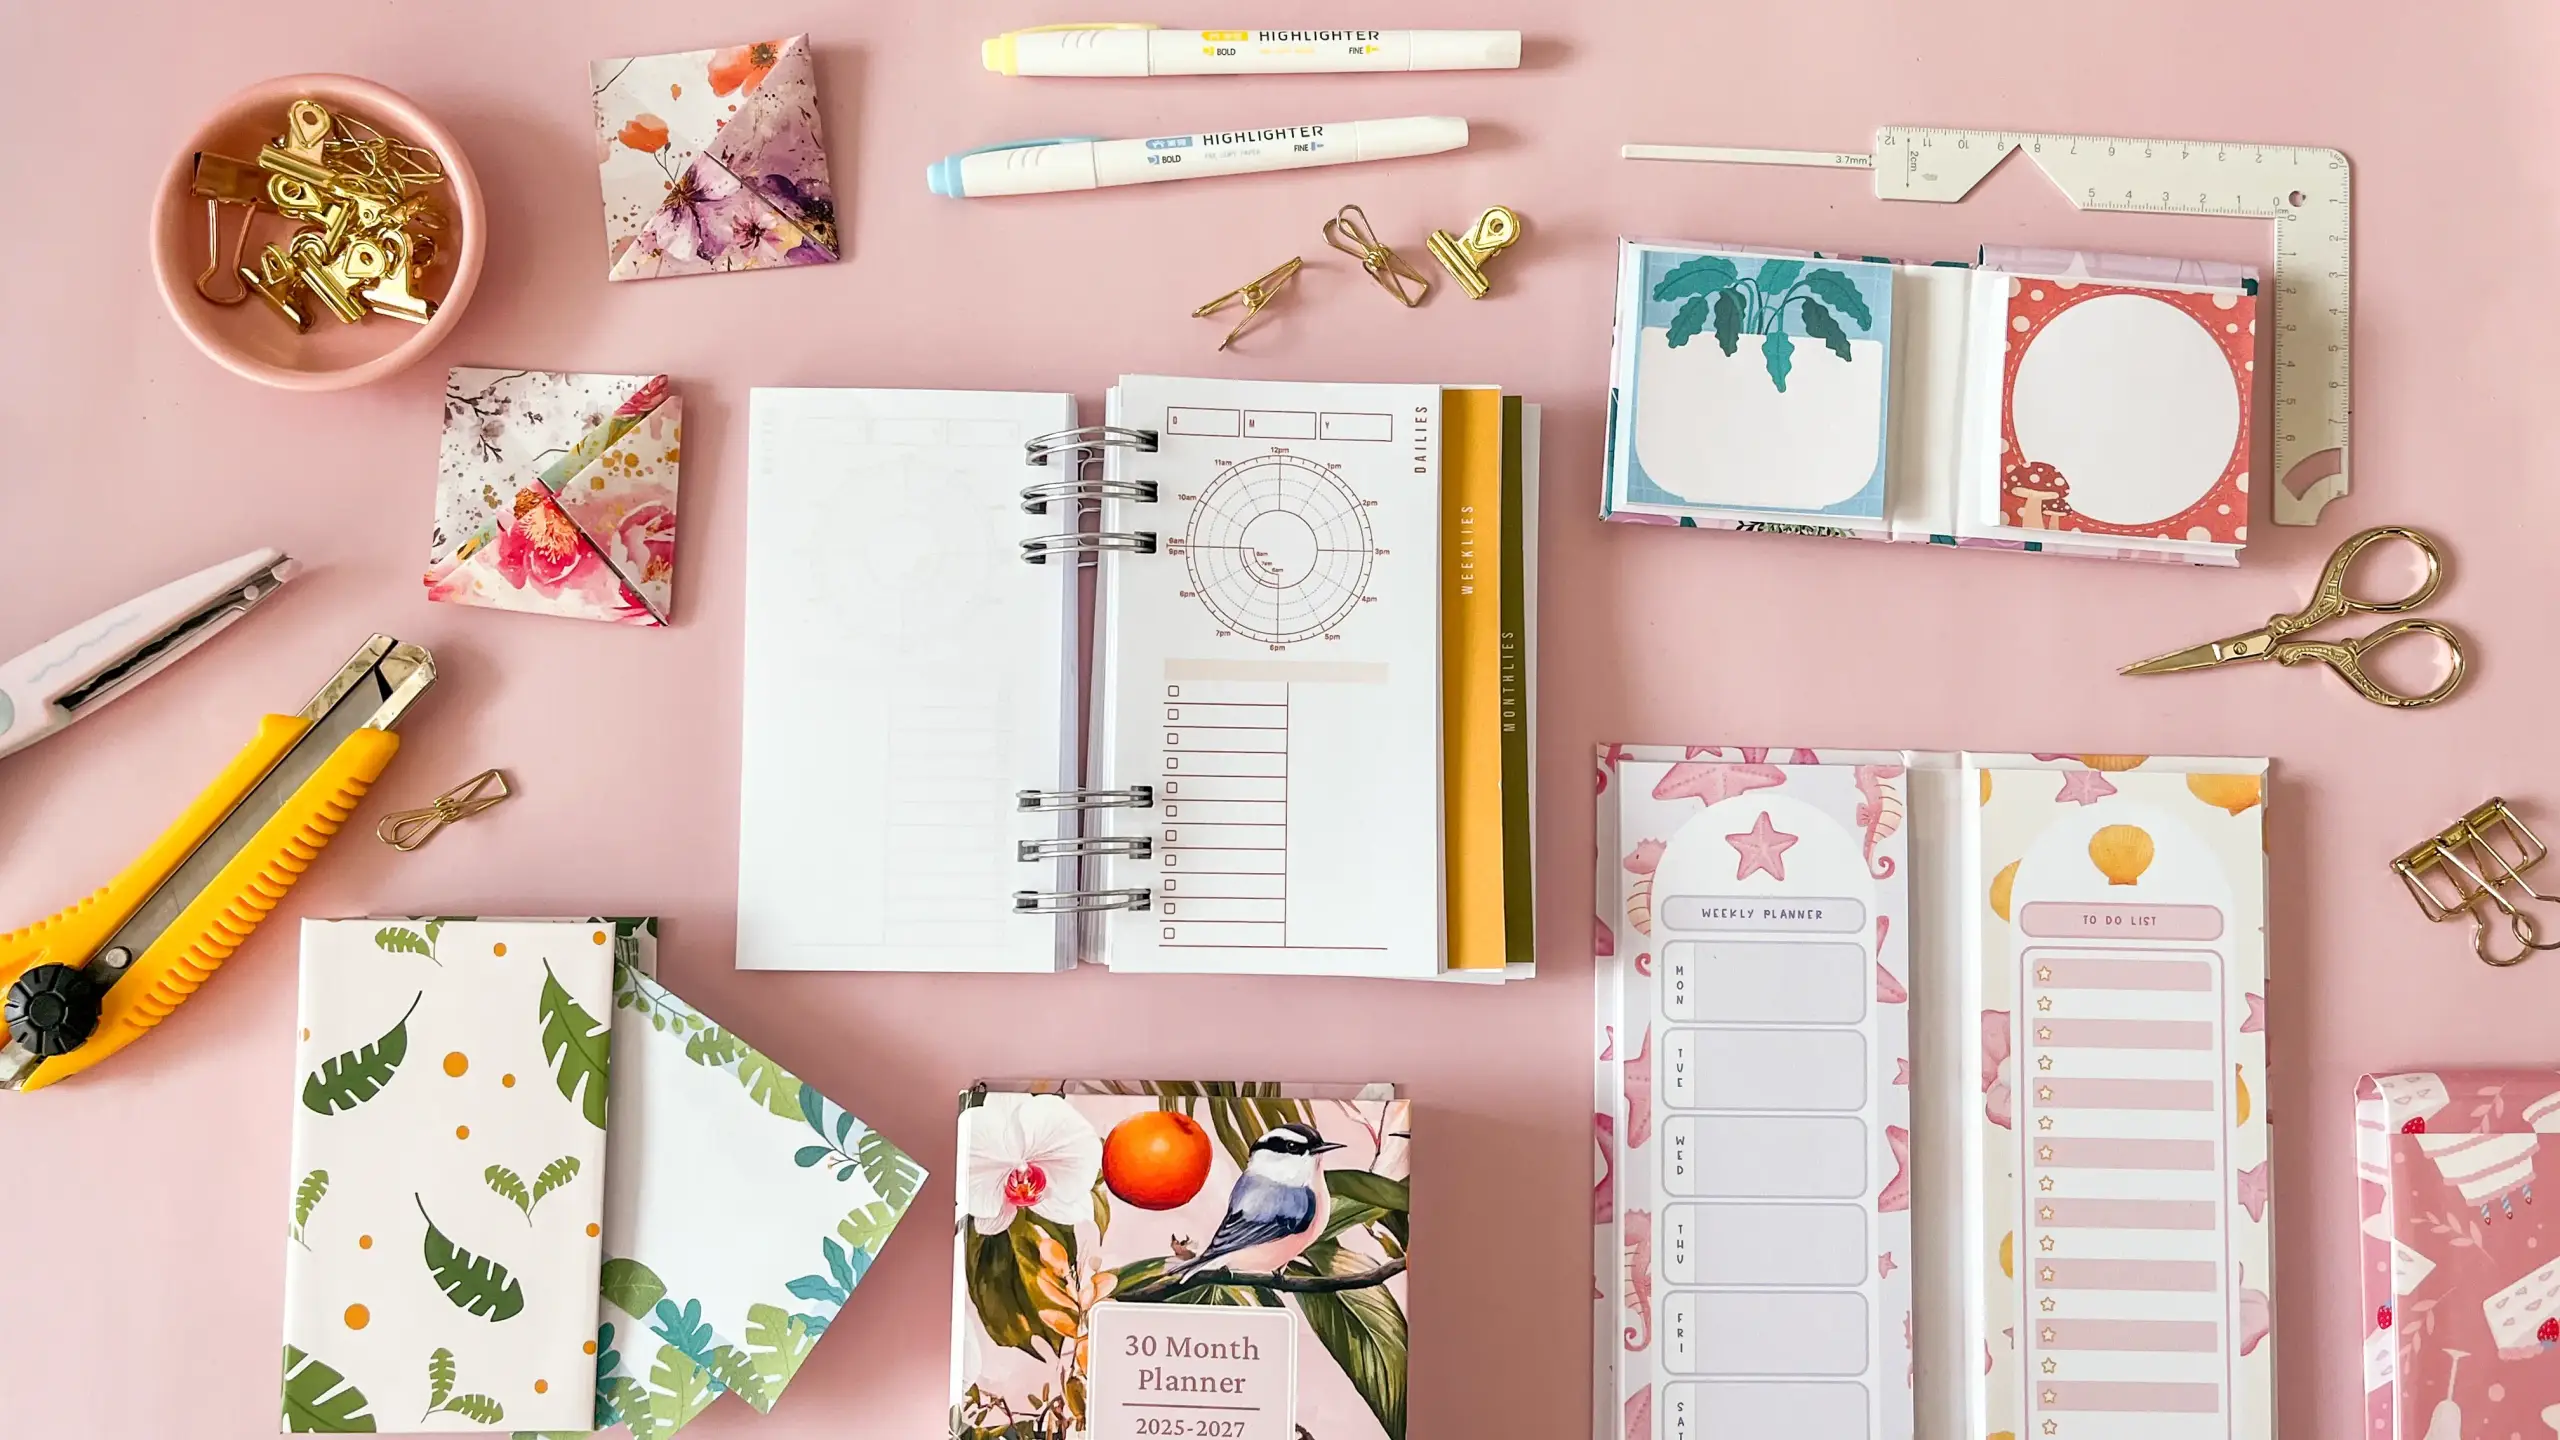
A planner book you've bound yourself fits how you actually plan — your pages, your size, and a cover you designed, held together by a wire spine that lies flat on the desk. The whole build is one afternoon of work: trim the printed pages, punch them, wrap two chipboard covers in glossy sticker paper, and close the wire.
These tutorials use Planify Pro, a drag-and-drop tool for designing printable planners and stationery. Building and editing is free — exporting a PDF needs a plan, from $9.99/month.
Get the template
There is no single template for this one — a planner book is a cover page plus however many insert pages you want behind it. Browse the Planify Pro template library for a daily, weekly or monthly layout in the size you're building, and a cover design to match; any of them can be resized, recoloured and dated before you export, so pick the closest fit rather than holding out for the exact one.
Export and print
Export the whole planner as a PDF at the paper size you'll actually print on, with the pages arranged for ring binding so they fall in the right order once they're punched.
Then print in two passes, because the two halves need different scales. Inserts print at 100%. The cover prints at 120% on glossy sticker paper — that extra 20% is the overhang you fold around the chipboard, and it is the one place where scaling up is deliberate rather than a mistake. Everywhere else, switch any "fit to page" or "shrink oversized pages" option off: an automatic shrink of even a percent or two pulls the whole page in from the edges, which moves your punch margin and leaves the holes biting into the text.
Duplex printing halves the paper for a book this size — see the best printers for planner making if yours can't do it.
What You'll Need
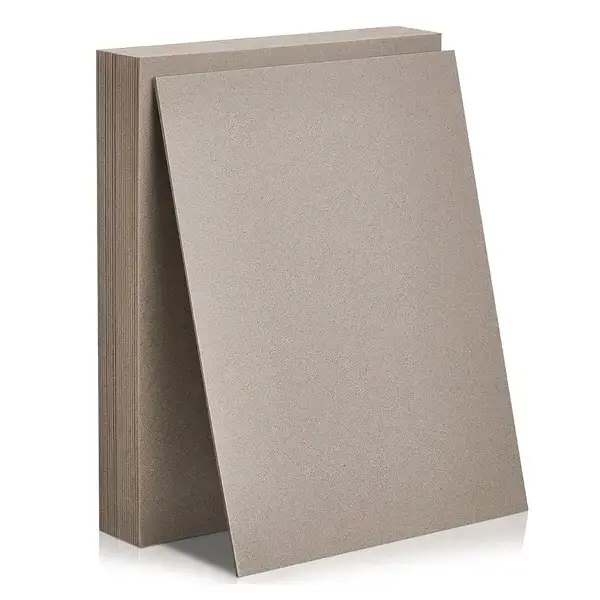 Chipboard / Book Board Chipboard / Book Board |
 Cinch Binding Machine Cinch Binding Machine |
 Binding Wires 20mm Binding Wires 20mm |
 Glossy Sticker Paper Glossy Sticker Paper |
 Paper for Inserts Paper for Inserts |
 Guillotine Cutter Guillotine Cutter |
Plus a pair of scissors for the cover corners.
Sizes that matter: chipboard at 1.2–1.6mm, cut to your planner size plus 6mm on width and length. Wires at 20mm for a slim book, 30mm for a thick one. Pre-cut A5 or US half letter paper saves a lot of trimming.
Instructions
1. Trim the printed inserts. Cut the whole stack in the guillotine rather than a few sheets at a time — one pass through a squared-up block gives every page an identical edge, and any sheet that ends up a millimetre short shows as a notch along the fore-edge of the finished book.  |
2. Punch the binding holes. Feed the pages into the Cinch a few sheets at a time — it won't punch a whole block — and push every batch up against the same edge stop before pulling the handle, so all the holes sit at the same distance from the top of the page.  |
3. Mount the cover onto chipboard. Peel the printed sticker sheet off its backing, lay a piece of chipboard face down in the middle of it with an even margin of sticker showing all round, then snip each corner off at an angle just outside the board. Do this twice — front and back.  |
4. Wrap the edges over. Fold each flap over onto the back of the board and press it down along its whole length, one edge at a time. The trimmed corners are what let the flaps lie flat instead of bunching into a lump. A plain sticker sheet stuck over the inside hides the folded edges.  |
5. Punch the covers and thread the wire. Punch the front and back covers against the same edge stop you used for the pages, then hook the whole stack — back cover, inserts, front cover — onto the open loops of the wire while it sits in the machine's holder.  |
6. Close the wire. Move the loaded wire into the closing channel with the book hanging below it and press straight down in one steady movement. Even pressure matters more than force — closing one end first leaves the loops slightly oval and the pages catch as they turn.  |
And that's the book finished — something that fits exactly how you plan, or a genuinely personal gift.
Troubleshooting
The cover doesn't wrap cleanly. The sticker sheet was printed at 100% rather than 120% — there isn't enough overhang to fold around the board.
The corners bunch into a lump. The corner overhang wasn't cut away before folding, so two layers of sticker paper meet at the same point. Trim the corners off at an angle first and the flaps sit flat.
The holes don't line up. Punch the covers and the inserts using the same edge as your guide. It's easy to flip one over without noticing.
The wire won't close. Too many pages for the wire size. 20mm holds roughly 100 sheets; go to 30mm above that.
Selling these
A wire-bound planner book is one of the few handmade stationery products that reads as finished rather than crafty — the wrapped board covers and the flat-opening spine are what buyers are used to seeing on a shop shelf, so it carries a real price rather than a novelty one.
It also scales better than most builds. The materials are cheap and the slow parts — trimming, punching, wrapping — are the same whether you make one book or ten, so batching an afternoon's work brings the per-unit time down sharply. Print several cover designs from the same insert set and you have a range from a single layout.
Bundle it with a matching notepad or a set of loose inserts and the whole thing becomes a gift set worth more than the parts. If you'd rather sell the design than the object, the same pages work as a digital download with none of the assembly.
See 20 profitable planner niches and easy templates that sell for more on pricing and positioning.
Try these next
- DIY Hardbound Planner — the same book with a glued spine and a hard case
- Book Binding Methods Compared — wire, coil, PVA and signature side by side
- DIY Weekly Planner with Magnetic Closure — wire binding plus a flap that snaps shut
- DIY Bill Planner — folded pocket pages on the same o-wires
- DIY Corner-Bound Notebook — wire binding turned 45°
- Browse all DIY tutorials


