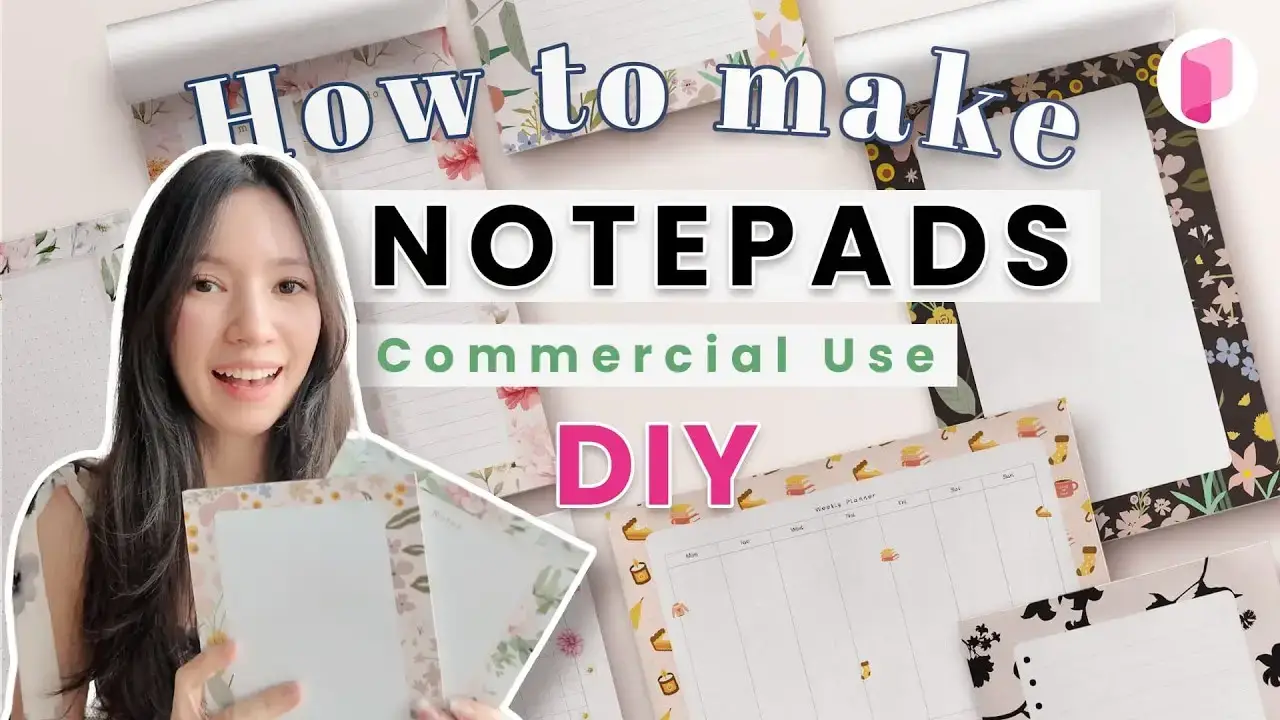
Making notepads at home is one of those crafts that looks far more complicated than it is. There is no special machine involved and no binding equipment to buy — a stack of printed paper, a piece of card and the right glue is genuinely all it takes.
The result is a real, tear-off notepad: pages that lift away cleanly one at a time, with a firm backing that stops the whole thing bending in your bag. Once you have made one, you can make ten, which is why so many small shops start here. Personalised notepads make lovely gifts, and they are one of the easiest handmade products to list in an Etsy shop.
These tutorials use Planify Pro, a drag-and-drop tool for designing printable planners and stationery. Building and editing is free — exporting a PDF needs a plan, from $9.99/month.
Here is the whole process, start to finish.
Get the template
The craft is the easy half — what makes a notepad worth giving, or selling, is the page design. Open this one in Planify Pro to change the size, the line spacing or the colours before printing, or print it exactly as it is.
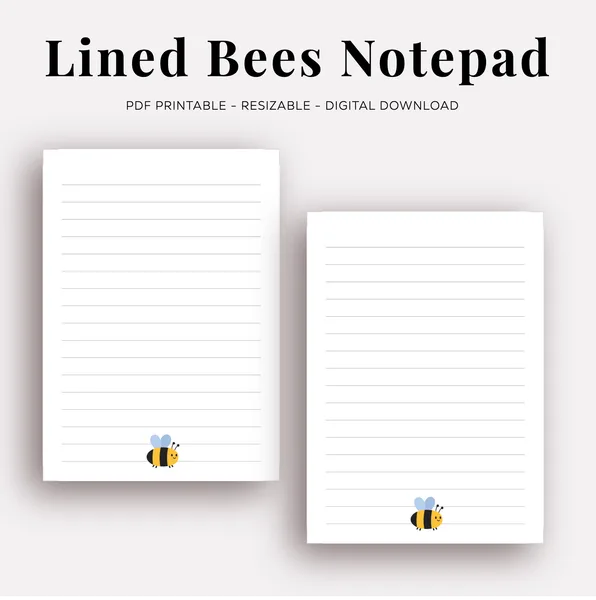
The library has over a thousand patterns and sticker designs behind it, which makes seasonal pads — Halloween, Christmas, Valentine's, spring — quick to put together once you have the basic layout. For more on making pages people actually want, see our guide to notepad design ideas.
Export and print
Export the finished design as a PDF at the paper size you are actually going to feed the printer — A4 or US Letter if you are printing two pages per sheet and trimming down, or the notepad size itself if your printer takes it. Set the number of copies to the number of sheets you want in the pad, plus two or three spares.
Print at 100% scale, with any "fit to page" or "shrink to printable area" option switched off. This is the one setting that quietly ruins a pad: it shrinks every sheet by a percent or two, and pages that do not all match cannot be trimmed to the flush glue edge the binding depends on.
If your printer supports borderless printing, turn it on. If it does not, print two smaller pages per sheet and trim the border away — that gets you the same edge-to-edge look.
What you'll need
- Padding glue — also sold as padding compound. Regular PVA or Mod Podge works too, but padding glue stays slightly flexible when dry, which is what gives you that clean tear along the top edge. PVA dries harder and pages can tear raggedly.
- Printer paper for the pages — 90–120gsm is the sweet spot. Standard 80gsm copy paper works but feels flimsy; anything heavier than 120gsm makes a bulky pad.
- Cardstock or chipboard for the back — 250–300gsm cardstock, or a cut-up cereal box if you want it stiffer. This is what makes the pad feel like a product rather than a bundle of paper.
- A flat brush — a cheap 1-inch craft brush is fine. A foam brush also works.
- Binder clips or small clamps — at least four.
- Two offcuts of stiff board — scrap chipboard or thick cardboard, cut a little larger than your pad. These are your clamping jaws.
- A paper trimmer or a craft knife and metal ruler — only if you are cutting pages down to size.
Optional but worth it: a few sheets of scrap paper to sacrifice as the top sheet, and a strip of masking tape.
Step 1: Print your notepad pages
Decide your size before you print. The most common notepad sizes are:
| Size | Dimensions |
|---|---|
| A6 | 105 × 148 mm (4.1 × 5.8 in) |
| A5 | 148 × 210 mm (5.8 × 8.3 in) |
| Half letter | 5.5 × 8.5 in |
| 4 × 6 in | Small desk pad |
| 3 × 5 in | Notes and list pads |
Most home printers cannot print edge to edge, so you have two options. Either print your design with a white margin and accept the border, or print two smaller pages per sheet and trim them down — which is how you get a properly borderless look without a borderless printer.
A typical pad is 25 to 50 sheets. Fewer than 25 and it feels thin; more than 50 and the glue struggles to hold the whole block. Print your count now, plus two or three spares.
Step 2: Trim the pages to size
If you printed two-up, cut them down now. A paper trimmer gives you the squarest edge, but a craft knife and a metal ruler will do it if you cut a few sheets at a time rather than the whole stack at once.
This step matters more than it sounds. The glued edge has to be perfectly flush, and if your pages vary by even a millimetre or two, the glue seeps between the uneven sheets and the pad tears badly. Take your time here and you will save yourself the frustration later.
Step 3: Cut the backing board
Cut your cardstock or chipboard to exactly the same size as your pages. Not larger — flush. An overhanging backing catches on everything and looks homemade in the wrong way.
If you want a cover sheet on the front as well, cut that now too.
Step 4: Jog the stack square
Put the backing board at the bottom, your printed pages face-up on top of it, and if you are using one, your cover sheet on top of that.
Now jog the stack: hold it loosely, tap the edge that will be glued down against a hard flat surface — a table, a chopping board — and let gravity square everything up. Rotate it and tap the side edge too. Do this two or three times until the glue edge is perfectly aligned.
Lay a piece of scrap paper on top of the stack as the very top sheet. It will absorb the messiest first coat of glue and peel off at the end.
Step 5: Clamp it tight
Sandwich the whole stack between your two boards, with the boards sitting about 3 mm back from the glue edge so the brush can reach the paper without painting your clamping boards.
Clip it together with binder clips — two along the outer edge, one on each side. Squeeze it properly tight. Any air between the sheets is somewhere glue can creep in.
Stand the clamped block on its end, glue edge facing up, with something heavy either side to hold it steady. Working with the edge facing up rather than sideways stops the glue running down the face of your pages.
Step 6: Glue the top edge
Load your brush lightly and paint a thin coat across the top edge, brushing in one direction only. Thin is the whole trick — a thick coat will not dry properly, and it will run between the sheets.
Let it dry for 20 to 30 minutes. It should feel dry to the touch and look slightly translucent.
Apply a second thin coat, the same way. Wait again. Then a third.
Three thin coats hold far better than one thick one. If you can still see paper fibres through the glue after the third coat, add a fourth.
Step 7: Cure, release and finish
Leave the clamped pad alone for at least four hours, and overnight if you can. Padding glue feels dry on the surface long before it has cured all the way through, and this is the point where most people rush and end up with a pad that separates.
When it is properly cured, take the clips off, remove the boards, and peel away the sacrificial top sheet — it will lift off and take the excess glue with it.
Run a craft knife lightly along the glued edge if any glue has bridged onto the sides. Then tear off the first page. It should come away in one clean line.
Troubleshooting
Pages tear raggedly instead of lifting cleanly. Usually too much glue, or PVA instead of padding glue. Thinner coats next time.
The pad separates when you tear a page. Not enough coats, or it was unclamped before it fully cured.
Glue has seeped between the pages near the top. The stack was not jogged flush, or the clamp was too loose.
The top edge is wavy. The paper absorbed moisture from a coat that was too heavy. Thin coats, longer drying time.
Turning notepads into something you can sell
A handmade notepad is a good product for a small shop: cheap to make, light to post, and easy to personalise for a name, a date or an occasion.
Two things make the difference between a craft project and a product. The first is consistency — the same size, the same sheet count, the same square edges on every pad. The second is presentation: a clean photo on a plain background sells a notepad better than any description.
If you would rather sell the design than the physical pad, the same artwork works as a printable digital download. We cover that side of it in easy templates that sell and in our full guide to selling planners on Etsy.
A few variations to try
Once the basic pad works, the technique opens up:
- Chipboard back and a kraft cover for a more rustic, stationery-shop look.
- A magnetic strip glued to the back so it lives on the fridge.
- Two-tone pads — alternate two page designs so the pad changes as it is used.
- Perforated pages so each sheet tears along a line instead of off the glue. We walk through that in DIY perforated notepad.
- A refillable holder rather than a glued pad, so the pages can be swapped out. We walk through that one in DIY refillable notepad.
Final thoughts
The whole thing comes down to three habits: jog the stack flush, clamp it tight, and use thin coats of glue with real drying time between them. Get those right and every pad you make will tear cleanly.
Start with one small A6 pad to get a feel for the glue before committing to a batch. Once the technique clicks, a stack of ten takes barely longer than a stack of one.
More projects like this one in the DIY tutorials index.


