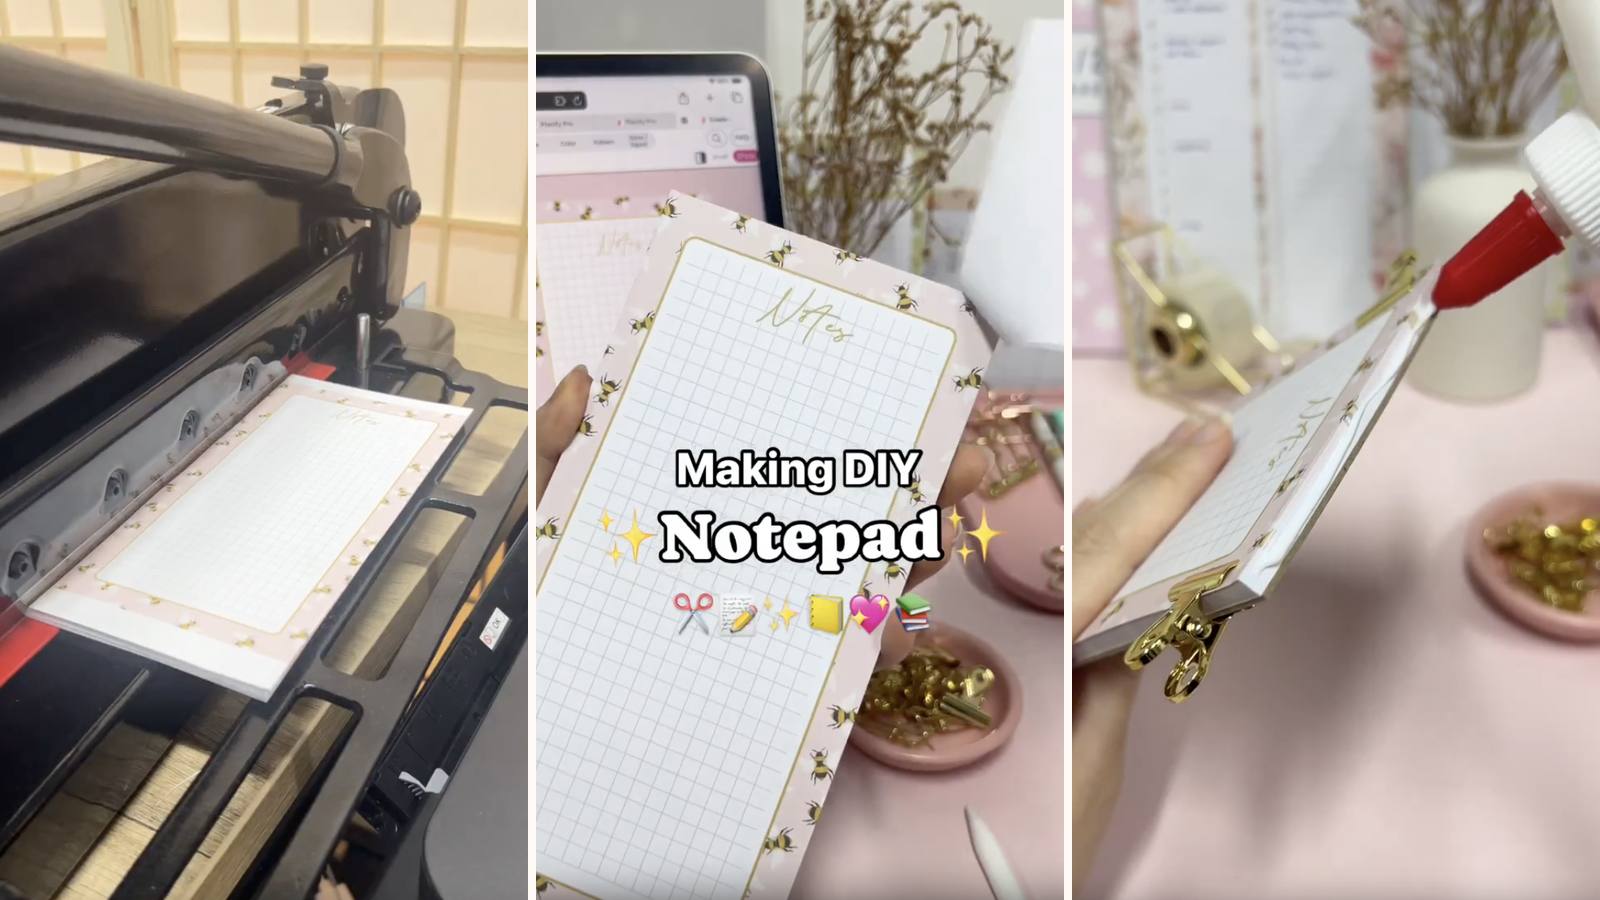
This is the shortest project in the whole library: print your design, stack it on a piece of chipboard, and brush glue along the top edge. No cover to build, no binding machine, nothing to punch. If you've never made a notepad before, start here — everything else in the DIY section is a variation on this one step.
These tutorials use Planify Pro, a drag-and-drop tool for designing printable planners and stationery. Building and editing is free — exporting a PDF needs a plan, from $9.99/month.
Get the template
Open it in Planify Pro to change the size, colours or artwork before printing — or print it exactly as it is.
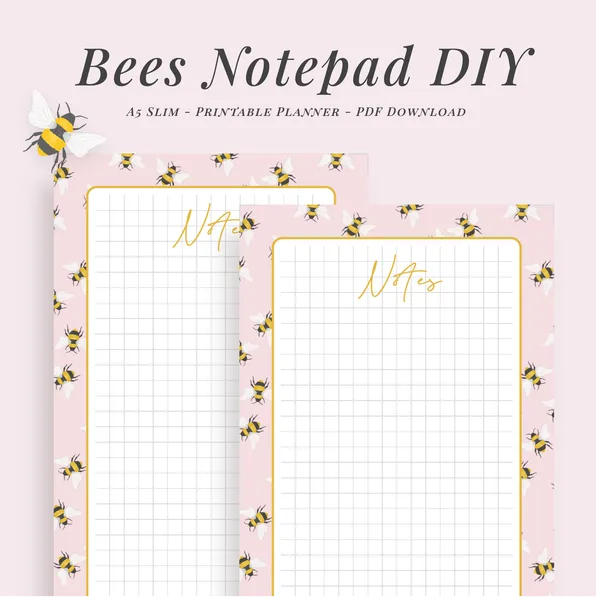
Export and print
Go to Save/Export → Selected Page → Paper → A4, then click Generate PDF and print from Adobe Acrobat Reader at 100%.
Print 30 to 60 sheets. Below 30 the pad feels flimsy; above 60 the glue struggles to hold the bottom of the stack without a proper press.
What You'll Need
 Paper Paper |
 Chipboard Chipboard |
 PVA Glue PVA Glue |
 Binder Clips Binder Clips |
 Guillotine Paper Cutter Guillotine Paper Cutter |
Ordinary children's PVA works fine here — you don't need bookbinding glue for a pad this size.
Instructions
1. Print, trim, and cut a backing board. Trim the printed pages to size, then cut a piece of chipboard to exactly the same size. A backing board even a millimetre proud of the paper catches on everything and stops the top page tearing off flat.  |
2. Glue the top edge and leave it 10 minutes. Stack the pages on the board, clip them square, and spread PVA evenly along the spine with a brush or a finger. Work it into the edge of the stack rather than laying it on top — that's what makes pages lift cleanly instead of tearing.  |
Troubleshooting
Pages tear instead of lifting off. Too much glue, or it went on in a thick band. A thin coat, worked right into the edge, is all it needs.
The pad splays at the bottom. The stack wasn't clipped, or the clips came off before the glue set. Clip it, and leave them on the full ten minutes.
Whole sections come away together. The pages weren't flush when you glued them, so the glue only reached some of the edges. Knock the stack square on the desk before clipping.
The bottom pages won't hold. Too tall a stack for one coat. Either drop to 60 sheets or give it a second thin coat once the first is touch-dry.
Selling these
The economics here are the best in the library. A pad costs a few sheets of paper, an offcut of chipboard and a smear of glue, and takes about ten minutes of actual work — most of which is waiting.
That makes it the right product for volume: craft fairs, market stalls, and low-price listings that bring buyers into a shop where the expensive things also live.
Since the build never changes, all your effort goes into the design. One good afternoon of layouts becomes a whole product range.
See DIY notepad design ideas and easy one-page printables that sell for more.
Try these next
- How to Make Notepads at Home — the full beginner guide
- DIY Perforated Notepad — cleaner tear-off lines
- DIY Notepad with Folding Cover — add a cover to this
- DIY Stacked Notepad
- Browse all DIY tutorials


