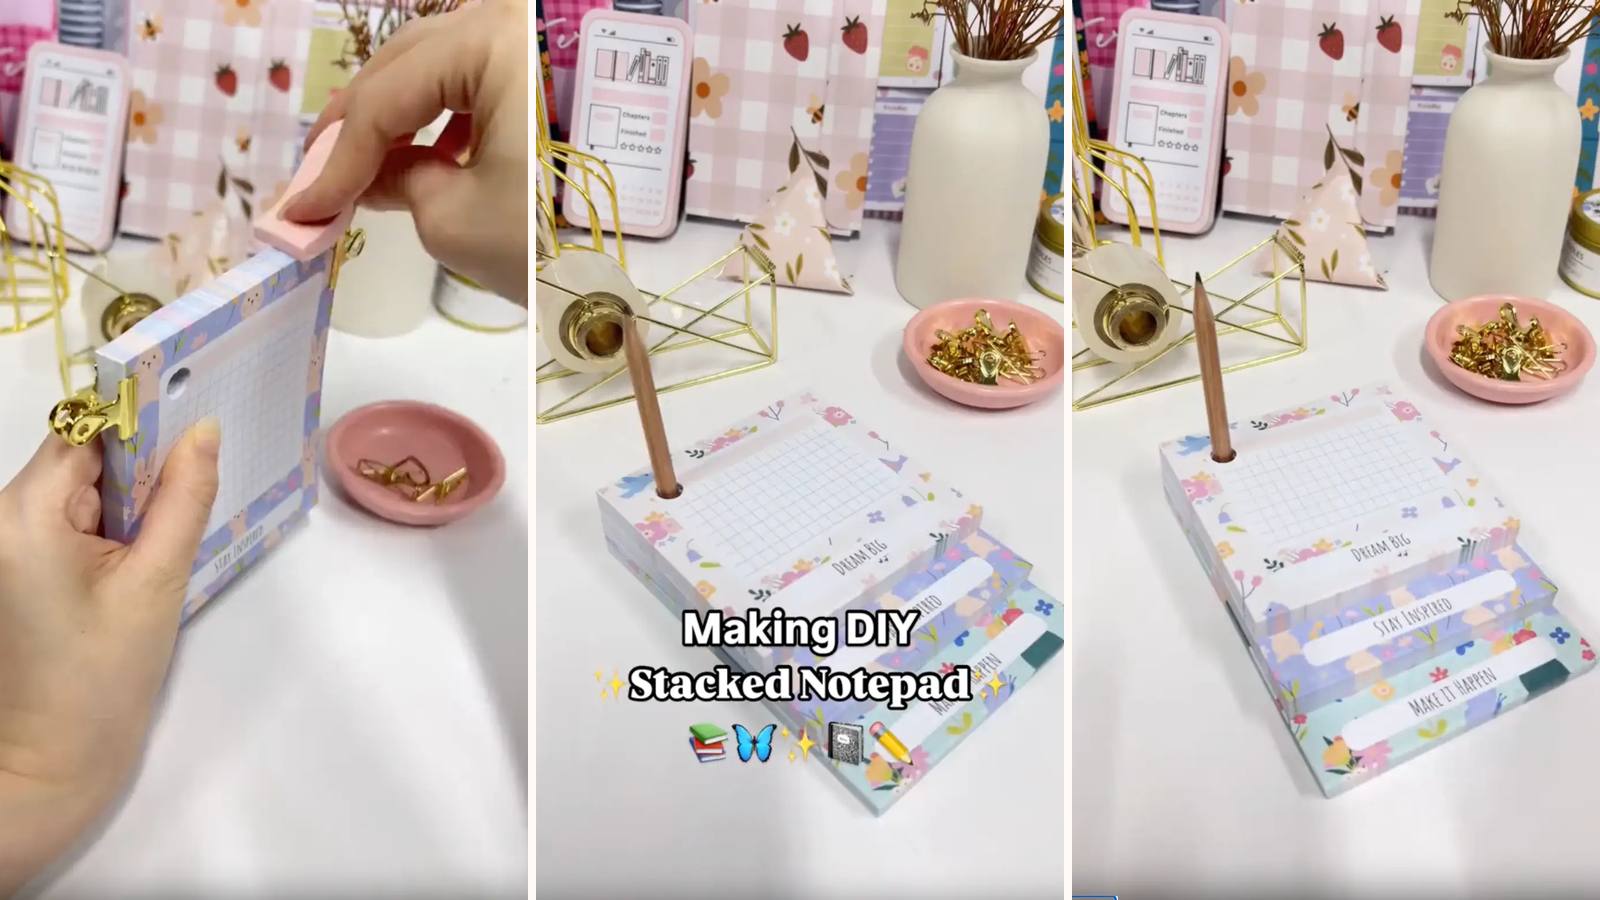
Three notepads cut to different lengths and stacked on one backing board, so each layer's top edge sits proud of the one behind it. A to-do list on top, a brain dump in the middle, lined notes at the bottom — all reachable without lifting anything.
These tutorials use Planify Pro, a drag-and-drop tool for designing printable planners and stationery. Building and editing is free — exporting a PDF needs a plan, from $9.99/month.
Get the template
Open it in Planify Pro to change the three page types, colours or sizes before printing — or print it exactly as it is.
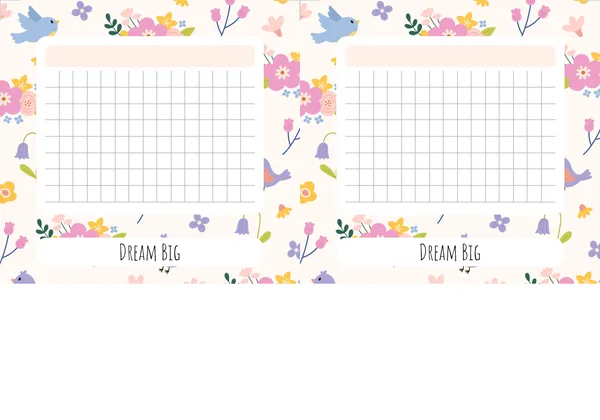
Export and print
Two options, depending on how much paper you want to use:
Single page: Save/Export → Selected Page → Paper → A6 → Do not Rearrange → Batch Generate PDF.
Double page: Save/Export → Selected Page → Paper → A4 or US Letter → Do not Rearrange → Batch Generate PDF — two pads per sheet, then cut down the middle.
Either way, do not rearrange: these are loose pads, not a bound book, so the pages need to stay in the order they were laid out.
What You'll Need
 |  |  |
 |  |  |
You'll also need double-sided tape and a sponge for the glue.
Instructions
1. Print all three page types and trim each to its own length. The three different lengths are the whole design — that's what makes each layer's top edge visible when they're stacked.  | 2. Punch a hole in the top left corner of every page. In exactly the same spot each time — punch against an already-punched sheet rather than eyeing it, or the finished pad won't line up.  |
You should end up with three stacks, all punched in the same corner.  | 3. Clip each stack and glue the top edge. Thin and even. For the largest pad, cut chipboard to match its size and put it behind the stack before clipping — that board becomes the backing for the whole thing.  |
4. Spread the glue with a sponge. It works the PVA into the stack edge far better than a brush.  | 5. Dry for 15 minutes. All three at once, clips on.  |
6. Unclip. Three separate finished notepads, ready to layer.  | 7. Tape the backs of the first and second pads. Double-sided tape across the whole back of each.  |
8. Stack them. Largest at the bottom, smallest on top, aligned at the punched corner. Line each one up before pressing — the tape doesn't reposition.  | Or skip the tape entirely. Stack all three unglued, clip them together, and glue the whole lot at the top in one pass. Fewer steps, and one solid spine instead of three taped layers.  |
Troubleshooting
The layers don't line up. The corner holes were punched by eye. Punch every page against the same reference sheet.
A layer peels off. Tape only at the edges, or applied to a pad that hadn't fully dried. The glue-them-all-at-once method avoids this entirely and is the better option if you're making more than one.
Pages tear instead of lifting. Too much glue. Thin coat, worked into the edge with the sponge.
The lengths look wrong. The steps between layers need to be big enough to read as deliberate. If two are close in length it looks like a mistake rather than a design.
Selling these
The stepped layers are what sell this. It photographs as three products in one, and buyers immediately understand what it's for without reading a description.
It's also cheap and quick — paper, glue and one piece of chipboard, with all three layers drying together. That combination of low cost and high visual interest is exactly what works at a market stall price point.
Vary the three sections rather than the design and you get a range: work, home, study, meal planning. The build never changes.
See DIY notepad design ideas and easy one-page printables that sell for more.
Try these next
DIY Custom Notepad — the single-layer version
DIY Folding Notepad Station — sections side by side instead


