This is a hardbound word search book with over 400 puzzles across 250 pages, and no two pages the same. The clever part is that you don't design 250 pages: you design one, duplicate it, and let Planify Pro shuffle a different theme and a different puzzle onto every page.
These tutorials use Planify Pro, a drag-and-drop tool for designing printable planners and stationery. Designing is free, and saving and exporting a PDF need a plan, from $99.99/year.
Get the template
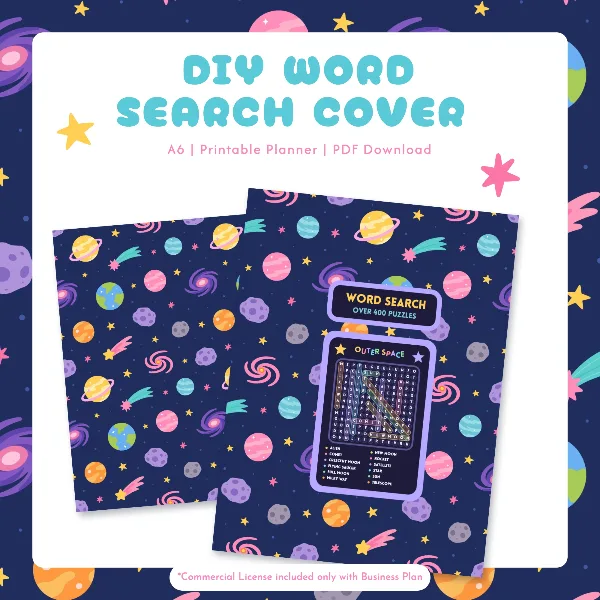
Both templates are ready to open and export. The cover is the one used in the tutorial below, and the full planner is the entire finished project, all 252 pages of it, if you'd rather not build it yourself. Open it, export it, print it, and skip straight to the binding.
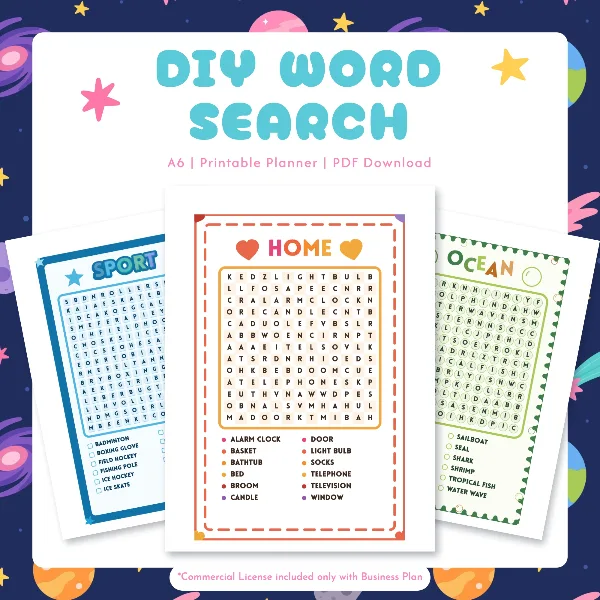
If you do use the ready-made planner, shuffle the puzzles once before exporting so your copy isn't identical to everyone else's. That takes two clicks, and it's covered in the next section.
Generate the puzzle pages
Start with Create a new planner, then Full control, and set the size to A6.
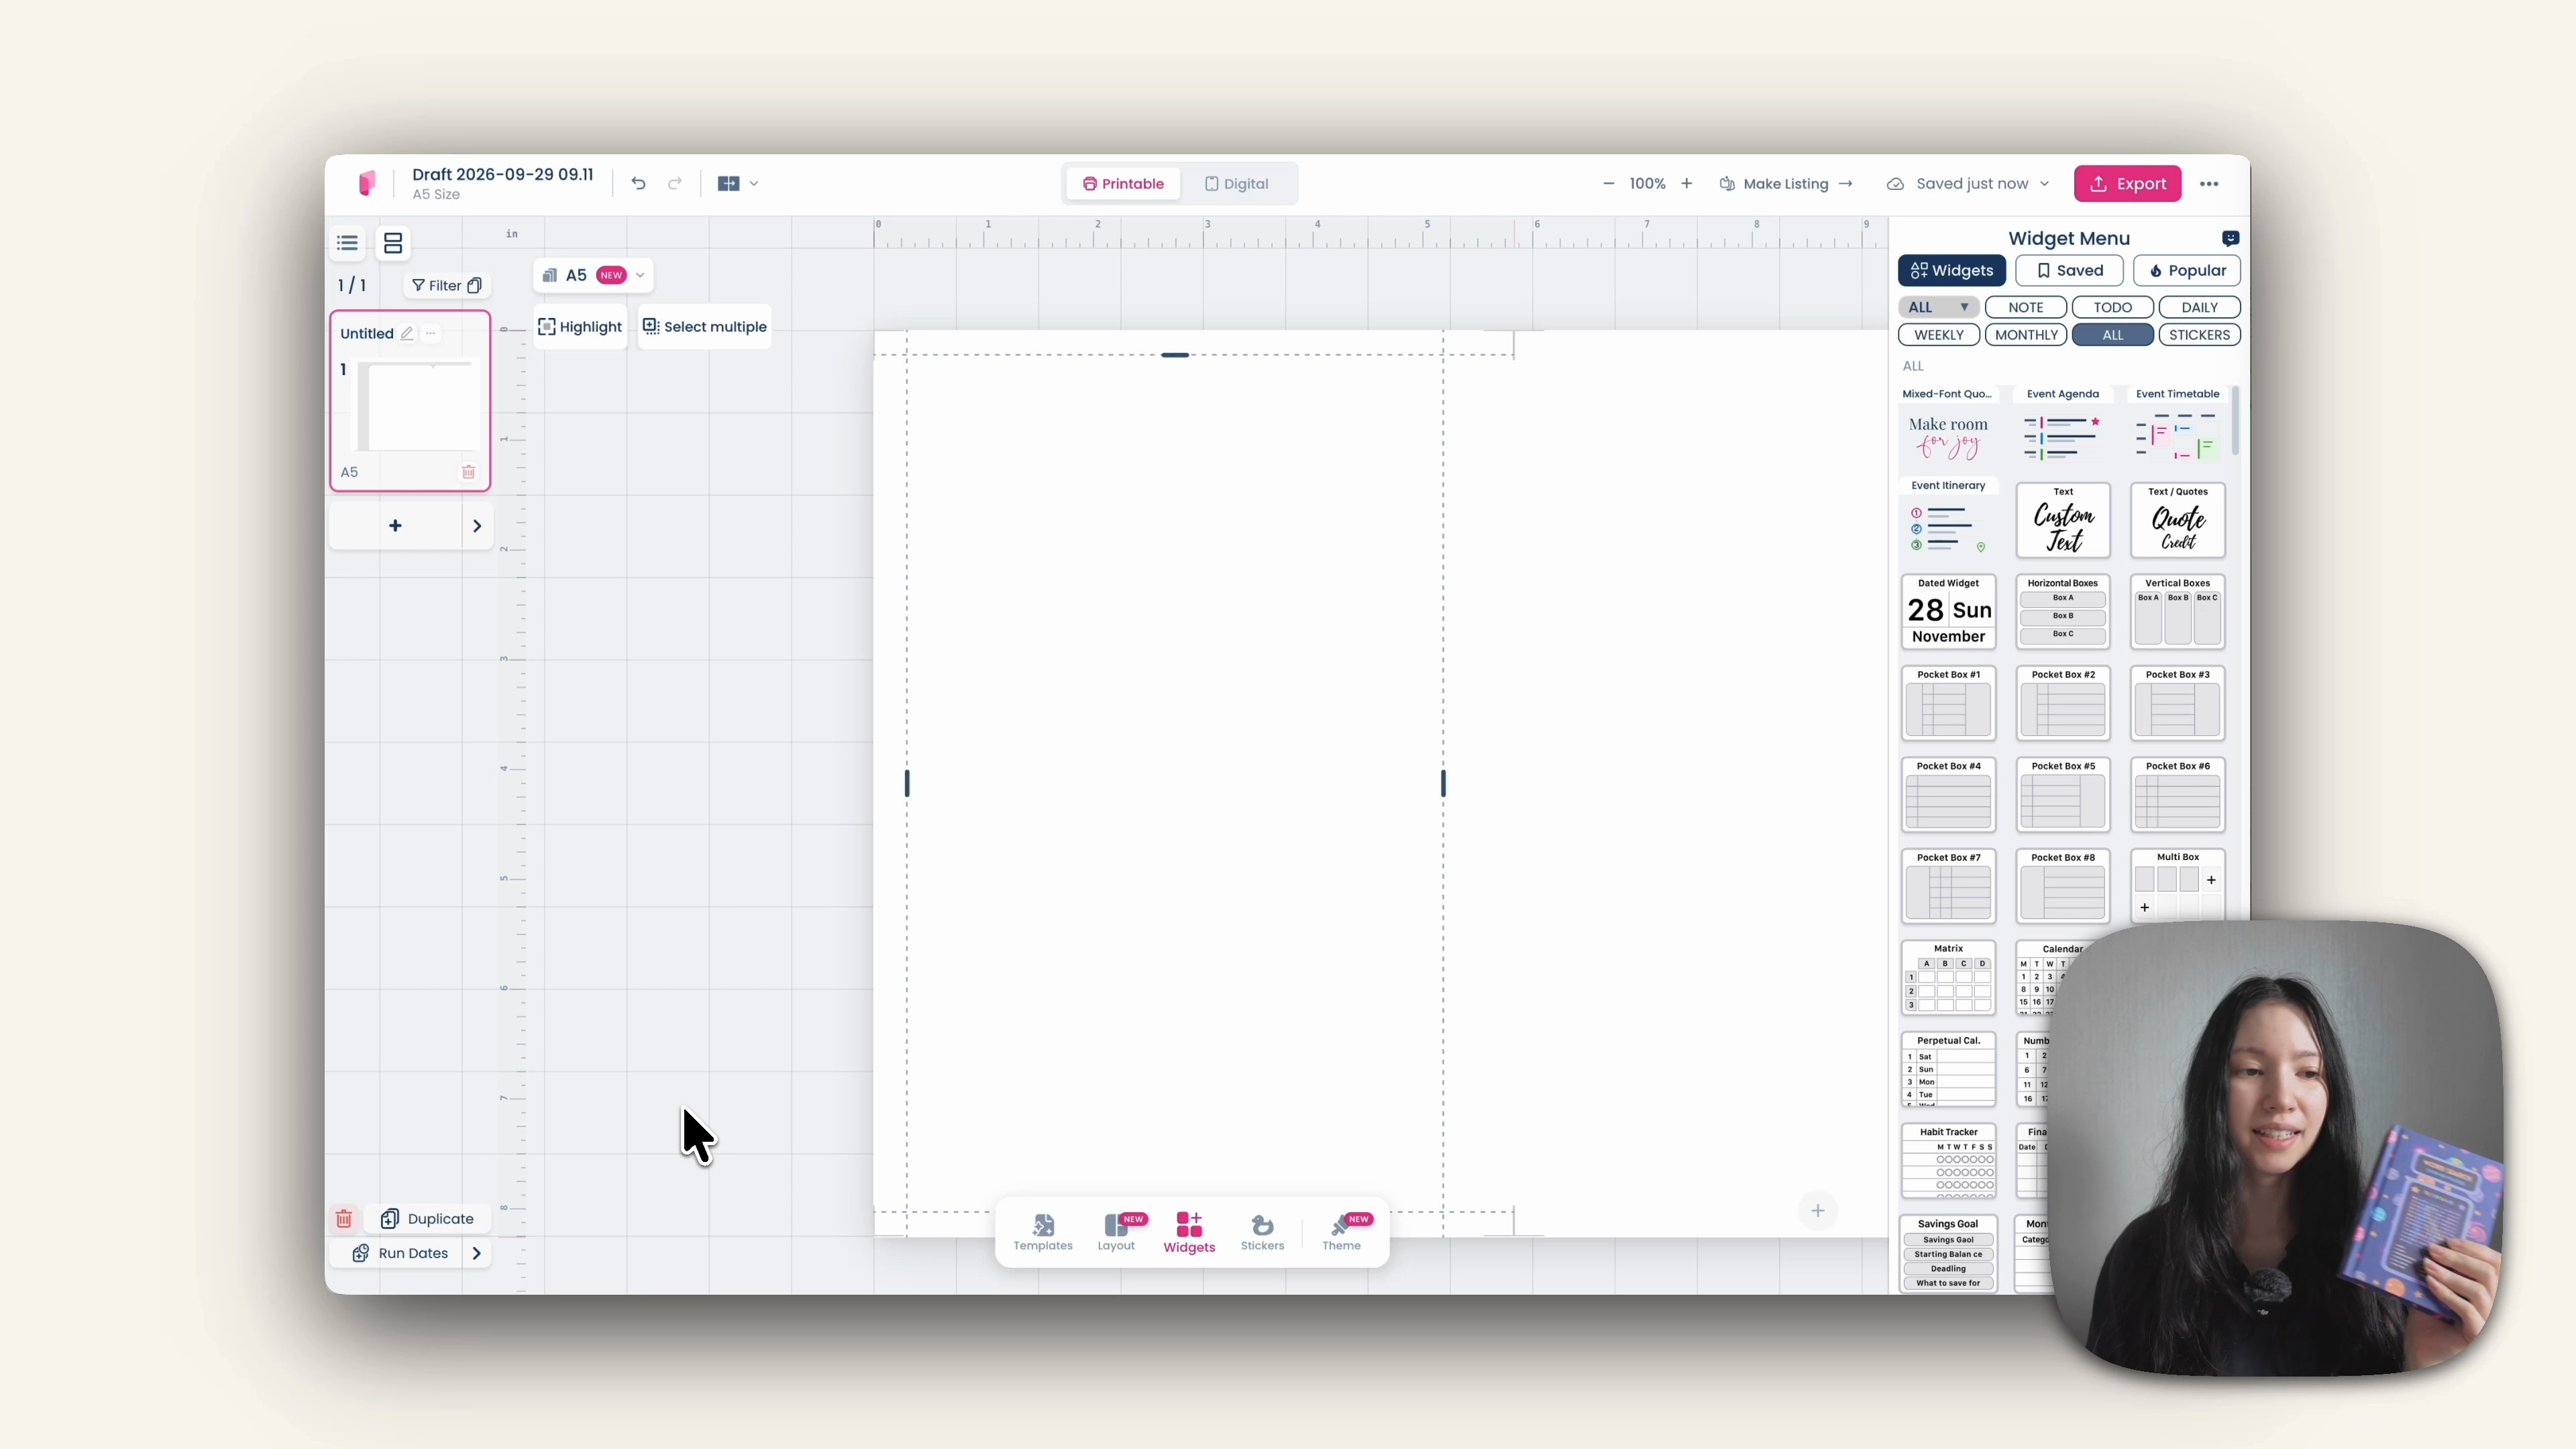
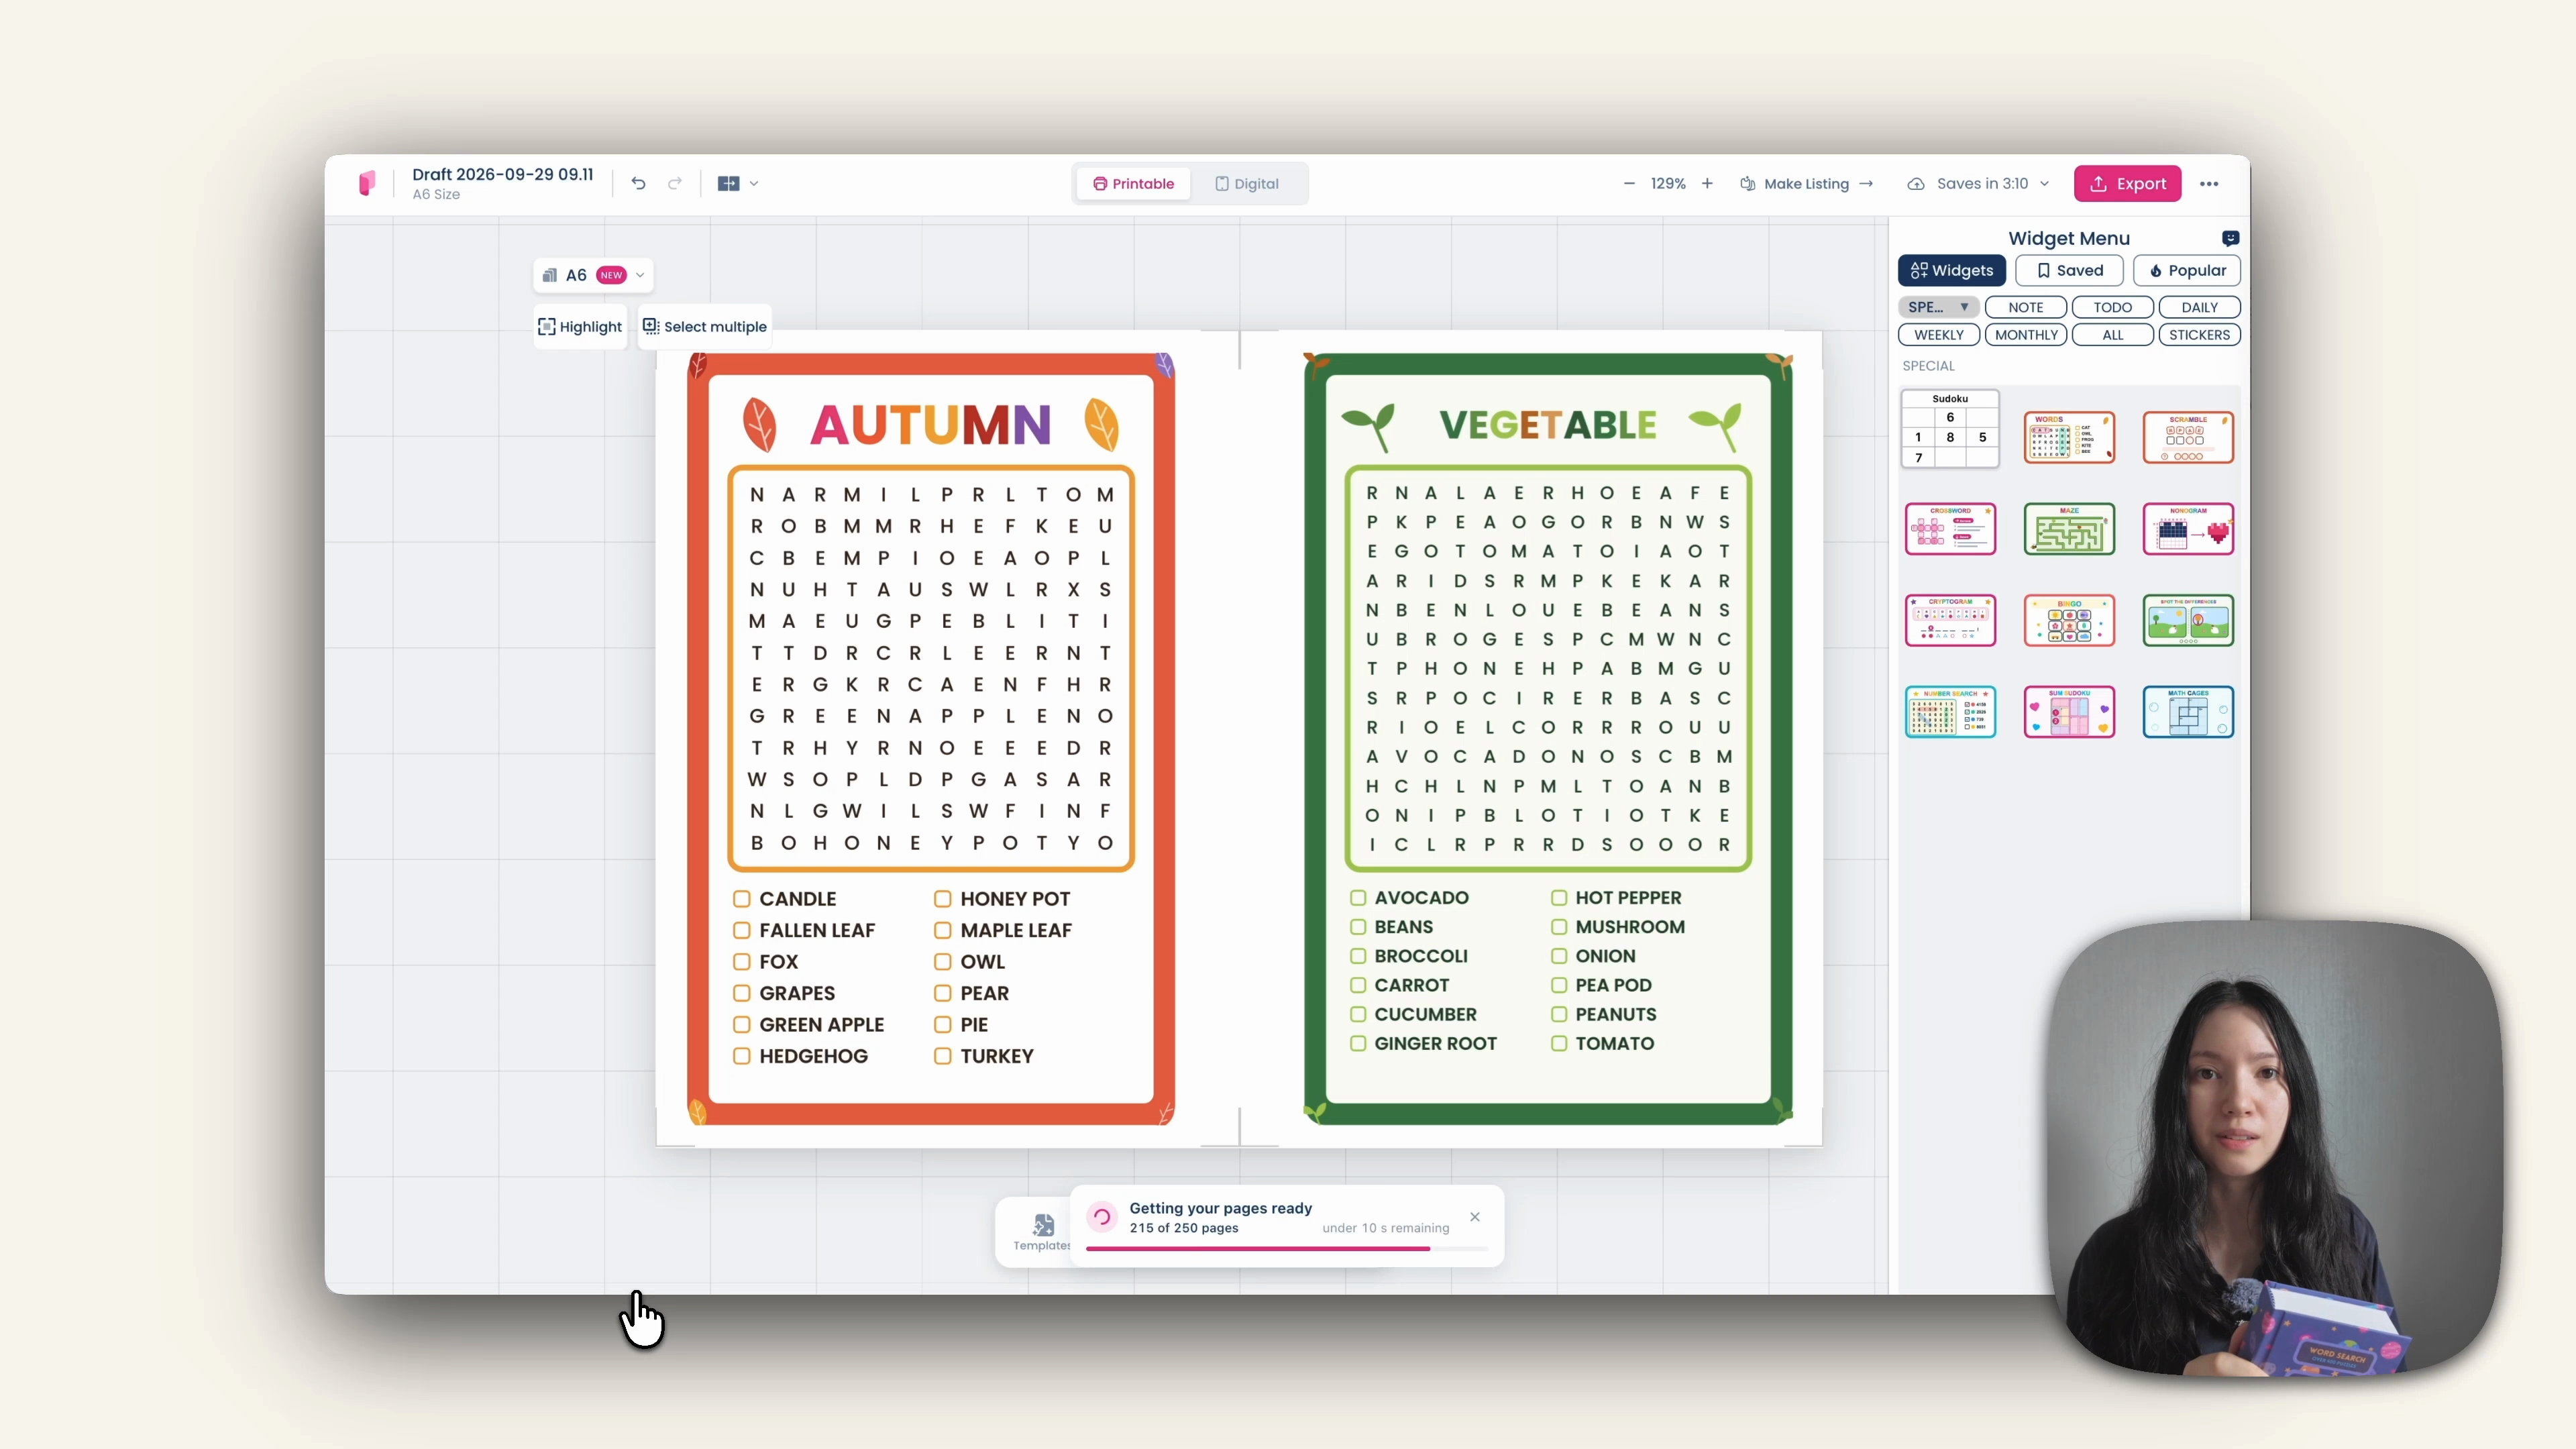
Open the widget menu at the bottom and go to the category called Special, where all the puzzle widgets live. Word search sits here alongside sudoku, crosswords, mazes, cryptograms, bingo, number search and more.
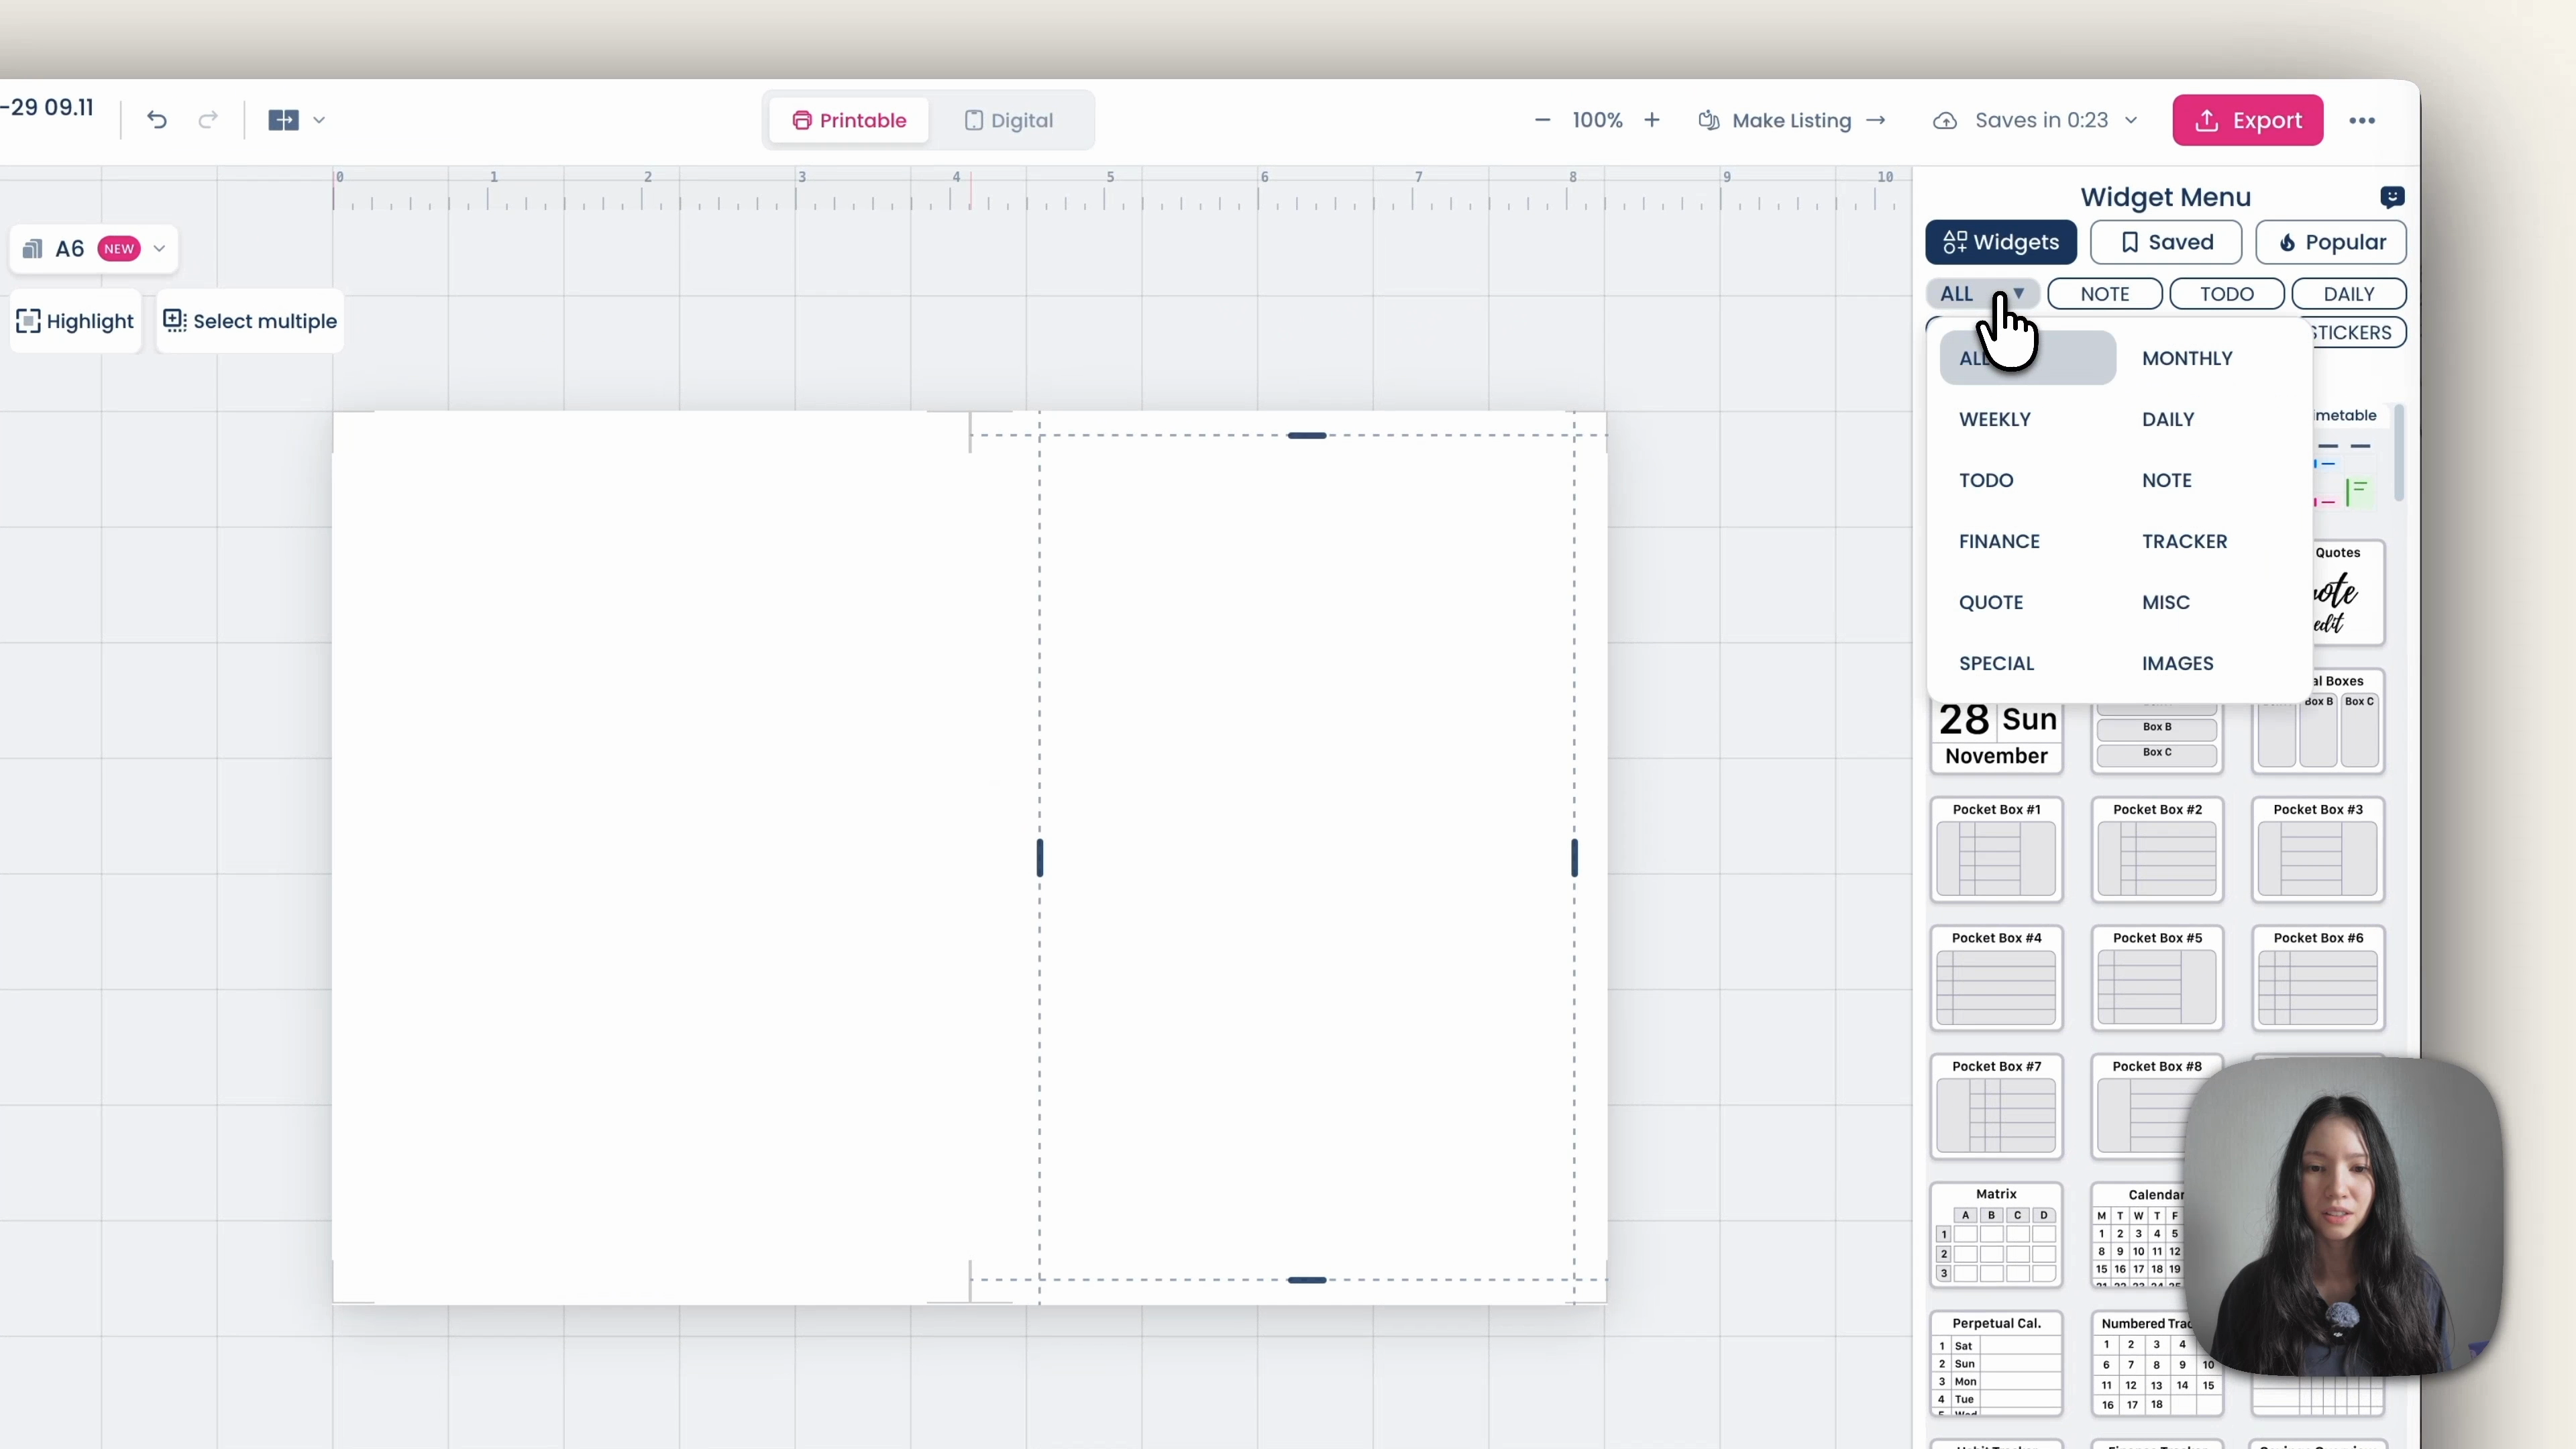
Click the Word Search widget to open its settings. Pick your language first, since the puzzles generate in that language, then set the difficulty. Easy, medium, hard and expert are all available, and every puzzle type comes with an answer key.
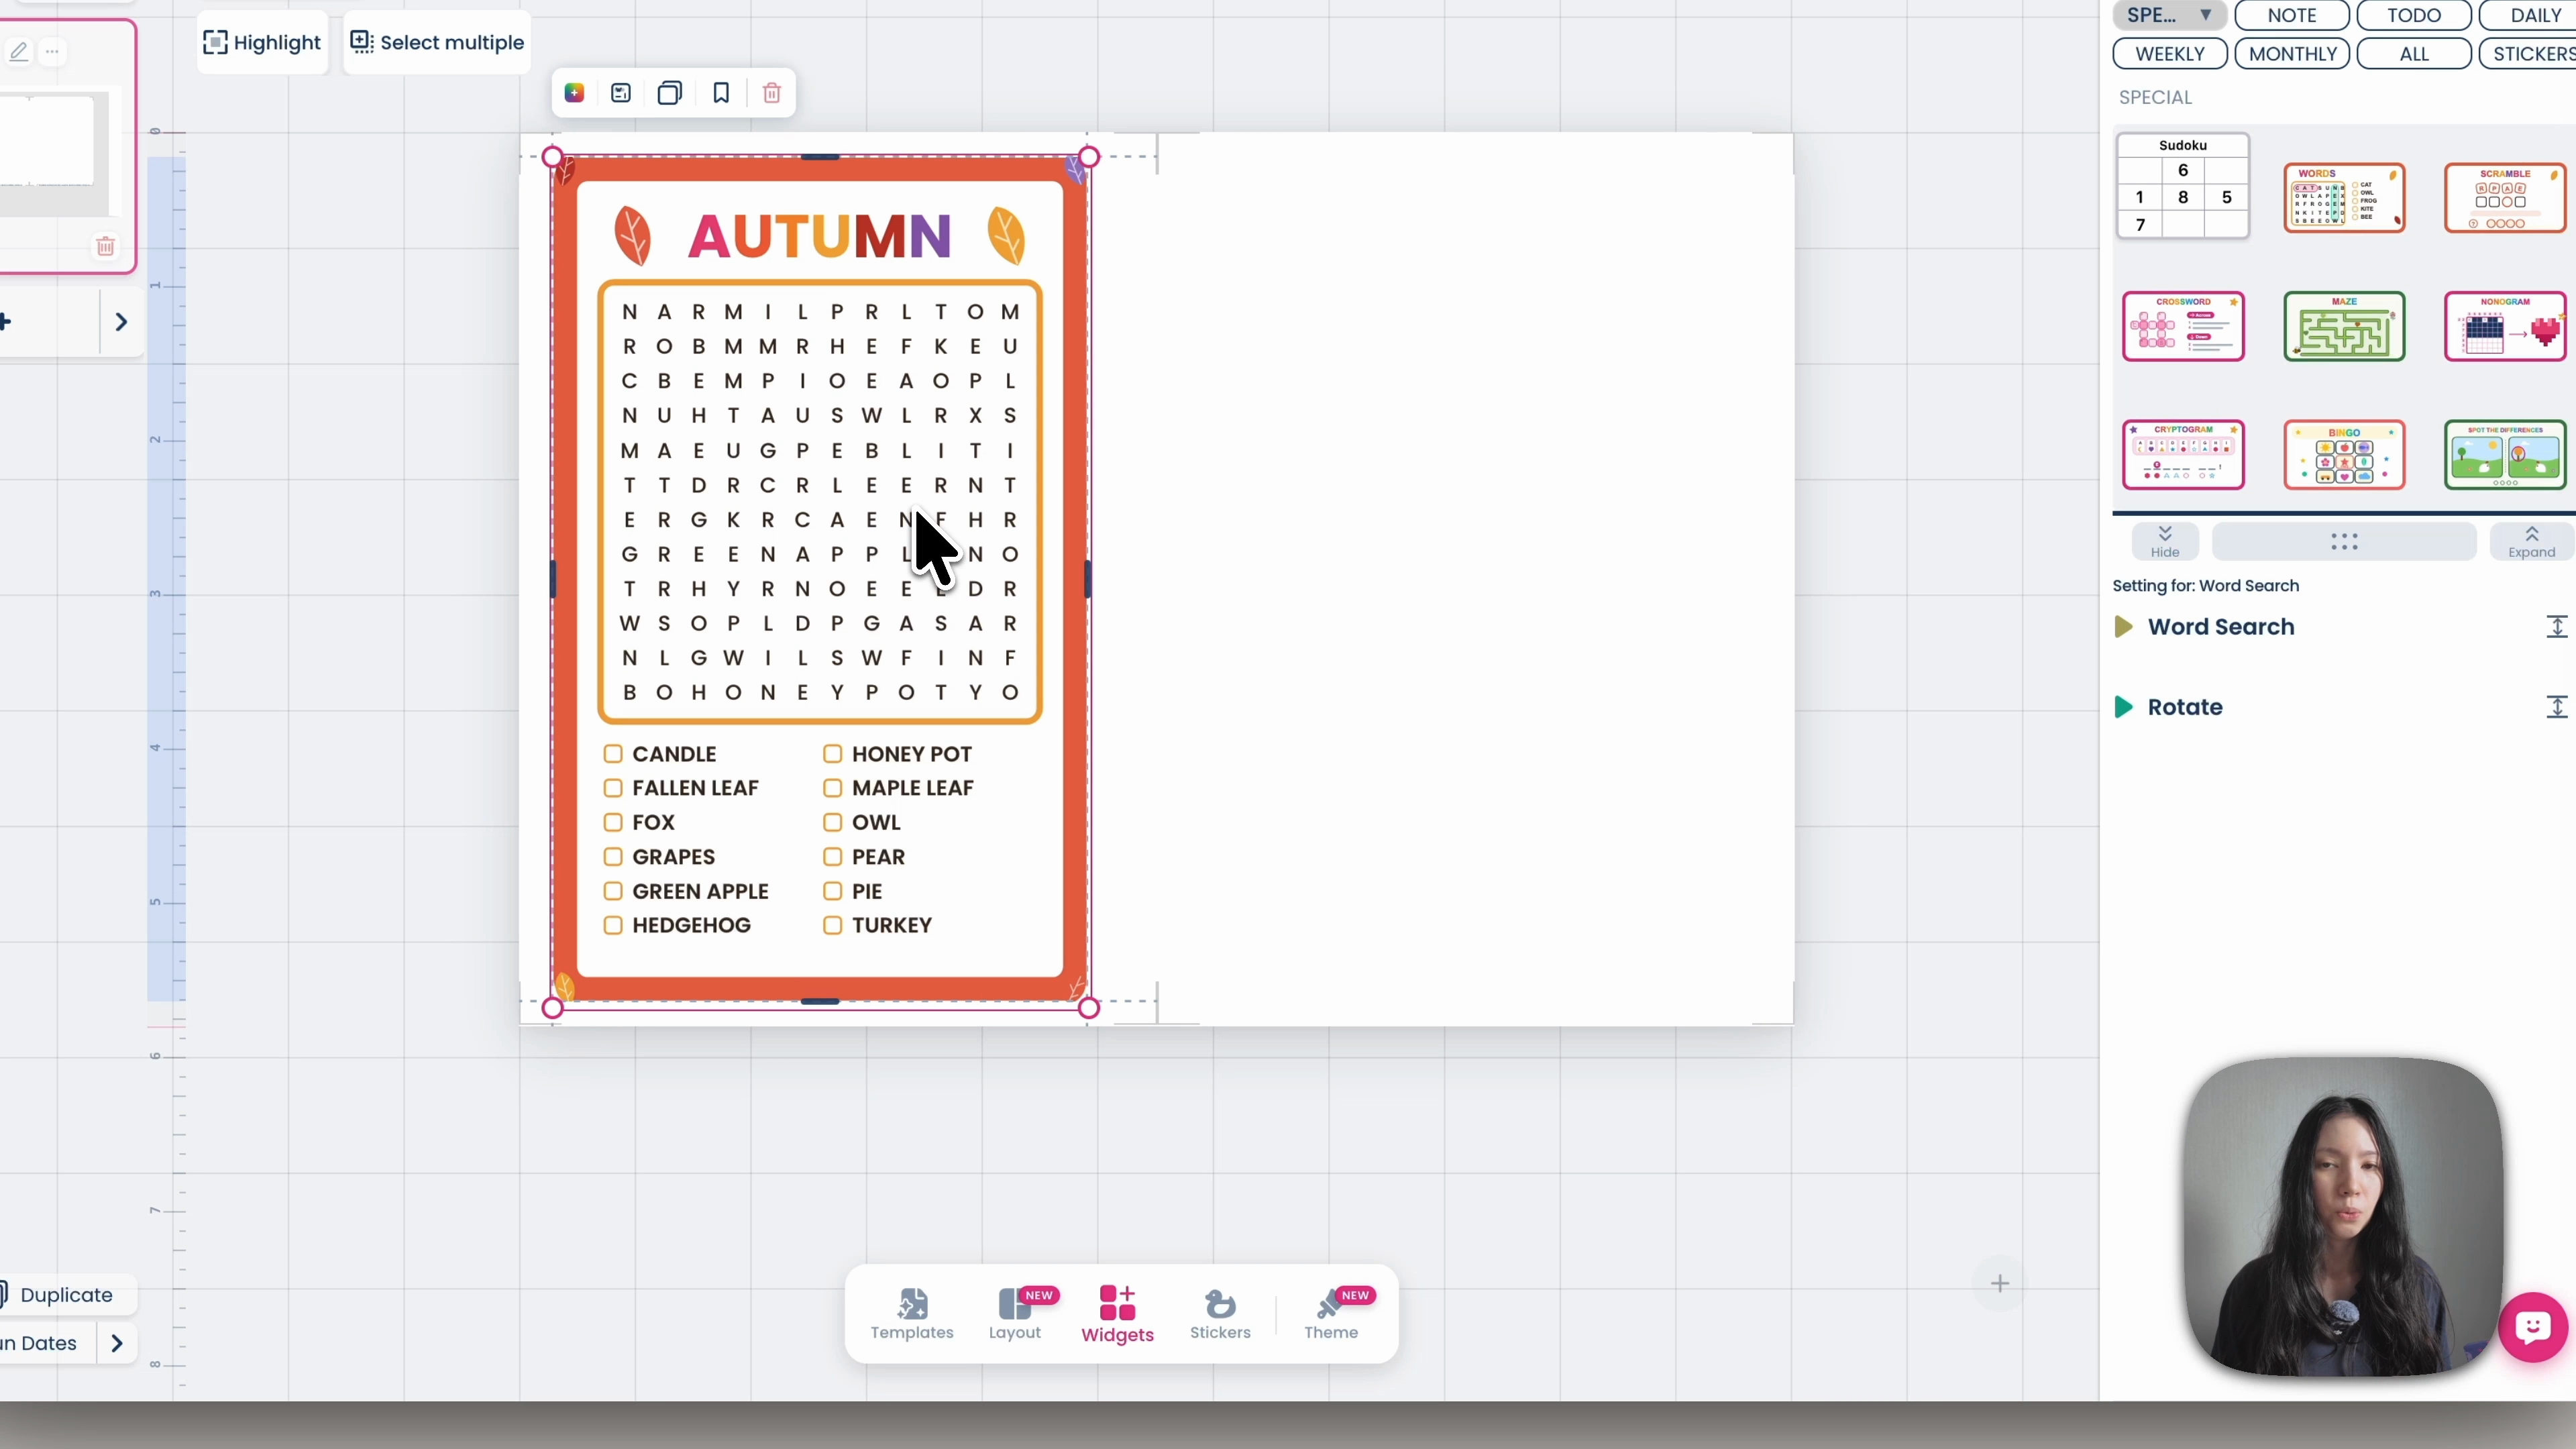
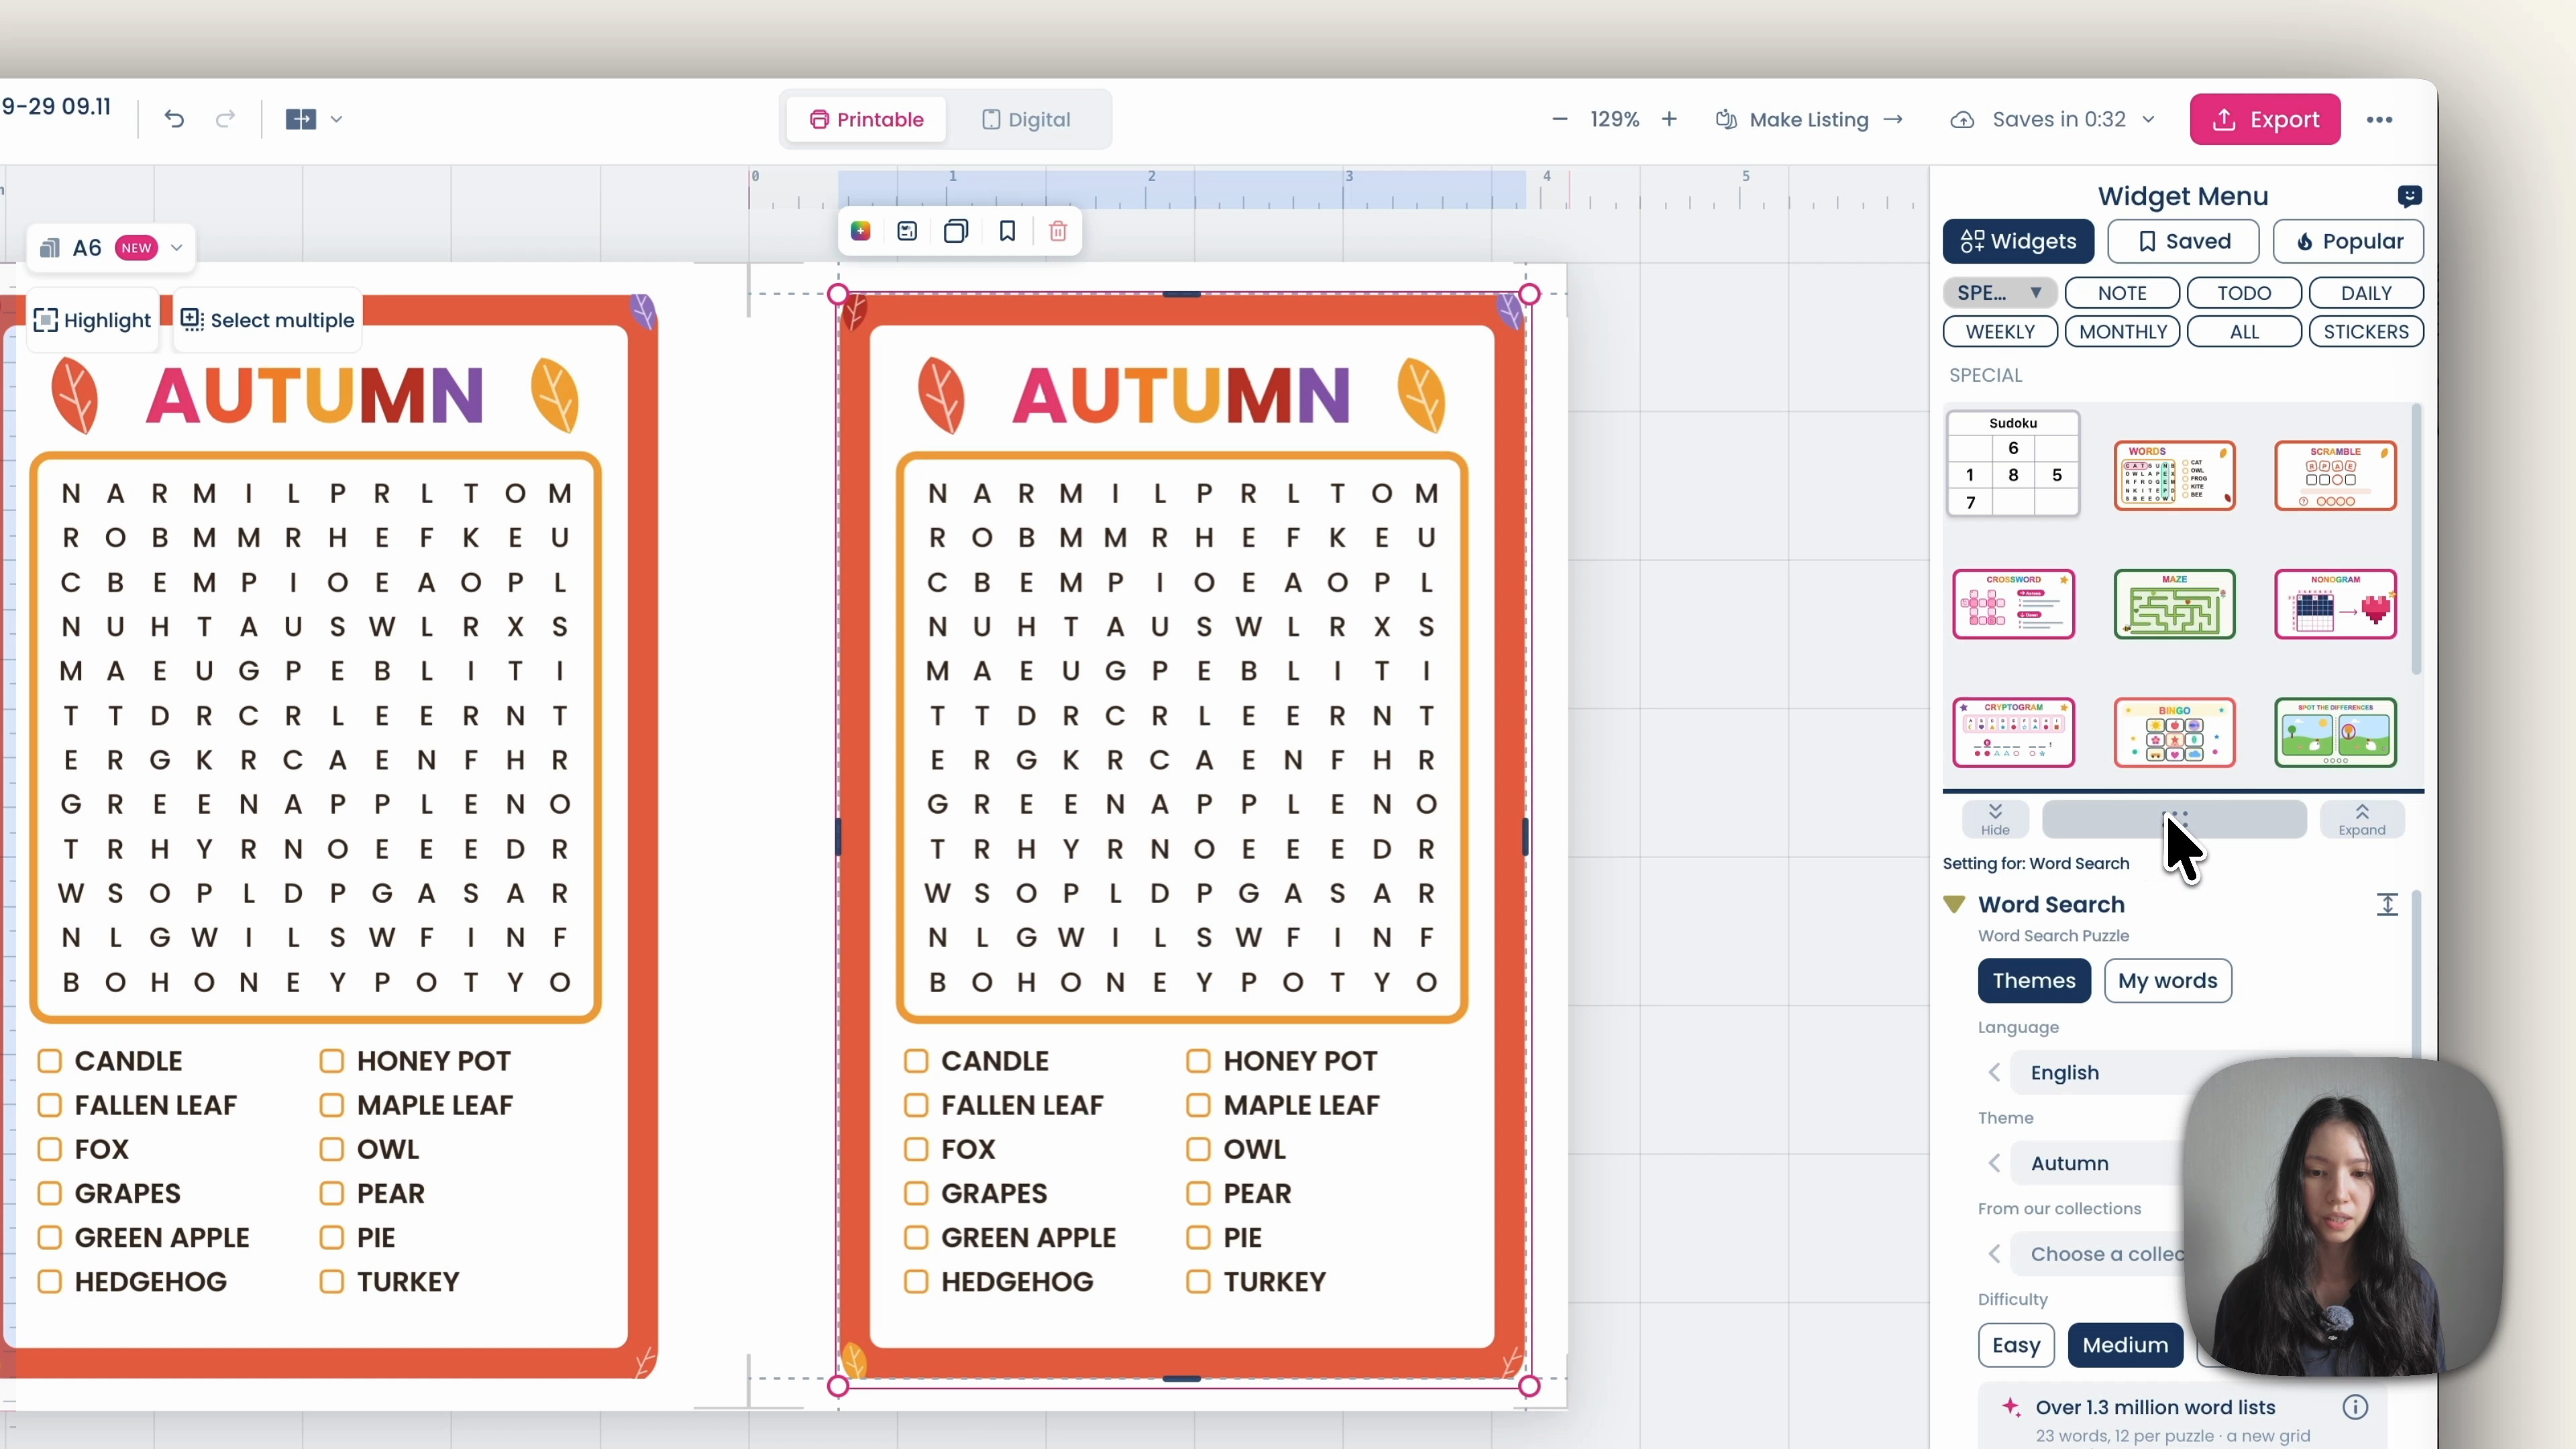
Drag the widget onto the right page and stretch it to fill the page, then drag a second one onto the left page and do the same.
Now duplicate the spread. Click Run dates, type 250 and click Start duplicate run dates.
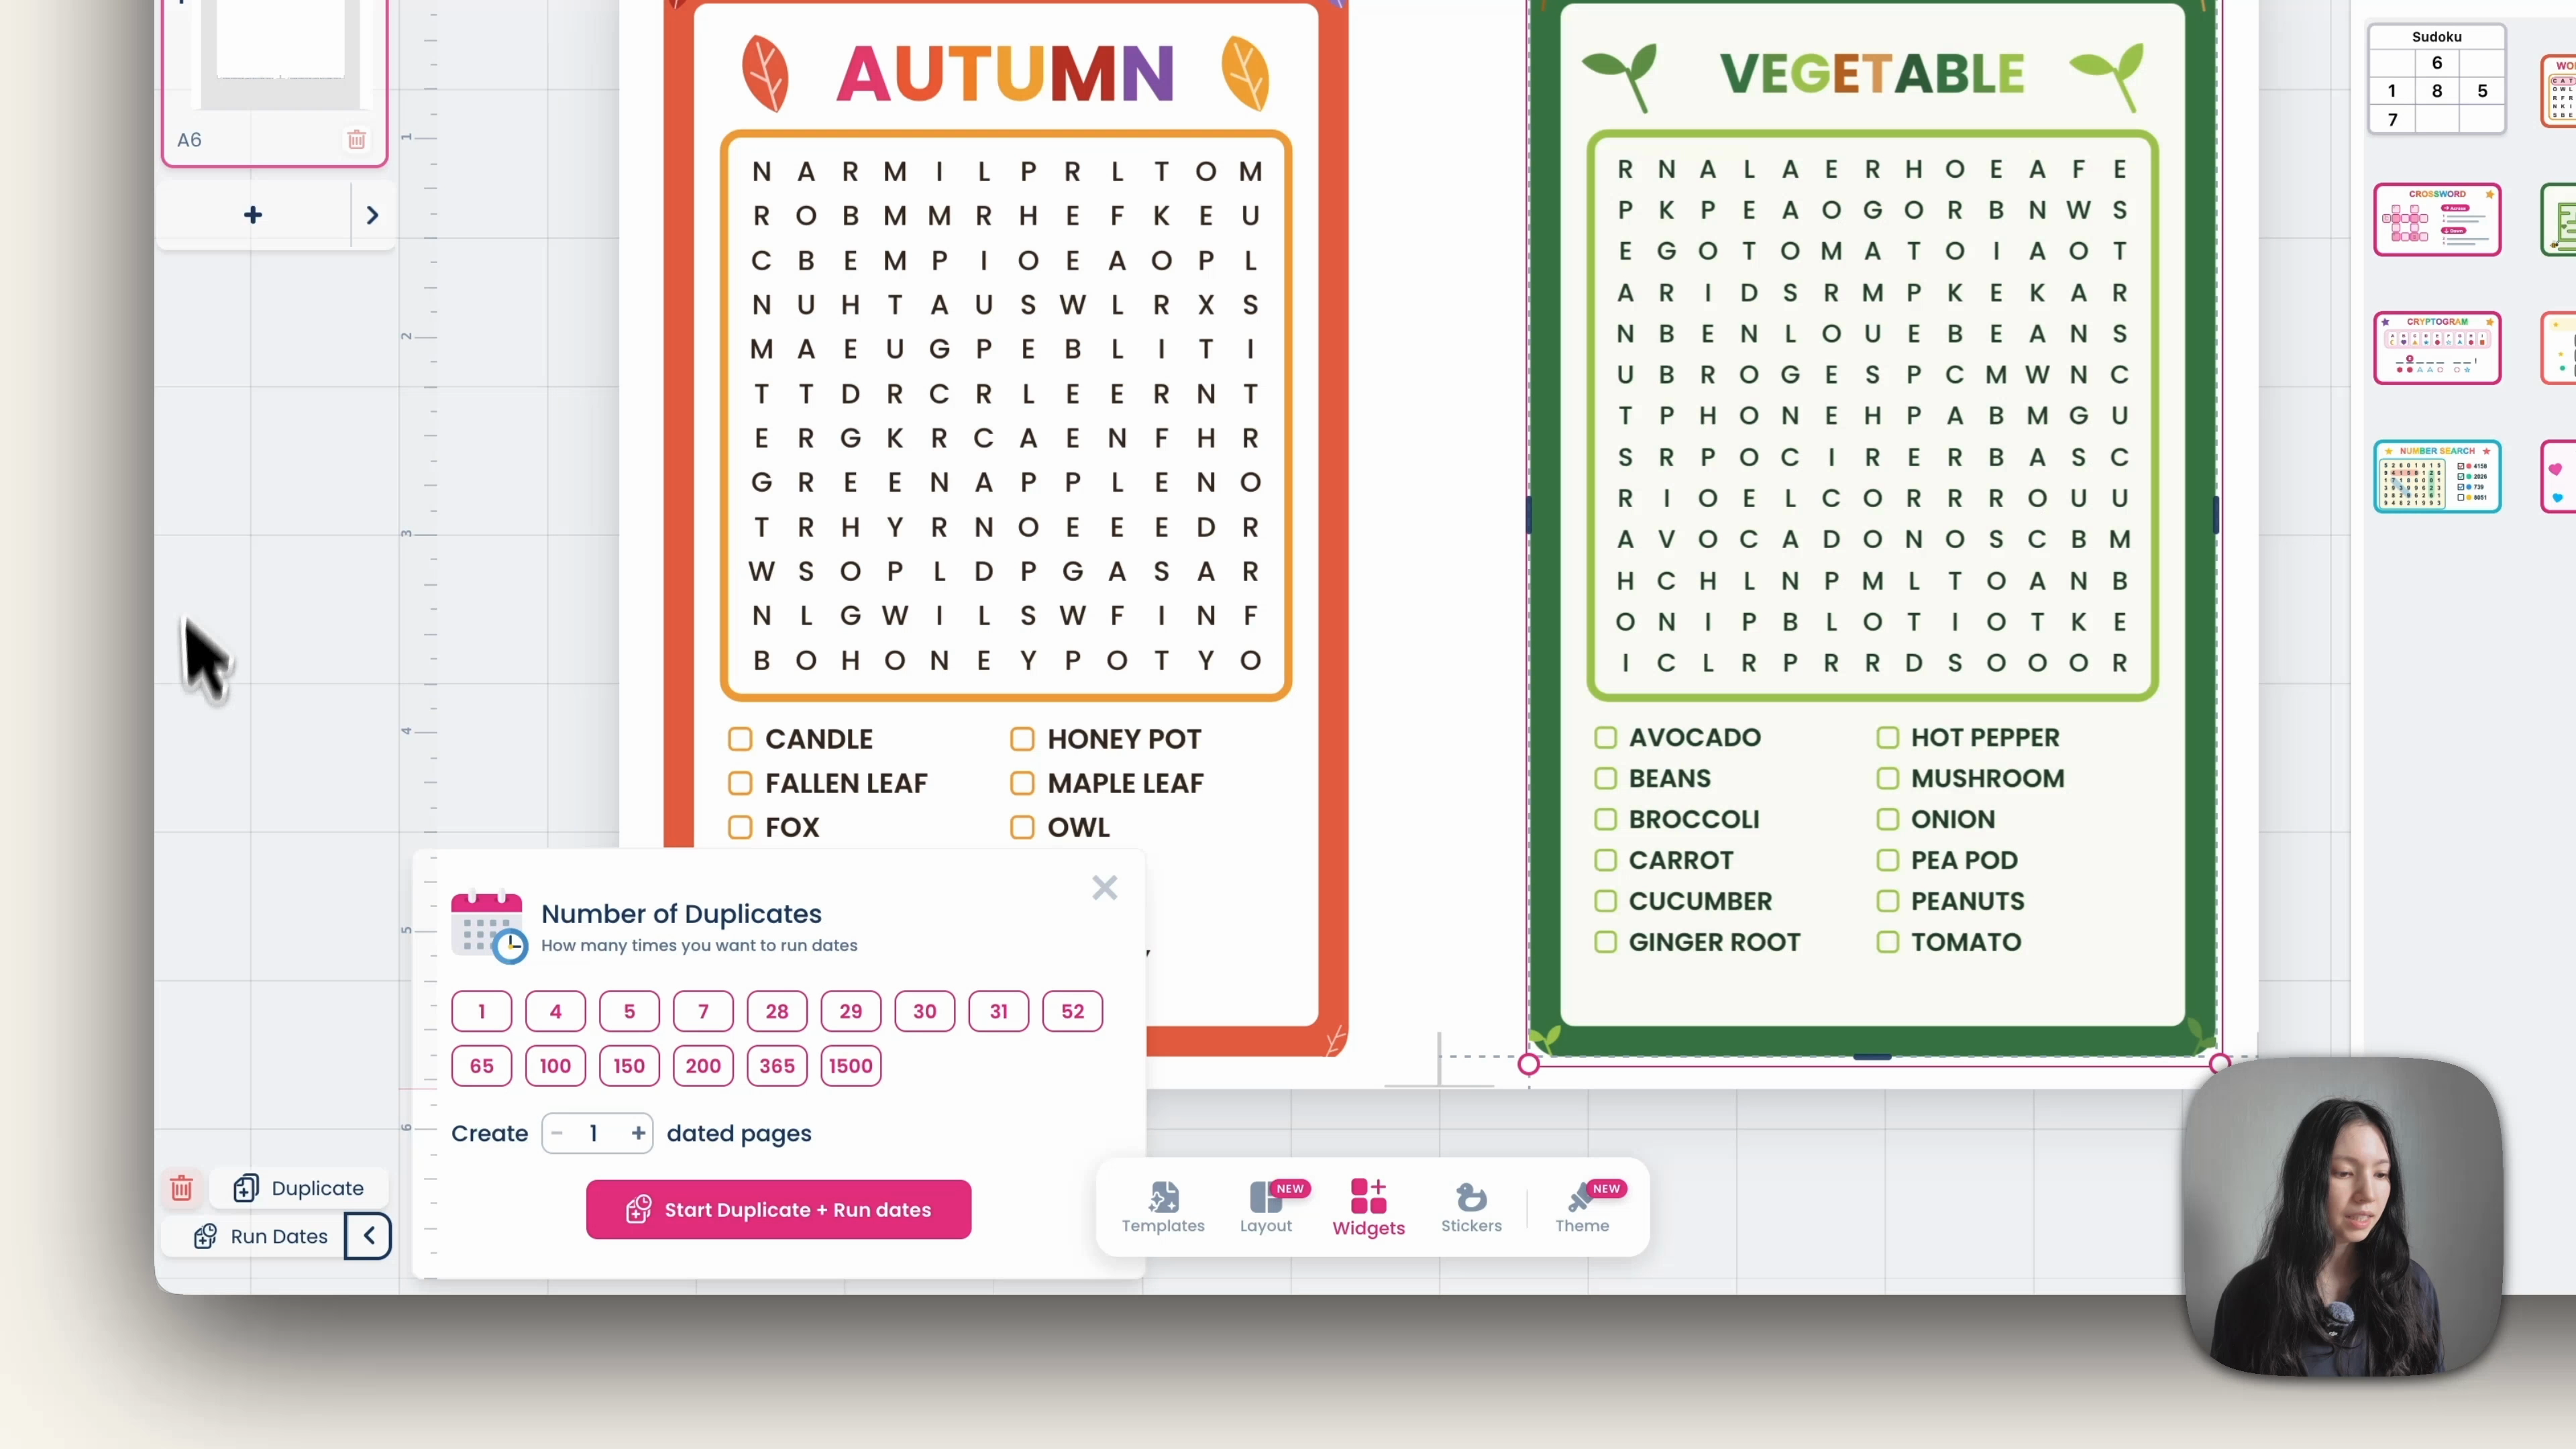
Wait while it builds the pages. Every page is identical at this stage, which is expected. For a thinner book, duplicate 150 times instead, which gives you around 200 puzzles.
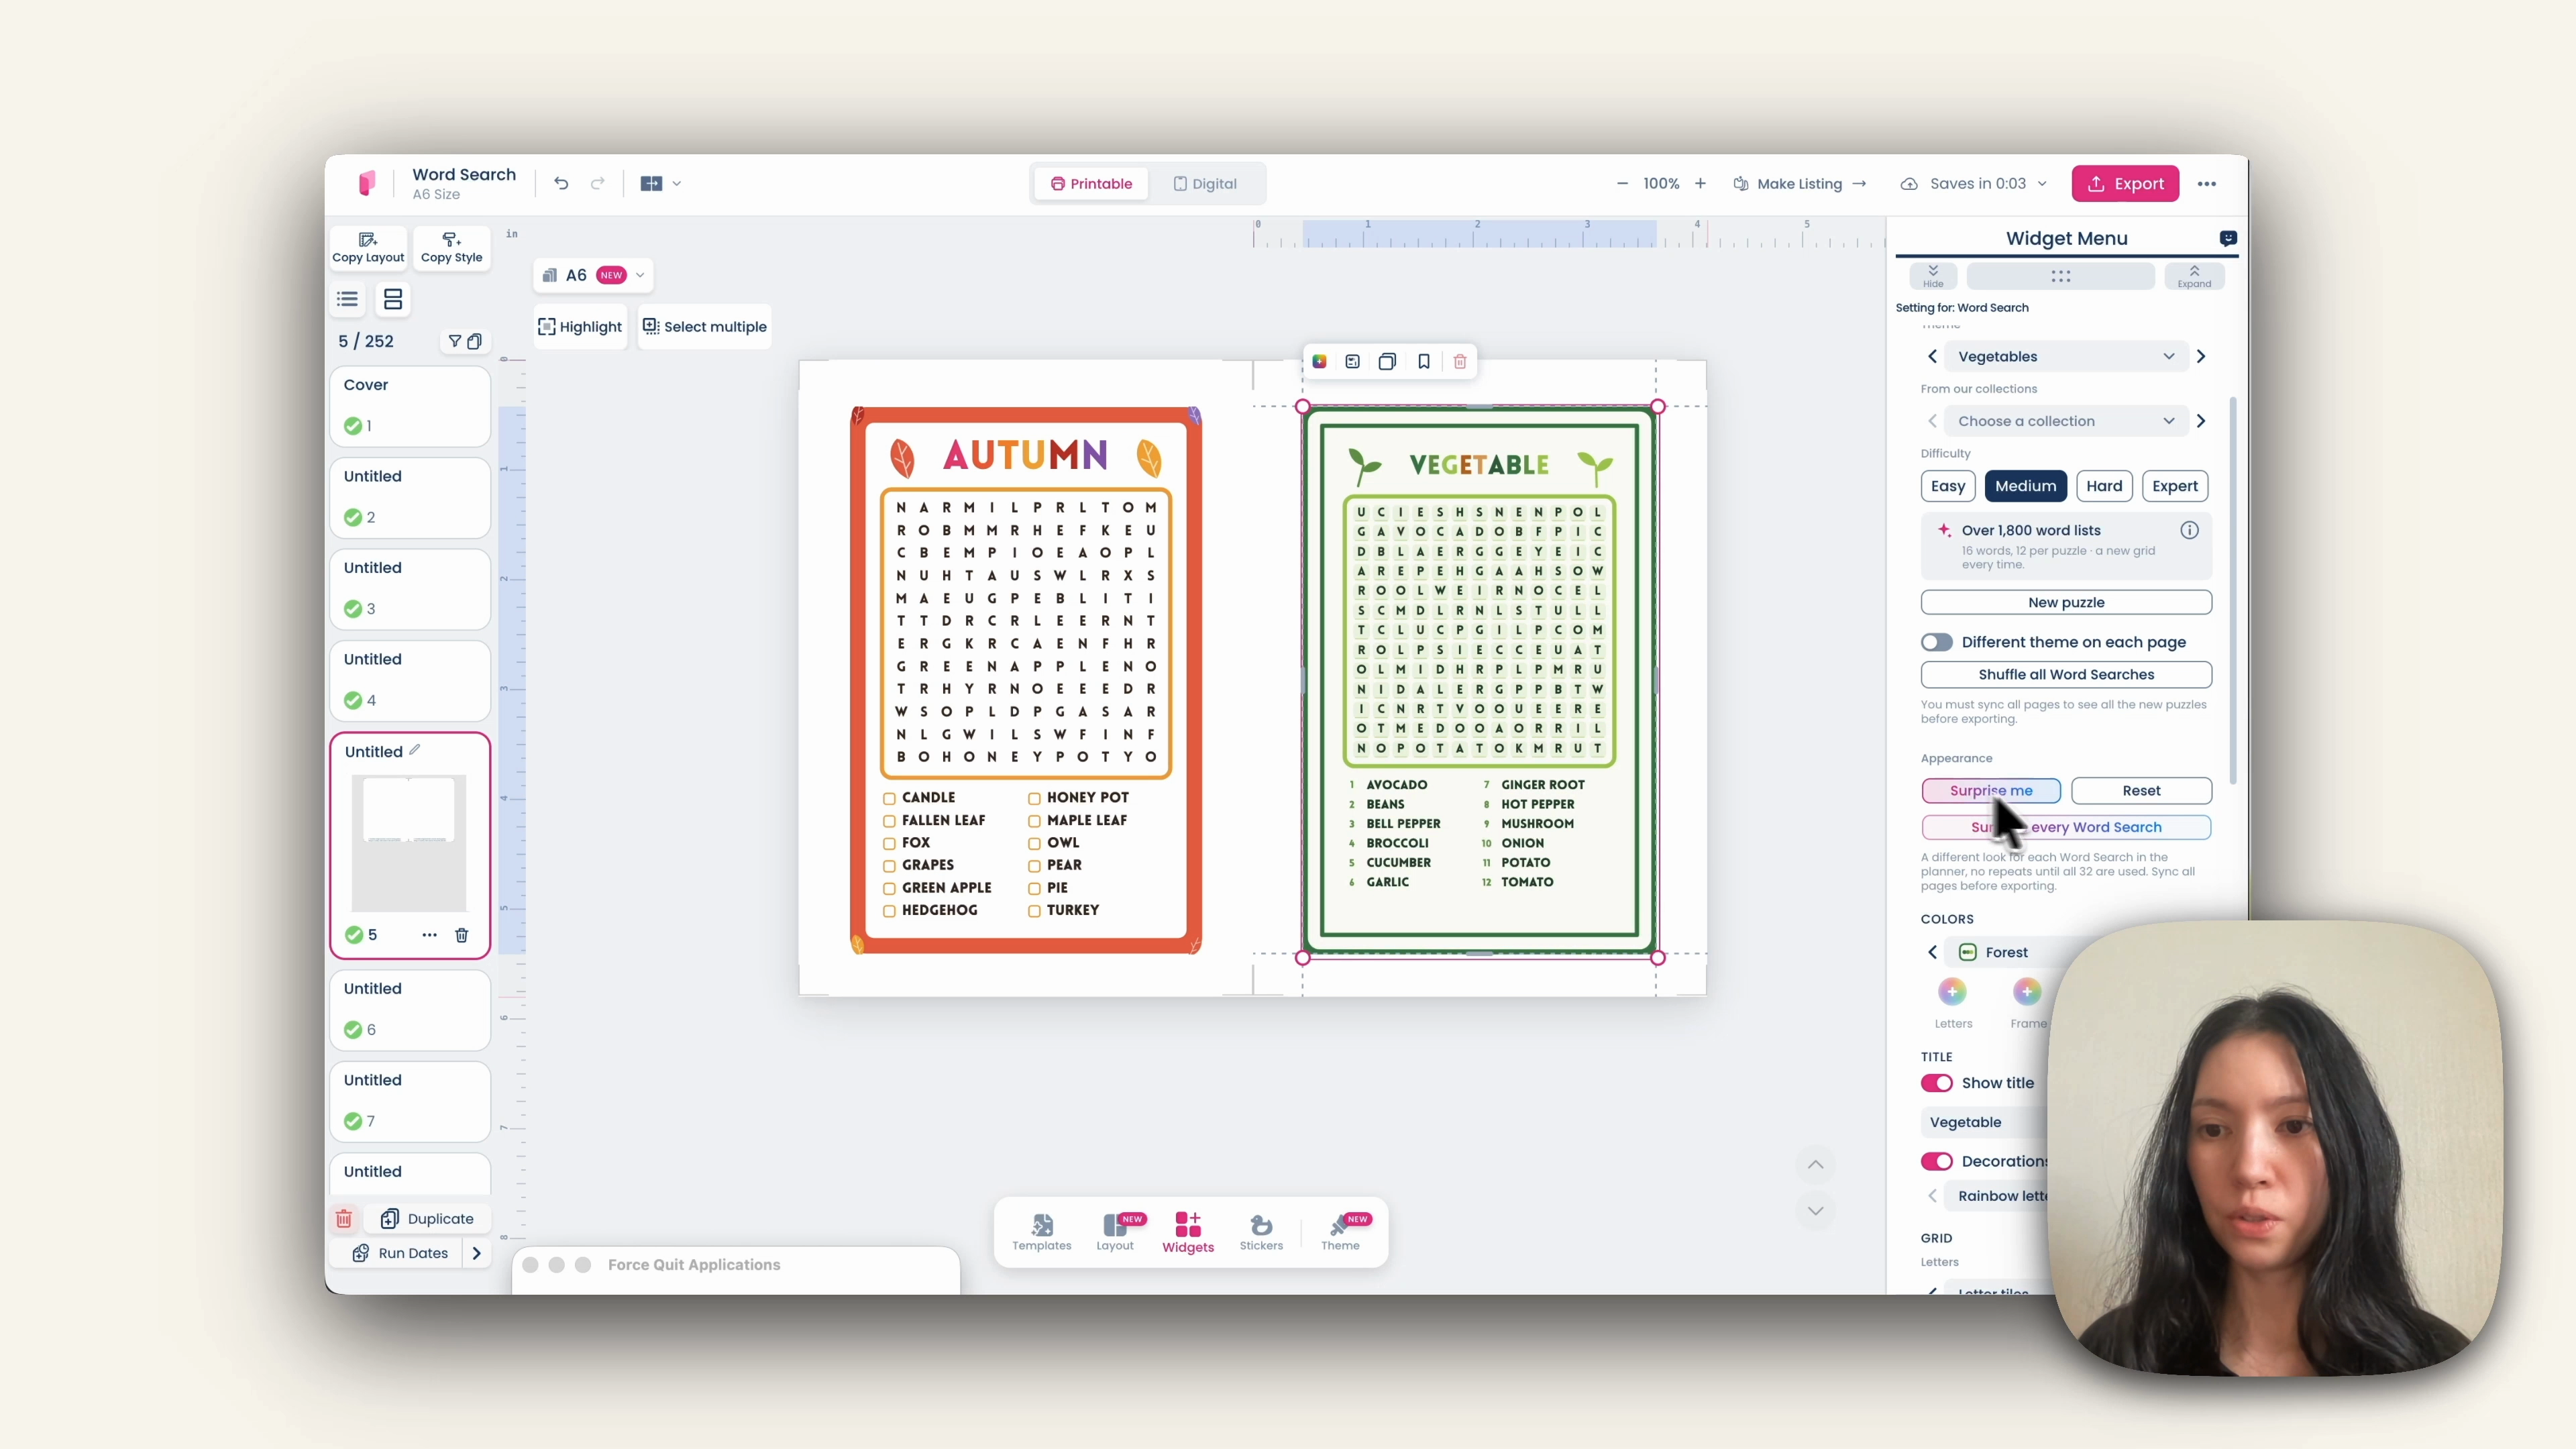
Then make every page different. Click a word search widget and scroll down to Surprise every word search. This randomises the appearance of every puzzle while keeping the words inside each one.
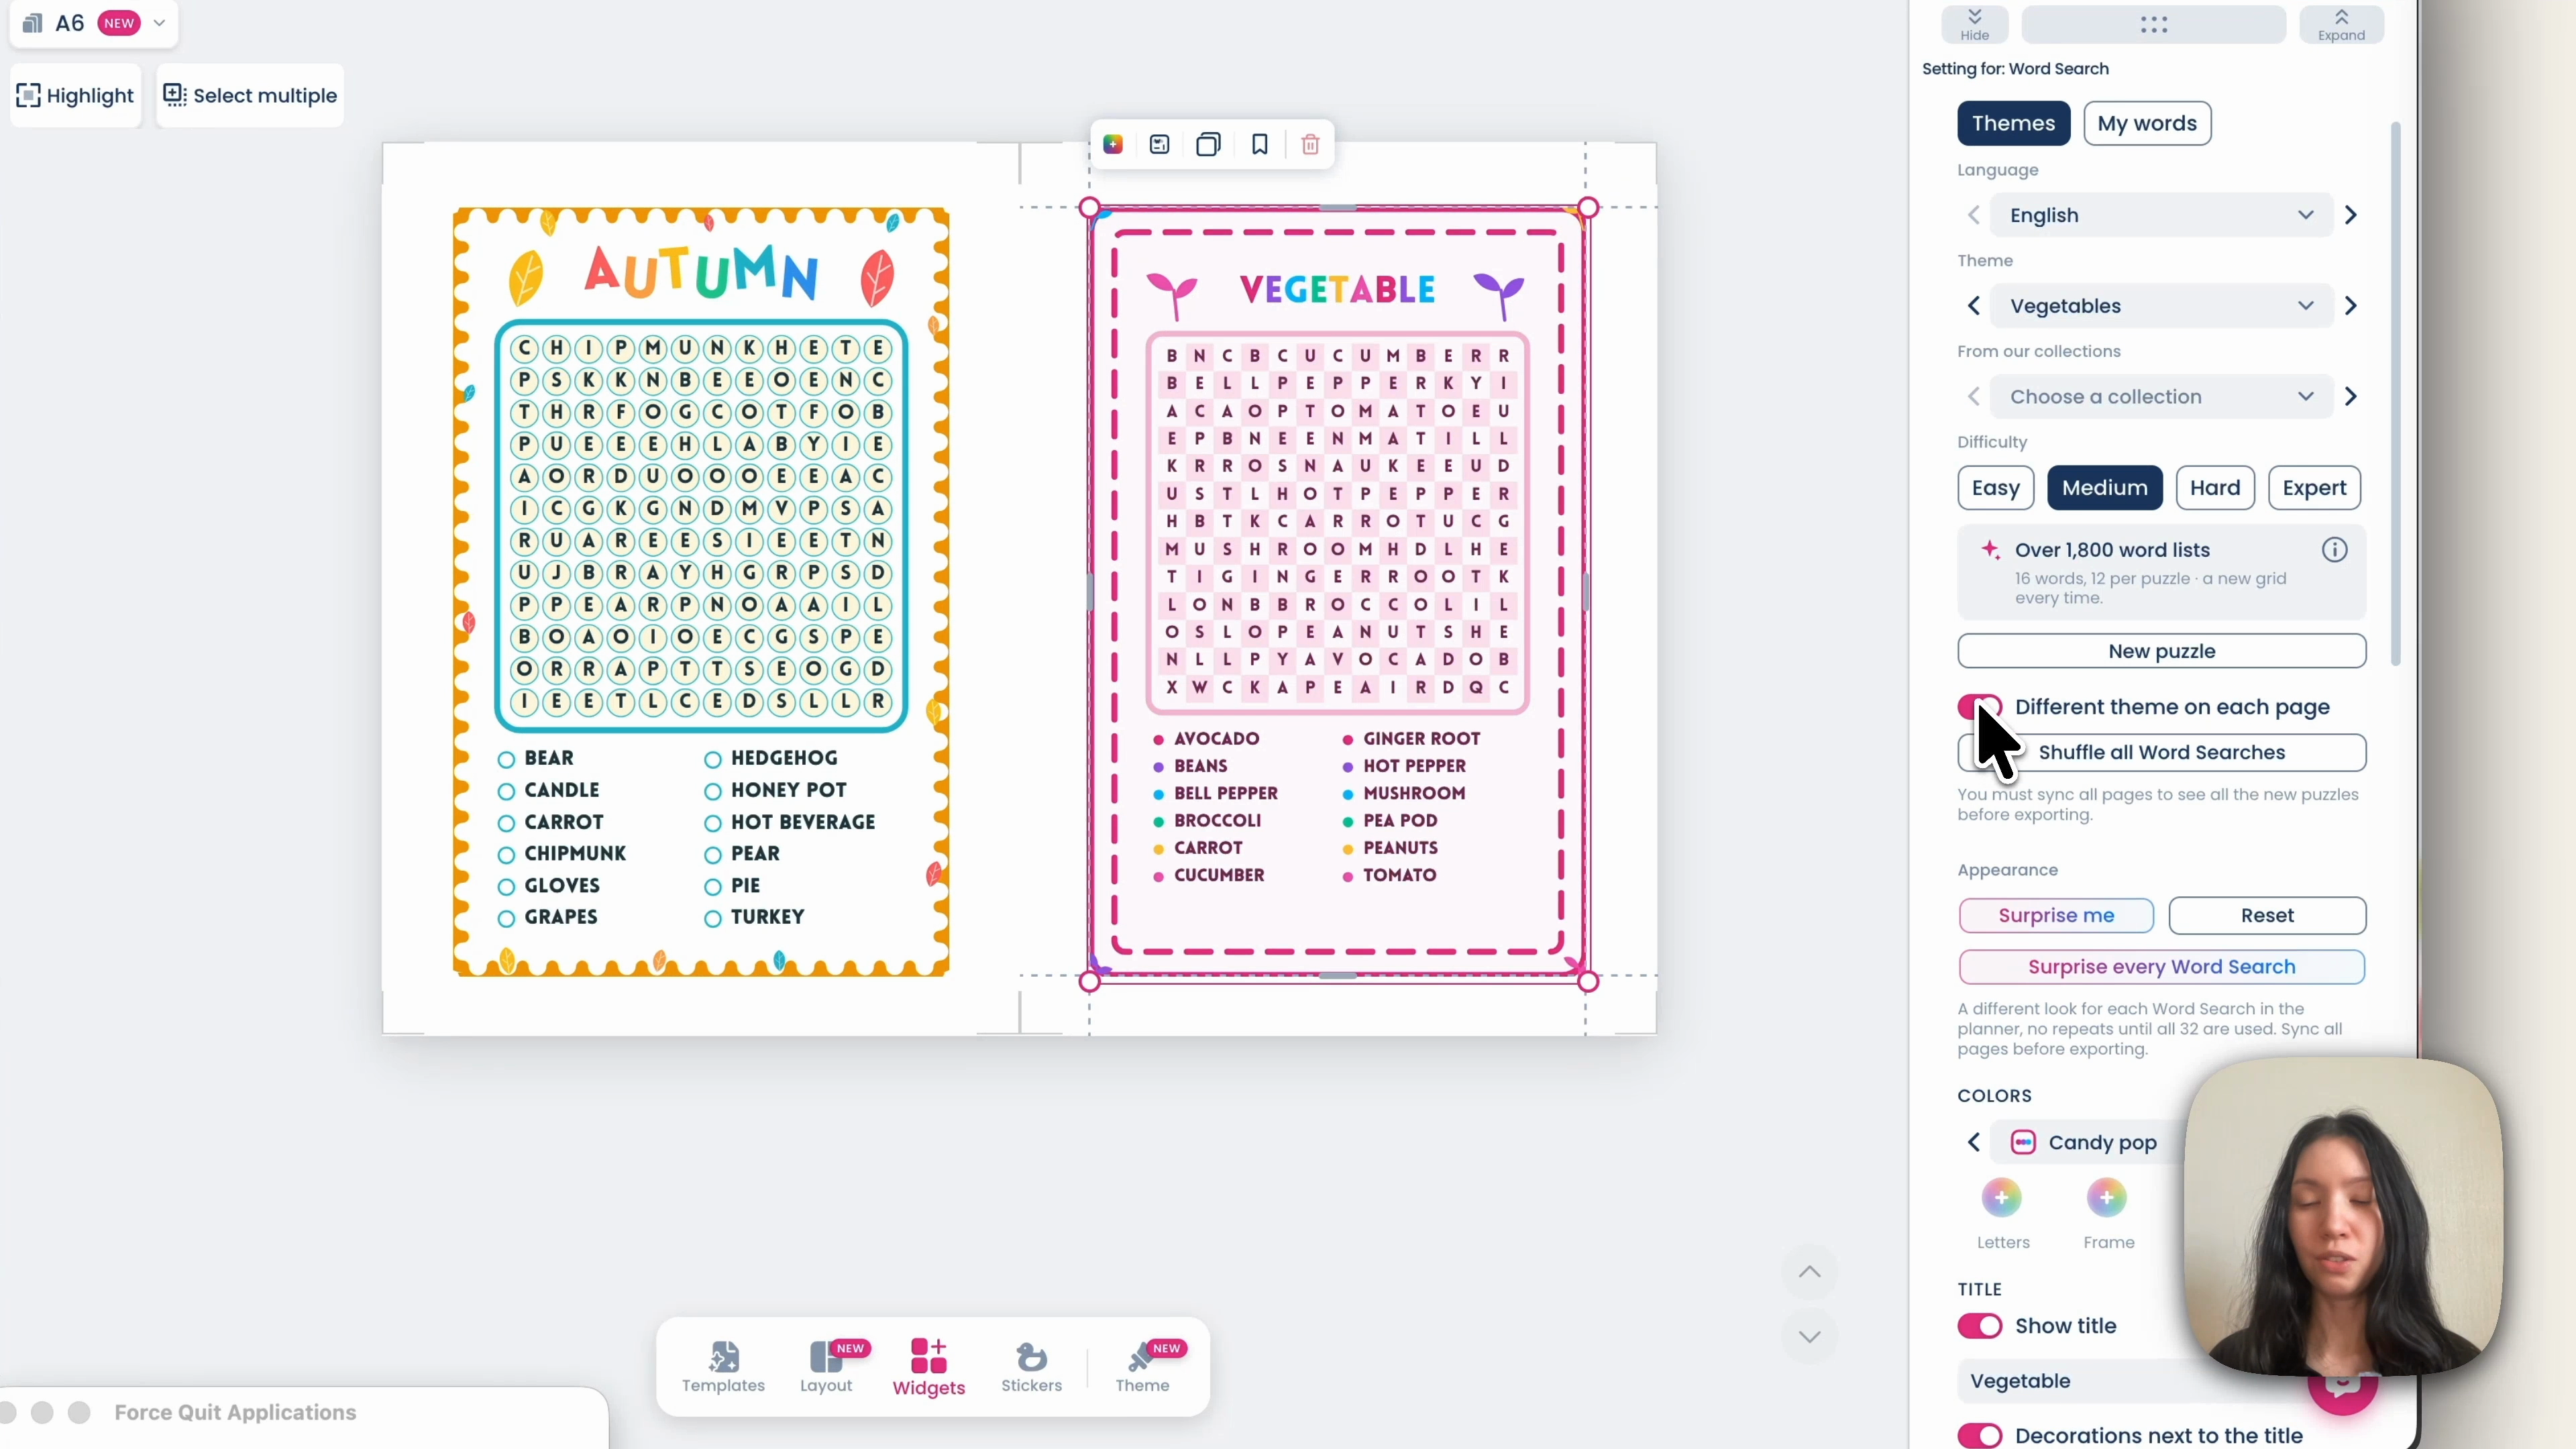
Switch on Different theme on each page, then click Shuffle all word searches. Every page now has its own theme and its own puzzle.
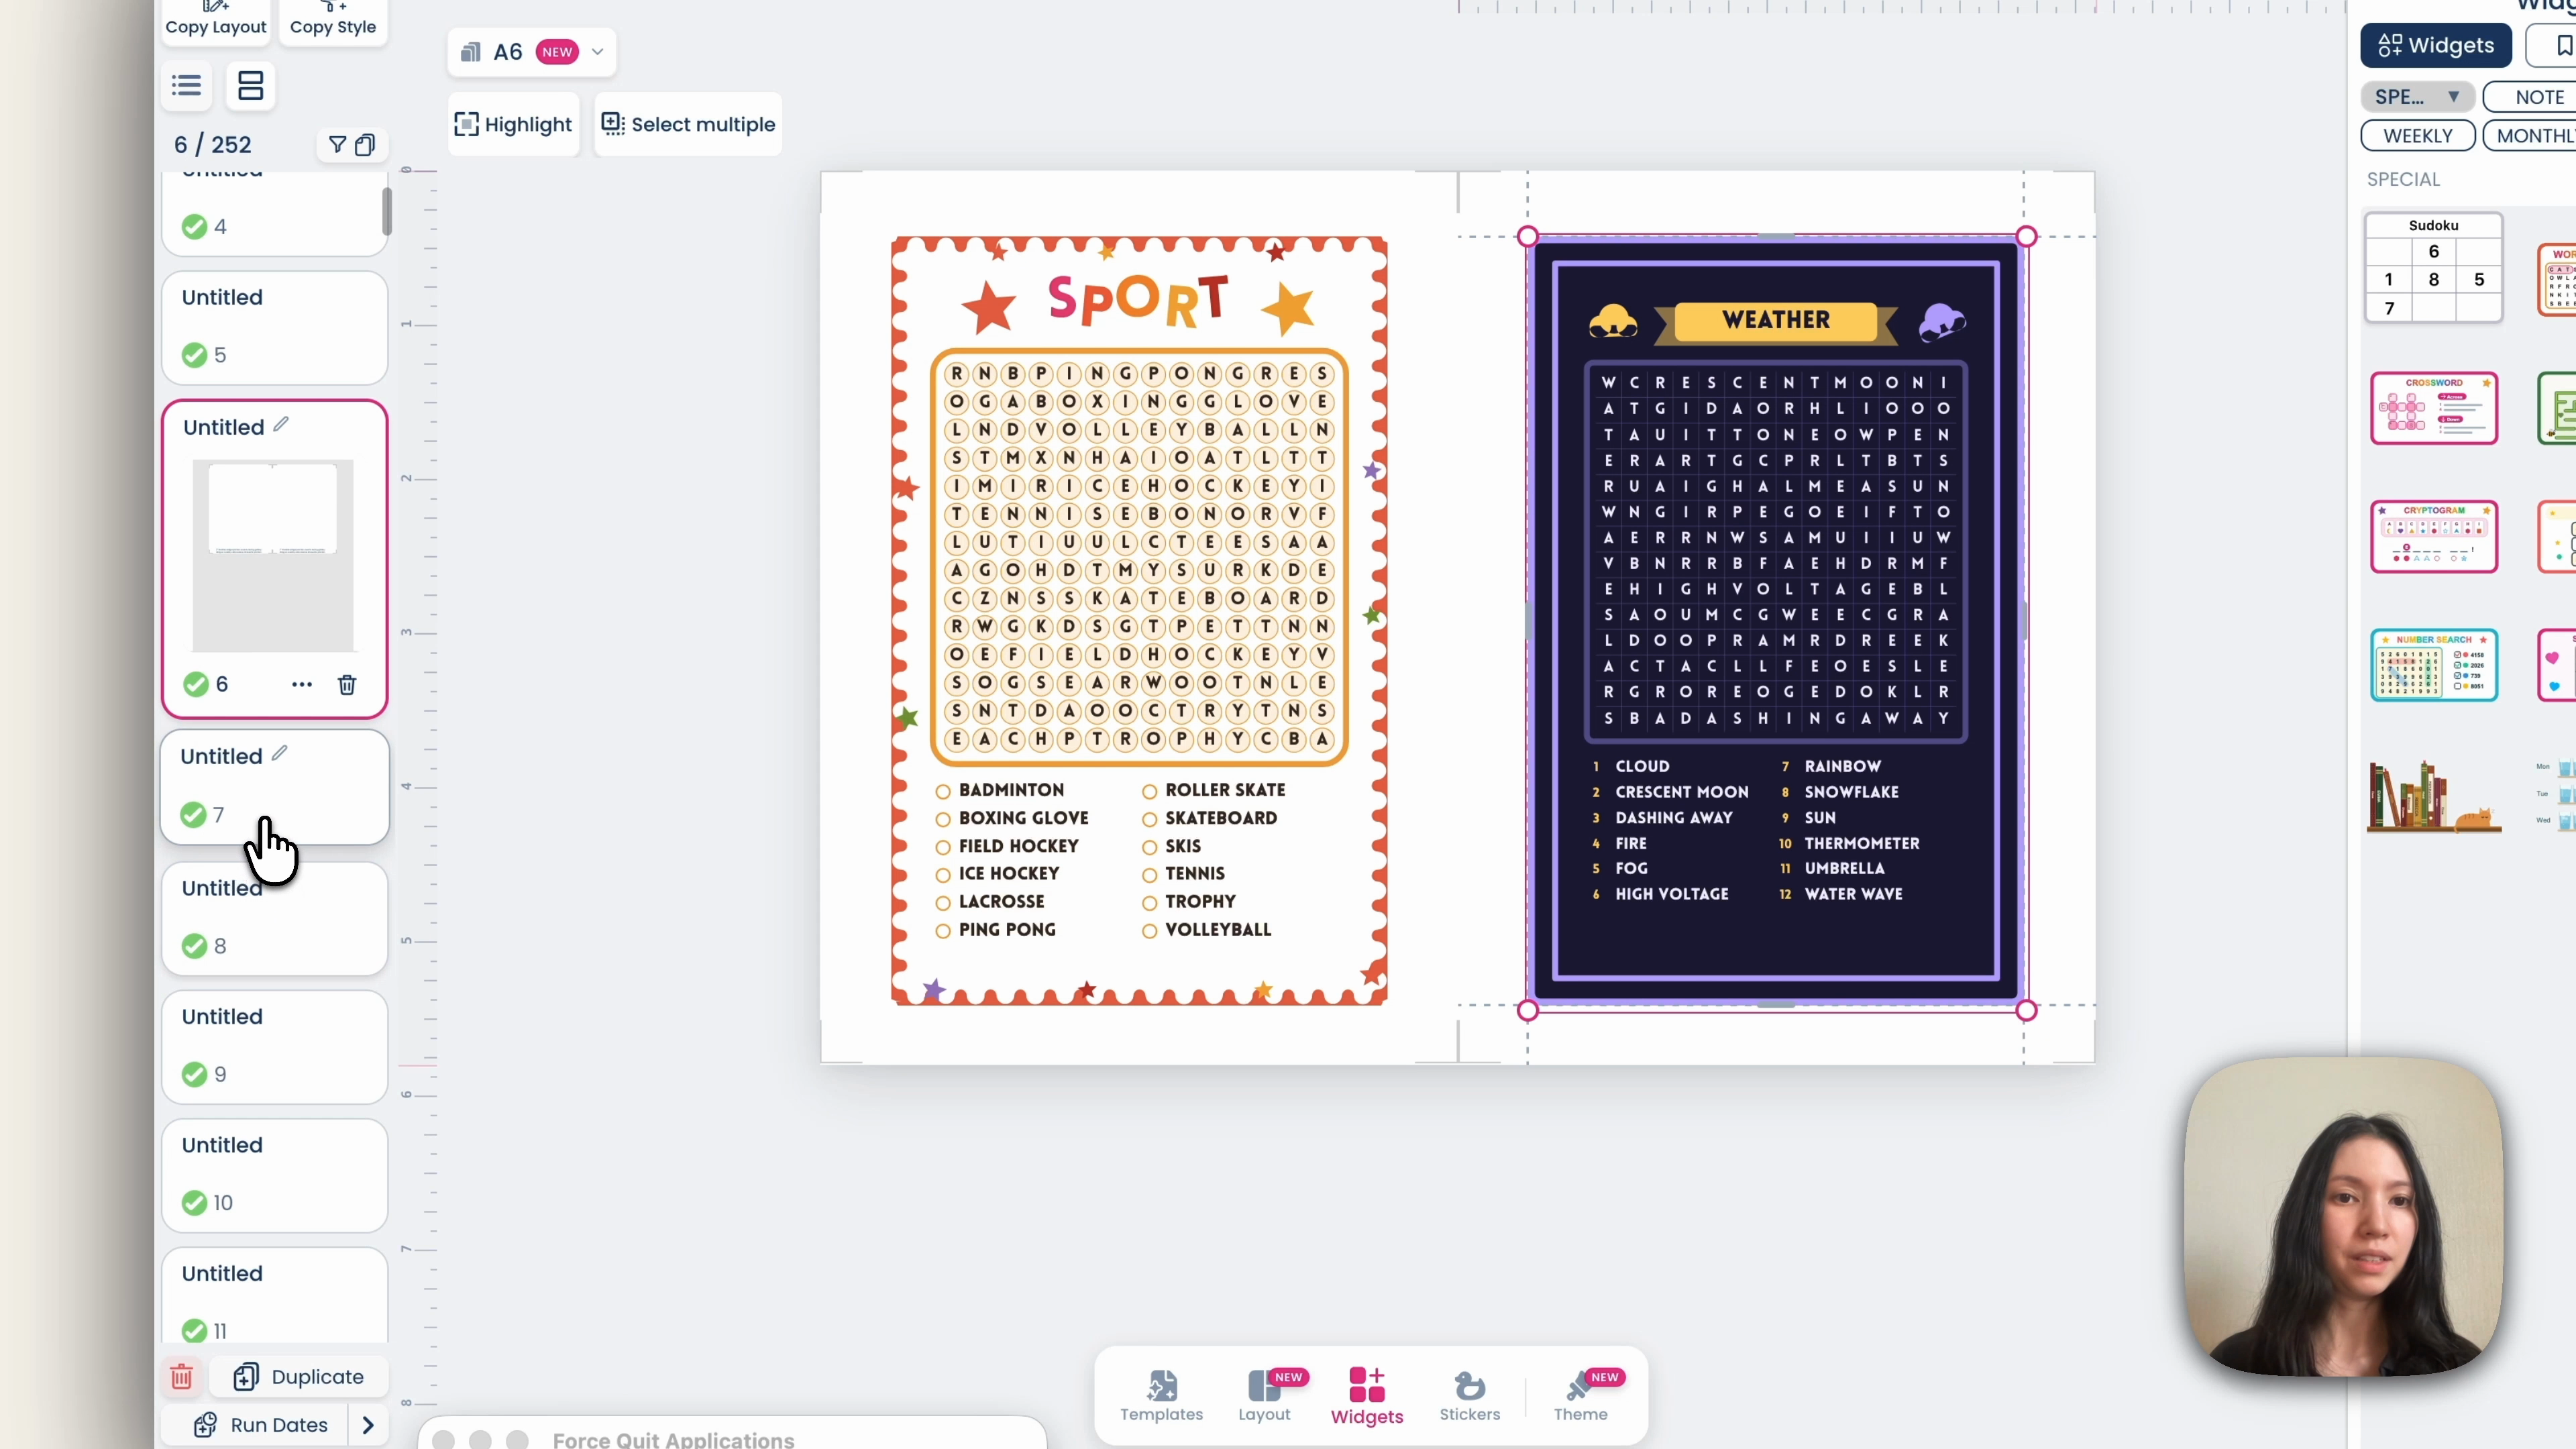
Scroll through a few pages to check. The inserts are done.
Export and print
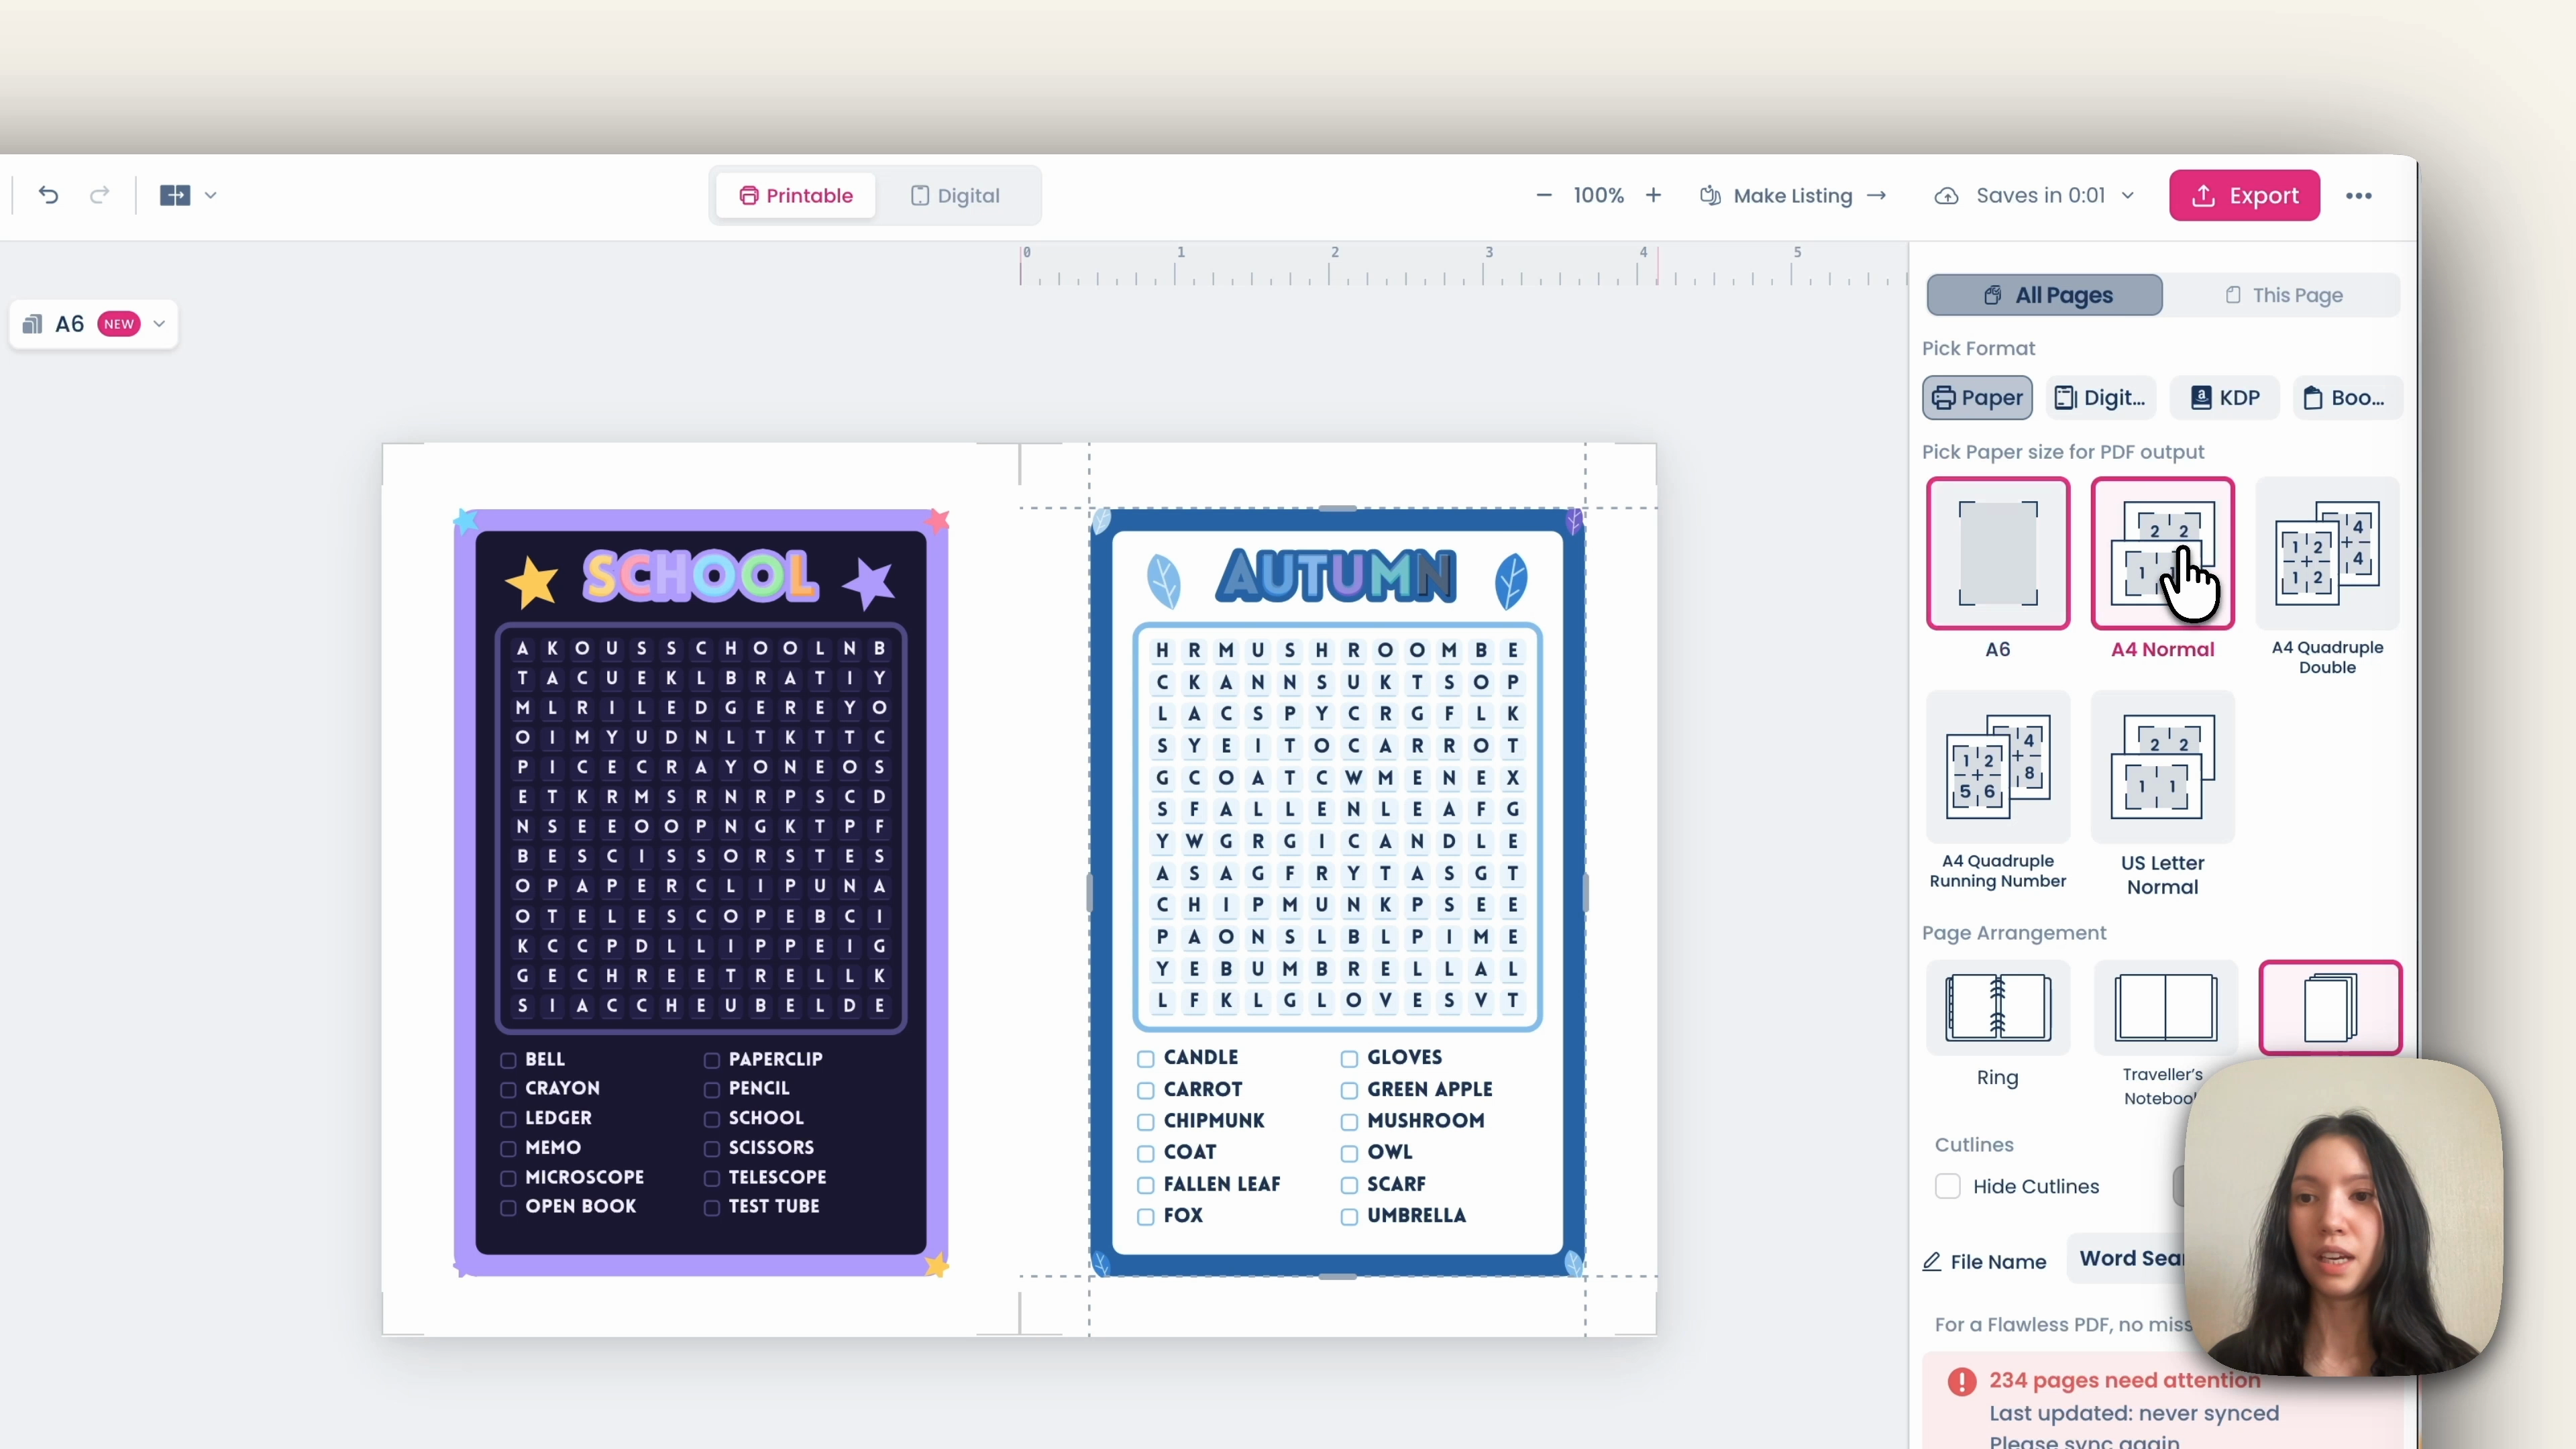
The inserts. Click Export, choose A4 default, then Export PDF. Planify Pro will ask you to sync first, so choose Fast sync, select all pages, and let it run through them. Exporting 250 pages takes a few minutes.
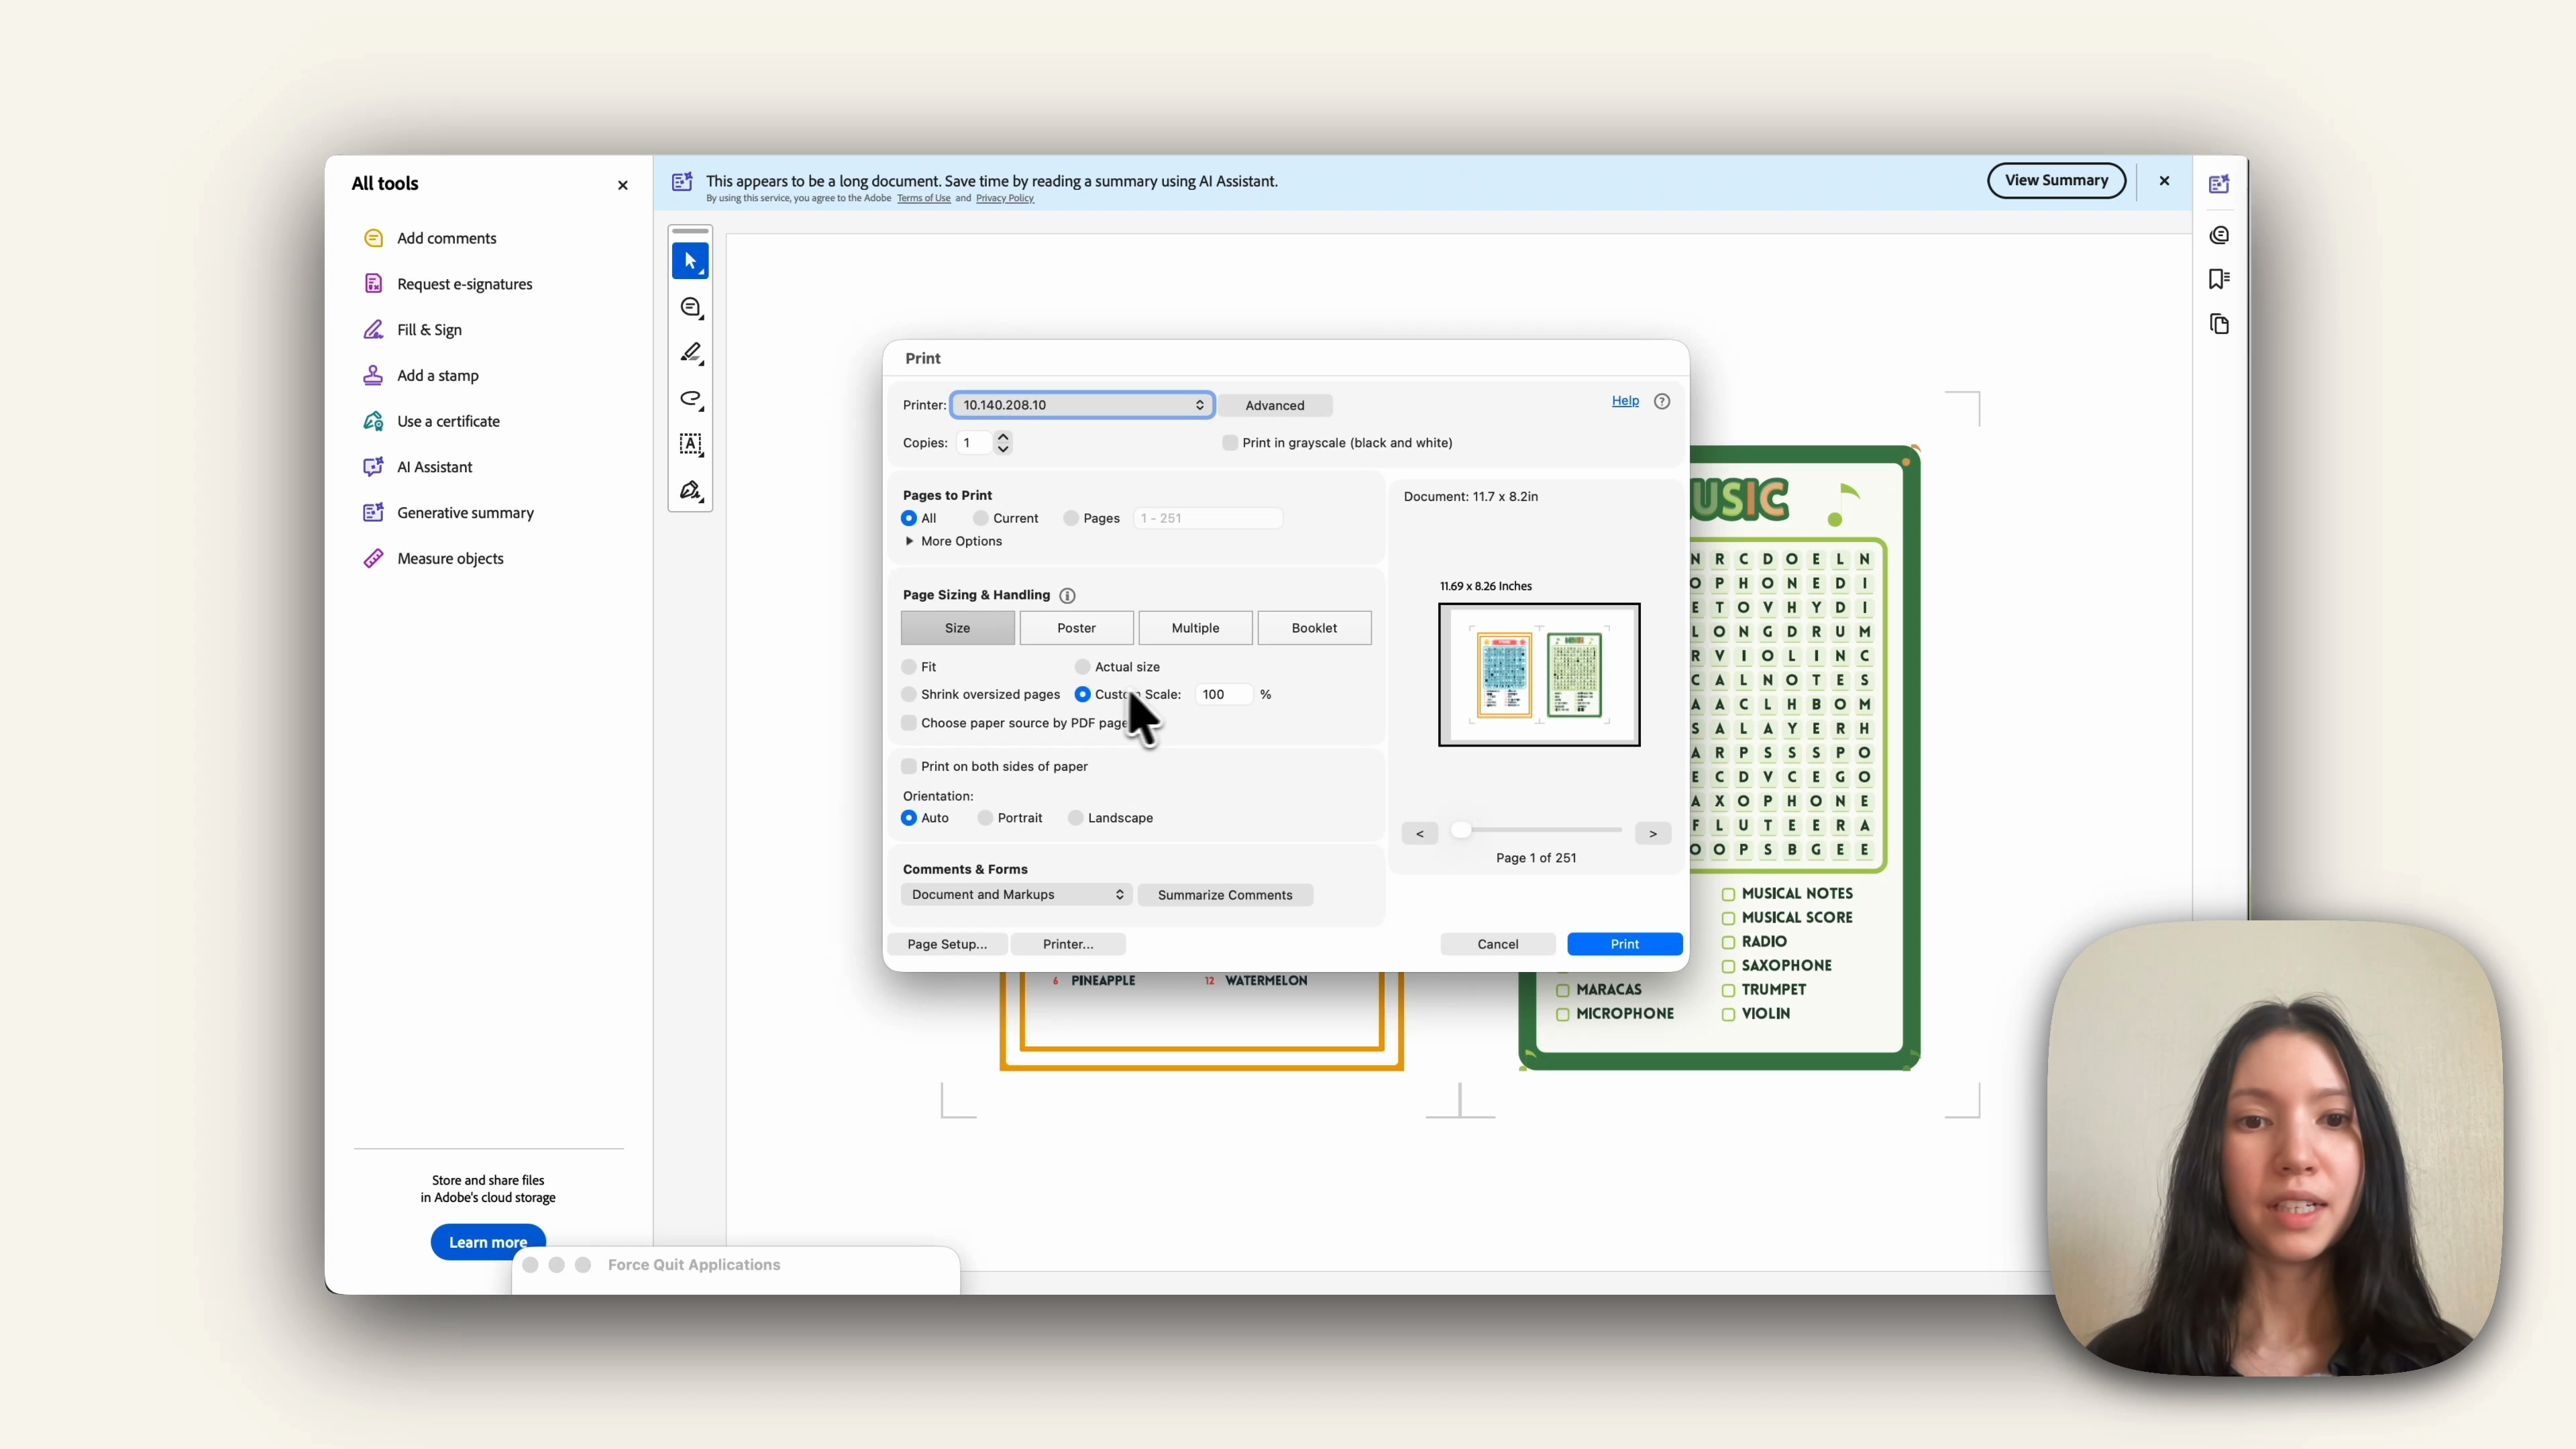
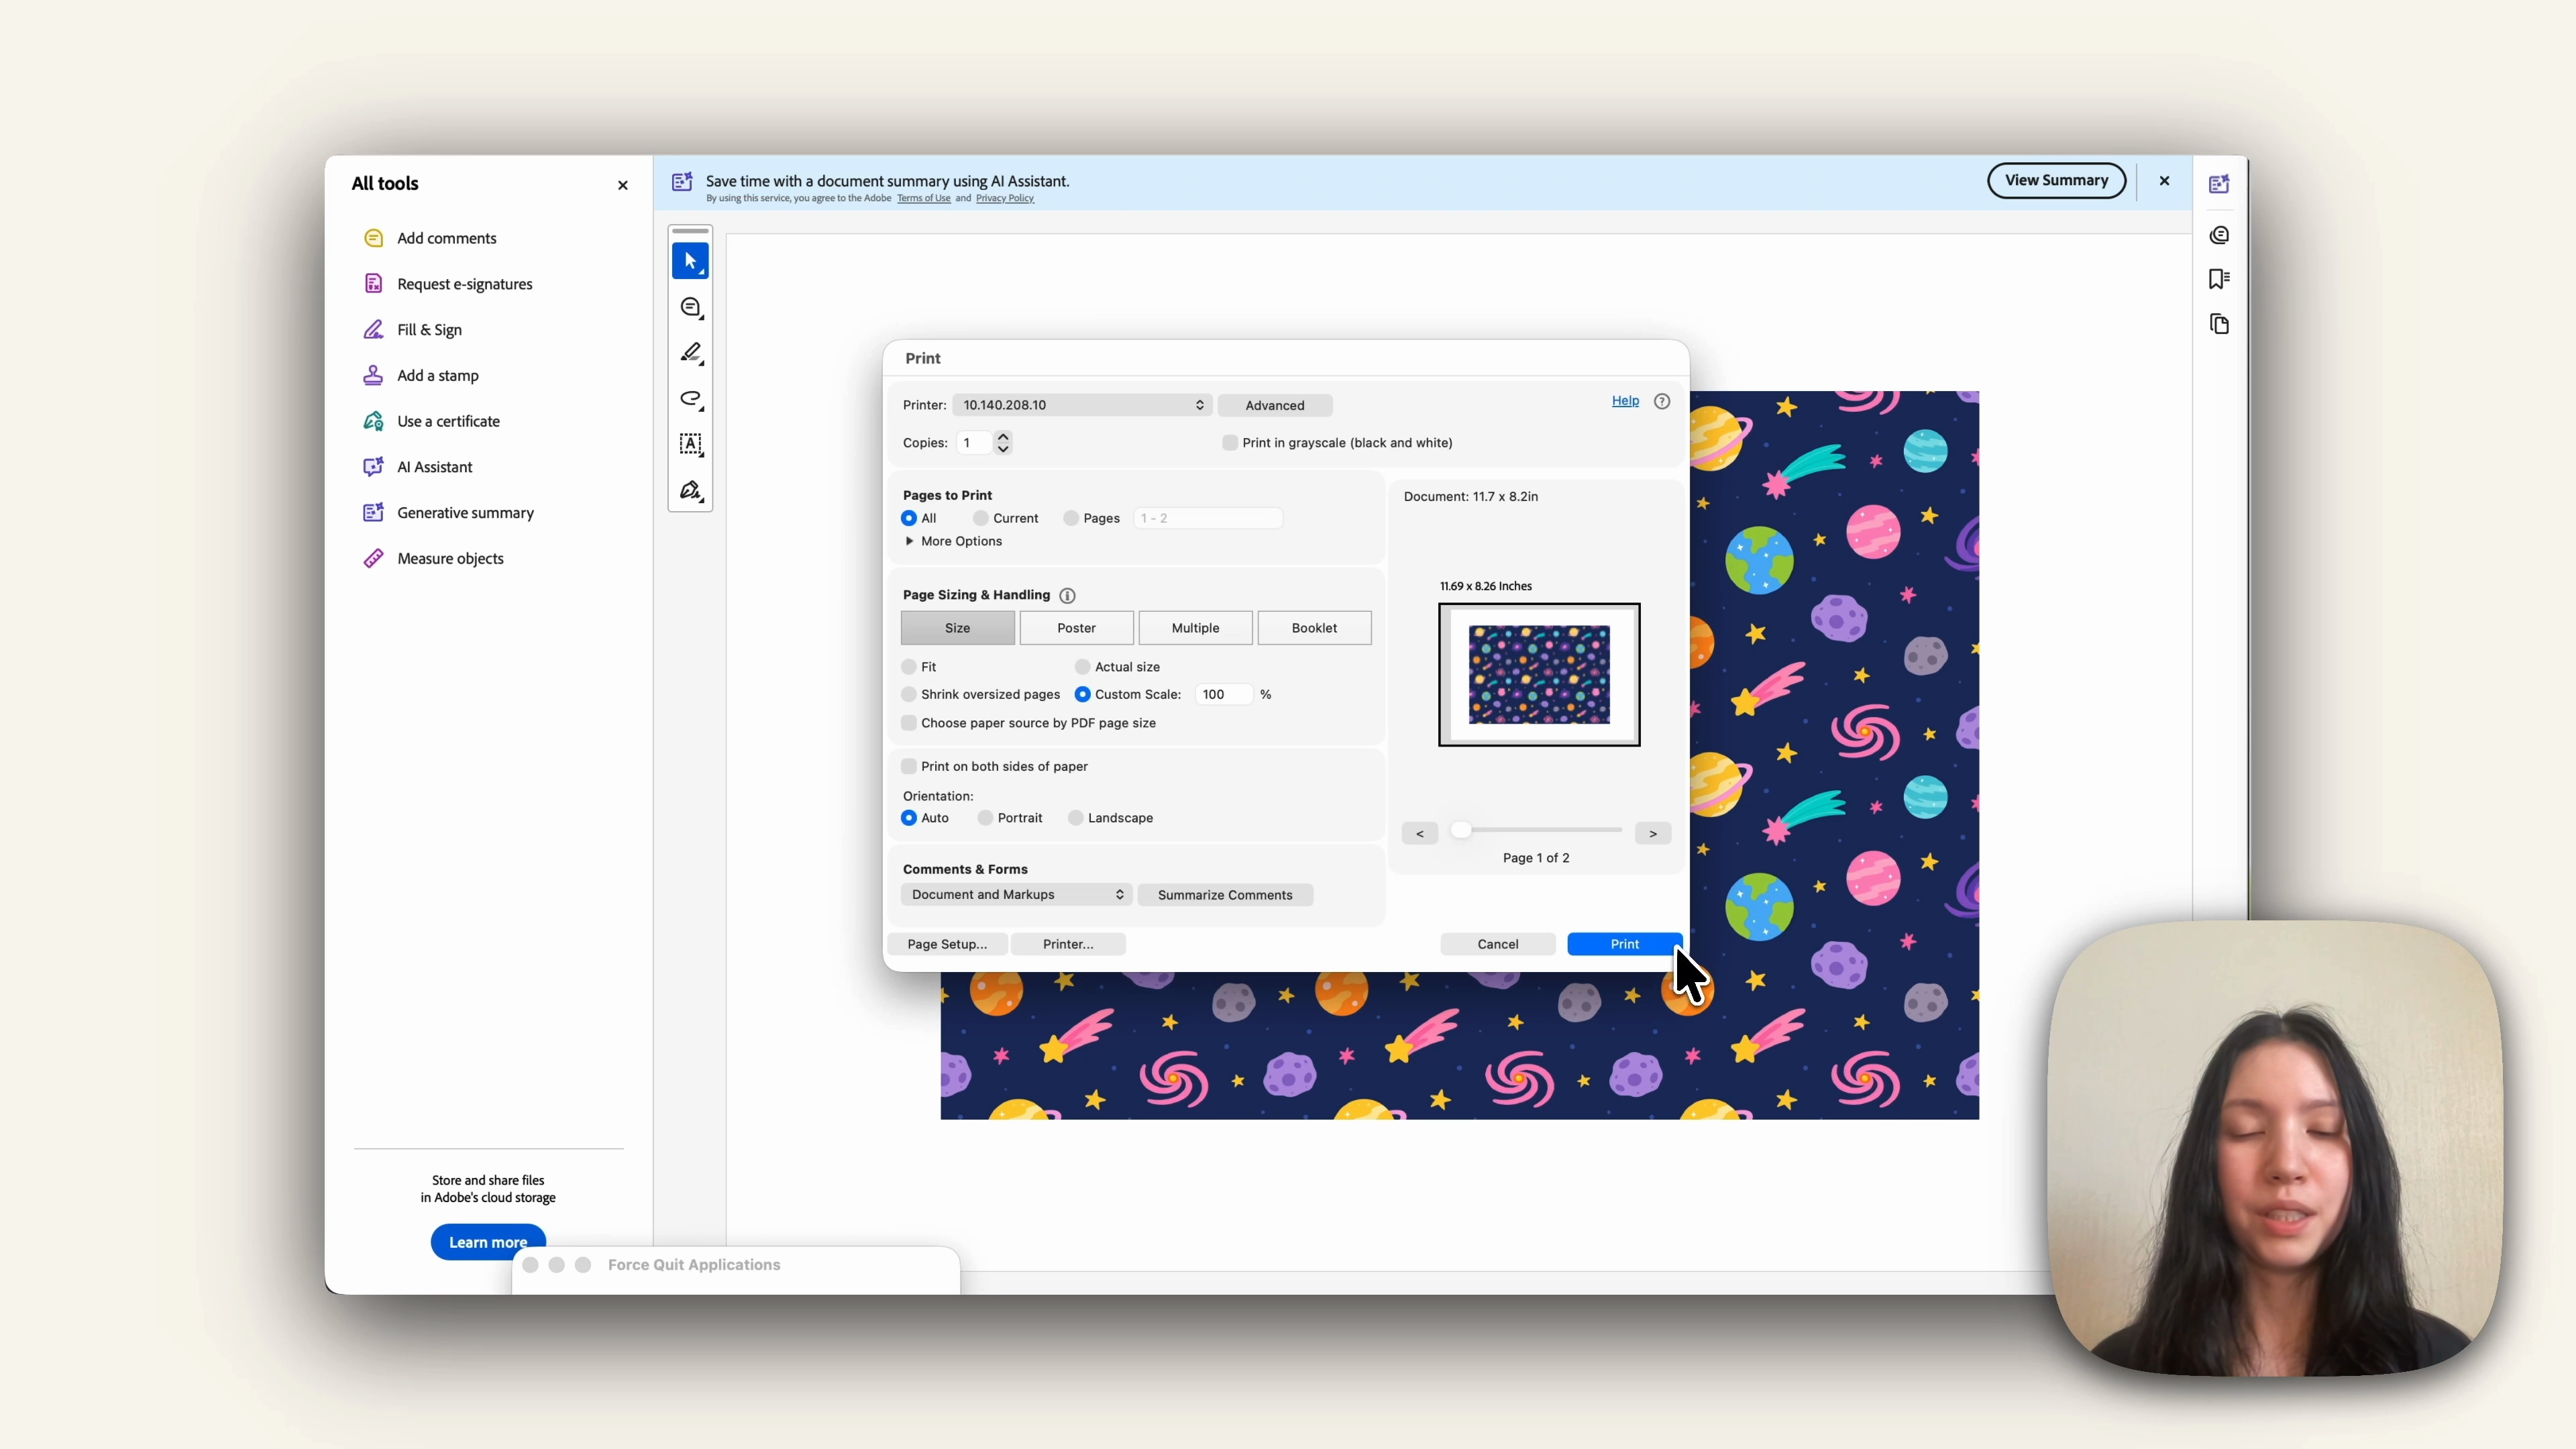
Open the PDF in Adobe Acrobat Reader and print at custom scale 100%. If you have a duplex printer, switch on print on both sides and set it to short edge. With a manual printer, print all the odd pages first, flip the whole stack, reinsert it and print the even pages.
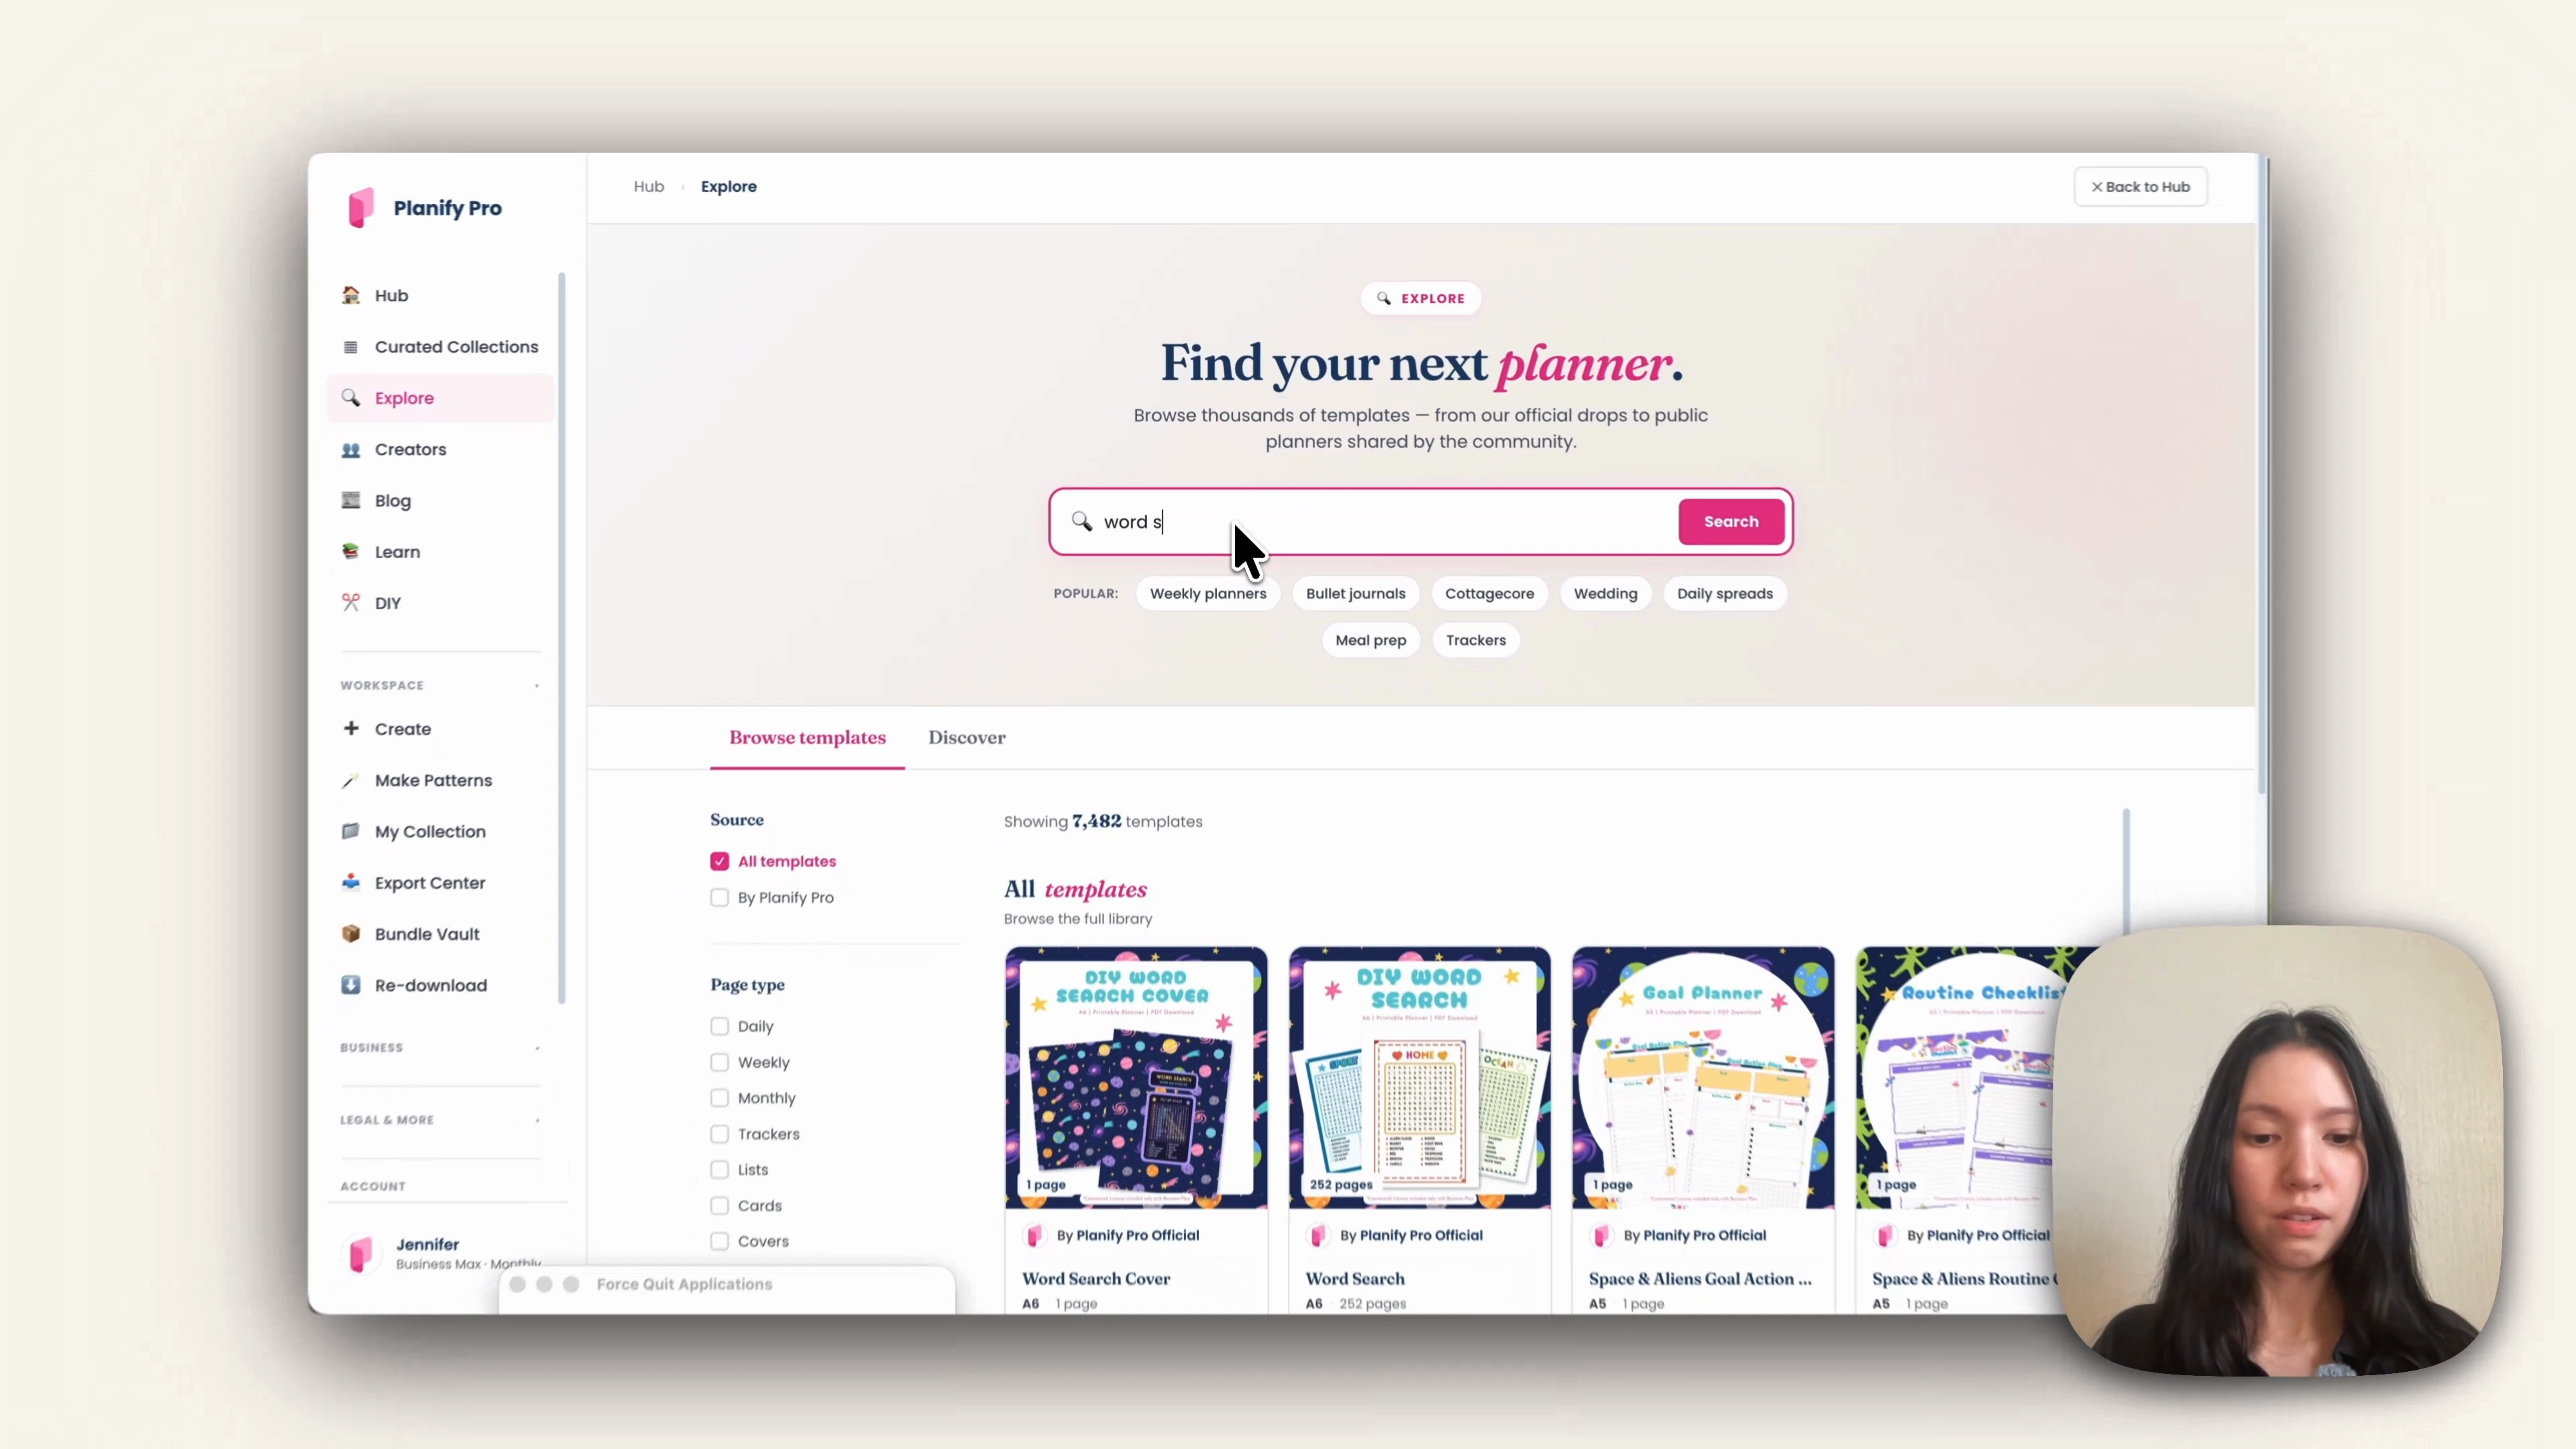
The cover. Open the word search cover template above. The left half is the back cover and the right half is the front, so the two together make an A4 sheet. Double-click any text to edit it, change the fonts and colours, and swap the background under Theme > Pattern. Try not to move the elements around too much, since their positions are set up for binding.
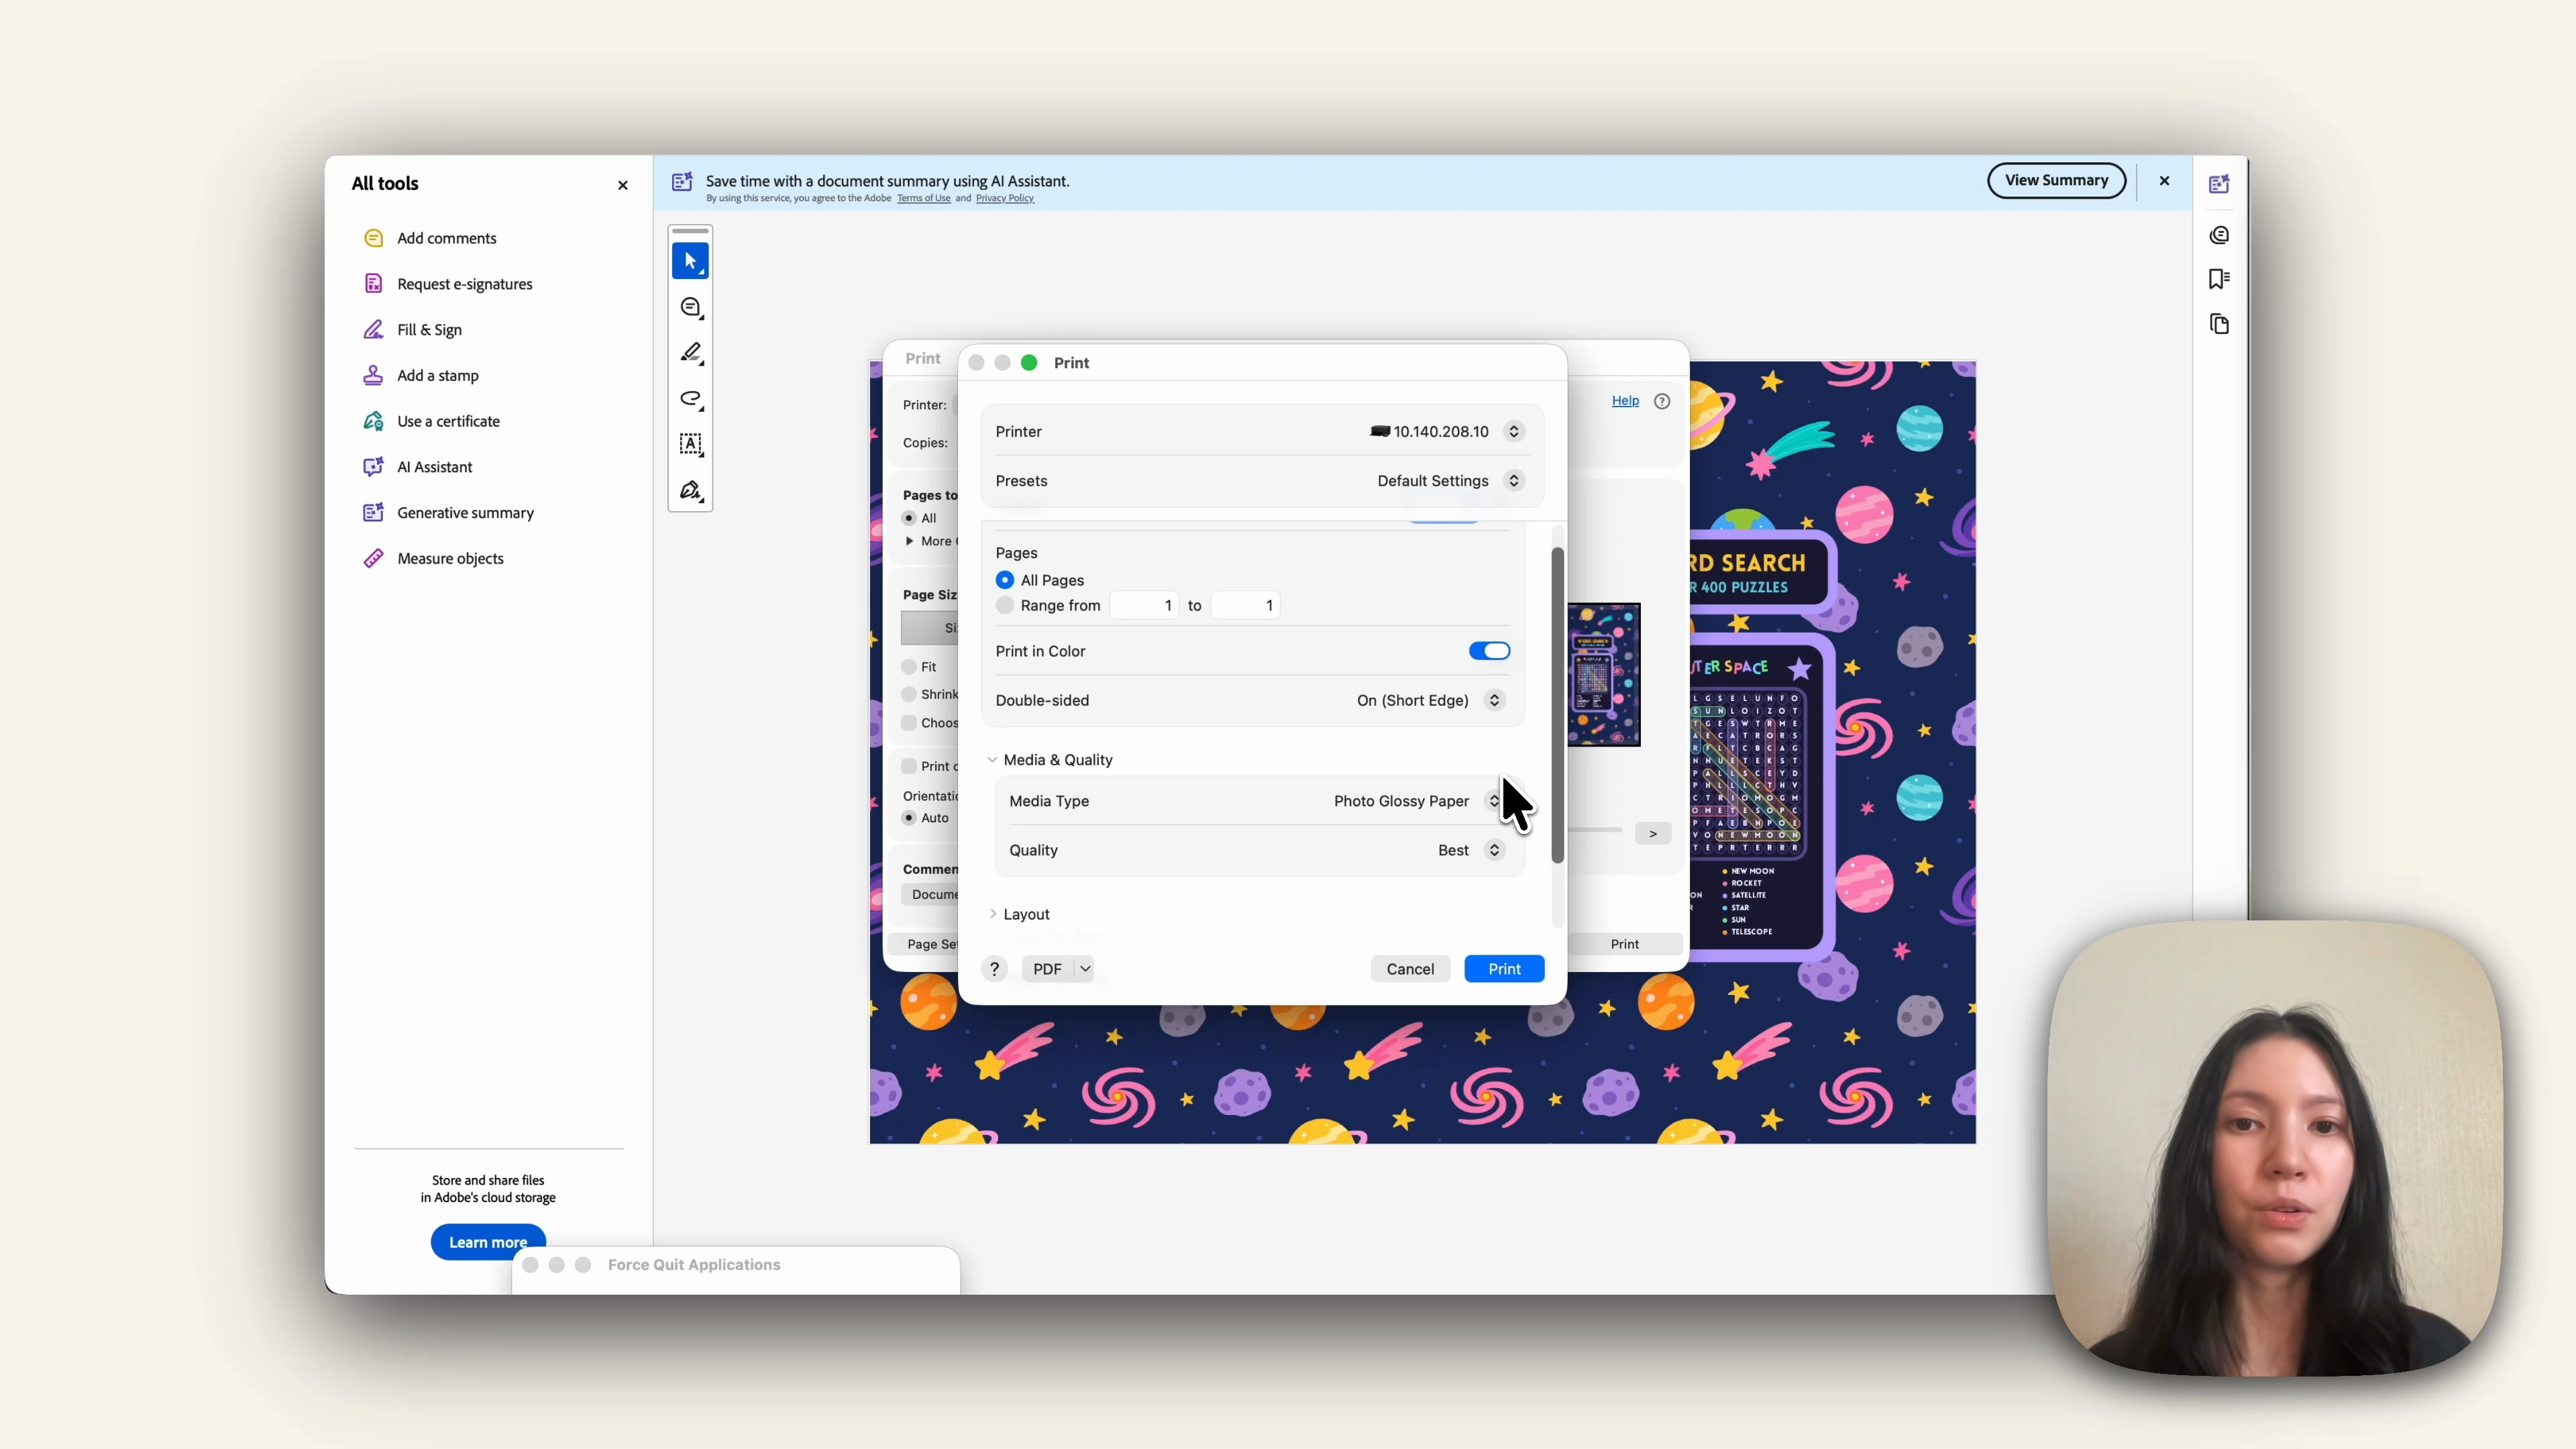
Export with Export this page > A4 > Export PDF, then print it on white matte sticker paper at 100% scale. Under Page Setup choose A4 borderless if your printer offers it, and set quality to Best with media type Photo glossy paper. Plain A4 is fine if borderless isn't available.
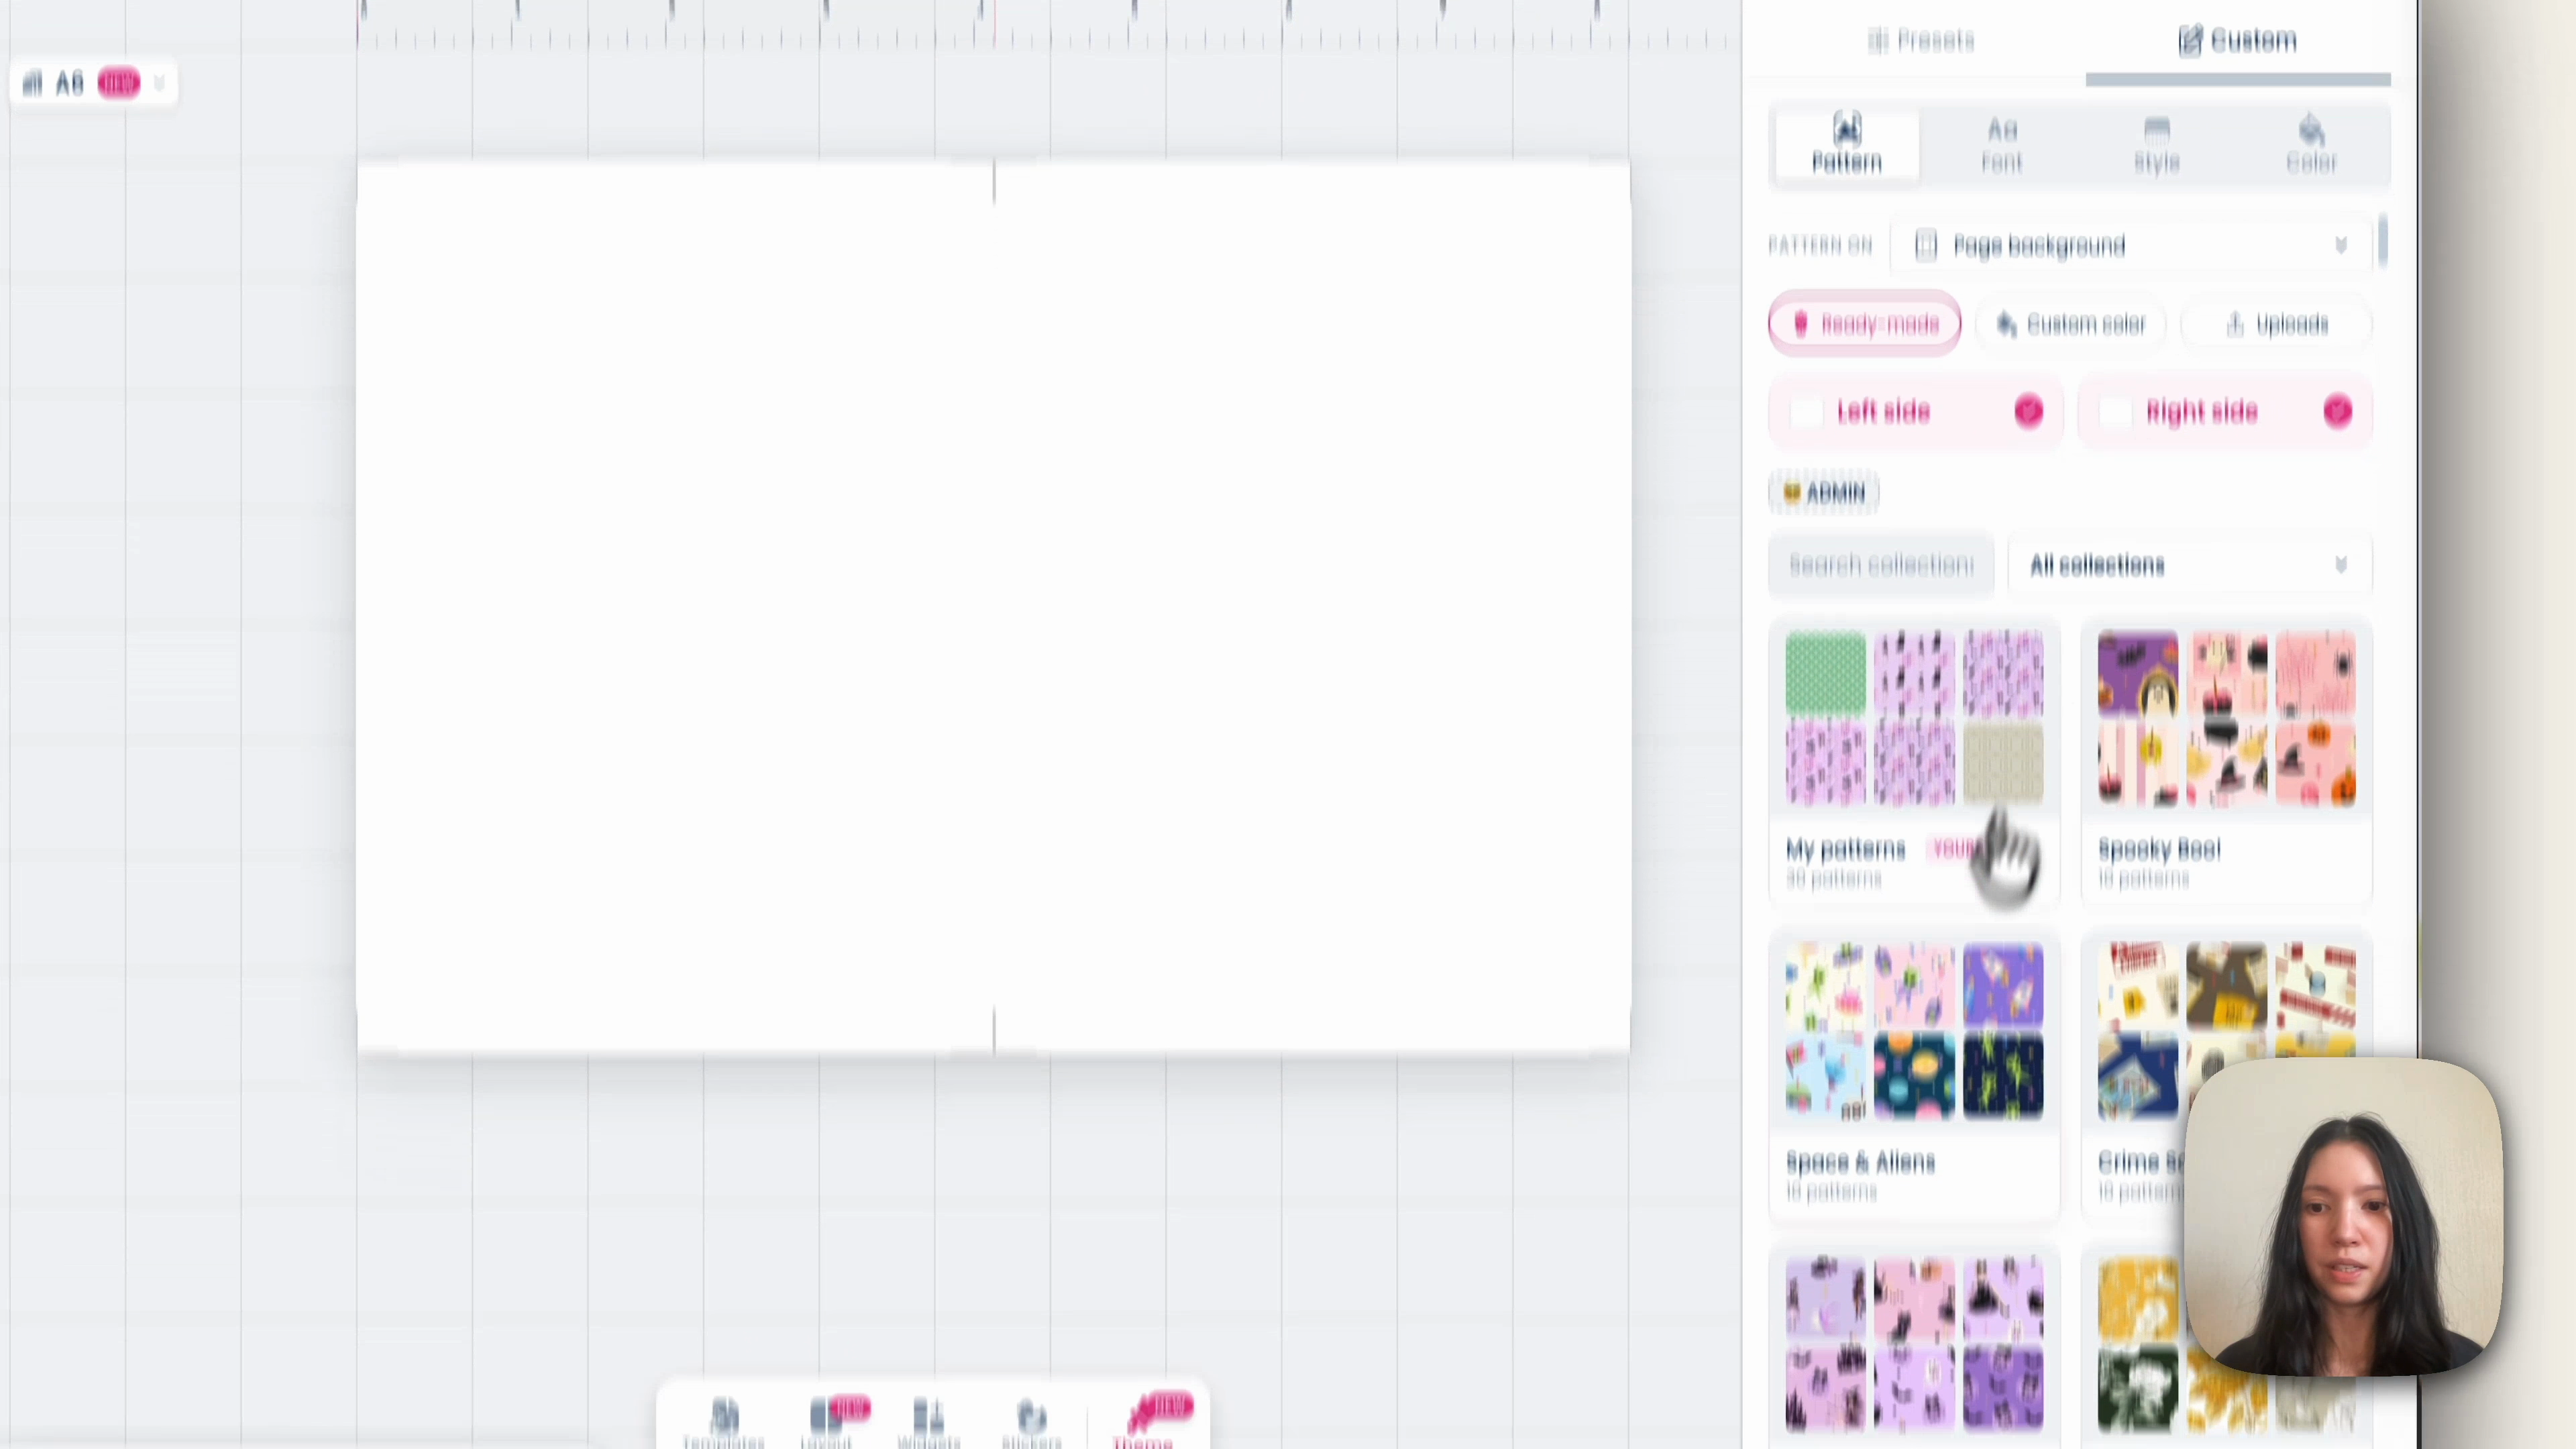
The inside covers. These are plain patterned sheets on 200gsm cardstock, and you need two. Create a new planner, set the size to A6, go to Theme > Pattern and pick a pattern, leaving continue switched on. Under Export, hide the cut lines, choose A4 and export the PDF.
Print the front at 100%, then flip the paper, reinsert it and print the back at 104%. The slightly larger back means no white edges show when you trim the front, even if your printer's front and back aren't perfectly aligned. Repeat for the second inside cover.
What You'll Need
| Guillotine paper cutter | White matte sticker paper | 200gsm cardstock |
| Chipboard (1.4mm or thicker) | Book press | PVA bookbinding glue |
| Bone folder | Double-sided tape | Headbands (optional) |
Instructions
1. Trim the inserts. Cut the white edges off all the printed pages. A heavy-duty paper cutter is easiest, but a ruler and craft knife work too. 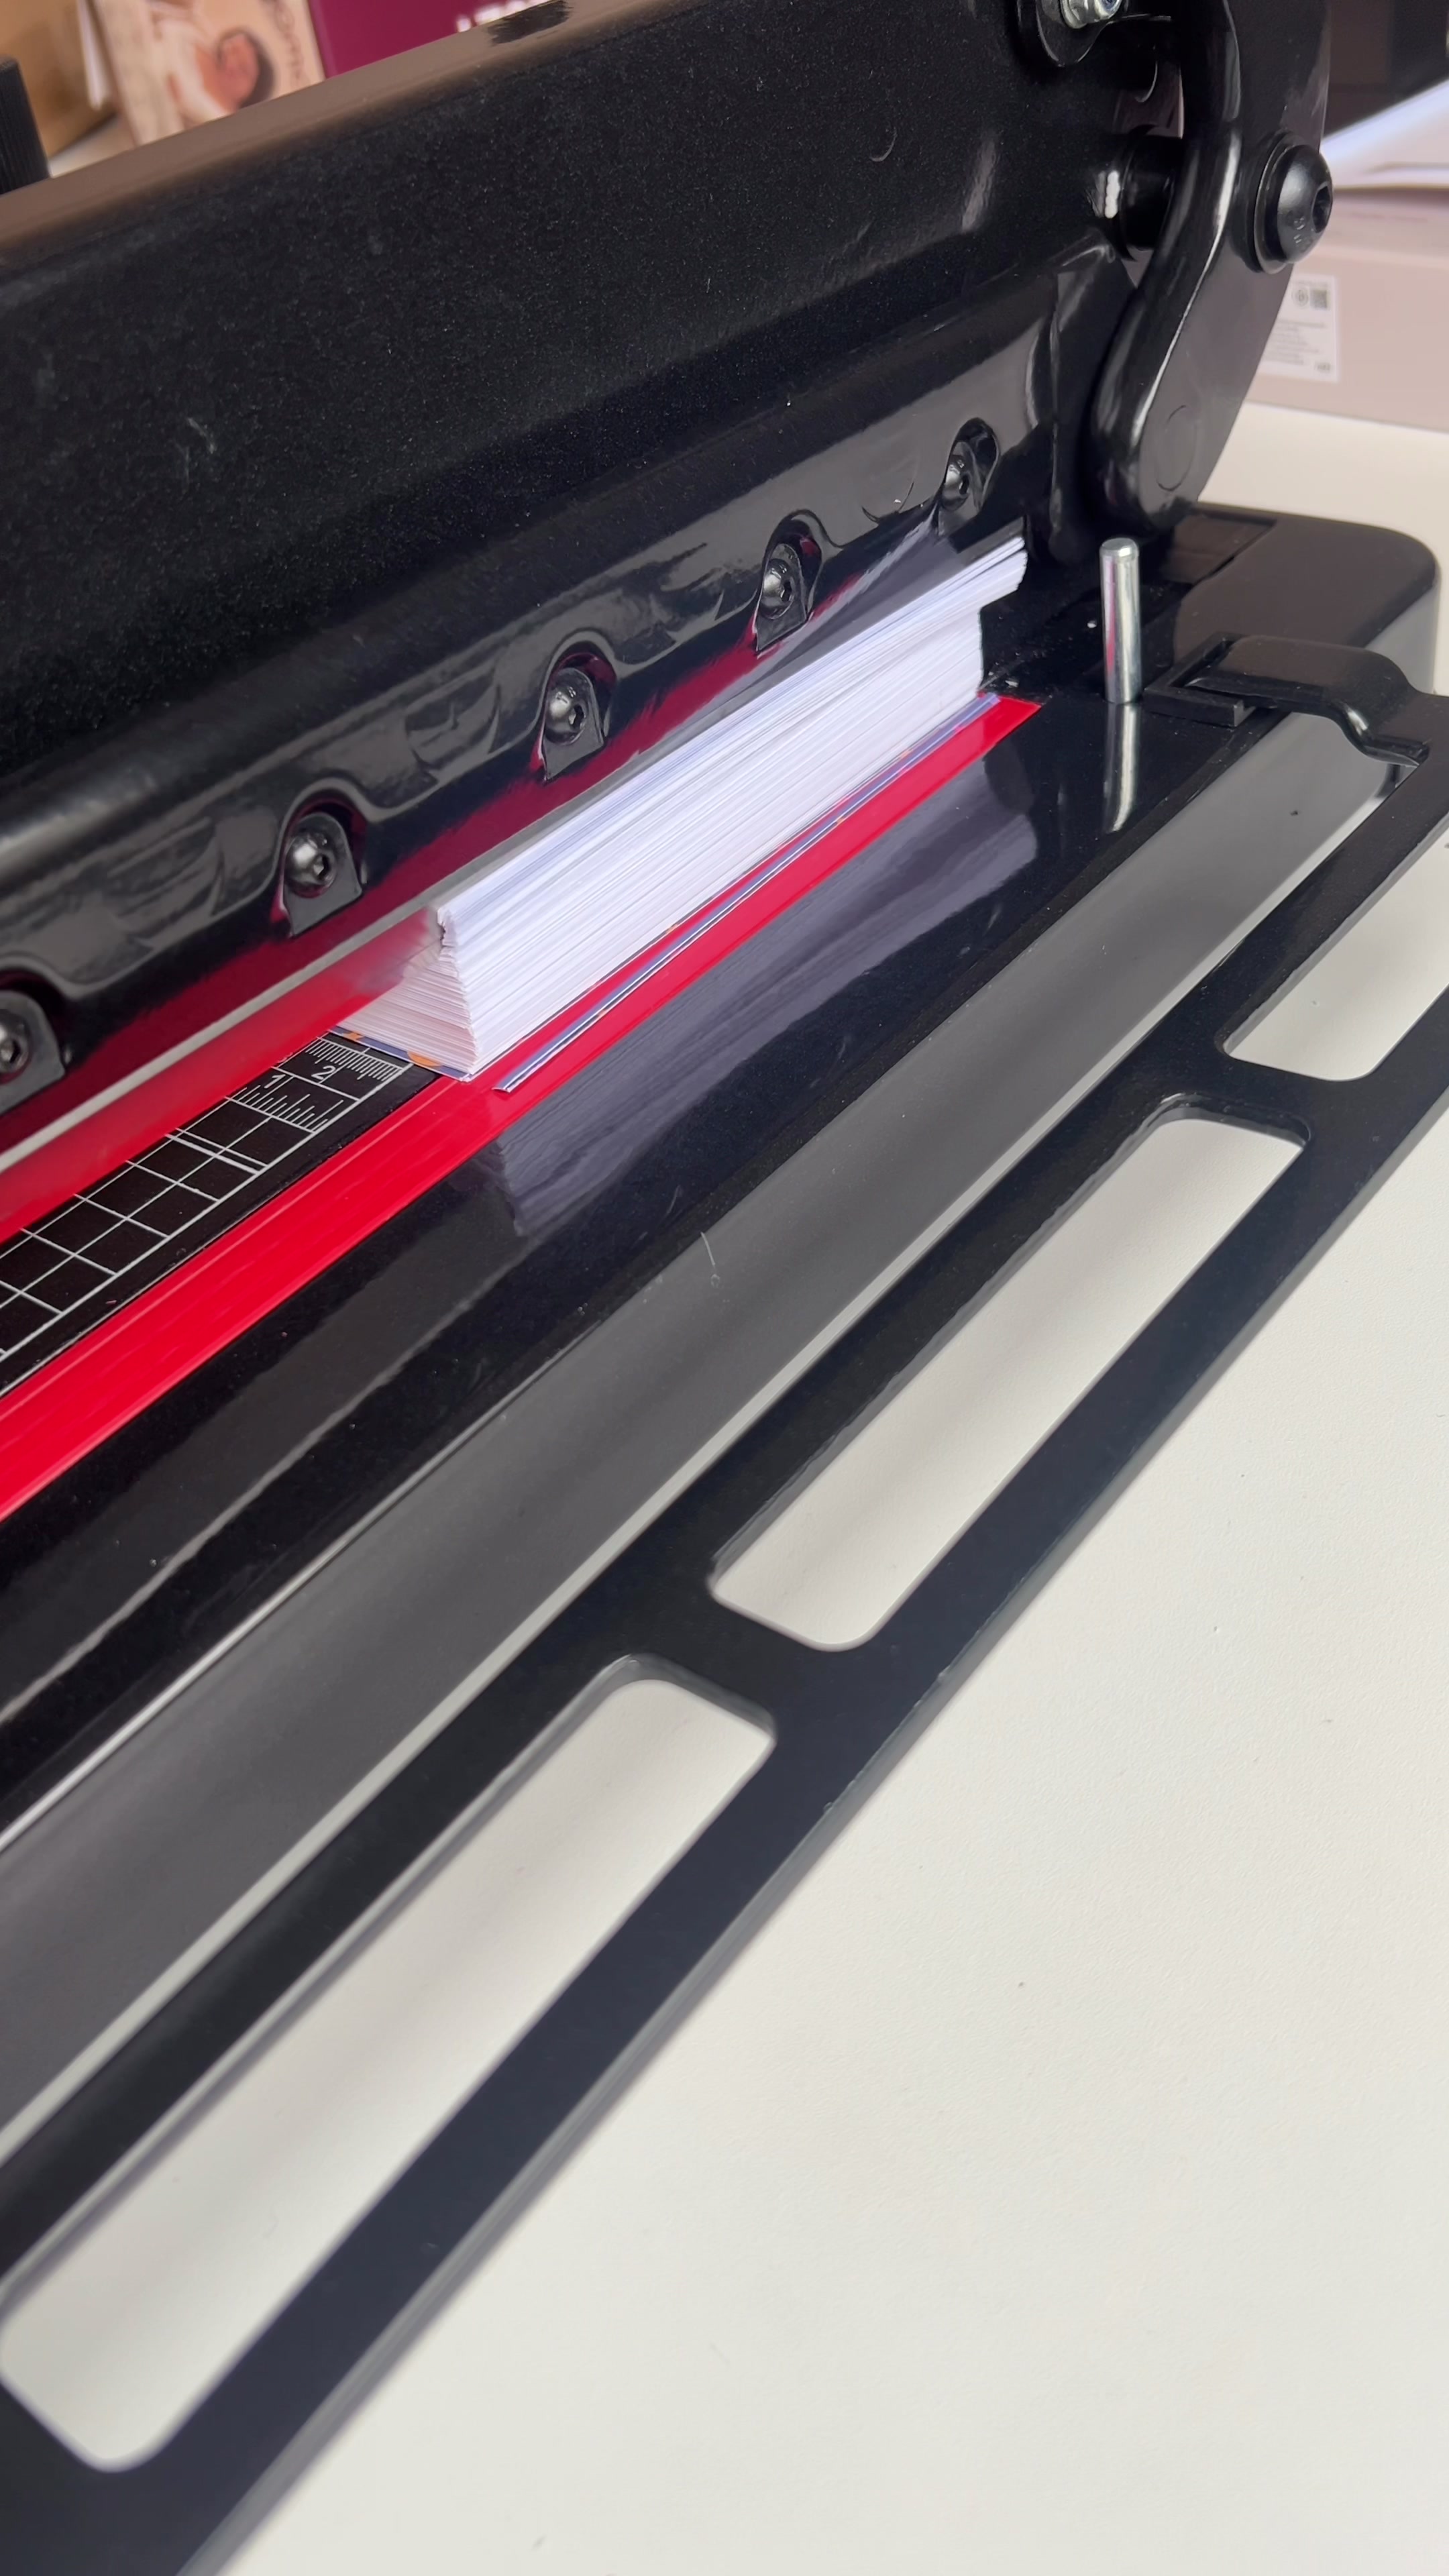 |
2. Fold each page in half. The order doesn't matter, since every page is its own puzzle. Each folded page becomes a two-leaf section of the book. 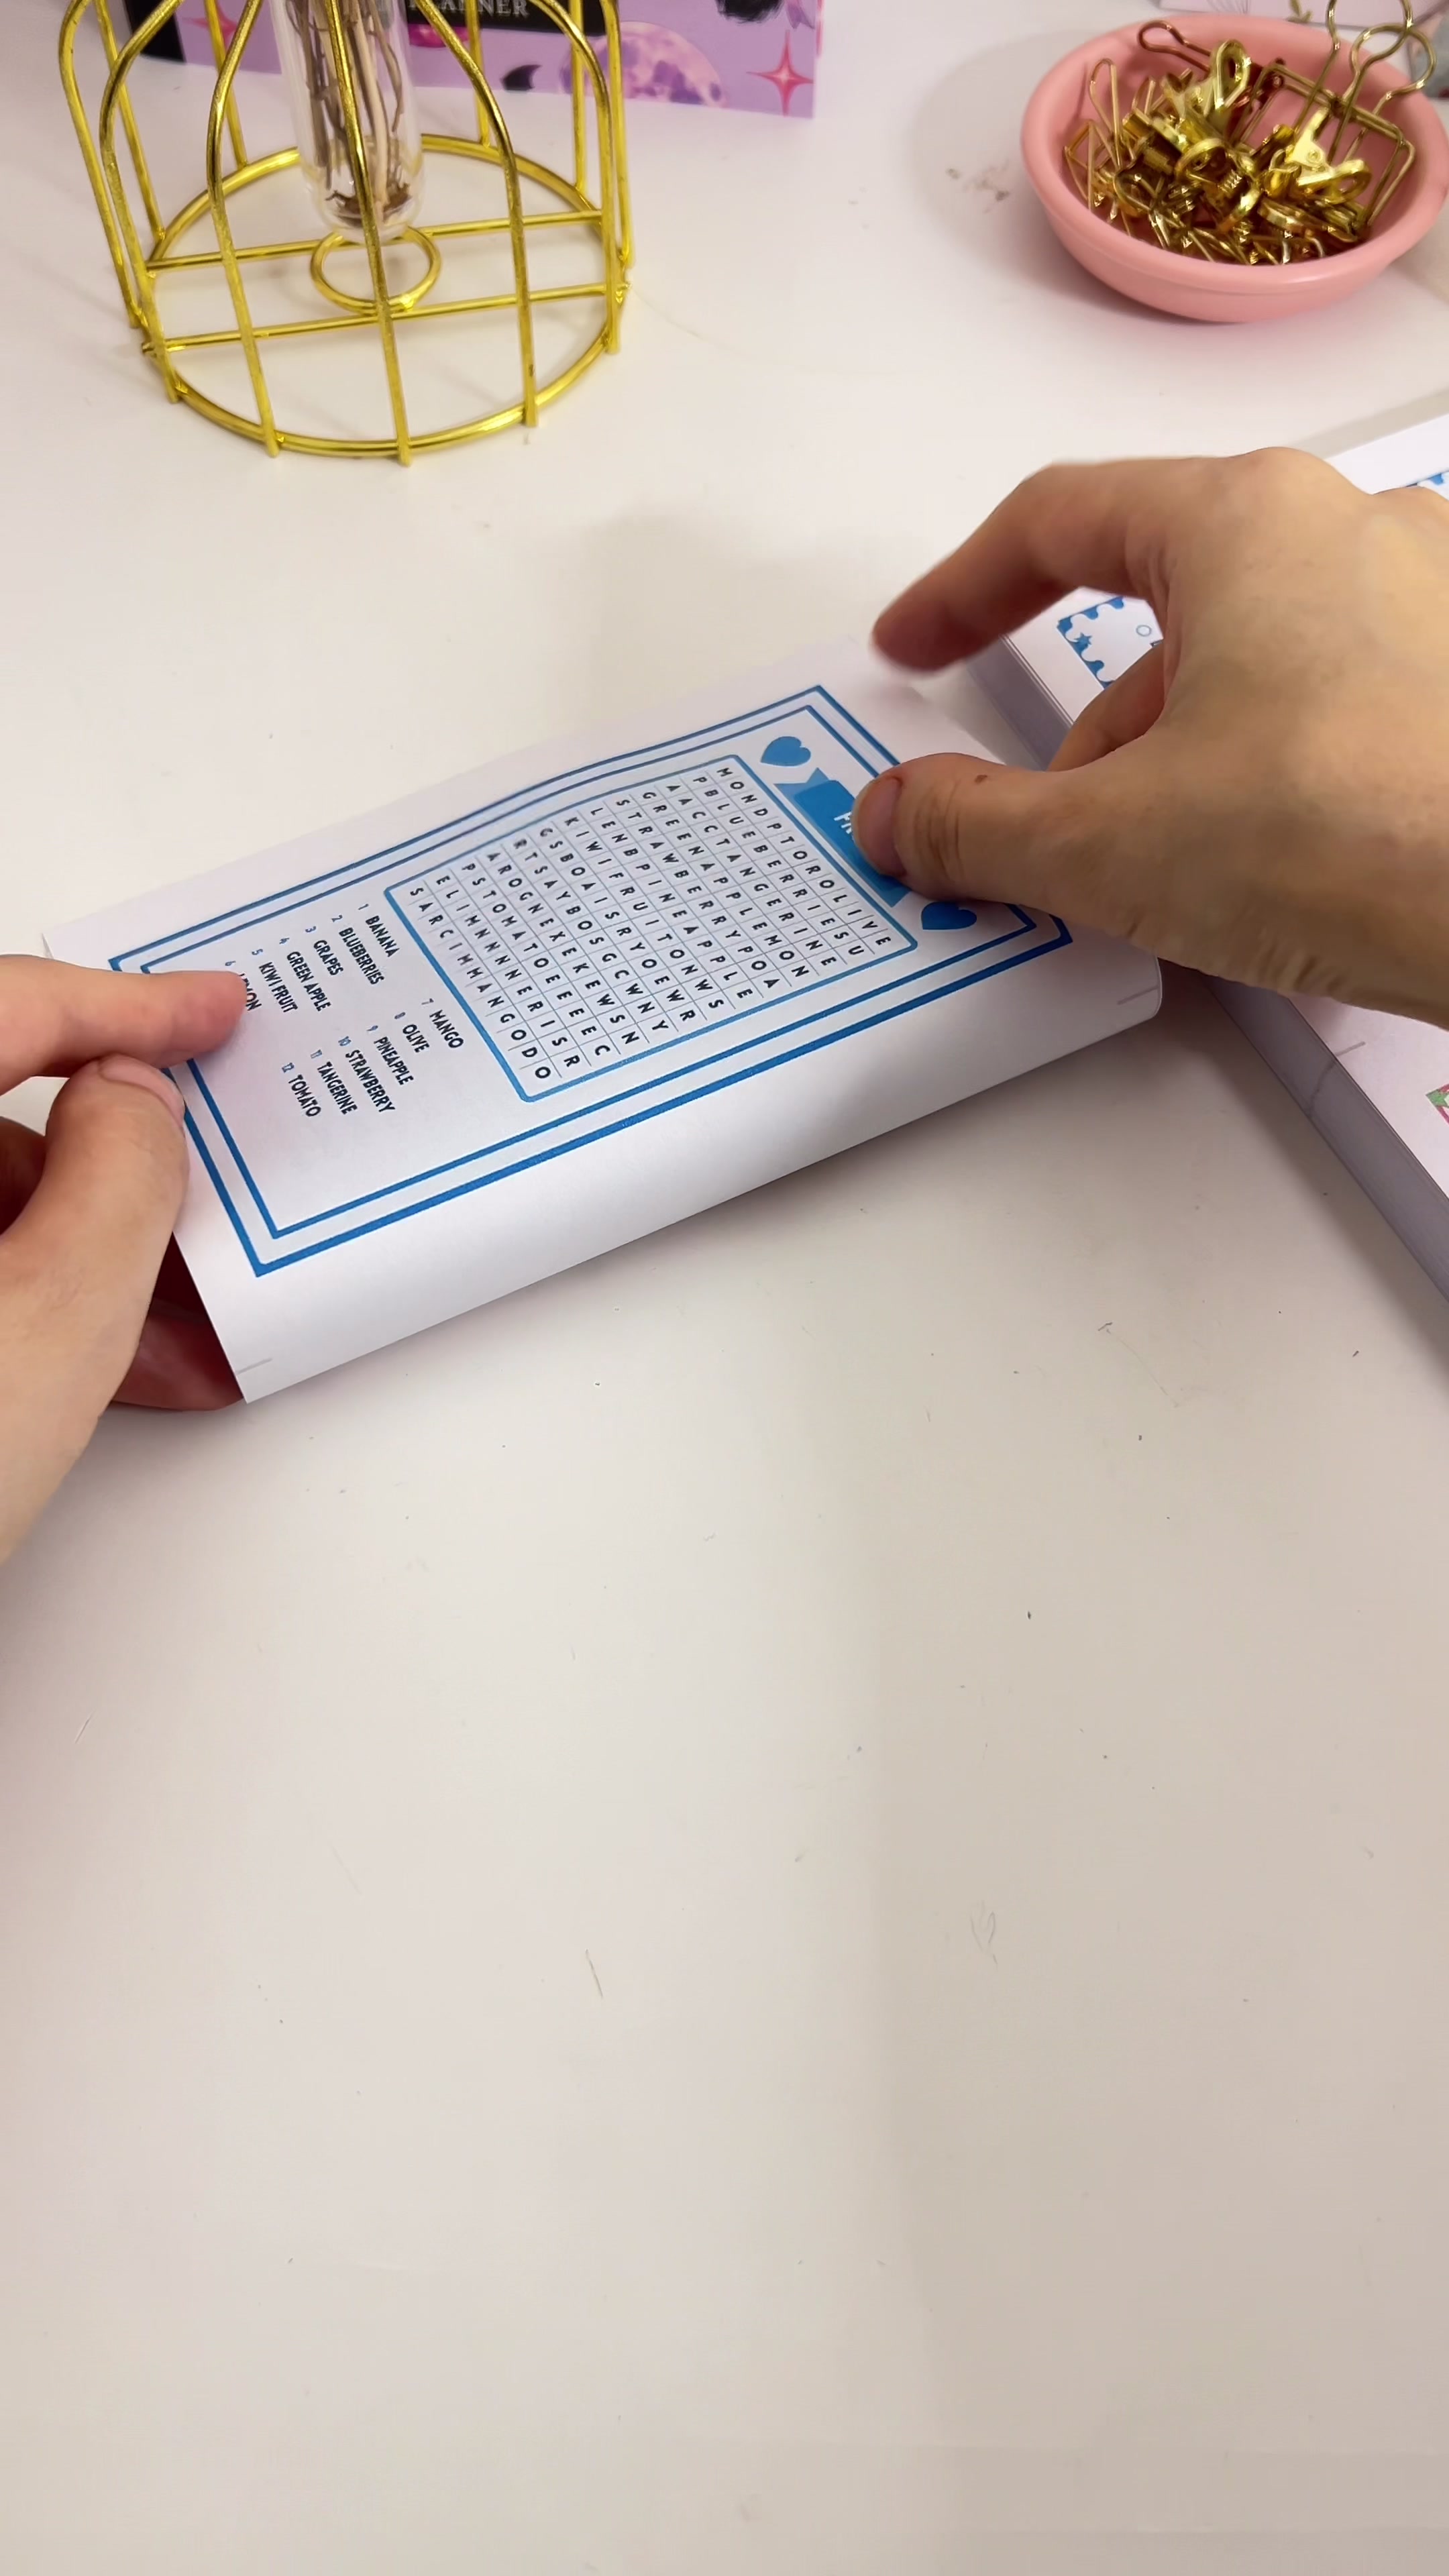 |
3. Build the stack. Trim and fold the two printed inside covers the same way, add one to each side of the stack, then tap the stack square so the spine edge is even. 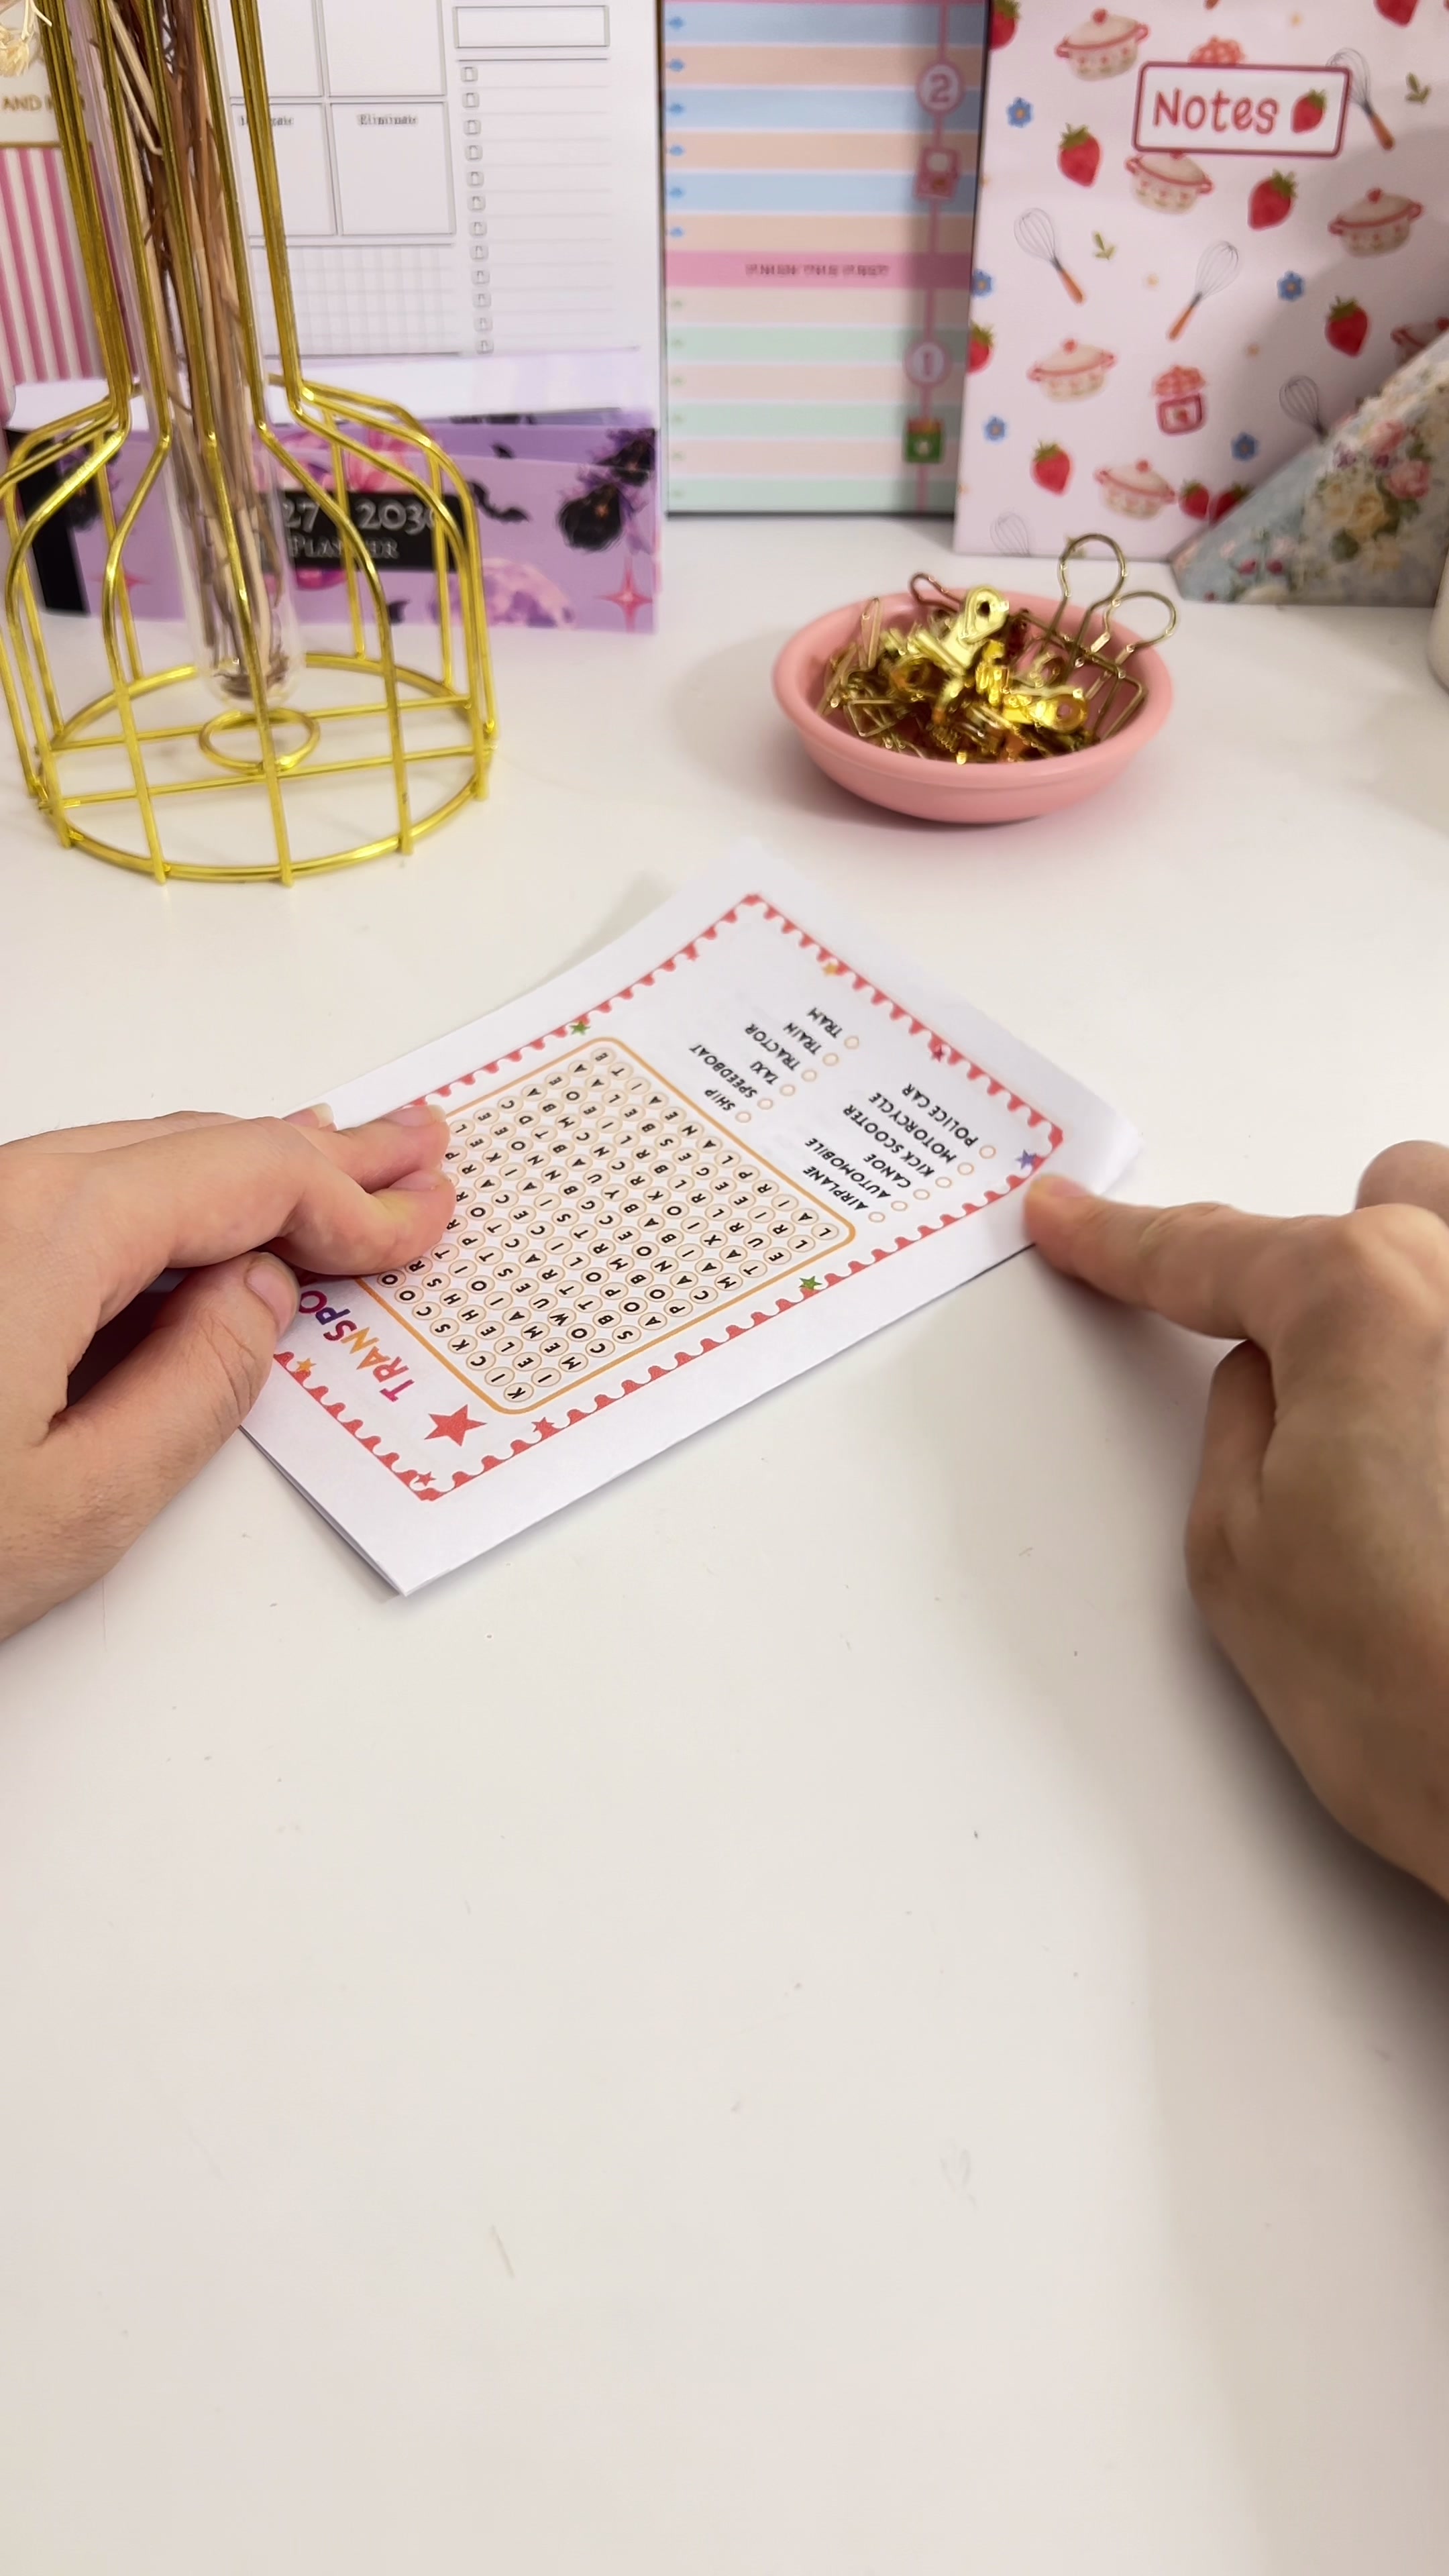 |
4. Load the book press. Put the whole stack into a book press with the spine edge sitting at the top, so you can glue it. 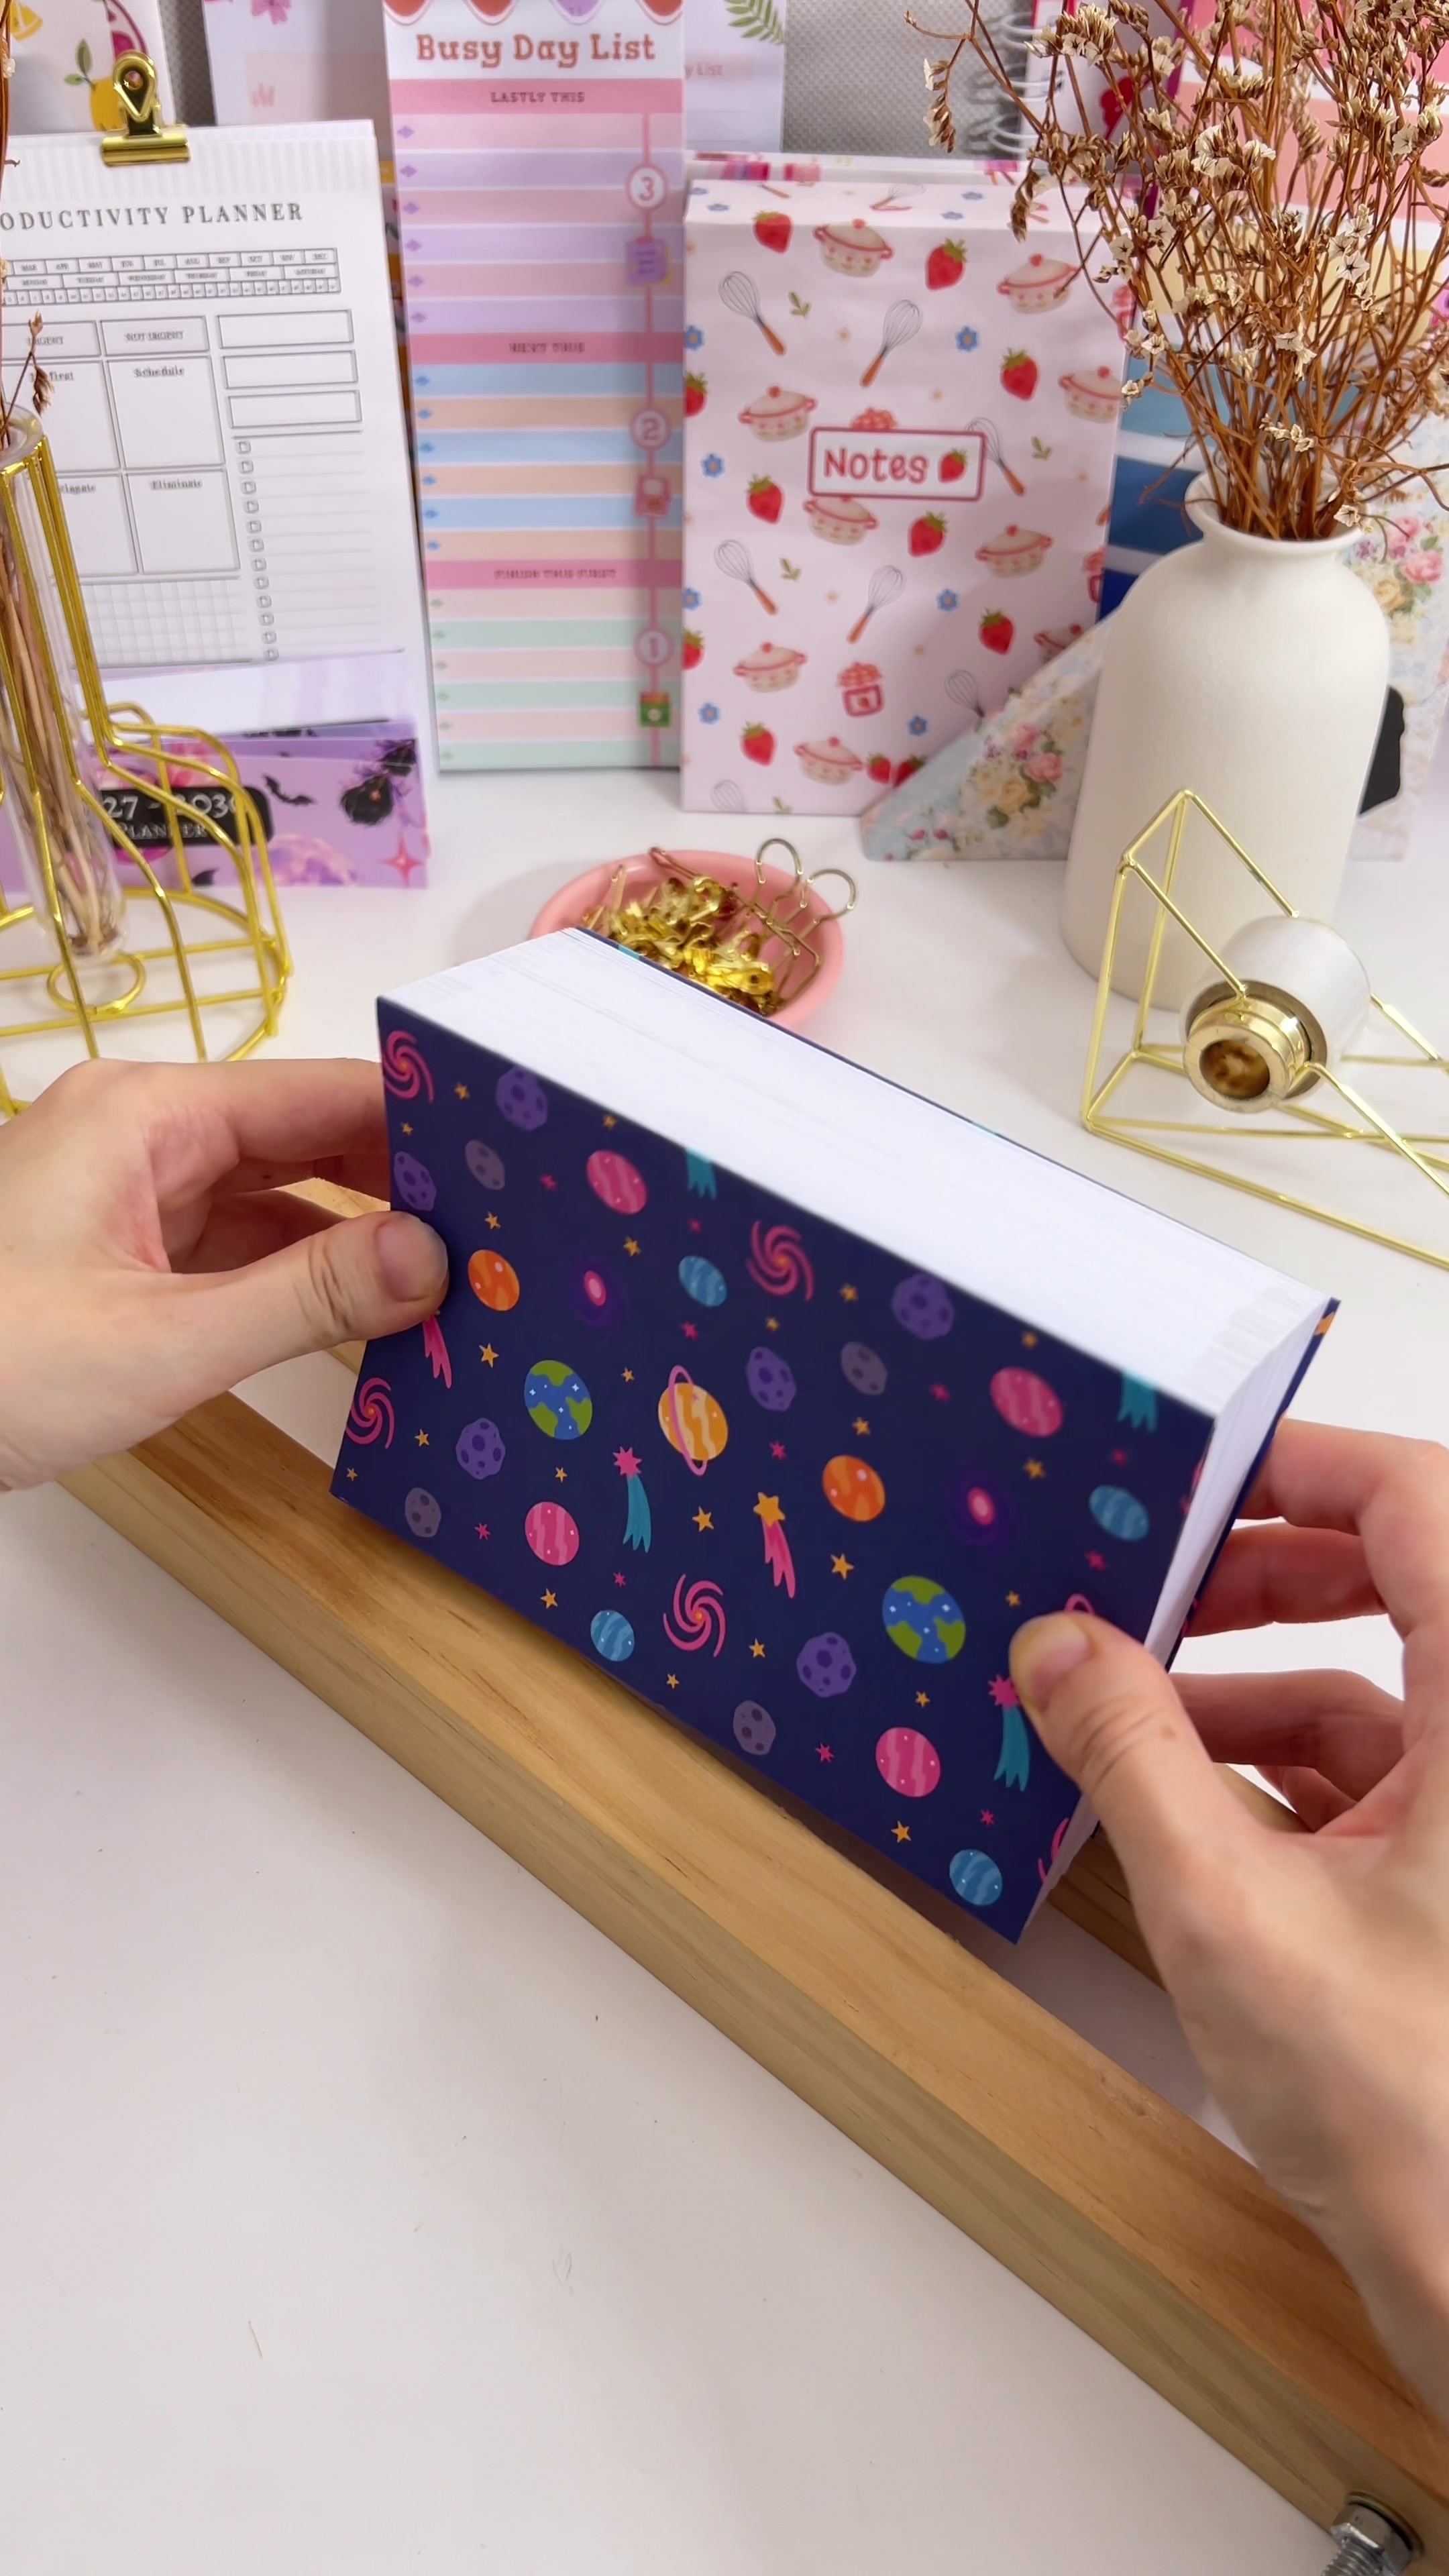 |
5. Glue the spine. Bend the stack to the right and apply PVA glue generously along the top, covering every part of the spine. Then bend it to the left and glue there too, so the glue reaches into every fold. 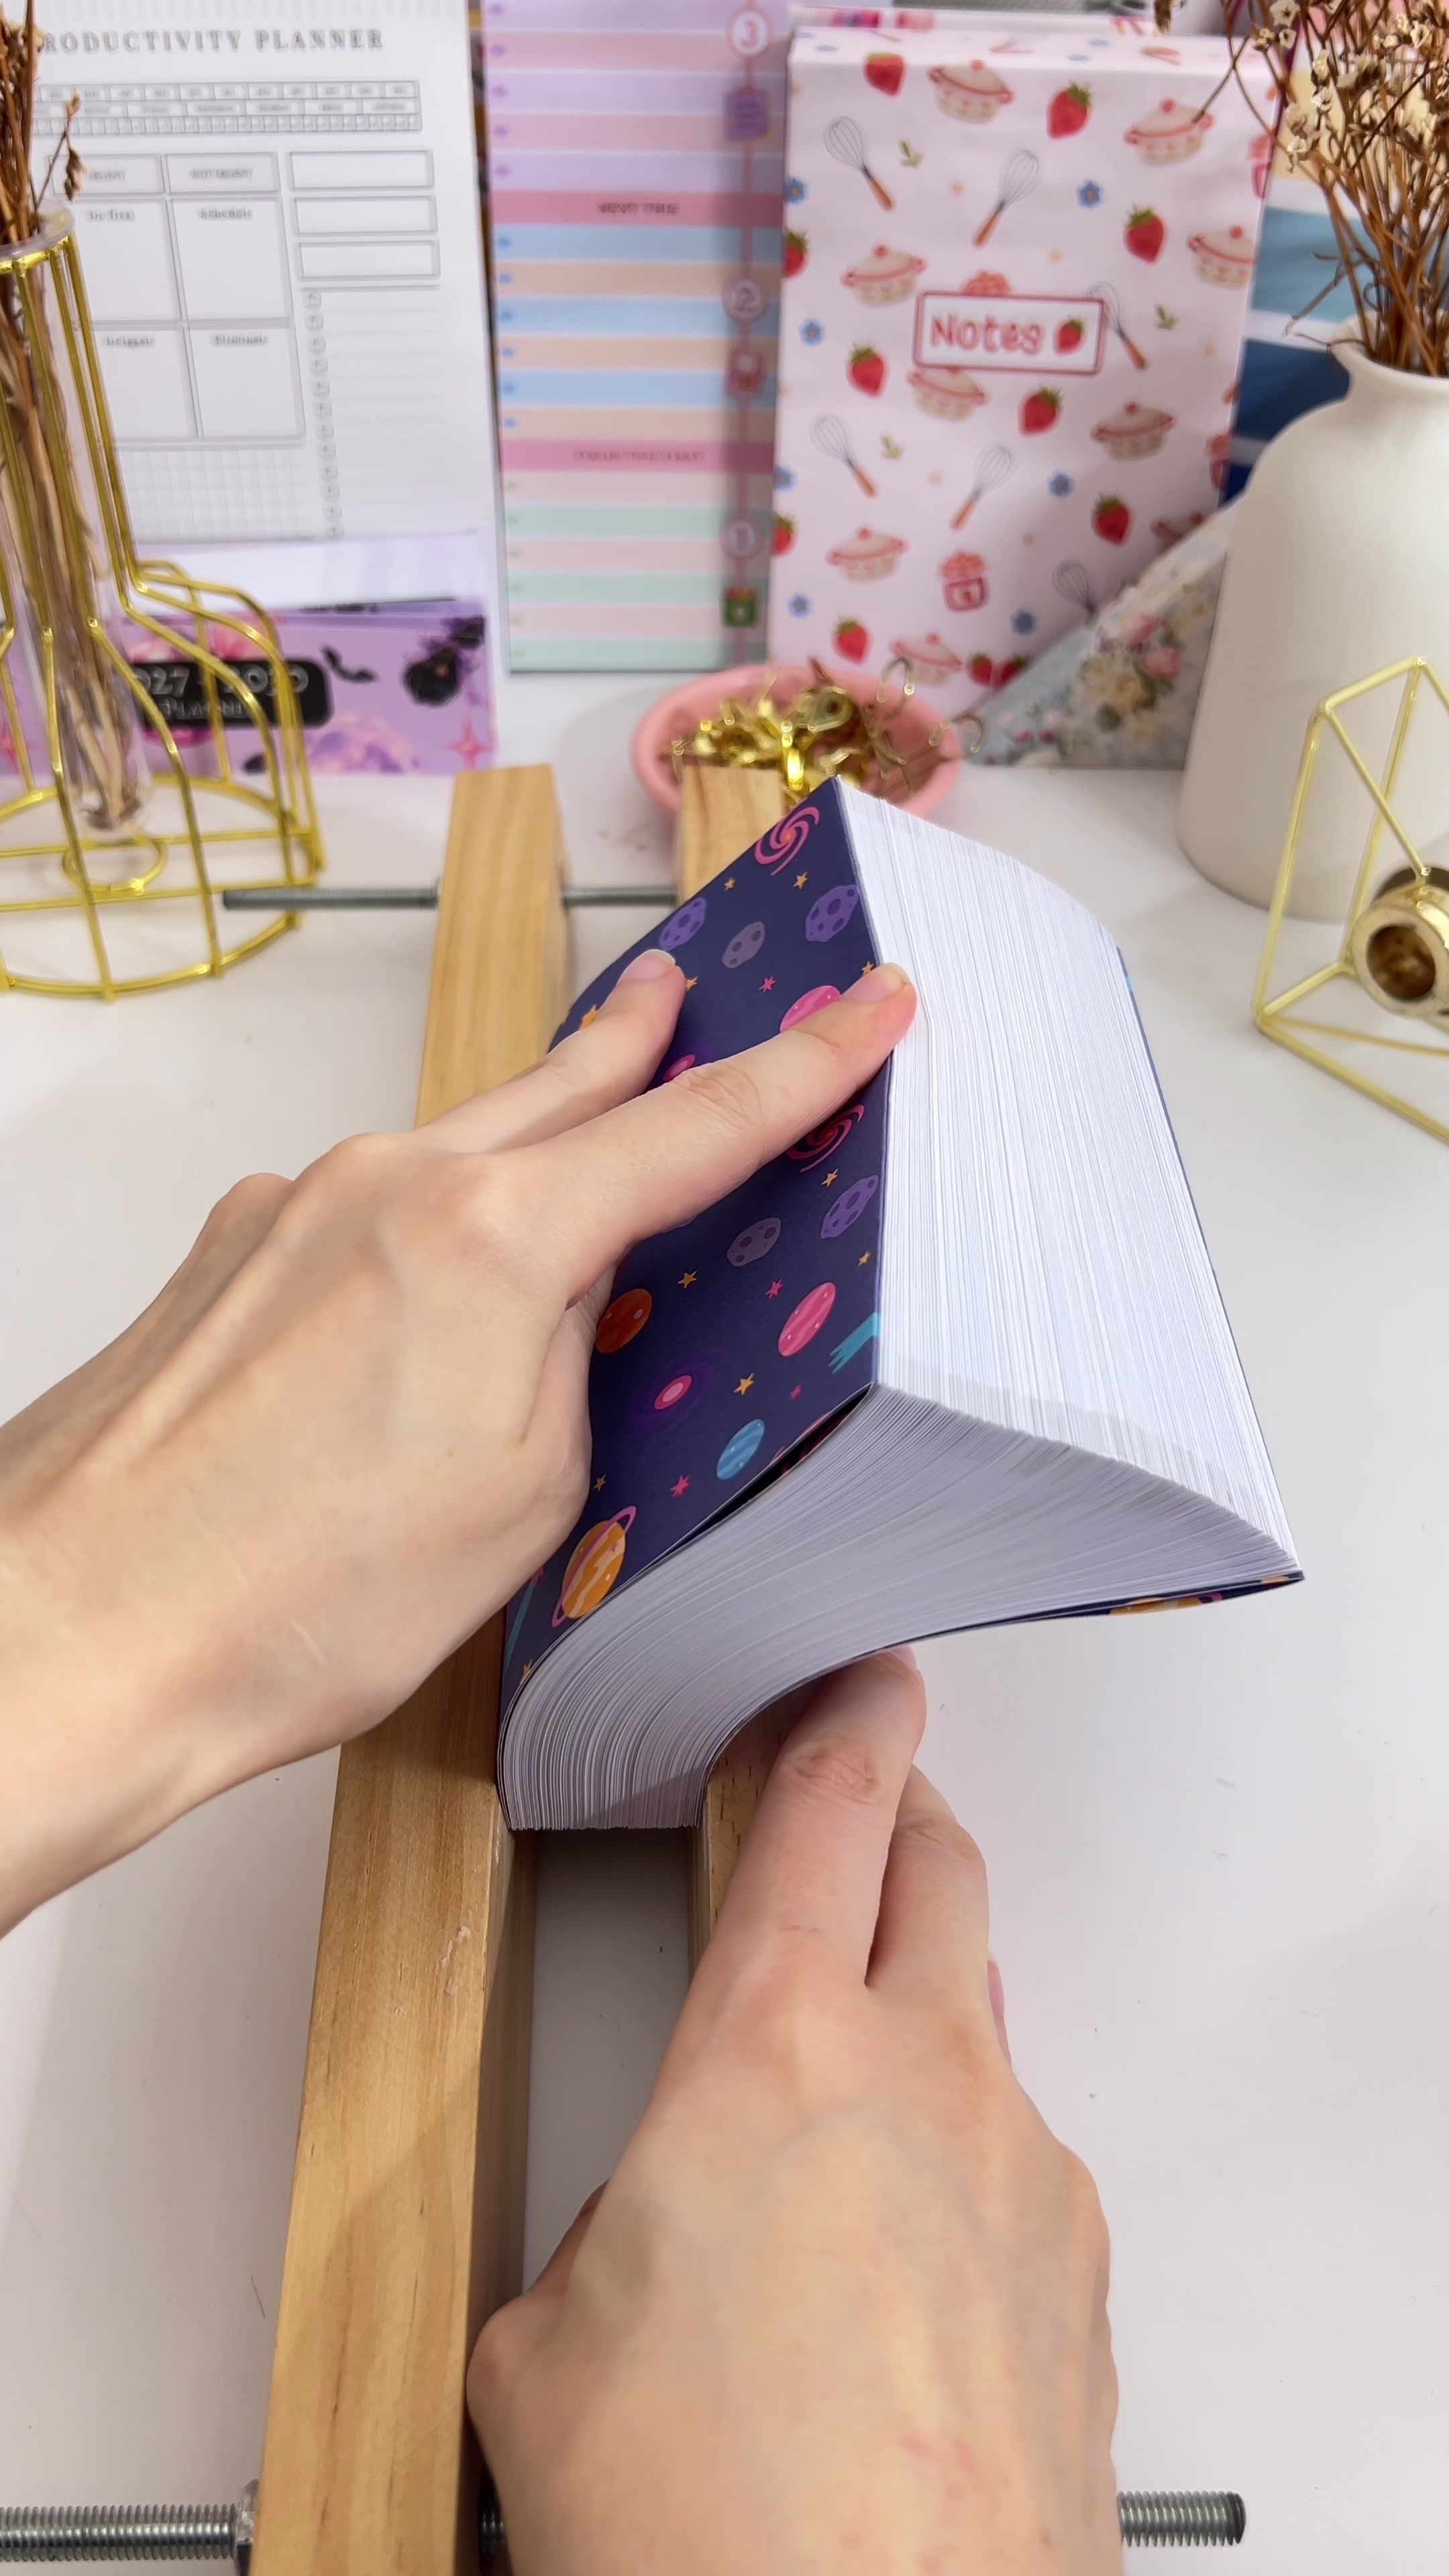 |
6. Let it dry. Bring the stack back to the middle, smooth the spine, check the press is holding it tightly, and leave it at least five hours. Overnight is better, since the spine carries the weight of the whole book. 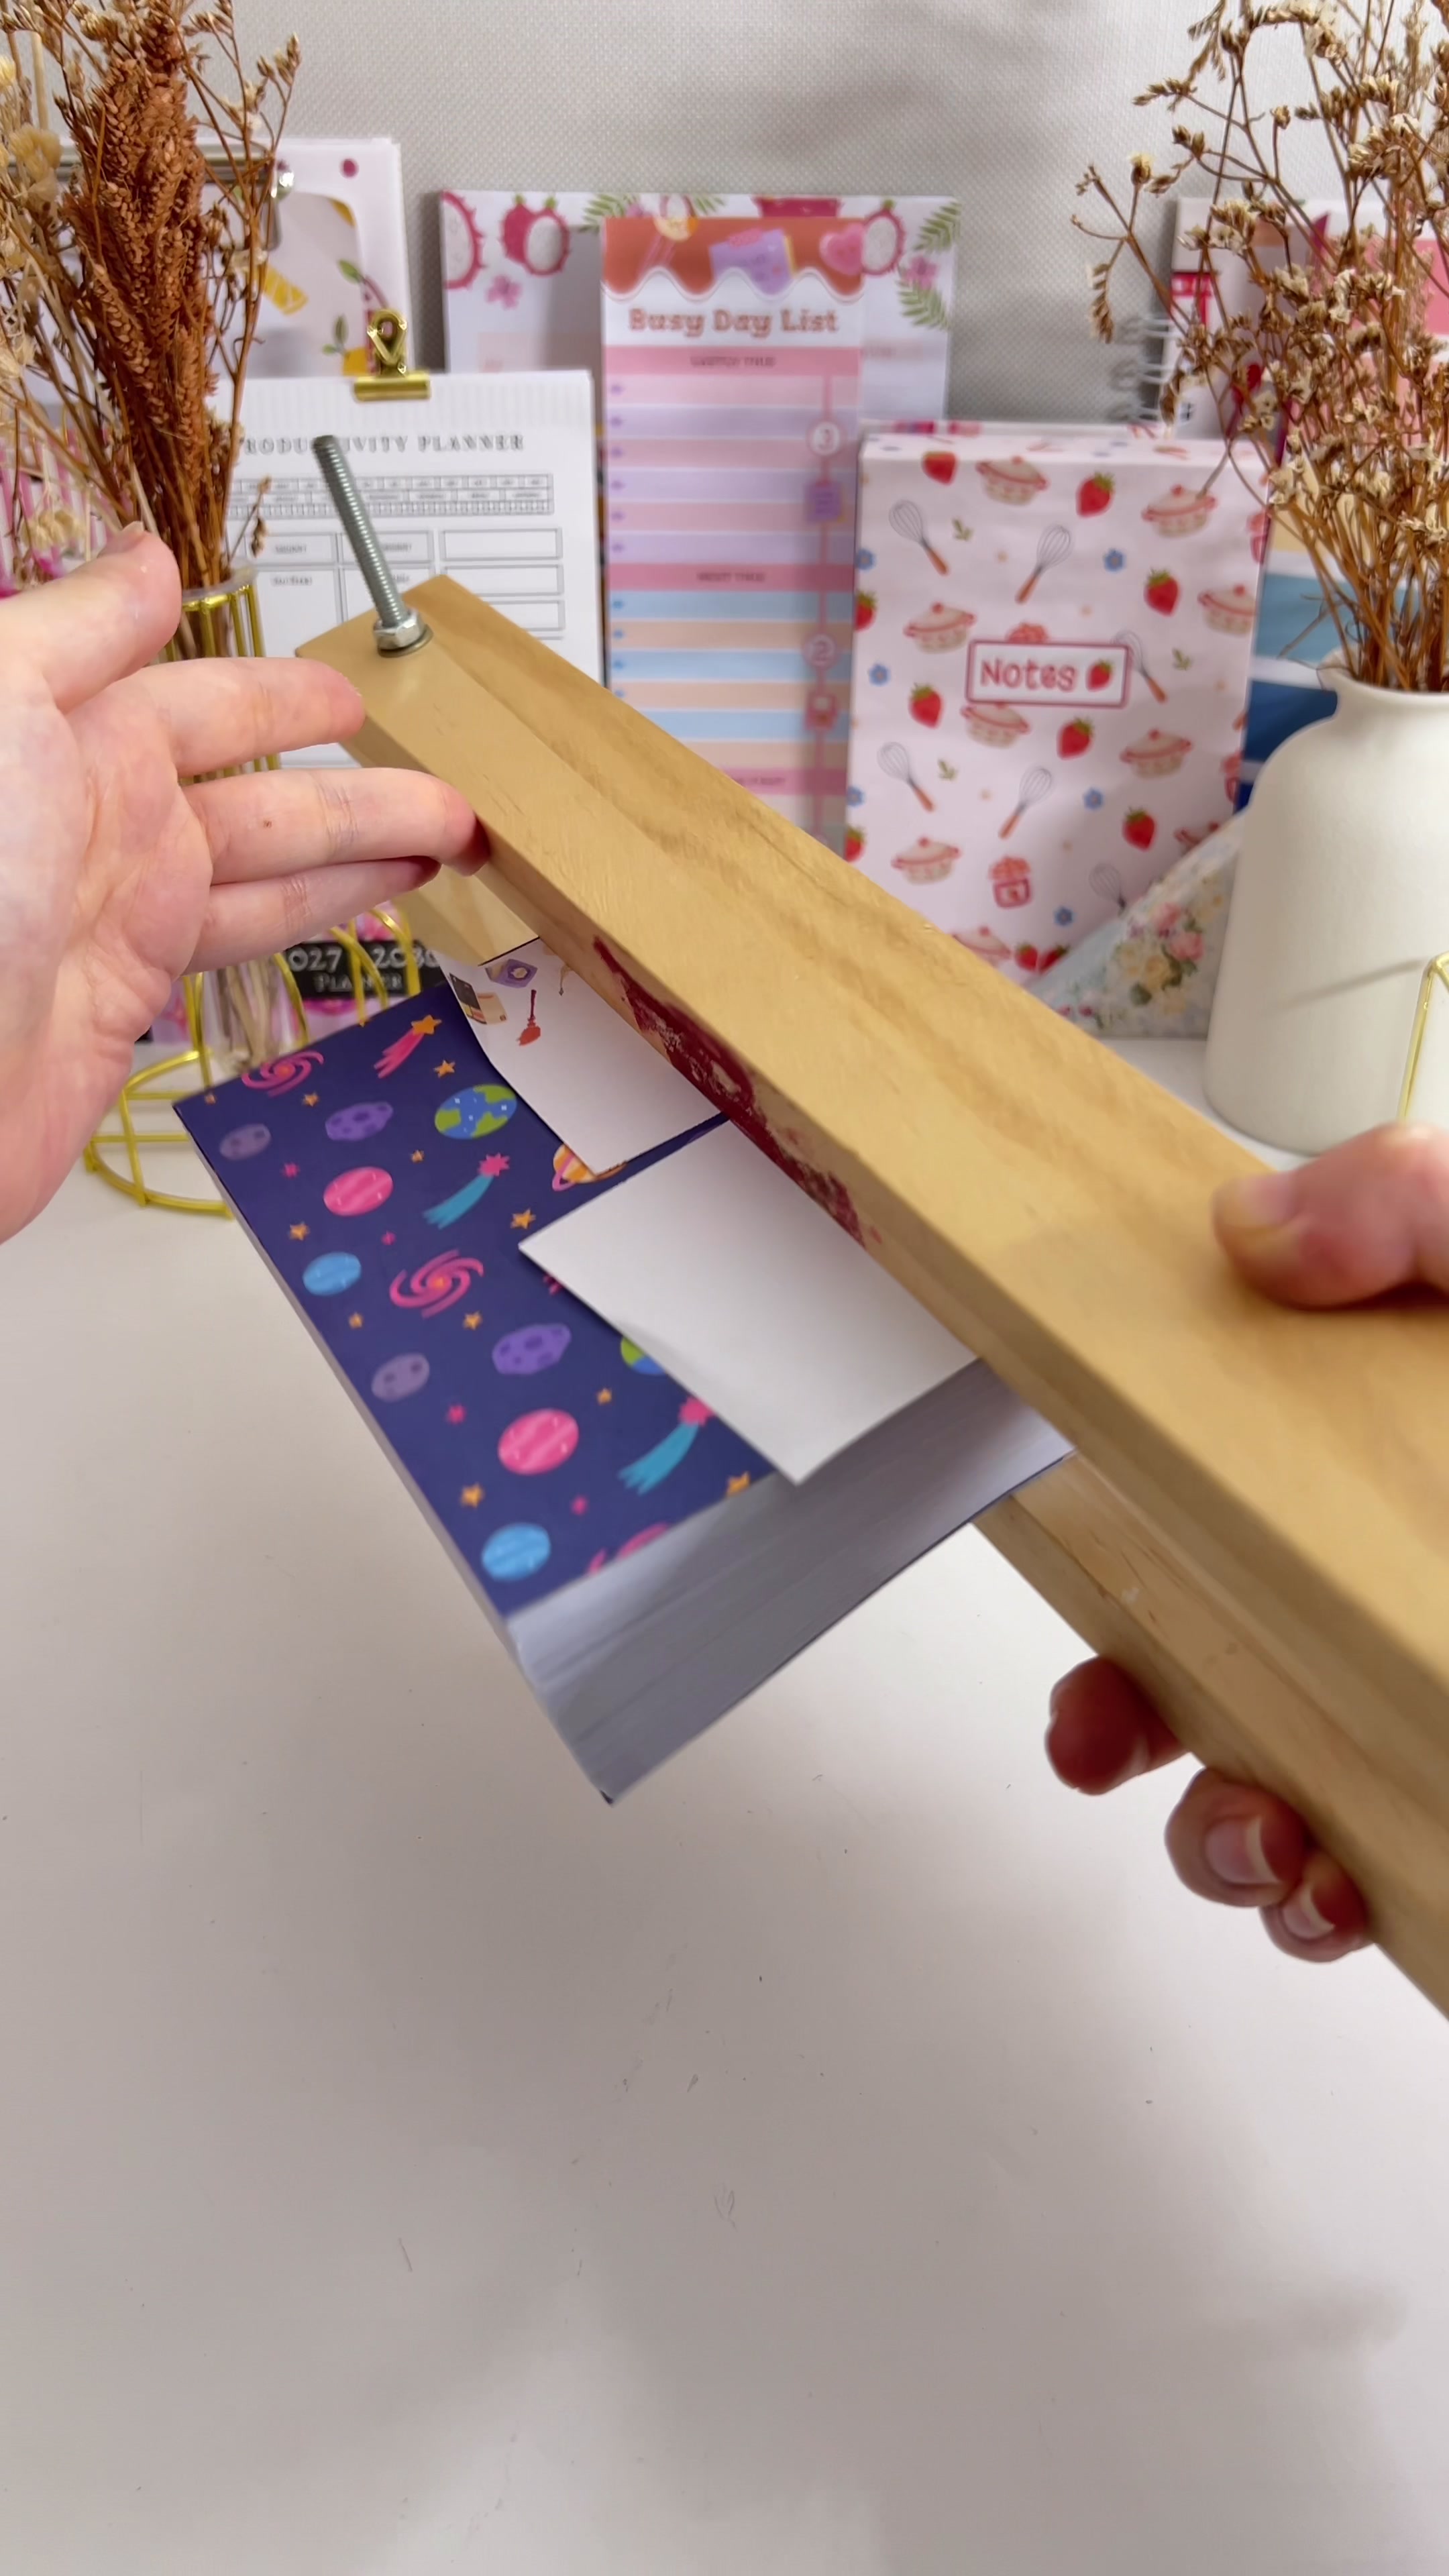 |
7. Cut the boards. While it dries, prepare three pieces of chipboard around 1.4mm thick or thicker: front, spine and back. 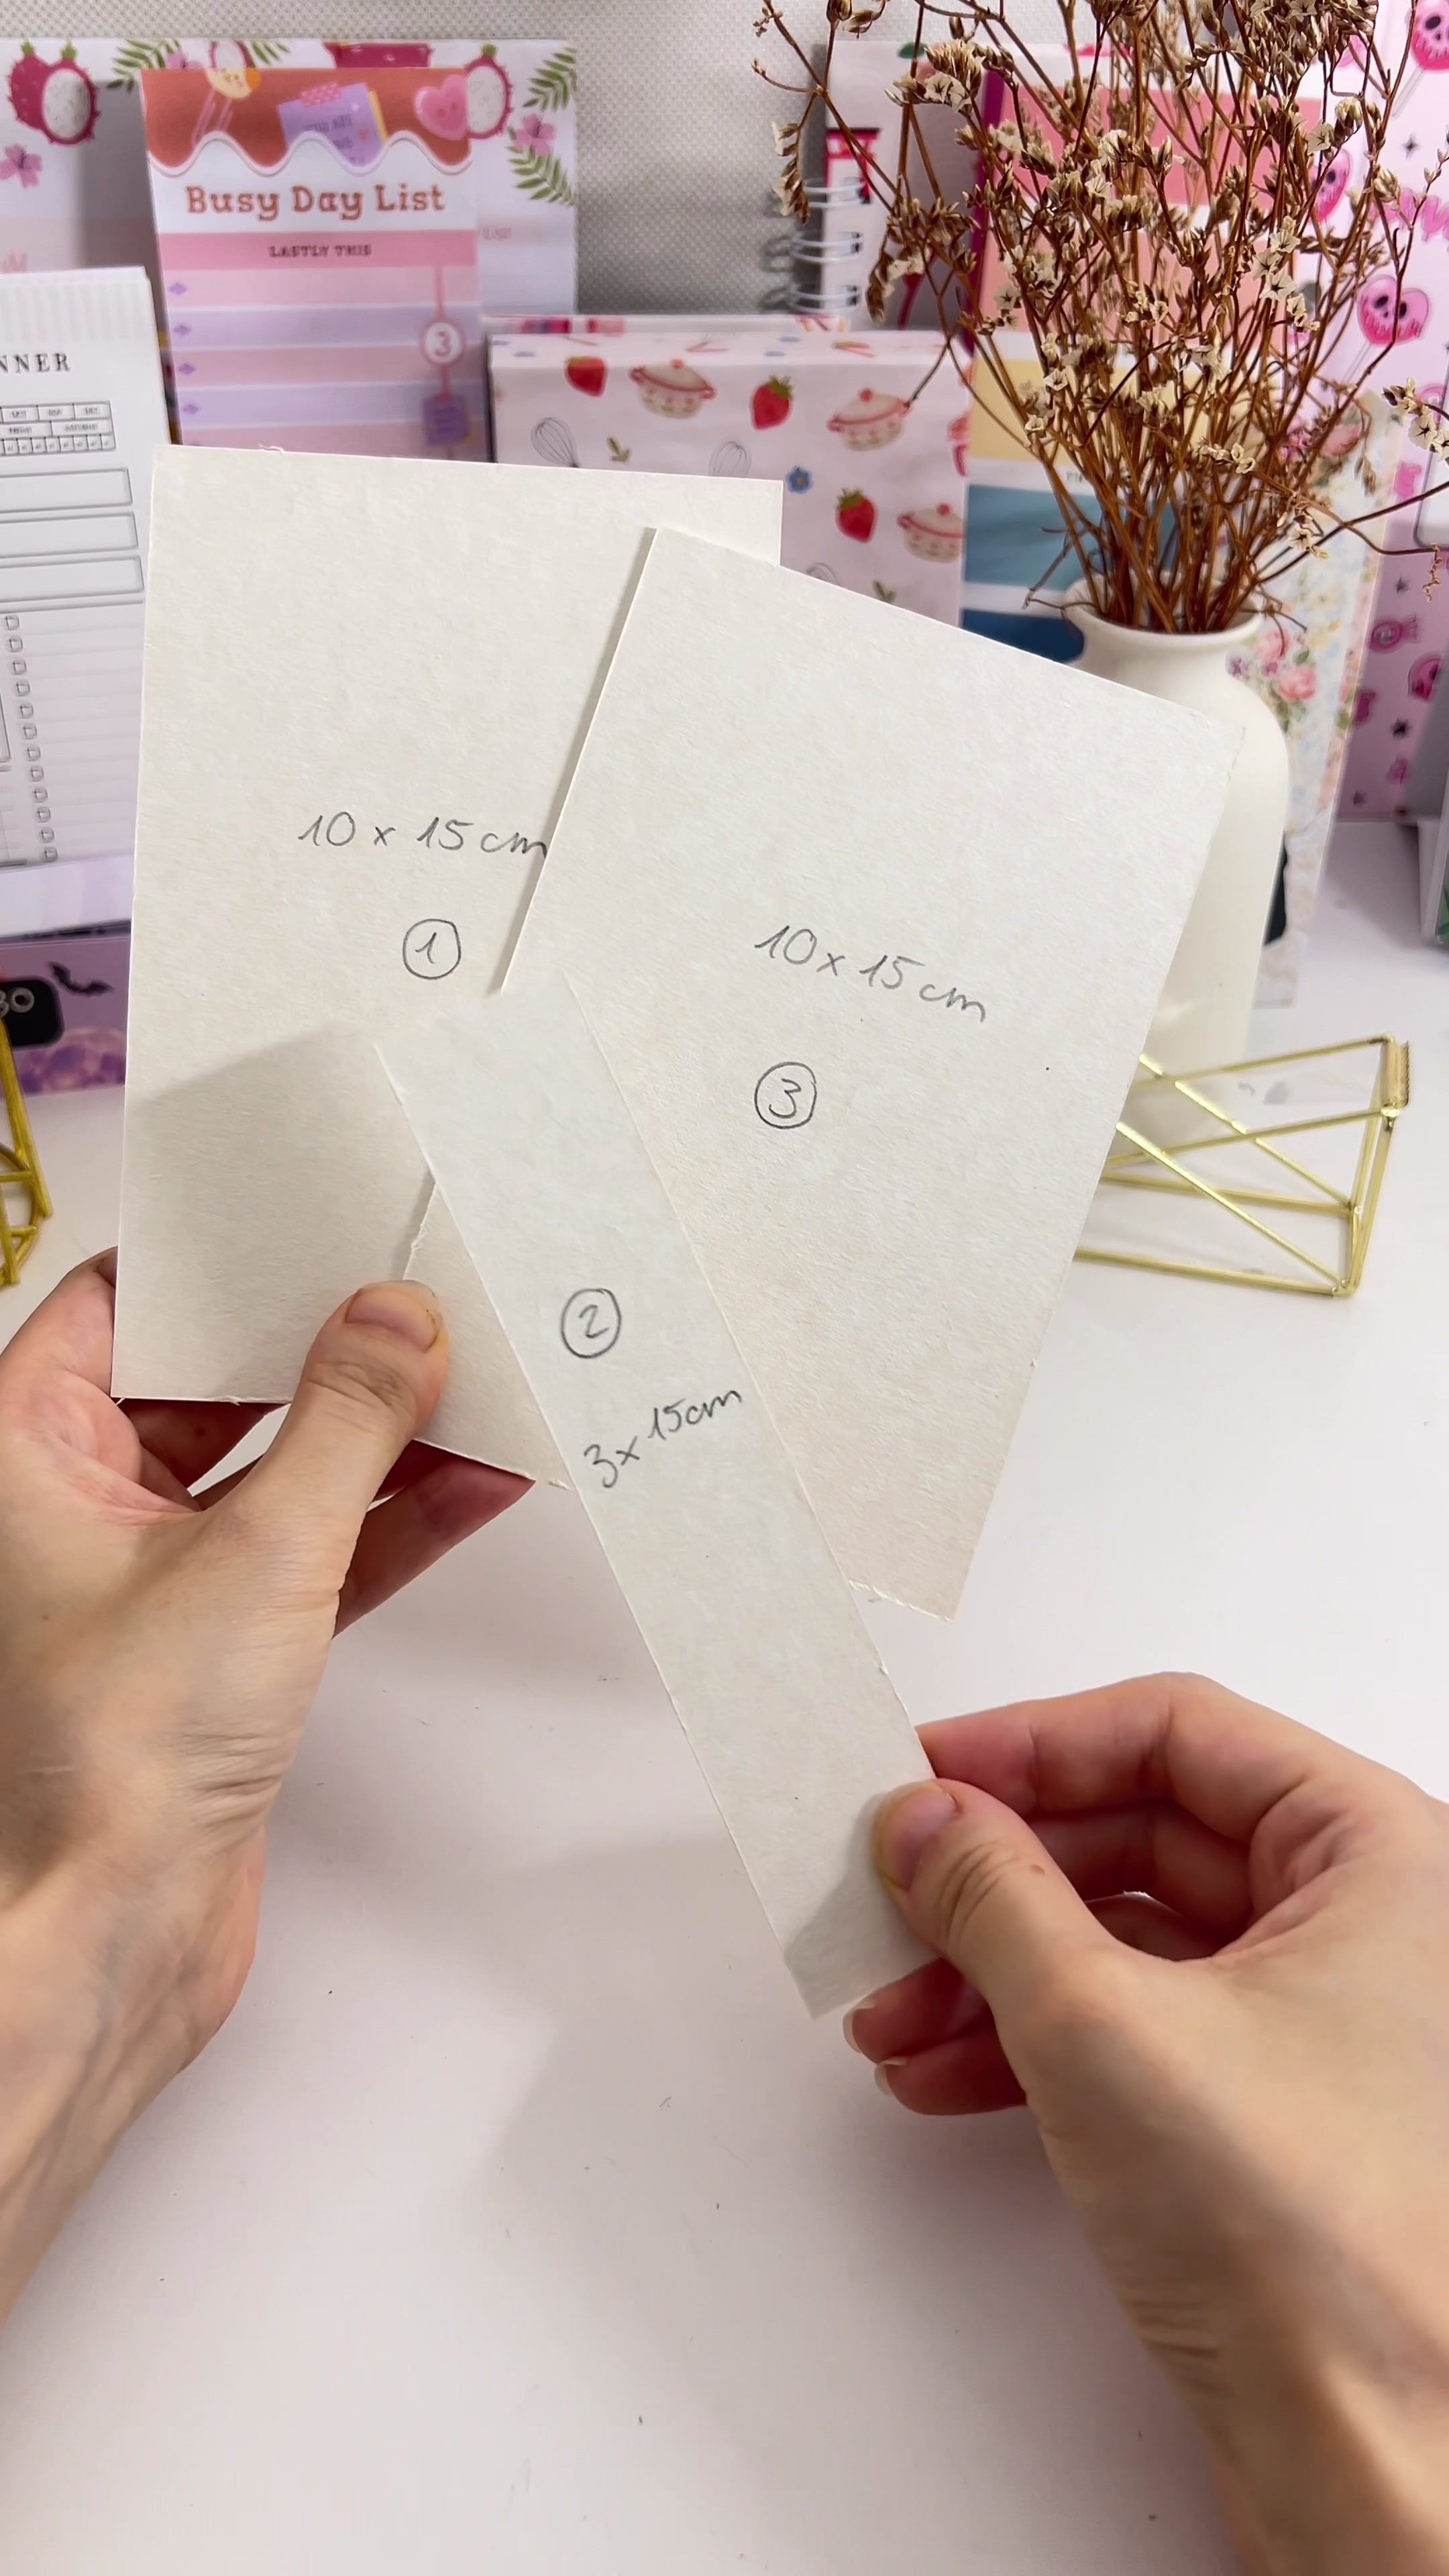 |
8. Stick them to the cover. Peel the backing off the printed sticker-paper cover, lay it face down and press the three boards on, leaving around 8mm between each one. Those gaps are what let the cover hinge open. 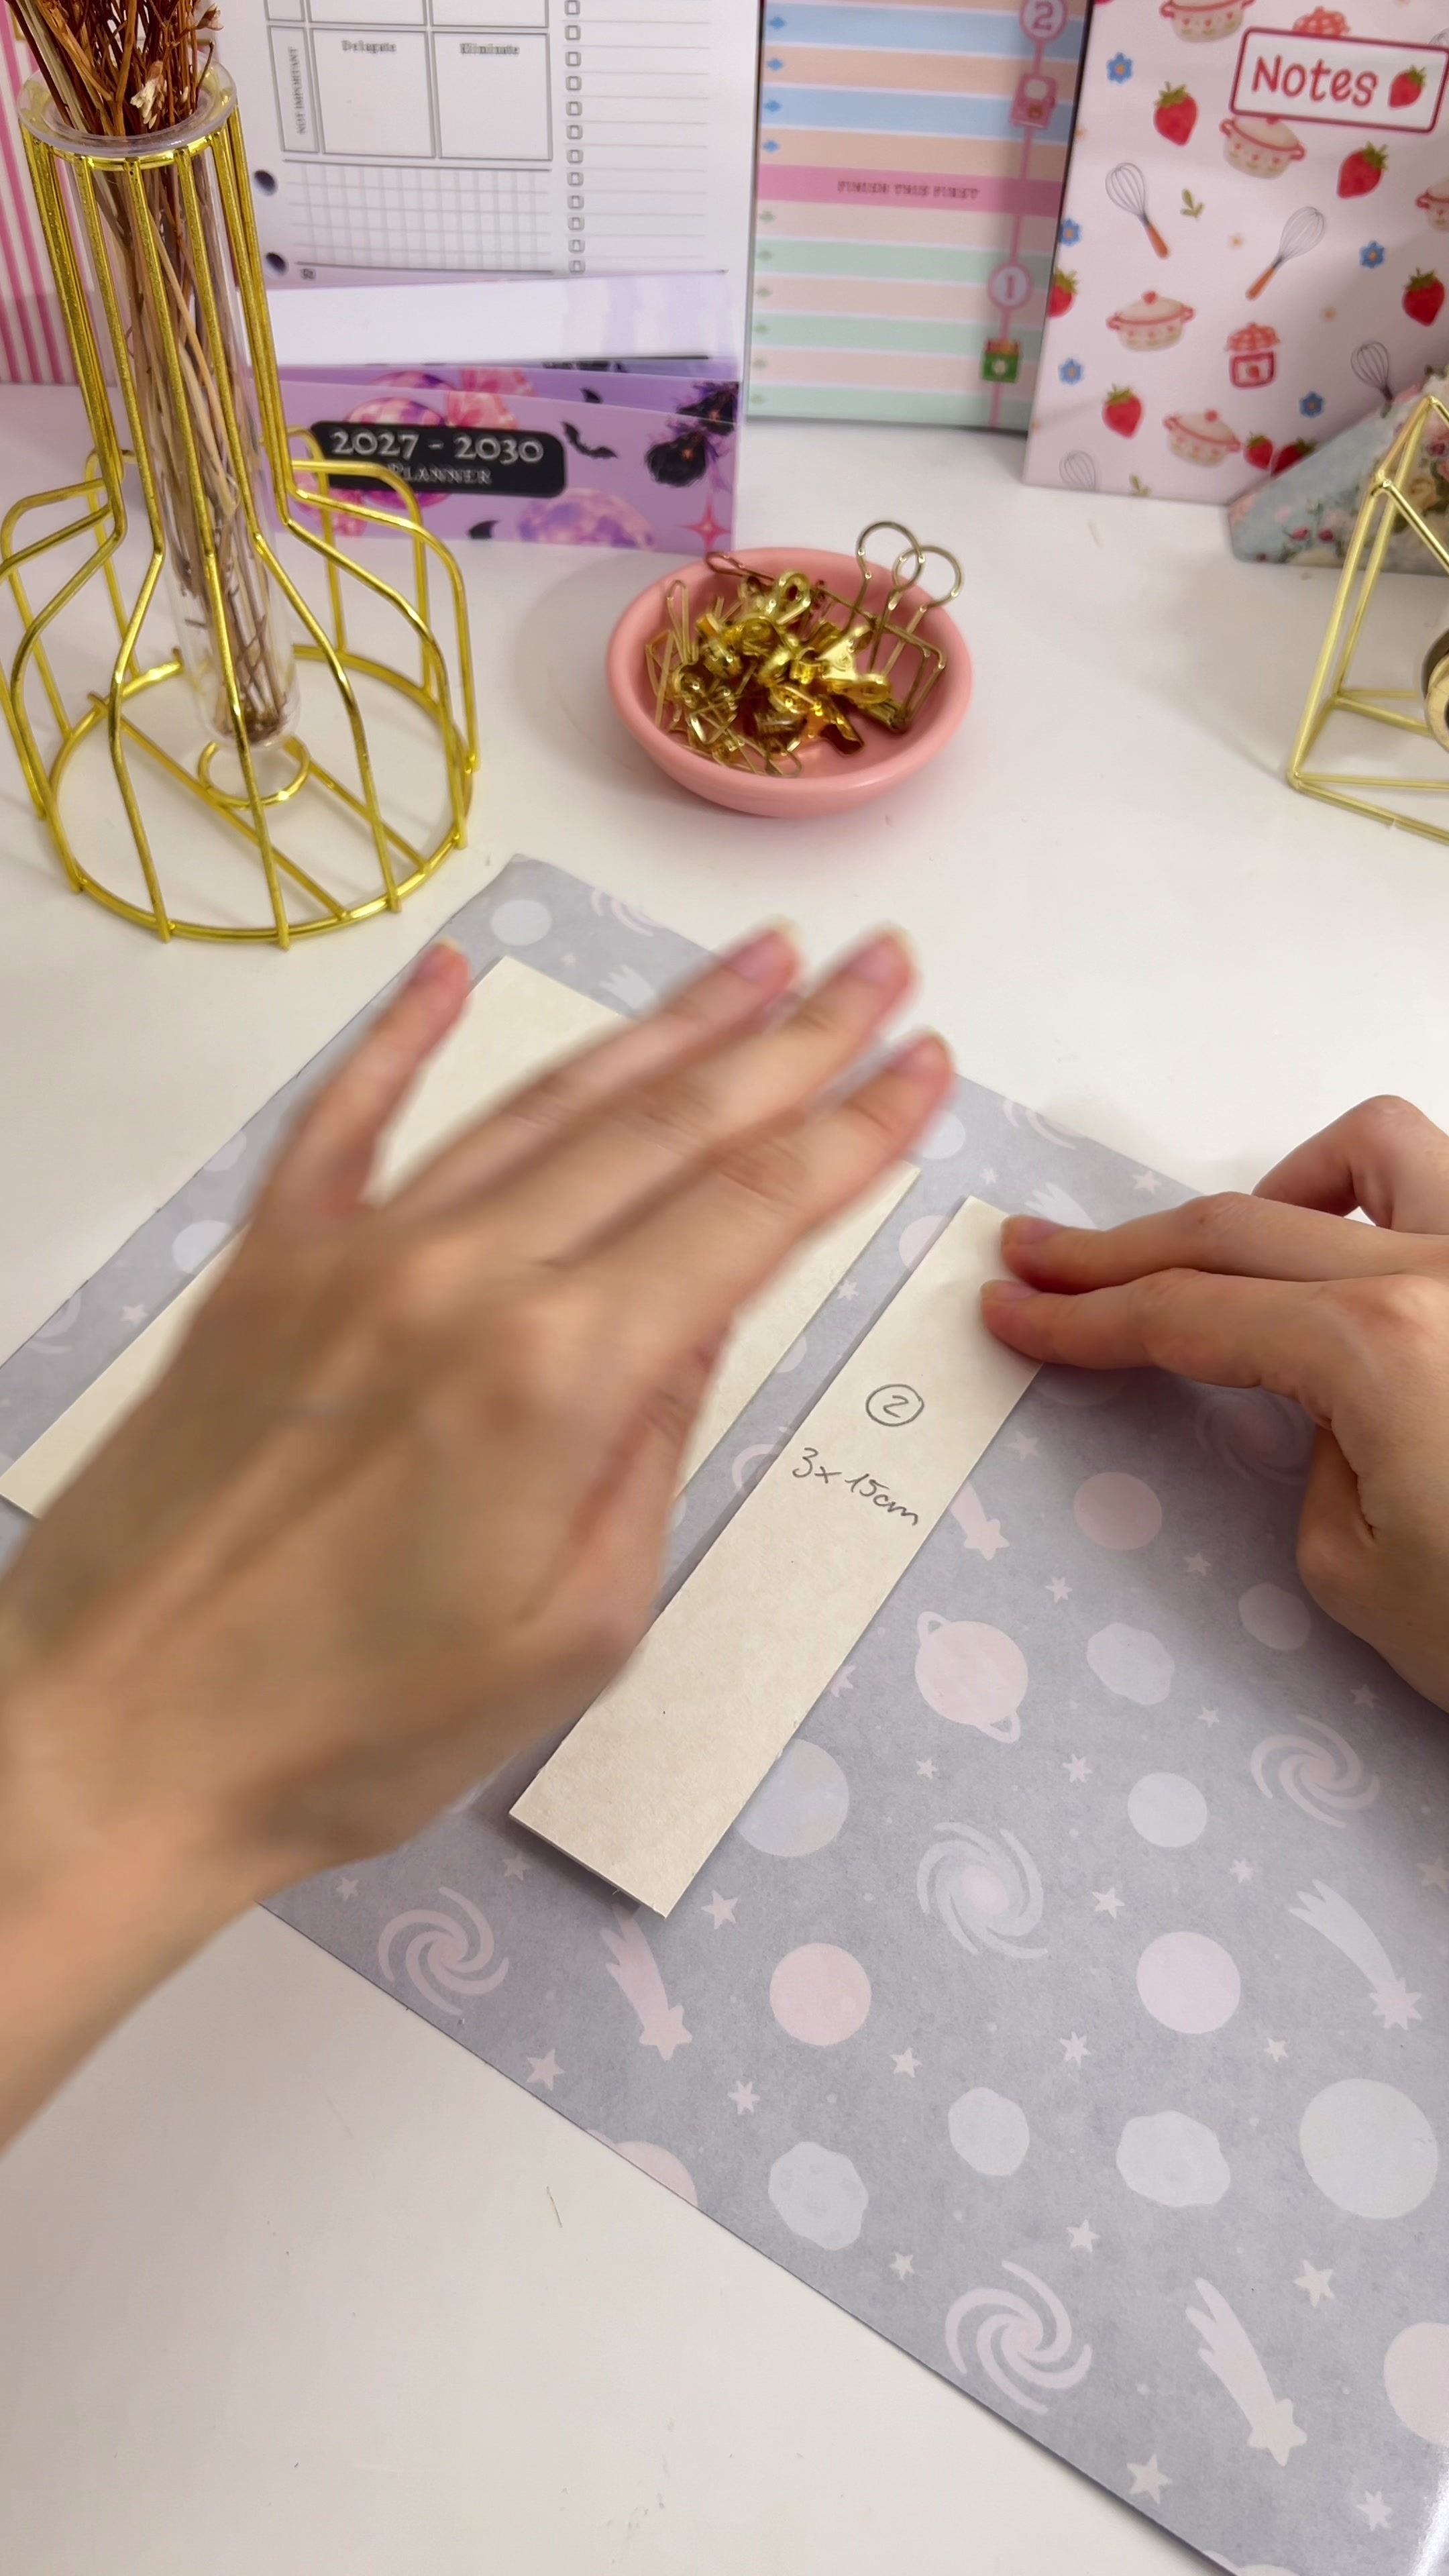 |
9. Trim the corners. Cut the corners of the overhanging paper at an angle so they fold over the boards without bunching up. 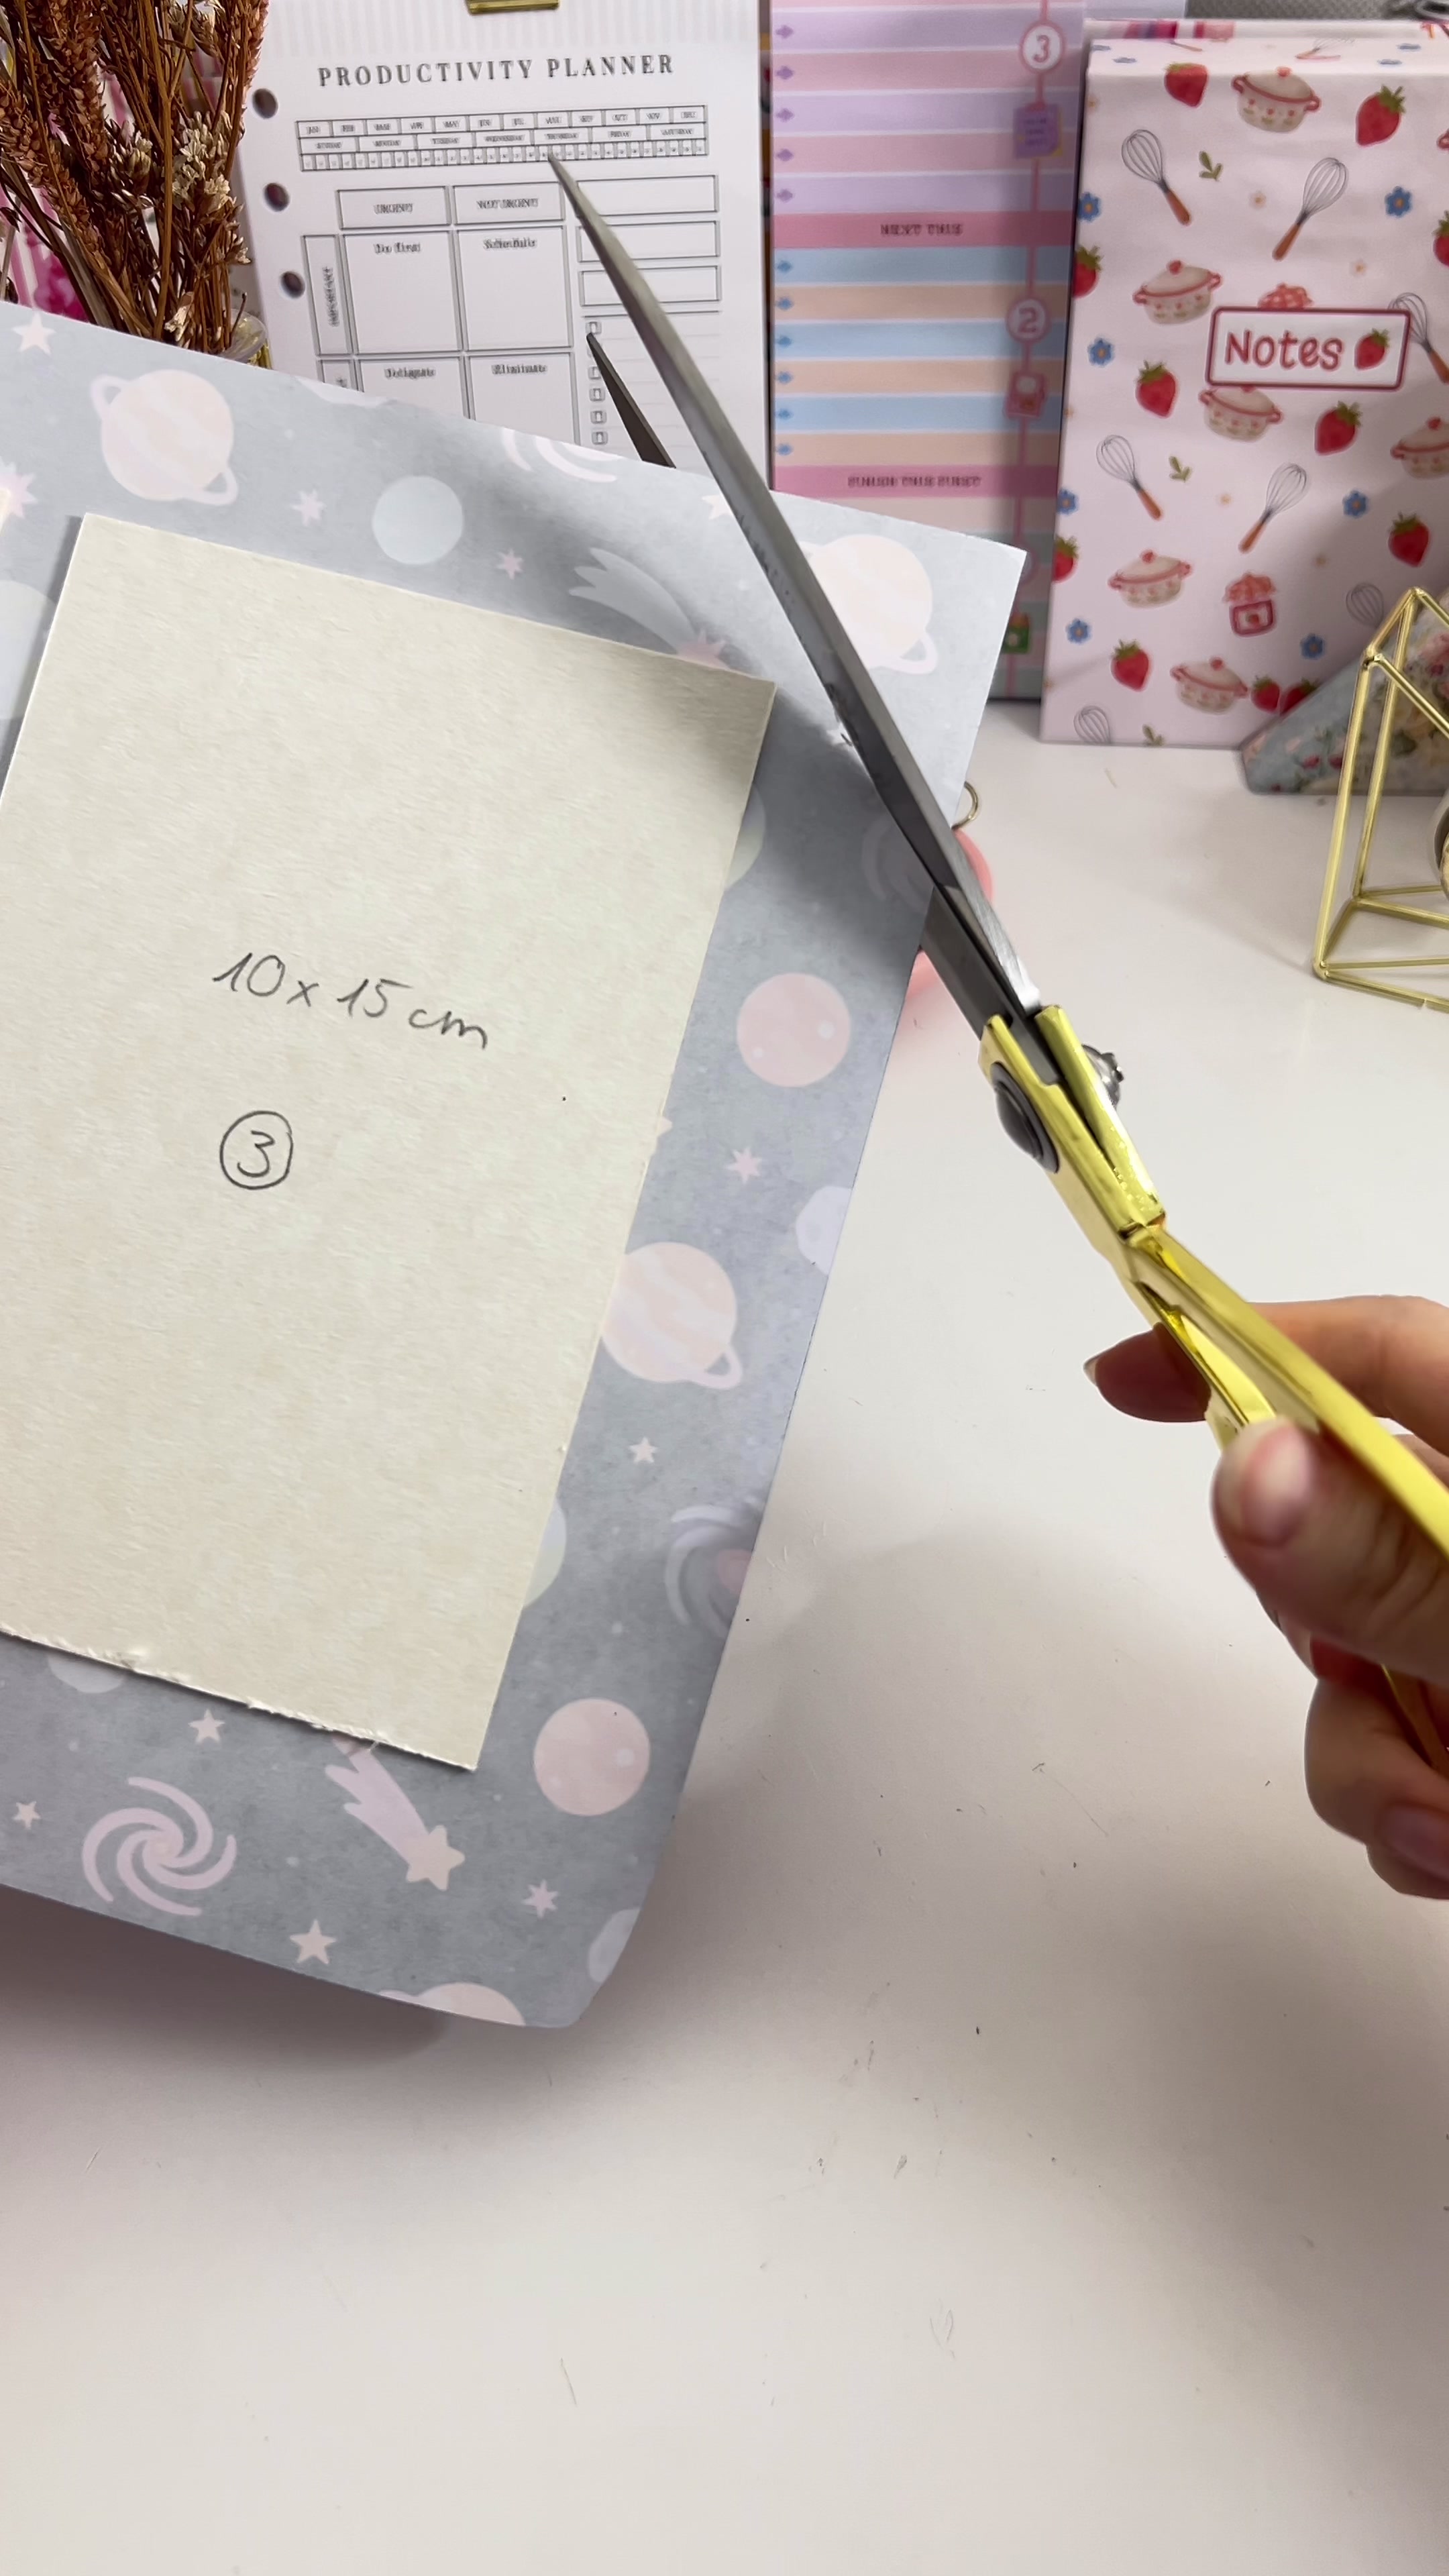 |
10. Fold in the edges. Fold all four sides over the boards and press them down firmly. The cover is now finished. 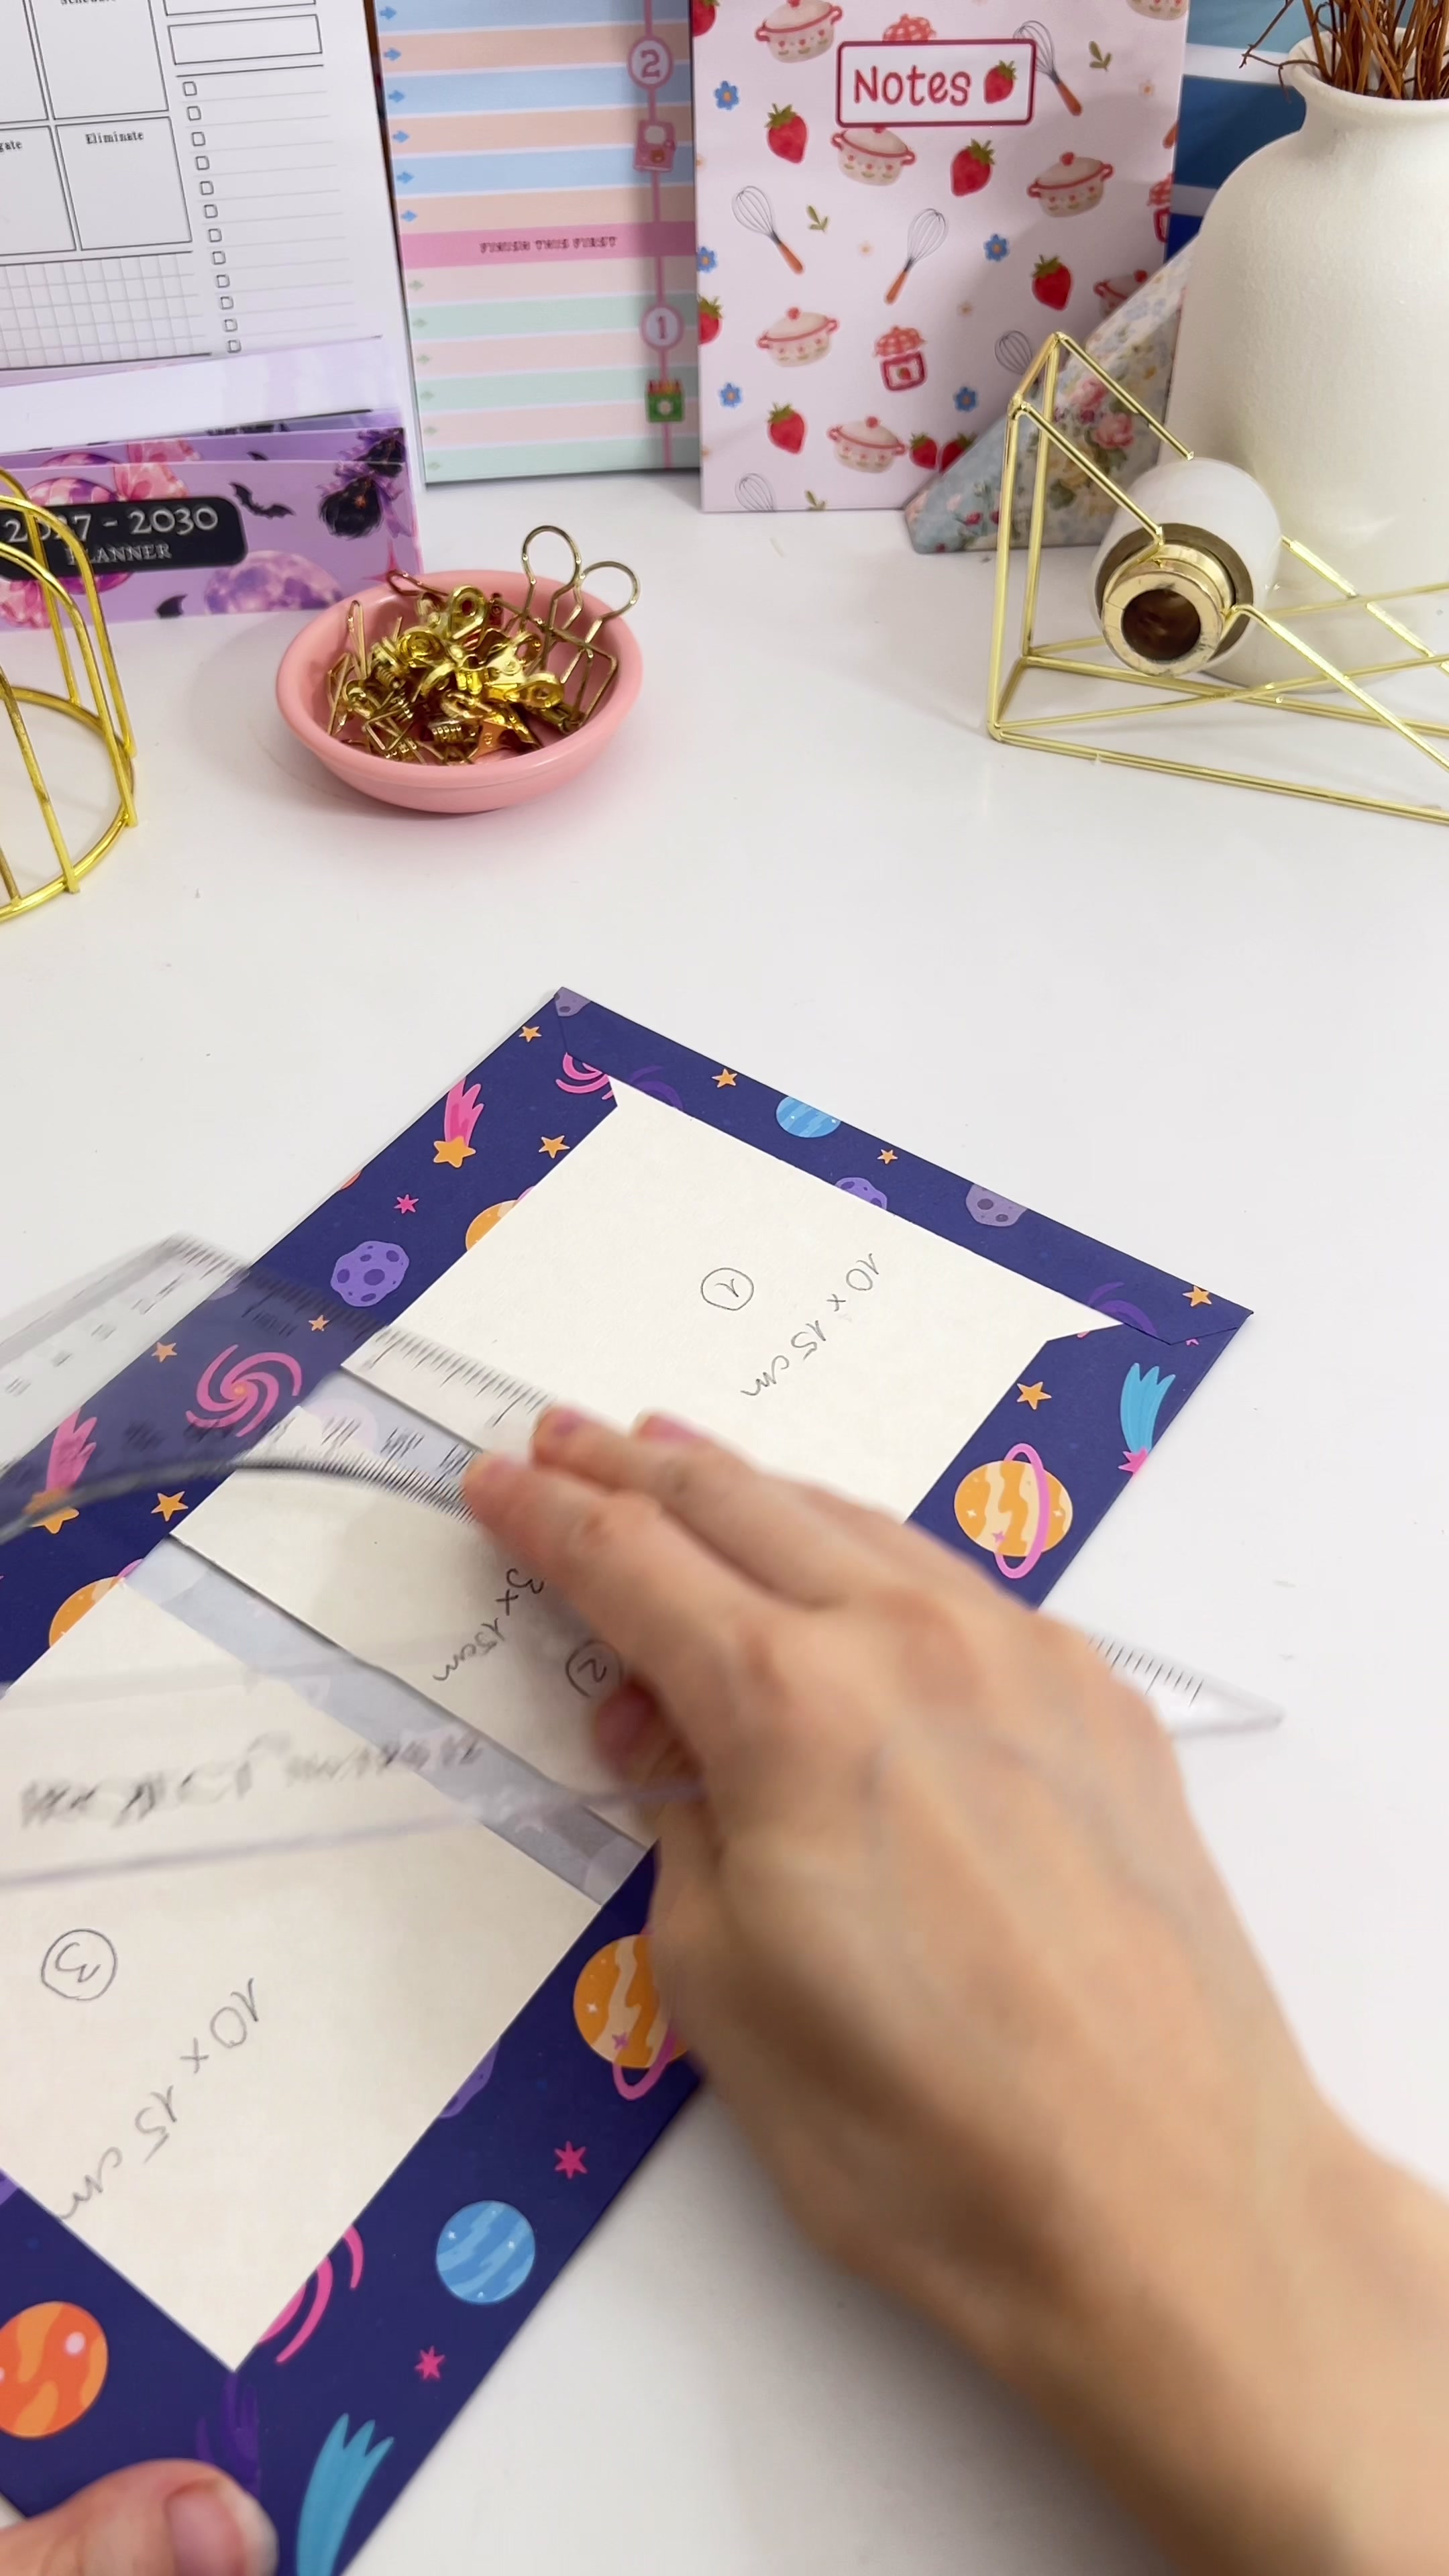 |
11. Cover the sticky gaps. Cut two strips of plain white paper around 8mm wide and lay them over the exposed adhesive either side of the spine board, so the book block doesn't stick to the hinges. |
12. Add headbands (optional). Take the dried block out of the press and fix a headband at the top and bottom of the spine. They aren't structural, they just make the book look finished. 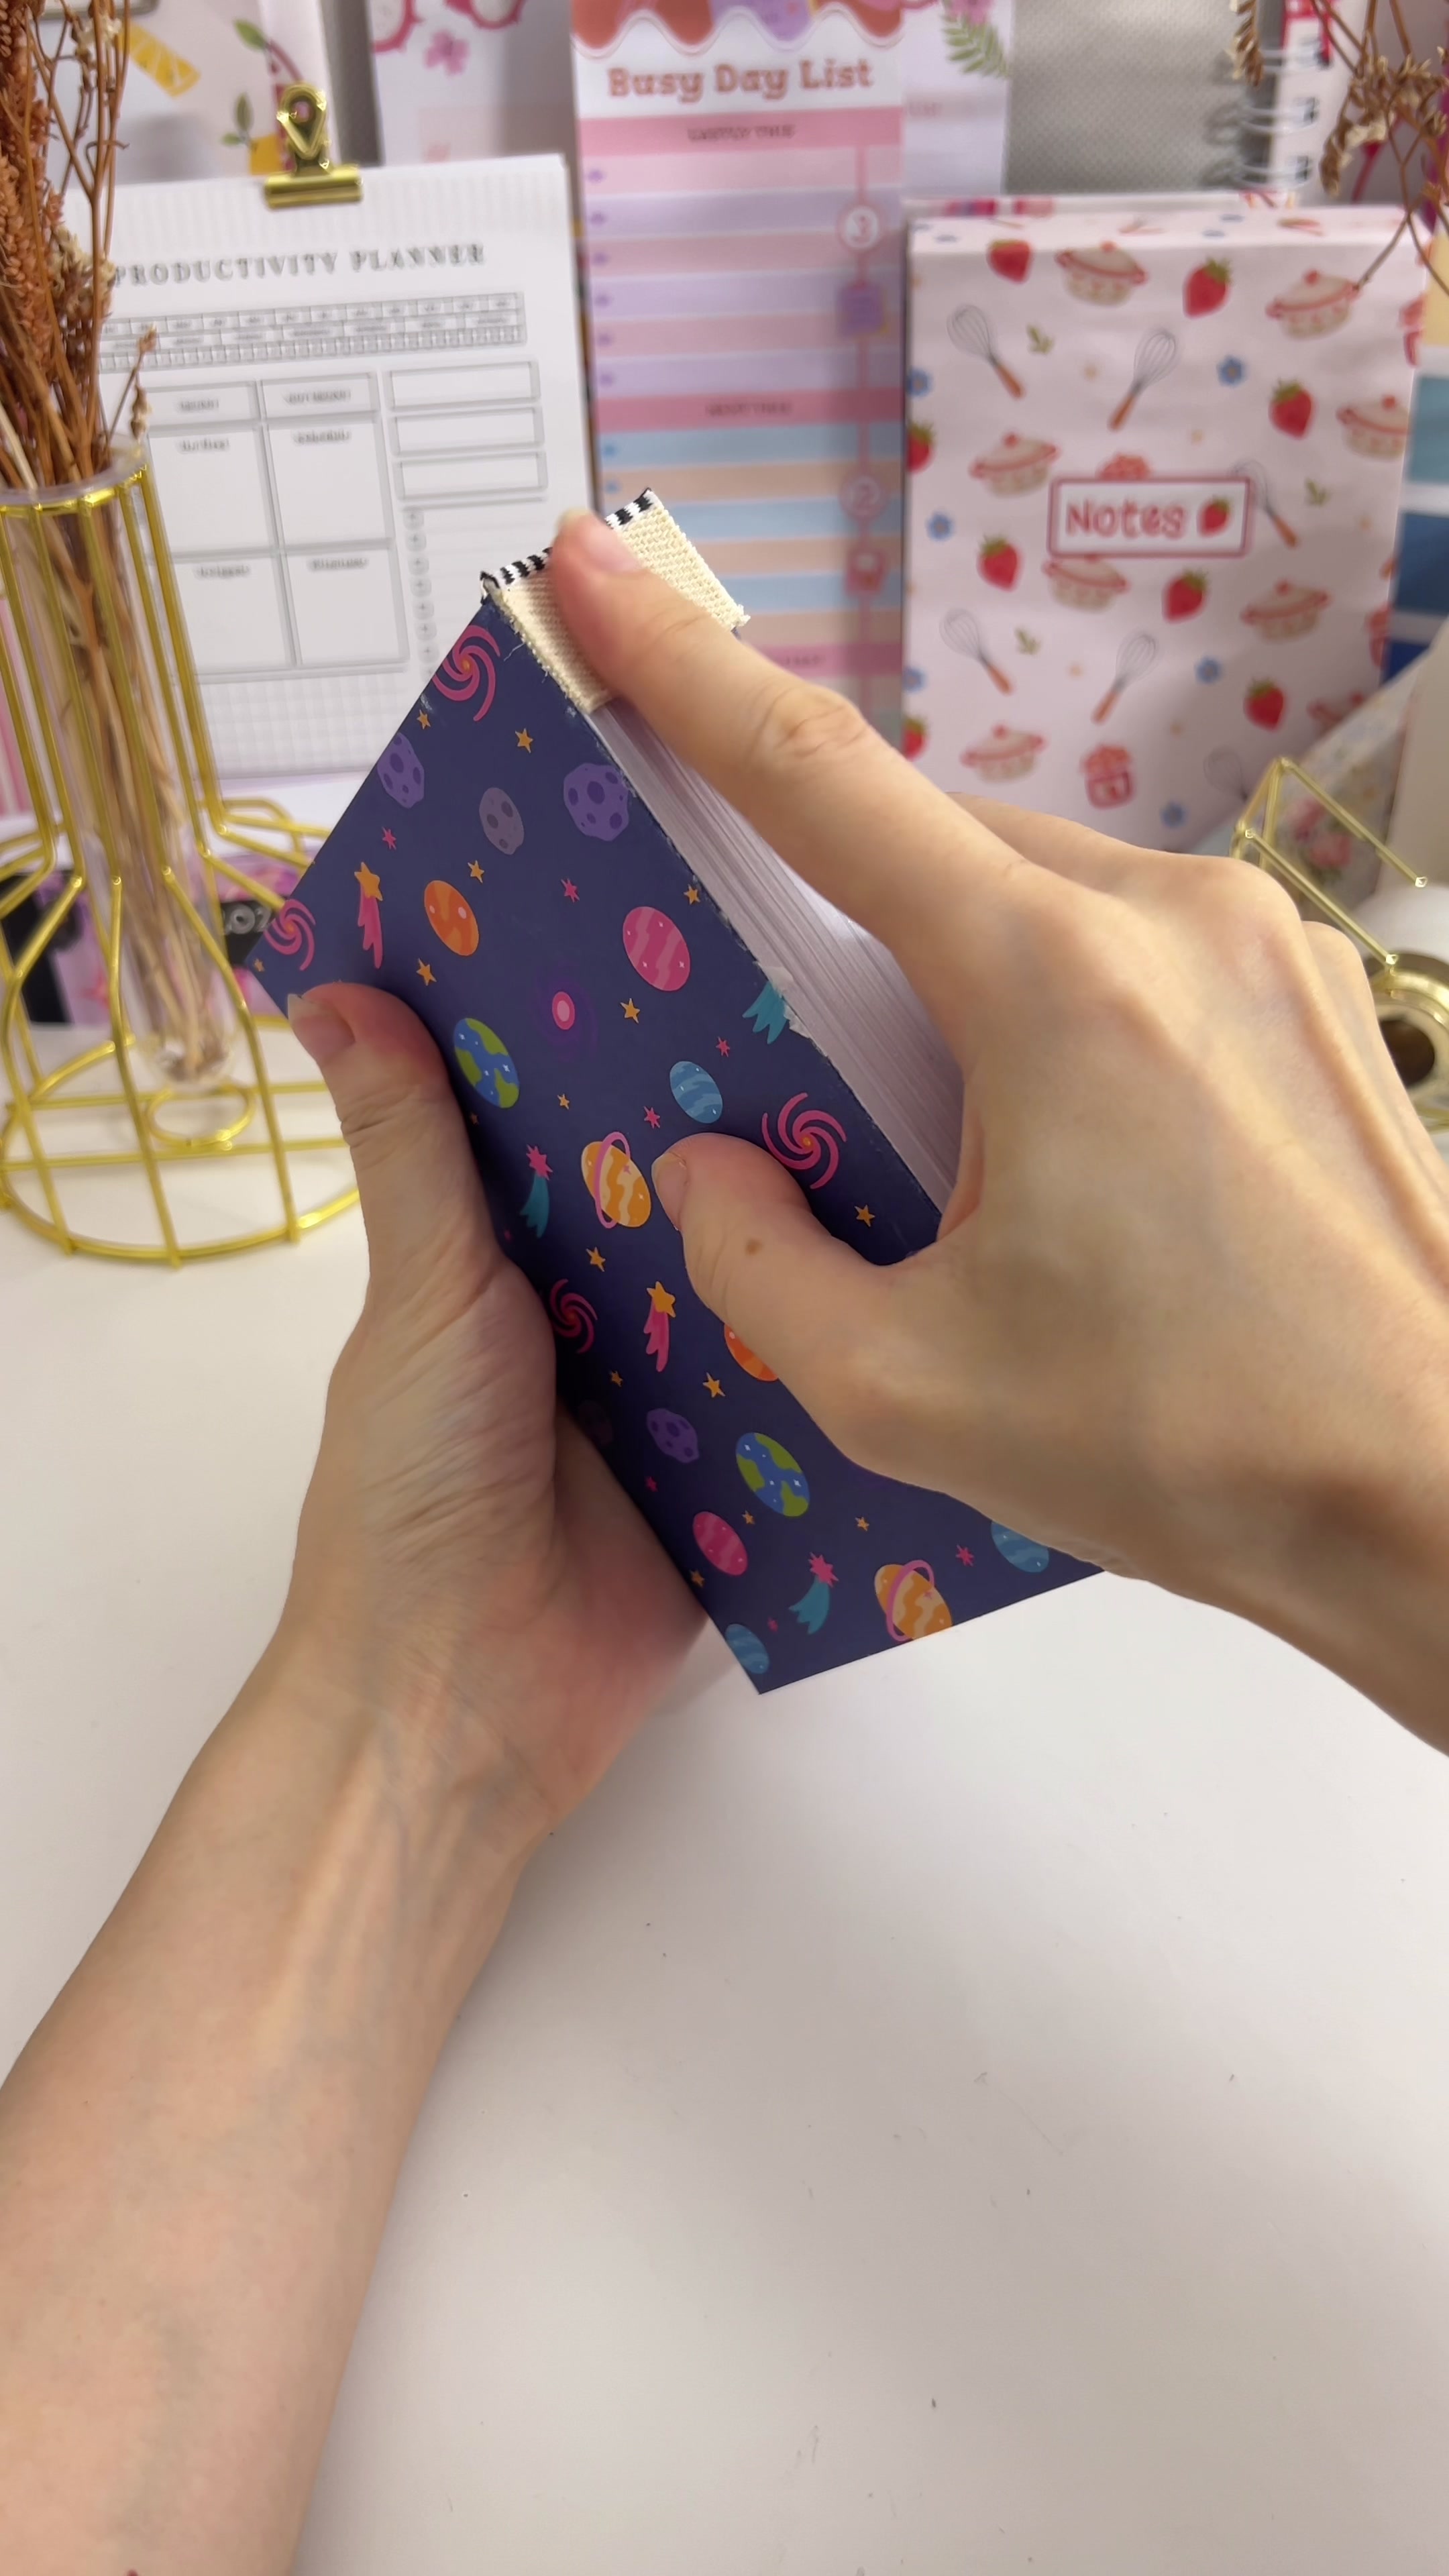 |
13. Tape the first endpaper. Sit the block on the cover and apply double-sided tape to the outside of the inside cover. 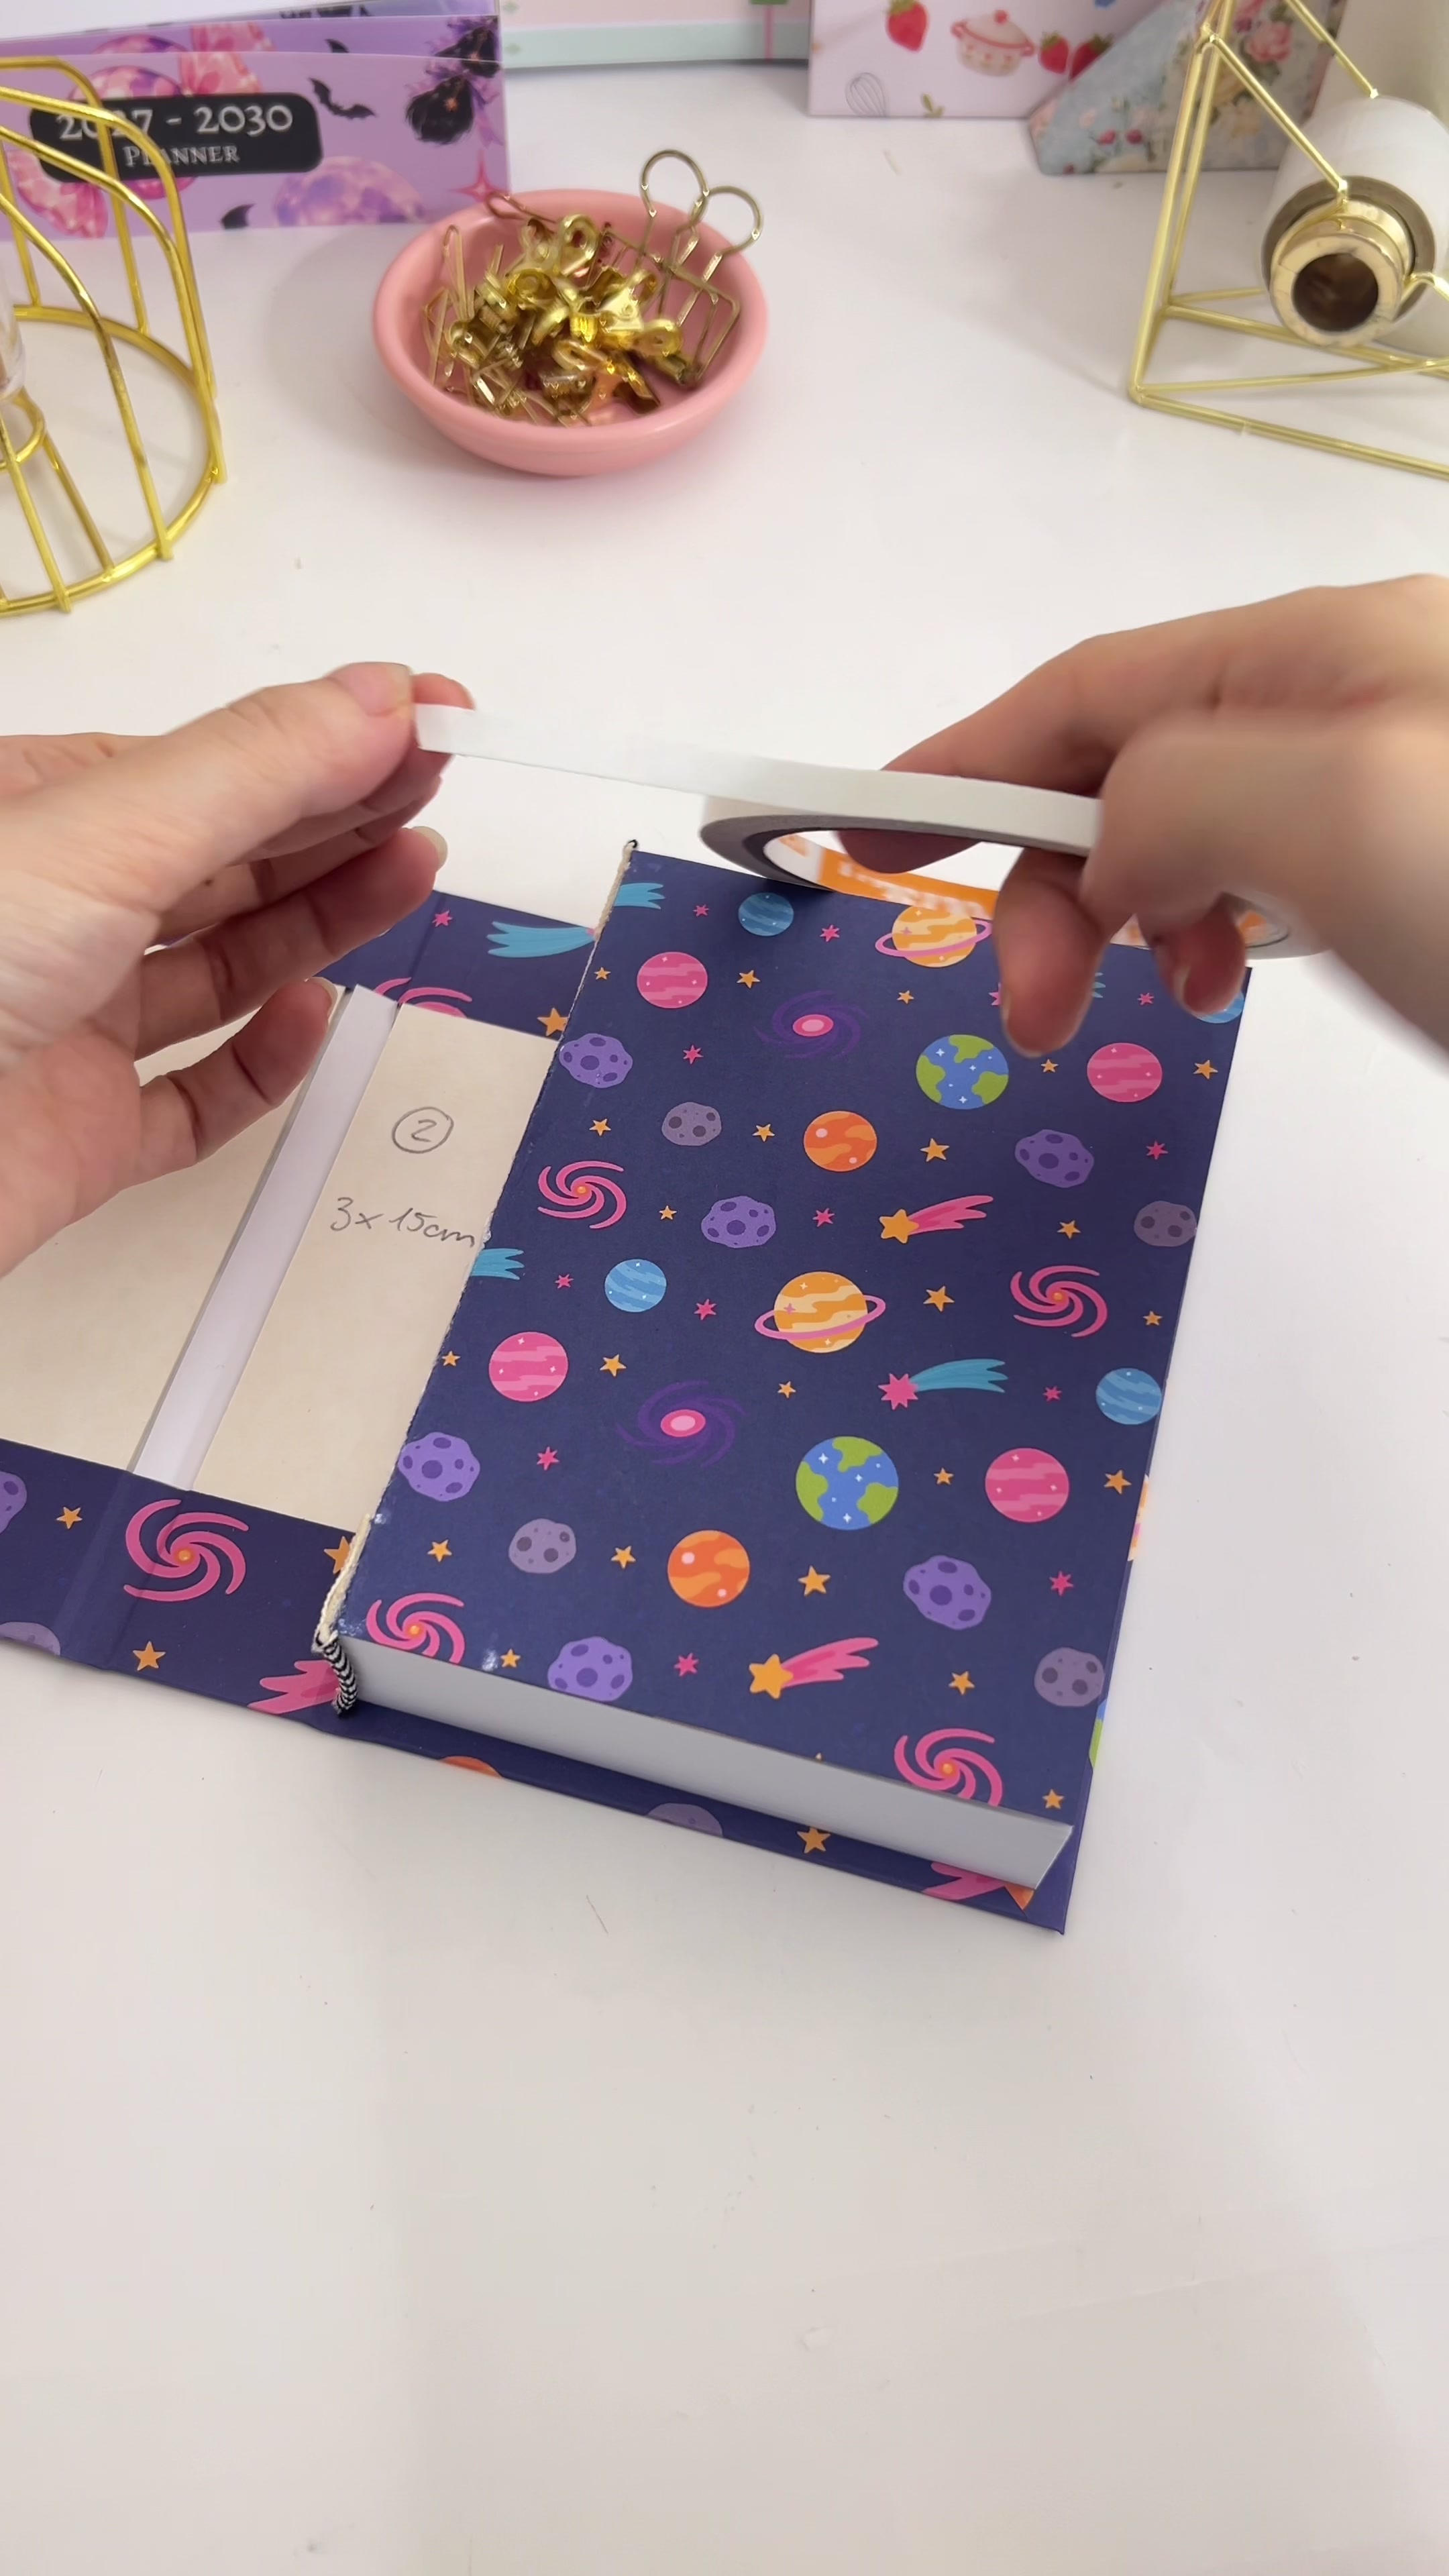 |
14. Close and press. Peel the tape, close the cover onto it and press down firmly all over. Open the book and check the inside is stuck down everywhere. 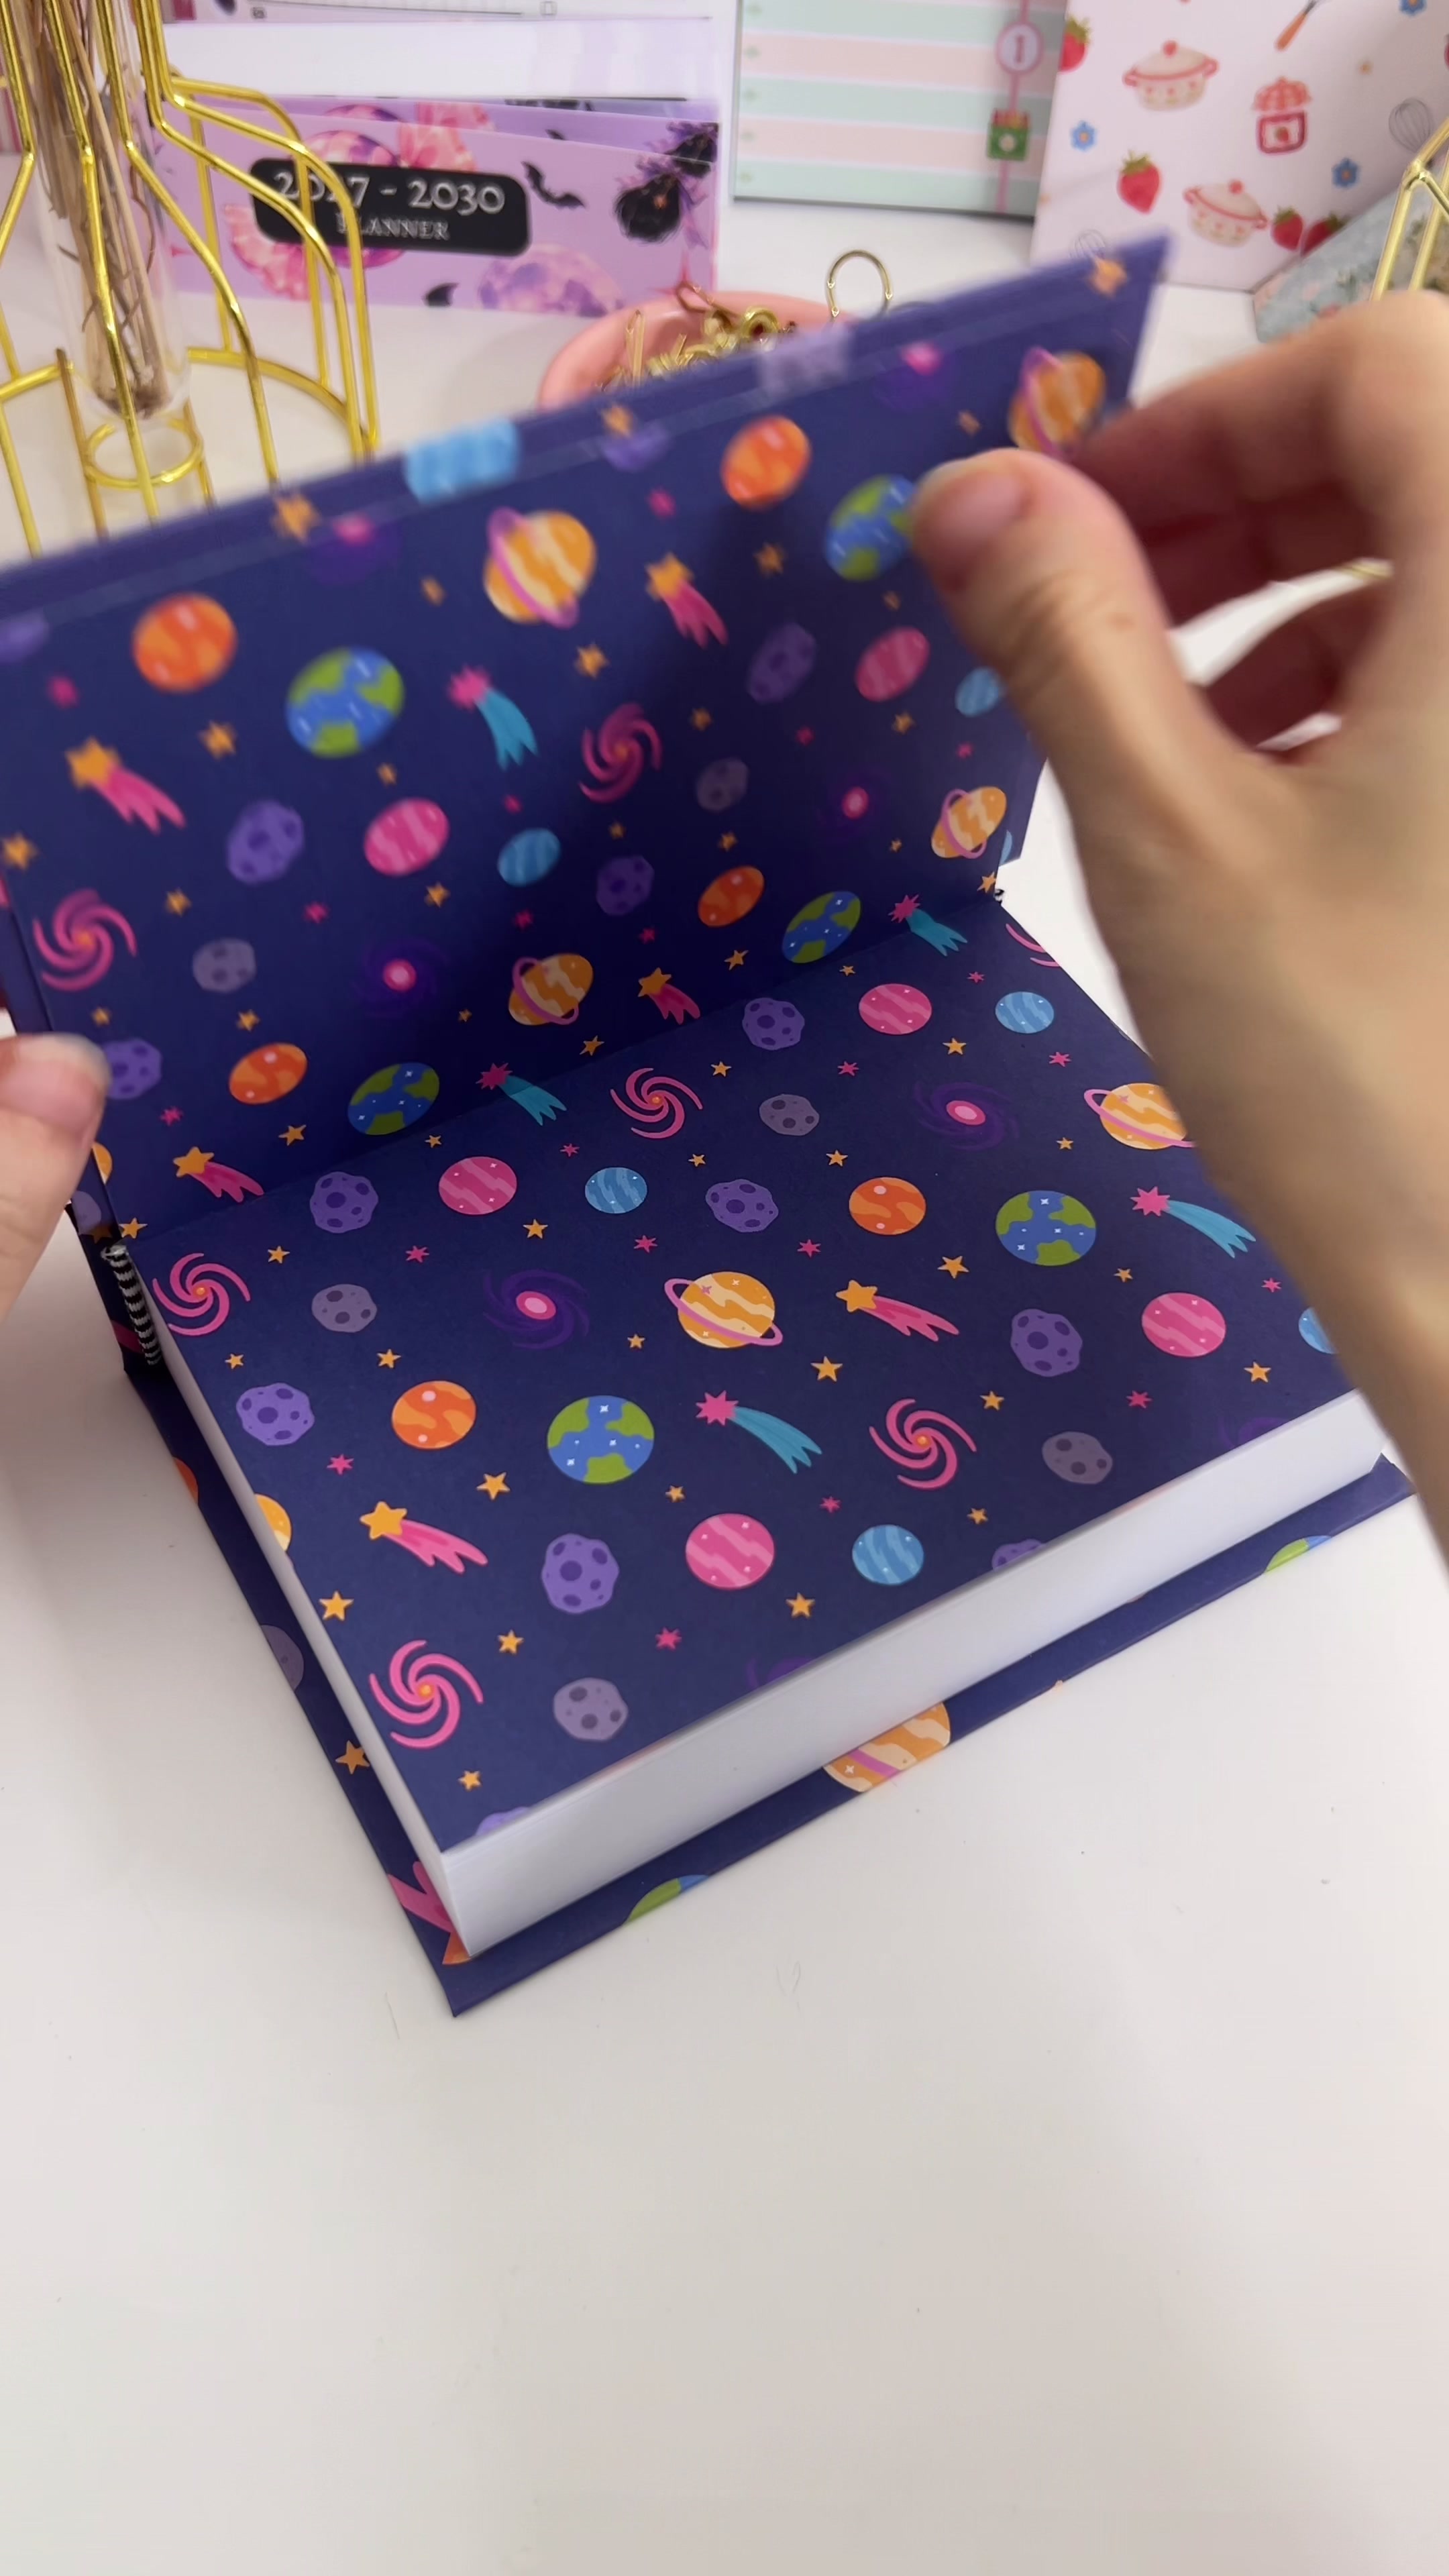 |
15. Repeat on the back. Turn the book over, open it, tape the other inside cover and press the back cover down the same way. 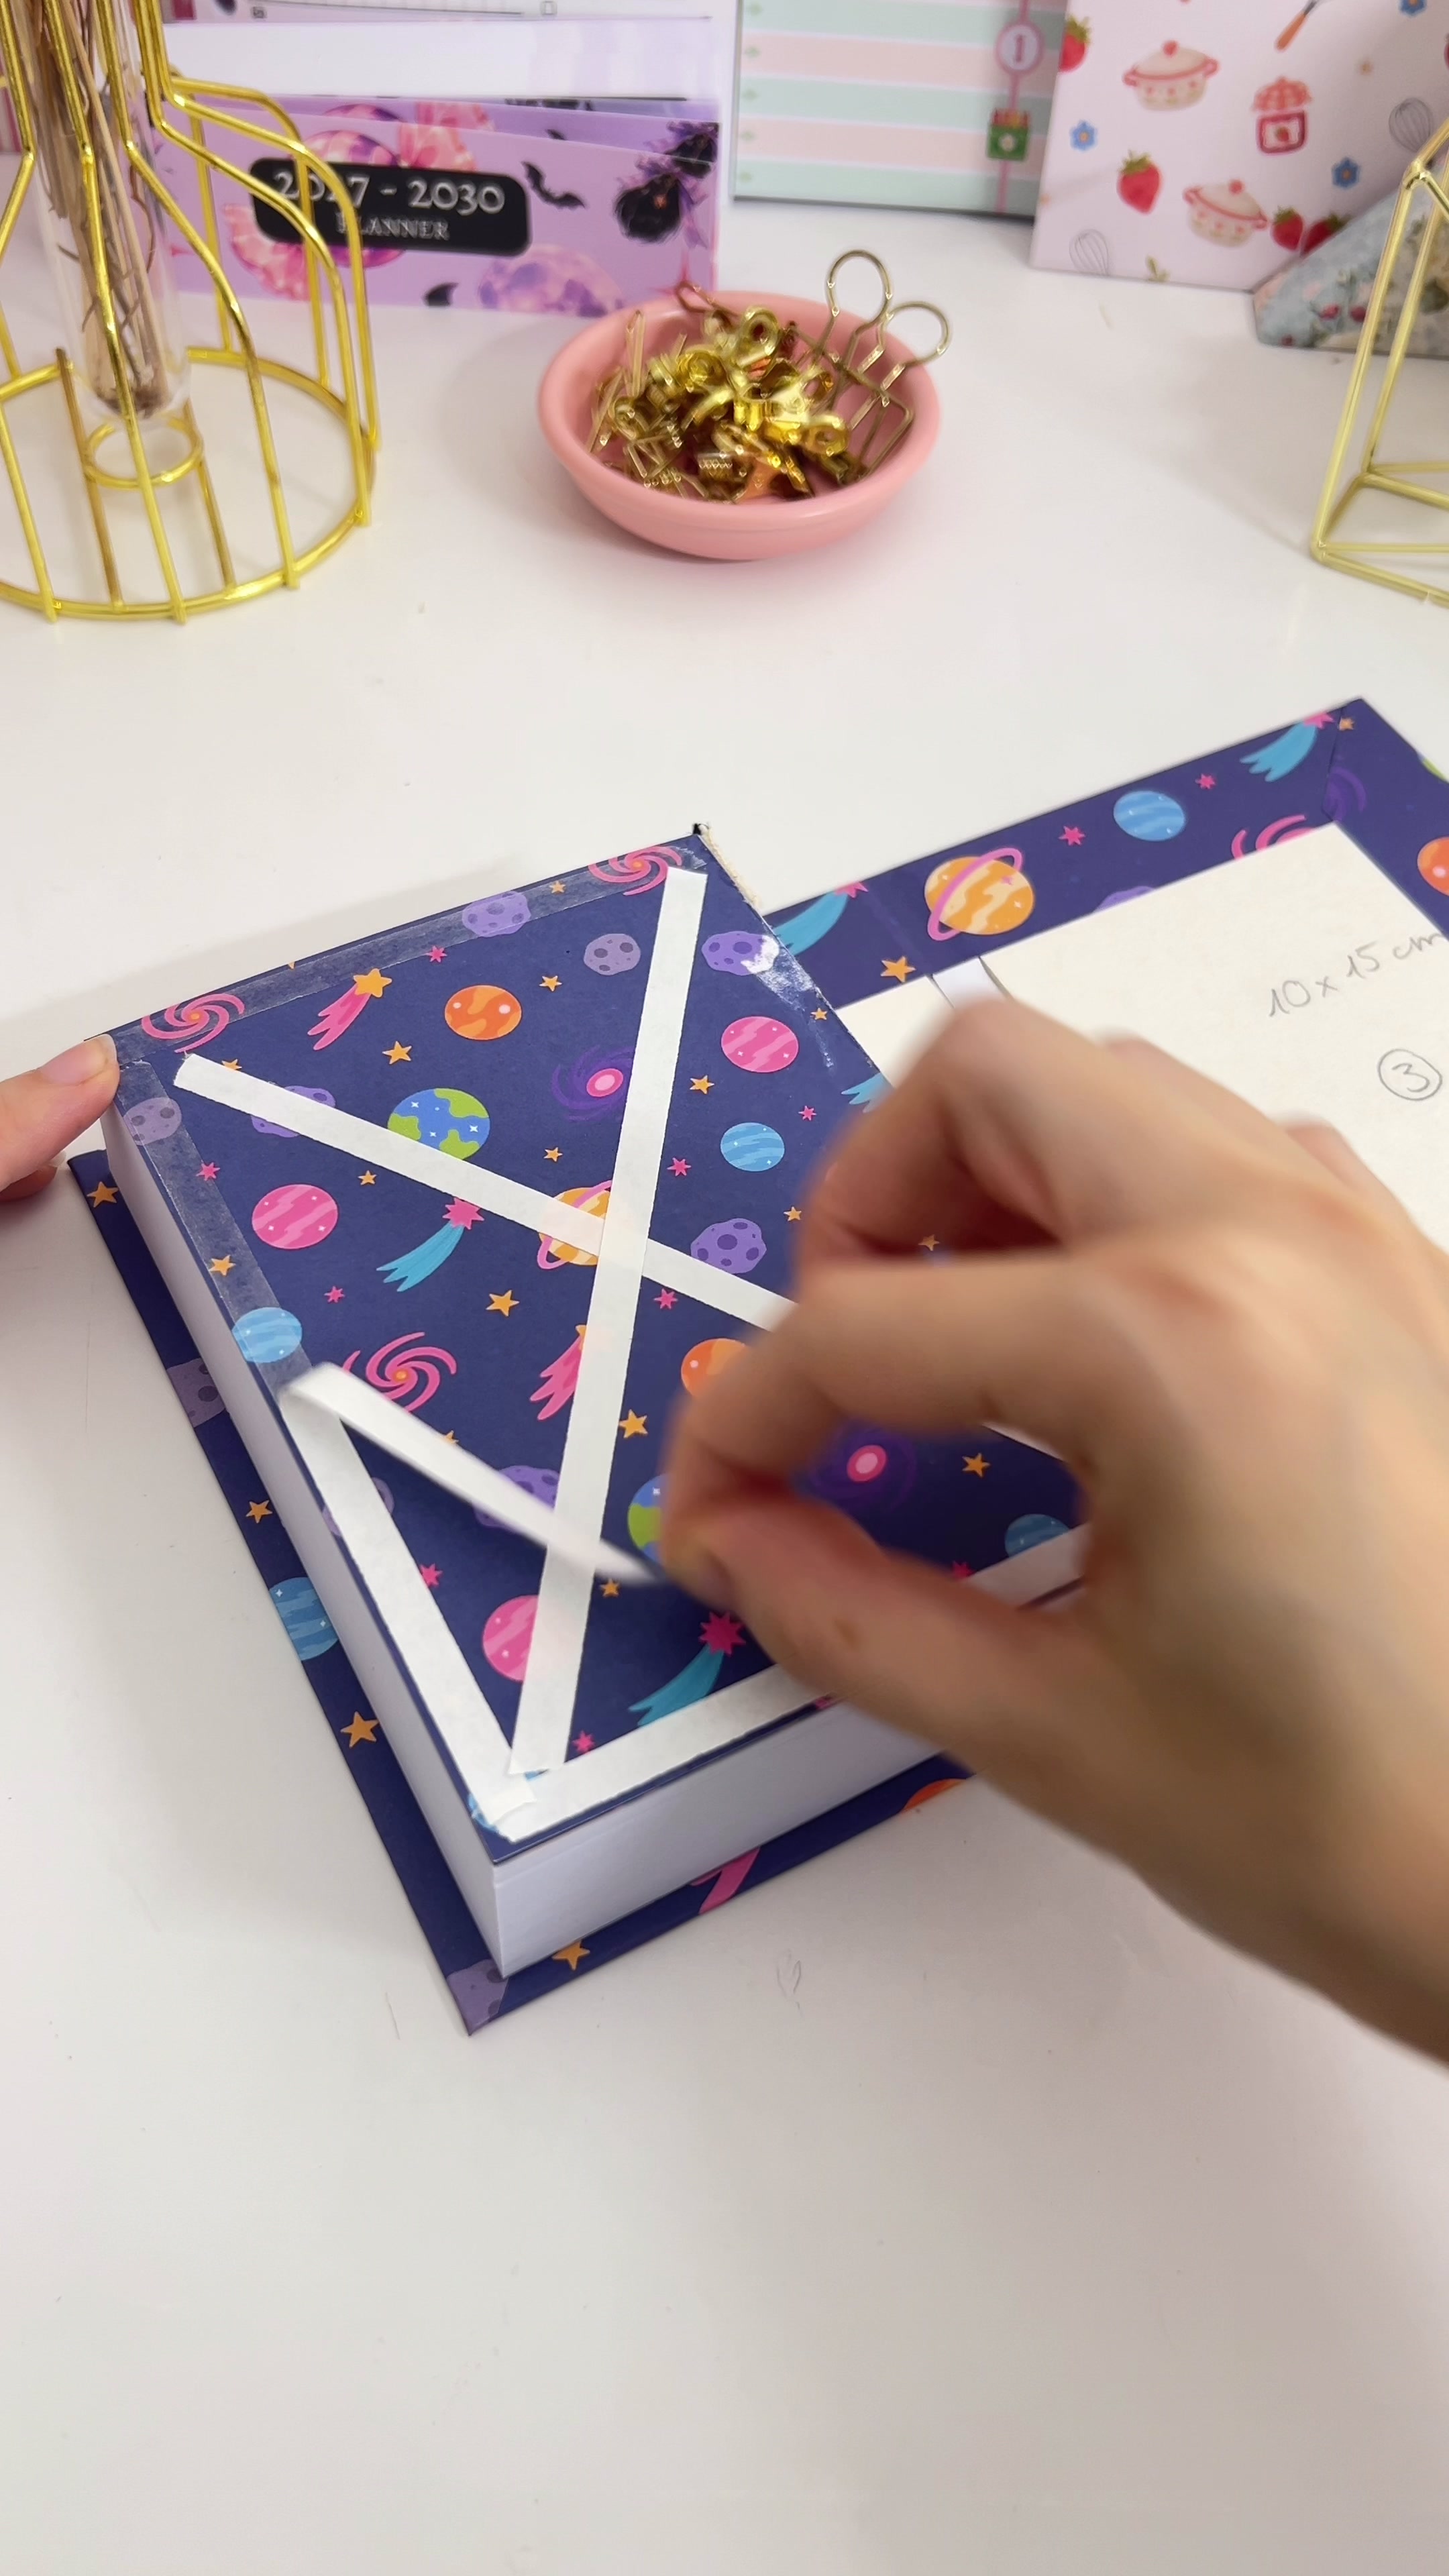 |
16. Close the back cover. Press it down firmly, then open the book and check the inside once more. 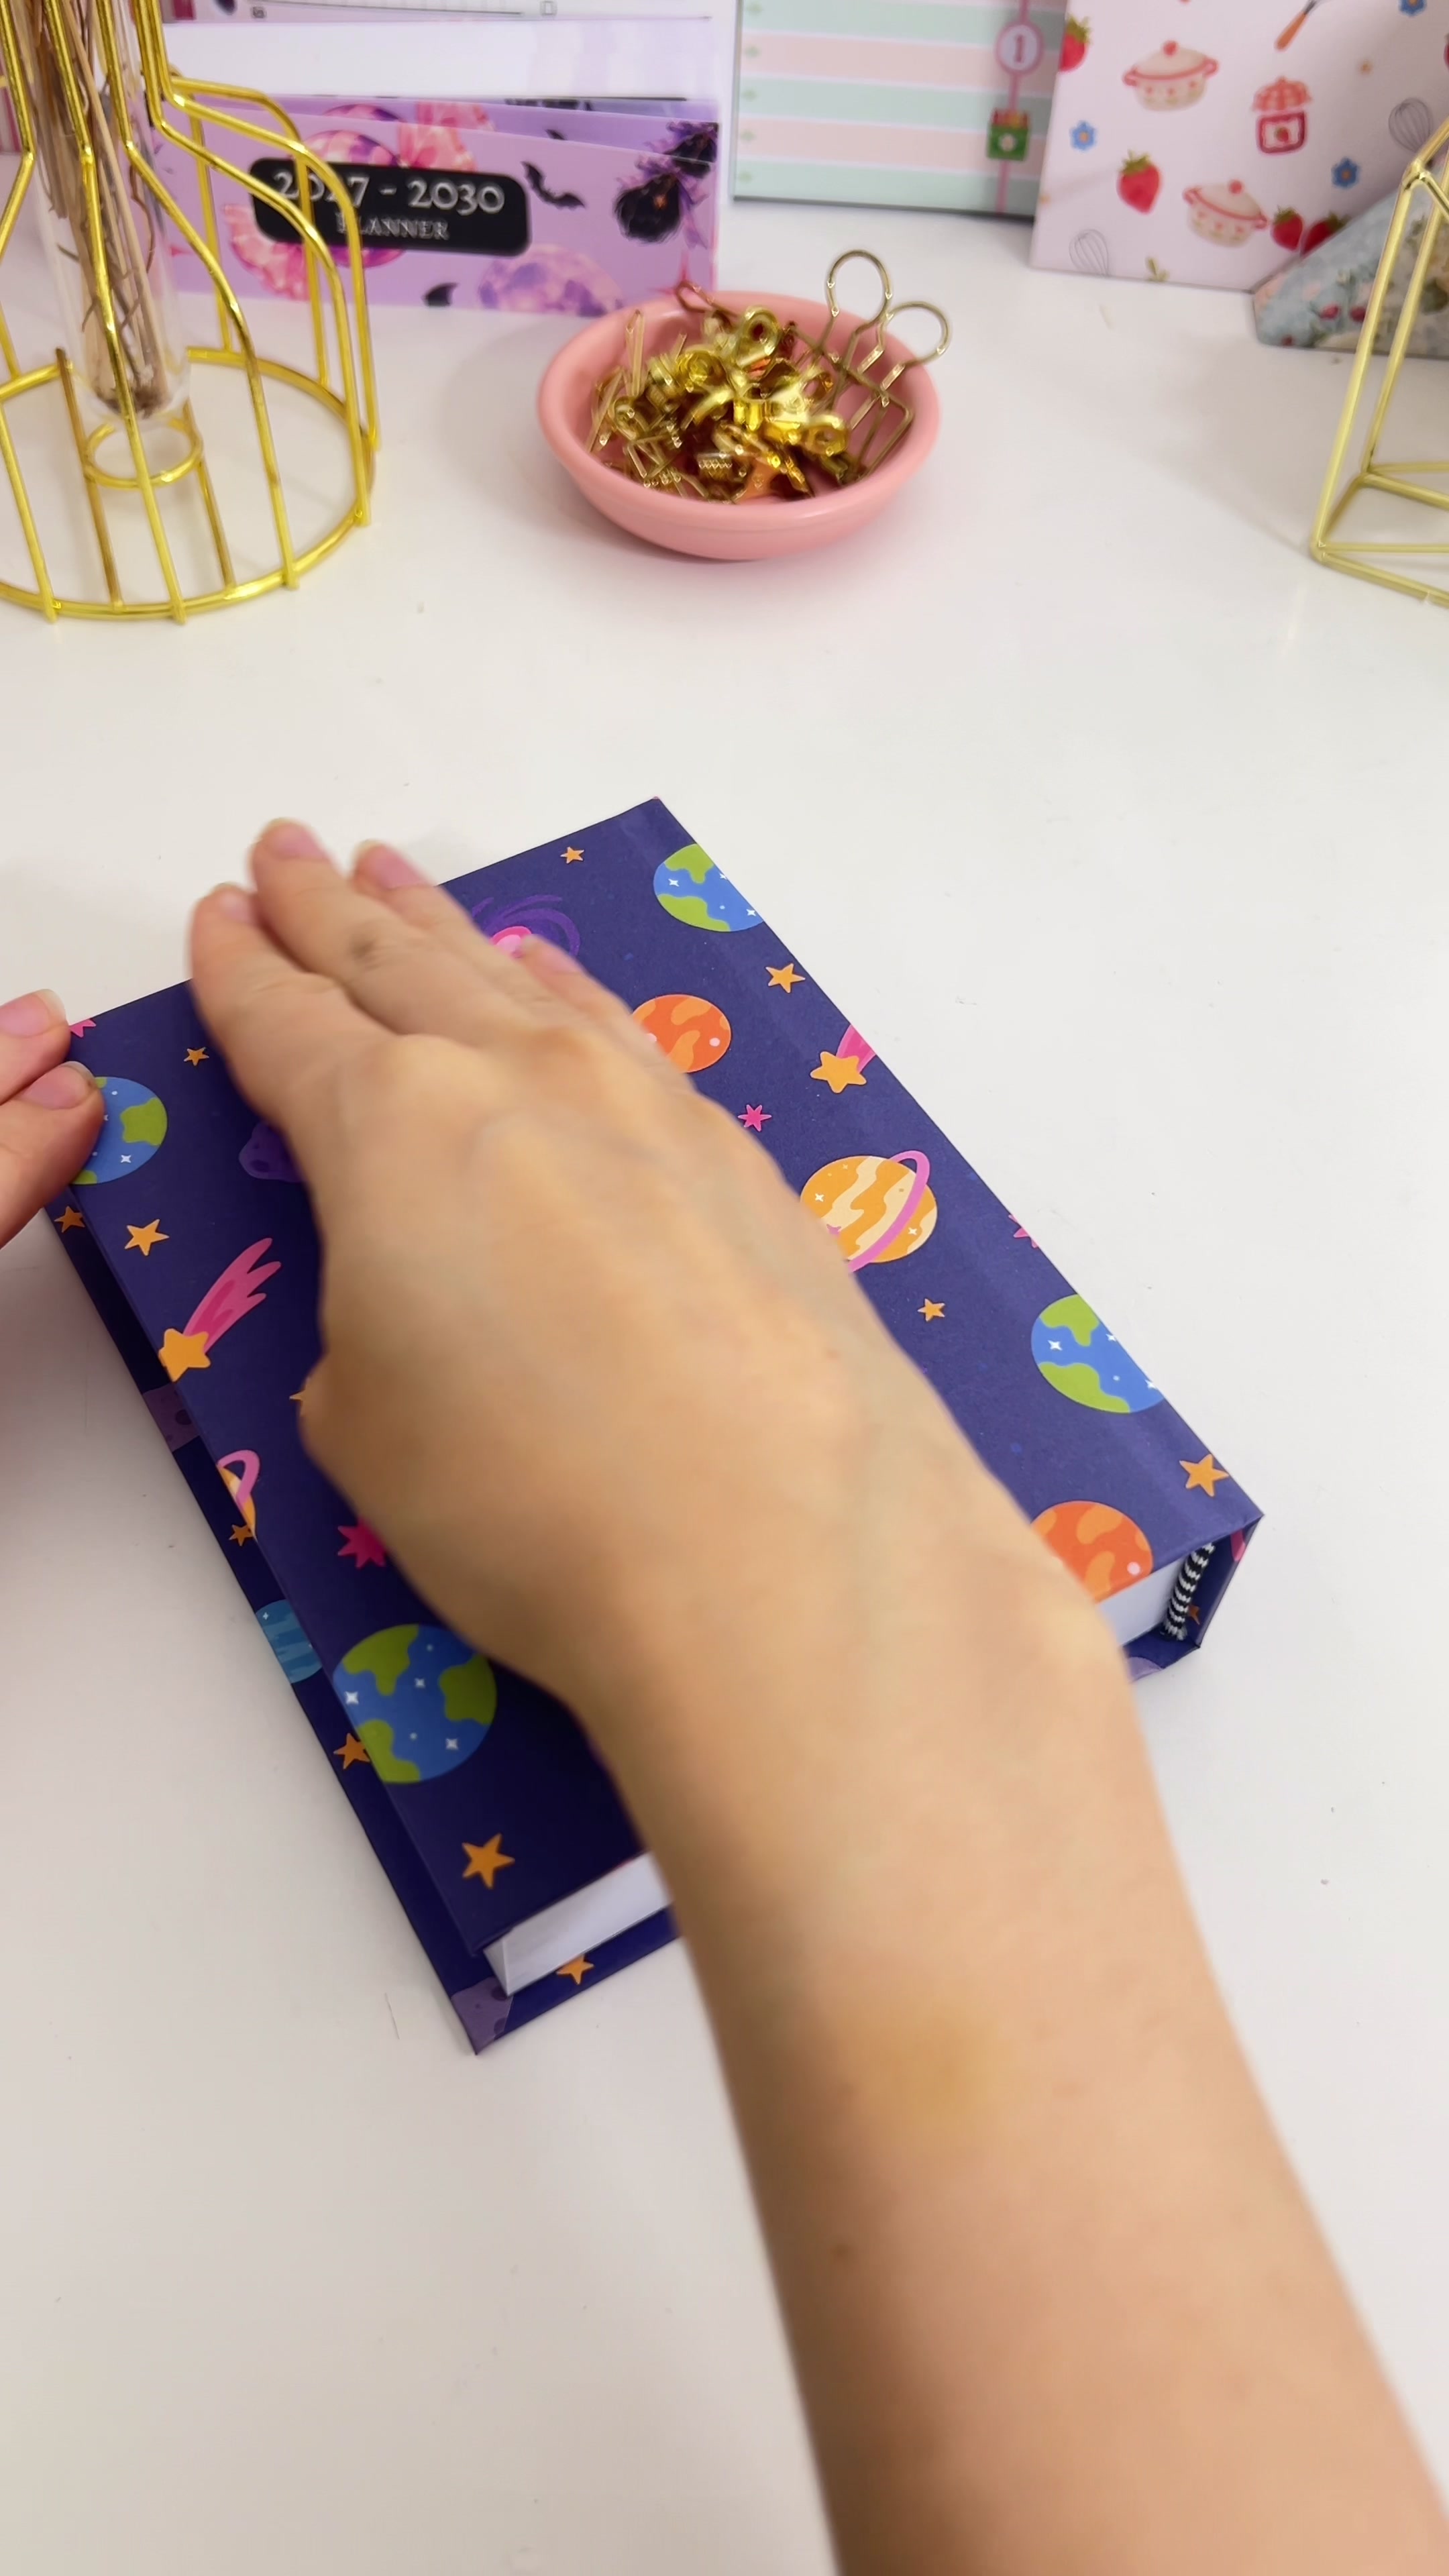 |
17. Score the hinges. Run a bone folder along the edges either side of the spine. This sharpens the hinges so the cover opens cleanly and the book looks properly bound. 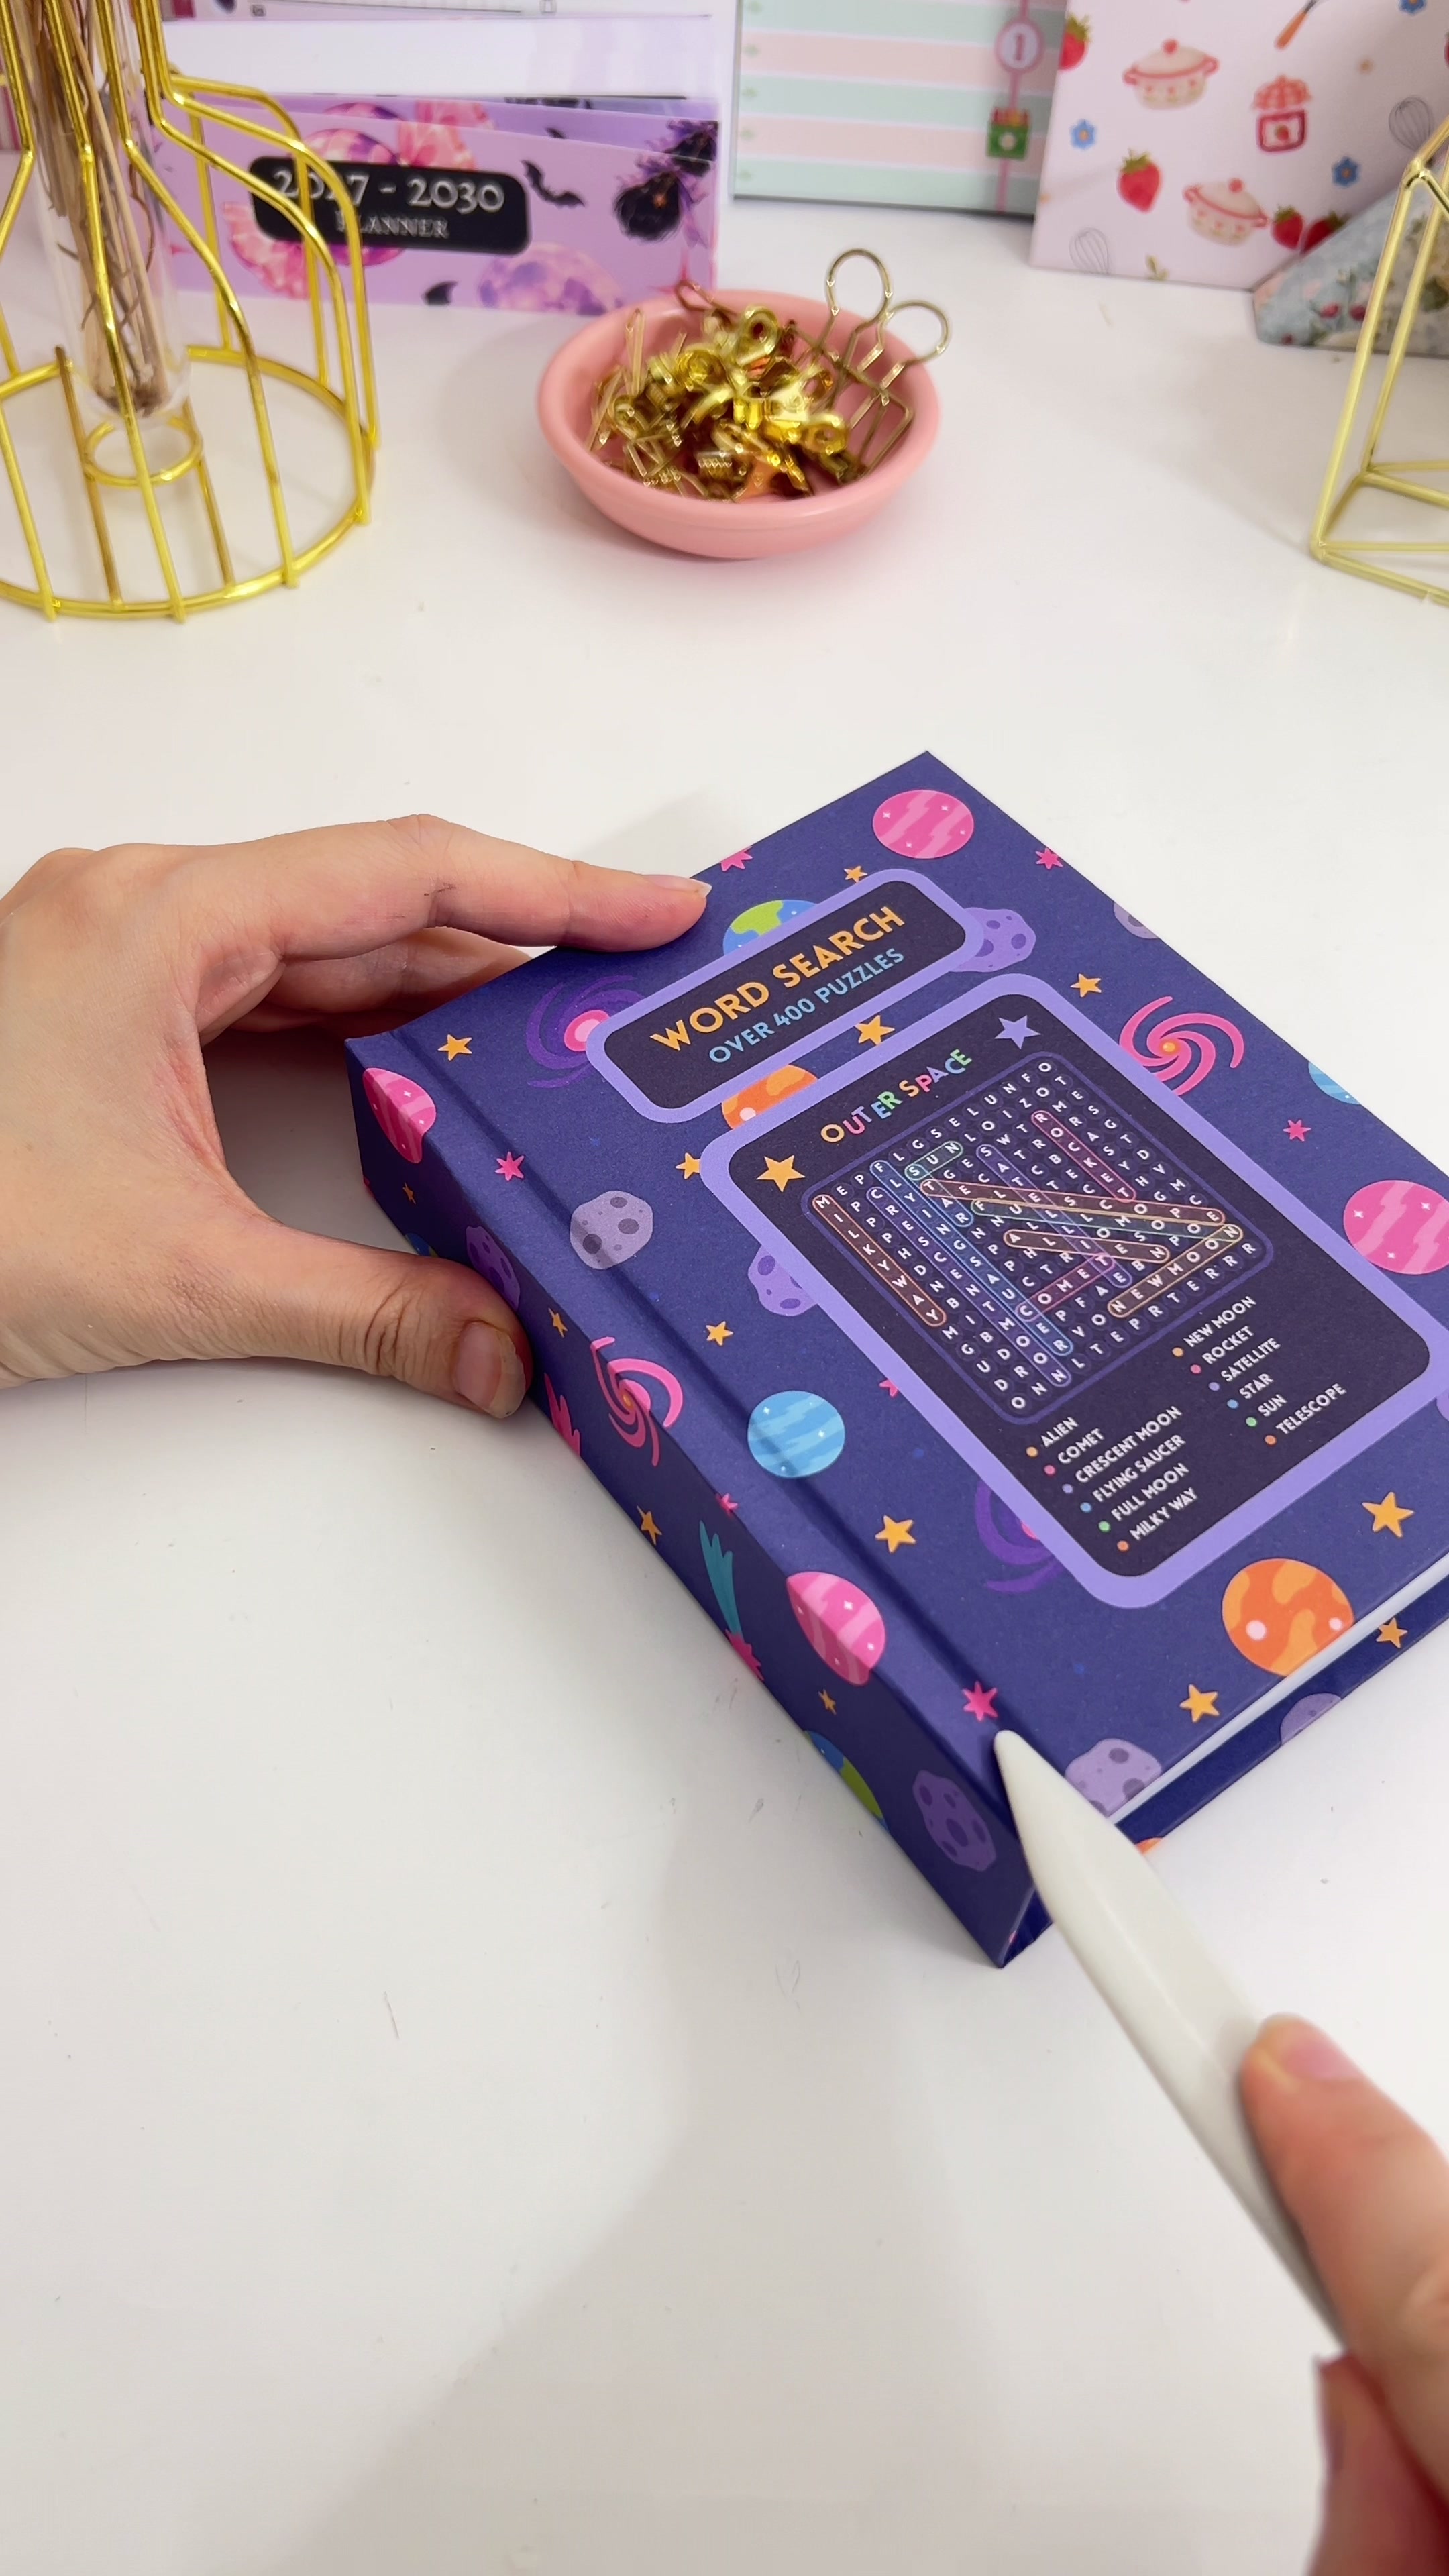 |
Your word search book is finished: a hardbound A6 book with more than 400 puzzles, none of them repeated. 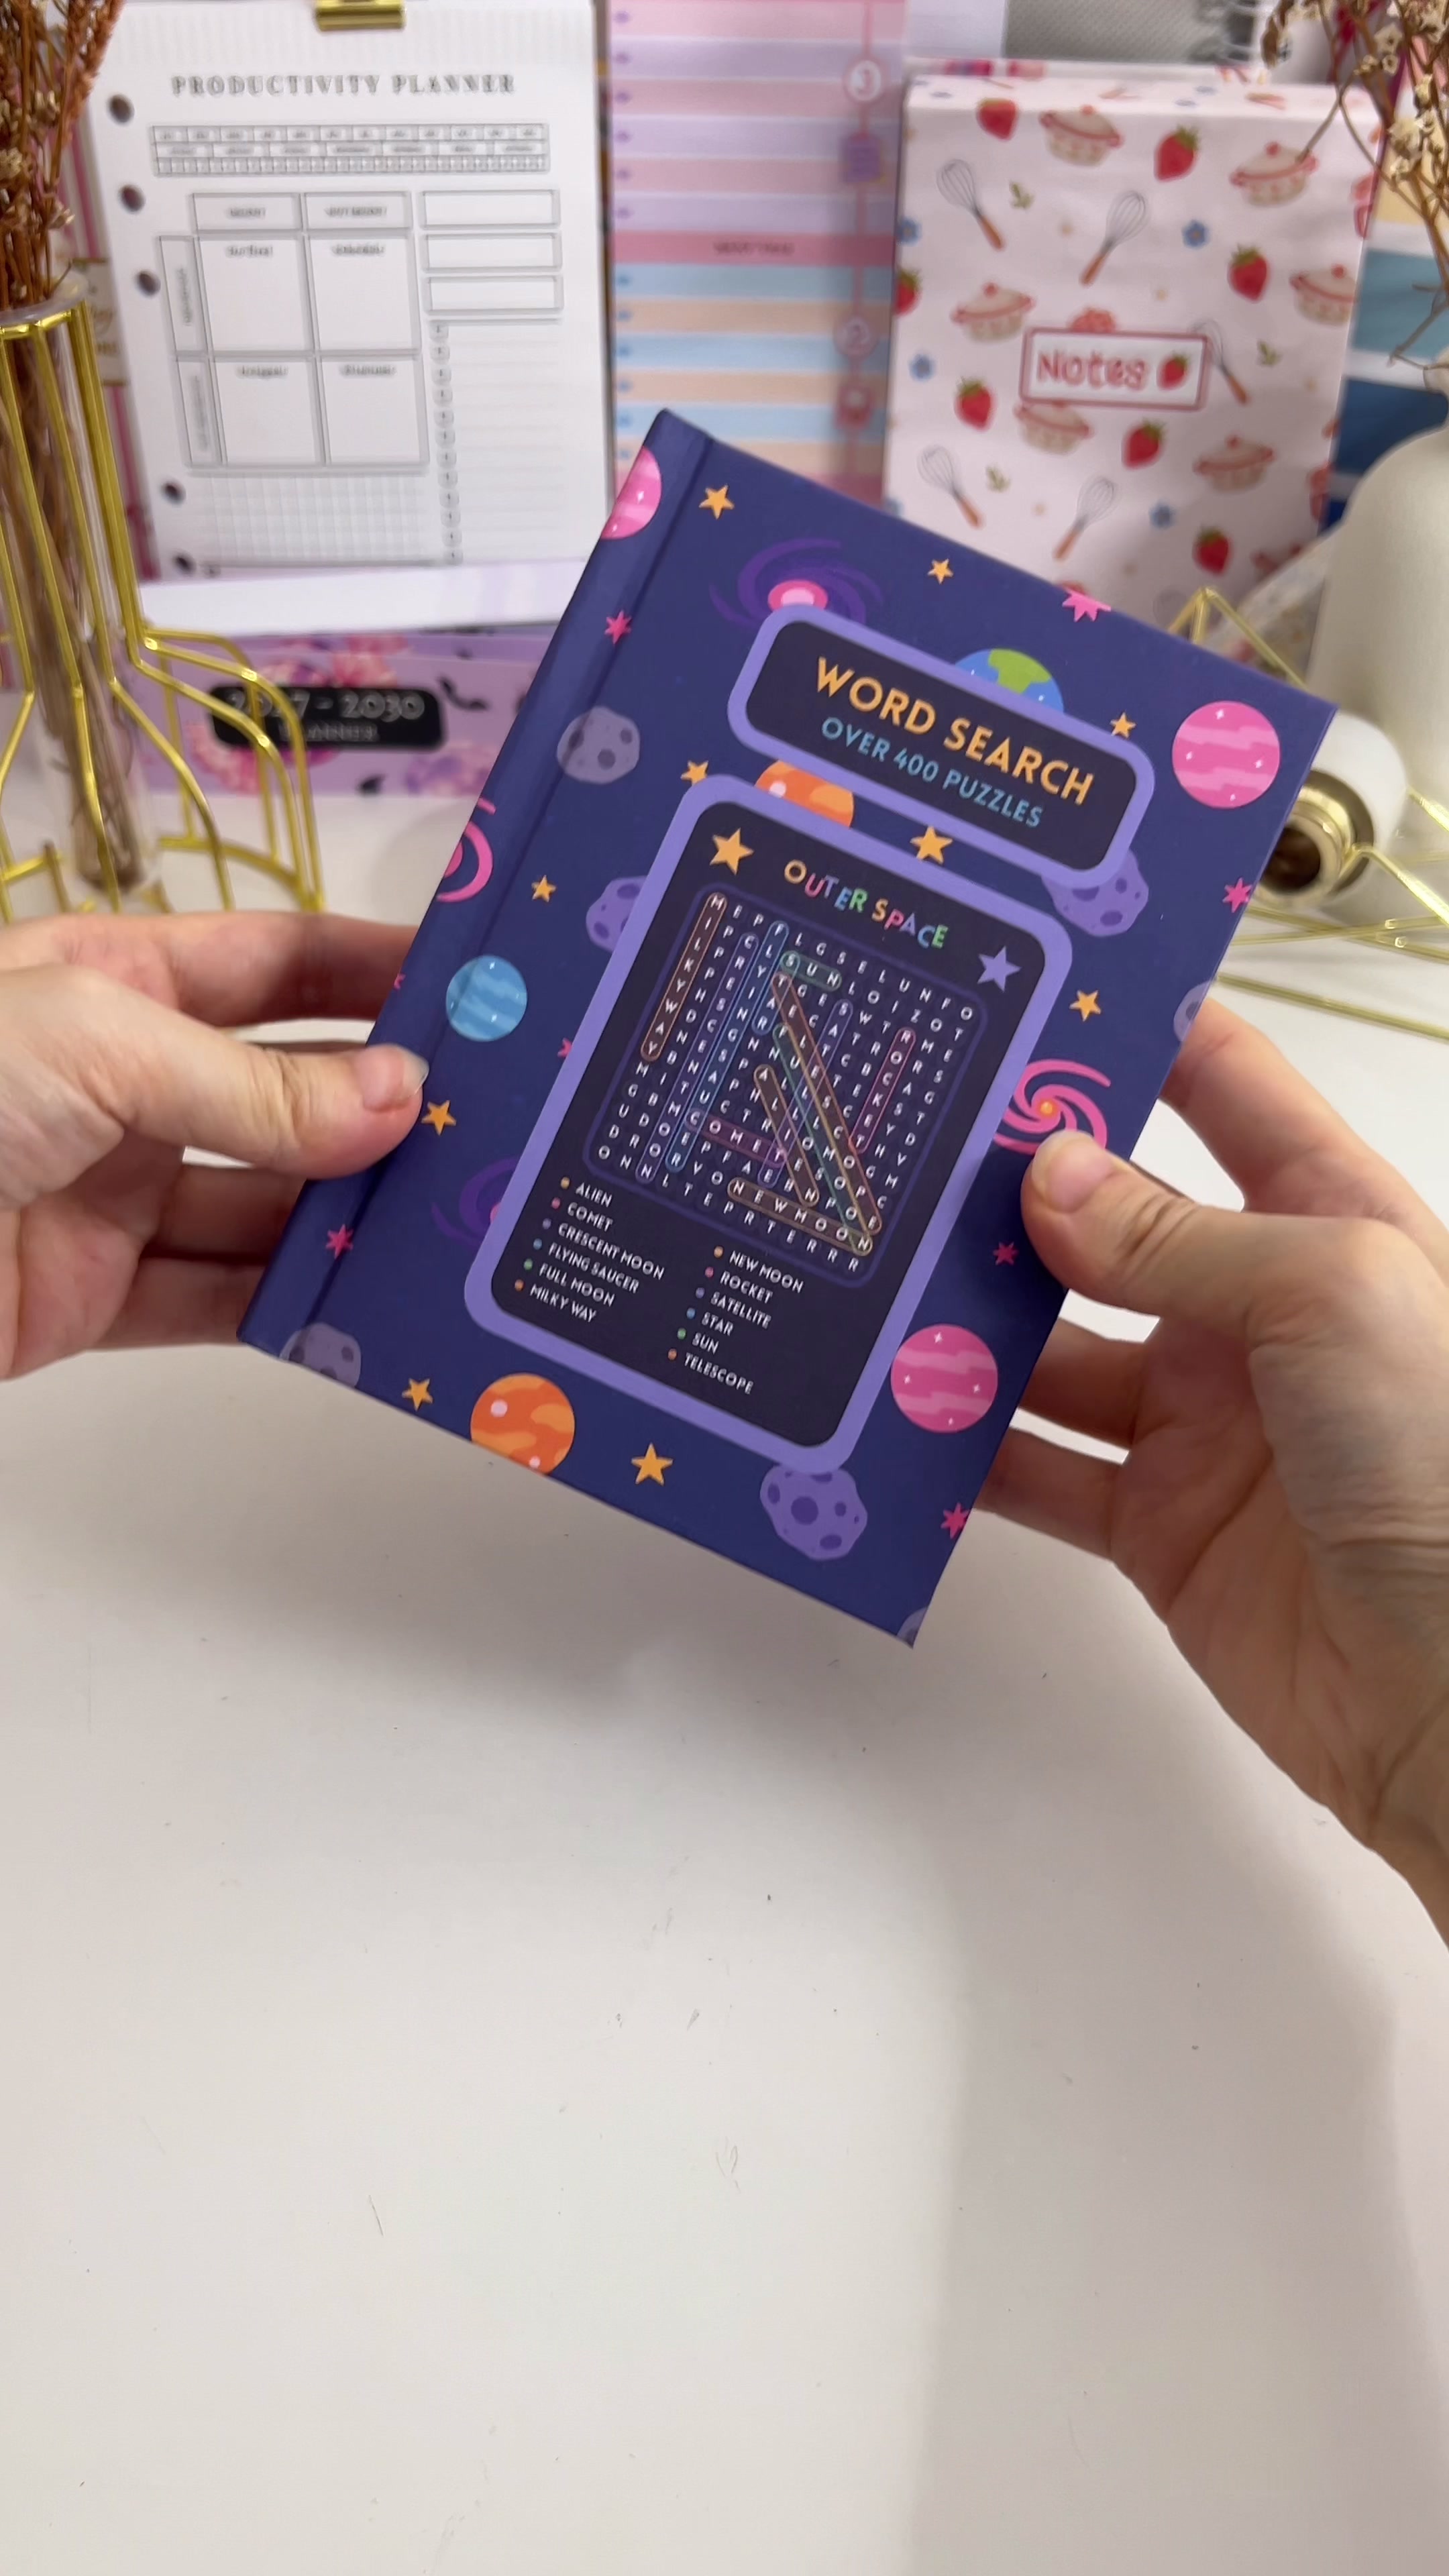 |
Troubleshooting
Every page came out identical. Duplicating alone copies the same puzzle. You need Surprise every word search, then Different theme on each page, then Shuffle all word searches. Sync the planner before exporting, or the PDF will still show the old puzzles.
White edges show around the inside cover. The back is meant to be printed at 104%, slightly larger than the 100% front. If both were printed at 100%, any misalignment in your printer leaves a white sliver.
Pages pull away from the spine. Either the glue didn't reach every fold or it didn't dry long enough. Bend the stack both ways while gluing so the glue gets into each fold, and leave it overnight.
The cover won't close flat. The gaps between the three chipboard pieces are probably too narrow. Around 8mm on each side of the spine gives the hinges room to fold.
The inside covers stick to the first page. The two white paper strips over the exposed adhesive are what prevent this, so don't skip step 11.
Selling these
Puzzle books sell well because the buyer gets a lot of content for the price, and generating the pages costs you almost nothing beyond the first setup. The same method works for sudoku, crosswords, mazes, number search and the other puzzle widgets in the Special category, so one build becomes a whole range.
You can also sell the digital PDF on its own, or offer the book as a physical product at craft fairs. With a Business plan or higher, the commercial licence covers any export from Planify Pro, including ready-made designs you haven't customised, so the finished planner above is yours to sell as it is.