A lay-flat planner opens completely flat on the desk — no rings, no rigid spine, nothing under your wrist while you write. The trick is that every sheet is folded individually and glued along the fold, so the spine stays flexible.
This one is dated 2027 to 2029 with weekly spreads and a calendar on the left. Here's how to make it, from template to finished book.
These tutorials use Planify Pro, a drag-and-drop tool for designing printable planners and stationery. Building and editing is free — exporting a PDF needs a plan, from $9.99/month.
Get the templates
You need two — the inserts and the cover. Open each one and either export it as it is, or customise it first.
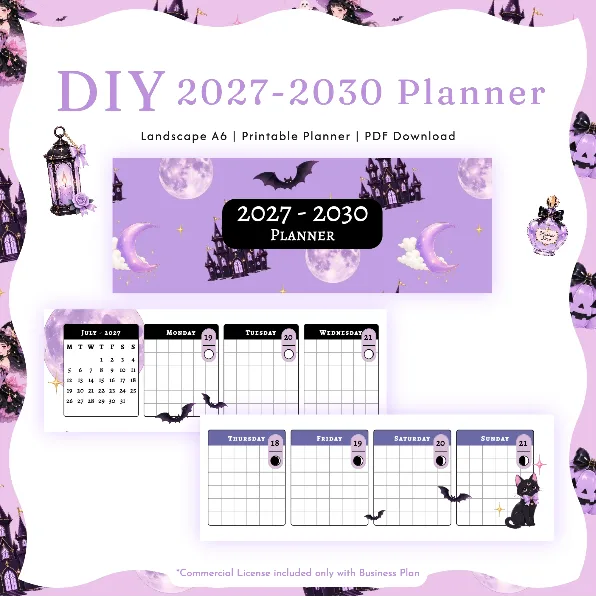
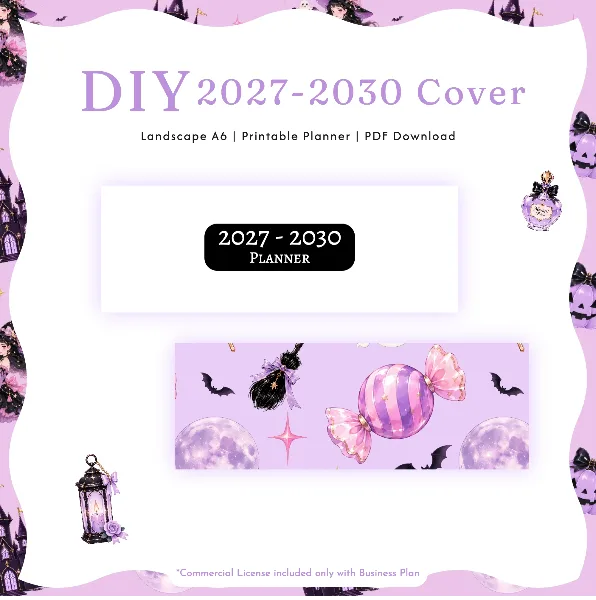
Open the inserts file and click Full control. Page one is blank, page two is the cover, and the planner itself starts on page three.
Customise the inserts
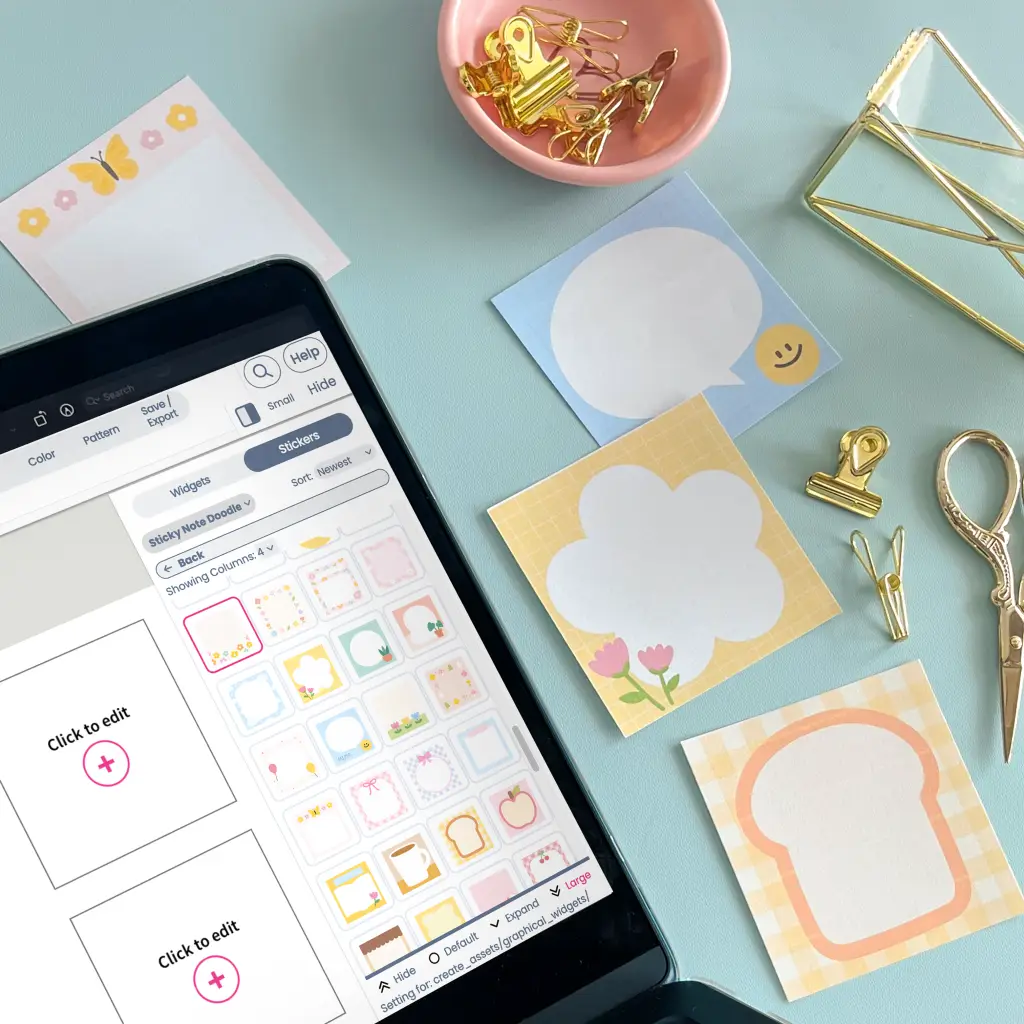
If you want to change anything, switch to Freeform first — go to Layout and select it. You can then drag widgets anywhere instead of building rows and columns, which makes editing much quicker. See the Freeform guide for what it does.
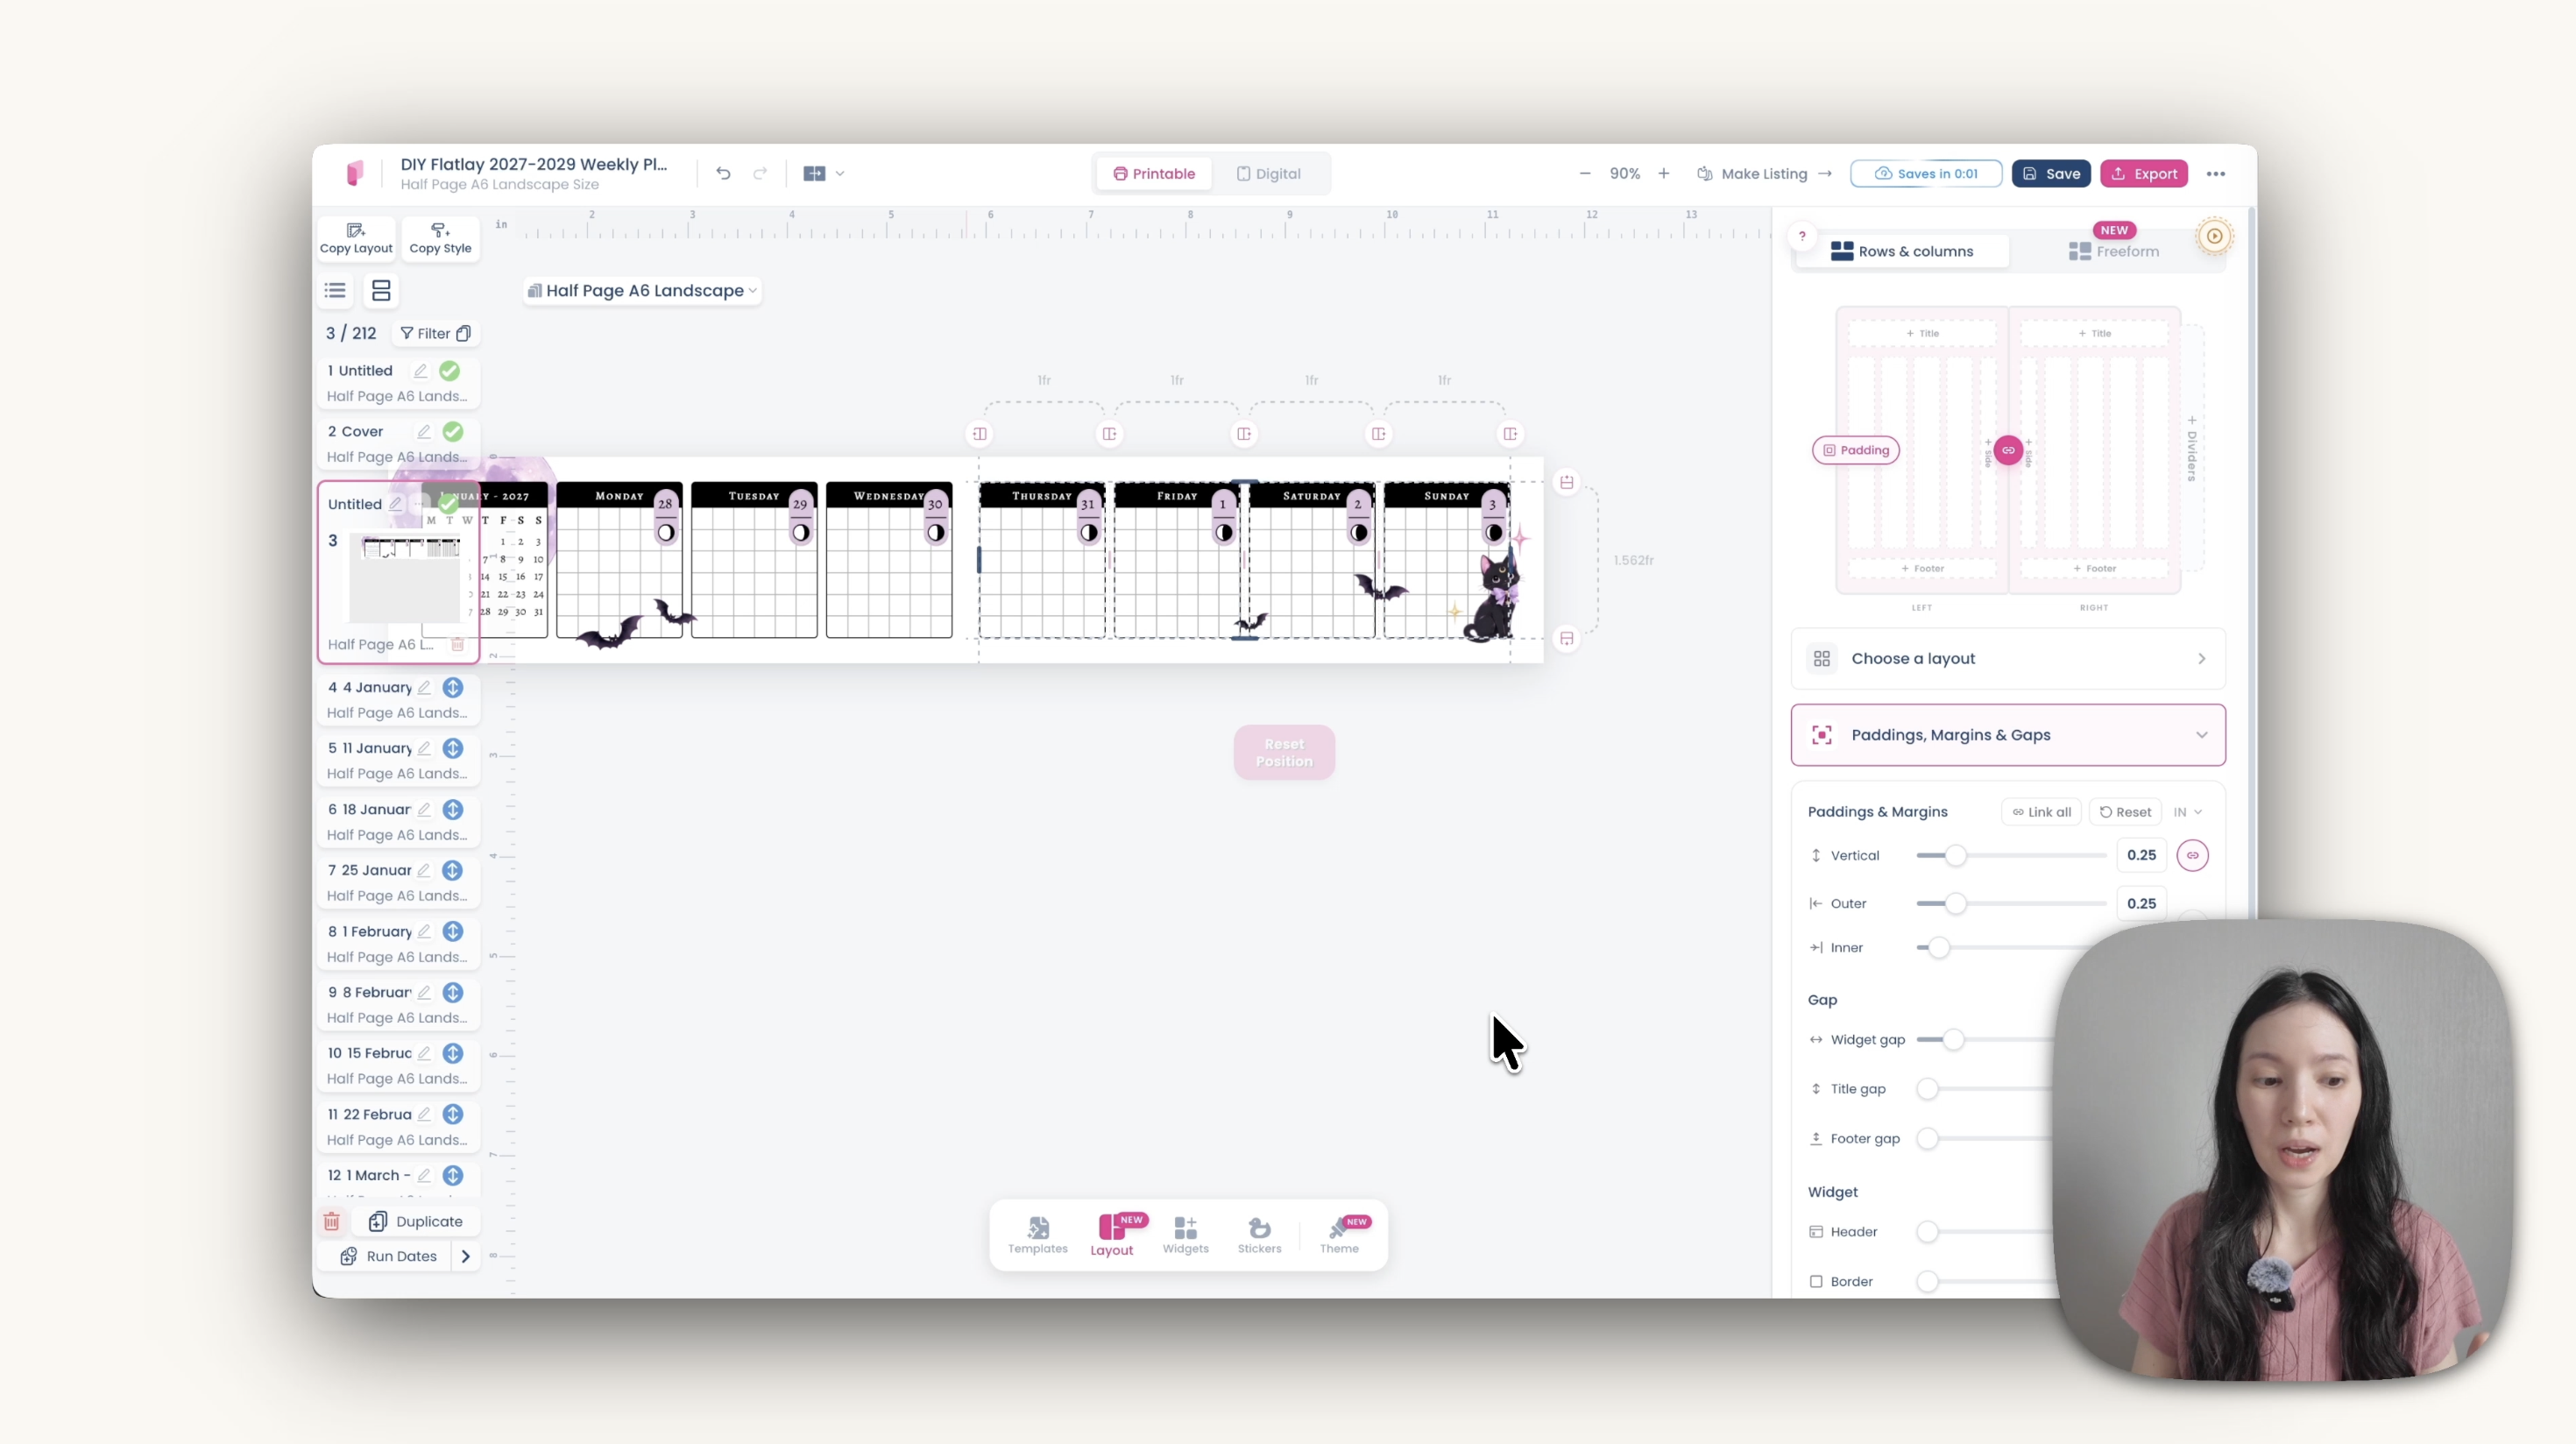
From there you can swap a notes widget for lined or blank, resize widgets, reduce the number of rows, and hide headers. Space is tight — this is A6 landscape — so check what fits.
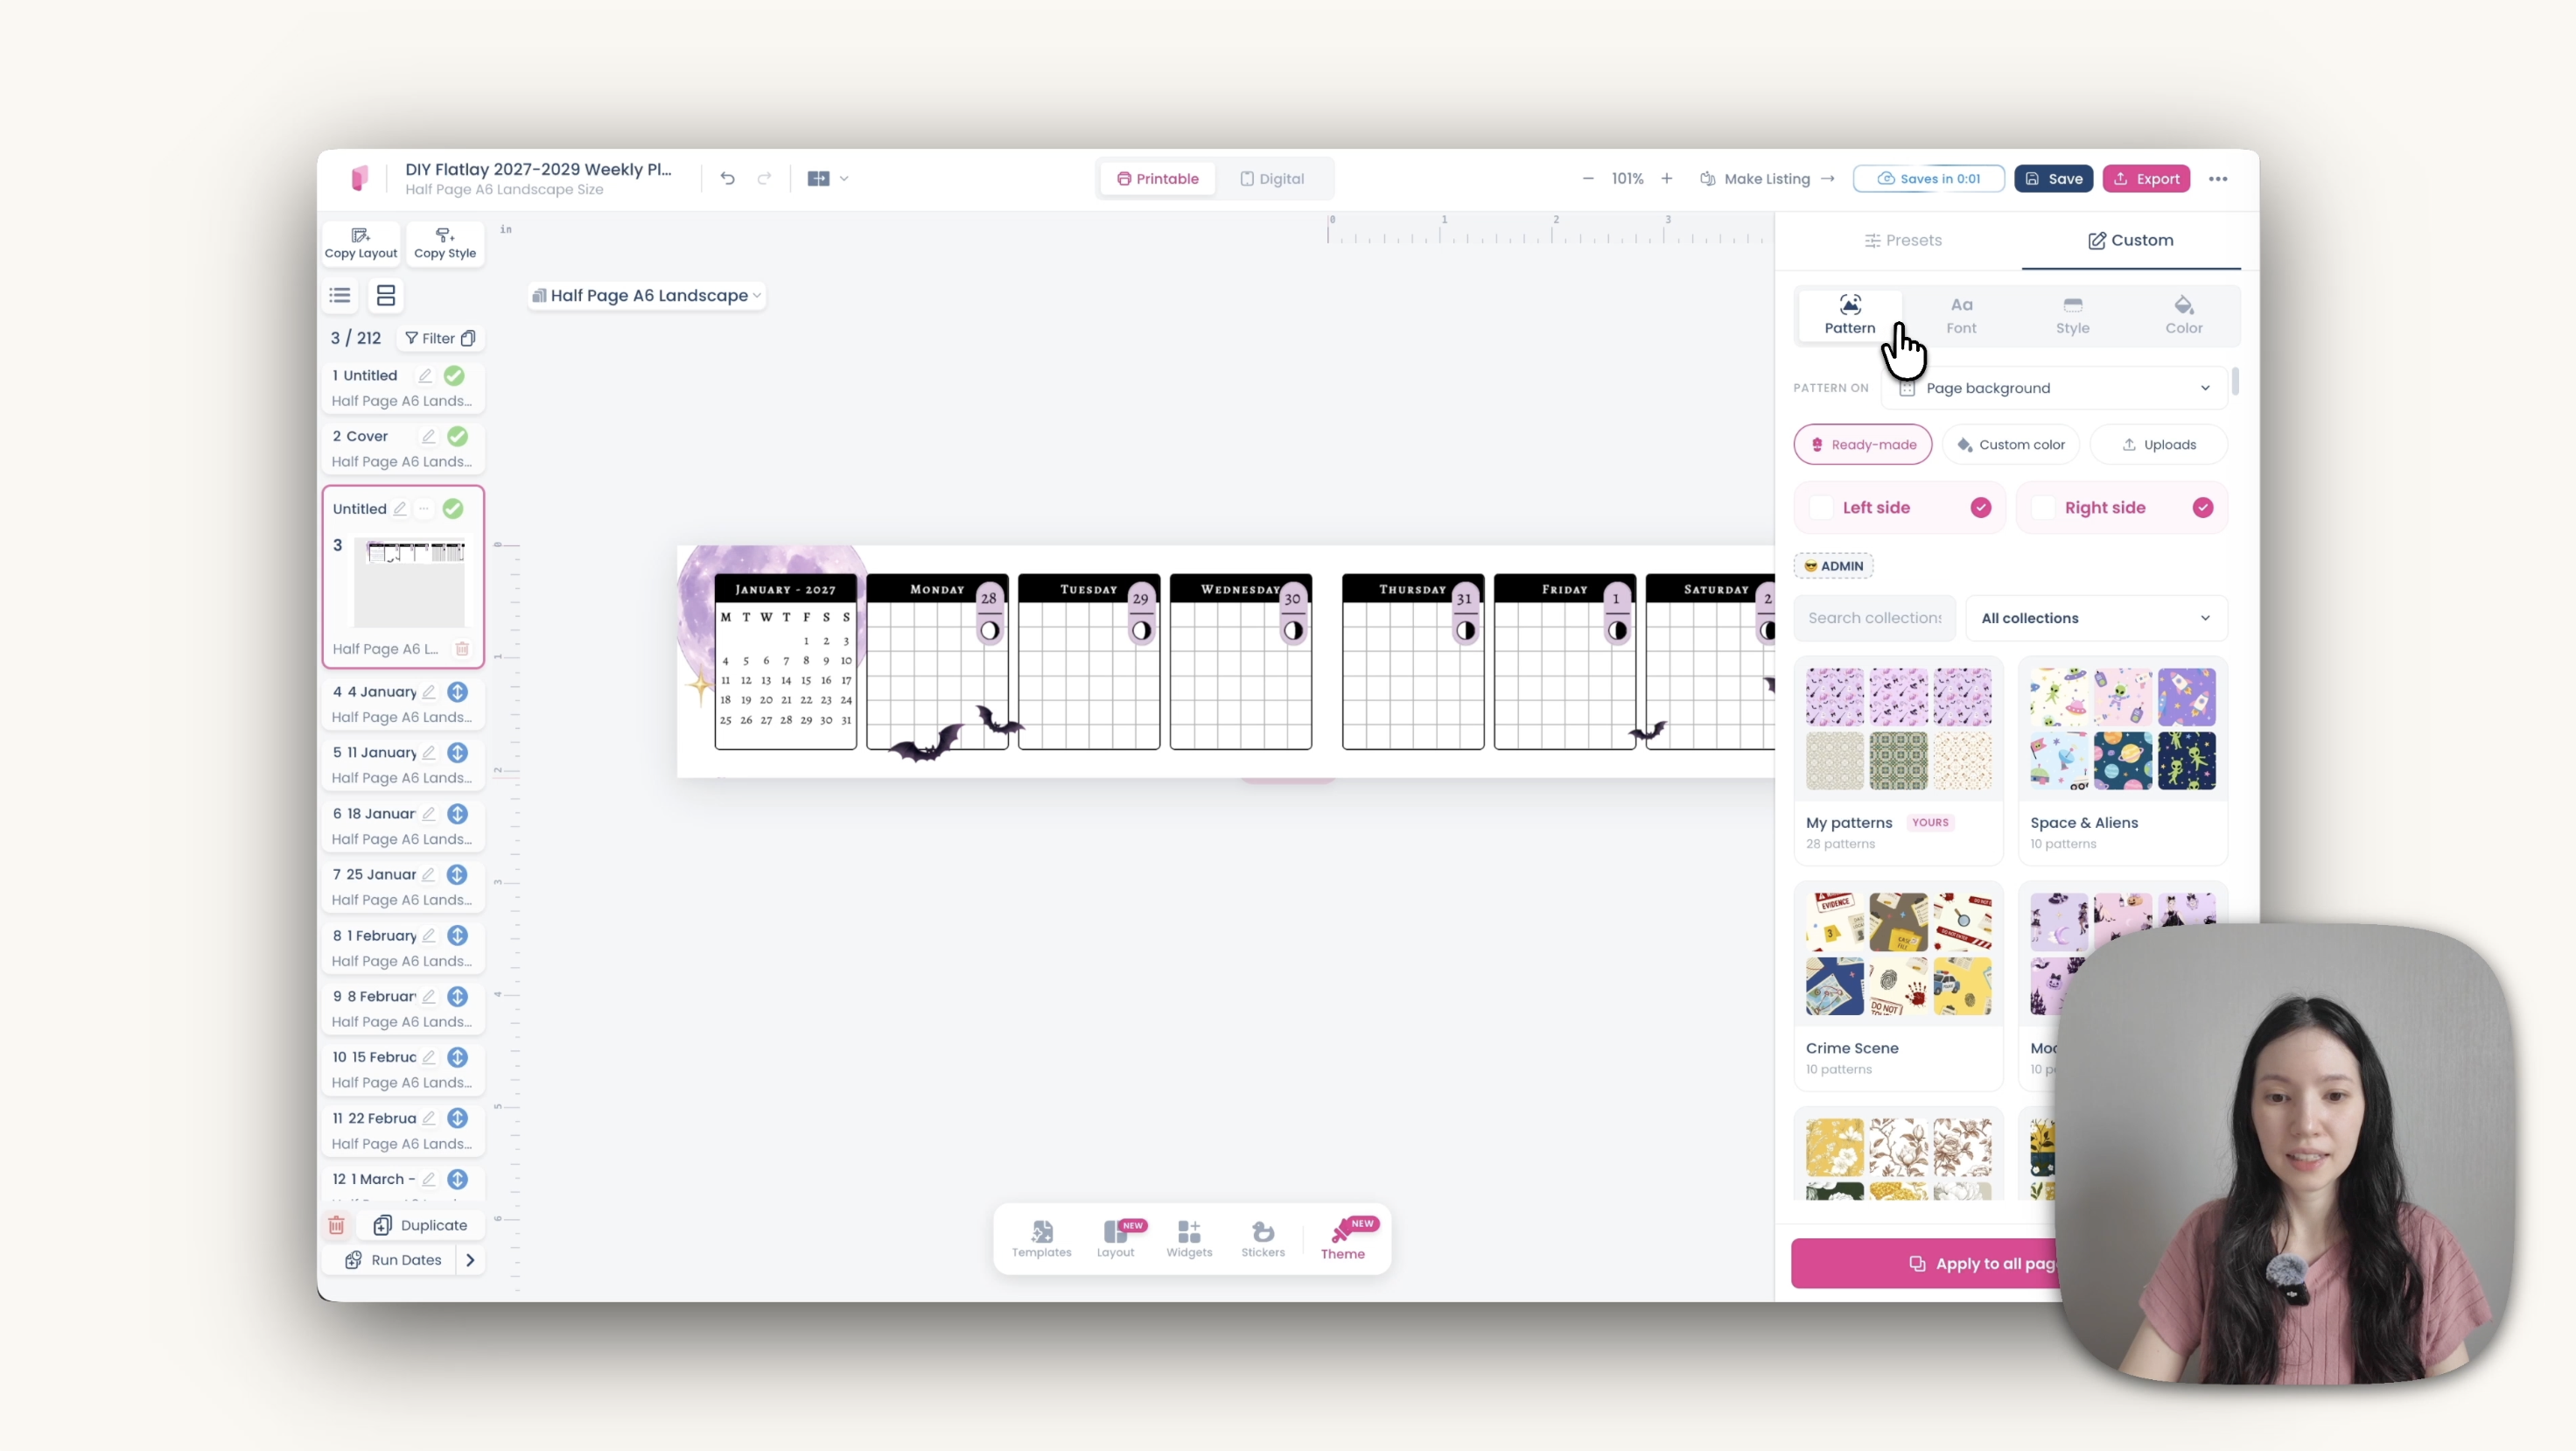
For styling, go to Theme. Preset themes are there, or use Custom to change pattern, font and colour separately. Under Font, the one you want is the header font — that's the text inside the widget headers.
Stickers work the same way. Open any collection, drag them in, and use Position → send behind widgets if you want them sitting under the content rather than on top.
Check your dates before duplicating
This matters more than anything else in the build. The planner starts January 2027, but the first page shows Monday 28 December 2026, because that's the Monday of that week.
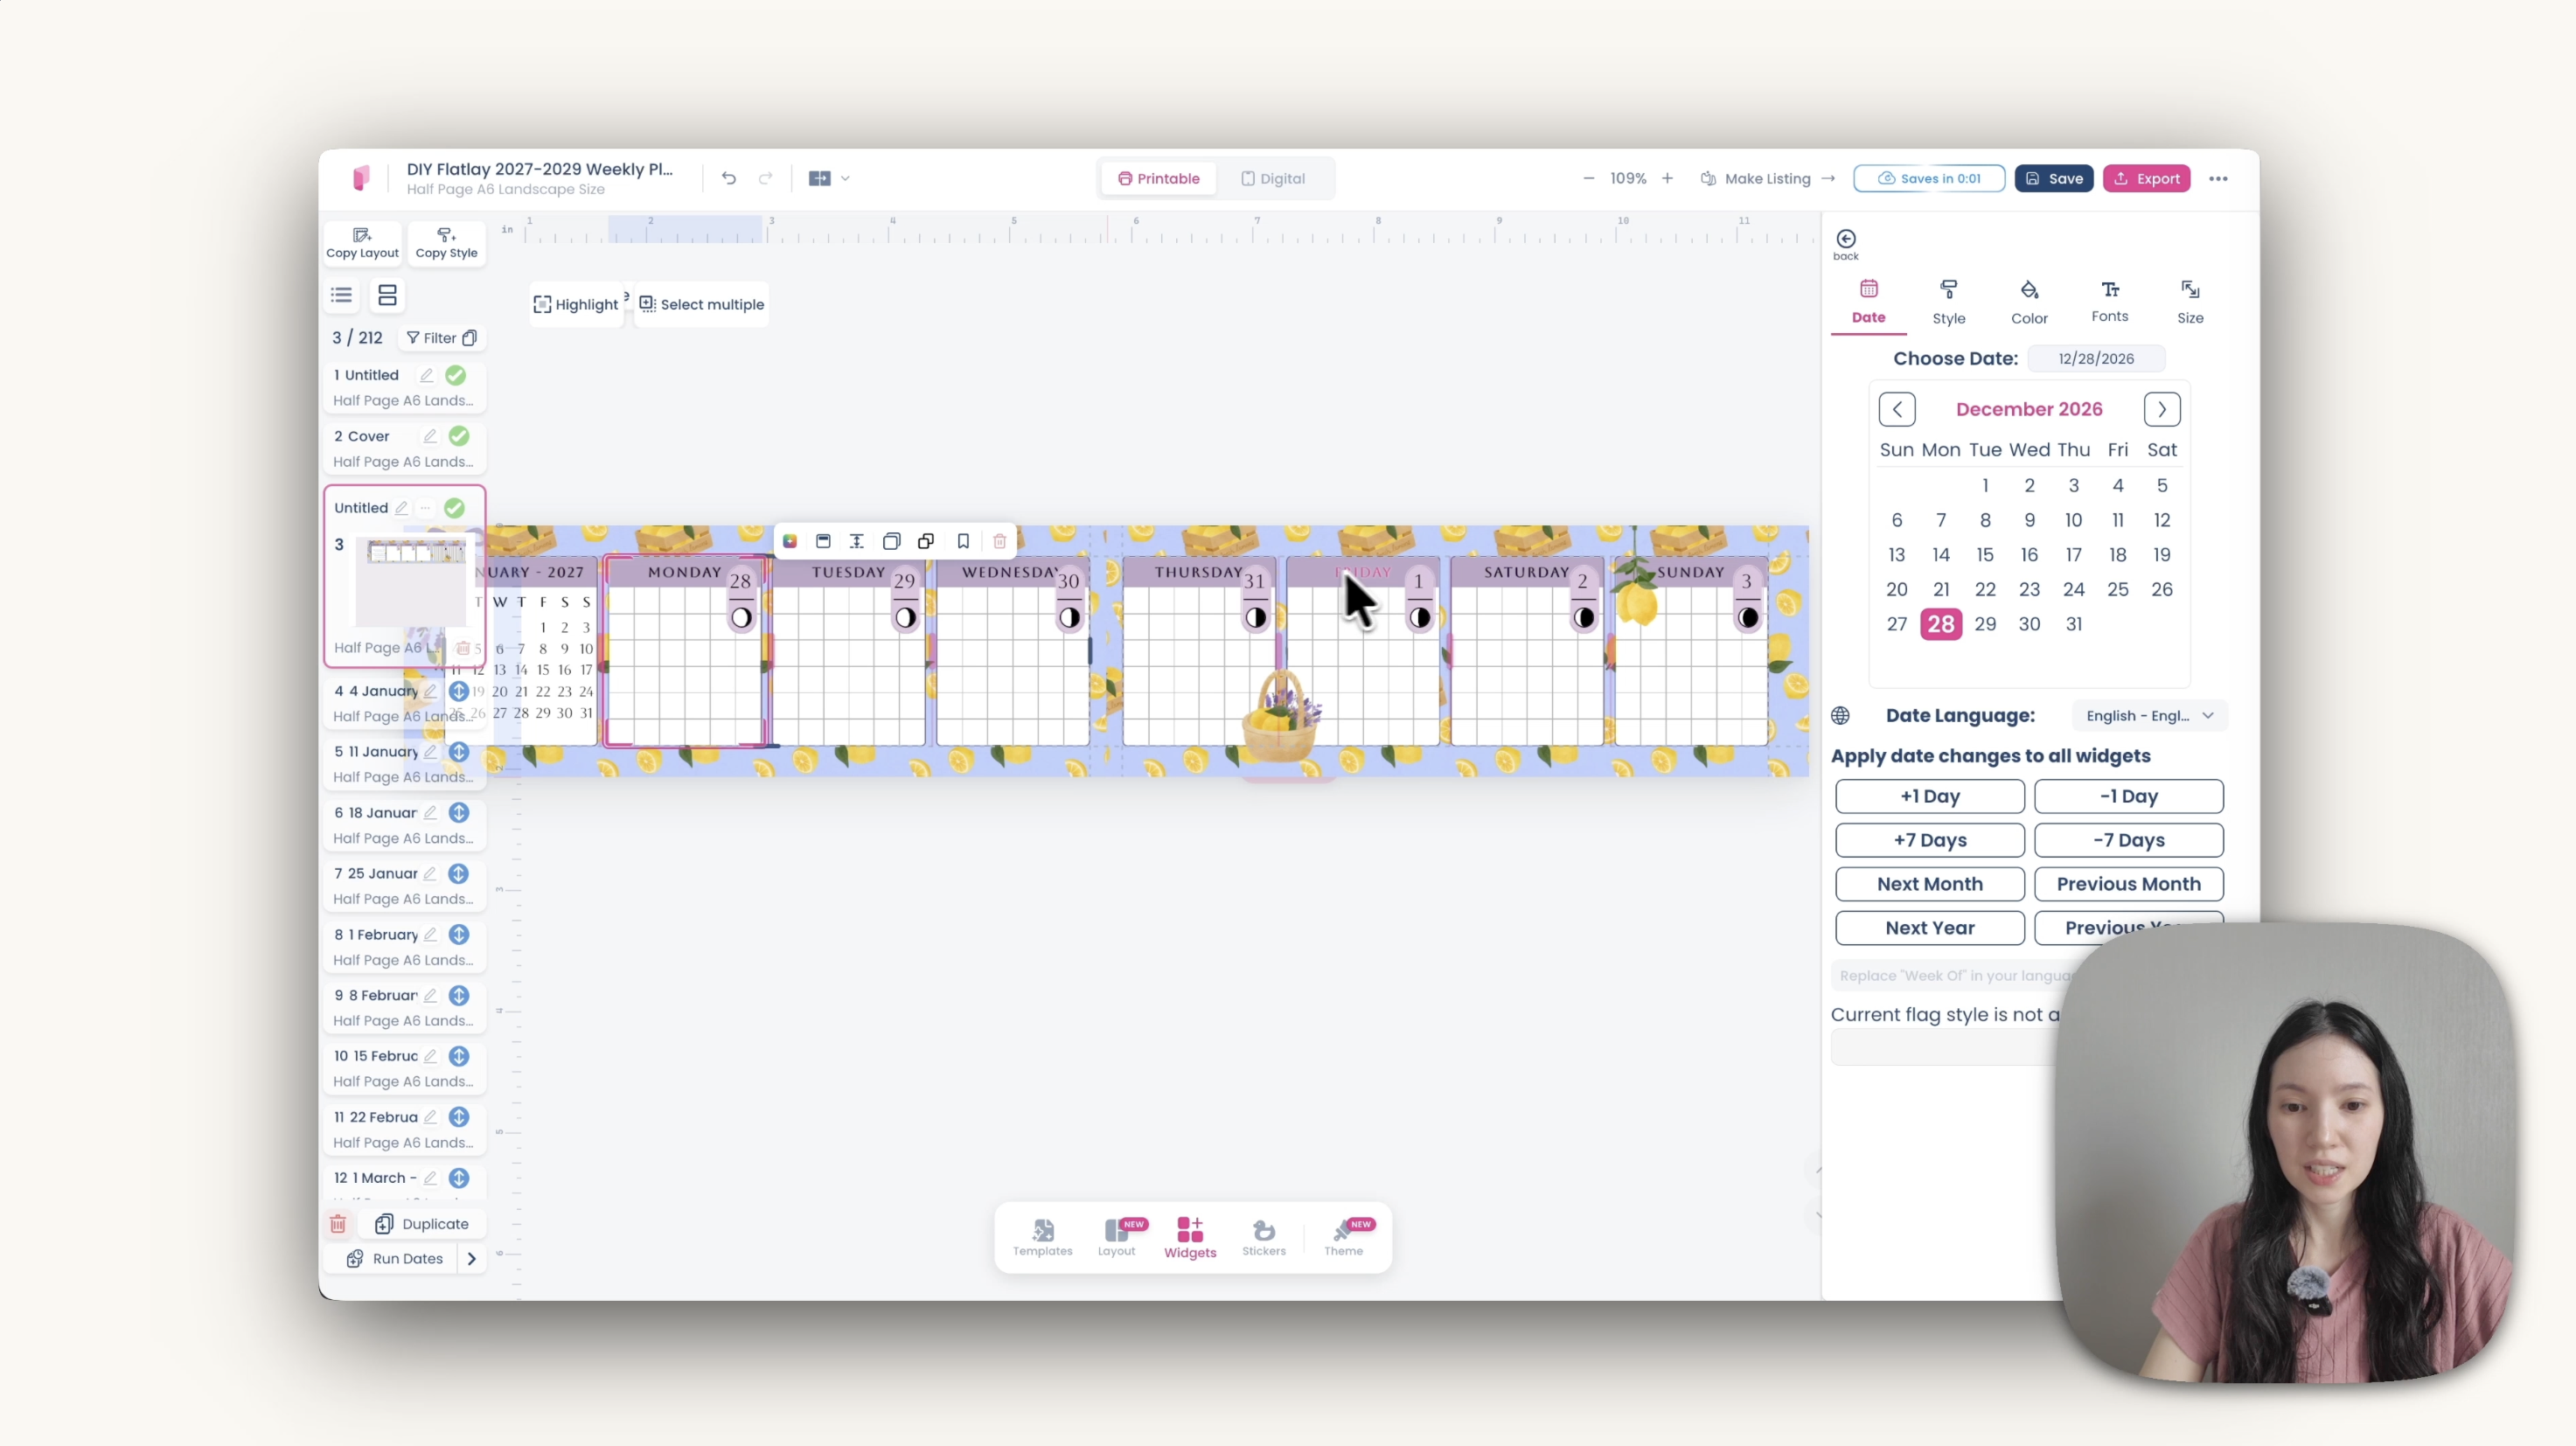
Check the calendar, the date flags, everything on page three. When you duplicate, every following page inherits from it — so a wrong date on page one means a wrong date on all 210.
When it's correct: delete pages four to the end, then click the arrow on page three and set the duplicate count to 210, which covers roughly three years of weekly pages. Click Start duplicate run dates and give it a minute or two.
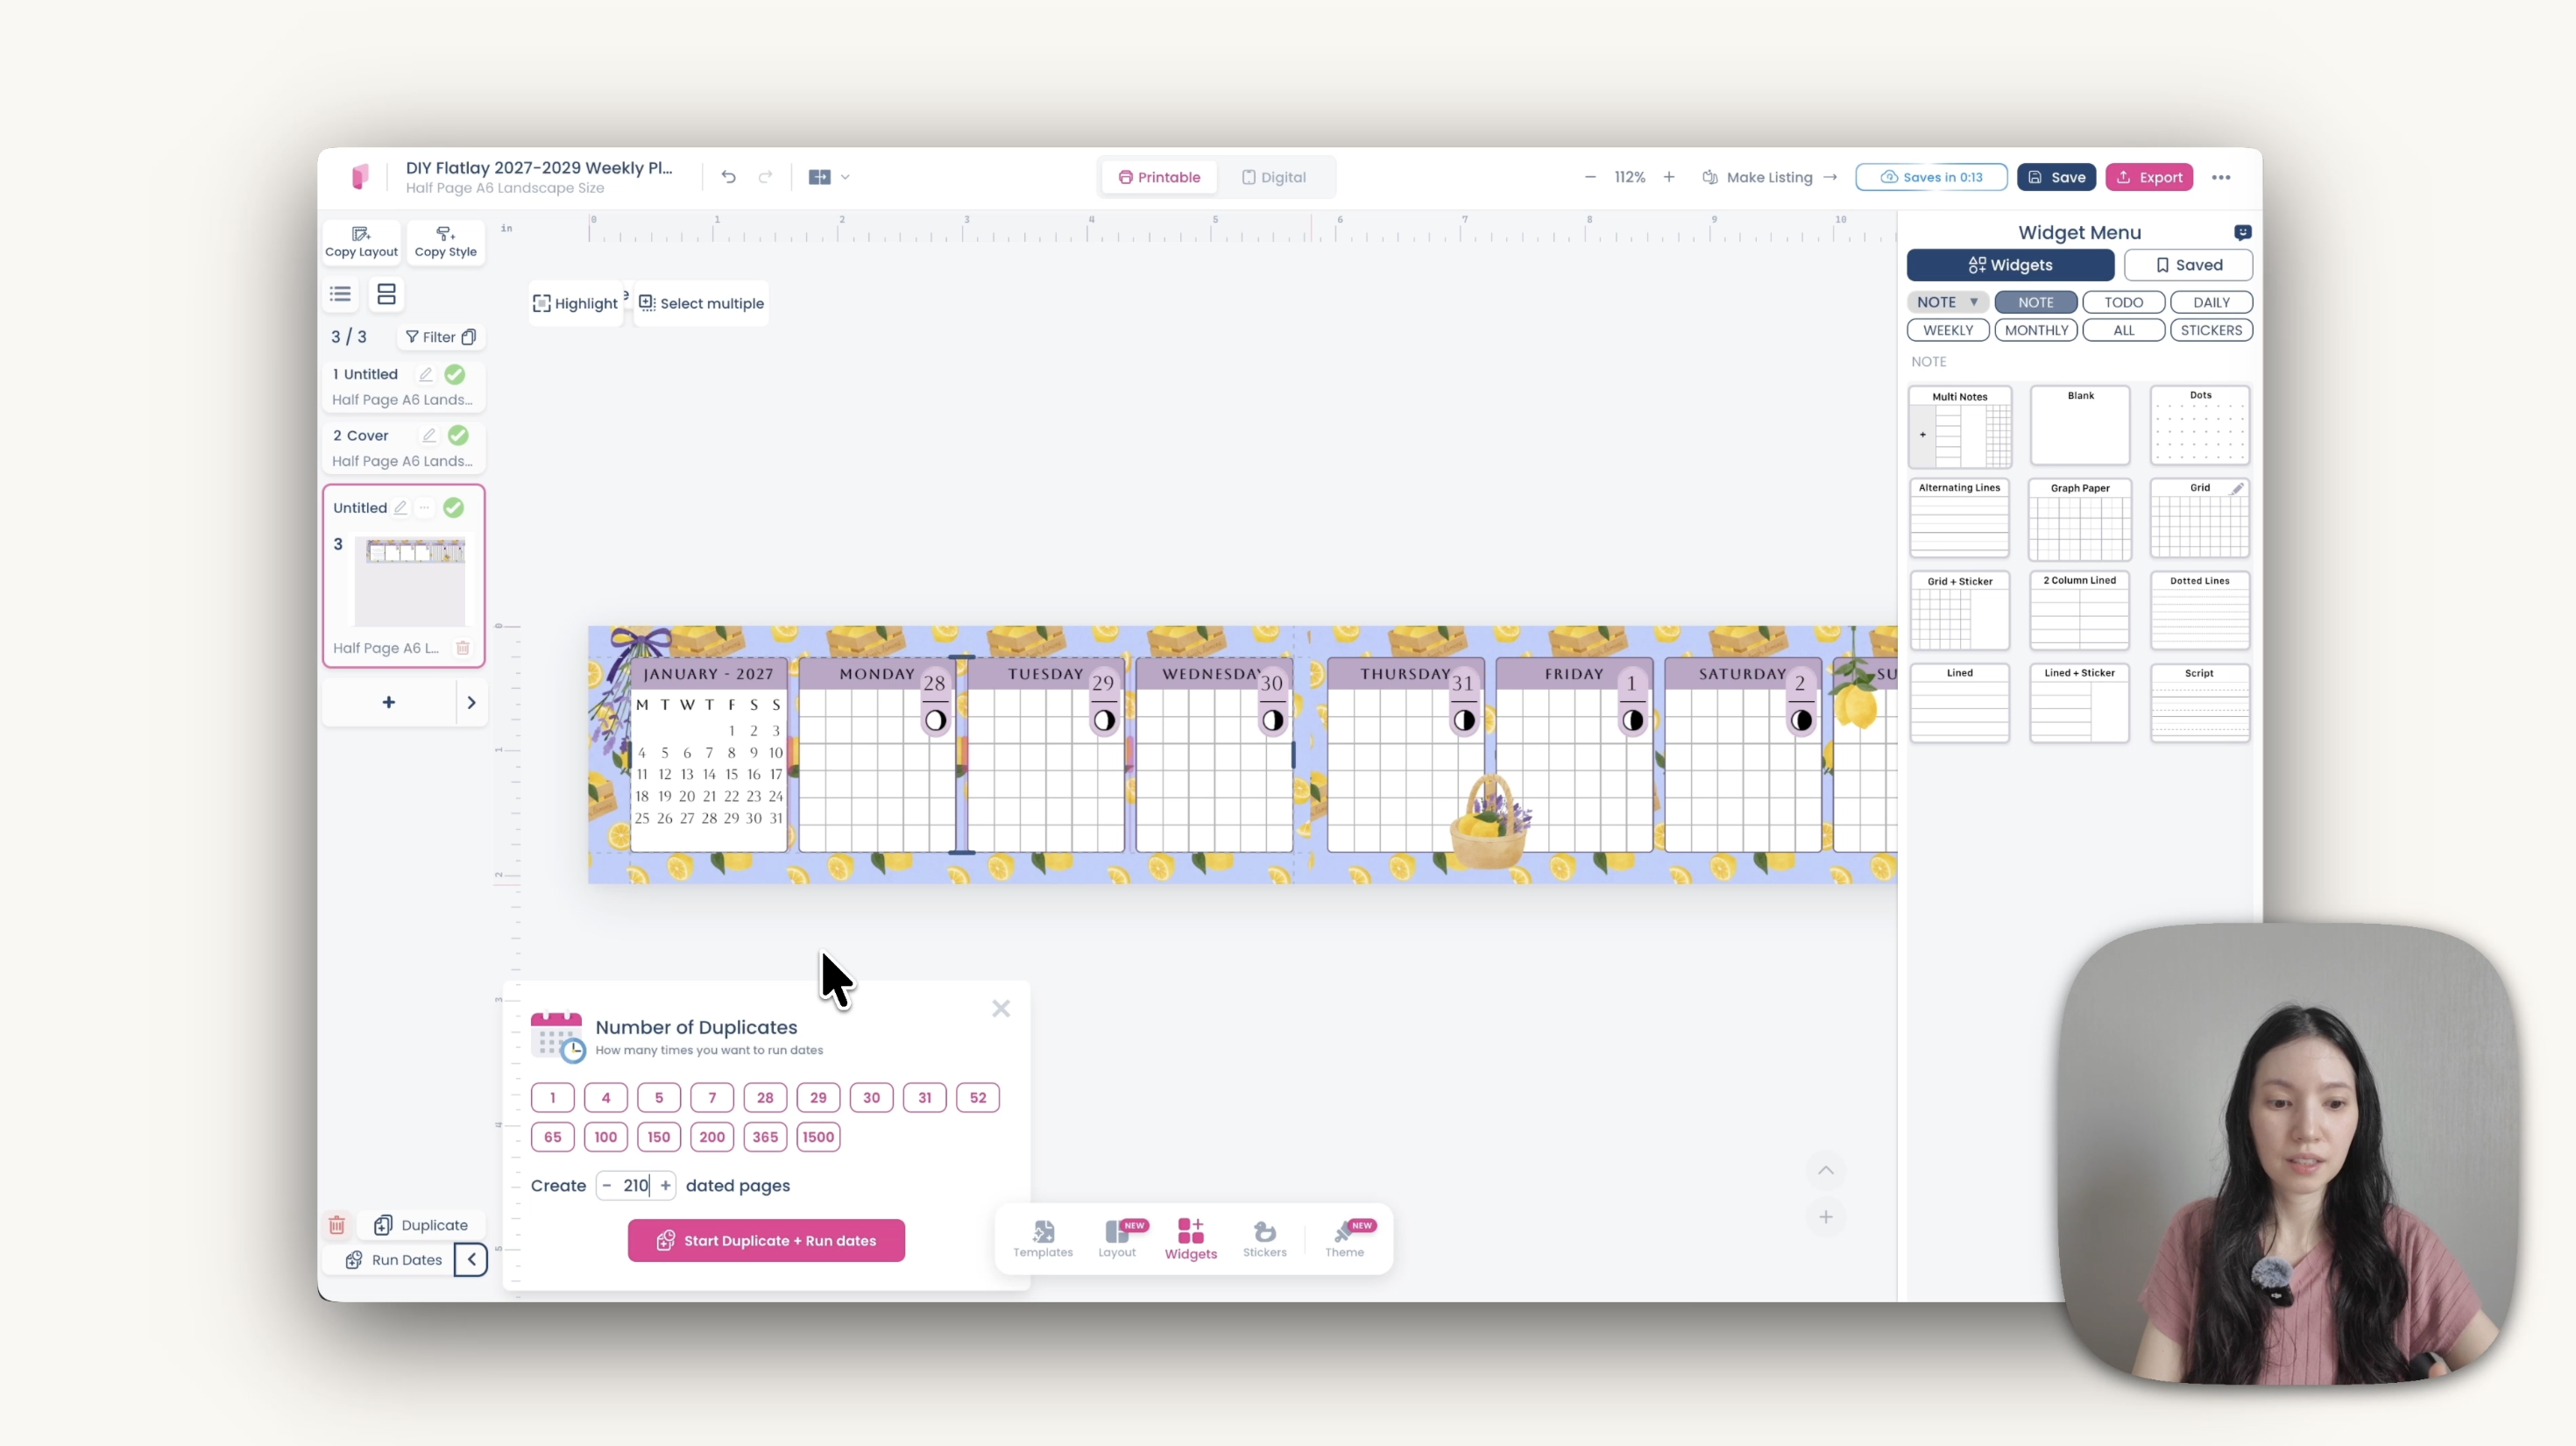
Translating the planner
To make a version in another language, click translate, pick the language, and let it load. It lists every string it will change — worth reading through, since you can correct anything that's come out wrong before applying it.
Export and print the inserts
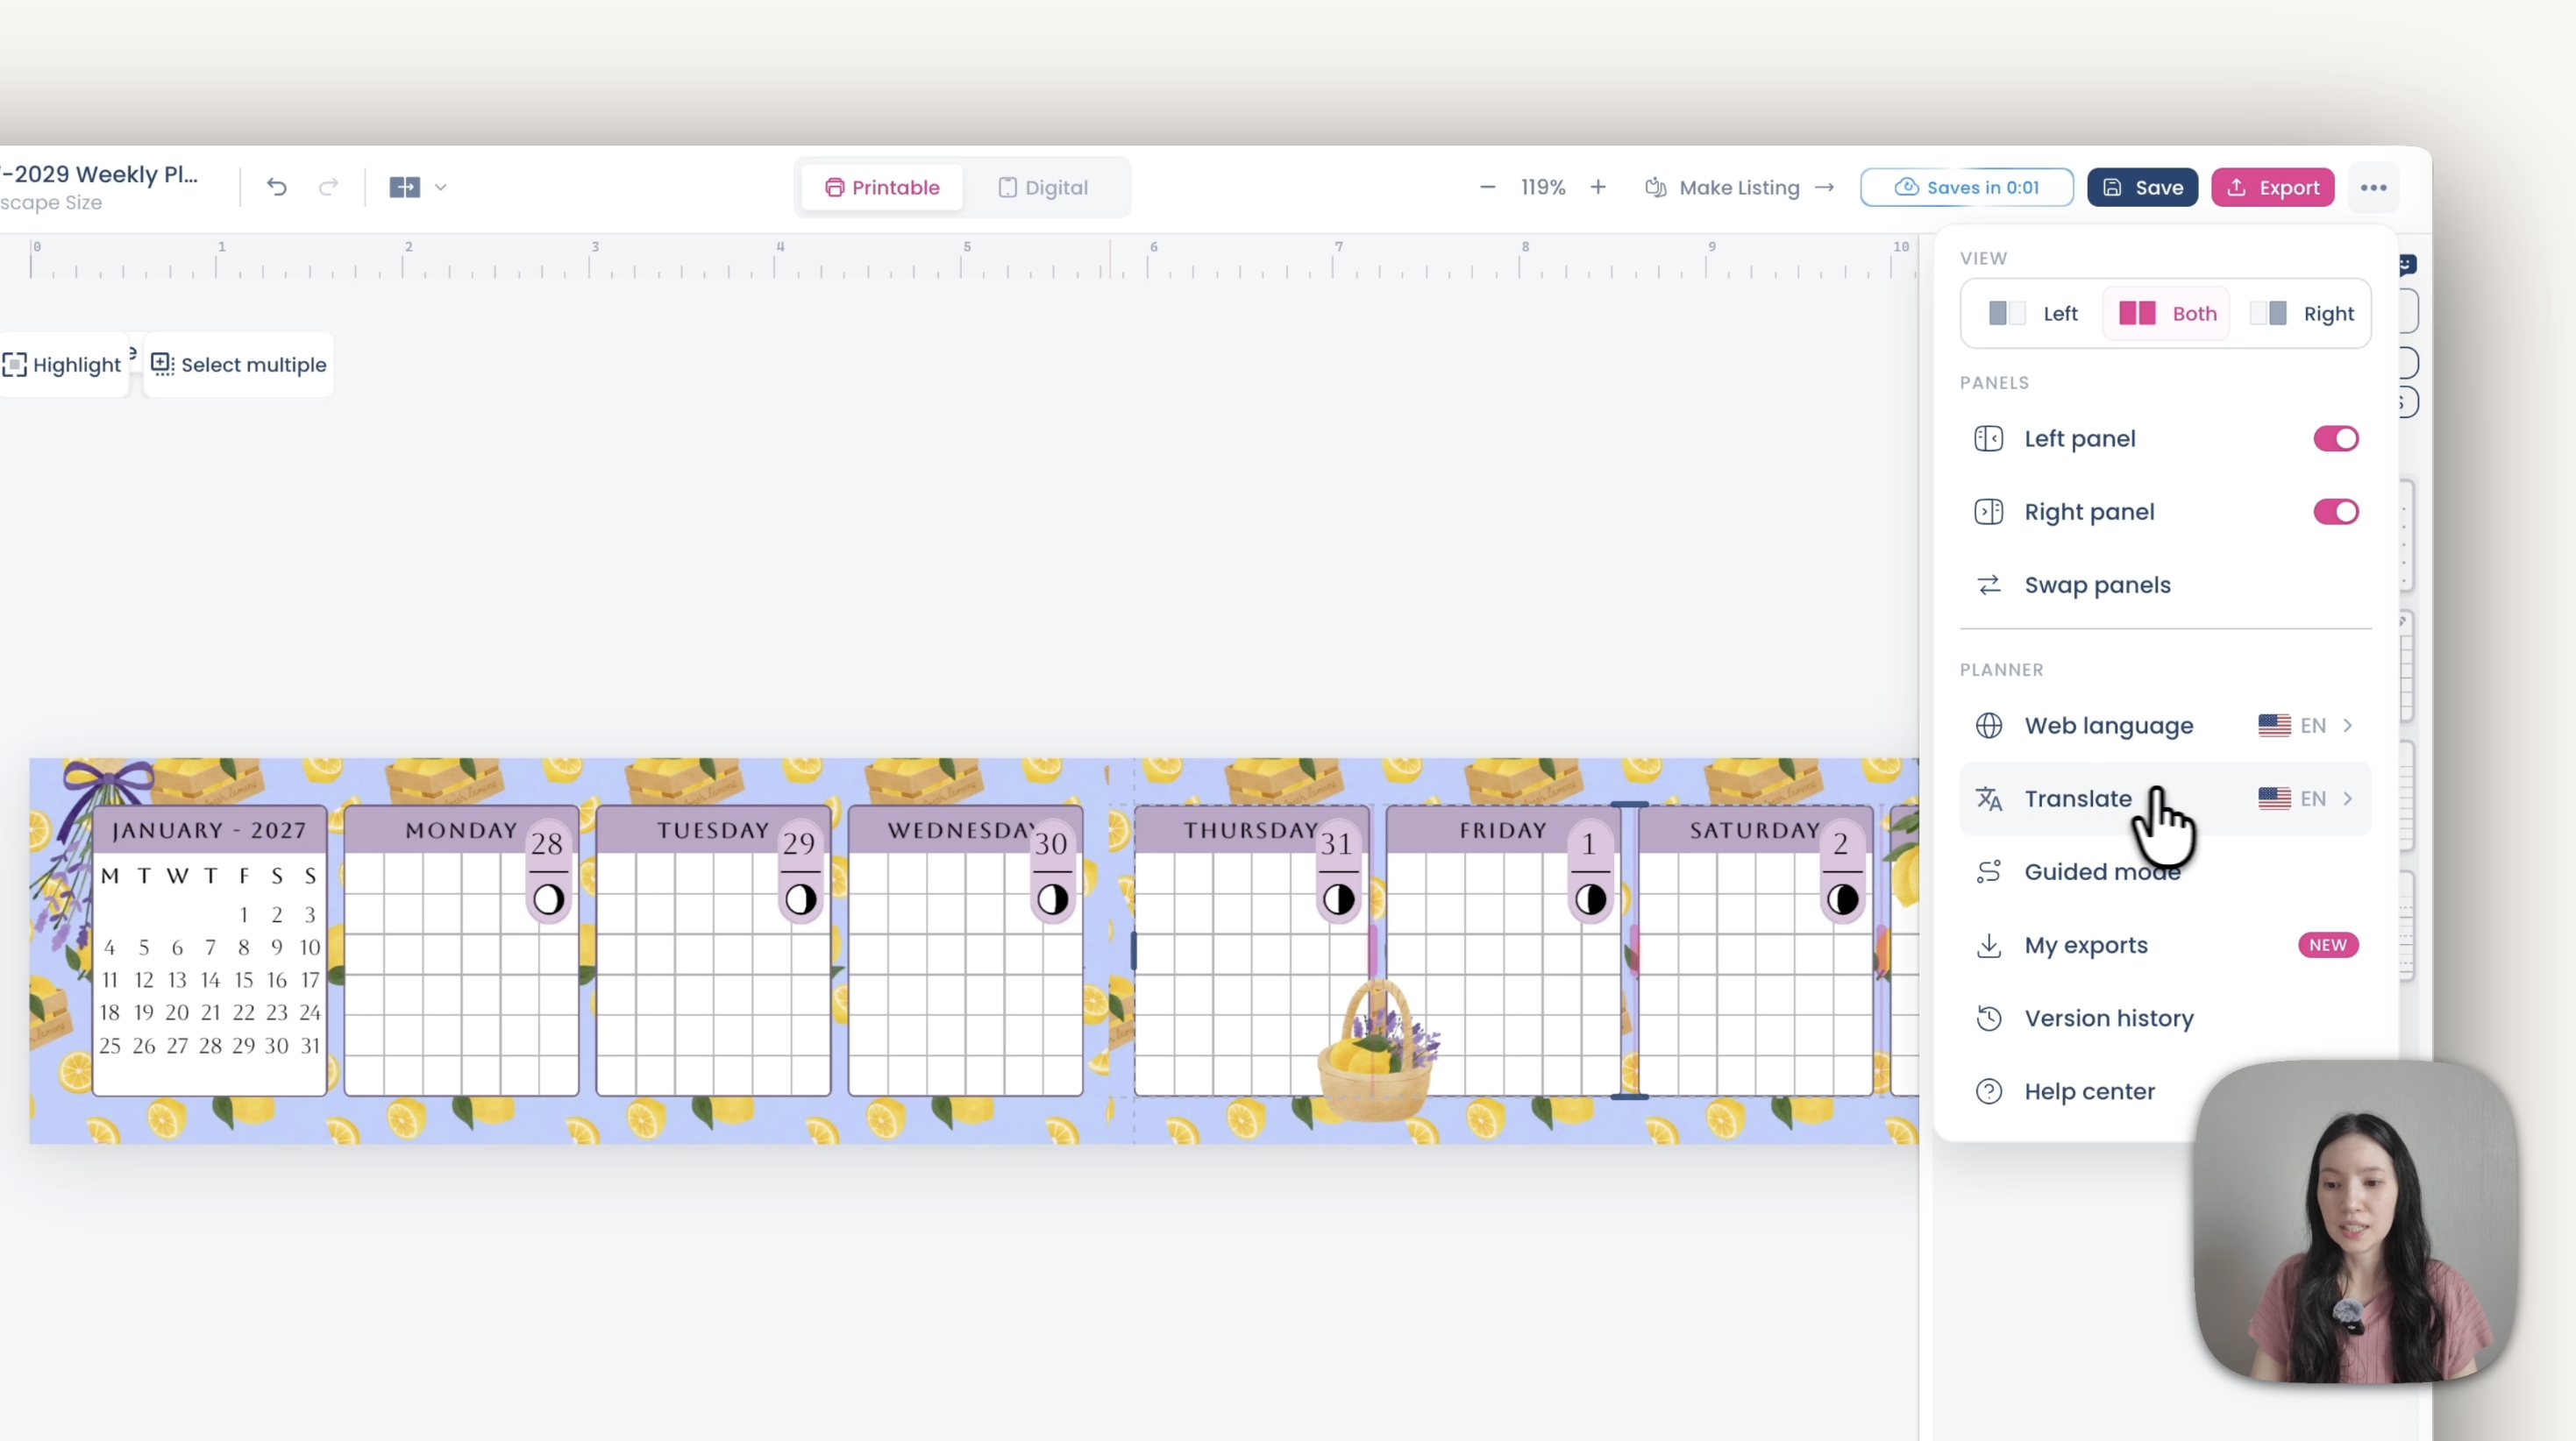
Go to Export → All pages → Booklet → A4 → Booklet signature, and set the signature to 1.
That 1 matters: for a lay-flat you fold every sheet individually, so each sheet is its own signature. If you were sewing four sheets together into one gathering, you'd set it to 4 instead.
If it asks you to sync first, click Fast Sync, then Export PDF.
The exported pages will look out of order and the numbers won't line up. That's correct — booklet imposition rearranges them so they fall into the right order once folded.
Open the PDF in Adobe Acrobat Reader and set:
Shrink oversized page — not 100% scale
A4 paper (US Letter is fine too, with the same shrink setting)
Print on both sides, flip on short edge, orientation Auto
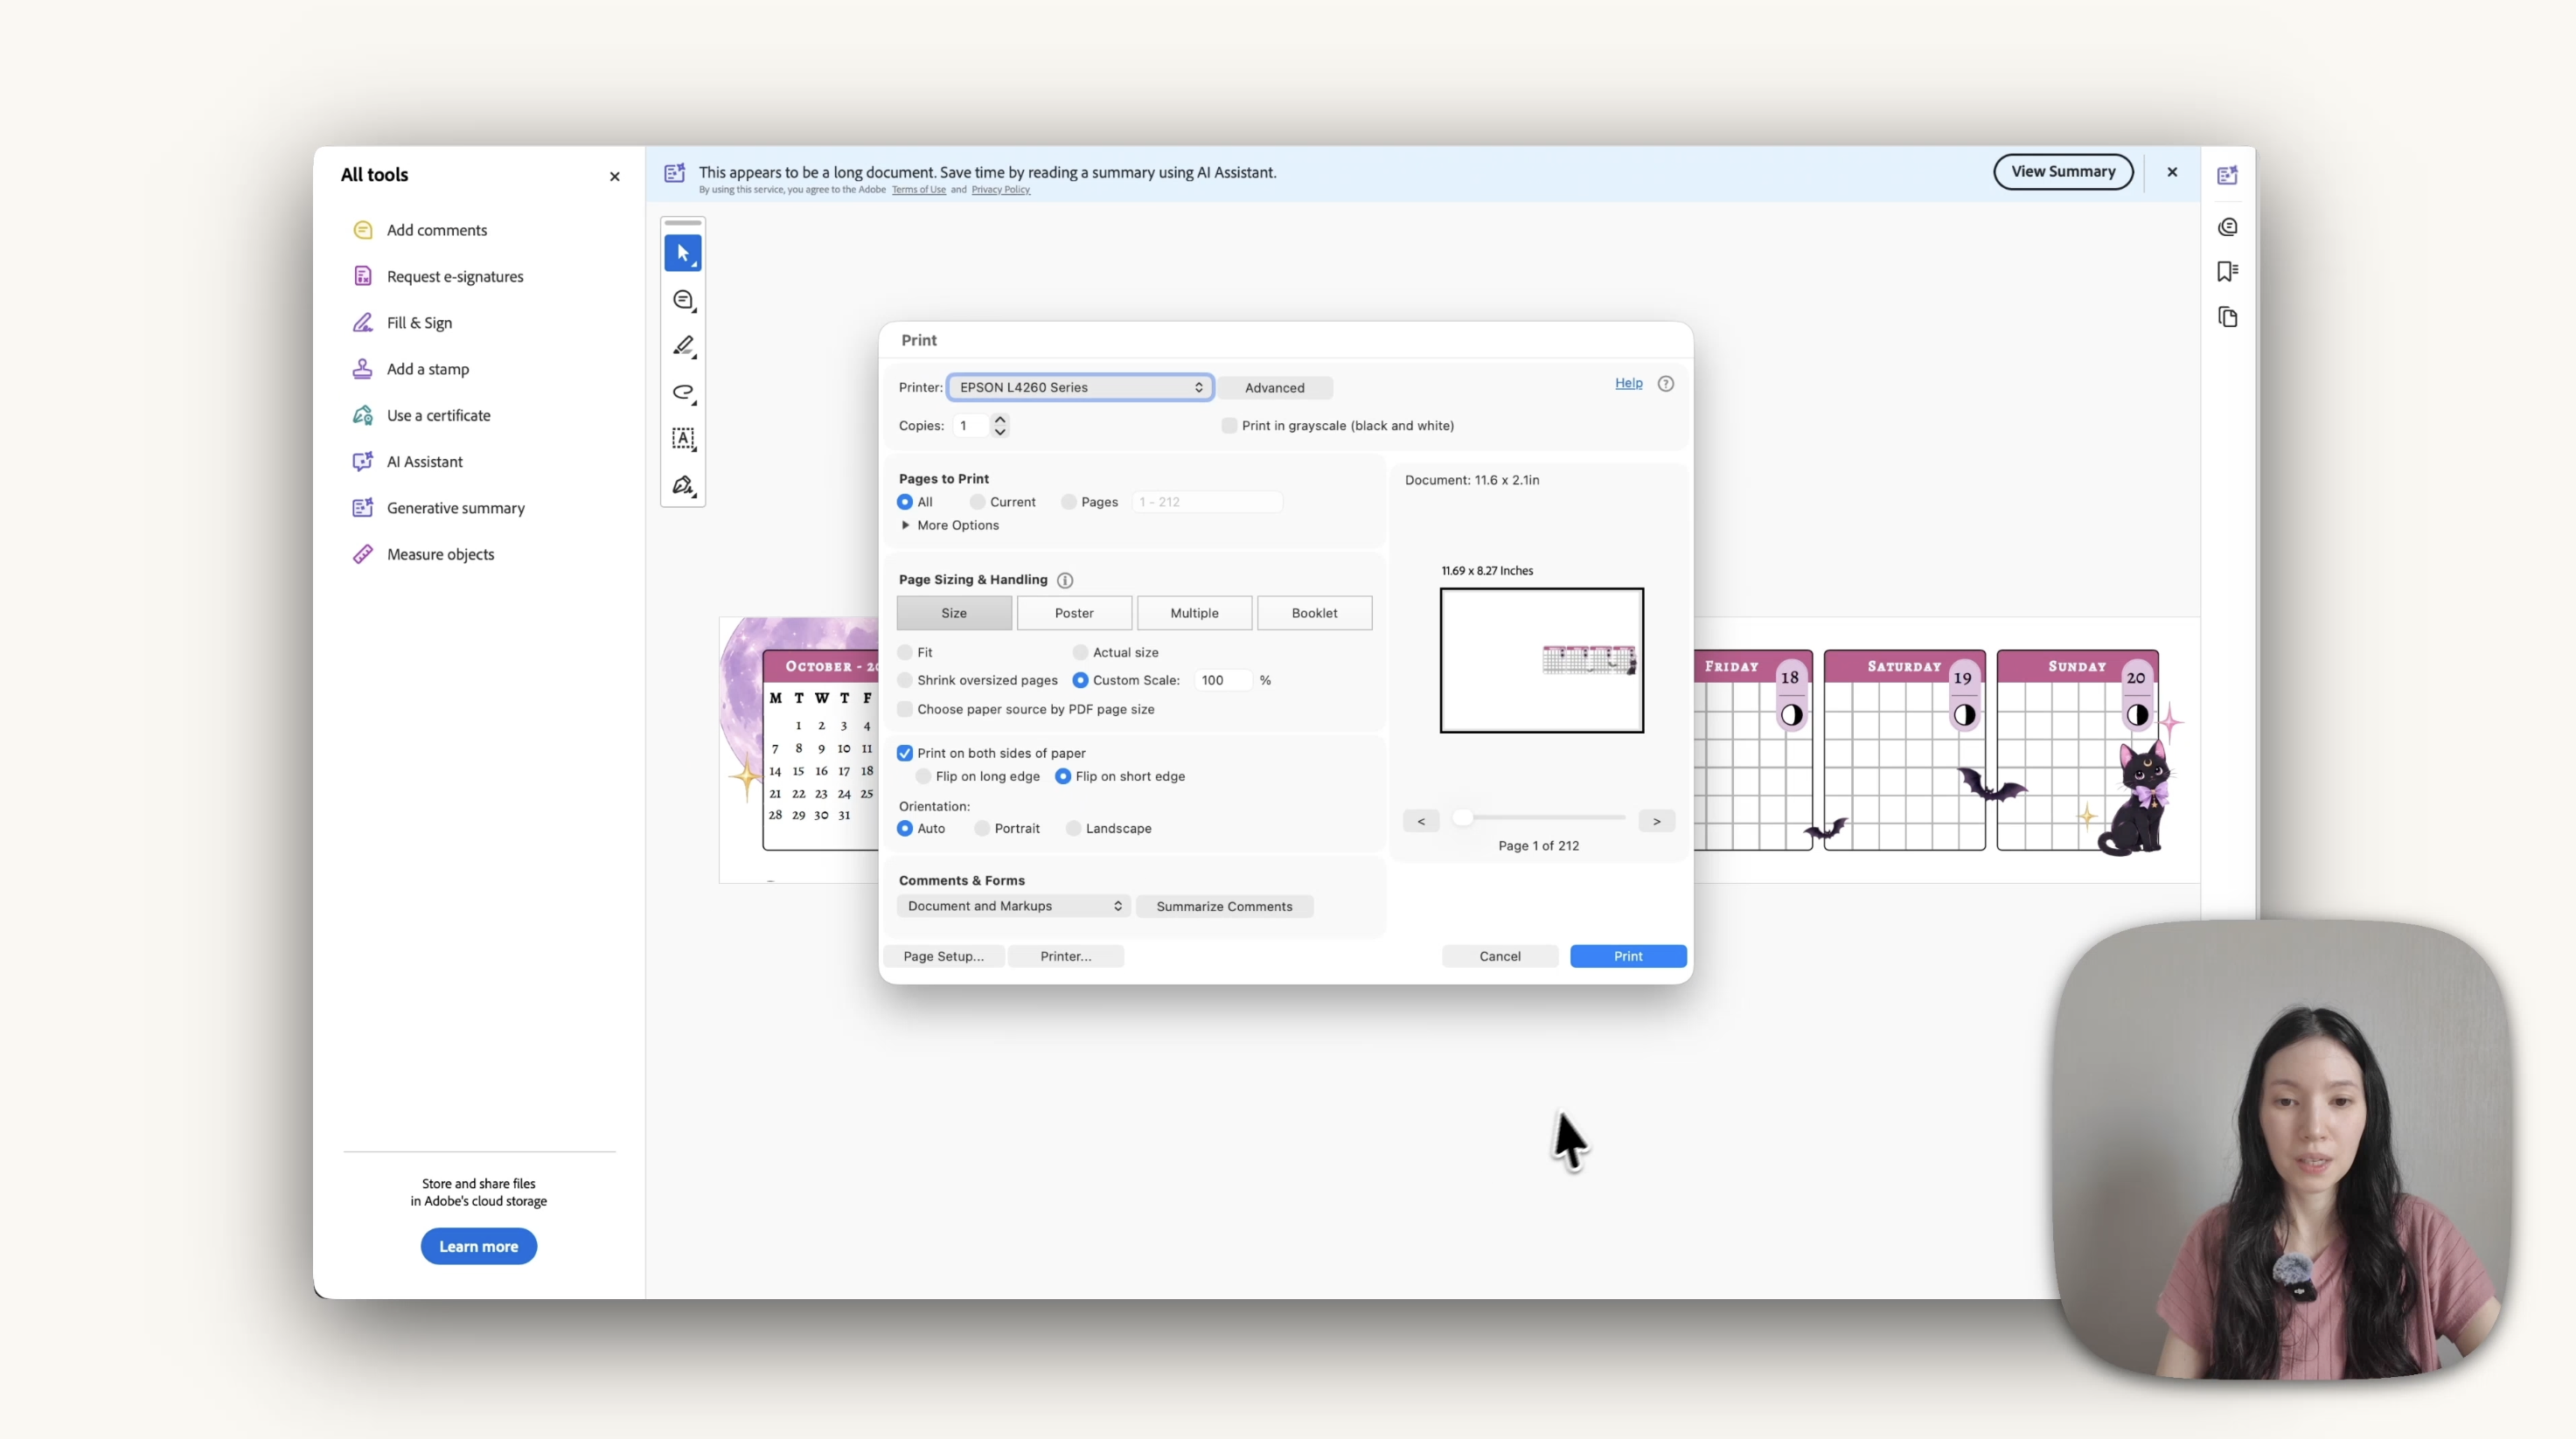
Use a duplex printer if you possibly can. On a manual printer you print the odd pages, reinsert the stack and print the evens — and if the printer pulls two sheets at once even once, the whole planner comes out in the wrong order and the inserts are unusable. With 50-plus dated pages that have to stay in sequence, it's worth the printer.
Print the covers
Two sheets, each printed on both sides. The backs print slightly larger so no white edges show once you trim.
Sheet 1 — front | Sheet 1 — back |
Sheet 2 — front | Sheet 2 — back |
You should end up with two sheets: the front cover and the back cover.
What You'll Need
 |  |  |
 |  |  |
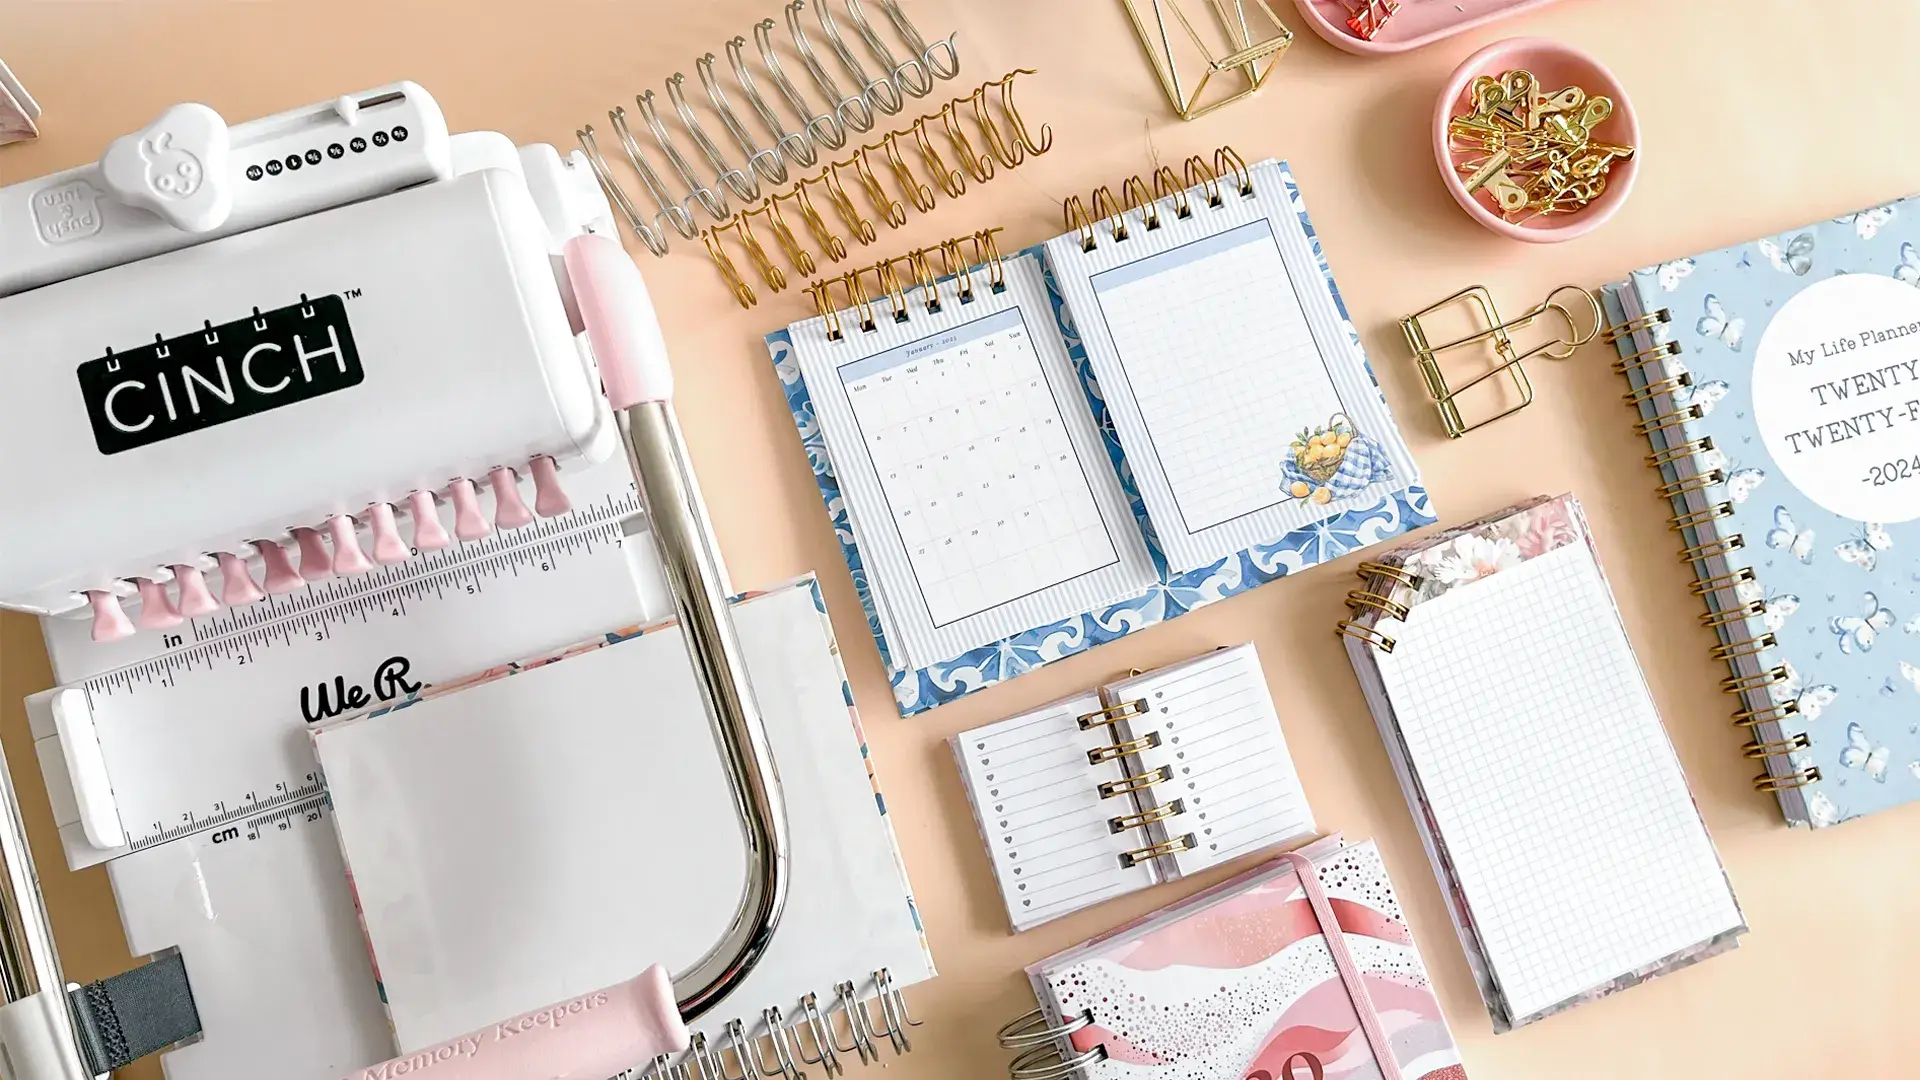
You'll also need cloth tape for the spine — a sturdy fabric tape, usually with a slightly shiny finish — and a glue stick for attaching the covers.
Instructions
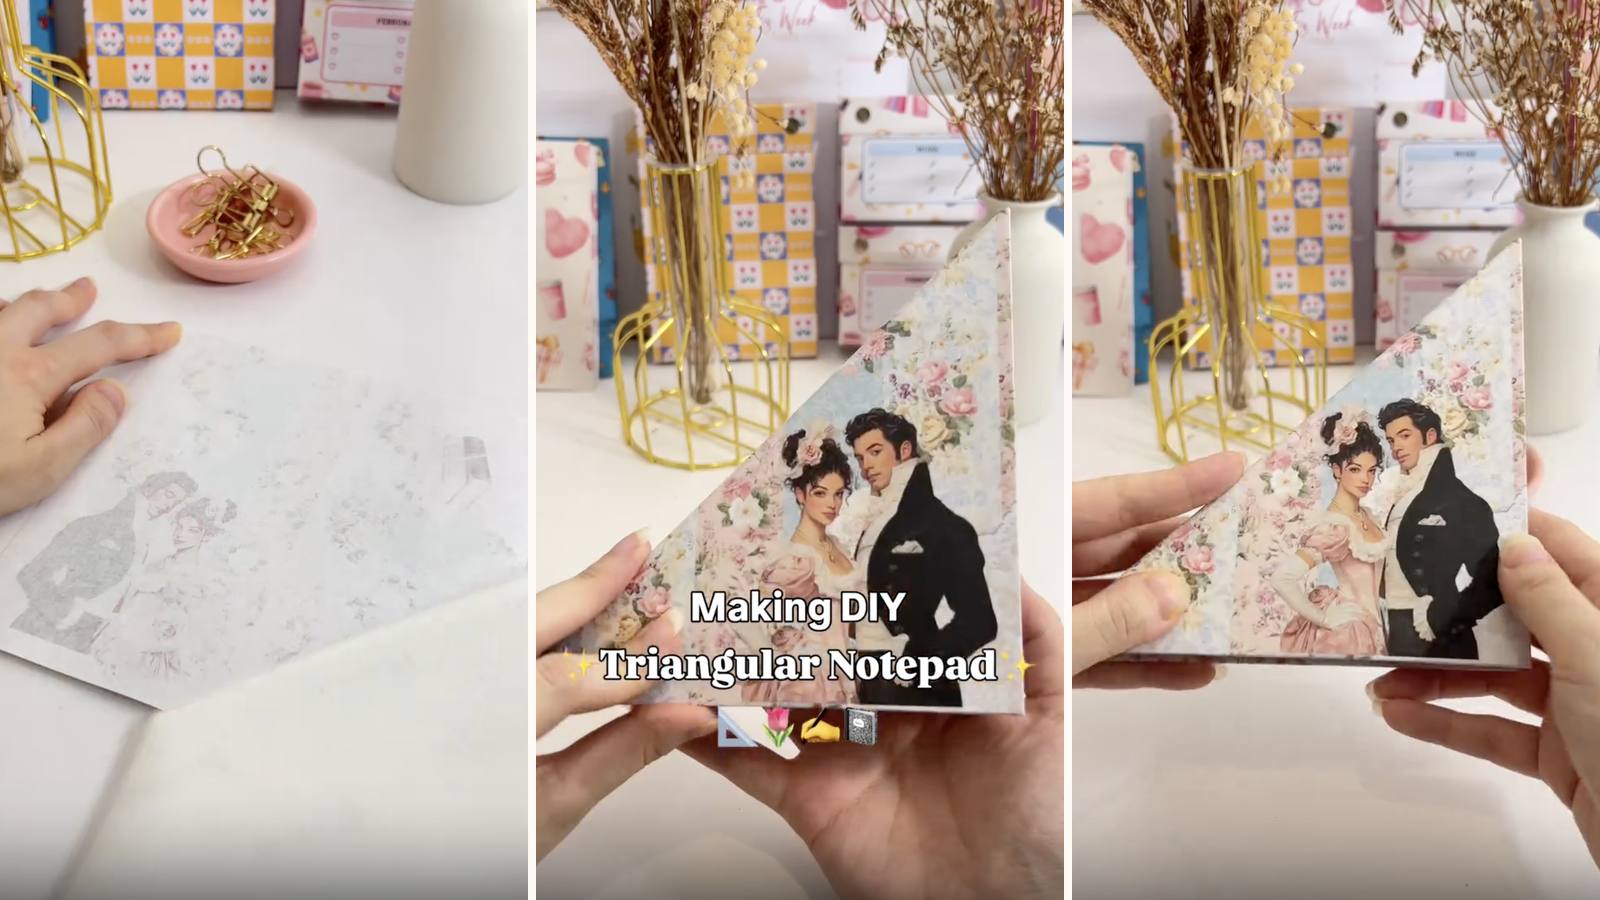
1. Trim the printed inserts. Use the guillotine to cut the stack down to size. The first page should be the cover page. 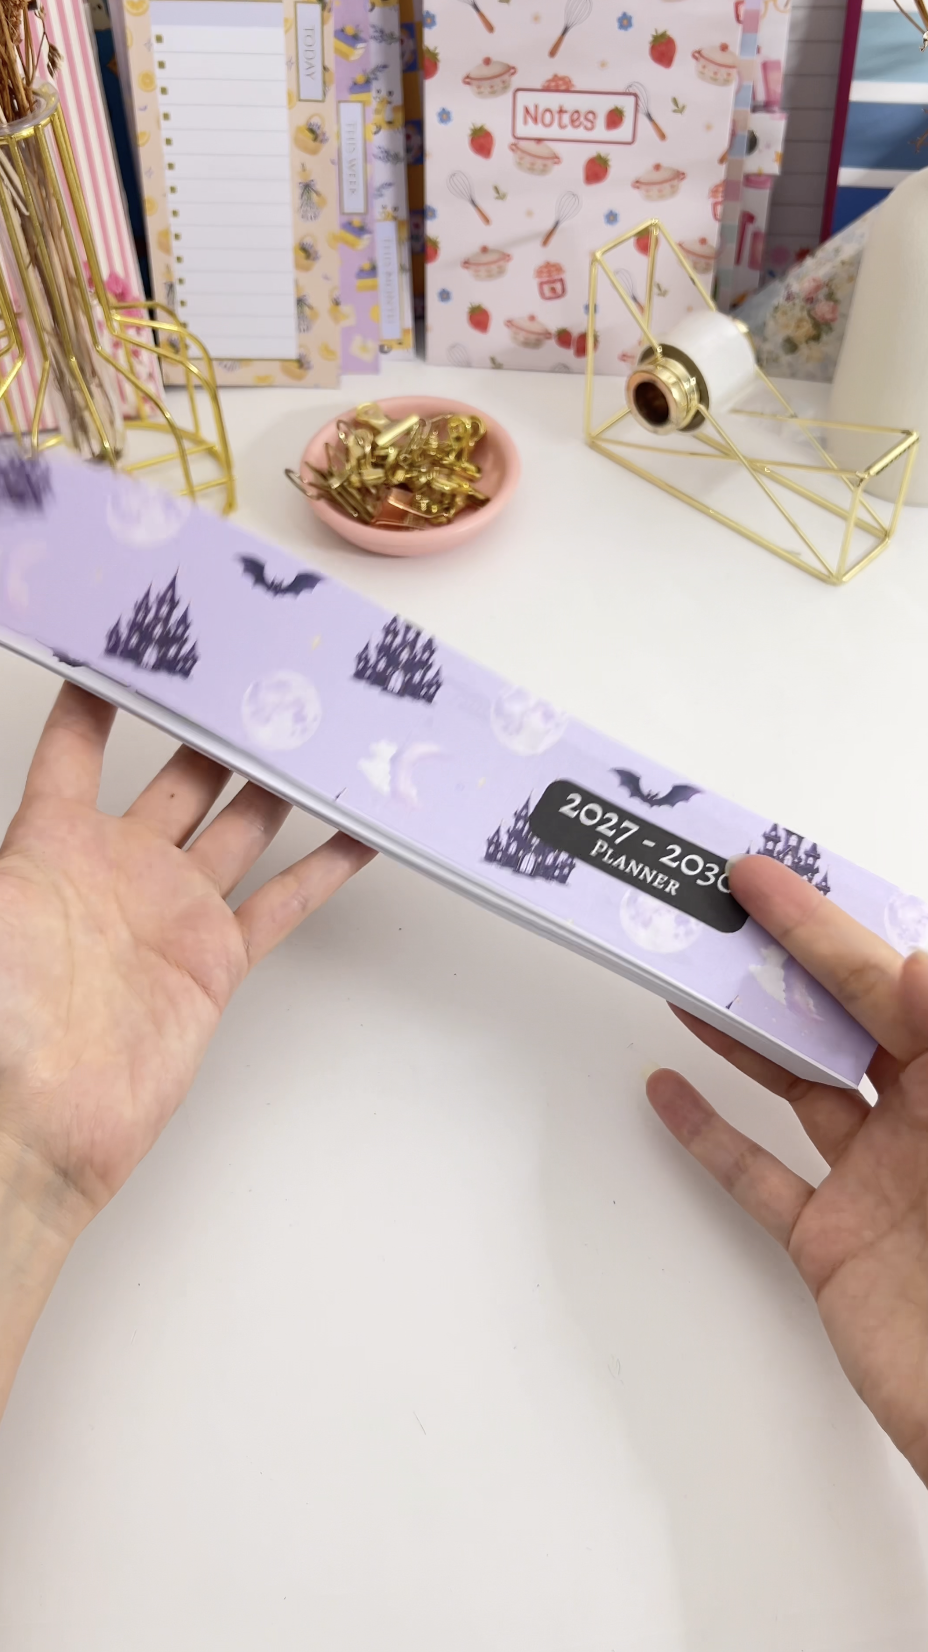 | 2. Fold every sheet individually. Fold the first, then the next, all in the same direction. Every sheet folds separately — that's what makes the spine flexible. 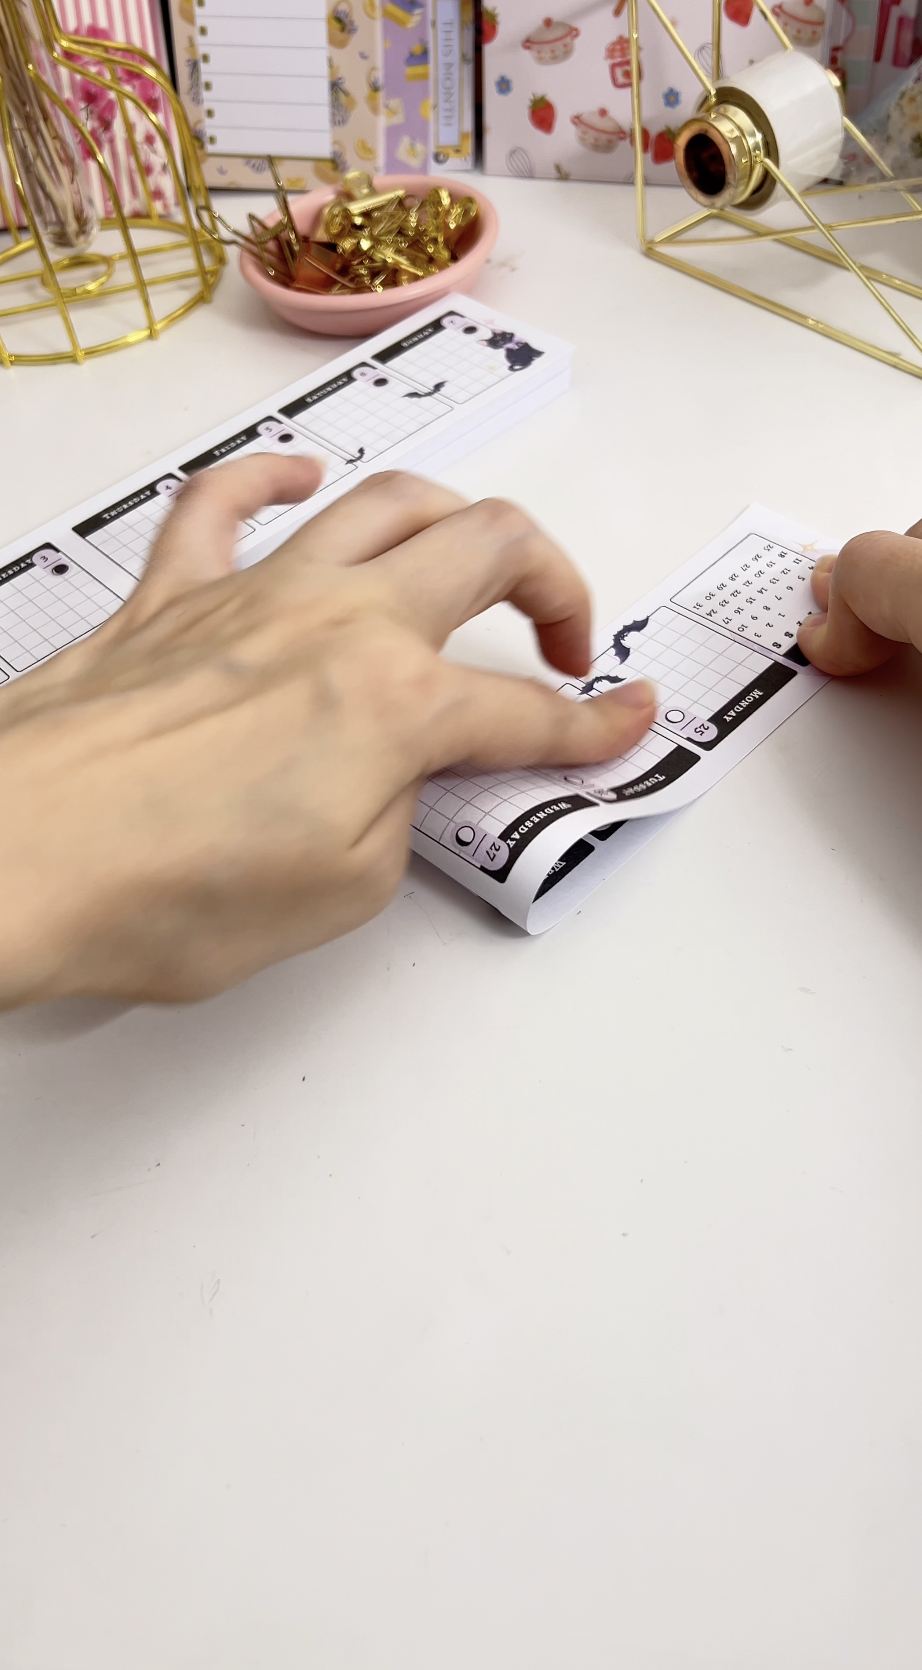 |
3. Check the order after two or three. Open the small stack and follow the dates. Sunday 3rd should be followed by Monday 4th. Catching a misprint now saves the whole build. 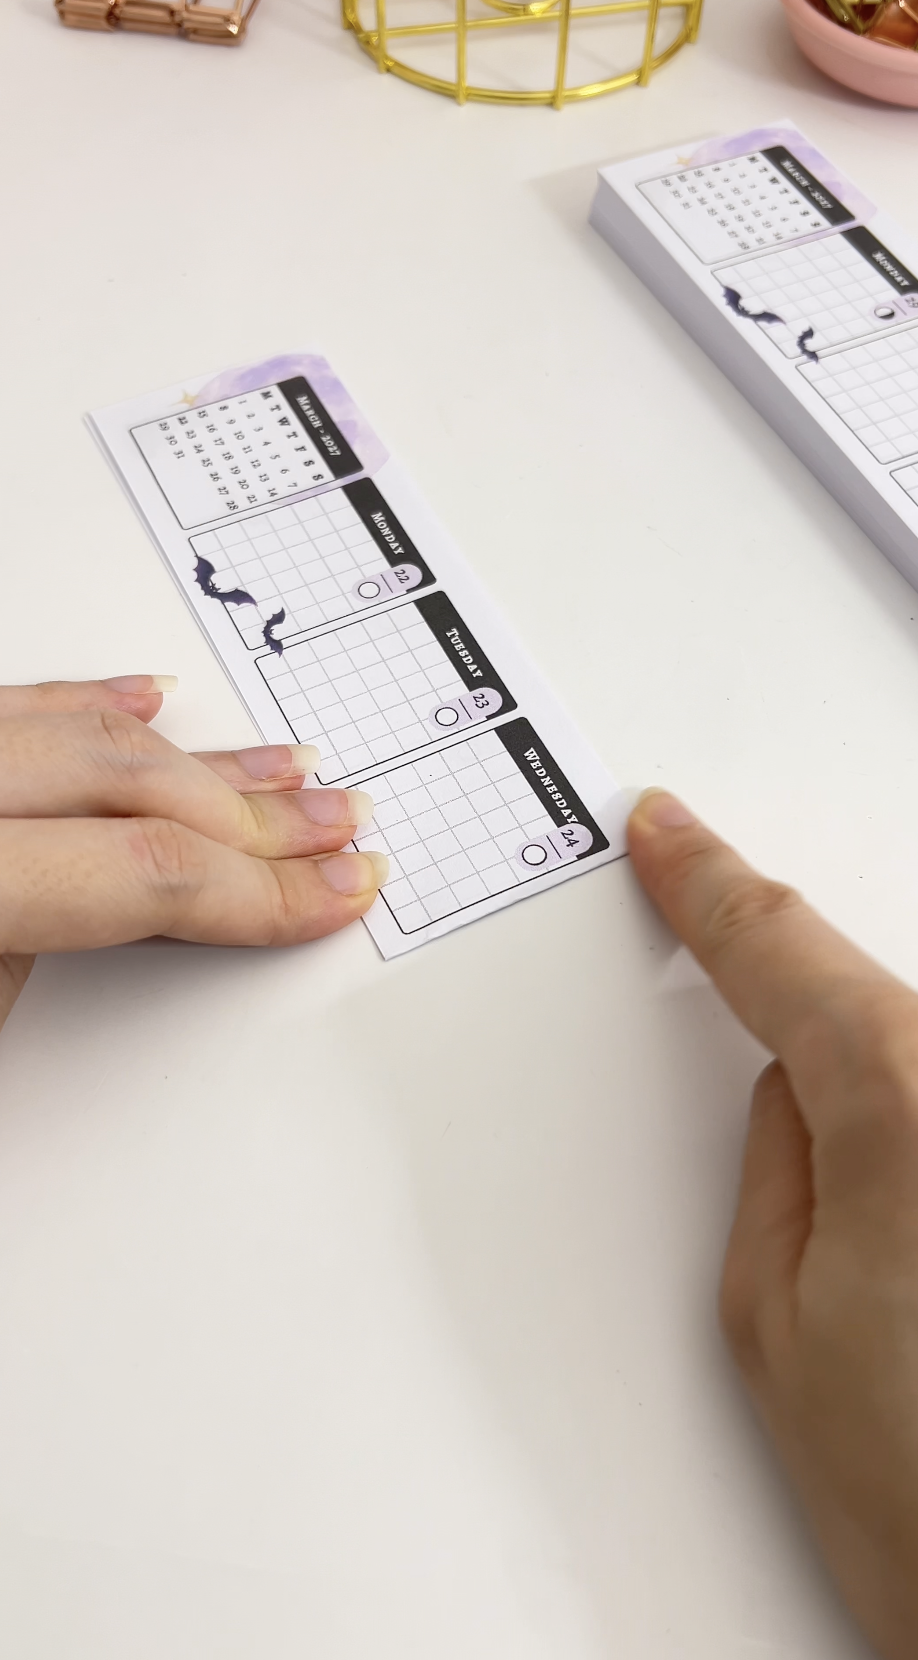 | 4. Finish folding and stack them. Keep going until every sheet is folded, then square the stack up neatly. 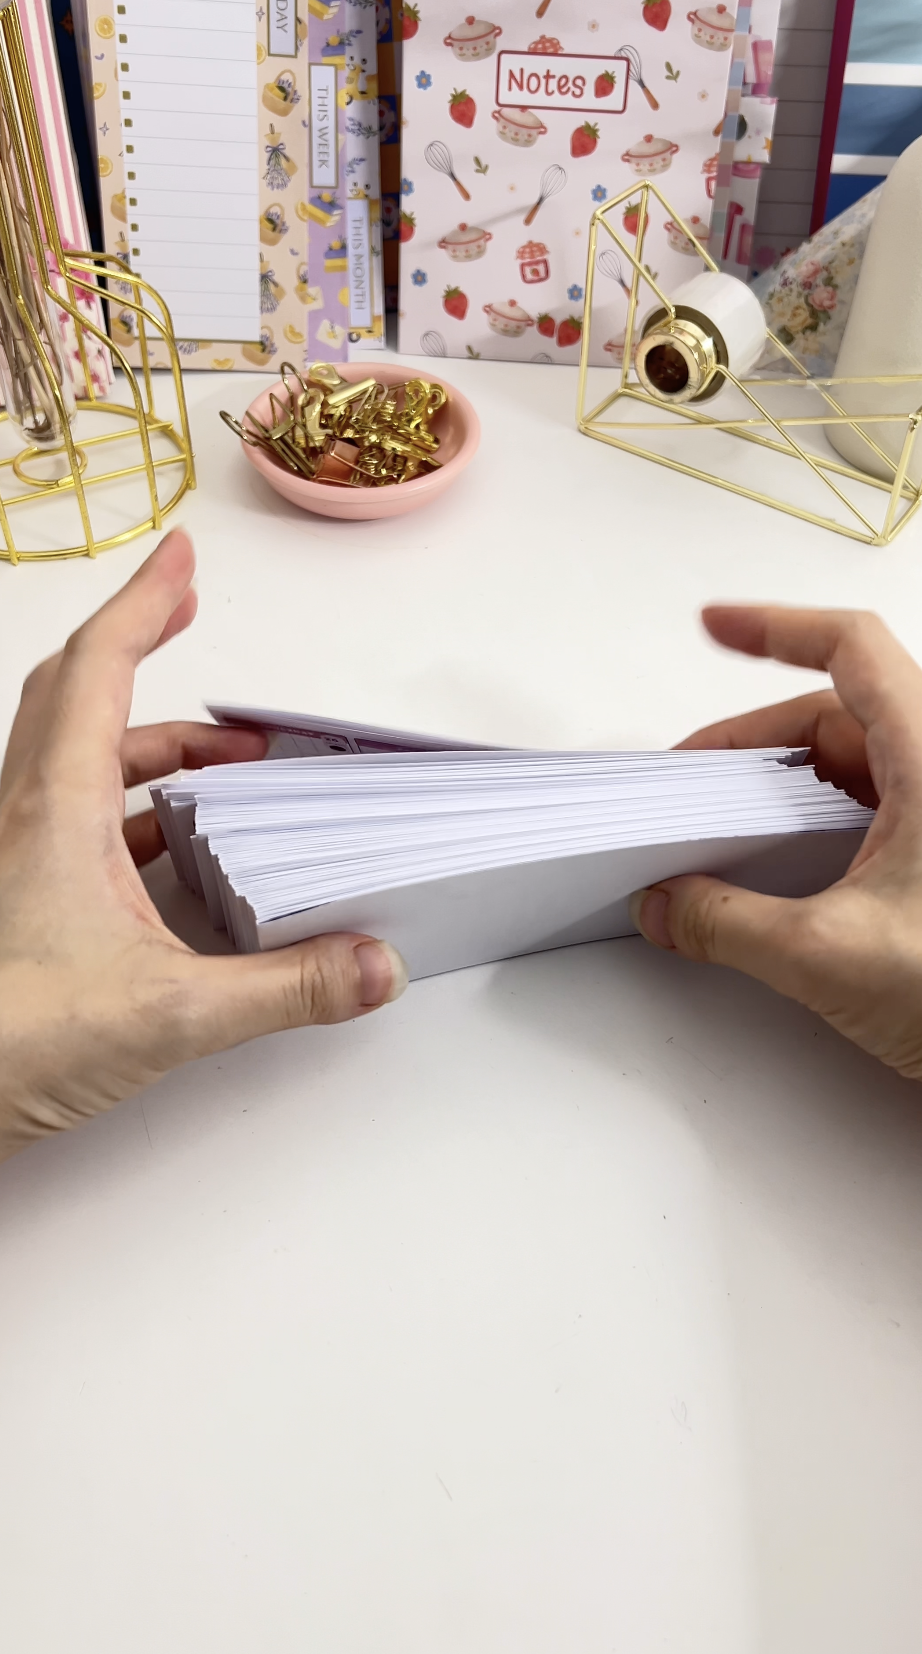 |
5. Load the stack into the book press. Folded edges out — that's the side you'll glue. Make sure the press is tight and the pages are square. 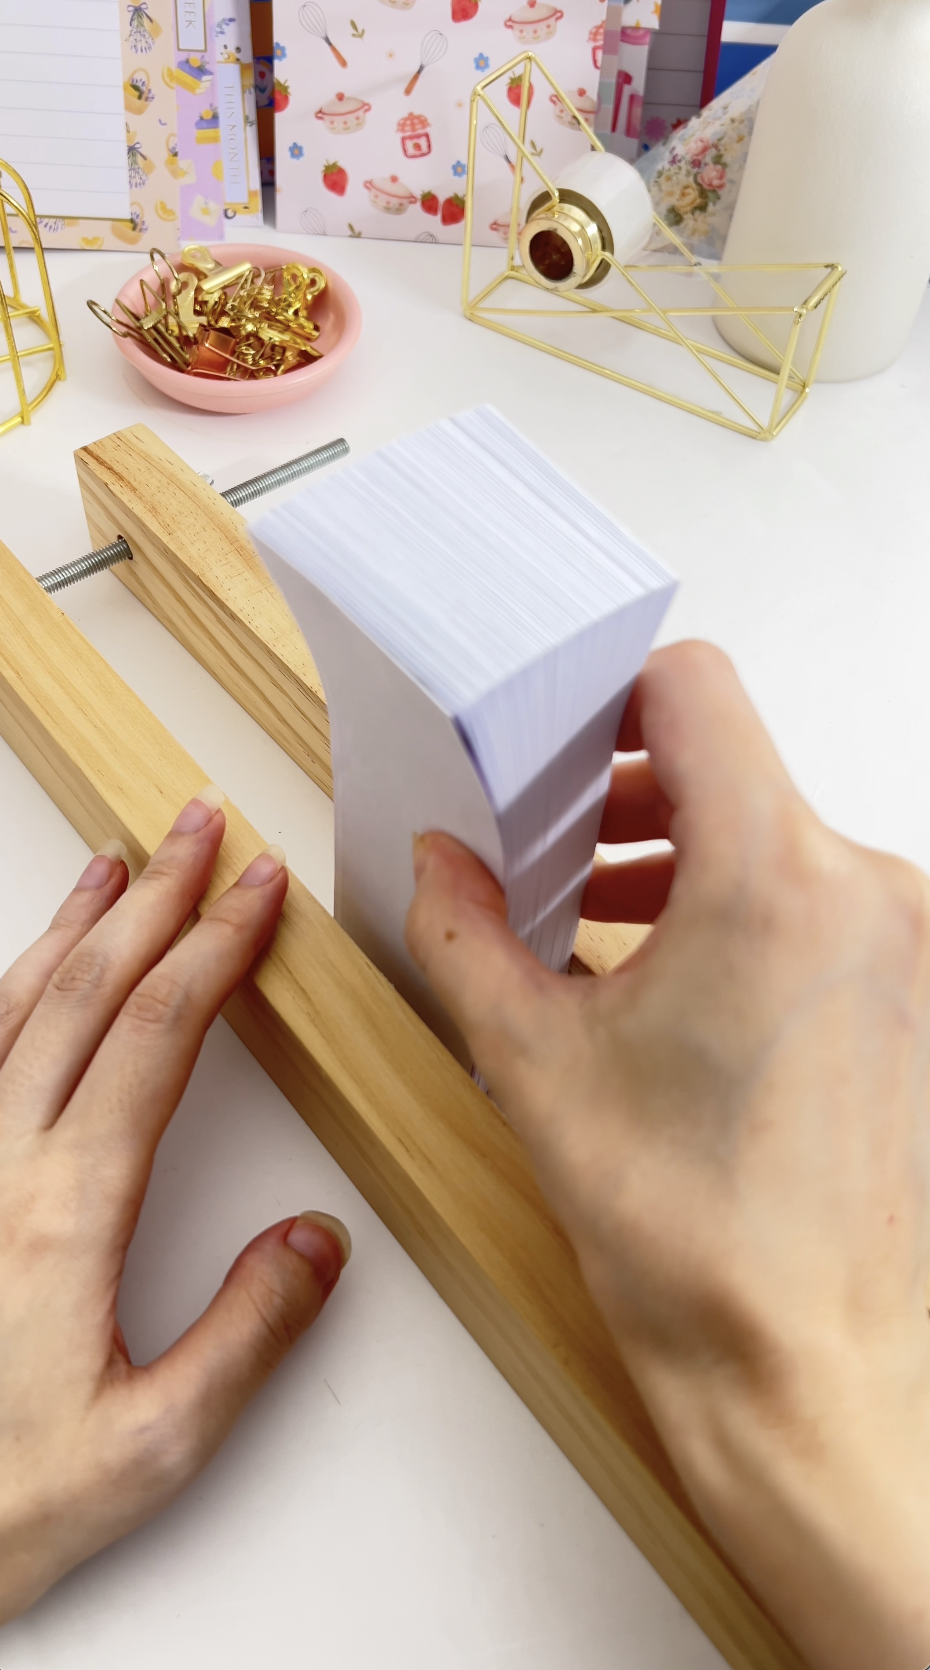 | 6. Bend the stack to the right and glue. Fan the pages over and apply PVA generously across the whole folded edge. Glue the folds, never the loose leaves. 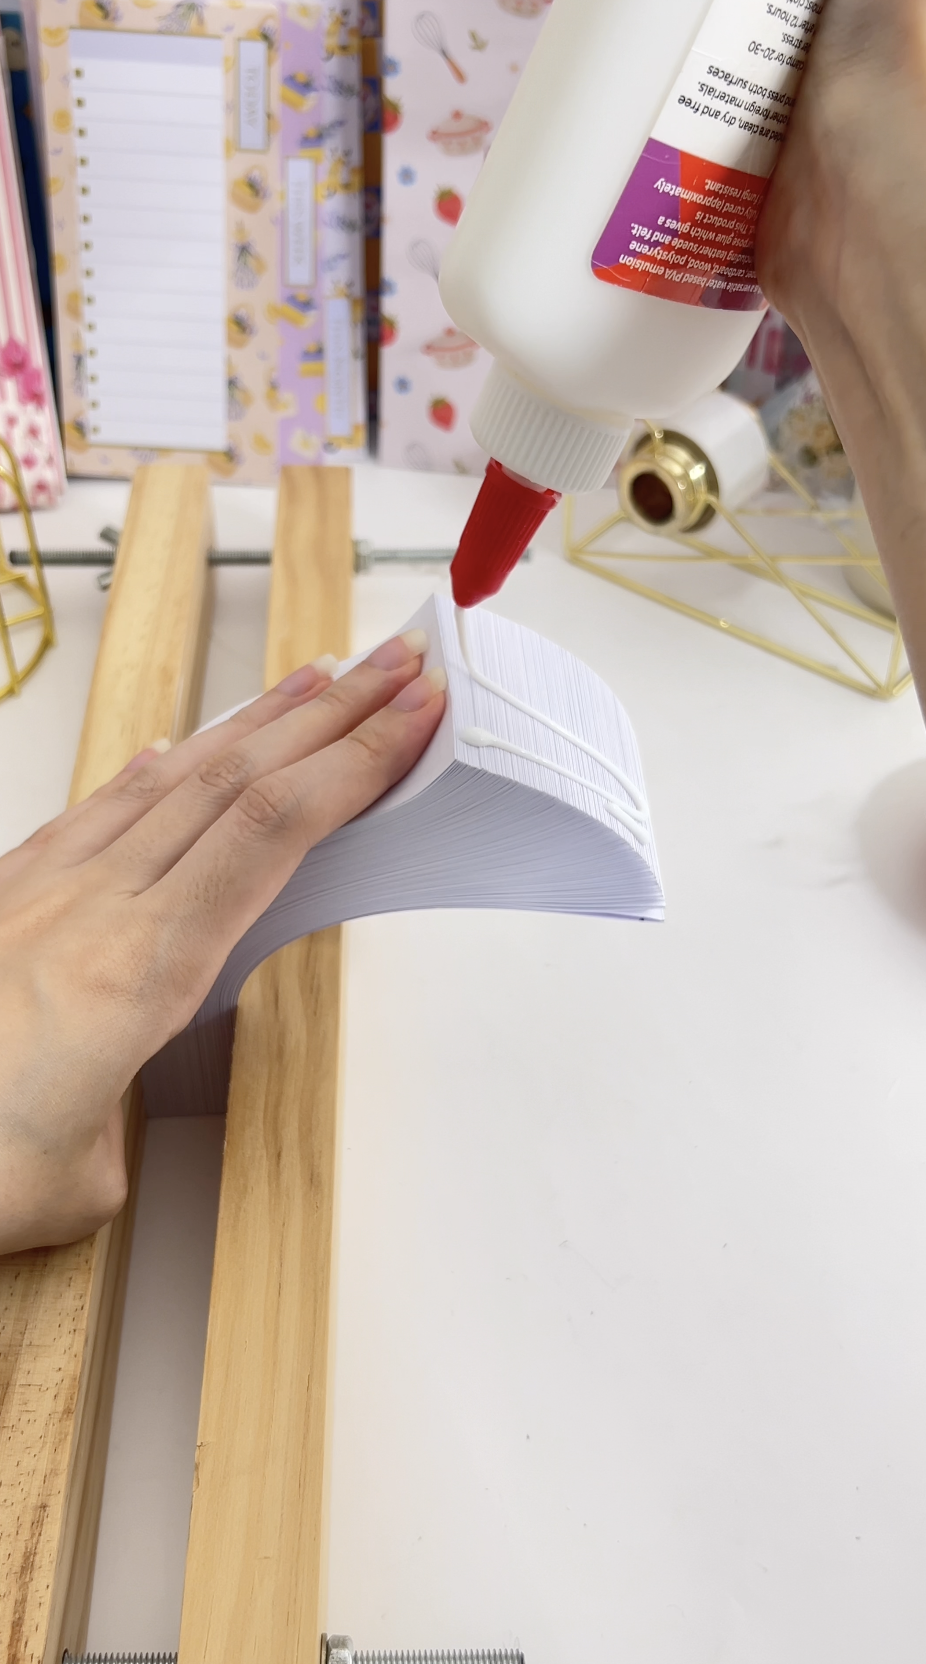 |
7. Bend left and glue again. Fan the stack the other way and spread glue evenly over that side too, making sure every fold is covered. 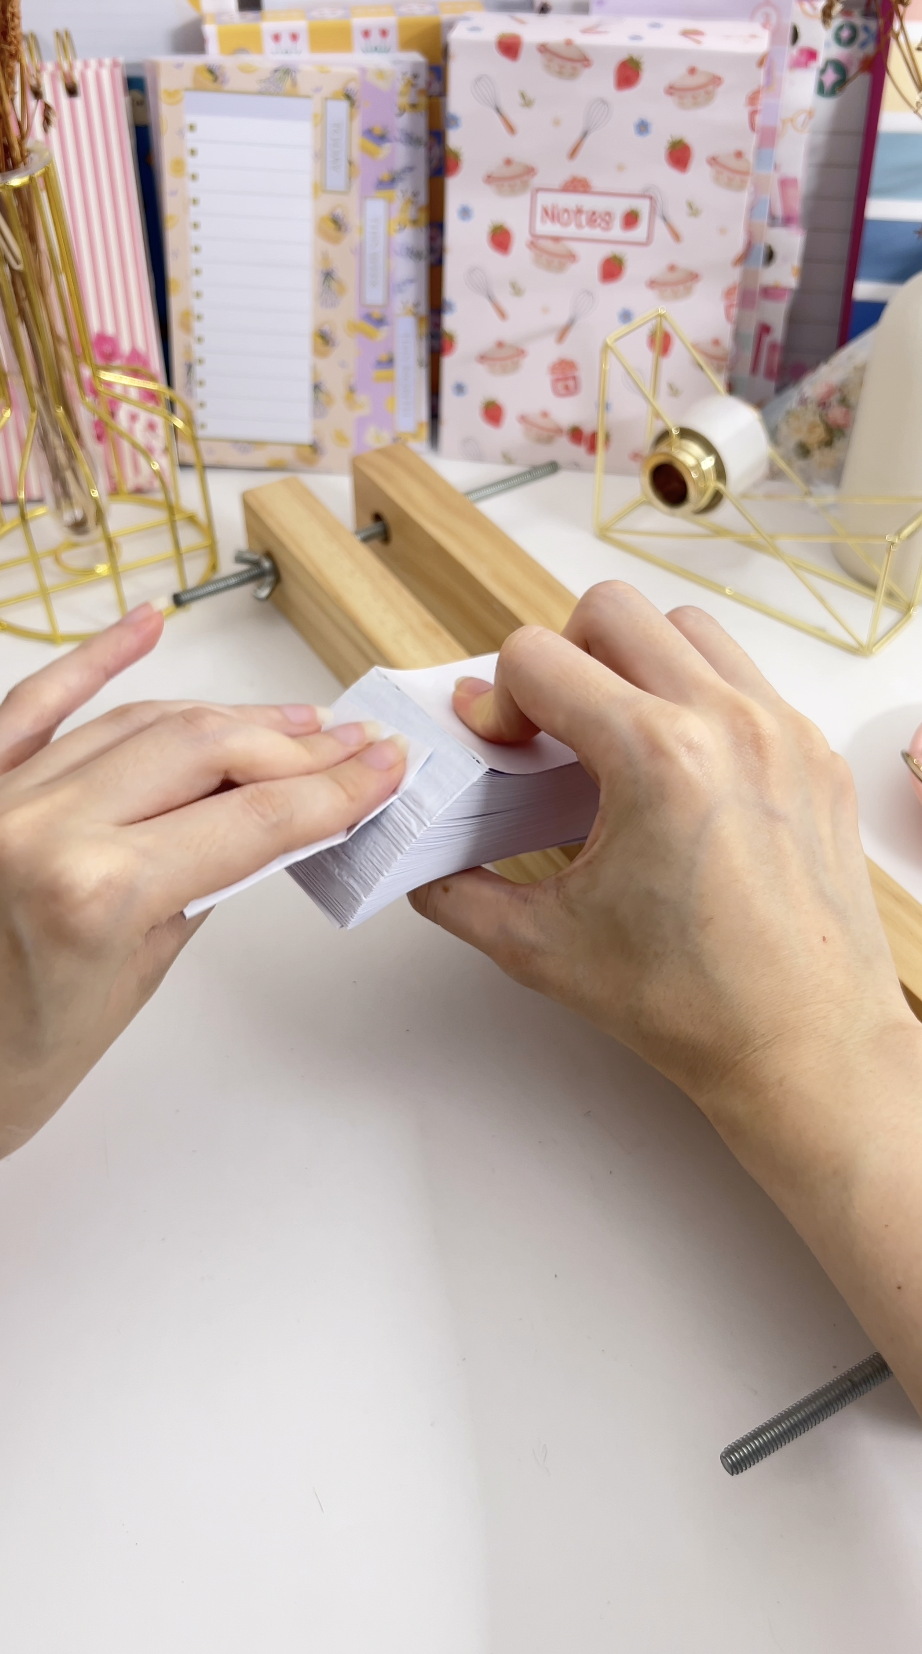 | 8. Bring it back to the middle and glue once more. Spread it evenly across the flat spine so the whole surface is covered. 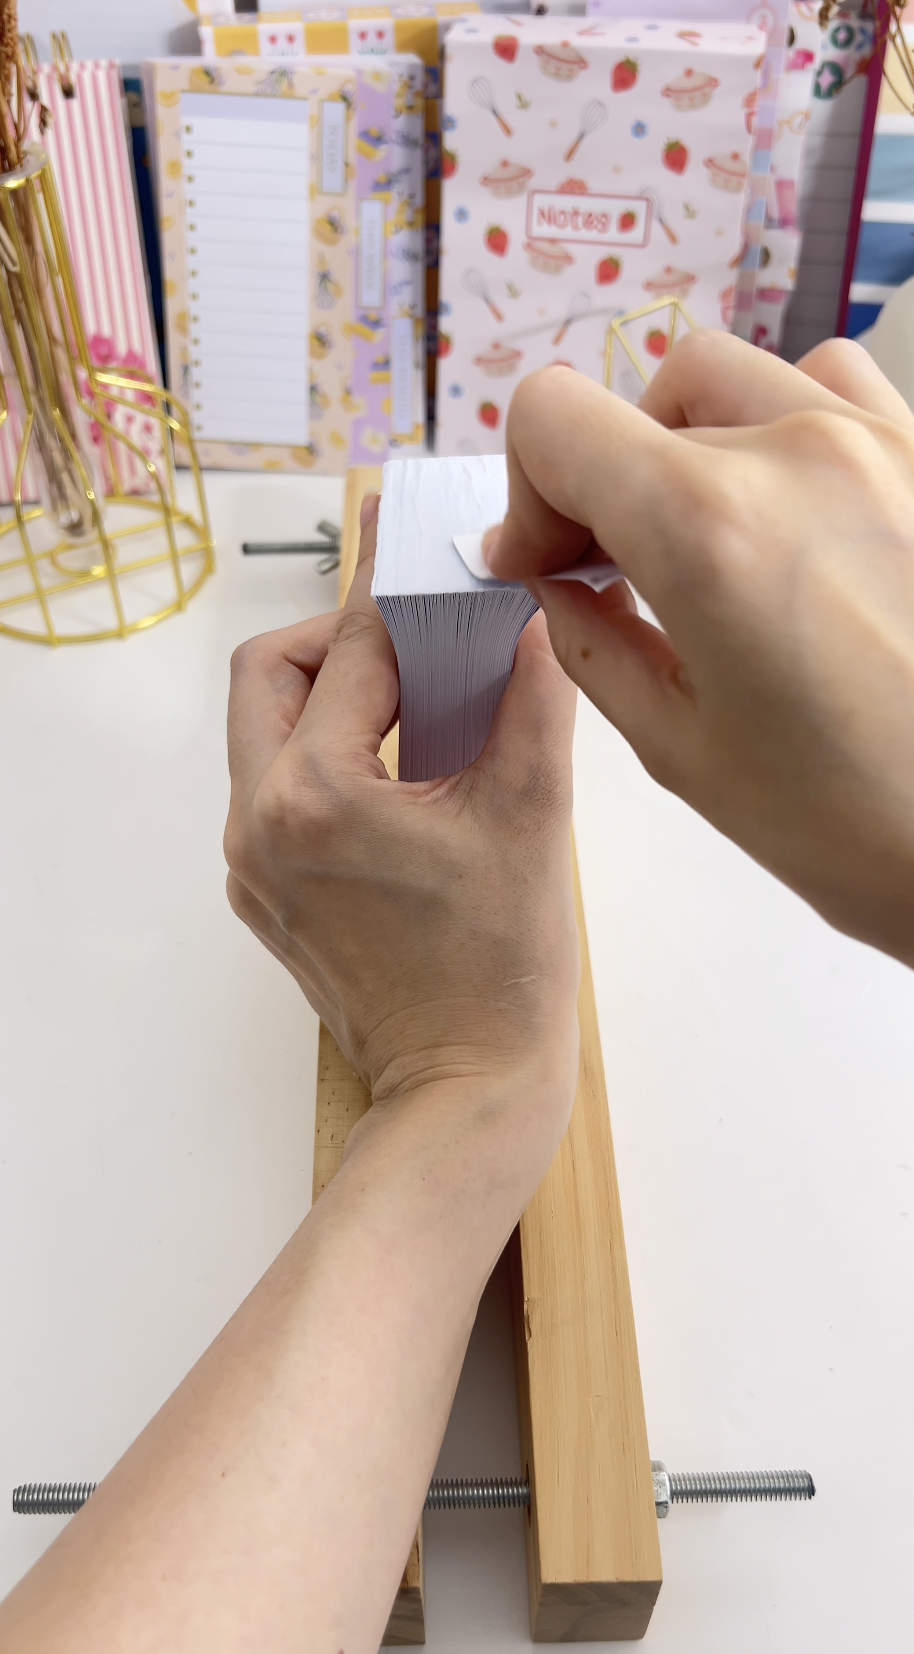 |
9. Press and leave it to dry. Remove the press, press the glued spine flat, and check no pages are bent. Leave five hours or overnight — it needs to be fully dry. 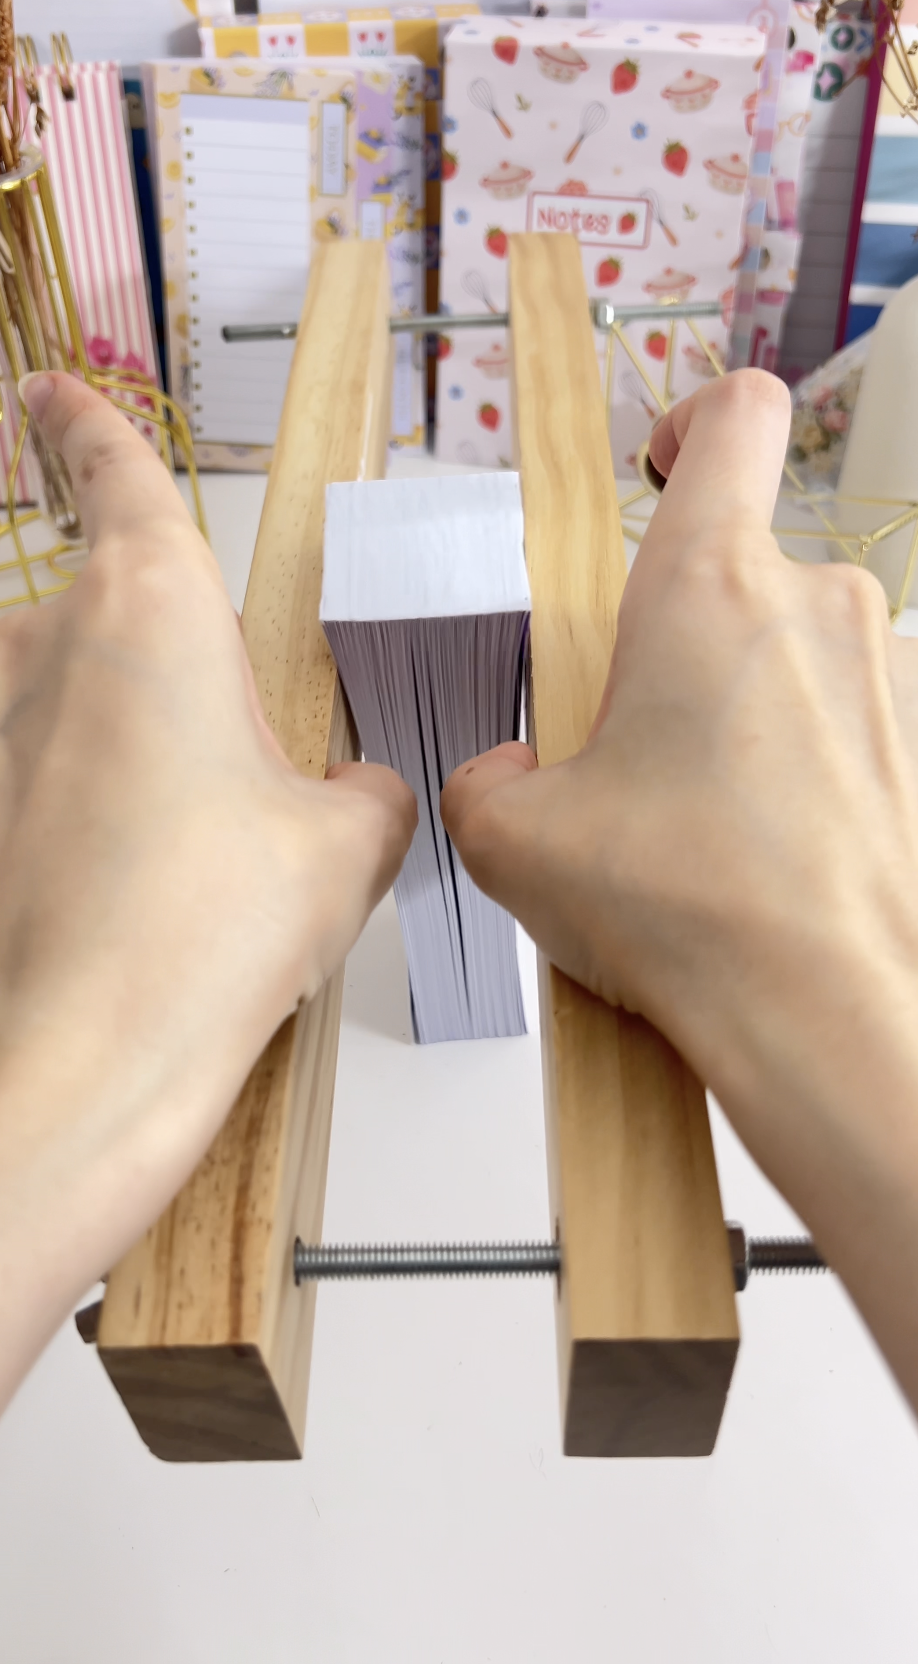 | 10. Meanwhile, prepare the covers. Trim both cover sheets, then fold each in half. A bone folder gives a much sharper crease than your fingers. 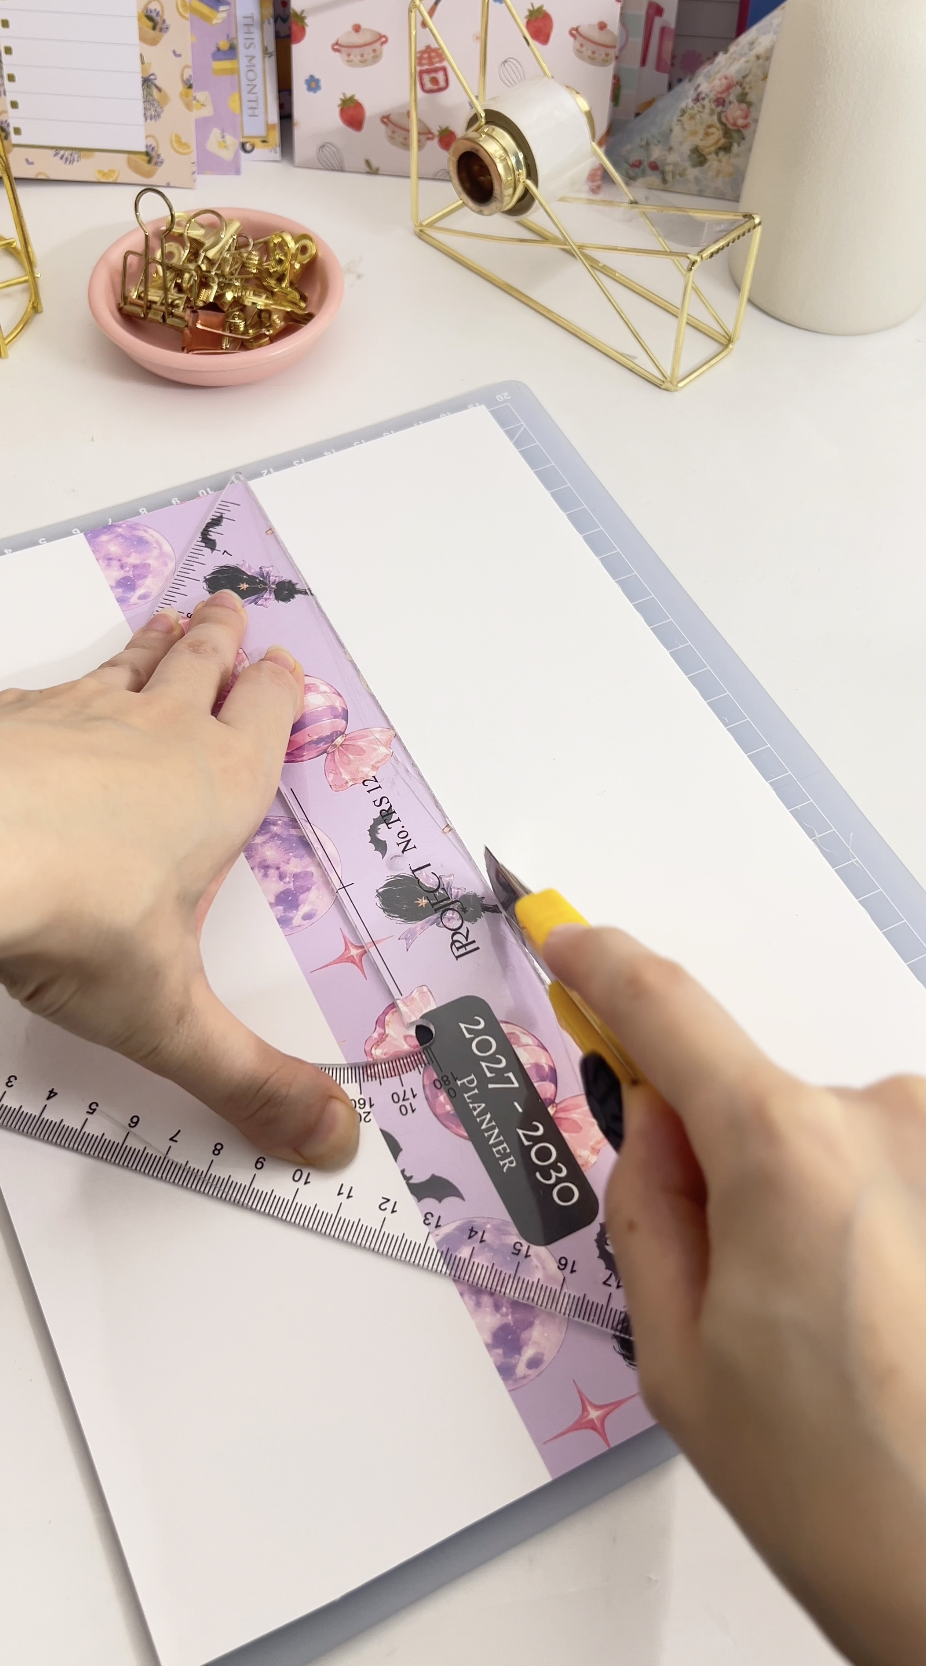 |
11. Attach the front cover. Glue stick along the left side of the front cover, then press it onto the first page of the block. Make sure it's square before it grabs. 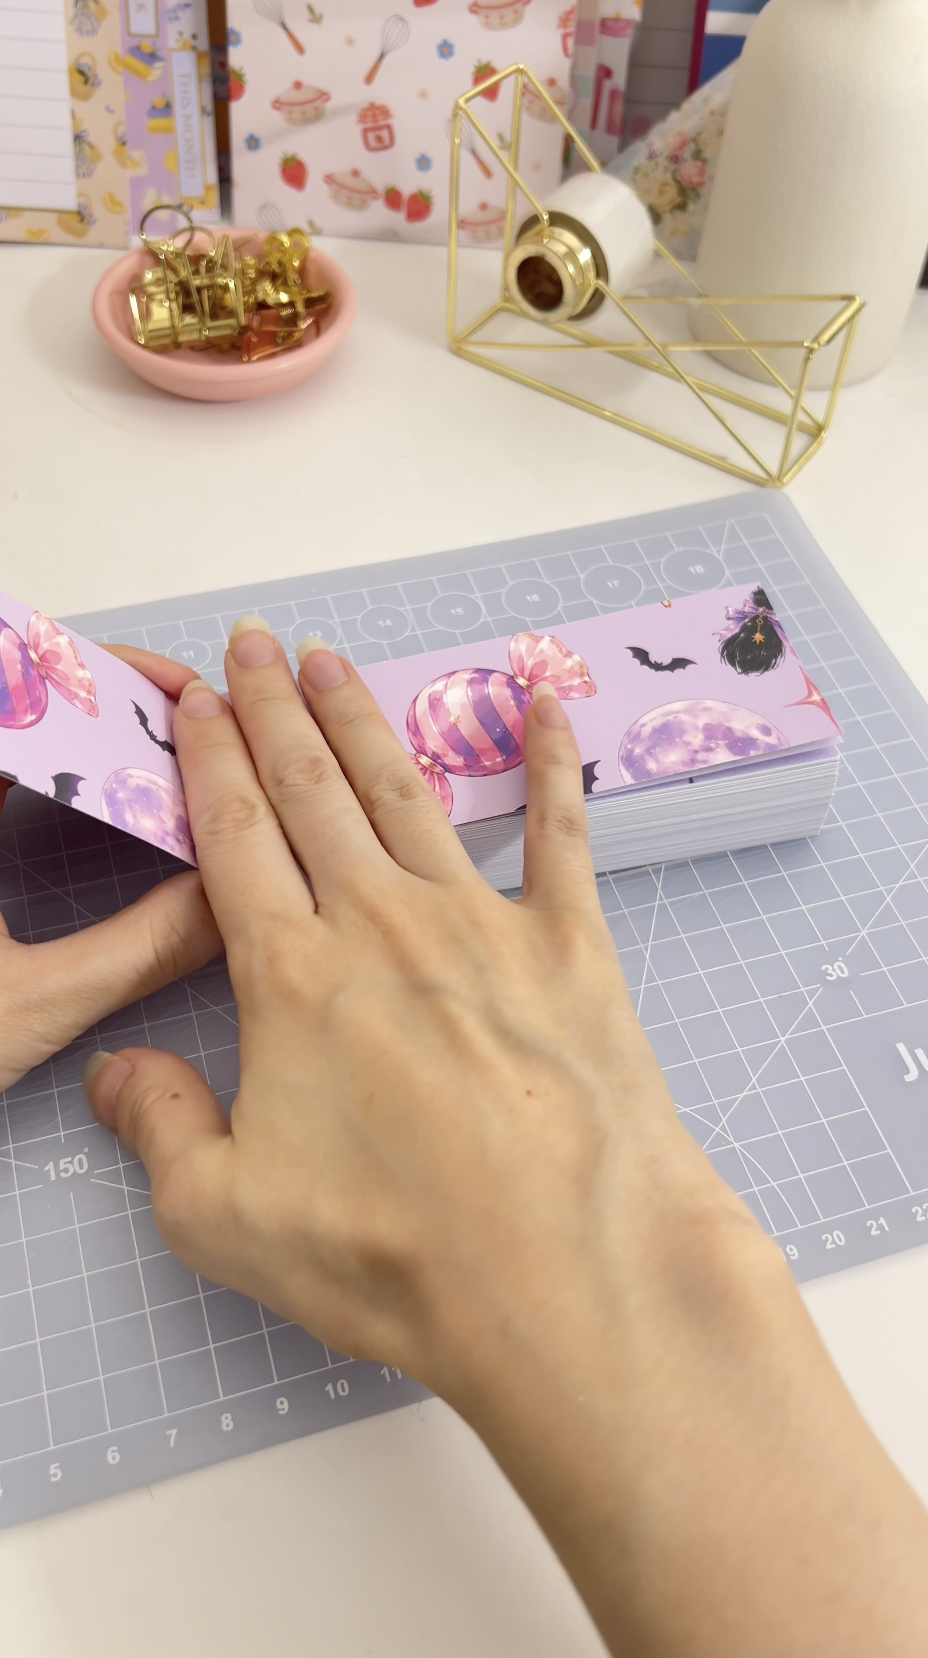 | 12. Attach the back cover. Turn the planner over and glue the back cover down the same way. 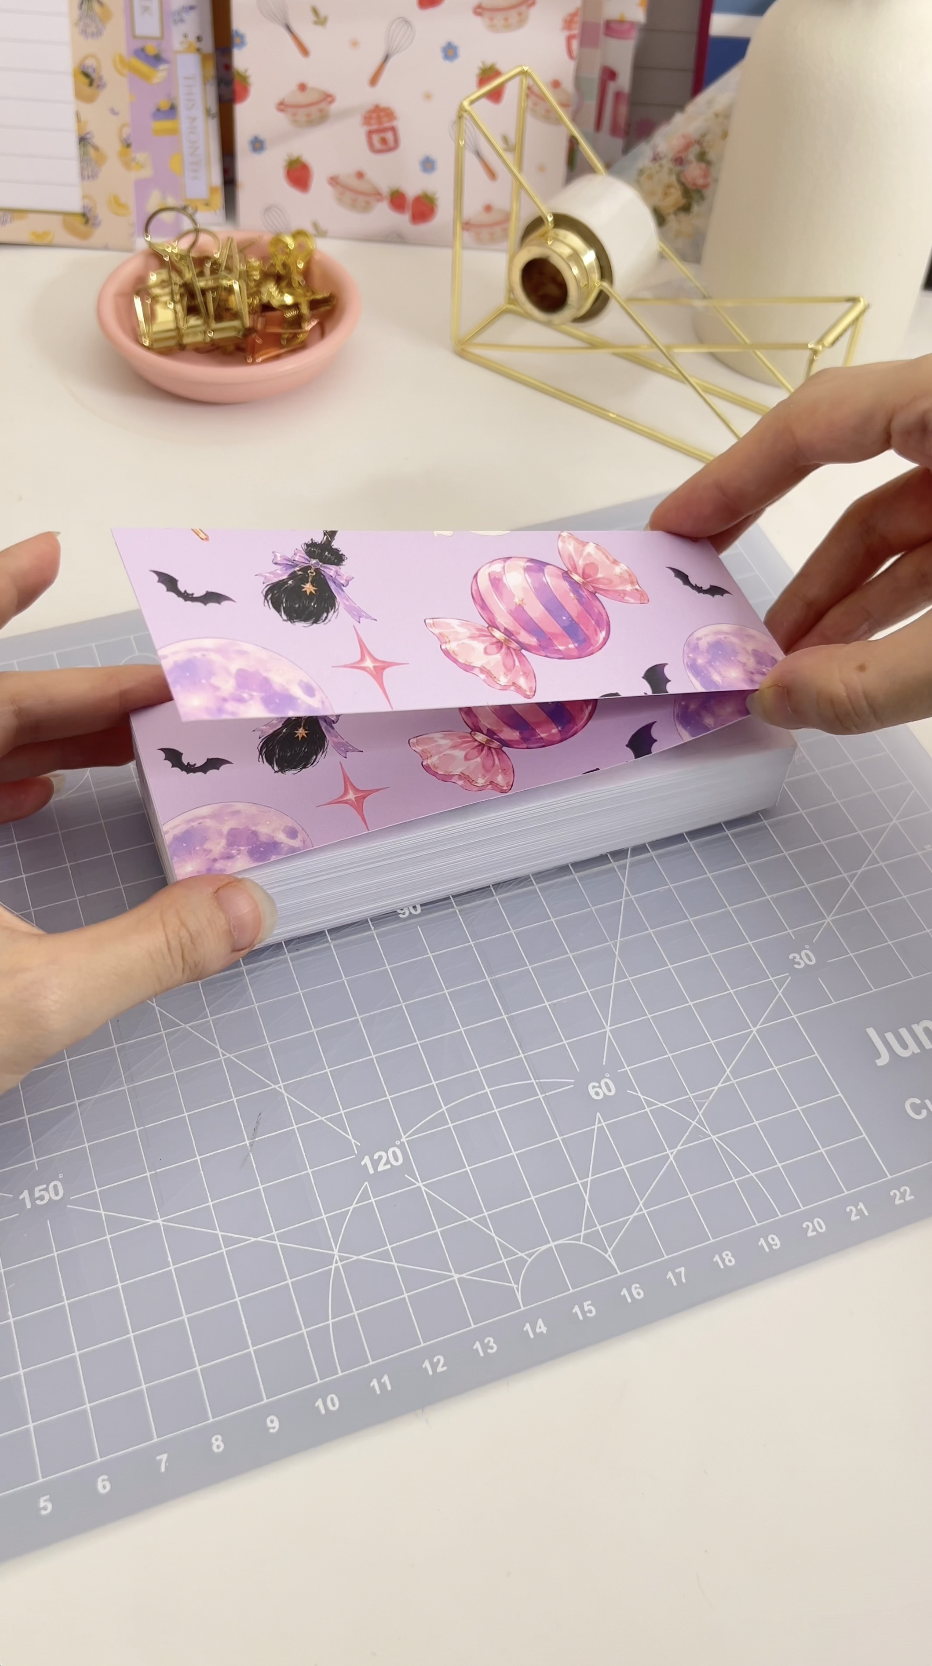 |
13. Tape the spine. Cut a strip of cloth tape about 5cm wide — enough to wrap front to back — and exactly the height of the block. Press it down over the spine. 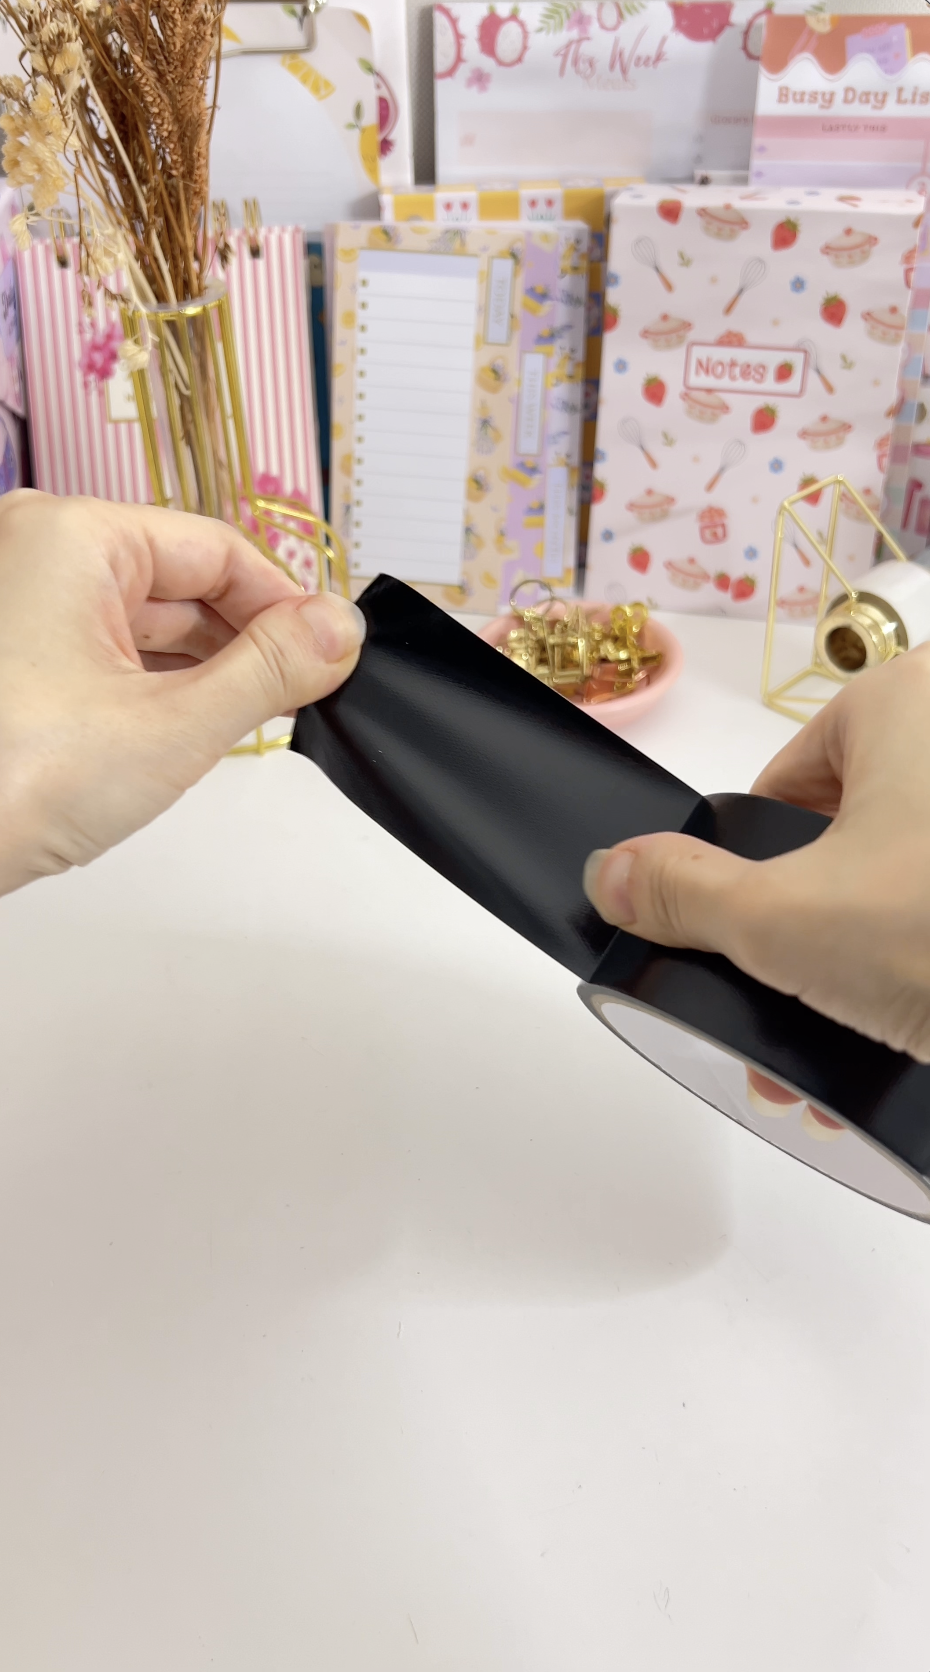 | 14. Burnish the tape. Run a bone folder along it so it presses properly into the join between spine and cover. 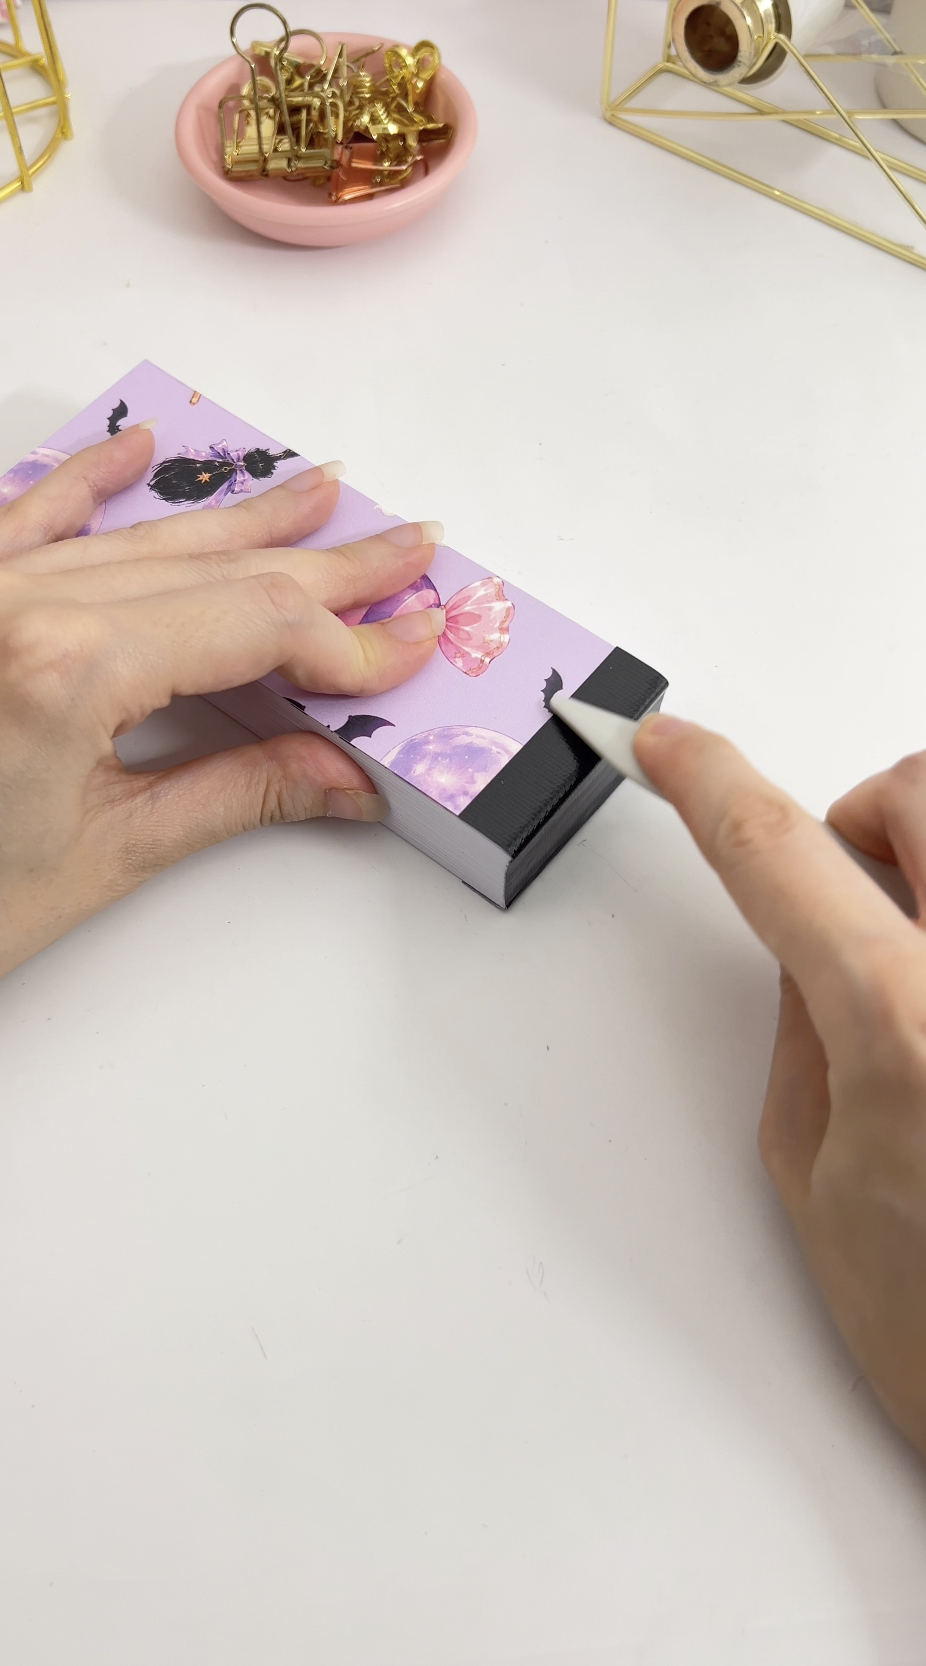 |
15. Trim the edges (optional). The planner is finished and usable as it is. If you want perfectly flush edges, trim the three open sides — but take off one millimetre at most, no more. 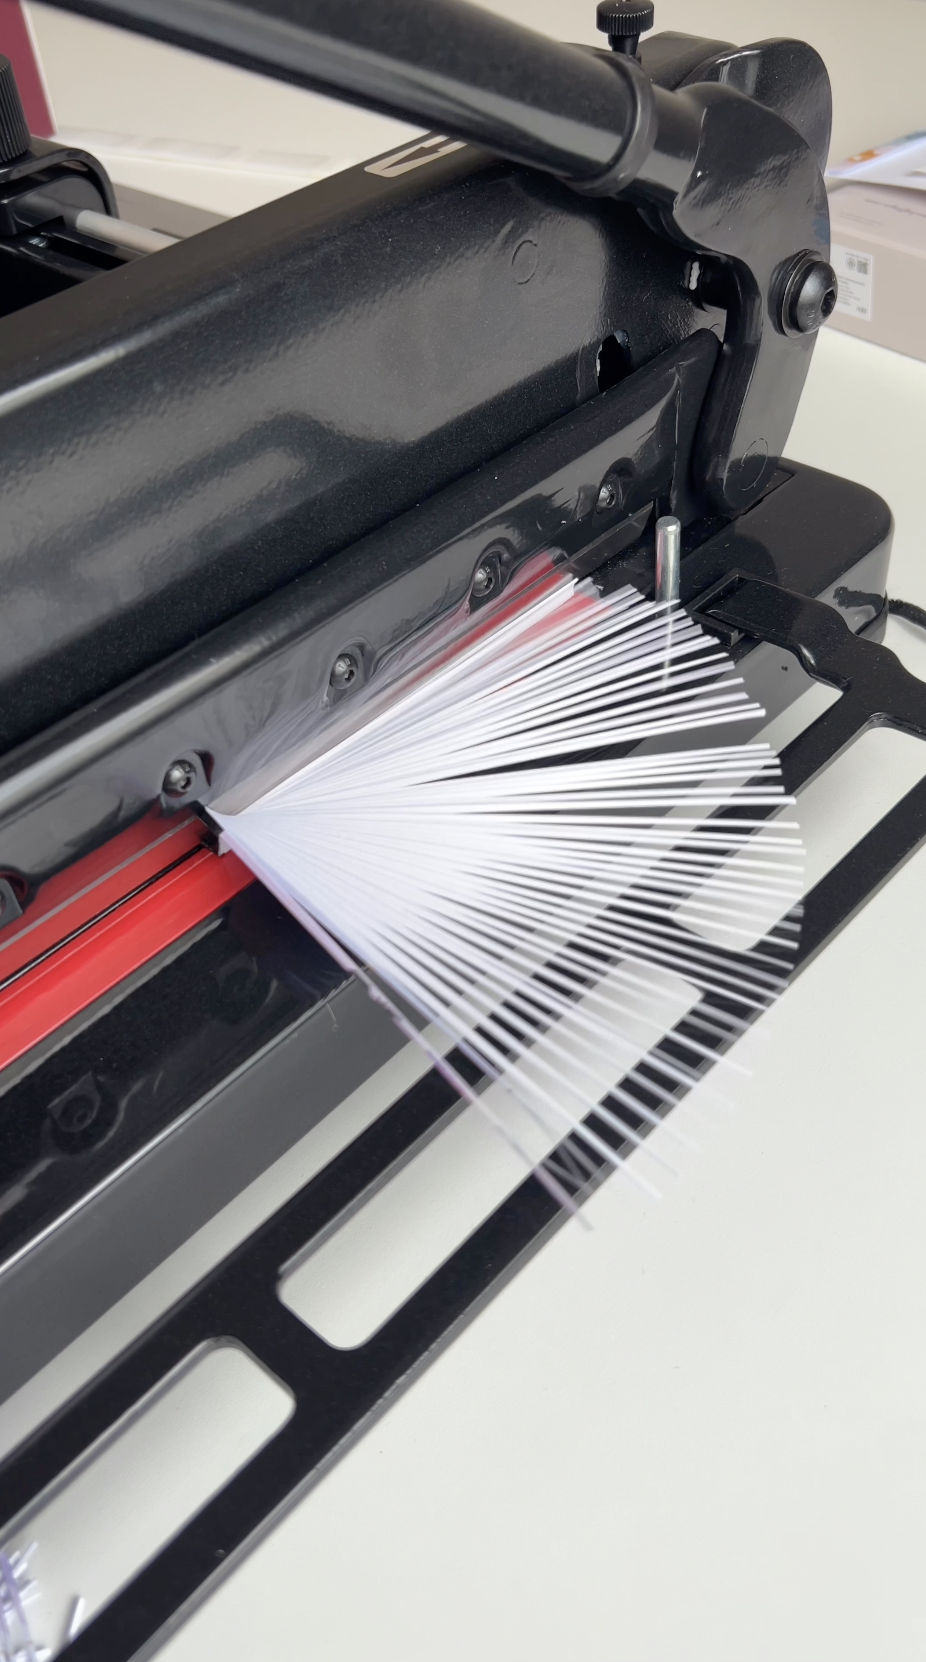 | And it's done. The spine flexes, the pages lie flat, and nothing gets in the way of your hand while you write. 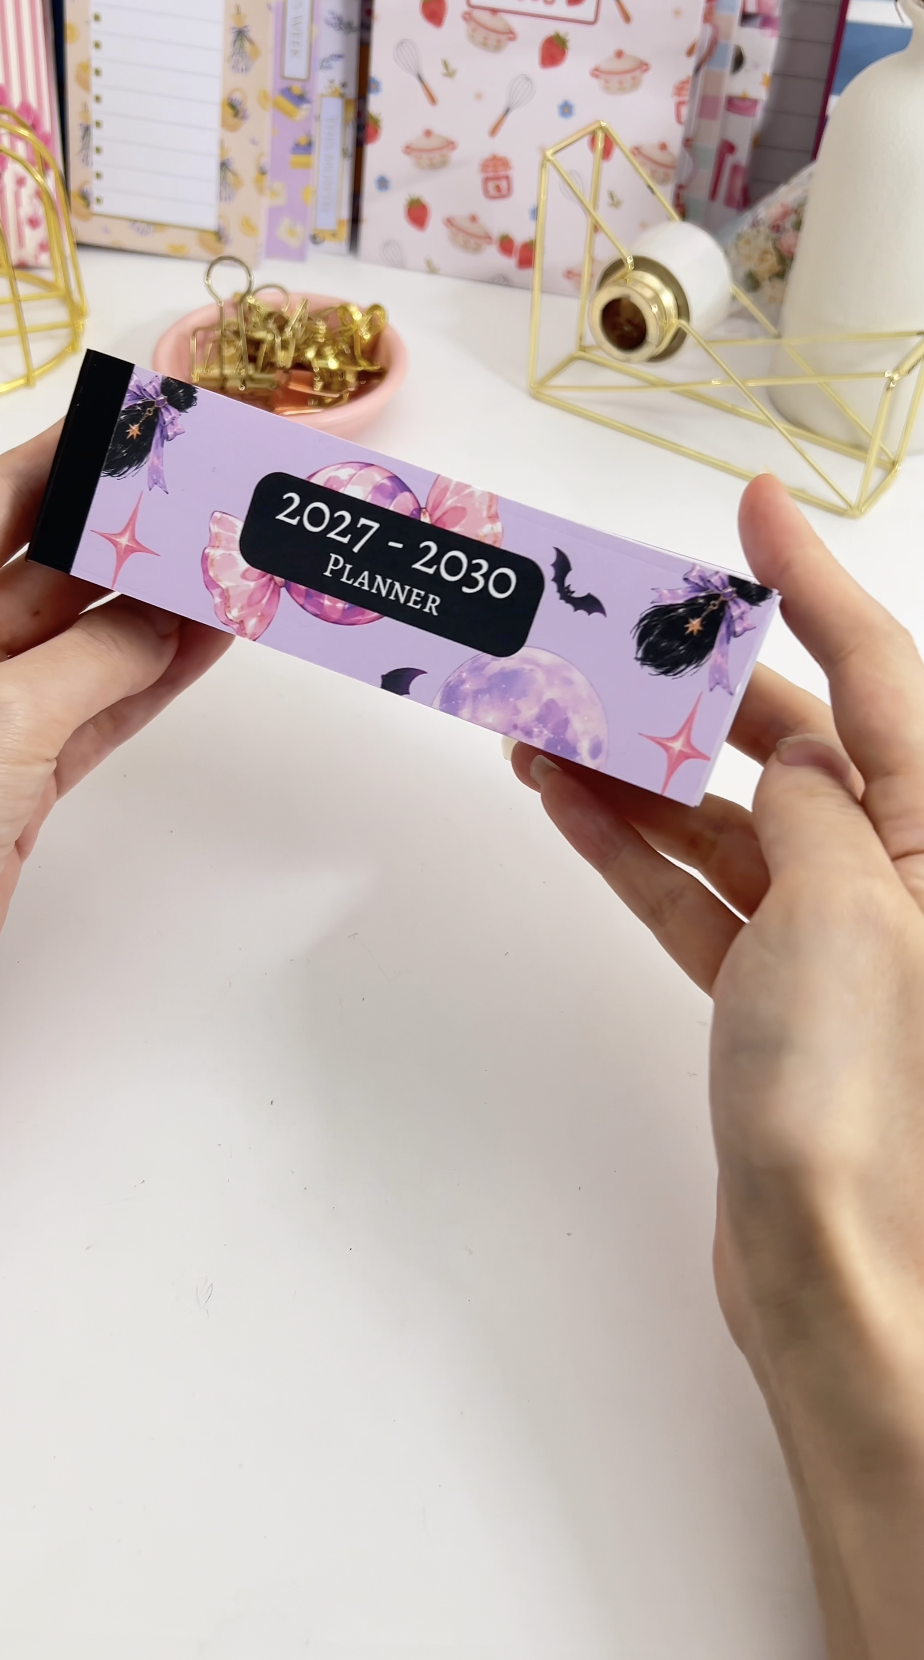 |
Troubleshooting
The pages came out in the wrong order. Almost always a manual printer pulling two sheets at once. Duplex printing avoids it entirely.
Pages fall out of the finished block. The glue didn't reach every fold. It needs three passes — right, left, and flat — with enough glue to cover the whole edge each time.
The spine feels stiff. Too much glue, or it wasn't spread thinly enough. The flexibility comes from a thin, even layer across folded edges.
White edges show on the covers. The back side was printed at shrink-to-fit rather than 100%. The backs need to print slightly larger so the trim doesn't expose unprinted paper.
Dates are wrong across every page. The first page was wrong before duplicating. Fix page three and duplicate again — it's faster than correcting 210 pages.
Selling these
Lay-flat planners sell at a premium over ring-bound ones because the binding is visibly handmade and genuinely more comfortable to write in. The materials cost little; the value is in the folding and the drying time.
Price for the labour, not the materials — folding 50-plus sheets individually is the bulk of the work, and it can't be rushed.
You can sell both the finished planner and the template file itself with a Business plan, which includes the commercial licence.
See 20 profitable planner niches and how to sell planners on Etsy.
Try these next
DIY Lay-Flat Sketchbook — the same binding, fewer pages
Booklets with signature binding — sewn instead of glued
Questions? Message us on Instagram or in the Facebook group.