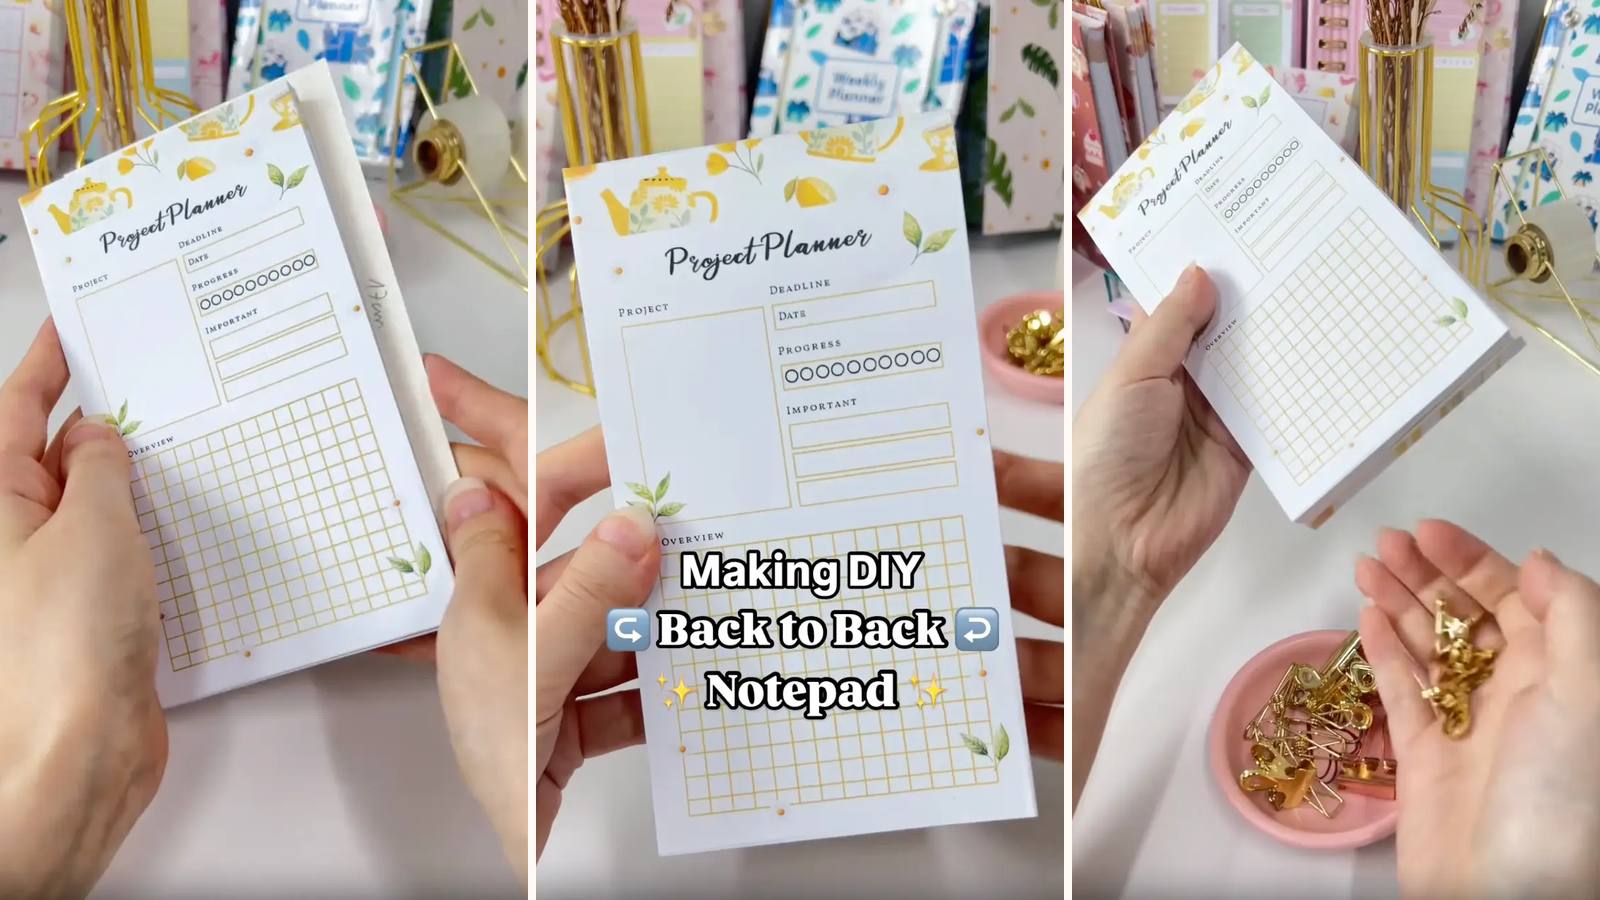
Two notepads in the space of one. A single piece of chipboard goes in the middle, a stack of pages on each side, and both top edges get glued — so you flip the whole thing over to go from a project planner to a task list. The trick is that the second stack goes in upside down, which is what puts its glued edge at the opposite end.
These tutorials use Planify Pro, a drag-and-drop tool for designing printable planners and stationery. Building and editing is free — exporting a PDF needs a plan, from $9.99/month.
Get the template
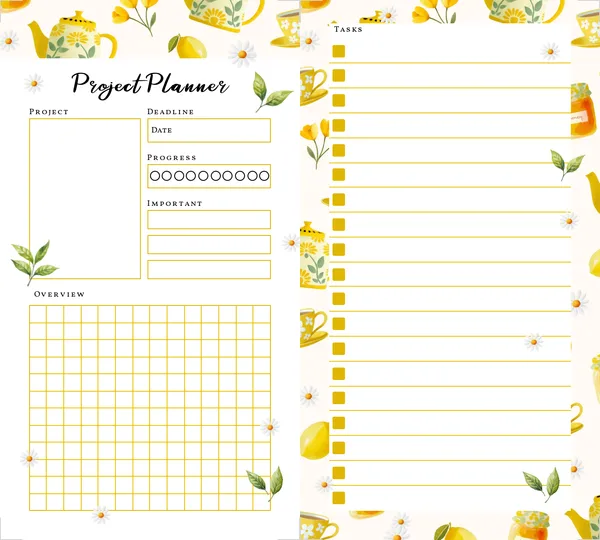
Open it in Planify Pro to change the two layouts, colours or artwork before printing — or print it exactly as it is.
Export and print
Go to Save/Export → Selected Page → Paper → A4 or US Letter, then Generate PDF and print at 100% from Adobe Acrobat Reader on 80gsm.
Print roughly the same number of each design — a lopsided pad is obvious the moment it's turned over.
What You'll Need
 Paper 80gsm Paper 80gsm |
 Chipboard Chipboard |
 PVA Glue PVA Glue |
 Heavy Duty Paper Cutter Heavy Duty Paper Cutter |
 Binder Clips Binder Clips |
A sponge is useful for spreading the glue evenly.
Instructions
1. Print both designs. A project planner and a set of task lists — or whichever pair you actually want back to back.  |
2. Trim the pages. Both stacks to exactly the same size — they're going to sit on top of each other, so any difference shows on every edge.  |
3. Cut a chipboard the same size as the pages. Not bigger — this one sits inside the sandwich, and an oversize board shows all the way round.  |
4. Sandwich the board, second stack upside down. Planner pages, board, then the task lists inverted — that's what puts their binding edge at the opposite end so each side glues independently.  |
5. Clip the whole thing. Knock both ends square first. This is a thicker stack than a normal pad, so clip it firmly.  |
6. Glue both ends. A thin layer at each end of the stack. Keep the glue on its own end — bleed across the board and you'll bind both pads into one solid block.  |
7. Dry for 15 minutes. Clips on, and lay it flat rather than standing it on either glued edge.  |
8. Unclip. Test a page from each side — both should lift cleanly and independently.  |
Troubleshooting
Both sides are bound together. Glue crossed the chipboard. Keep each coat to its own end and don't overload the brush.
The second stack's binding edge is at the wrong end. It went in the right way up. It has to be inverted — that's the entire mechanism.
The edges look untidy. The two stacks weren't trimmed to identical sizes. Cut them together.
Pages tear instead of lifting. Too much glue. Thin, even, spread with the sponge.
Selling these
Two pads for the material cost of one and a half is a good margin, and "flip it over" is a benefit anyone understands in a single line.
Pair the two sides deliberately — work and personal, meals and shopping, project and tasks. A named pairing sells better than "double-sided notepad", because it tells someone what it's for.
It's also one of the easiest builds in the library, which makes it a sensible first product if you're testing whether a design sells before committing to something with covers and hardware.
See easy one-page printables that sell and DIY notepad design ideas for more.
Try these next
- DIY Custom Notepad — the single-sided version
- DIY Stacked Notepad
- DIY Notepad Set
- How to Make Notepads at Home
- Browse all DIY tutorials


