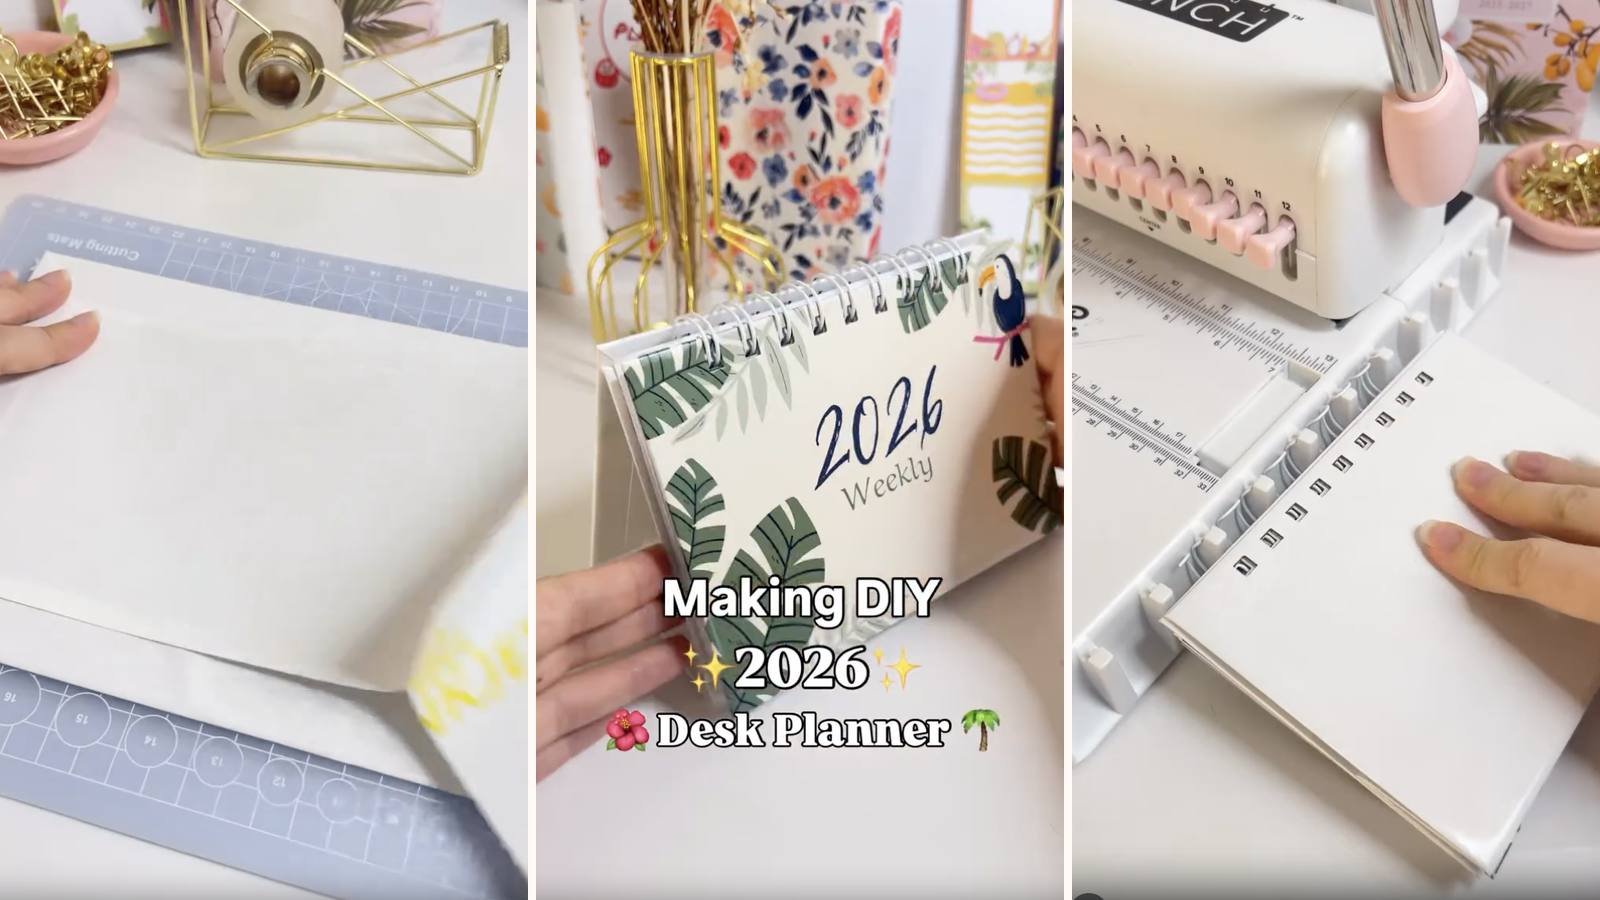
A weekly planner that stands on the desk instead of lying on it. The back cover is a single strip of chipboard cut into five panels and scored so it folds into a W — that shape is what props the planner at a readable angle, with no easel and no wall fixing.
These tutorials use Planify Pro, a drag-and-drop tool for designing printable planners and stationery. Building and editing is free — exporting a PDF needs a plan, from $9.99/month.
Get the template
Open it in Planify Pro to change the size, colours or artwork before printing — or print it exactly as it is.
Export and print
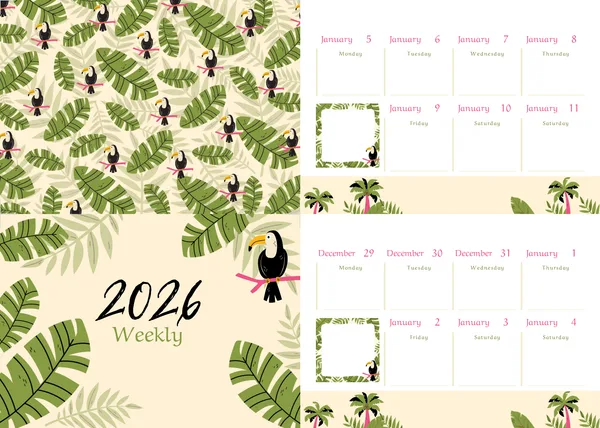
Inserts: Save/Export → All Pages → Paper → A4 → Generate PDF.
Cover: Save/Export → Selected Page → Paper → A4 → Generate PDF, then print it on white glossy sticker paper at 130% scale — that's the margin you need to fold around the chipboard.
Print the inserts at 100% from Adobe Acrobat Reader. There are 52 of them, so run a test page and check it against your chipboard before committing the year to paper.
What You'll Need
 Chipboard Chipboard |
 Paper Paper |
 Glossy Sticker Paper Glossy Sticker Paper |
 O-Wires O-Wires |
 Cinch Binding Machine Cinch Binding Machine |
 Guillotine Paper Cutter Guillotine Paper Cutter |
Instructions
1. Print and cut the inserts. All 52 weeks, trimmed to size on the guillotine in consistent batches.  |
2. Punch the inserts. Small batches on the Cinch, all registered to the same edge. Torn holes on the first week will still be visible in December.  |
3. Cut the five chipboard pieces. Pieces 1, 2 and 5) 15.5 × 11 cm · pieces 3 and 4) 15.5 × 3.8 cm. The two narrow ones are the middle of the W — they set the angle the planner leans at.  |
4. Print the cover at 130% and trim. Cut to size and take off the white excess around the printed area.  |
5. Wrap piece 1 as the front cover. Lay it on the back of the printed sticker, centred, then fold all four sides in.  |
6. Line the inside. A second piece of sticker paper over the folded edges gives the inside face a clean finish.  |
7. Take a plain A4 sticker sheet for the back. The four remaining panels laid end to end are longer than A4, so you'll likely need to butt a second piece on to cover them all.  |
8. Lay pieces 2 to 5 with 4 mm gaps. Those gaps are the folds of the W. Get them even — an uneven gap means the stand sits crooked.  |
9. Fold all the sides in. Trim the corners first, then press each margin down along the whole strip.  |
10. Line the inside of the back cover. Glossy sticker paper over the folded edges, same as the front.  |
11. Score the folds so it forms a W. Fold alternately at each gap. Work it a few times before binding — chipboard has memory, and a stand that hasn't been folded in properly springs open on the desk.  |
12. Punch both ends. The front cover and the binding end of the back strip. Match them to a punched insert before pressing.  |
13. Get the o-wires ready. Open, on the machine's holder, so both hands are free.  |
14. Load the wire: inserts, front cover, back cover. The back goes on last so the W folds away behind everything.  |
15. Close the wires on the Cinch. One firm squeeze. Then stand it up and check the angle — that's the whole point of the build.  |
Troubleshooting
It won't stand up. The W isn't folded in firmly enough, or the two narrow panels are different widths. Fold it hard, both ways, and leave it folded under a weight for an hour.
It stands but leans too far back. The narrow middle panels are what set that angle. Shorter panels stand it more upright — worth a test piece before cutting the final set.
The pages won't turn. The wire is over-closed. One squeeze on the Cinch, not two.
The back cover sticker won't reach. Four panels plus gaps is longer than A4. Butt a second piece up against the first rather than stretching one sheet thin.
Selling these
Standing desk planners photograph better than flat ones, because a photo of one on a desk shows a product in use rather than an object on a table. That's worth real money in a listing gallery.
Dated stock has a season though. A 2026 planner sells hard from about October to January and barely at all after that, so build the run early and discount rather than carry it.
The same construction works undated — swap the weekly inserts for blank or habit-tracker pages and you have a product that sells year round from the same set of chipboard cuts.
See what to sell in the quiet months and 20 profitable planner niches for more.
Try these next
- DIY Weekly Desk Planner — a folding-base version
- DIY Desk Calendar
- DIY Daily Desk Planner
- Book Binding Methods Compared
- Browse all DIY tutorials


