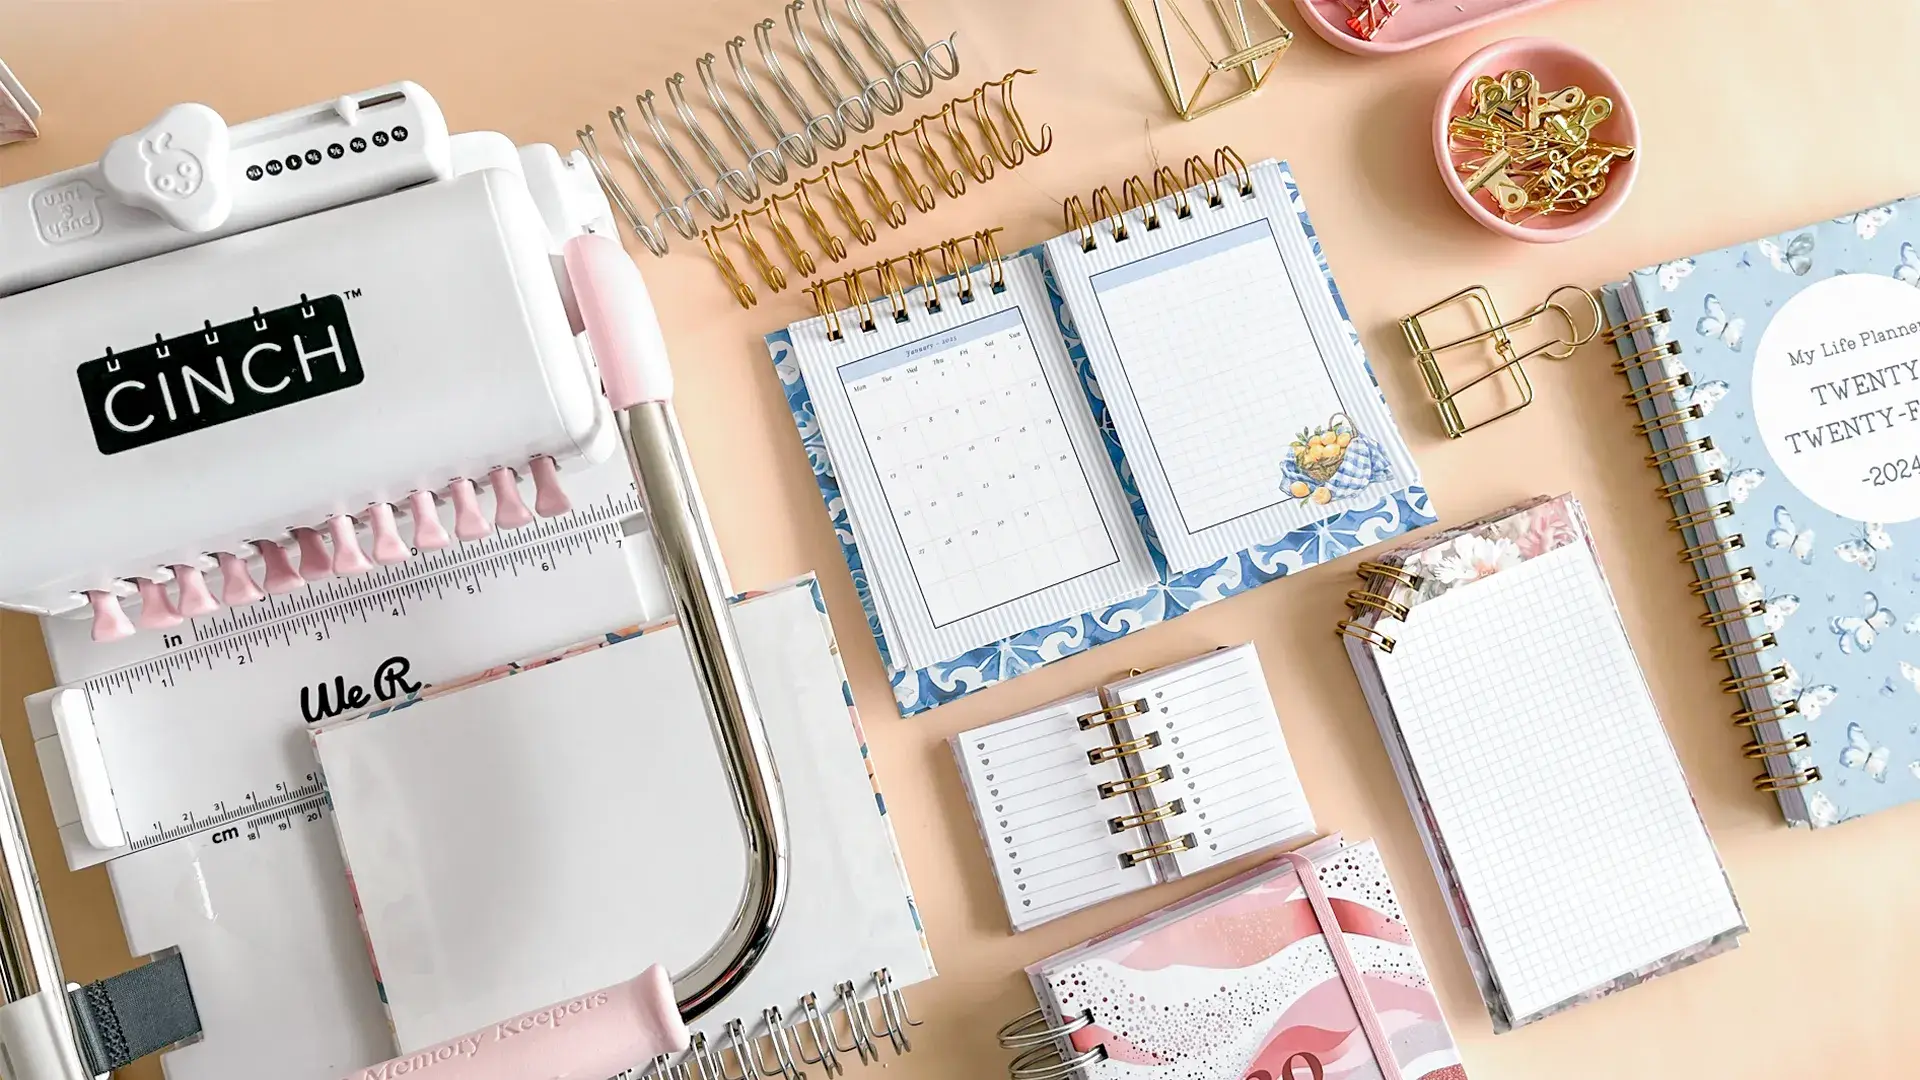
A flip-through desk calendar with stiff chipboard covers, wire-bound down the side edges so each page turns cleanly and stays where you leave it. The covers are printed onto sticker paper and wrapped over board, which is the step that makes a home-printed calendar feel like a shop-bought one.
These tutorials use Planify Pro, a drag-and-drop tool for designing printable planners and stationery. Building and editing is free — exporting a PDF needs a plan, from $9.99/month.
What You'll Need
 |  |  |
 |  |  |
 |
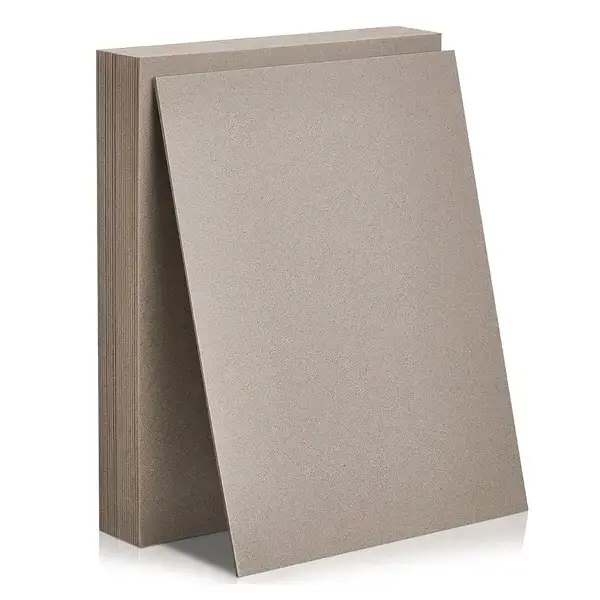
You need two A5 pieces of chipboard, one for each cover. For the calendar pages, cardstock at around 220gsm is the right weight — light enough to turn easily on the wire, heavy enough that a page does not flop over when the calendar is standing on a desk. Any bookbinding glue will do; a ruler is enough for creasing if you do not have a bone folder.
Instructions
1. Trim the printed calendar pages to size. Cut the whole stack at once on the guillotine rather than sheet by sheet, so every page ends up identical and the block sits square in the wire.  |
2. Stick the printed cover onto the chipboard. Peel the sticker backing and lay the board down onto it rather than the other way round — it is far easier to keep straight, and the sticker will not lift once it is down.  |
3. Trim the overhang and crease the fold line. Cut the excess sticker back flush with the board, then run a ruler edge firmly along the fold line so the cover hinges in one clean place instead of bowing.  |
4. Fold the cardstock along the guidelines. This folded strip becomes the hinge between the board and the wire, so crease it hard — a soft crease lets the cover sag away from the spine.  |
5. Glue the cardstock to one side of the cover. Spread the glue thinly and evenly right out to the edges; a thick bead in the middle will cockle the board as it dries.  |
6. Lay white sticker paper over the inside. It hides the glue line and the raw board, and gives the inside face a finish that matches the printed outside.  |
7. Repeat for the second cover. Build both the same way and keep them together — a front and back that are even slightly different sizes will show as soon as the calendar is closed.  |
8. Punch the holes along the guidelines — six on each side. Punch the covers and the page block against the same edge stop so every hole lands in the same place through the whole stack.  |
9. Cut two binding wires to six loops each. A full-length wire is far longer than this calendar needs; count the loops against the punched holes before you cut, not after.  |
Two matching short wires, one for each side of the calendar. Cut both before you start threading so you are not stopping halfway.  |
10. Thread the covers and pages onto the wires. Front cover, page block, back cover — check the block is the right way up before you close anything, because opening a crimped wire usually deforms it.  |
11. Close the wires in the binding machine. Squeeze in one steady motion — that is the calendar finished, ready to stand on a desk and flip through.  |
Troubleshooting
A white edge shows around the cover. The cover was printed at 100% instead of 120%, so there was no margin to wrap and trim. Reprint the cover oversize — you cannot fix it after the sticker is down.
The holes do not line up between the covers and the pages. Either the pages were printed at a scale other than 100%, or the stack shifted in the punch. Punch everything against the same edge stop, in small batches, and check one cover against the block before you punch the rest.
The cover bows or the sticker bubbles. Too much glue, or glue left to sit before the pieces went together. Spread it thin, join the pieces straight away, and put the cover under a weight while it dries.
The wire will not close, or the pages tear at the holes. The loop diameter is too small for the number of sheets on it. Drop a few pages from the block, or move up to a larger wire — forcing a crimp is what tears the first and last page.
Selling these
Desk calendars are a seasonal product with a very clear buying window, which is unusual in stationery and works in your favour. People shop for them in a concentrated few weeks at the end of the year, so a listing that is ready early tends to do most of its trade in a short burst rather than trickling along all year.
They also personalise well. Because the dates and the cover pattern are both editable in the template, the same physical build supports a family calendar, a team calendar with everyone's leave marked, or a shop's own branded version — and personalised listings usually carry a higher price than a generic one.
For bundling, a desk calendar pairs naturally with the planner or notepad it sits next to. A calendar plus a matching notepad in the same pattern reads as a desk set, and the second item costs you very little in materials compared with what it adds to the order.
If you sell the finished object rather than the printable file, price the assembly in as well as the board, paper and wire. Two covers, a punch run and two wires is real bench time per unit, and it is the part most people forget to charge for.
Try these next
DIY Weekly Planner with Magnetic Closure — another wire-bound build
DIY Corner-Bound Notebook — wire binding in a different place
DIY Hardbound Planner — a harder cover, same board technique
Book Binding Methods Compared — pick the right binding for a project
DIY Magnetic Fridge Notepad — more stationery that lives out on display


