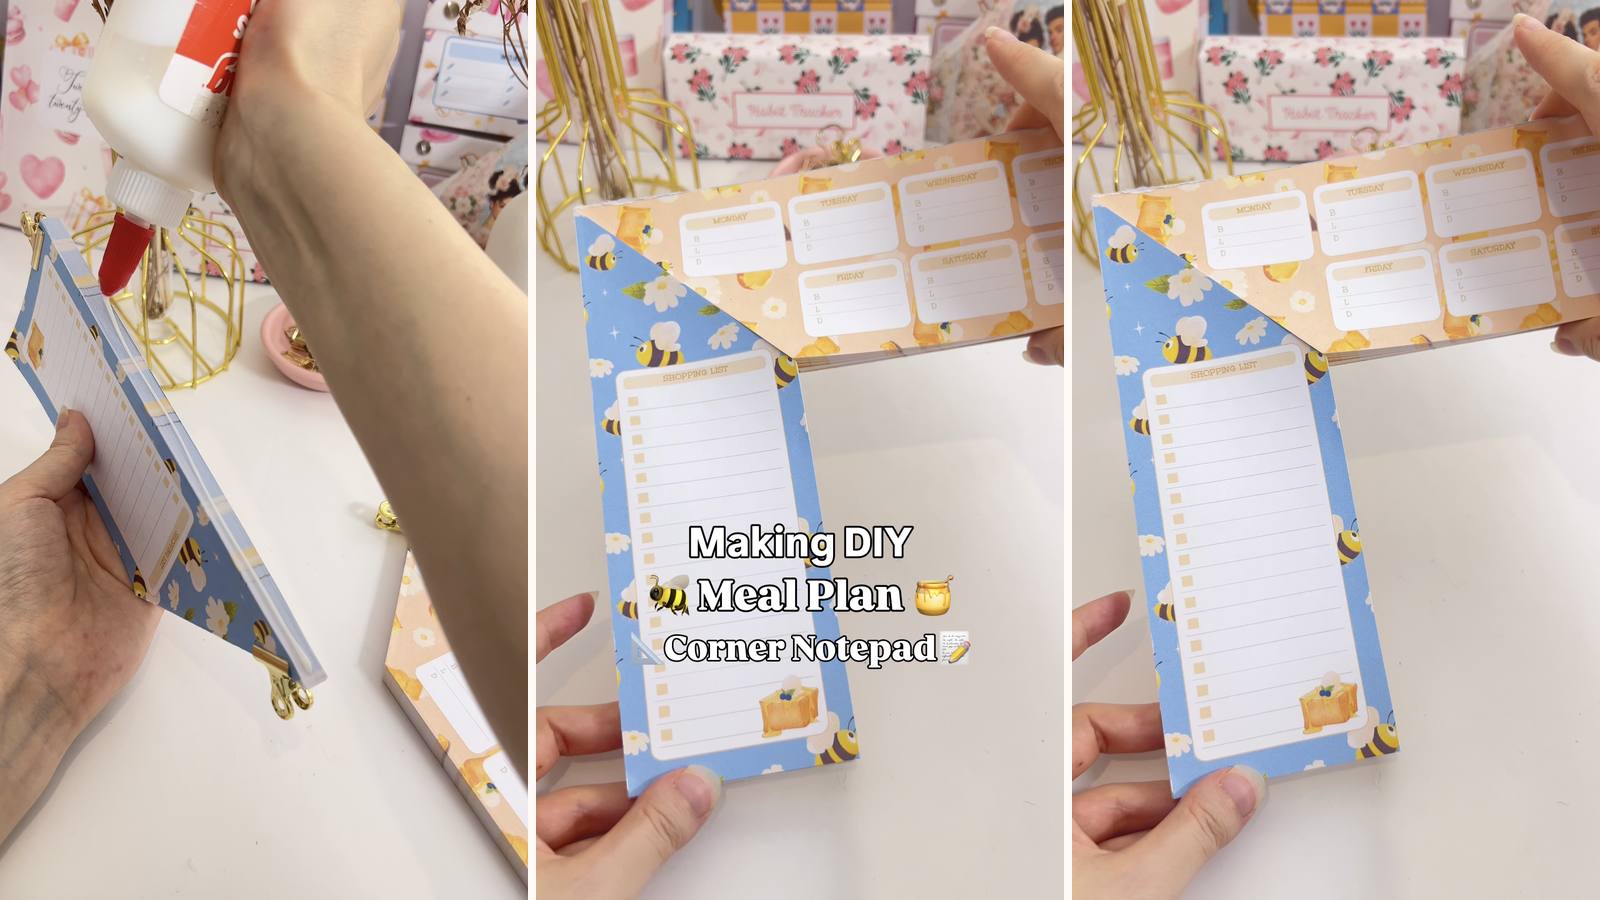
Two notepads — a weekly meal plan and a grocery list — each with one corner trimmed off at 45°, so the pair sits nose to nose in the corner of a kitchen counter instead of taking up a whole strip of worktop. They mount on a single piece of chipboard scored down the middle, which folds up into a stand.
These tutorials use Planify Pro, a drag-and-drop tool for designing printable planners and stationery. Building and editing is free — exporting a PDF needs a plan, from $9.99/month.
Design the pages
There's no marketplace listing for this one, so you build the two layouts yourself — they're simple. In Planify Pro, set up an A4 page and lay out a weekly meal plan (seven rows) and a grocery list (a single column of lines). Keep the design clear of the corner you'll be cutting off, or the 45° trim will slice through it.
You need 70 pages of each for a pad with real thickness. Build one page, then duplicate it.
Export and print
Go to Save/Export → Current Page → A4, then click Generate PDF. Open it in Adobe Acrobat Reader and print at 100% — with two pads that have to meet at a corner, any printer scaling shows up as a mismatch along the diagonal.
What You'll Need
 Paper Paper |
 Chipboard Chipboard |
 PVA Glue PVA Glue |
 Guillotine Paper Cutter Guillotine Paper Cutter |
 Binder Clips Binder Clips |
You'll also need double-sided tape to fix the finished pads to the base, and a ruler and pencil for marking the 45° lines.
Instructions
1. Print and cut the pages. 70 pages for each notepad. Trim them all to size on the guillotine before you mark anything — a square stack is what makes the diagonal cut land in the same place on every sheet.  |
2. Mark the 45° line on the grocery list pad. Ruler and pencil, corner to corner. Mark it on the top sheet only — you'll cut the whole stack to that line.  |
3. Mark the meal plan pad the same way. Mirror the angle — the two trimmed corners have to face each other, so mark this one on the opposite side.  |
4. Cut both corners off. Follow the pencil lines on the guillotine. Cut in smaller batches if the stack is fighting you — a thick stack drags and the angle wanders.  |
5. Clip each stack. Knock the binding edge square on the desk first, then clip. Any sheet sitting proud here ends up as a page that won't tear off straight.  |
6. Glue the binding edge. A generous layer of PVA along the top edge of each pad, worked right into the edge of the stack rather than sitting on top of it.  |
7. Dry for 15 minutes. Clips stay on the whole time. Unclipping early lets the stack spring apart while the glue is still soft, and the bind never fully closes again.  |
8. Cut the chipboard base. 21.2 cm × 7.4 cm, with a square 90° corner. That corner is what the two trimmed pads wrap around, so cut it accurately.  |
9. Score the fold line. Run the blade from the outside corner to the inside corner twice, cutting only halfway through the board. Cut all the way and you have two pieces instead of a hinge.  |
10. Test the fold. It should bend cleanly along the score without cracking or separating. If it resists, score once more rather than forcing it.  |
11. Tape the backs of the pads. Strips of double-sided tape across the back of each dried notepad, not just around the edges.  |
12. Press them onto the base. Line both pads up with the outside edges of the chipboard and check the trimmed corners meet before you press — the tape won't let you reposition.  |
Fold the base up and it stands in a corner with both pads facing you.  |
Troubleshooting
The two trimmed corners don't meet. Either the angles aren't mirrored, or the pages printed at something other than 100%. Check a printed sheet against the chipboard before you glue anything.
The chipboard snapped in half when folded. The score went too deep. Halfway through is the target — two light passes beat one heavy one.
The base won't stay folded. Chipboard has memory and springs back. Fold it and leave it under something heavy for an hour before mounting the pads.
Pages come off in clumps. The glue sat on the surface rather than soaking into the edge. Work the next coat into the stack with the brush, and don't skip the clips.
Selling these
Kitchen stationery sells to a different buyer than planner stationery — people who'd never buy a planner will buy a meal planner that fits their counter. That's a genuinely separate audience to list into.
The corner format is also the pitch. "Fits in the corner so it doesn't eat your worktop" is a concrete benefit you can say in a listing title, which is worth more than another pretty notepad.
Two pads in one product also justifies a higher price than a single notepad, and the extra cost to you is one more stack of paper and a bit more glue.
See 20 profitable planner niches and easy templates that sell for more product ideas.
Try these next
- DIY Triangular Notepad — another angled-cut pad
- DIY Magnetic Fridge Planner — more kitchen planning
- How to Make Notepads at Home — the full beginner guide
- DIY Notepad Design Ideas — decorating and selling
- Browse all DIY tutorials


