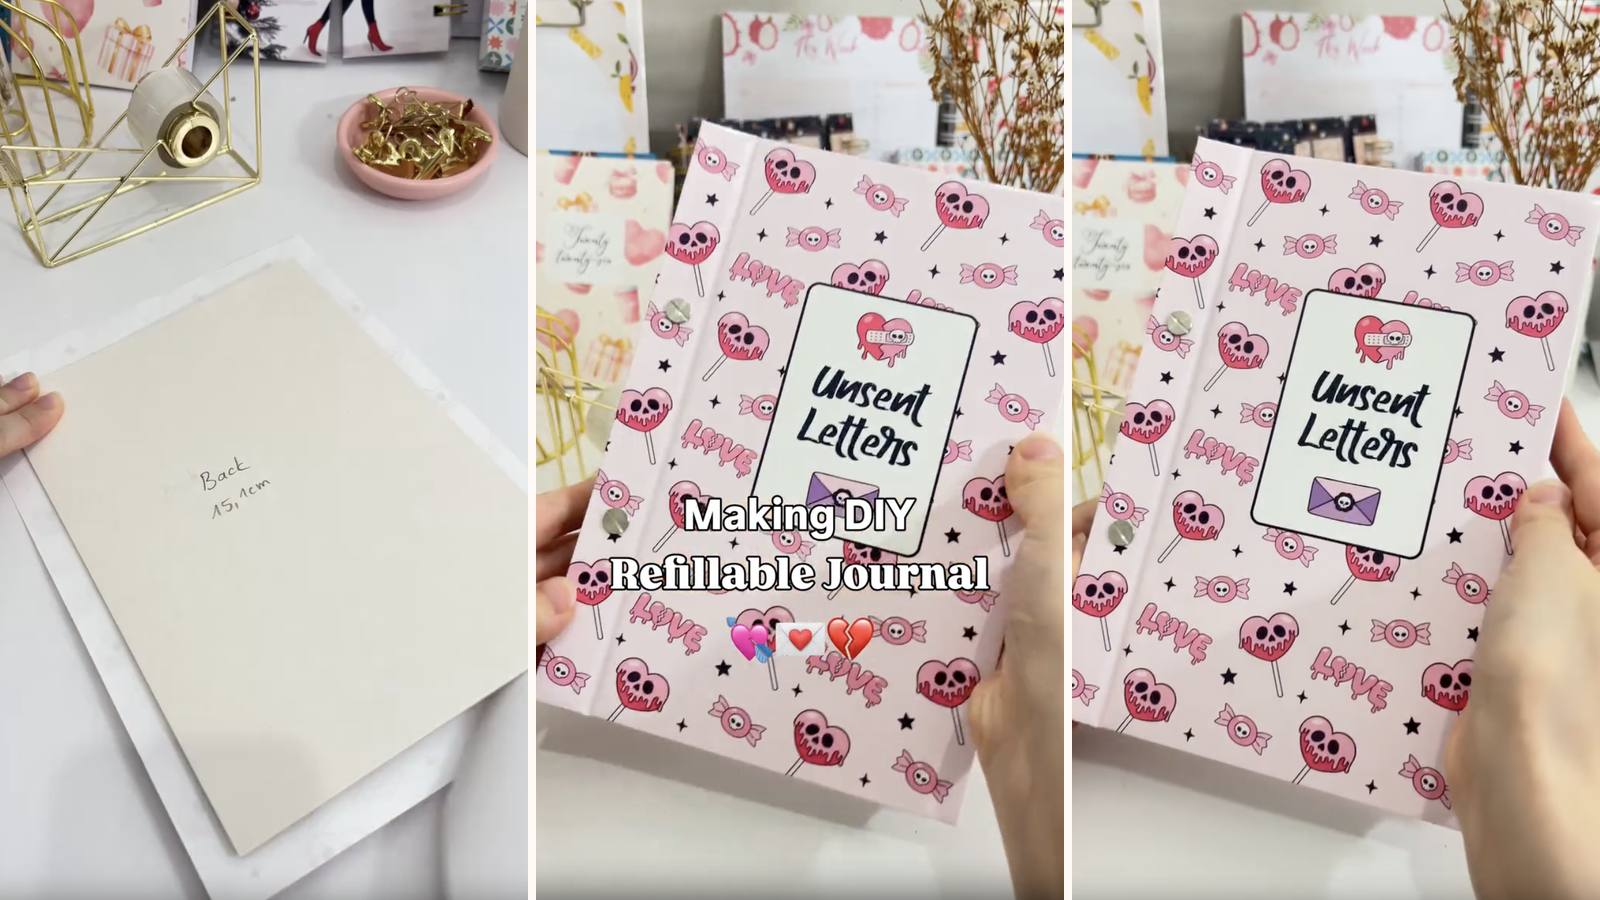
A hardcover journal held together by two Chicago screws instead of glue or wire. Unscrew them by hand and the whole book comes apart, so you can pull out the pages you've finished with, add fresh ones, or swap lined pages for dot grid without touching the cover.
These tutorials use Planify Pro, a drag-and-drop tool for designing printable planners and stationery. Building and editing is free — exporting a PDF needs a plan, from $9.99/month.
Get the template
Open it in Planify Pro to change the size, colours or artwork before printing — or print it exactly as it is.

Export and print
Two exports, both from Save/Export → Selected Page → Paper:
Inserts: select A4 or US Letter → Generate PDF. Print these on regular copy paper at 100% scale, front side only.
Cover: select A4 → Generate PDF. Print the cover on white glossy sticker paper at 120% scale — the oversize print is what gives you the margin to wrap around the chipboard edges.
What You'll Need
 Chipboard Chipboard |
 Paper Paper |
 Glossy Sticker Paper Glossy Sticker Paper |
 Chicago Screws Chicago Screws |
 Hole Punch Hole Punch |
 Bone Folder Bone Folder |
 Guillotine Paper Cutter Guillotine Paper Cutter |
On screw length: the screws have to clear the whole stack — 130 pages plus two covers. Measure your assembled stack before buying, because a set that's 2 mm short is a set you can't use.
Instructions
1. Print and cut the inserts. Around 130 pages, on regular copy paper at 100%, single-sided. The exact count depends on your screw length, so cut a few spare.  |
2. Punch the inserts. Punch in small batches and keep every batch registered to the same edge — one stack punched a millimetre out and the screws won't pass through.  |
3. Cut the three chipboard panels. Spine strip 1.8 × 22 cm · Front panel 12.8 × 22 cm · Back panel 15.1 × 22 cm. The back is wider on purpose — it covers the full page, while the front is split to make room for the hinge.  |
4. Print and trim the covers. Onto glossy sticker paper at 120%, then trim off the white frame and edges around each cover.  |
5. Lay the spine strip and front panel down with a 4 mm gap. That gap is the hinge. Too narrow and the cover won't open; too wide and it flops.  |
6. Trim the corners at 45°, then fold the sides in. Cutting the corners first is what stops the paper bunching where two folds meet. Press each fold firmly.  |
7. Wrap the back cover the same way. One solid panel, corners trimmed, all four sides folded in.  |
8. Line both insides with glossy sticker paper. Hides the folded edges and stops them peeling up over time.  |
9. Score the hinge. Run the bone folder along the gap between the spine strip and the main panel. Without this the cover creases somewhere arbitrary the first time it's opened, and that crease is permanent.  |
10. Punch both covers. Through the spine strip on the front, and along the binding edge on the back. Hold a punched insert against each cover as a template.  |
11. Separate the Chicago screws. Male screw and female post. Lay them out in pairs so you're not hunting for a matching half with a full stack balanced on your hand.  |
12. Push the posts through the back cover from the outside. The posts should stand up through the inside face, ready to thread pages onto.  |
13. Thread the pages on. All of them, before the front cover goes anywhere near it. Adding pages afterwards means taking the whole thing apart again.  |
14. Add the front cover and screw it down. Feed the posts through the spine strip, then tighten the male halves until snug — snug, not forced, or the threads strip and the journal stops being refillable.  |
Open and close the cover to check the hinge, and flip the pages to be sure nothing binds. To refill, unscrew and swap.  |
Troubleshooting
The screws won't reach through the stack. Too many pages for the screw length. Take pages out rather than forcing the screw — a partly-engaged Chicago screw pulls apart in a bag.
Some pages won't sit on the posts. A batch was punched slightly out of register. Re-punch that batch using an already-punched page as a guide.
The front cover won't open flat. The 4 mm hinge gap is too tight, or the score line was skipped. Both are set before the sticker goes down.
The screws work loose. Normal with regular use. Tighten them by hand every so often, or add a dab of removable thread lock if it's a gift — but nothing permanent, or it stops being refillable.
Selling these
Refillable journals sell to two things at once: people who want something sustainable, and people who like the idea of a book that adapts. Both are willing to pay more than they would for a fixed notebook.
The format also lets you split the product. Sell the cover as one listing and insert packs as another, and you've turned a one-off purchase into a customer who comes back for refills — lined, dot grid, weekly, whatever you offer.
Chicago screws read as premium in photos in a way wire binding doesn't. Shoot the journal half-unscrewed with a page lifting out; it explains the whole product without a word of description.
See 20 profitable planner niches and how to price bundles for more on selling these.


