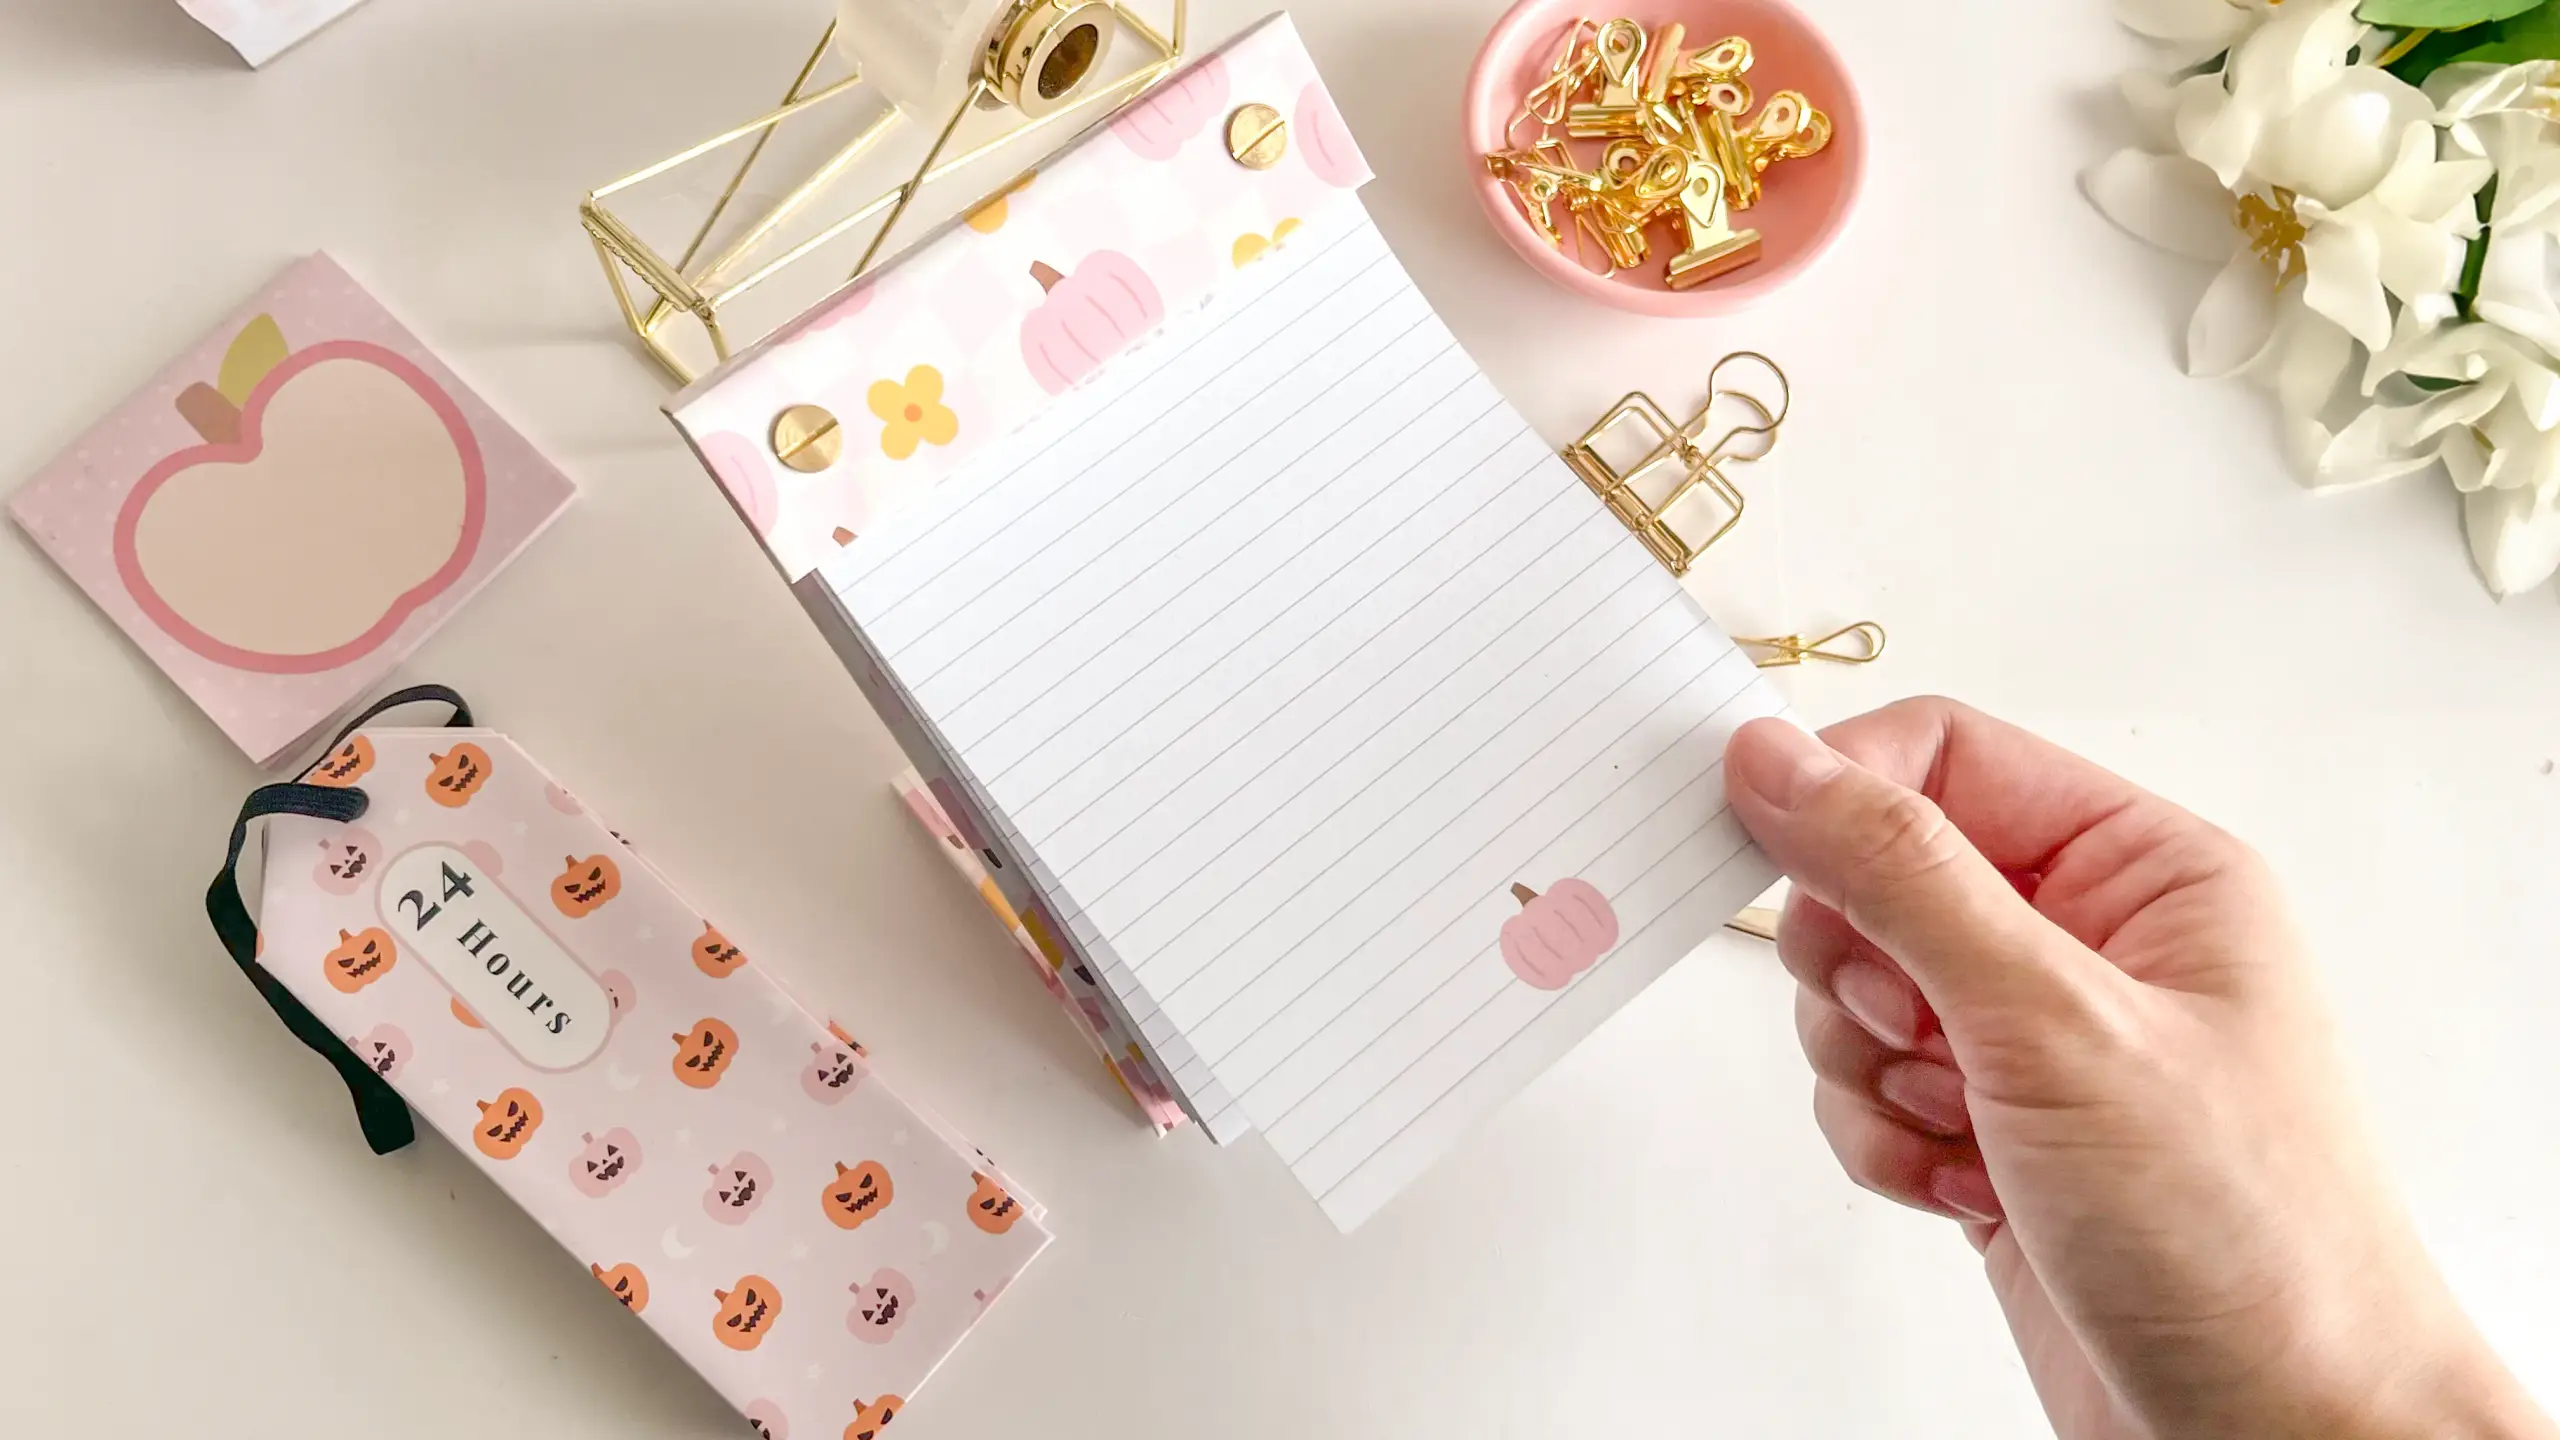
A standing refillable notepad is a notepad and its own easel: seven chipboard panels wrapped in one printed sheet, folded so the back props the pad up on the desk. Two Chicago screws hold the pages, so when the pad runs out you unscrew it and drop in a fresh stack instead of building the whole thing again.
These tutorials use Planify Pro, a drag-and-drop tool for designing printable planners and stationery. Building and editing is free — exporting a PDF needs a plan, from $9.99/month.
Get the template
Open it in Planify Pro to change the size, colours or pattern before printing — or print it exactly as it is.
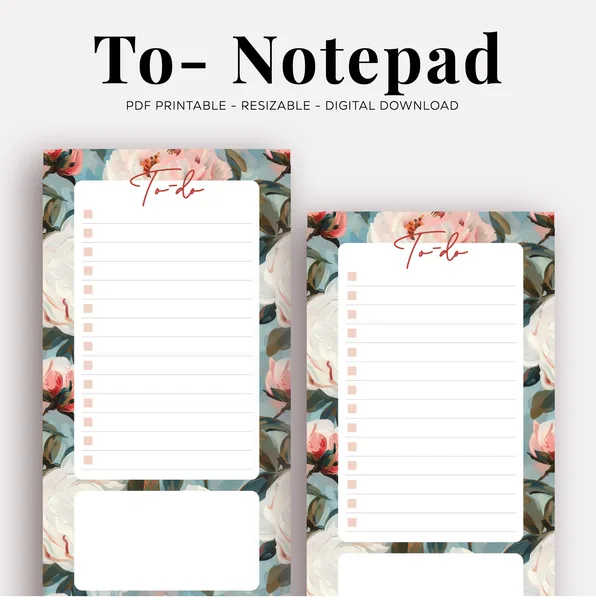
Export and print
Export two PDFs — one for the inserts, one for the cover — because they print on different stock. The inserts go on plain paper, and several fit on a single A4 or US Letter sheet, so gang them up rather than printing one page per sheet.
The cover goes on white glossy sticker paper and prints at a larger scale than the inserts: it has to wrap chipboard 10.4cm wide and still fold over the edges, so it needs to come out wider than the pages it holds. The finished cover runs about 32cm end to end, which is longer than an A4 sheet — expect it to arrive as two sheets you join.
Scale is the step to watch. The chipboard measurements in step 3 below assume the cover prints at the size given, so if you change the insert size or print at anything other than the intended scale, measure your printed cover before cutting any board.
What You'll Need
 |  |  |
 | ||
Scissors and a ruler do everything the guillotine does, just more slowly. A hand-held plier punch is worth having alongside a desk punch — it is the only one that reaches into the folded cover.
Instructions
1. Print, cut out and peel. Trim each printed piece back to its edge, then peel the backing off the cover sheets. Glossy sticker paper grabs on contact, so peel only the part you are about to stick down.  |
2. Join the two cover sheets into one strip. The full cover is longer than a sheet of A4, so it prints in two parts. Line them up and smooth them into a single strip before any board goes near it.  |
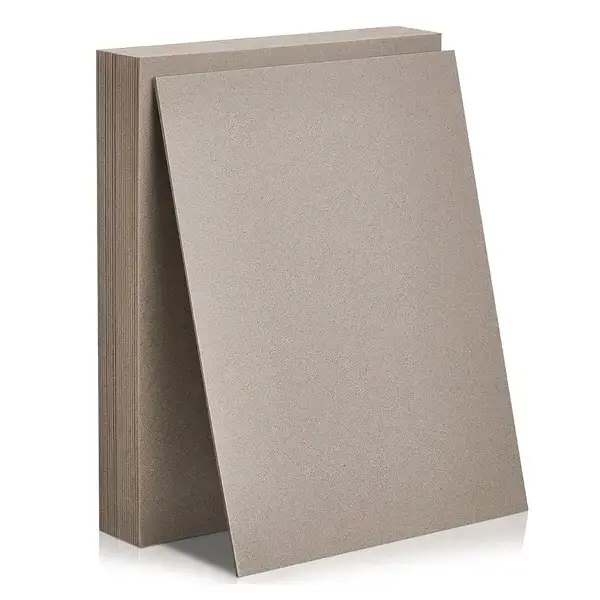
3. Measure out seven chipboard panels. All seven are 10.4cm (4.09in) wide and cut from 1.2mm chipboard. Numbered from the front piece upward, the heights are 2.5cm, 1cm, 14.5cm, 1cm, 1.2cm, 4.5cm and 5.5cm. The 14.5cm panel is the writing back; the 1cm and 1.2cm strips are hinges, and the two panels above them fold behind it to make the stand. 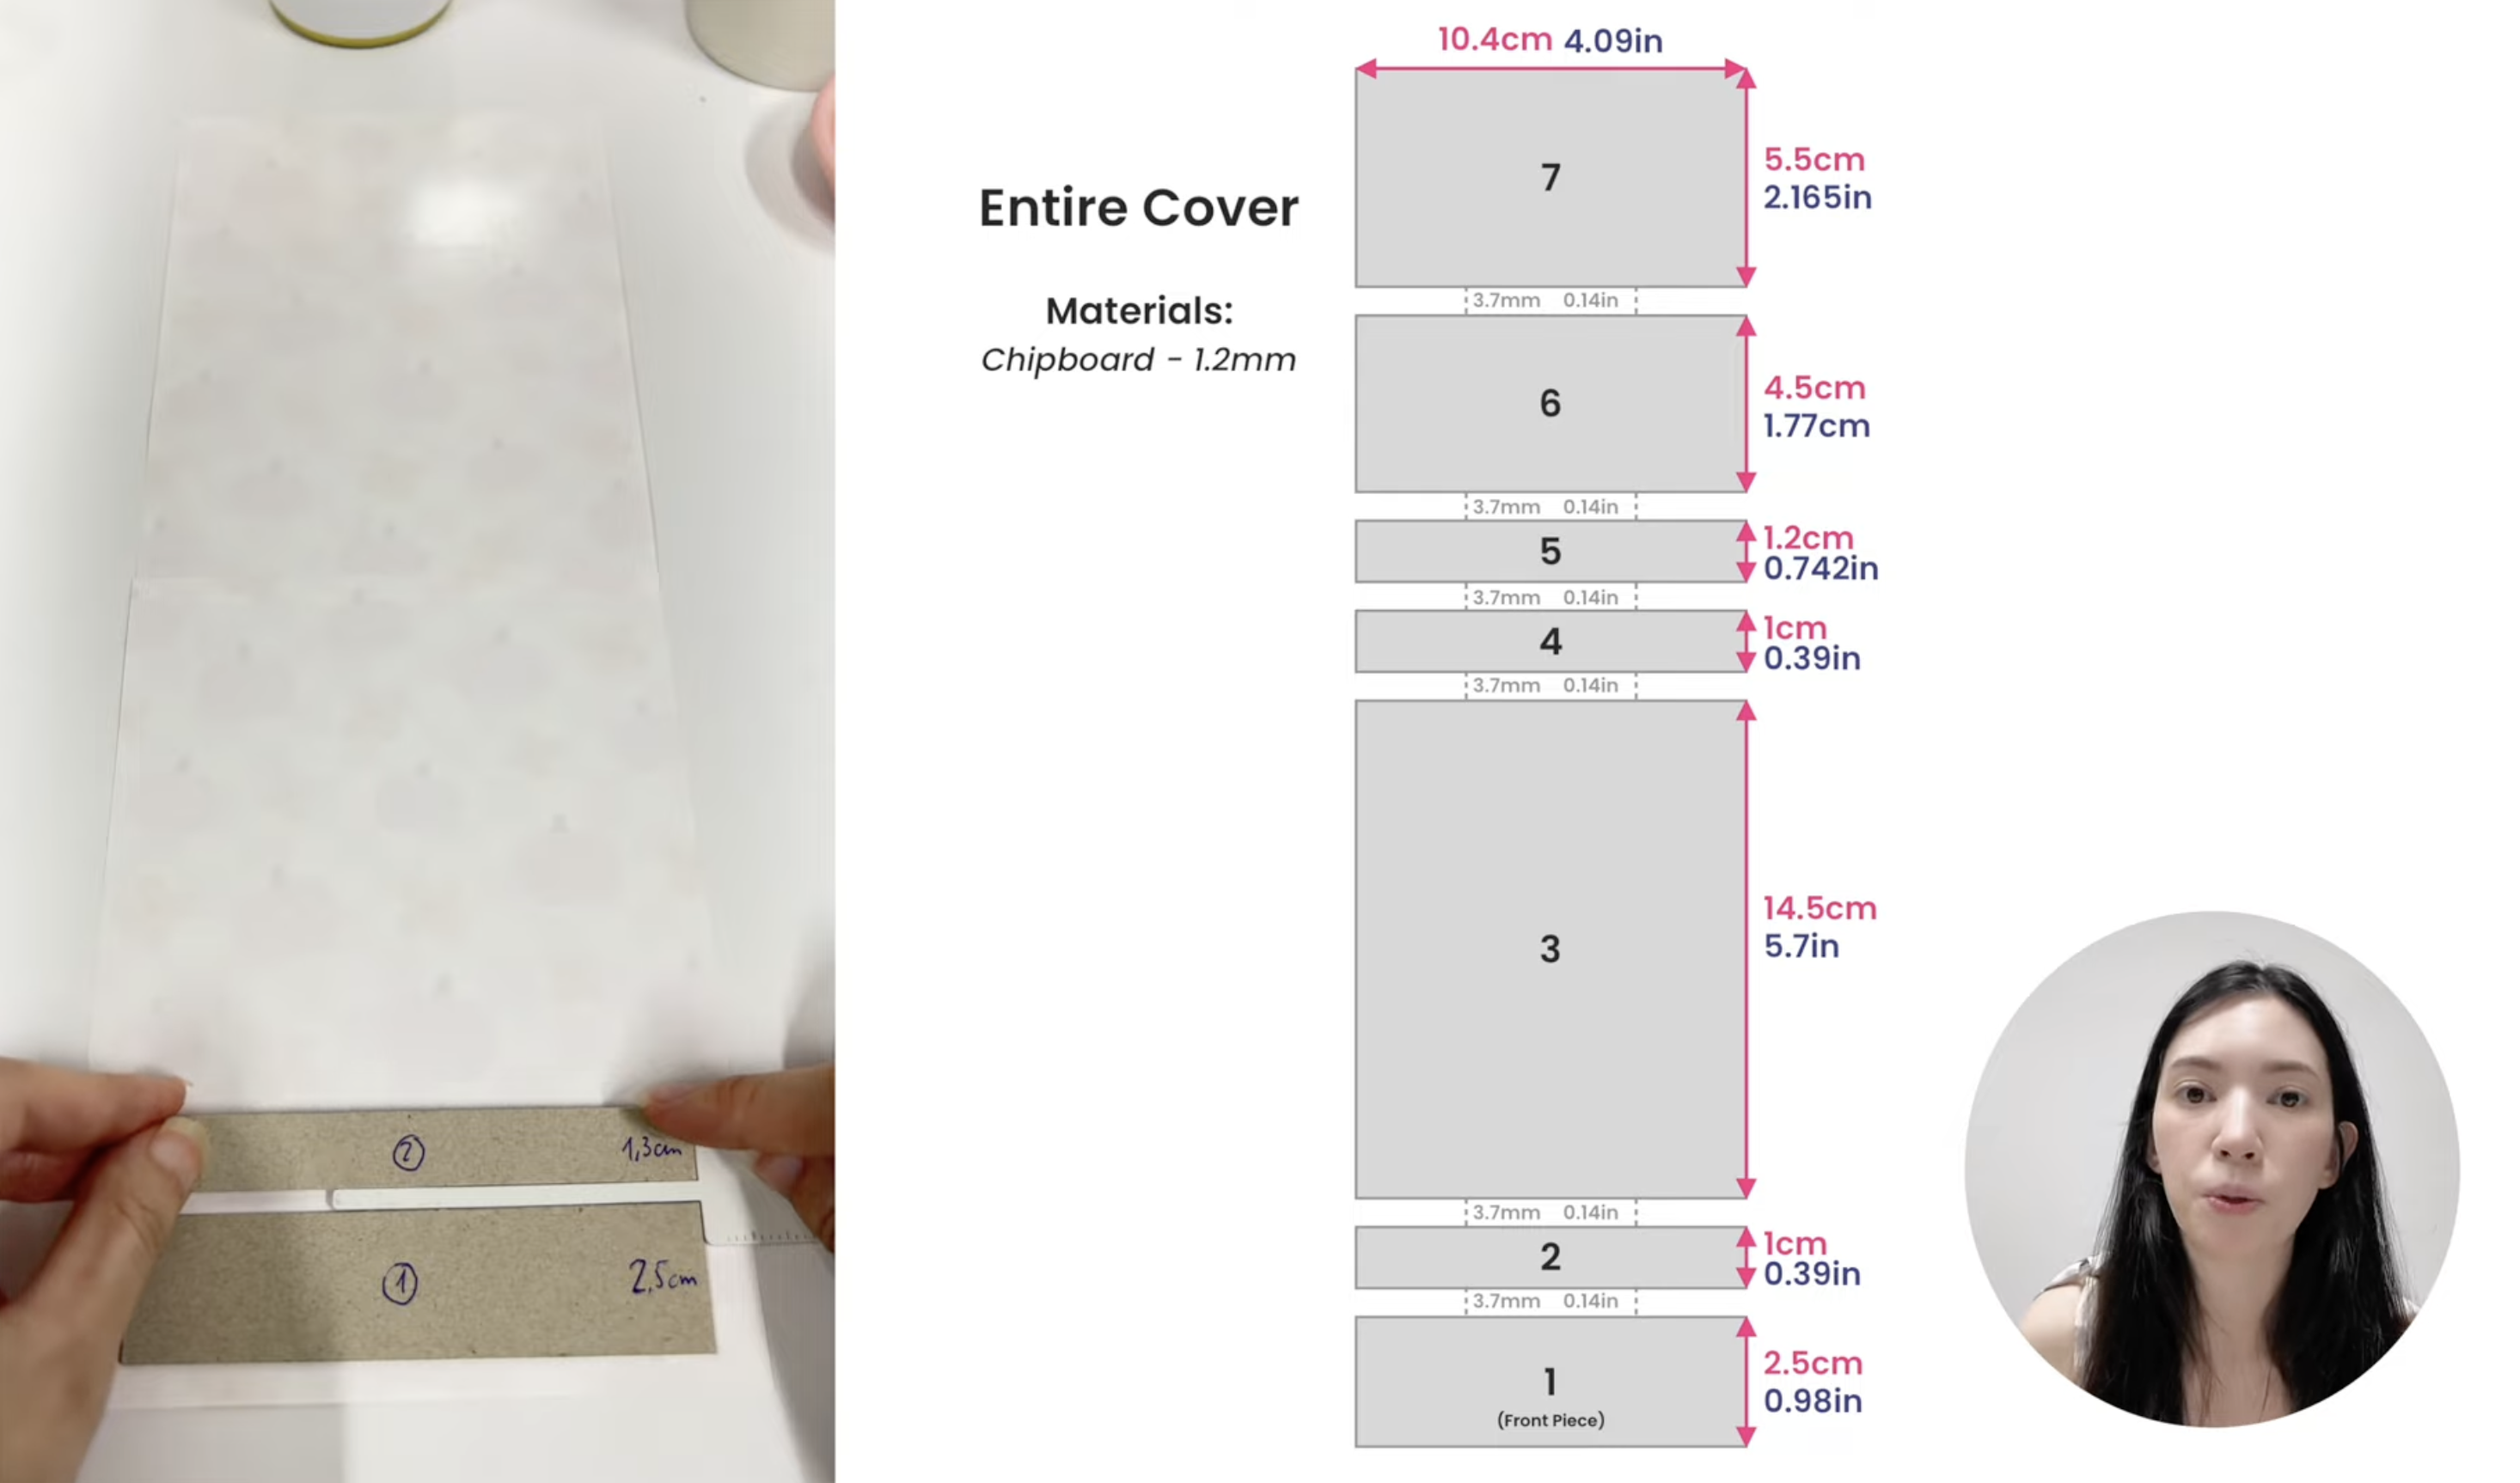 |
4. Cut them out and number them. Rule the panels onto the board, write the number on each one before you cut, then cut with scissors or a craft knife. Five of the seven are within a couple of centimetres of each other and a swapped pair throws the whole fold sequence out.  |
5. Lay the panels on the cover with a 3.7mm gap between each. The gaps are the hinges — chipboard will not bend, but the sticker sheet spanning the gap will. Butt the panels up against each other and the case cannot fold. Leave a margin all round, trim the corners at an angle, then fold the margin in.  |
6. Line the inside and press into every gap. Stick the second, smaller cover sheet over the exposed board so the folded margins are hidden, then run a bone folder down each gap. Pressing the sheet into the gap rather than flat across it is what gives each hinge a fold line to work with.  |
7. Crease every hinge. Fold the case at each gap in turn and run the bone folder along the crease. A soft fold springs back, and a case that springs back leans on the desk instead of standing on it.  |
8. Punch the inserts as one stack. Punch the whole pad in one go rather than a handful at a time. Every sheet then carries its holes in the same place, which is what lets you refill the notepad later without touching the cover again.  |
9. Mark the cover from a punched insert. Sit a punched sheet on the cover exactly where the pad will sit and pencil through its holes. Measuring the cover independently is how the holes end up a few millimetres off and the pages never sit straight.  |
10. Punch the cover. A hand-held plier punch reaches into the folded case where a desk punch cannot. Take it slowly — 1.2mm board under sticker paper needs real pressure, and a punch that slips tears the printed surface.  |
11. Fit the Chicago screws. Post in from the back, cap on the front, and tighten only until the pages stop sliding. Screwed down hard, the top sheets are pinched flat and will not turn.  |
12. Fold the back into its easel and stand it up. That is the build. When the pad runs out, undo the two screws, drop in a fresh stack of printed inserts and close it again — the case is the part you only make once.  |
Troubleshooting
The case leans instead of standing. The hinge creases are too soft. Fold each gap fully closed and press the crease down with a bone folder — the fold has to hold its own shape, because nothing else is bracing the stand.
The sticker paper splits along a hinge. The gap between those two panels was too tight. 3.7mm gives the sheet enough slack to bend; panels laid edge to edge force the paper to fold over a hard board corner and it tears there on the second or third fold.
Holes in the cover do not line up with the pages. The cover was measured rather than marked from a punched insert. Re-punch a fresh cover panel using a finished sheet as the template.
The pages will not turn freely. Either the screws are over-tightened, or the stack is too thick for the screw posts you have. Chicago screws come in several post lengths — match the post to the pad depth rather than forcing it.
Selling these
Refillable products sell twice. The case is where the material cost and the labour sit; the refills are printed paper and two holes, so once someone owns the stand they come back for pages rather than for another notepad. Price the case with a first pack of inserts included, and list refill packs separately.
The cover is a single printed sheet, which makes seasonal variants nearly free — the same seven panels take a different pattern with no change to the build. That is a straightforward way to run autumn, festive and back-to-school versions off one product photo set.
It also bundles well: a stand plus refills plus a matching pen reads as a desk set rather than a notepad, and prices accordingly.
Try these next
DIY Refillable Notepad — the flat version, same Chicago screw binding
DIY Folding Notepad Station — another chipboard desk build
DIY Magnetic Fridge Notepad — the same idea, stuck to a fridge
How to Make Notepads at Home — glue binding for tear-off pads
Book Binding Methods Compared — when to screw, glue or wire


