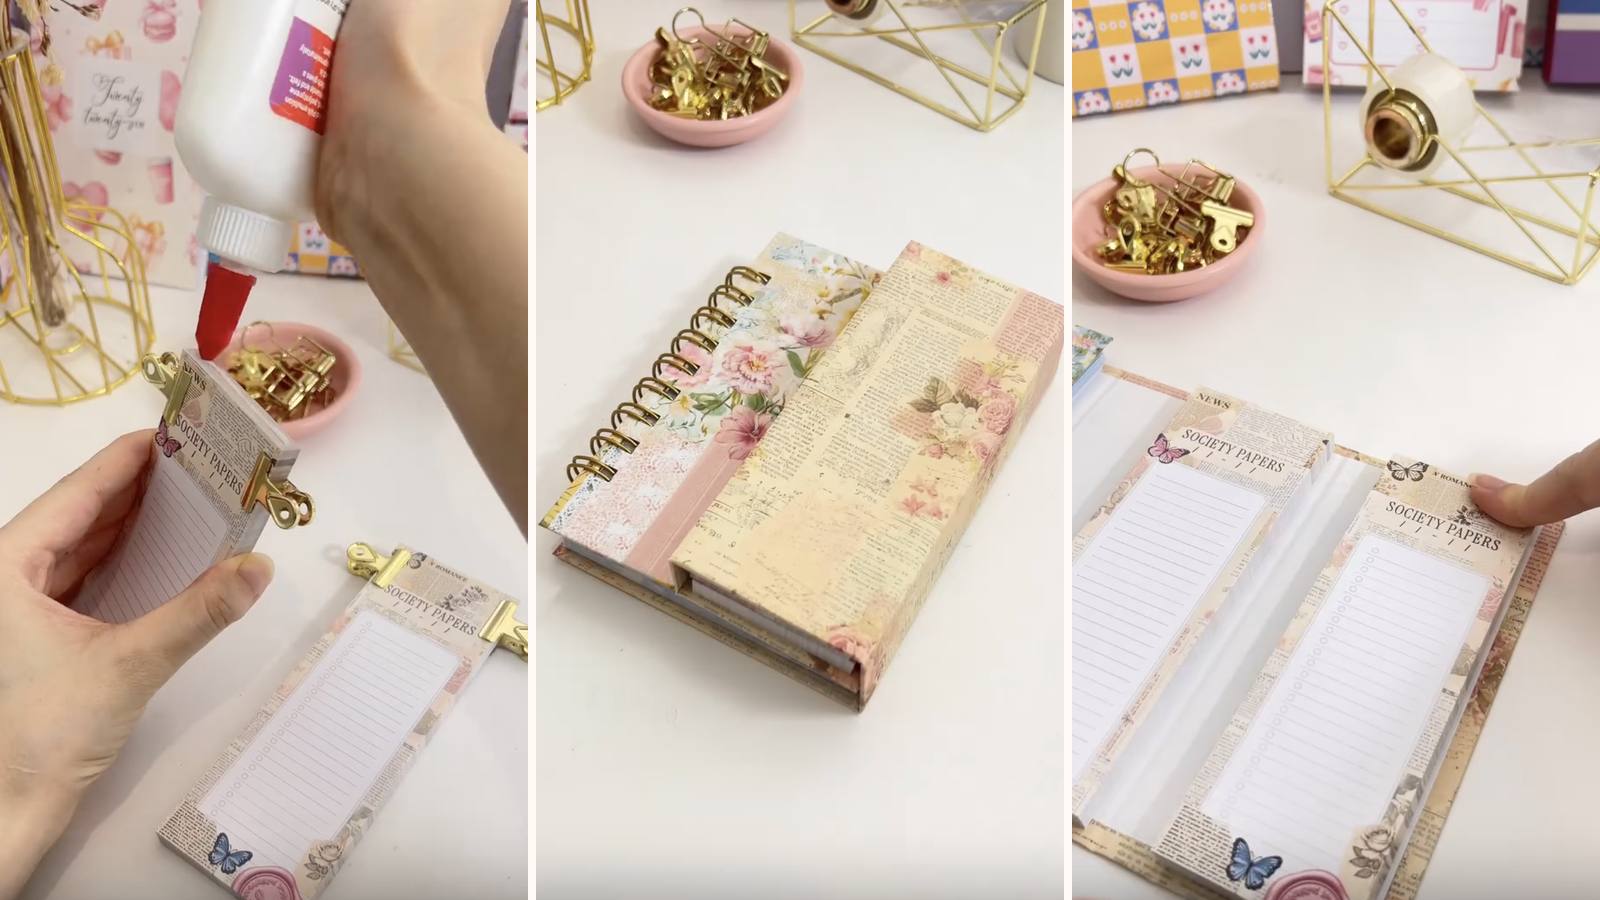
A wire-bound journal whose cover carries on past the spine into two folding wings, each with its own glue-bound tear-off notepad stuck to it. Open it flat and you get the notebook in the middle with a scratch pad on either side — notes on one wing, a list on the other, and the journal itself left clean.
These tutorials use Planify Pro, a drag-and-drop tool for designing printable planners and stationery. Building and editing is free — exporting a PDF needs a plan, from $9.99/month.
Get the template
There are two files here — the journal and cover, plus the note pages for the wing pads. Open either in Planify Pro to change the size, colours or artwork before printing, or print them exactly as they are.
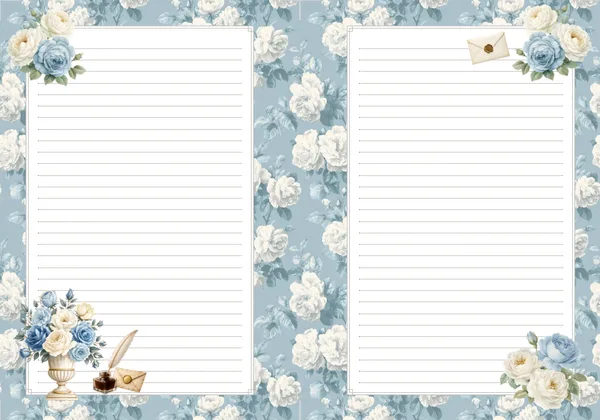
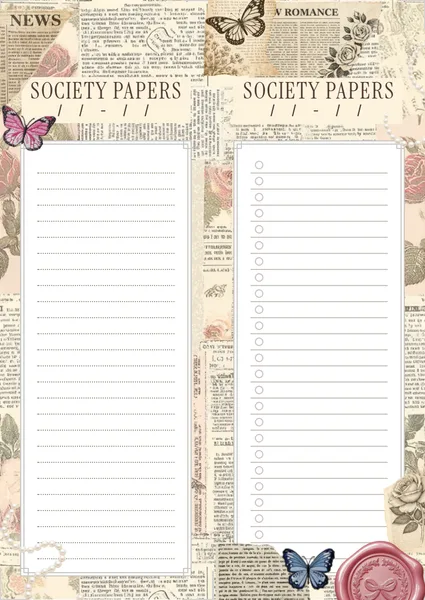
Export and print
In Planify Pro, go to Save/Export → Current Page → A4, then click Generate PDF, and open the PDF in Adobe Acrobat Reader to print.
The cover pages print on white matte sticker paper. The inserts and notepad pages print at 100% — this build has six chipboard panels cut to fixed millimetre sizes, so anything the printer rescales stops lining up with the board underneath it.
What You'll Need
 |  |  |
 |  |  |
 |  |
You'll also need double-sided tape to fix the finished notepads to the wings.
Instructions
1. Print the cover pages on matte sticker paper. There are two cover sheets — one for the front board and one that carries the back plus both wings.  | 2. Mount the first chipboard and fold the sides in. Peel the backing, set the board down centred, and fold each margin over onto it.  |
3. Cut and lay out the six panels for the second cover. 1 & 2) 11 × 15.3 cm · 3) 2.6 × 15.3 cm · 4) 15.8 × 15.3 cm · 5) 1.4 × 15.3 cm · 6) 5.8 × 15.3 cm. Leave a small gap between each — those gaps are the hinges the wings fold on.  | 4. Trim the corners. Snip each corner of the sticker at an angle before folding, so the paper doesn't bunch where two folds meet.  |
5. Fold all the sides in. Work along the long edges first, then the ends. Press each fold down hard against the board as you go.  | 6. Line the inside covers with sticker paper. This covers the folded edges and gives the notepads a flat surface to tape onto later.  |
7. Make the two notepads. Cut the notepad inserts, clip each stack square, brush PVA along the top edge and leave it 15 minutes to dry with the clips still on.  | 8. Cut and punch the journal inserts. Punch them in small batches on the Cinch — overloading it gives you ragged holes that the wire won't sit straight in.  |
9. Punch the back cover. Line the punch up against the board's spine edge before you press — a cover punched off-centre is not recoverable.  | 10. Punch the front cover. Match the hole positions to the back cover exactly — hold them together and check before punching.  |
11. Get the 20mm o-wires ready. Open, teeth facing up, on the machine's holder so both hands are free for the stack.  | 12. Load the wire: inserts, then front cover, then back cover. That order matters — get it wrong and the cover ends up inside the book.  |
13. Close the wires on the Cinch. One firm, even squeeze. Squeezing twice over-closes the loops and the pages stop turning freely.  | 14. Tape the backs of the notepads. Double-sided tape across the whole back, so the pad doesn't lift at a corner when a page is torn off.  |
15. Mount them on the wings. One pad per outer wing. Position both before pressing — check the wings still fold shut over the journal with the pads in place.  | Done — a journal that opens to a notebook in the middle and a tear-off pad on each side.  |
Troubleshooting
The wings won't fold flat. The gaps between the chipboard panels are too narrow. They have to be wide enough for the board thickness to swing through, and it's fixed once the sticker is down — so check with a dry run before peeling anything.
The wire holes in the covers don't line up with the inserts. The cover boards were punched separately without being matched. Hold every piece against the first punched cover and align to it, rather than trusting the machine's guide each time.
The pages don't turn freely. The wire is over-closed. One firm squeeze on the Cinch is enough; a second flattens the loops.
The notepads peel off the wings. Tape only around the edges won't hold against repeated tearing. Cover the whole back of the pad.
Selling these
This is the piece to put at the front of a stall or the top of a shop page. Nobody recognises the format, so people pick it up — and a product that gets handled sells the rest of the table.
It justifies a real price too. There's a bound notebook and two glue-bound pads in one object, and buyers can see the work in it, which makes it much easier to price above the usual handmade-notebook range.
If you're producing at any volume, batch it: cut all the chipboard for a run in one session, glue all the notepads at once, and assemble afterwards. The cutting is the slow part, not the binding.
See 20 profitable planner niches and how to price bundles for more on selling handmade stationery.
Try these next
DIY Half-Hidden Wire Notebook — another o-wire build
How to Make a Folding Planner — more folding cover work


