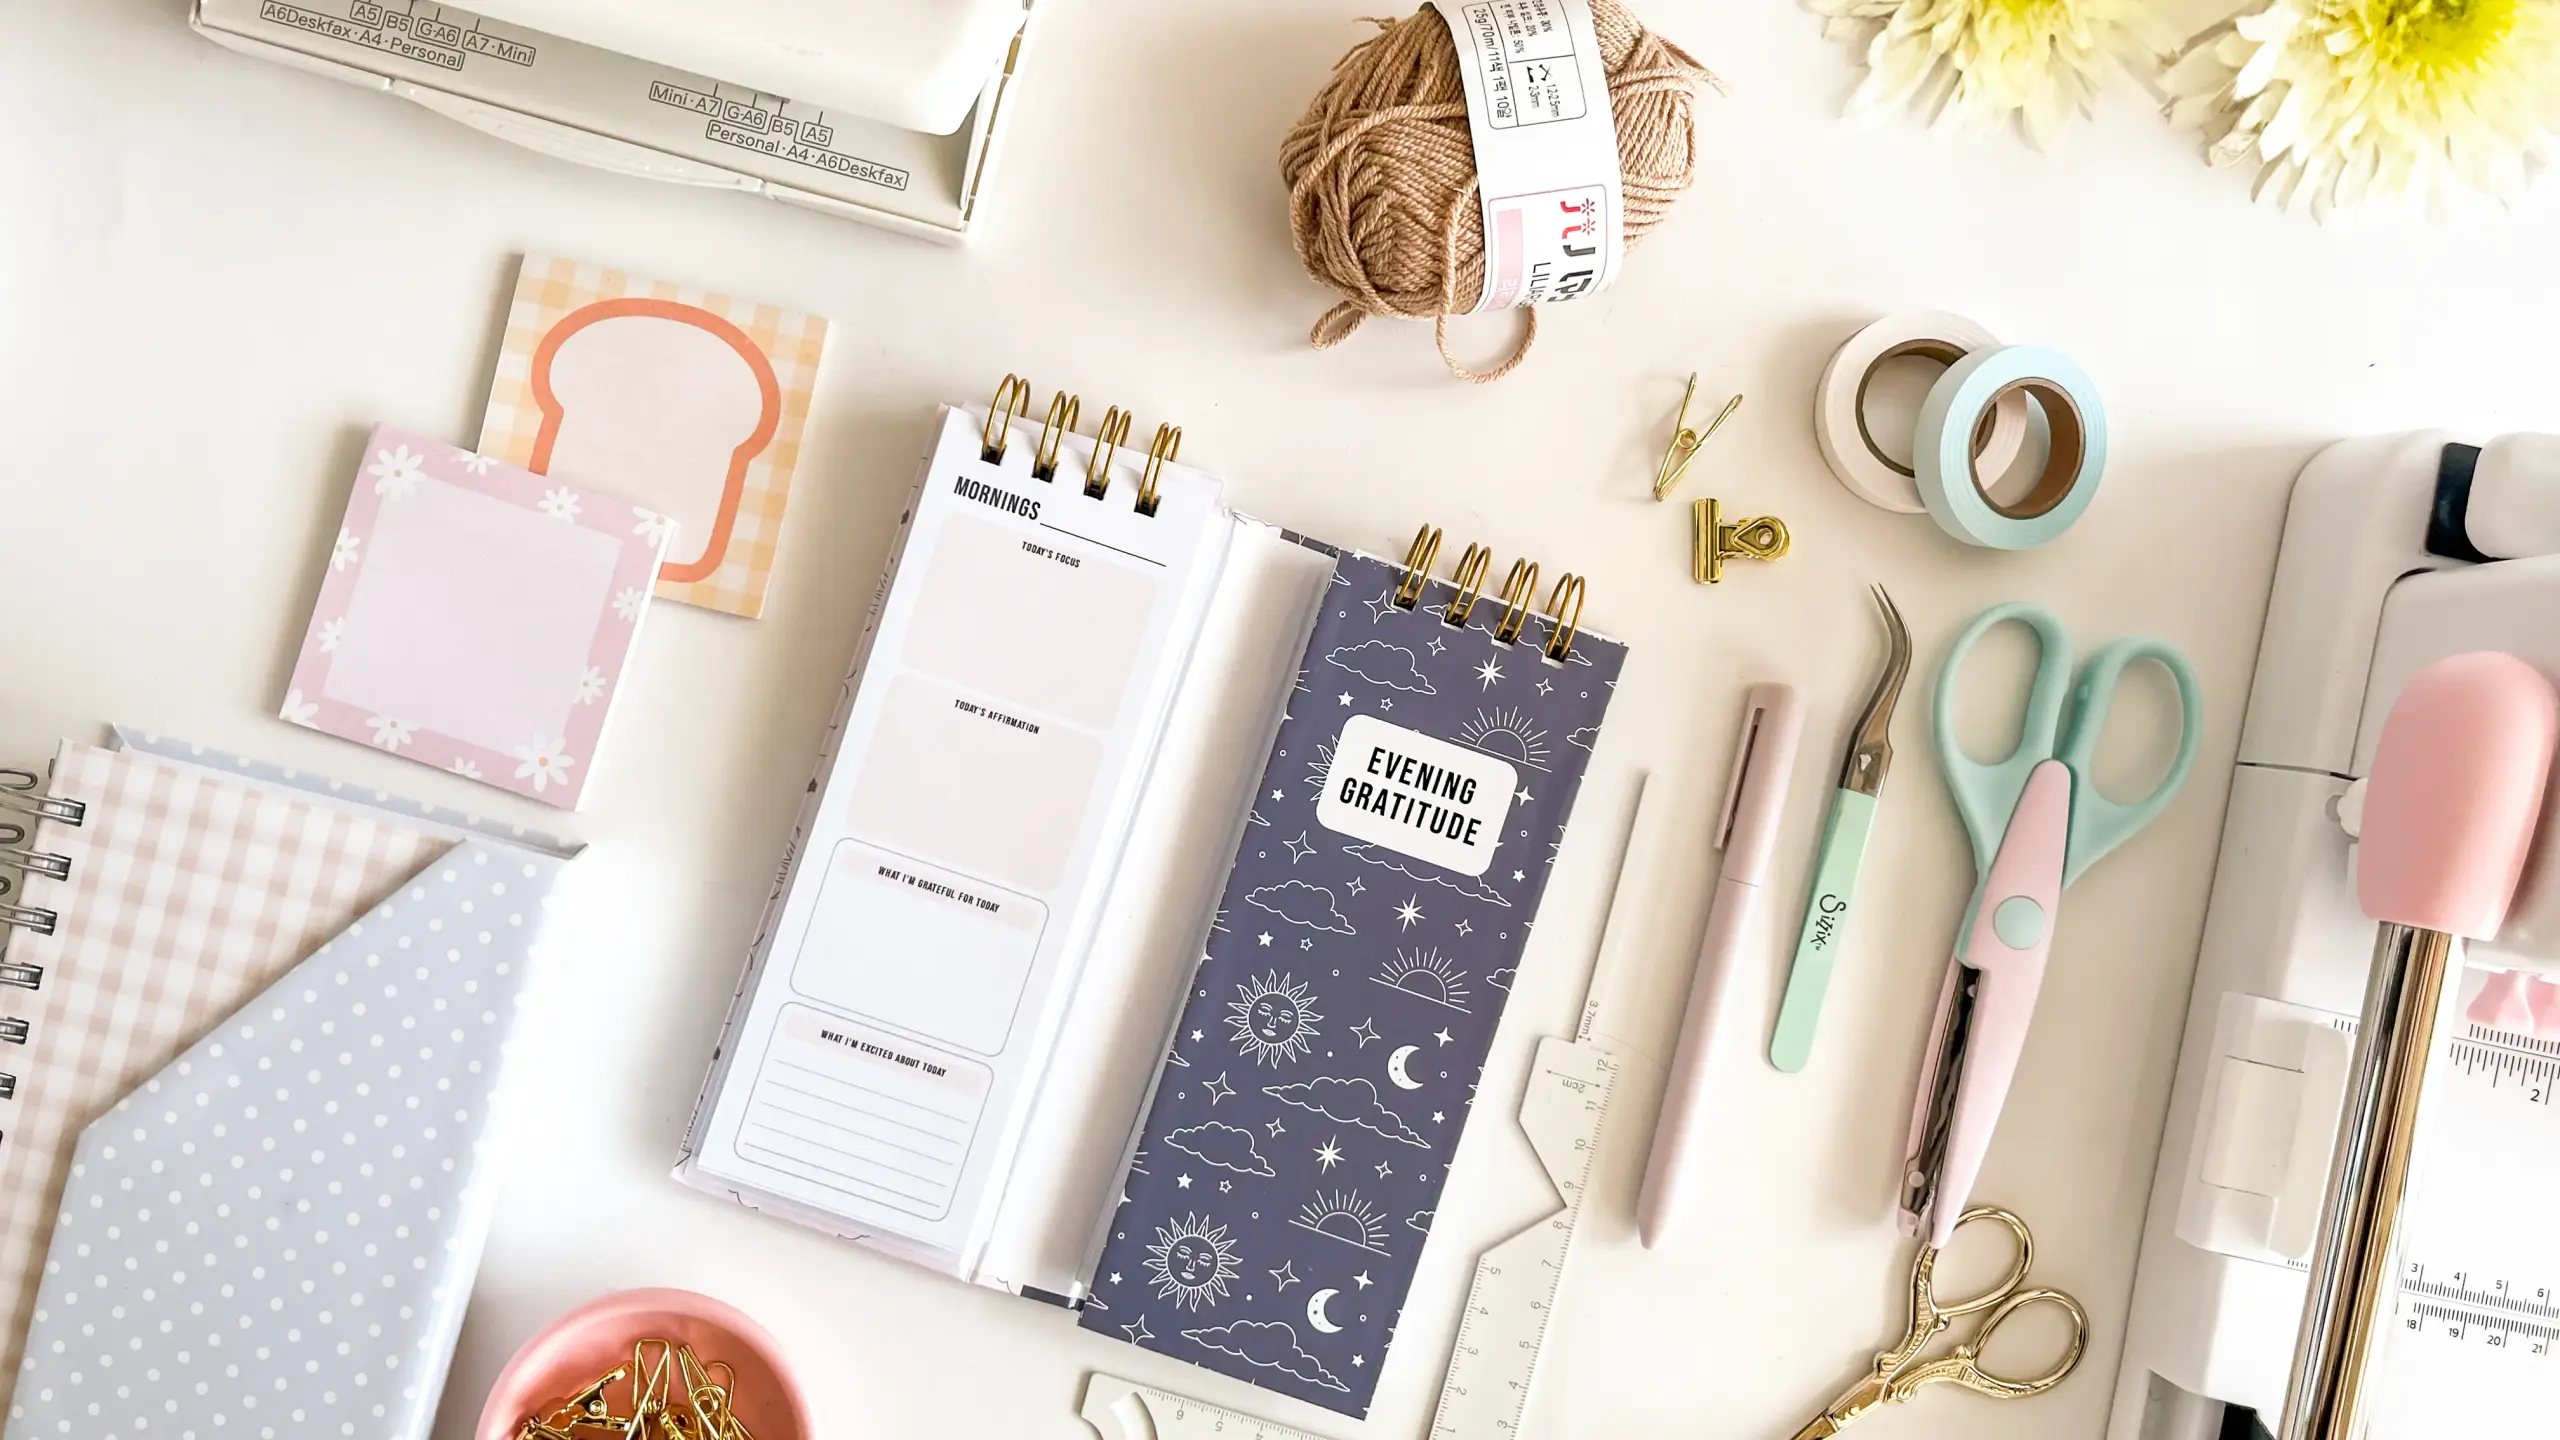
Two slim gratitude pads — one for the morning, one for the evening — on printed board that creases down the middle so the pair folds shut like a book. Each cover is 1.2mm chipboard wrapped in sticker paper, which is what makes a 7.1cm-wide pad feel like a real notebook instead of a stack of loose paper.
These tutorials use Planify Pro, a drag-and-drop tool for designing printable planners and stationery. Building and editing is free — exporting a PDF needs a plan, from $9.99/month.
Get the template
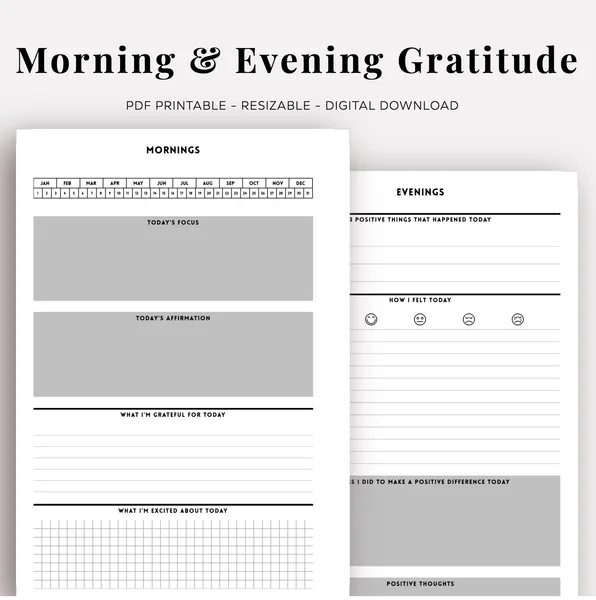
Open it in Planify Pro to change the prompts, colours or size before printing — or print it exactly as it is.
Export and print
Export the journal pages as a PDF and print them on A4 at 100% scale. The pages are half-A5, so each A4 sheet carries two side by side — cut the sheet down the middle and you have two inserts.
Export the covers as a separate PDF and print those on white glossy sticker paper at 115–120%, not 100%. This is the one place scale matters: the finished boards are 7.1 × 19.2cm, and the enlargement is what gives you the extra few millimetres of printed paper that folds around the edges and sticks down on the back. Print the covers at 100% and the artwork stops exactly at the board edge with nothing left to wrap.
What You'll Need
 Cardstock Paper Cardstock Paper |
 White Glossy Sticker Paper White Glossy Sticker Paper |
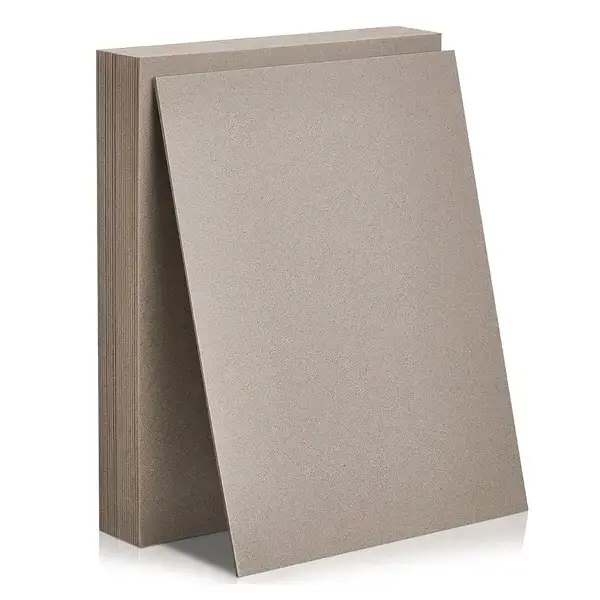 Chipboard 1.2mm Chipboard 1.2mm |
 Guillotine Paper Cutter Guillotine Paper Cutter |
 Cinch Binding Machine Cinch Binding Machine |
 Twin Loop Binding Wires Twin Loop Binding Wires |
| Bone Folder |
Plus scissors, a pencil and a ruler. A scoring board makes the fold lines easier, but a bone folder run against a steel rule does the same job.
Instructions
1. Print the covers and the inserts. Two cover designs — a light one for morning, a dark one for evening — plus a stack of insert pages. Print the covers on sticker paper and the inserts on cardstock.  |
2. Trim the inserts. Cut the printed sheets down on a guillotine rather than with scissors — every page has to be the same width or the punched holes will not line up later.  |
3. Trim the printed covers. Take the plain white margin off the sticker sheets, leaving the printed area plus the wrap-around allowance the 115–120% enlargement gave you.  |
4. Cut two front cover boards, 7.1 × 19.2cm each. Use 1.2mm chipboard — thin enough to punch through, stiff enough that the pad does not curl in a bag.  |
5. Snip the corners of the sticker paper. Cut each corner off at an angle, just outside the board. Mitred corners fold flat instead of bunching into a lump under the edge.  |
6. Fold the margins over the board. Work one edge at a time and press each fold down with a ruler, so the sticker pulls tight over the board rather than tenting at the edge.  |
7. Peel the backing off the printed cover. Pull the release sheet away slowly and keep the sticker flat — once it touches itself it will not come apart cleanly.  |
8. Score the fold line. Run a stylus or bone folder along the join between the two printed panels. Scoring first is what gets you a straight crease instead of a wandering one.  |
9. Mark out the back cover. It is one piece: two 7.1 × 19.2cm panels either side of a 2.2cm spine, with a 3mm gap left at each side of the spine.  |
10. Lay the boards on the sticker with the gaps between them. Space them with a ruler and check the gaps before pressing down — those two 3mm channels are the hinges, and 1.2mm board will not bend without them.  |
11. Line the inside of the cover. A second piece of sticker paper, cut a little smaller than the board, hides the folded-over edges. Press it down with the bone folder.  |
12. Line the covers up against the punch guide. Set the margin and centre the board on the scale before you punch anything — the covers and the inserts have to be punched to the same setting.  |
13. Fold the cover and check it. It should close on itself and stay closed. If the spine bulges, the hinge gaps are too tight and worth re-cutting now rather than after binding.  |
14. Punch the inserts. Feed them in small batches — a machine like this punches only a few sheets cleanly at a time, and forcing a thick stack gives you ragged holes.  |
15. Thread the wire and close it. Slide the twin loop wire through cover and pages, square everything up, then close the wire in the machine's channel. Do the morning pad and the evening pad the same way.  |
That is the whole build: a morning pad and an evening pad, each about 7.1 × 19.2cm, on a cover that folds shut between them. Write the morning page over coffee and the evening page before bed — the folded pair sits on a desk in less space than a phone. |
Troubleshooting
The cover artwork does not reach around the board. The covers were printed at 100% instead of 115–120%. There is no fix once it is cut — reprint the cover sheet at the larger scale.
Bubbles and creases under the sticker paper. Lift it back to the last clean edge and re-lay it from one end, sweeping outwards with a ruler or the flat of a bone folder as you go rather than pressing the whole panel down at once.
The folding cover will not sit flat. Almost always the hinge gaps. 1.2mm board needs the full 3mm channel on each side of the spine to bend; any tighter and the two halves fight each other.
The holes in the covers and the inserts do not line up. The punch guide moved between batches. Set the margin once, punch every cover and every insert against that same setting, and never re-centre halfway through.
The wire will not close, or the pages tear at the holes. Too many sheets for the wire diameter. Take pages out until the stack closes without force — a slim pad like this is meant to be a small wire.
Selling these
A morning-and-evening pair sells better than a single notebook, because it reads as a set rather than as one more blank book. The pair is the product; the folding cover is what makes it look designed rather than homemade.
The materials cost is low — one sheet of chipboard, a couple of sheets of sticker paper, a length of wire — so most of what you are pricing is your time. Time yourself over a batch of five before setting a price, because the wrapping and mitring is where the minutes go, not the binding.
They bundle well too. A gratitude pair, a matching notepad and a set of planner inserts makes a gift set at a much better margin than any of them sold alone. And because the design is a template, you can also sell it as a printable and let the buyer do the building.
For more on what sells, see 20 profitable planner niches and easy templates that sell.
Try these next
- DIY Corner-Bound Notebook — wire binding turned 45 degrees
- DIY Folding Notepad Station — another scored chipboard build that folds shut
- DIY Refillable Notepad — chipboard covers, no binding machine needed
- DIY Hardbound Planner — the same wrapping technique on a full hard cover
- Book Binding Methods Compared — where wire binding fits against the alternatives
- Browse all DIY tutorials


