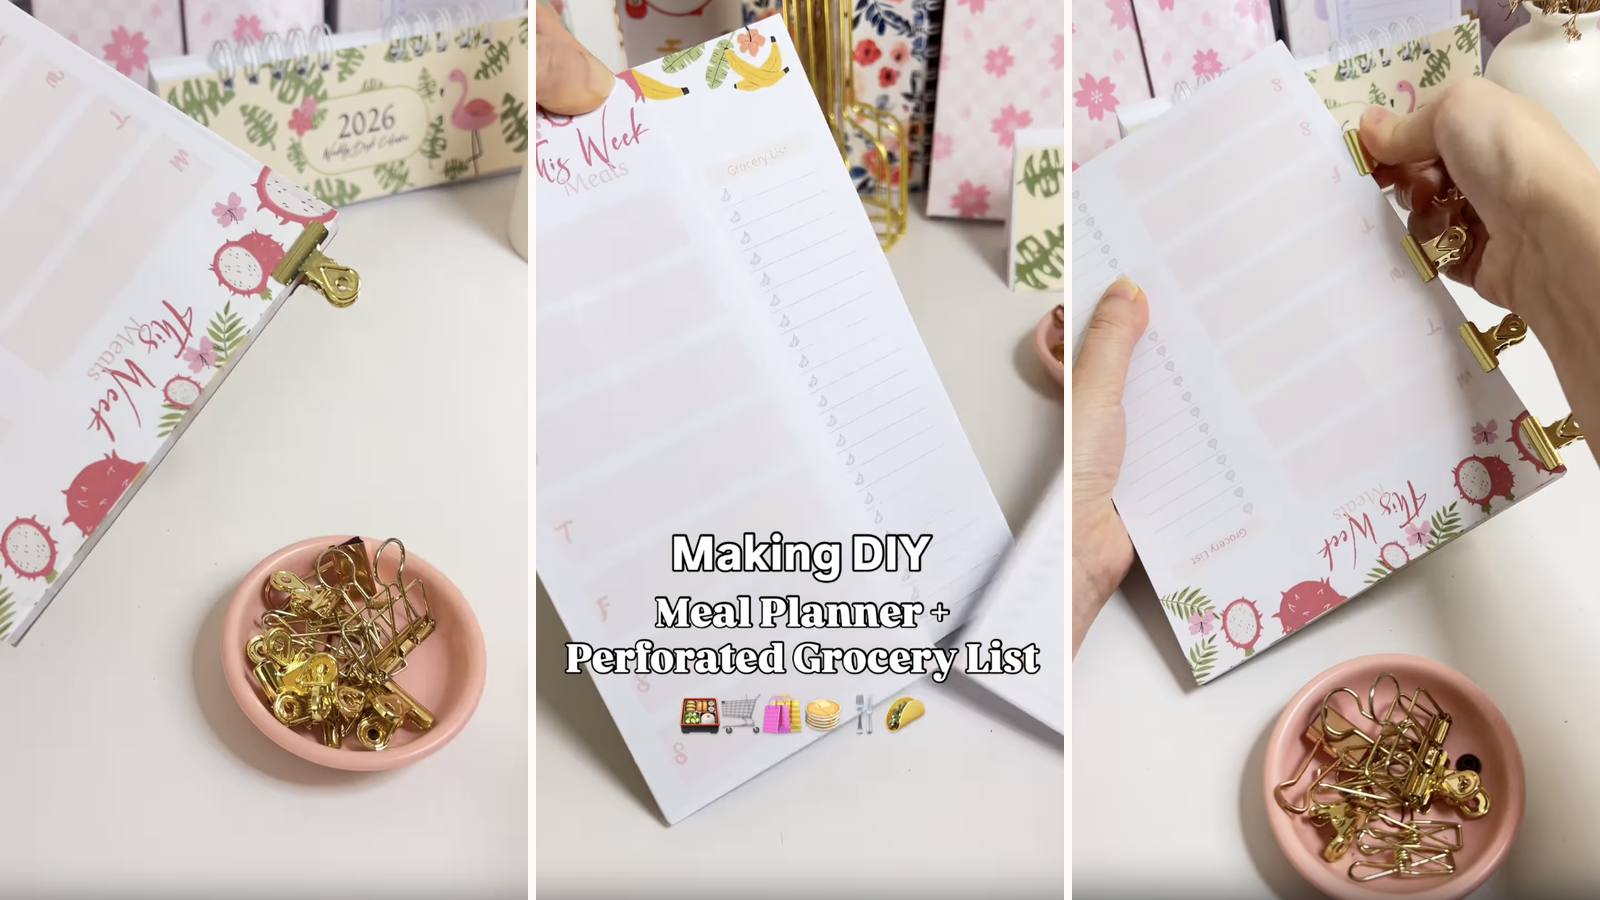
A weekly meal planner and a grocery list on the same page, separated by a perforated line. Plan the week on the top half, write the shopping on the bottom half, then tear the list off and take it with you — the meal plan stays on the pad where you can see it.
These tutorials use Planify Pro, a drag-and-drop tool for designing printable planners and stationery. Building and editing is free — exporting a PDF needs a plan, from $9.99/month.
Get the template
Open it in Planify Pro to change the meal categories, grocery sections or colours before printing — or print it exactly as it is.
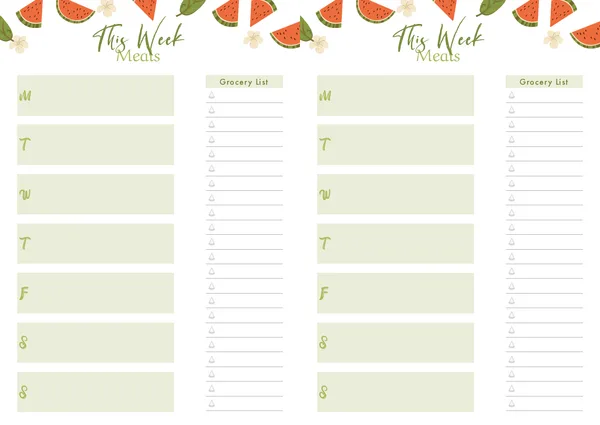
Export and print
Go to Save/Export → All Pages → Paper → A4 → Do not rearrange → Generate PDF, then print at 100% from Adobe Acrobat Reader.
Print plenty. This is a weekly pad, so 52 sheets is a year — and the perforating step is much quicker done to a whole stack at once than in dribs and drabs.
What You'll Need
 Paper Paper |
 Chipboard Chipboard |
 PVA Glue PVA Glue |
 Perforating Cutter Perforating Cutter |
 Guillotine Paper Cutter Guillotine Paper Cutter |
 Binder Clips Binder Clips |
Instructions
1. Print and trim the pages. Cut them all to the same size on the guillotine — the perforation has to land in the same place on every sheet, and that only works if the sheets match.  |
2. Perforate between the two halves. One firm pass with the perforating blade along the line between the meal planner and the grocery list. One pass only — go over it twice and the blade cuts through, leaving you with two loose pieces of paper.  |
3. Cut a chipboard backing board. The same size as the pages — not a millimetre bigger, or the top sheet won't tear off flat against it.  |
4. Clip the stack to the board. Knock the top edge square first. This edge takes the glue, and it's also the edge the perforated tear pulls against.  |
5. Apply the PVA. Along the top edge, generously enough to reach every sheet in the stack.  |
6. Spread it evenly with a sponge. A sponge works the glue into the edge better than a brush does, and leaves a flatter finish on the spine.  |
7. Let it dry. Clips on. A perforated pad gets pulled harder than a plain one, so give the bind the full drying time.  |
8. Take the clips off. Test one page: the grocery list should tear away cleanly at the perforation and the meal planner should stay put.  |
Troubleshooting
The grocery list falls off on its own. The perforation is too deep — the blade went over the line more than once. One pass is enough.
The tear line won't tear, or tears raggedly. Not enough perforation, or the paper is too heavy. Bend the section back and forth a few times before the first tear to soften it.
The whole page comes away when you tear the list. The spine glue hasn't fully cured, or it's too thin at the edges. Give it longer, and make sure the glue reached the outer corners.
The perforation is in a slightly different place on each page. The pages weren't trimmed to identical sizes before perforating. Trim first, perforate second, always.
Selling these
The perforation is the whole product. Anyone can sell a meal planner pad; a pad where the shopping list tears off and the plan stays behind solves an actual annoyance, and that's what a listing title should say.
It's also cheap to make and light to post — paper, an offcut of chipboard and some glue — which leaves room to sell it as a three-pack rather than a single.
Kitchen buyers overlap with planner buyers less than you'd think, so this is worth listing into home and kitchen categories rather than only stationery.
See easy one-page printables that sell and 20 profitable planner niches for more.
Try these next
- DIY Perforated Notepad — the perforating technique in full
- DIY Magnetic Fridge Notepad — the same idea for the fridge door
- DIY Meal Plan Corner Notepad
- How to Make Notepads at Home
- Browse all DIY tutorials


