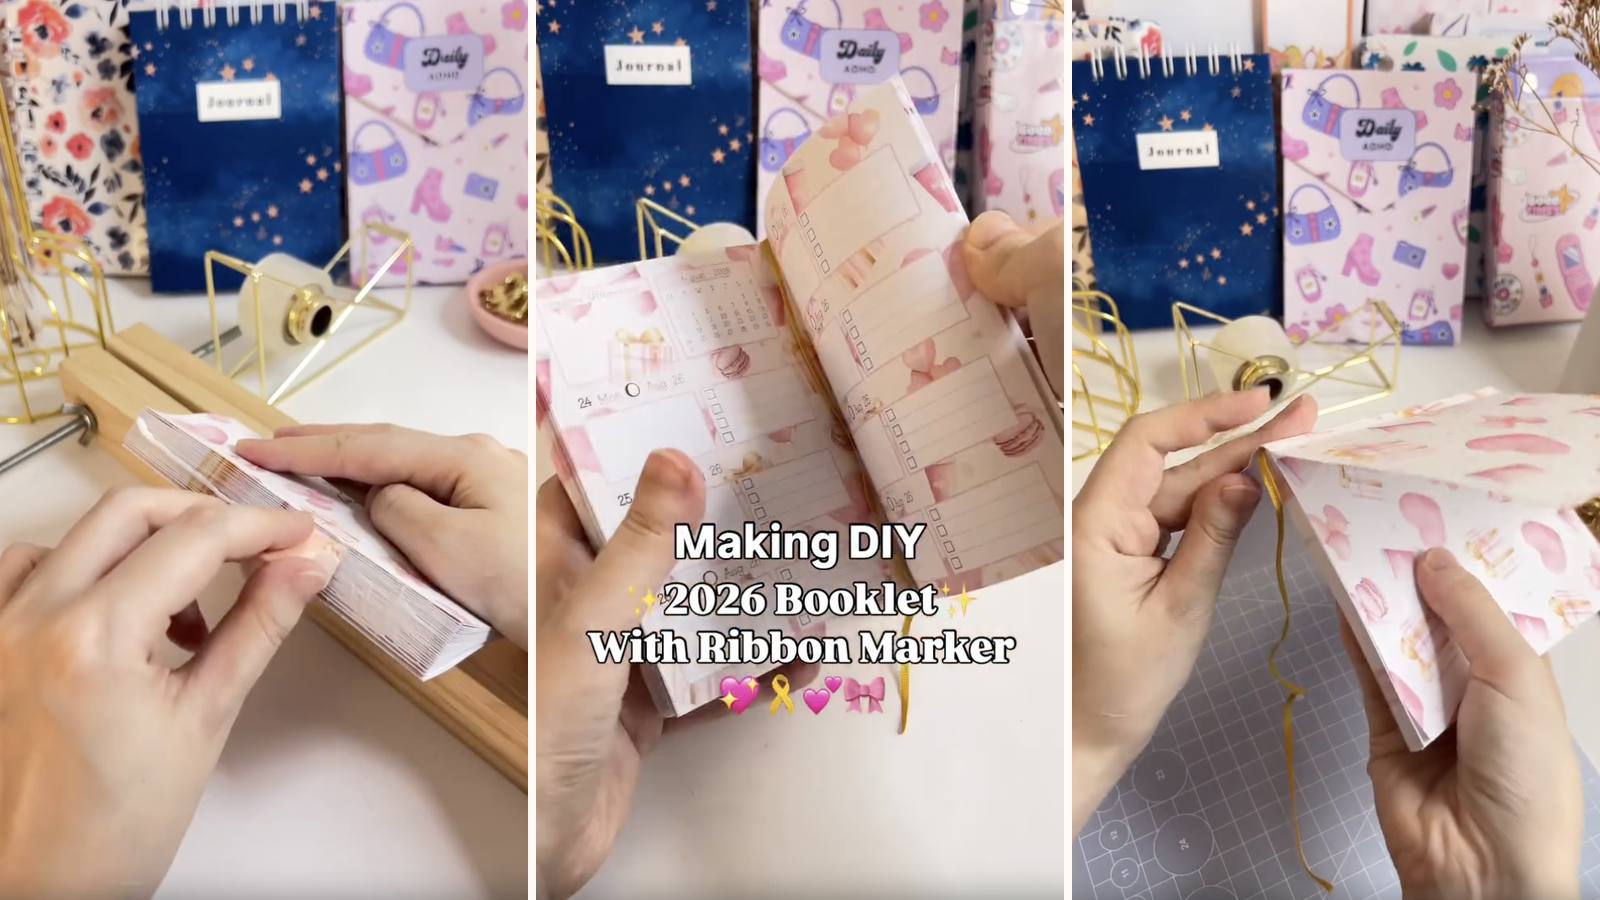
Sheets folded in half, stacked into signatures, and glued along the spine with PVA — the binding that gives you a smooth, seamless spine and a book that opens flat. A soft printed cover wraps round the outside, scored twice so it hinges properly instead of creasing wherever it likes.
These tutorials use Planify Pro, a drag-and-drop tool for designing printable planners and stationery. Building and editing is free — exporting a PDF needs a plan, from $9.99/month.
Get the template
Open it in Planify Pro to change the size, colours or artwork before printing — or print it exactly as it is.
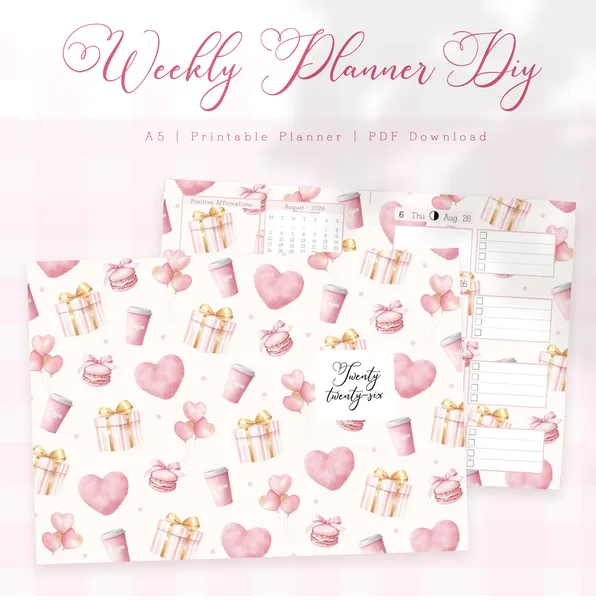
Export and print
Booklet: Save/Export → All Pages → Paper → A4 → Rearrange Booklet → 1 Sheet per Signature → Generate PDF. That rearrange step is the whole trick — it reorders the pages so that once each sheet is folded in half and stacked, the planner reads in sequence. Export without it and you get a shuffled book.
Cover: Save/Export → Selected Page → Paper → A4 → Generate PDF. Print the cover on cardstock at 120% scale, so it's big enough to wrap.
Use 90gsm paper or thinner for the inserts. Anything heavier and the folded sheets bulk out at the spine, and the booklet fans open instead of sitting flat.
What You'll Need
 Paper and Cardstock Paper and Cardstock |
 PVA Glue PVA Glue |
 Guillotine Paper Cutter Guillotine Paper Cutter |
 Bone Folder Bone Folder |
 Binder Clips Binder Clips |
You'll also need a book press to clamp the spine while it dries, a bookmark ribbon, and double-sided tape for attaching the cover.
Instructions
1. Export with Rearrange Booklet, 1 sheet per signature. Check this before printing 55 pages — it's the one setting that can't be fixed after the fact.  |
2. Print and cut the inserts. Trim on the guillotine, keeping every sheet the same size — uneven sheets show up as a ragged fore edge on the finished book.  |
3. Fold each sheet and stack them in order. Crease each fold hard with the bone folder. Keep them in sequence as you go — one sheet out of order is invisible until the book is bound.  |
4. Clamp the stack in the book press. Spine flush and standing slightly proud of the press, so you can work glue into it. This is what stops the signatures shifting.  |
5. Apply PVA to the spine. A generous first coat, worked into the gaps between folds rather than painted across the top.  |
6. Spread it evenly. Any dry patch along the spine becomes a section that falls out later.  |
7. Bend the spine left, glue again — then right, and repeat. Fanning the spine opens the gaps between signatures so glue reaches inside them. This is the step that separates a book that survives from one that sheds pages.  |
8. Leave it an hour. Still clamped. PVA feels dry on the surface long before it's cured through a three-coat spine.  |
9. Glue the bookmark ribbon to the spine. Once dry, lay the ribbon down the spine with extra glue over the top. Leave enough length to reach past the bottom of the pages.  |
10. Print the cover at 120%. On cardstock. The oversize print gives you the wrap margin.  |
11. Mark the cover against the booklet. Sit the book on the cardstock and mark where to cut. Measure from the actual booklet, not from the design — the spine ends up whatever thickness your paper made it.  |
12. Score the spine line and fold. First score, tight against the booklet's spine.  |
13. Score again 5 mm out, and fold. The second score makes the hinge. Without that 5 mm the cover binds against the spine and won't open properly.  |
This is what the scored and folded cover should look like before the booklet goes in.  |
14. Tape the spine area. Double-sided tape covering the whole spine, but not crossing the score lines — tape over a hinge stops the hinge working.  |
15. Peel the tape backing. One steady pull, keeping the folded cover in shape.  |
16. Seat the booklet and press firmly. Line the spine up with the taped strip and press along its whole length. You get one attempt at this.  |
Troubleshooting
Pages fall out of the middle. The glue never got inside the folds. The bend-left, bend-right coats aren't optional — that's how PVA reaches between signatures.
The pages are out of order. Exported without Rearrange Booklet, or the folded sheets got shuffled while stacking. Keep them in a neat pile as you fold, in order.
The cover won't open flat. Only one score line, or the tape crossed it. The 5 mm hinge score is what lets the cover swing clear of the spine.
The spine is lumpy. Paper too heavy. 90gsm or thinner keeps the folded bulk down; anything more and the spine swells in the middle.
Selling these
A PVA-bound booklet with a soft cover looks bought, not made — no visible wire, no screws, just a spine. For buyers who want a handmade planner that doesn't announce itself as handmade, this is the format.
The bookmark ribbon is a disproportionate detail. It costs almost nothing and is the thing people mention in reviews, because it's what they notice using it.
Watch the timing on dated versions. An hour of clamping per book means you can't batch quickly, so make dated planners well before the season rather than trying to keep up with orders in December.
See 20 profitable planner niches and how to design planners that sell for more.
Try these next
- DIY Planner Journal Booklet — a staple-bound version
- How to Make Your Own Planner Book
- Book Binding Methods Compared
- DIY Lay-Flat Sketchbook — more PVA binding
- Browse all DIY tutorials


