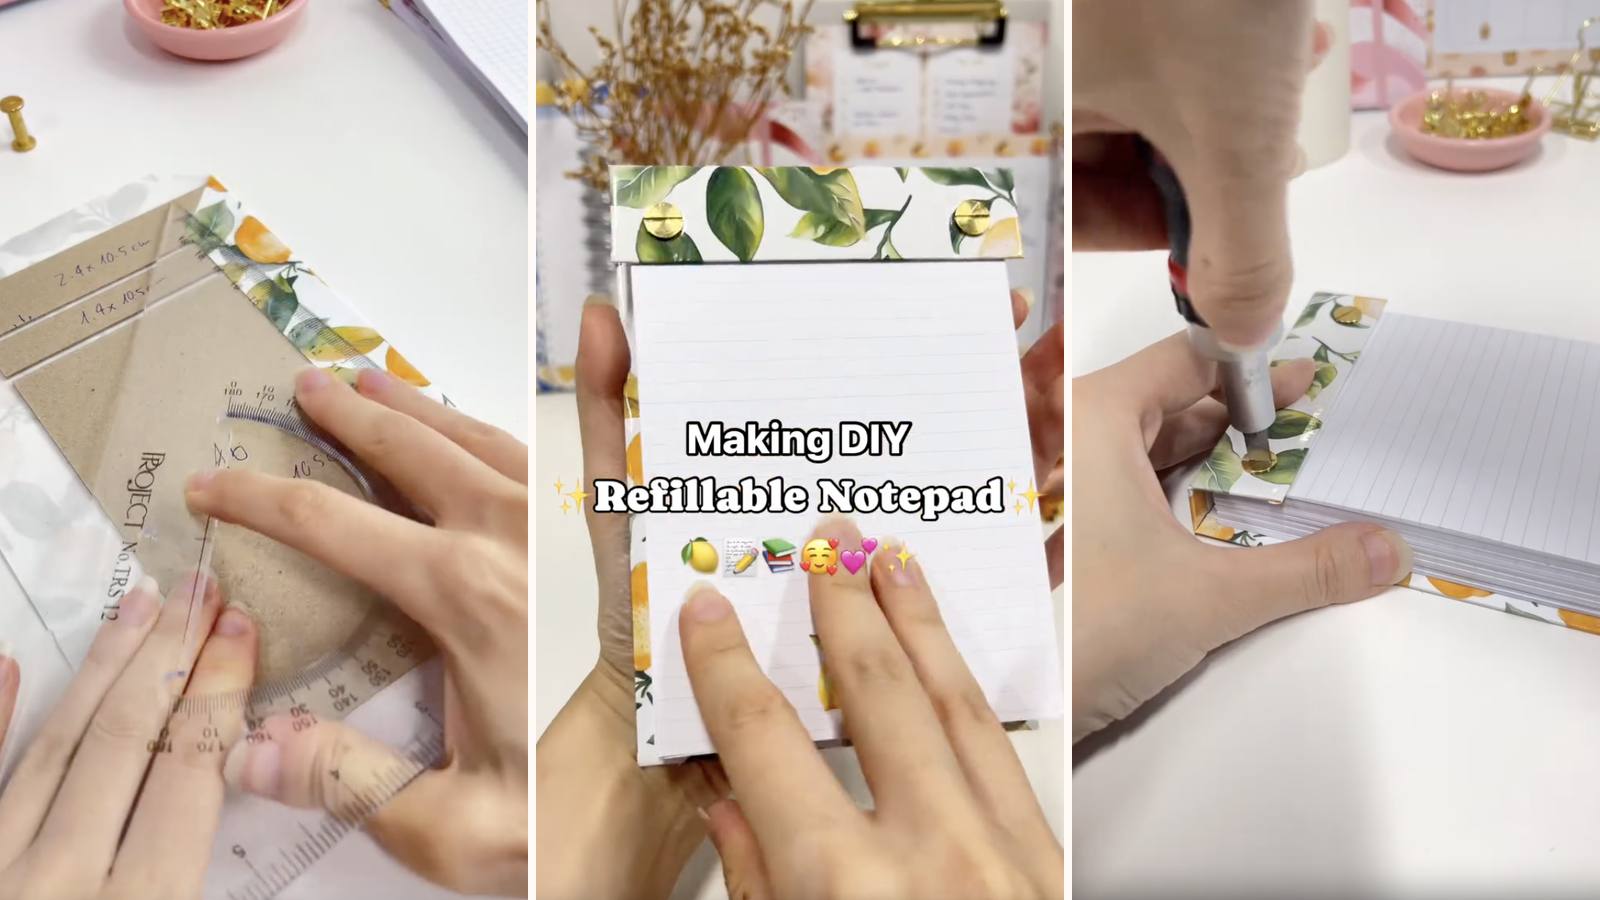
A small notepad held together by two Chicago screws instead of glue. When the pages run out you undo the screws by hand, drop a fresh stack in and do them back up — the cover outlasts any number of refills. This one has a lemon print, but the build works with any cover design.
These tutorials use Planify Pro, a drag-and-drop tool for designing printable planners and stationery. Building and editing is free — exporting a PDF needs a plan, from $9.99/month.
Get the template
Open it in Planify Pro to change the size, colours or artwork before printing — or print it exactly as it is.

Export and print
Inserts: Save/Export → Selected Page → Paper → A4 — optionally tick quadruple to get four notepad pages per sheet, which is a lot less paper for a small pad — then Generate PDF.
Cover: Save/Export → Selected Page → Paper → A4 → Generate PDF.
Print both at 100% from Adobe Acrobat Reader.
What You'll Need
 |  |  |
 |  |  |
Instructions
1. Cut the inserts to size and stack them square. Knock the top edge flush against the desk — that edge is where both holes go, so anything sitting proud punches out of line.  | 2. Punch two holes along the top edge. Small batches, each one registered against the same edge. Keep one punched sheet aside as your template for everything that follows.  |
3. Print the cover and cut the three chipboard pieces. Front, back and spine, cut to the same size as the inserts. The printed sheets need overlapping vertically to give you enough area for all three — see the measurements in the image.  | 4. Wrap the chipboard. Lay the pieces on the decorative paper with gaps for the folds, trim the corners, and fold all the sides in firmly.  |
5. Line the inside. White glossy sticker paper over the folded edges — it hides the joins and stops them lifting.  | 6. Punch the cover. Hold your template insert against it and mark through — don't measure. The cover is the piece you can't reprint quickly.  |
7. Score the cover and load the inserts. Score along the spine gaps so the cover folds cleanly, then sit the punched stack inside with the holes lined up.  | 8. Tighten the Chicago screws. Snug by hand. Over-tightening strips the thread, and the whole point of this build is being able to undo them again.  |
Troubleshooting
The screws won't go through the cover and the pages together. The cover holes are slightly off from the inserts. Mark them through an actual punched page rather than measuring both separately.
The cover won't fold flat. No score lines, or the gaps between the chipboard pieces are too narrow for the board thickness.
The screws bottom out. Too many pages for 18 mm. Take some out — a refillable pad is meant to be topped up, not stuffed.
The pages tear at the holes. Thin paper plus a full stack. Go up a paper weight, or punch slightly further in from the edge.
Selling these
Small refillable notepads are a good entry-price product. They're quick to make, cheap in materials, and the refillable angle gives a buyer a reason to choose it over a pad half the price.
Because the build is identical whatever the cover, one afternoon of cutting gives you a range — seasonal prints, colours, themes — all from the same chipboard cuts and the same screws.
Lemon and other fruit prints do particularly well going into summer, when buyers are looking for something bright rather than something functional.
See what to sell in spring and summer and DIY notepad design ideas for more.


