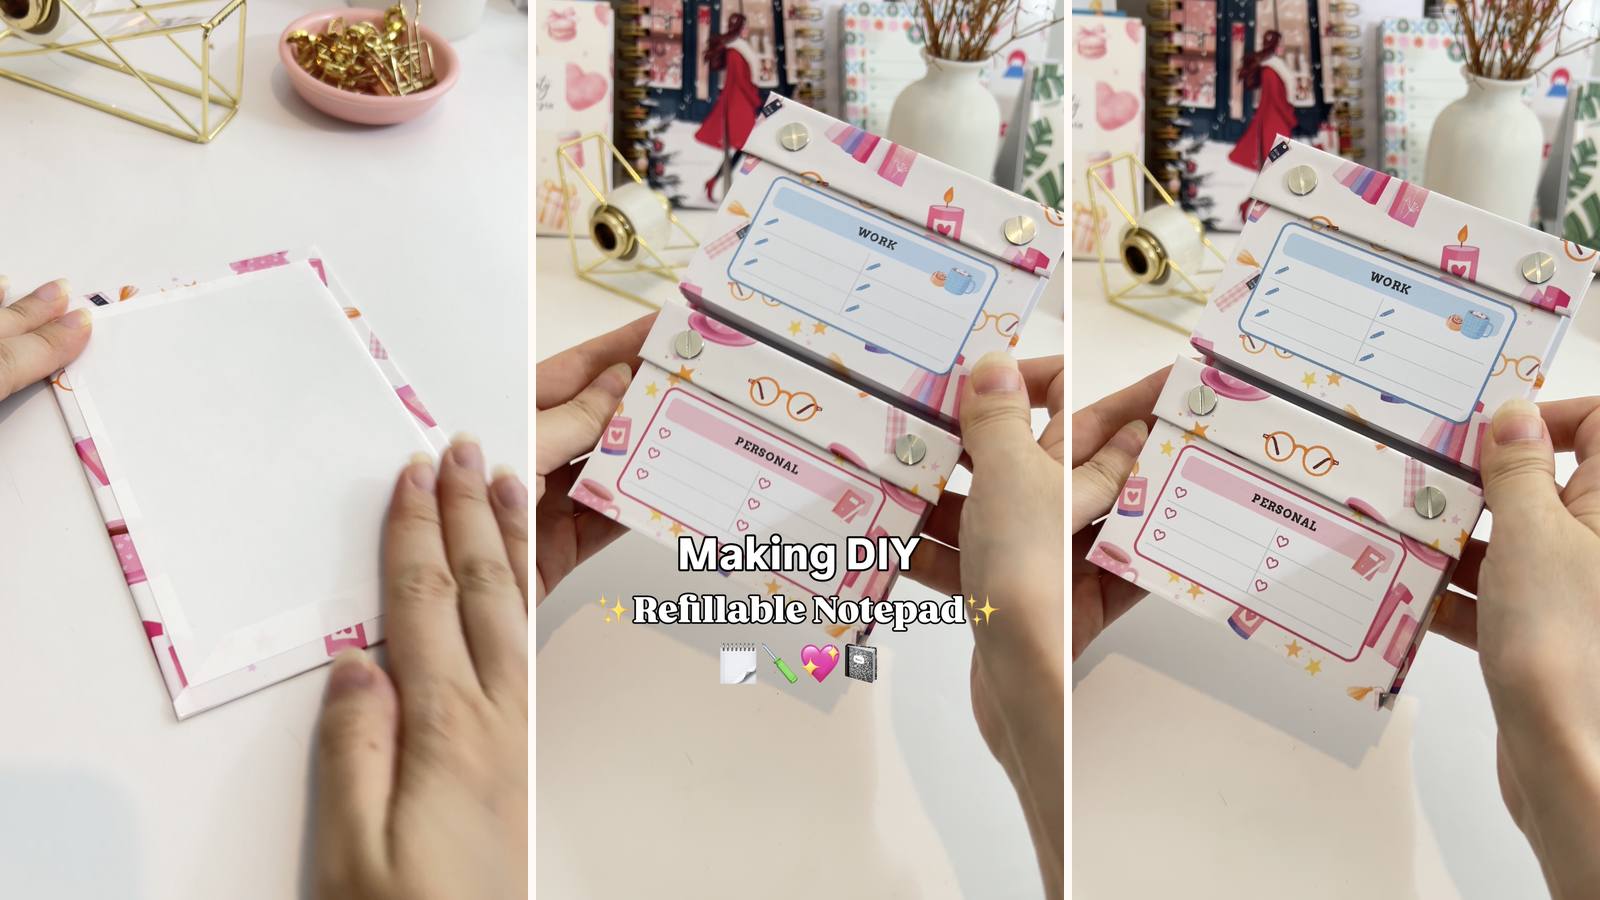
Two notepads sharing one body. Three chipboard covers — front, middle divider, back — held by two separate pairs of Chicago screws, so each section binds independently. Refill the work side without disturbing the shopping list on the other.
These tutorials use Planify Pro, a drag-and-drop tool for designing printable planners and stationery. Building and editing is free — exporting a PDF needs a plan, from $9.99/month.
Get the template
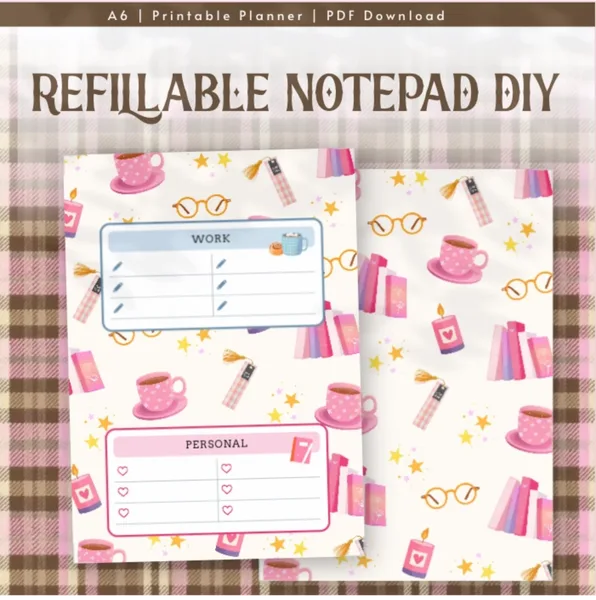
Open it in Planify Pro to change the size, colours or artwork before printing — or print it exactly as it is.
Export and print
Inserts: Save/Export → Single Pages → Paper → A4 → Generate PDF.
Cover: Save/Export → Selected Page → Paper → A4 → Generate PDF. Print the cover at 125% scale — that's the margin you need to wrap the chipboard edges.
Print from Adobe Acrobat Reader. The two sections can use completely different insert designs; nothing about the build requires them to match.
What You'll Need
 Chipboard 1.4mm Chipboard 1.4mm |
 Paper 70gsm+ Paper 70gsm+ |
 Glossy Sticker Paper Glossy Sticker Paper |
 Chicago Screws 20mm Chicago Screws 20mm |
 Single Hole Puncher Single Hole Puncher |
 Guillotine Paper Cutter Guillotine Paper Cutter |
You'll also want a screwdriver — Chicago screws tighten by hand, but a screwdriver gets them properly snug without chewing your thumbnail.
Instructions
1. Print and cut both sets of pages. Trim on the guillotine. Keep the two sets separate — they're bound at different points and won't be interchangeable once punched.  |
2. Punch the pages at the top. Small batches, all registered to the same edge. One misaligned batch and the screws won't pass through.  |
3. Cut the three chipboards. 1) 15 × 11 cm · 2) 11 × 2 cm · 3) 11 × 2 cm. The big one is the backing board; the two narrow strips are the clamps that hold each section down.  |
4. Print the cover at 125% and cut out both pieces. One large piece for the backing board, one to be subdivided for the strips.  |
5. Wrap the large chipboard. Peel the backing, centre the board on the adhesive, and check it's square before pressing anything down.  |
6. Trim the corners. Angled cuts at each corner so the folded margins meet instead of overlapping into a bump.  |
7. Fold all the sides in. Press firmly along the whole length of each fold.  |
8. Cut the second cover piece into two. Each part needs to be big enough to wrap a 11 × 2 cm strip with margin to spare — cut generously, you can trim after.  |
9. Wrap both narrow strips. Same method — these are fiddly because they're thin, so fold the long sides first and pull the paper taut as you go.  |
10. Line the insides. White glossy sticker paper over the folded edges on all three pieces.  |
11. Punch the backing board. Two holes for the first section, at the top. Use a punched page as the template.  |
12. Punch the first narrow strip. Match it to the backing board — hold them together and mark through rather than measuring twice.  |
13. Get four Chicago screws. Two pairs — one pair per section. Separate the posts from the screws before you start assembling.  |
14. Push the posts through the backing board. From the back, so they stand up through the front face.  |
15. Thread the first set of pages on. All of them at once — you can't add pages later without unscrewing.  |
16. Add the first narrow strip. It goes over the pages as a clamp — this is what holds the section down and gives it a finished edge.  |
17. Screw the first section closed. Snug, not forced — over-tightening strips the thread and the notepad stops being refillable.  |
18. Mark where the second section goes. Lay the second set of pages in position on the board and mark through their holes. Marking from the actual pages beats measuring — it accounts for however the first section sits.  |
19. Punch the second set of holes. Single hole puncher, on the marks. Take your time — the board is already finished, so a misplaced hole shows.  |
20. Fit the second pair of screws. Posts through from the back, same as before.  |
21. Load the second section. Pages on, then the third chipboard strip over the top.  |
22. Screw it closed. Same snug tightness as the first section.  |
Two sections, two binding points, one pad — and either half refills on its own.  |
Troubleshooting
The second set of holes doesn't line up. They were measured rather than marked through the actual pages. Once the first section is screwed down it sets the geometry for the second — work from it, not from a ruler.
Pages won't sit flat under the clamp strip. The strip is punched slightly off from the board. Hold the two together and mark through before punching, every time.
The screws bottom out before the strip is tight. Too many pages for 20mm screws. Remove a few sheets or move up a screw length — don't force it.
The narrow strips look untidy. Thin pieces are the hardest to wrap. Fold the long edges first, keep the paper under tension, and trim the excess before the last fold rather than after.
Selling these
Two sections in one pad reads as a considered product rather than a craft item, and that's a pricing argument. Buyers understand why it costs more than a single notepad because they can see two of everything.
Pair the sections thematically in your listings — meals and shopping, work and personal, to-do and notes. A named pairing sells better than "dual-section notepad", because it tells someone what it's for.
And as with any refillable format, insert packs are the follow-on sale. Sell the pad once and the paper repeatedly.
See 20 profitable planner niches and how to price bundles for more on selling these.
Try these next
- DIY Refillable Notepad — the simpler single-section version
- DIY Refillable Journal — same binding, full journal
- DIY Standing Refillable Notepad
- Book Binding Methods Compared
- Browse all DIY tutorials


