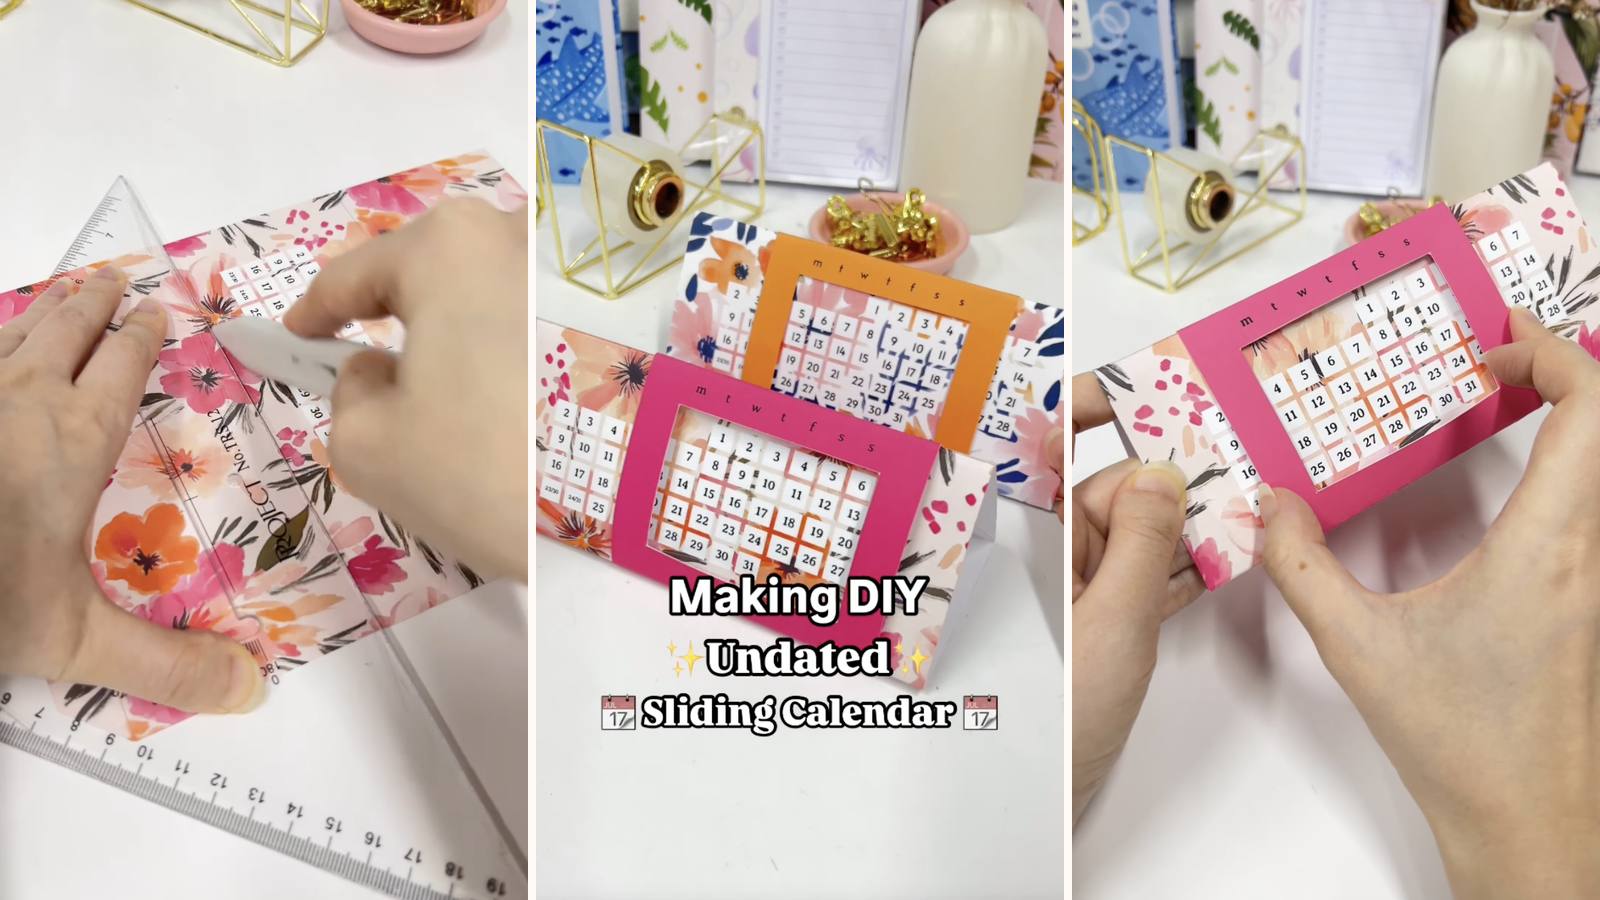
Two sheets of cardstock, folded into triangles, one sleeved over the other. Slide the outer one and different dates and months line up in the windows. It stands by itself, it's undated, and the only tool involved is a craft knife.
These tutorials use Planify Pro, a drag-and-drop tool for designing printable planners and stationery. Building and editing is free — exporting a PDF needs a plan, from $9.99/month.
Get the template
Open it in Planify Pro to change the colours or styling before printing — or print it exactly as it is.
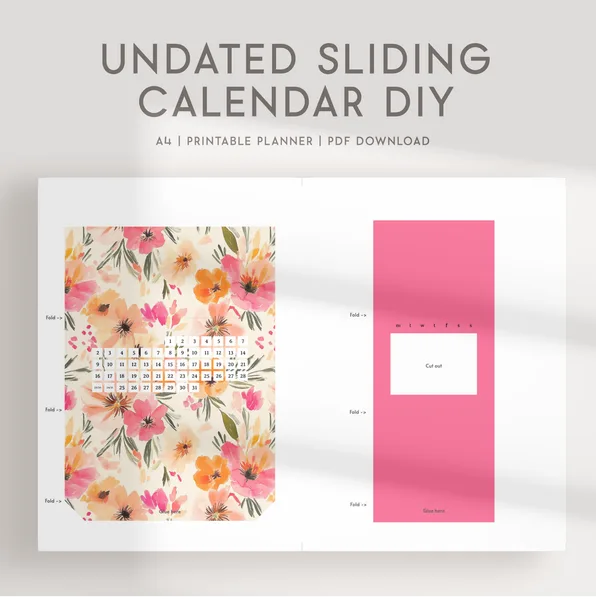
Export and print
Go to Save/Export → Selected Page → Paper → A4, then Generate PDF and print at 100% from Adobe Acrobat Reader.
Print on 200gsm cardstock. This is one of the few builds where the paper weight is structural rather than cosmetic — the calendar has no frame, so the cardstock is the stand. Ordinary paper will sag within a day.
What You'll Need
 Cardstock 200gsm Cardstock 200gsm |
 Bone Folder Bone Folder |
 Cutter Cutter |
You'll also need stick glue — nothing wet. PVA soaks into cardstock and buckles it, which on a structure this thin is fatal.
Instructions
1. Print both pages. On 200gsm cardstock, at 100%.  |
2. Cut out the first template. Follow the outline, and take your time on the window cut-outs — they're what the dates show through.  |
3. Cut out the second template. Same care — this is the sleeve that slides over the first.  |
This is what the first piece should look like once it's cut.  |
And this is the second.  |
4. Score the fold lines. Optional, but 200gsm cardstock cracks along an unscored fold rather than bending — worth the extra minute.  |
5. Fold the first template. On every marked line, creasing each one firmly.  |
6. Fold the second the same way.  |
7. Glue the flaps on the first template. Stick glue, thin and even. Don't overload it — wet glue will warp the panel before it sets.  |
8. Join the ends into a standing triangle. Hold it closed for a minute while the glue grabs. This inner triangle is the calendar's whole structure.  |
9. Glue the flap on the second template. Just the one flap for now.  |
10. Wrap it around the first. The second triangle goes over the first as a sleeve — snug enough to hold position, loose enough to slide.  |
11. Glue the outer ends closed. Around the inner triangle, not to it. Glue that touches the inner piece locks the slide and the calendar stops adjusting.  |
Slide the sleeve to set the date. Undated, so it works next year too.  |
Troubleshooting
It won't slide. Glue got onto the inner triangle. There's no fixing this one — the two pieces have to stay separate, so it's worth checking before the glue sets rather than after.
The sleeve slides too freely and won't hold a date. The outer triangle is slightly too big. Re-glue its seam a millimetre tighter.
It won't stand up. Paper too light. 200gsm is the minimum — there's nothing else holding this up.
The folds cracked. Unscored cardstock. Score first, then fold.
Selling these
Two sheets of cardstock and a glue stick is about as cheap as a physical product gets, and it posts flat in an ordinary envelope. That combination is unusual and it's where the margin is.
Being undated is the other advantage: no seasonal cliff, no leftover stock in February. The same design sells all year and every year.
It also works as a printable-only listing — sell the PDF and let the buyer print and fold it themselves, which costs you nothing per sale.
See easy one-page printables that sell and why to start a printables shop for more.
Try these next
- DIY Desk Calendar — a wire-bound version
- DIY Horizontal Desk Planner
- DIY Desk Planner 2026
- Custom Sticky Notes
- Browse all DIY tutorials


