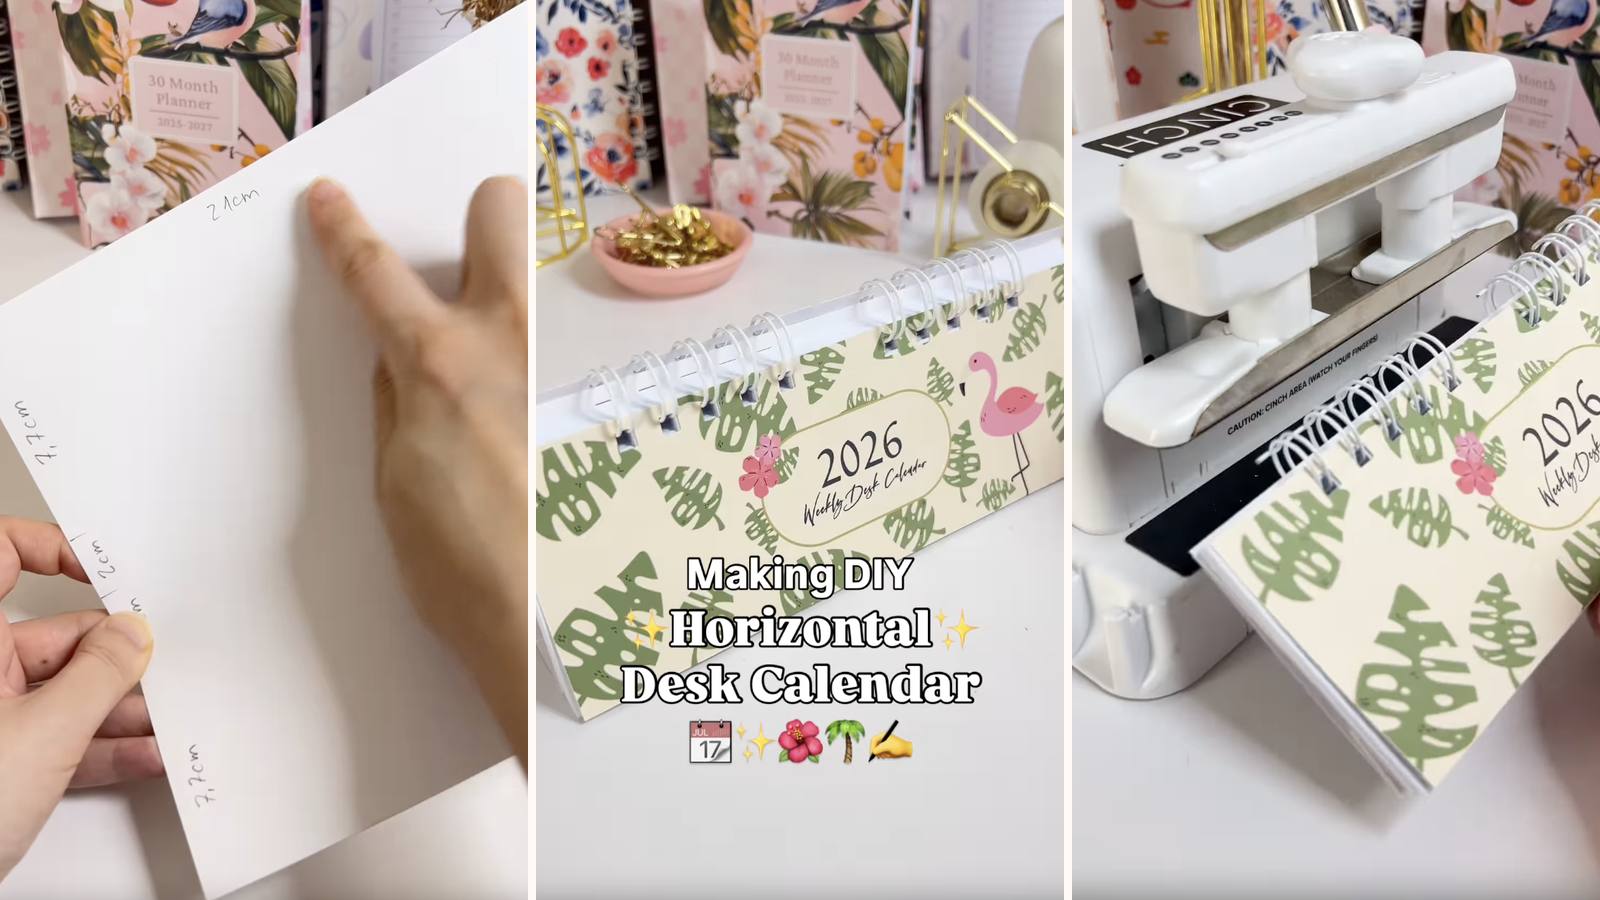
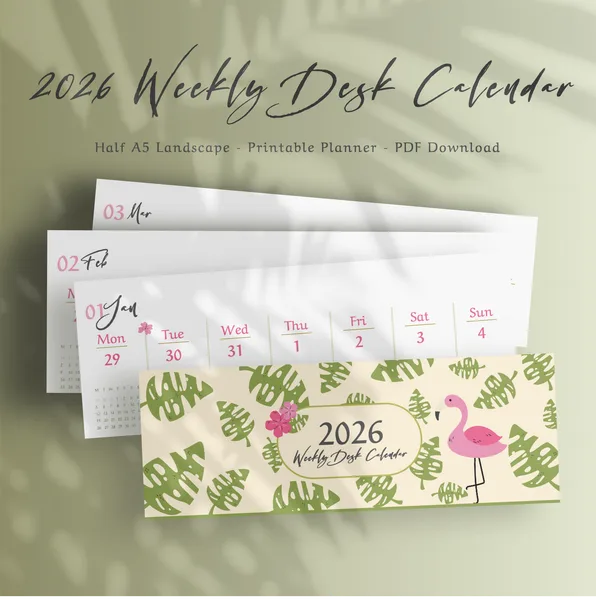
A landscape planner that stands on the desk, where the whole stand is one sheet of cardstock folded into a W. No chipboard, no easel, no extra parts — the back cover is the frame. The wide format means a full week sits side by side without turning a page.
These tutorials use Planify Pro, a drag-and-drop tool for designing printable planners and stationery. Building and editing is free — exporting a PDF needs a plan, from $9.99/month.
Get the template
Open it in Planify Pro to change the size, colours or layout before printing — or print it exactly as it is.
Export and print
Go to Save/Export → All Pages → Paper → A4 → Do not rearrange → Generate PDF.
"Do not rearrange" matters here. The pages print two-up and get cut across the middle, so they need to stay in their original order — rearranging is for ring binding, and it will scramble this one.
Print the inserts at 100% and the cover on 210gsm cardstock.
What You'll Need
 Paper and Cardstock 210gsm Paper and Cardstock 210gsm |
 O-Wires O-Wires |
 Binding Machine Binding Machine |
 Guillotine Paper Cutter Guillotine Paper Cutter |
 Bone Folder Bone Folder |
This is the shortest materials list in the library — no chipboard, no glue, no sticker paper.
Instructions
1. Print, trim, and cut across the middle. Each A4 sheet carries two landscape pages. Cut horizontally through the centre to separate them.  |
2. Punch the inserts. Small batches, every one registered to the same edge.  |
3. Print the cover on cardstock. 210gsm — heavy enough to hold its shape at the top of a standing planner without curling.  |
4. Cut the cover to size. Match it to the trimmed inserts exactly — an oversize cover on a standing planner is very visible.  |
5. Punch the cover. Hold it against a punched insert and match the holes before pressing.  |
6. Mark the back cover into four rows. A sheet of white A4 cardstock, 21 cm wide, divided into 7.7 cm, 2 cm, 2 cm, 7.7 cm. The two 2 cm bands in the middle are what set the leaning angle.  |
7. Fold each row. Crease hard with the bone folder — cardstock this heavy springs back if the fold is soft, and a soft fold makes a stand that sags.  |
8. Check it forms a W. Alternating folds, so the middle sections push out and the two long ends come together.  |
9. Punch it at the ends. Both long panels get punched, so the W binds into the spine at both ends and holds its shape under tension.  |
10. Get the o-wires ready. Open, teeth up, on the machine's holder.  |
11. Load the back cover first. Both punched ends onto the wire — the order is reversed from a normal book here, because the stand has to sit behind everything.  |
12. Then the inserts. All of them, in order.  |
13. Then the front cover. Last on, so it ends up on top.  |
14. Close the wires. One firm squeeze, then stand it up and check the angle.  |
Troubleshooting
It won't stand up. Cardstock too light, or the folds too soft. 210gsm and a bone folder are both doing real work here — ordinary paper won't hold a W.
The stand splays out flat under the planner's weight. Only one end of the W got punched and bound. Both long panels need to be on the wire; that's what stops it opening out.
The pages are in the wrong order. Exported with rearrange on. Re-export with "Do not rearrange".
The planner tips forward when a page is turned. The two middle bands are too narrow for the height of the pages. Test with a scrap sheet before cutting the real cover.
Selling these
This is the cheapest standing planner you can make. There's no chipboard, no glue and no sticker paper — just paper, cardstock and a wire — which makes the margin unusually good at a normal desk-planner price.
It also posts flat and cheap, which matters more than people expect. A standing product that ships as a flat envelope rather than a boxed parcel takes real money off every order.
Landscape is worth calling out in the listing. Most planners are portrait, so "horizontal" and "landscape" are search terms with far less competition.
See 20 profitable planner niches and how to design planners that sell for more.
Try these next
- DIY Desk Planner 2026 — a chipboard W-stand version
- DIY Daily Desk Planner
- DIY Sliding Calendar
- DIY Desk Calendar
- Browse all DIY tutorials


