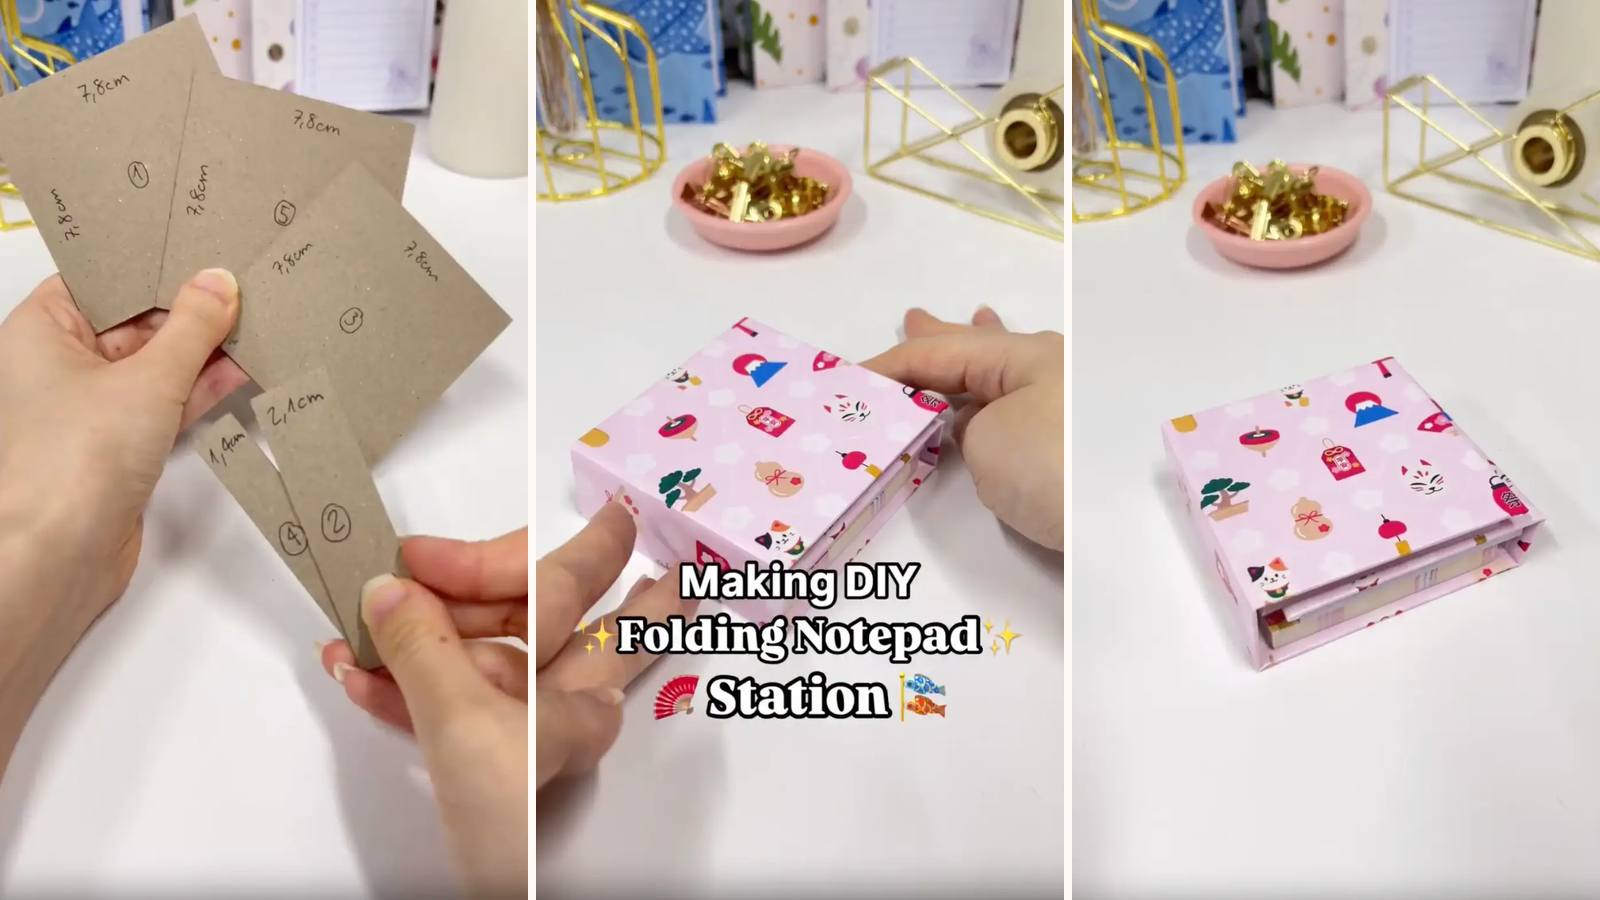
Three small notepads on a chipboard base scored into panels, so the whole thing folds shut like a book and opens flat with every section where you left it. To-do on one, reminders on another, notes on the third — in about the footprint of a coaster.
These tutorials use Planify Pro, a drag-and-drop tool for designing printable planners and stationery. Building and editing is free — exporting a PDF needs a plan, from $9.99/month.
Get the template
There are two files here — the Trip to Japan sticky notes and the Cover Notepad Station DIY. Open either in Planify Pro to change the size, colours or artwork before printing, or print them exactly as they are.

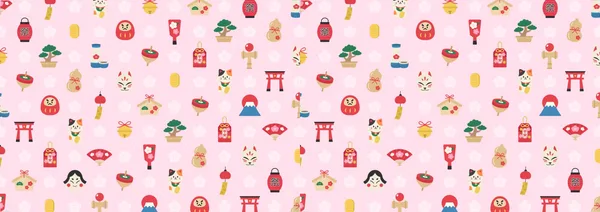
Export and print
Notepad pages: Save/Export → Selected Page → Paper → US Letter → Generate PDF.
Cover: Save/Export → Selected Page → Paper → A4 → Generate PDF, on white glossy sticker paper.
The template has six designs and you only need three, so pick the trio that reflects how you actually sort notes rather than the three that look best together.
What You'll Need
 Paper 80gsm Paper 80gsm |
 Chipboard Chipboard |
 Glossy Sticker Paper Glossy Sticker Paper |
 PVA Glue PVA Glue |
 Guillotine Paper Cutter Guillotine Paper Cutter |
 Binder Clips Binder Clips |
You'll also need double-sided tape and a sponge for spreading glue.
Instructions
1. Print and cut the notepad pages. Pick three of the six designs and cut those to size. Trim carefully — at 7.8 cm square, a millimetre out is visible.  |
2. Clip each stack and glue the top edge. Thin layer, spread with the sponge. Do all three together.  |
3. Dry for 15 minutes. Clips on. Small pads feel dry long before they are. 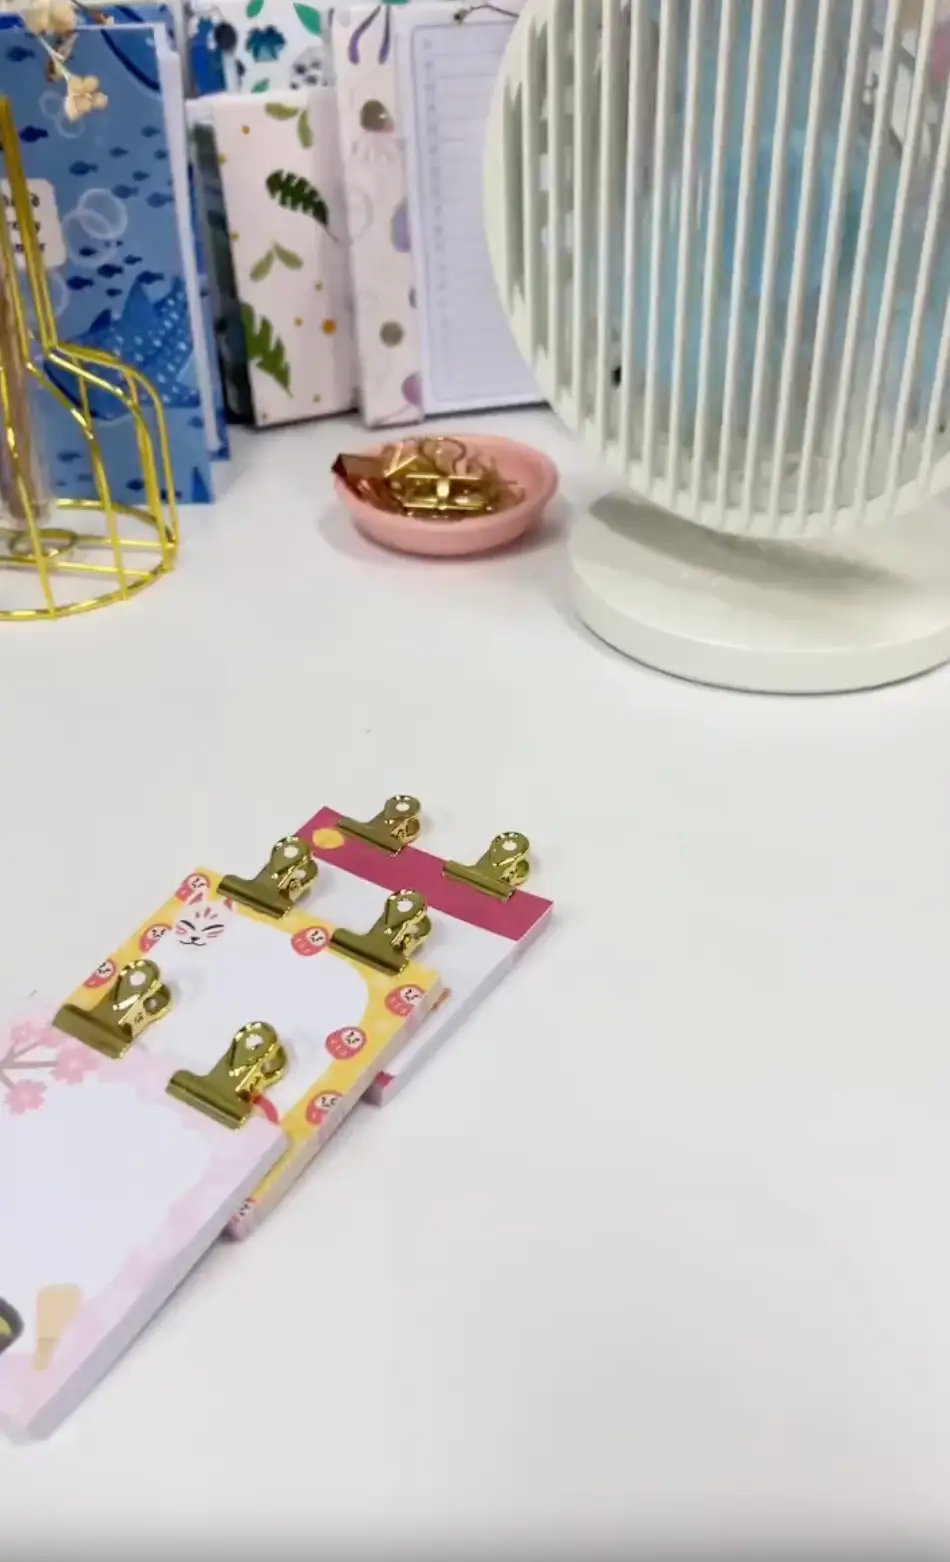 |
4. Print the cover. On white glossy sticker paper.  |
5. Cut it in half and overlap. Joining the two halves gives you a strip long enough for all five panels — put the seam where a fold will be and it disappears.  |
6. Cut five chipboard pieces. 1) 7.8 × 7.8 · 2) 7.8 × 2.1 · 3) 7.8 × 7.8 · 4) 7.8 × 1.4 · 5) 7.8 × 7.8 cm. Three squares for the pads, two strips as hinges — and note they're different widths, which is what lets the station fold into itself.  |
7. Lay them down with 3–4 mm gaps. Even spacing, measured. These hinges fold over the thickness of a mounted pad, so they need the clearance.  |
8. Trim the excess and the corners. Leave a folding margin, cut the corners at an angle.  |
9. Fold the sides in. Press each margin down along its whole length.  |
10. Line the inside. Glossy sticker paper over the folded edges — this is what the pads tape onto.  |
11. Score the folds. One firm line at each gap, then work each hinge a few times so the station actually closes rather than springing open.  |
12. Tape the backs of the pads. Double-sided tape across each whole back.  |
13. Mount them on the three square panels. One per panel, clear of the hinges. Fold the station shut once with the pads sitting loose before you press anything down.  |
Open on the desk, folded shut at the end of the day.  |
Troubleshooting
It won't fold shut. Hinge gaps too tight for the pad thickness, or a pad is overlapping a fold. Dry-fit before taping — that's the only chance you get.
The panels don't stack neatly when closed. The two hinge strips are deliberately different widths (2.1 cm and 1.4 cm). Swap them and the fold geometry stops working.
Pages come off in clumps. Under-glued. Small pads have a tiny glue edge, so it has to be even right across.
The pads look crooked. On a 7.8 cm square there's nothing to hide behind. Line each one up against the panel edges, not by eye.
Selling these
Small, cheap and visually appealing — this one photographs far better than it costs to make, which is a good combination for a marketplace listing.
It's a desk-gift product more than a stationery product: the sort of thing bought for someone else, which means it wants a gift-friendly photo and a price point people will spend without thinking.
Three sections also means three chances to theme it. The same build works as a travel station, a study set or a household organiser purely by changing the printed pads.
See easy one-page printables that sell and DIY notepad design ideas for more.
Try these next
- DIY Bentobox Notepad — the same idea, kitchen-sized
- DIY Memo Notepad Block Holder
- How to Make Sticky Notes at Home
- DIY Custom Notepad
- Browse all DIY tutorials


