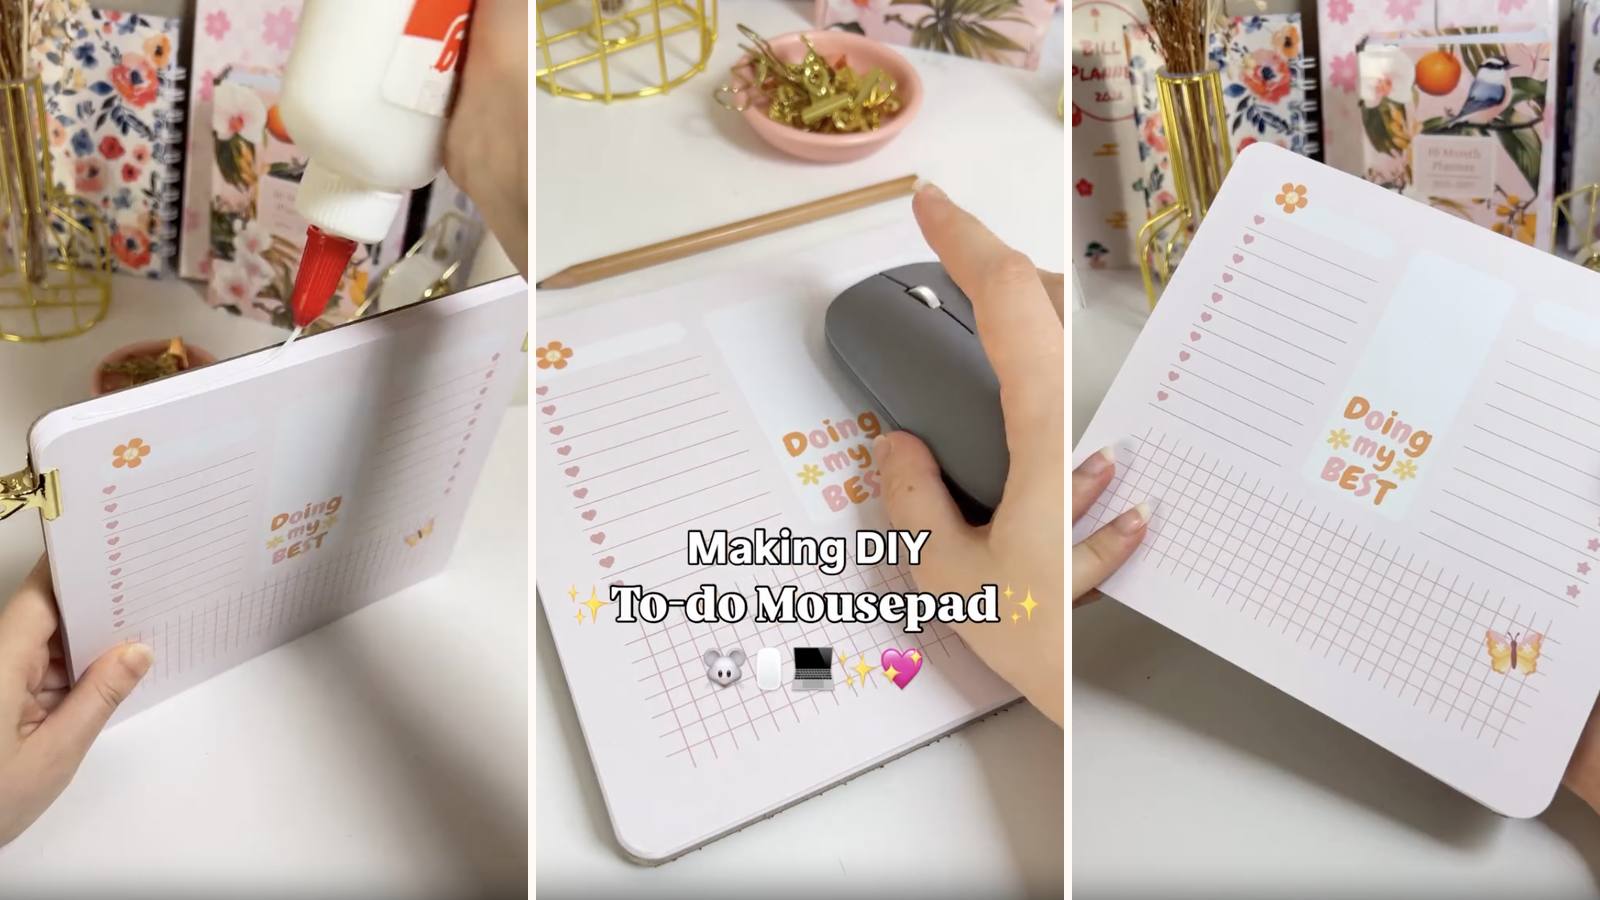
A mousepad with a tear-off to-do list on top of it. The list sits under your mouse hand all day, which is the entire argument for it — a notepad somewhere else on the desk gets buried, and one under your hand doesn't. Rubber foam base for the mouse, chipboard for rigidity, PVA-bound pages on top.
These tutorials use Planify Pro, a drag-and-drop tool for designing printable planners and stationery. Building and editing is free — exporting a PDF needs a plan, from $9.99/month.
Get the template
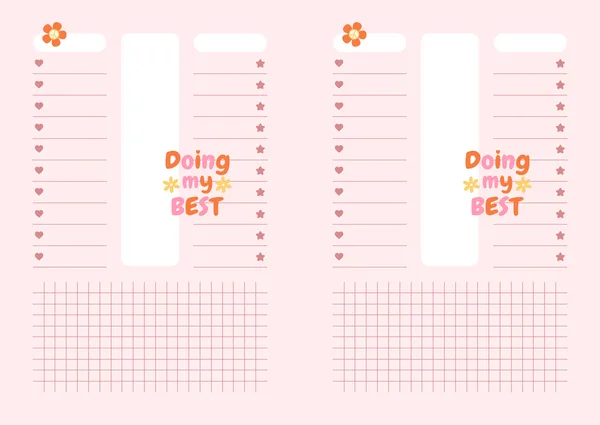
Open it in Planify Pro to change the size, sections or artwork before printing — or print it exactly as it is.
Export and print
Go to Save/Export → Selected Page → Paper → A4, then Generate PDF and print at 100% from Adobe Acrobat Reader.
Use premium paper rather than ordinary copy paper. A mousepad gets a hand resting on it all day, and light paper goes soft and dog-eared at the edges within a week.
What You'll Need
 Premium Paper Premium Paper |
 Chipboard Chipboard |
 PVA Glue PVA Glue |
 Corner Rounder Punch Corner Rounder Punch |
 Guillotine Paper Cutter Guillotine Paper Cutter |
 Binder Clips Binder Clips |
You'll also need a sheet of rubber foam for the base — a plain mousepad from a pound shop cut to size works if you can't buy the foam on its own.
Instructions
1. Print the pages. On premium paper, at 100%.  |
2. Round the corners. Optional, but worth doing on a mousepad — square paper corners are the first thing to catch and lift when a hand slides across them.  |
3. Cut the chipboard and round its corners too. Same size as the pages. Rounding it as well means the whole stack matches — a square board under rounded paper looks like a mistake.  |
4. Clip the stack and glue the top edge. Pages on the board, knocked square, clipped, then PVA worked into the top border.  |
5. Dry for 15 minutes. Clips on the whole time.  |
6. Cut the rubber foam to size. Same size as the chipboard. Foam that overhangs looks unfinished; foam that's short leaves the board's edge to catch on the desk.  |
7. Glue the back of the chipboard. PVA spread evenly right to the edges — a dry corner is where the foam starts peeling off later.  |
8. Press the foam on. Lay it down in one movement rather than sliding it into place, then weight it flat while it dries.  |
Done — a mousepad you can write your day on, one page at a time.  |
Troubleshooting
The foam is lifting at a corner. The glue didn't reach the edges. Peel it back, spread right to the corners, and weight it while it sets.
The mouse doesn't track well. Some optical mice struggle on paper, particularly white paper with printed lines. Test with your own mouse before making a batch — the pages sit where the mouse runs.
Pages curl at the edges after a few days. Paper too light. Premium weight is doing real work here.
Pages tear rather than lifting. Too much glue on the top border. Thin coat, worked into the edge.
Selling these
This one sells to office workers rather than planner people, which makes it a genuinely different audience from the rest of a stationery shop. It also makes a very easy corporate or team gift.
It's a strong candidate for branding, too. A logo on a to-do mousepad is a promotional item someone actually keeps, which is rare — worth offering as a custom-print service rather than only as a stock design.
Shipping is the one thing to check before pricing. Foam is light but bulky, so a rigid flat mailer costs more than a plain envelope.
See easy one-page printables that sell and 20 profitable planner niches for more.


