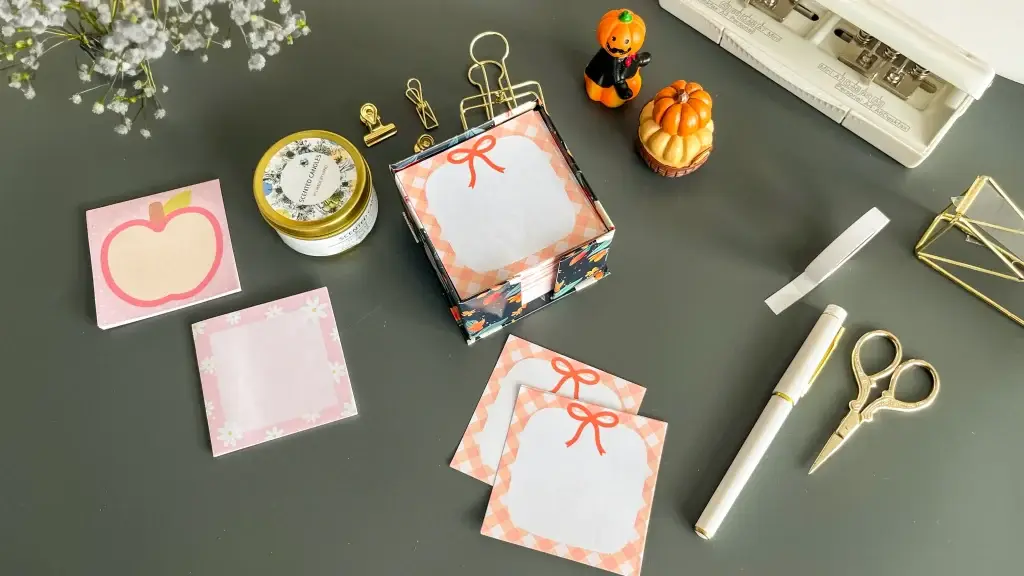
A memo notepad block holder is a shallow chipboard box that keeps a thick block of memo paper square and upright instead of letting it slide around the desk. The clever part is that the whole shell is one strip: five chipboard pieces laid out with 3mm gaps and wrapped in a single printed sticker sheet, so the gaps become hinges and the box folds up without a drop of glue.
These tutorials use Planify Pro, a drag-and-drop tool for designing printable planners and stationery. Building and editing is free — exporting a PDF needs a plan, from $9.99/month.
Scale matters on the patterned sheet. Print at actual size, 100%, at your printer's best quality. The wall pieces are cut to millimetre sizes and folded on 3mm hinges — a PDF printed "fit to page" shrinks by a few percent, which is enough to leave the covering short at the folds.
What You'll Need
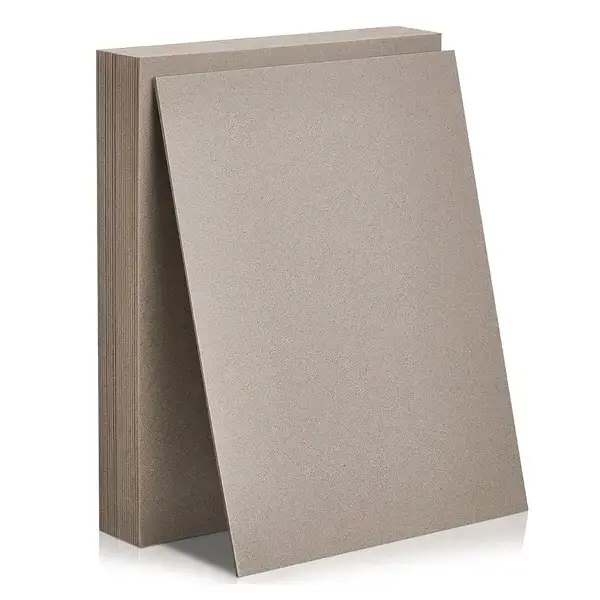 |  |  |
 | Scissors, a metal ruler and a cutting mat |
There is no glue and no binding in this build — the sticker paper is the adhesive. A craft knife and ruler will do everything the guillotine does, just more slowly.
Instructions
1. Print the sticker sheet and lay it out flat. Two copies on white glossy sticker paper. Smooth each one face up on a clean desk before anything else touches it — a bubble trapped now shows through the finished box.  |
2. Cut the five wall pieces from 1.2mm chipboard. All five are 5.5cm (2.16in) tall. Widths, left to right: 3cm, 8cm, 8cm, 8cm, 3cm — that is 1.18in, 3.1in, 3.1in, 3.1in, 1.18in. The three 8cm panels become the walls; the two 3cm pieces close the fourth side.  |
3. Lay the pieces on the sticker sheet with a 3mm gap between each one. Set them against a ruler. Those gaps are the hinges: too tight and 1.2mm chipboard will not fold square, too wide and the corners gape.   |
4. Trim the sticker sheet, leaving about an inch all round. That inch is the margin you fold over the back of the chipboard, so keep it even on all four sides.  |
5. Fold the long margins in against a ruler. Press each fold along the ruler's edge so it lands exactly on the edge of the chipboard. A fold that wanders is what makes a handmade box look handmade.   |
6. Work along the band with a bone folder. It burnishes the sticker down and sharpens each fold, and it chases the air out from under glossy paper. A fingernail does the same job but creases the print.  |
7. Cut the overhanging corners into flaps. Snip diagonally into each corner so the excess folds in instead of bunching. Bunched corners are what stop the finished box sitting flat.   |
8. Bend the band at each 3mm gap. The hinges should fold cleanly to a right angle without the covering cracking. If a fold fights you, the gap under it is too narrow for the board.  |
9. Close the band into a square. The three 8cm panels make three walls and the two 3cm end pieces fold in to finish the fourth. You should be holding an open-ended square tube 5.5cm deep.  |
10. Cut a fresh piece of sticker paper for the base. This is what the second printed sheet is for. Cut it on a mat against a ruler rather than freehand — the base is the one panel where a wobbly edge shows.  |
11. Cut the bottom plate: one 9 x 9cm (3.54in) square. Same 1.2mm chipboard. Sit it on the sticker sheet the same way you did the wall pieces.  |
12. Trim around the plate, leaving the same inch of margin. Same margin, same reason: it folds over onto the back of the board.  |
13. Wrap the plate and tuck the corners in. Fold two opposite sides down first, then the other two over the top of them, tucking each corner triangle underneath. You end up with a clean patterned square and no raw chipboard on show.  |
14. Seat the base and fill the holder. Drop the covered plate into the bottom of the square tube and press the walls down onto it, then stack the printed memo sheets inside. That is the whole build — no glue, no binding, nothing left to dry.   |
Troubleshooting
The box will not fold square. The gaps between the wall pieces are too narrow. Chipboard needs clearance at a fold roughly equal to its own thickness plus a little — the 3mm gap in the layout is sized for 1.2mm board. Thicker board needs a wider gap, not more force.
The covering comes up short at the folds. The PDF was printed scaled to fit the page. Reprint at actual size, 100%. A few percent is all it takes when the pieces are cut to the millimetre.
Bubbles under the sticker paper. Lay each piece of chipboard down from one edge and roll it flat rather than dropping it on square, then burnish outwards with the bone folder. Once glossy sticker paper is fully down it will not lift again without tearing the print.
The memo block rattles in the holder. The walls are sized around an 8cm block. If your memo sheets trimmed out smaller, take the walls down to match rather than padding the box — trim all three 8cm panels by the same amount so it stays square, and cut the base to suit.
Selling these
A finished desk object carries a much higher price than the flat paper it is made from, and this one costs very little to make: an offcut of chipboard, two sticker sheets and a stack of copy paper. There is nothing to dry and nothing to bind, so a batch is limited only by how fast you can cut.
The refill is the real product. Sell the holder with a full block, then sell replacement blocks on their own — a customer who likes it comes back for paper rather than buying a second box. Bundle a holder plus two refill blocks as a gift set and price it above the sum of the parts.
Because the entire look lives in one patterned sheet, a new pattern is a new listing. Seasonal prints — autumn, Christmas, back-to-school — sell the same build several times a year. See 20 profitable planner niches for more on picking a lane.
Try these next
How to Make Notepads at Home — the basic PVA-bound pad
DIY Stacked Notepad — another block-of-paper project
Folding Notepad Station — a desk piece that folds flat
DIY Notepad Set — the same idea sized for a gift set
Magnetic Fridge Notepad — a pad that sticks where you need it


