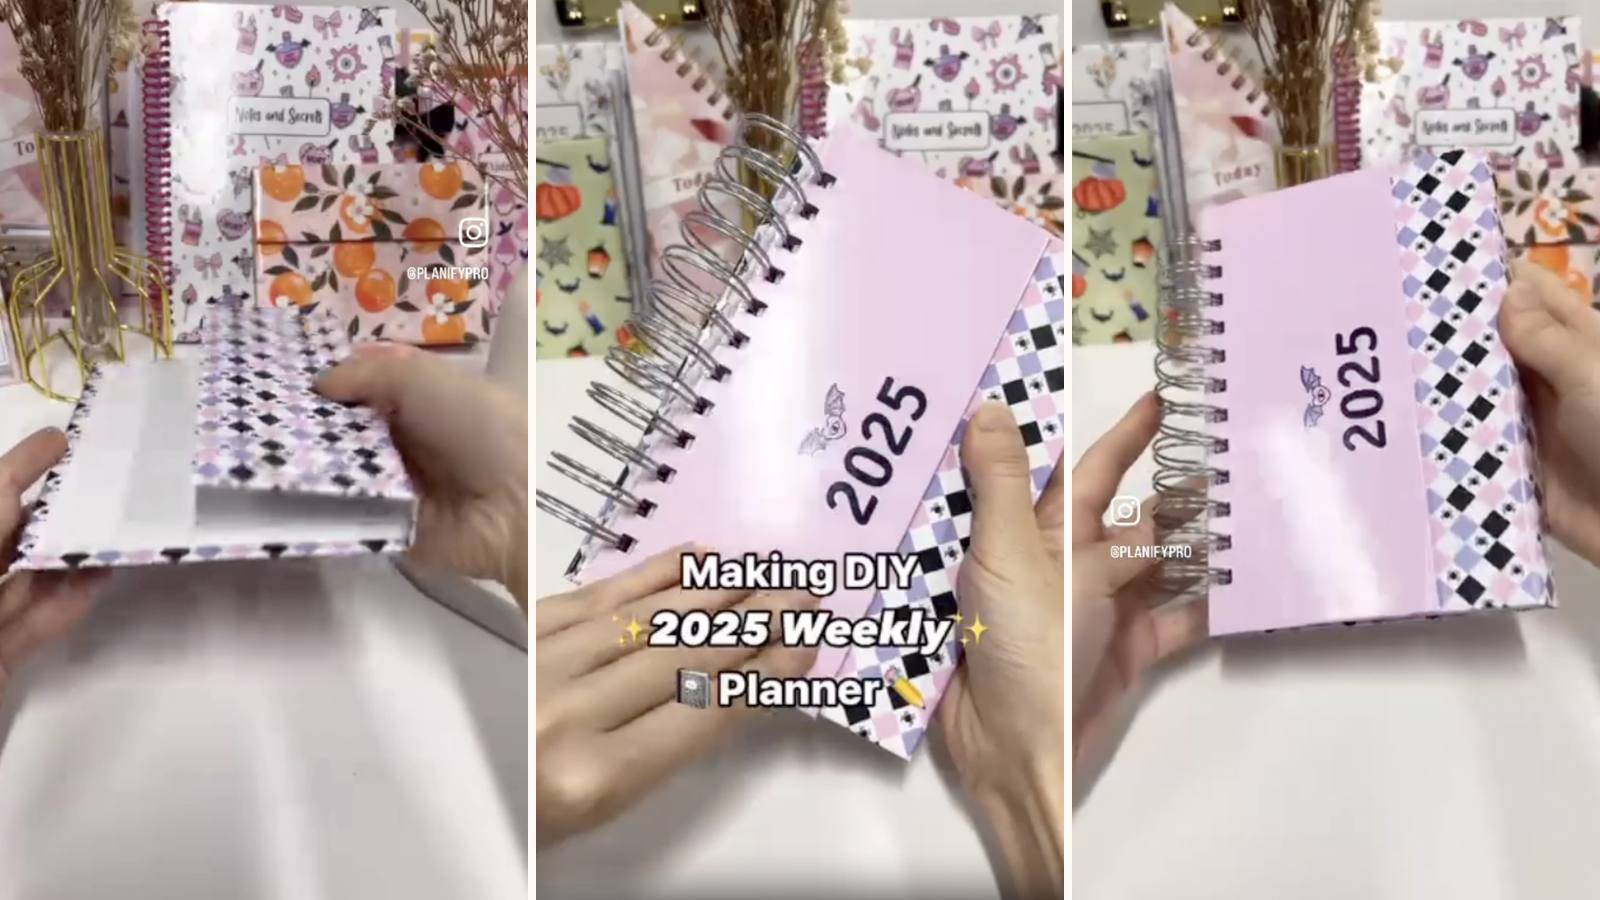
A weekly planner with two features you normally only get on a shop-bought one: a magnetic flap that snaps it closed in a bag, and a small tear-off notepad glued inside the back cover for the notes that don't belong in a dated week. Wire-O binding so it opens flat.
These tutorials use Planify Pro, a drag-and-drop tool for designing printable planners and stationery. Building and editing is free — exporting a PDF needs a plan, from $9.99/month.
Get the template
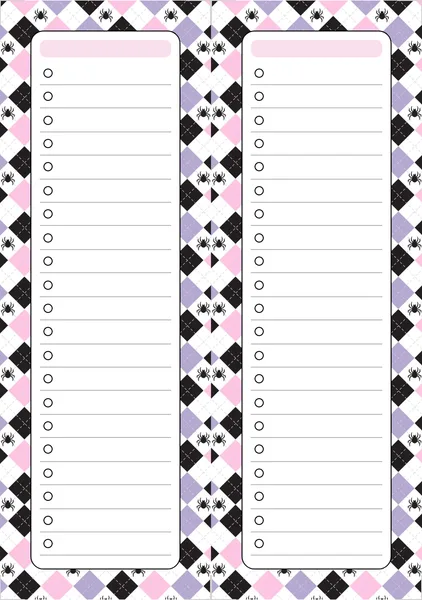
There are three files here — the inner notepad, the weekly planner inserts, and the cover. Open any of them in Planify Pro to change the size, colours or layout before printing, or print them exactly as they are.


Export and print
Three separate exports:
Inserts: Save/Export → All Pages → Paper → A4 → Rearrange Pages for Ring → Batch Generate PDF. The rearrange is what puts the pages in the right order for a ring-bound book — skip it and the weeks come out shuffled.
Front and back covers: Save/Export → Selected Page → Paper → A4 → Generate PDF, printed on white glossy sticker paper.
Notepad: Save/Export → Selected Page → Paper → A4 → Generate PDF.
What You'll Need
 Chipboard 1.4mm Chipboard 1.4mm |
 Paper Paper |
 Glossy Sticker Paper Glossy Sticker Paper |
 Magnet Strips Magnet Strips |
 O-Wires 25mm+ O-Wires 25mm+ |
 Binding Machine Binding Machine |
 Guillotine Paper Cutter Guillotine Paper Cutter |
 PVA Glue PVA Glue |
You'll also need double-sided tape for mounting the notepad.
Instructions
1. Print and cut the inserts. Trim to size on the guillotine.  |
2. Punch the inserts. Small batches, all registered to the same edge.  |
3. Cut three back-cover chipboards. Back 1) 17.8 × 12.3 cm · Back 2) 17.8 × 1.5 cm · Back 3) 17.8 × 6.7 cm. Back 2 is the hinge and Back 3 is the wraparound flap.  |
4. Print the back cover. On white glossy sticker paper — it needs to cover all three pieces plus the gaps.  |
5. Place the first and second chipboards. On the peeled sticker, with a gap between them for the hinge.  |
6. Get two magnet strips ready, about 1.5 × 14 cm. Peel the backing off one of them only. The other stays sealed until step 14 — that's what makes the pair line up.  |
7. Stick the peeled magnet to the third chipboard. That's the flap piece.  |
8. Lay the flap piece down, magnet facing the sticker. Magnet-side down means it's sealed inside the cover and invisible from outside.  |
9. Fold all the sides in. Corners trimmed at an angle first, then every margin pressed down hard.  |
10. Line the inside. White sticker paper over the folded edges. Keep it flat — the notepad gets taped to this face later.  |
This is what the finished back cover should look like — three panels, two hinges, magnet hidden in the flap.  |
11. Print the front cover. Also on white glossy sticker paper.  |
12. Cut and place the fourth chipboard. Front) 17.8 × 12.3 cm — the same size as Back 1. Lay it on the printed front cover sheet.  |
13. Wrap the front cover. Trim the corners and fold all four sides in, same as the back.  |
14. Stack the second magnet on the first and peel it. Face to face on the back cover's flap, then take its backing off. Never place this one by eye.  |
15. Close the front cover onto it. Fold the flap over as if closing the planner, and press.  |
16. Lift it away. The second magnet is now on the back of the front cover, in exactly the position where the two meet.  |
17. Punch both covers. Match them against a punched insert first — the covers are the pieces you can't quickly remake.  |
18. Load the o-wires with the inserts. 25mm or larger — the covers are thick and the wire has to clear the whole stack.  |
19. Add the front cover.  |
20. Add the back cover. Last on, so the flap ends up on the outside where it can wrap round.  |
21. Close the wires. One firm squeeze on the machine.  |
22. Make the notepad. Print, cut to size, clip and glue along the top edge — the standard PVA pad, just small.  |
23. Tape the back of it. Double-sided tape across the whole back.  |
24. Stick it inside the back cover. On the main panel, clear of the hinge — a notepad taped over the fold stops the flap closing.  |
This is how it should sit — planner on the wire, notepad on the inside back.  |
Closed, the flap wraps round the front and holds on the magnets.  |
Troubleshooting
The magnets don't meet when it closes. The second one was positioned by hand instead of transferred. Peel it off, stack it on its partner, and let the closing flap place it.
The magnets repel. One was flipped between cutting and sticking. Keep the pair face to face from the start.
The flap won't reach round. The hinge gaps are too narrow for the thickness of the bound block. Set them with the stack in hand before the sticker goes down.
The pages won't turn freely. Wire too small or over-closed. 25mm minimum here, and one squeeze only.
Selling these
This is the most complete product in the library, and it should be priced that way. A magnetic closure and a built-in notepad are both things buyers recognise from expensive planners.
The notepad is also the easiest thing to vary. Same planner, different inner pad — habit tracker, shopping list, blank — and you have three listings from one build.
If you sell dated versions, get them made before October. This build takes real time per unit, and you cannot catch up on demand in December.
See 20 profitable planner niches and how to price bundles for more.


