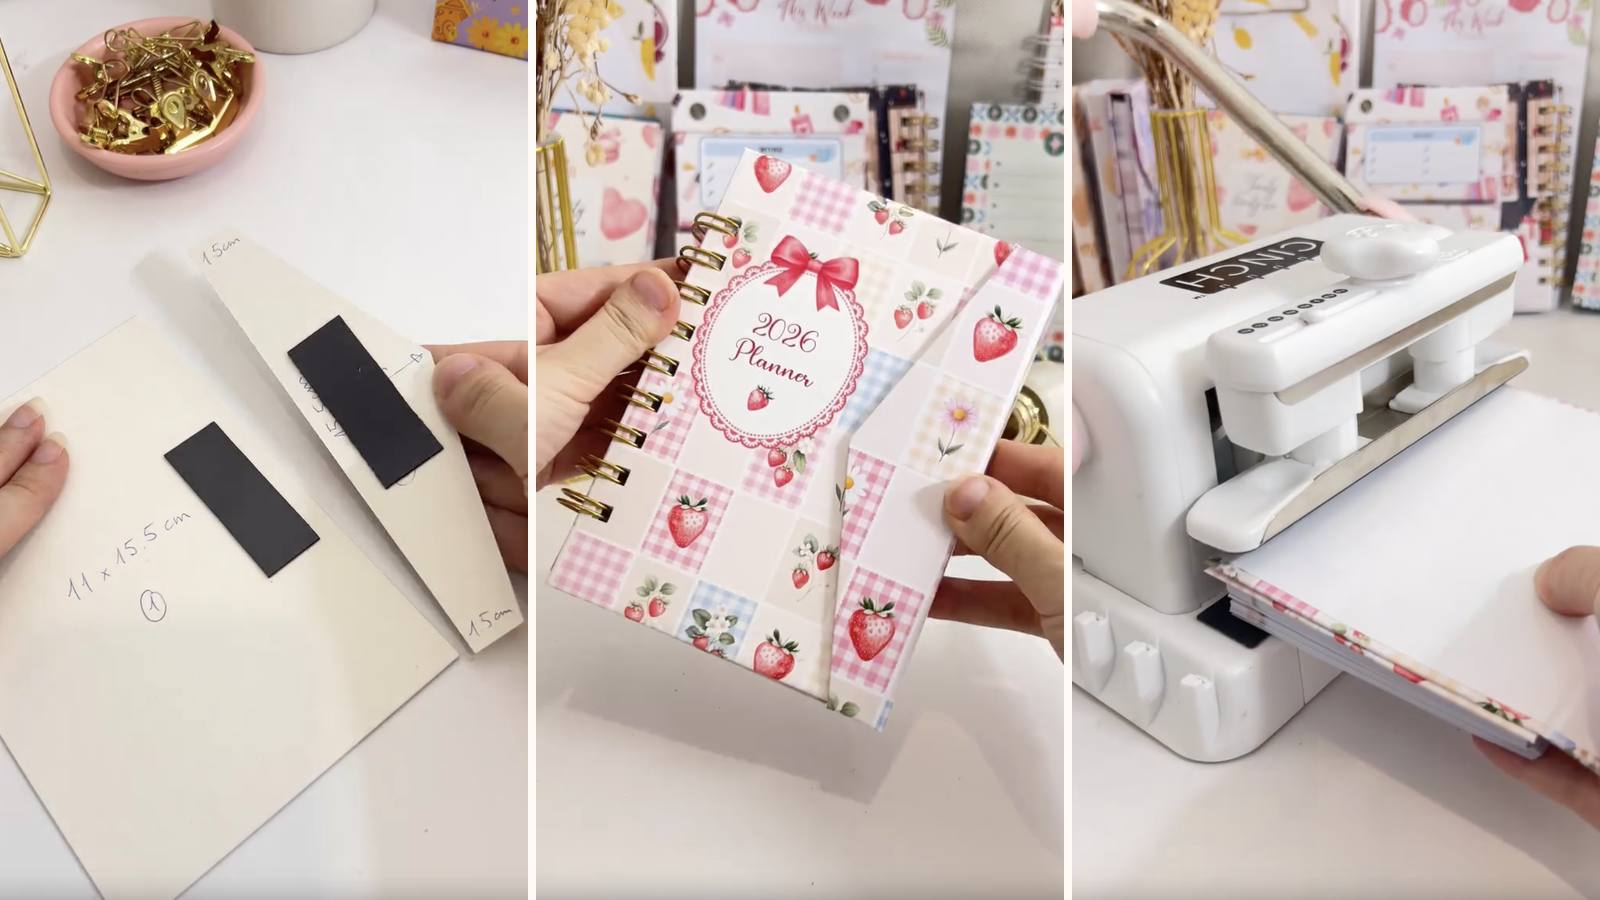
An A6 planner bound on o-wires, with a back cover that carries on past the book into a flap that wraps round the front and snaps shut. The magnets are two strips cut off a magnetic sheet, buried under the sticker cover — so from the outside there's nothing to see, just a planner that closes with a click.
These tutorials use Planify Pro, a drag-and-drop tool for designing printable planners and stationery. Building and editing is free — exporting a PDF needs a plan, from $9.99/month.
Get the template
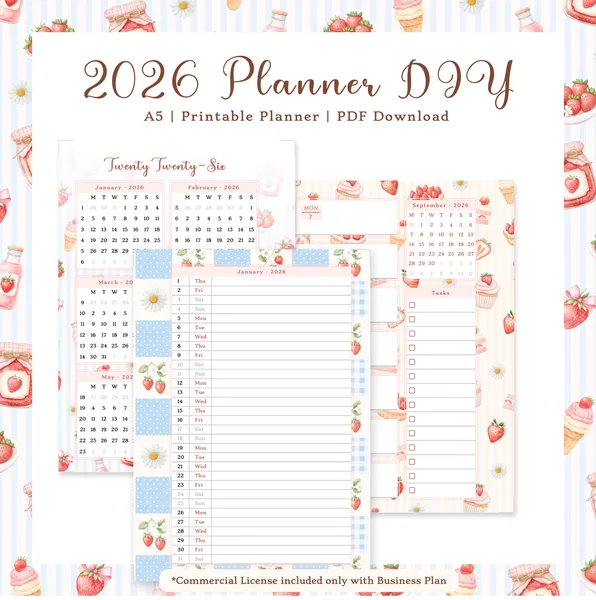
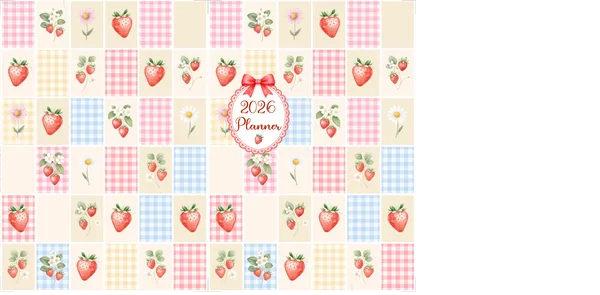
There are two files here — the planner inserts and the cover. Open either in Planify Pro to change the size, colours or artwork before printing, or print them exactly as they are.
Export and print
There are two separate exports, and they use different settings:
Inserts: Save/Export → All Pages → A4 → tick Rearrange for rings → Generate PDF. That rearrange step is what puts the pages in the right order once they're printed two-up and cut down the middle — skip it and the planner comes out shuffled.
Cover: Save/Export → Selected Page → A6 → Generate PDF.
Print both from Adobe Acrobat Reader. The inserts print double-sided; the cover goes on white glossy sticker paper.
What You'll Need
 |  |  |
 |  |  |
 |
Instructions
1. Print the inserts double-sided and trim. Print a couple of test sheets first and check the front and back line up before committing the whole planner to paper.  | 2. Punch the inserts. Small batches on the binding machine. Overfill it and the holes come out torn, which shows on every page of the finished book.  |
3. Print the cover pages. Onto white glossy sticker paper — front cover on one sheet, back cover and flap on the other.  | 4. Cut the cover pages out. Trim to the printed edge, leaving the wrap margin — you need that overhang to fold around the board.  |
5. Cut the four chipboard pieces. 1) 11 × 15.5 cm · 2) 1.6 × 15.5 cm · 3) 1.5 × 15.5 cm with a 4 cm width in the middle · 4) 11 × 15.5 cm. Piece 2 is the spine hinge and piece 3 is the closing flap.  | 6. Cut two magnets, 1.5 × 4 cm. Trim them off a magnetic sheet and stack them face to face so they're already paired the right way round.  |
7. Stick the first magnet to the flap piece. That's chipboard 3. Only the bottom magnet of the pair gets fixed — the top one stays stuck to it for now.  | 8. Peel the second magnet and press the flap onto the front board. Fold the flap over so the exposed adhesive meets the right edge of chipboard 1. Letting the magnets place the second one is what guarantees they meet exactly.  |
9. Pull them apart. Both boards now carry a magnet, perfectly aligned to each other.  | 10. Peel the backing off the front cover sticker. Lay it sticky side up on a clear surface.  |
11. Place chipboard 1 with the magnet facing down. Magnet side against the adhesive — that's what hides it inside the cover.  | 12. Trim the corners. Cut each corner off at an angle so the folded margins don't overlap into a lump.  |
13. Fold the sides in. Press each margin firmly down onto the back of the board.  | 14. Lay the remaining boards on the back cover. Chipboard 4, then the hinge, then the flap, in the order shown — with a gap at each join so they can fold.  |
15. Trim the excess and fold the sides in. Same corner-trim-then-fold as before, along the whole length of the three-panel back.  | 16. Line the insides. Cut glossy sticker paper to fit the back of both covers and lay it down over the folded edges.  |
17. Score the hinge lines. Run a firm line along each gap between panels so the flap folds on the hinge instead of creasing wherever it feels like.  | 18. Punch the covers. Match them to a punched insert before pressing — the covers are the one part you can't reprint in thirty seconds.  |
19. Get the o-wires ready. 20mm (2cm) — you can go larger, but not smaller, or the stack won't turn.  | 20. Load the wire: inserts, front cover, back cover. That order, every time.  |
21. Close the wires. One firm, even squeeze on the Cinch. Going again over-closes them and the pages stop turning.  | Fold the flap round and it snaps shut. Nothing on the outside gives away how.  |
Troubleshooting
The magnets don't meet when the flap closes. The second magnet was positioned by eye rather than transferred. Peel it off, stick it back to its partner, and let the closed flap place it for you.
The magnets repel instead of attracting. One got flipped between cutting and sticking. Keep the pair stacked face to face from the moment you cut them — that's the whole point of doing it in that order.
The flap won't fold flat. The gaps between the panels are too narrow for the board thickness, or the score lines were skipped. Both are fixed before the sticker goes down, not after.
The insert pages are out of order. "Rearrange for rings" wasn't ticked on the export. Re-export the inserts with it on.
Selling these
A magnetic closure is the detail that moves a handmade planner out of the craft-fair price bracket. It reads as manufactured, and it costs you two strips off a magnetic sheet.
It also photographs well, which matters more than it should. A listing photo of a planner mid-snap tells the whole story in one image, and that's the shot people stop scrolling for.
Dated planners have a hard selling season, so build the cover technique into an undated notebook too — same construction, sells all year.
See 20 profitable planner niches and how to create listing photos for more on selling these.
Try these next
DIY Half-Hidden Wire Notebook — a cleaner spine finish
DIY Wingfold Journal — another multi-panel cover
DIY Weekly Desk Planner — more o-wire binding


